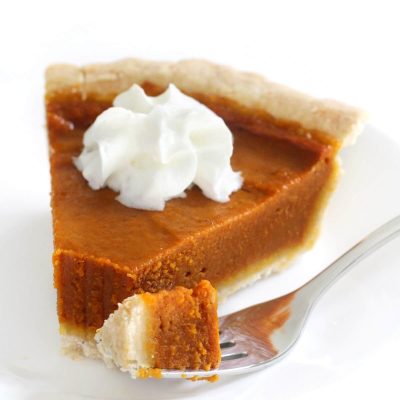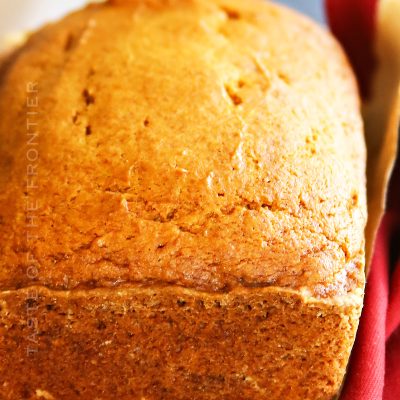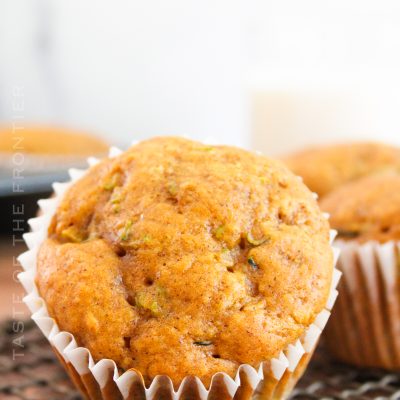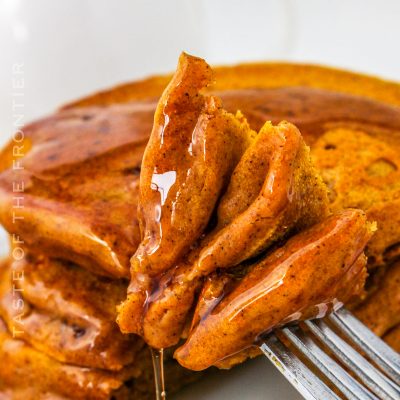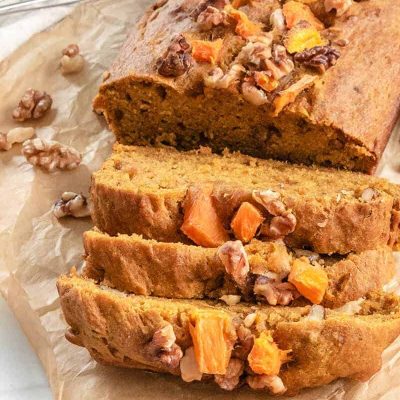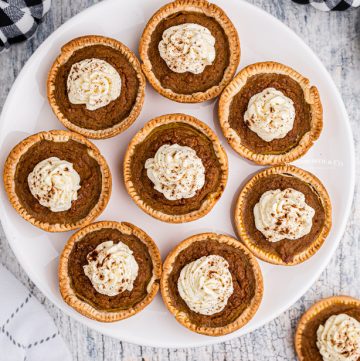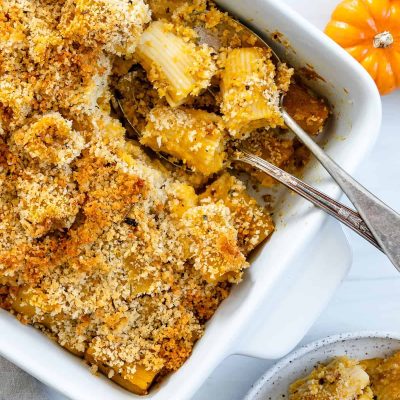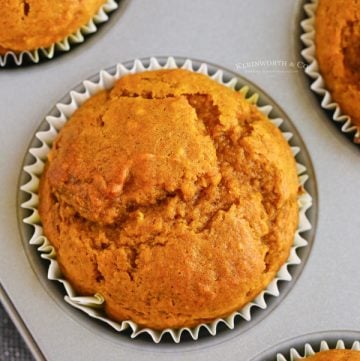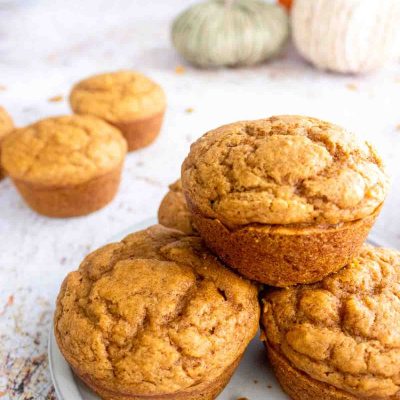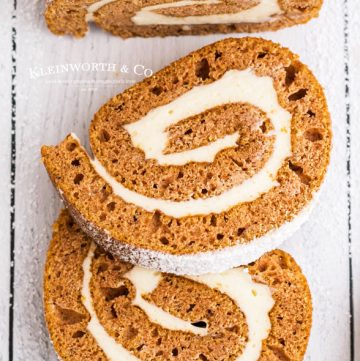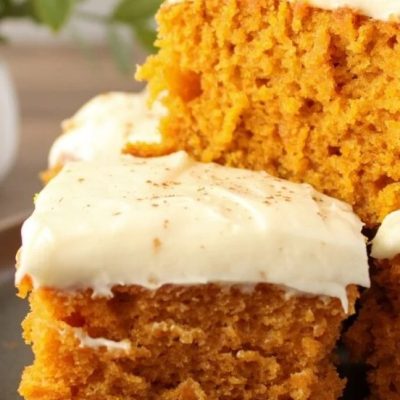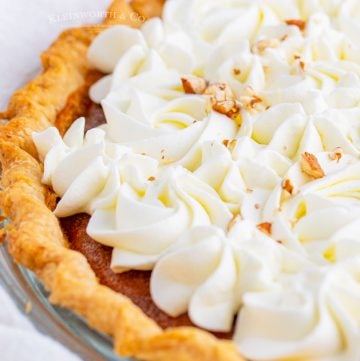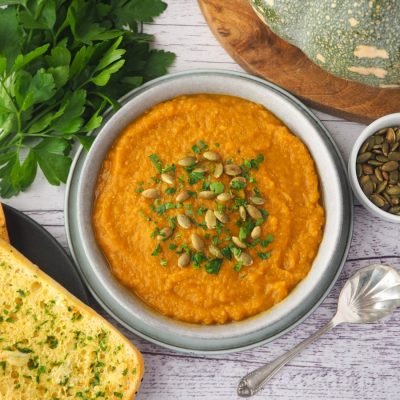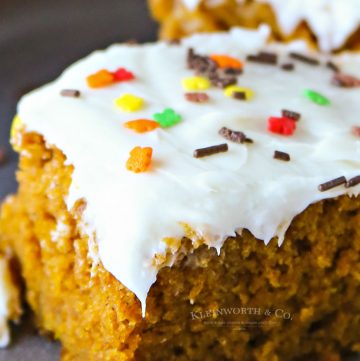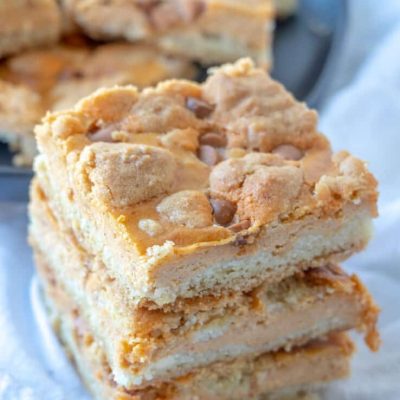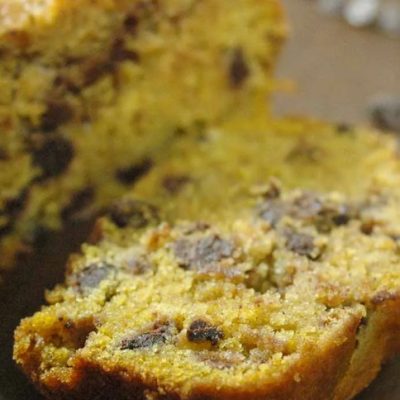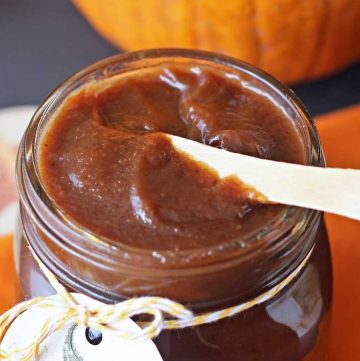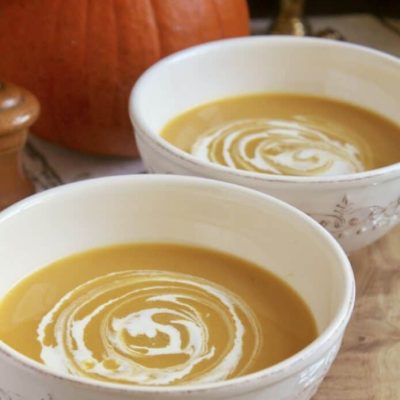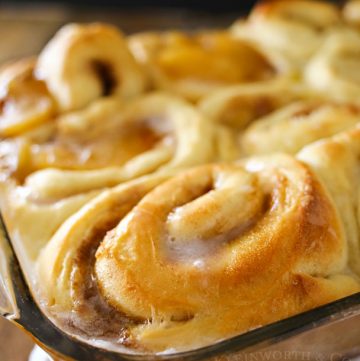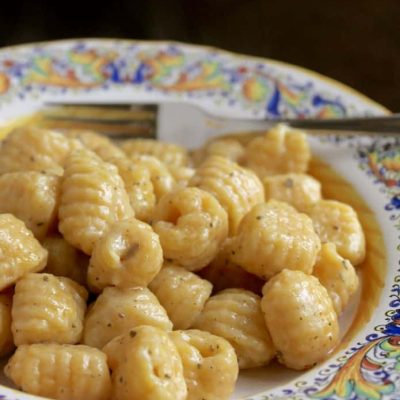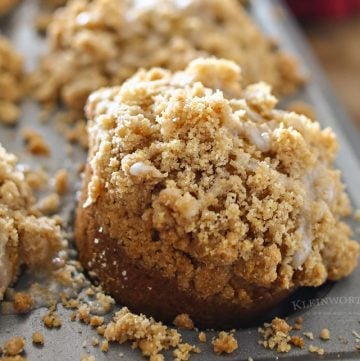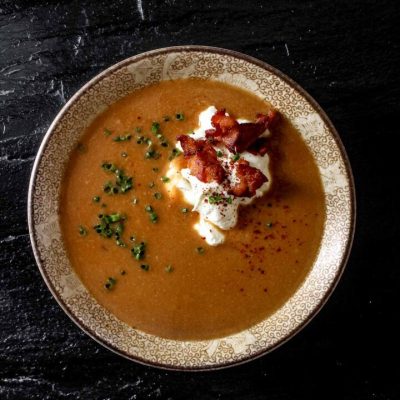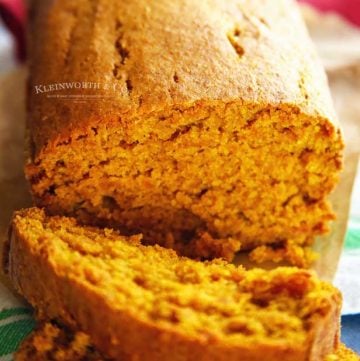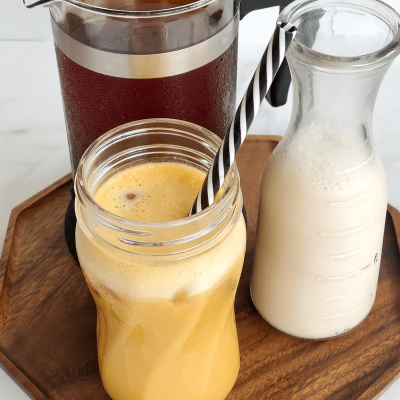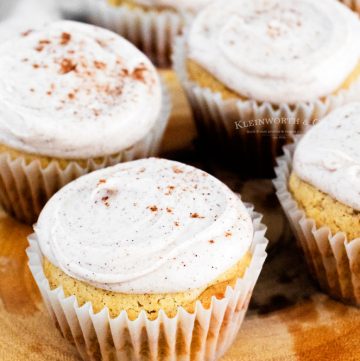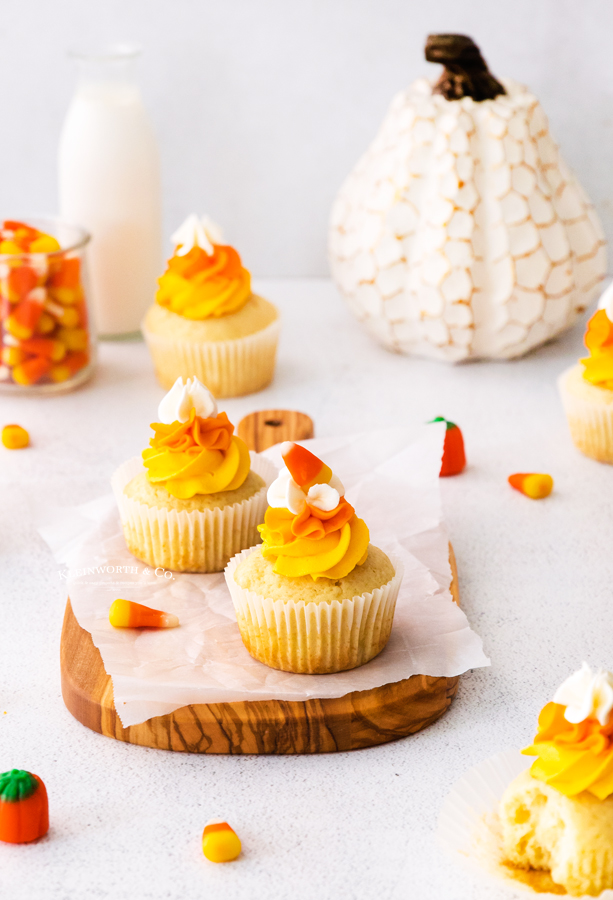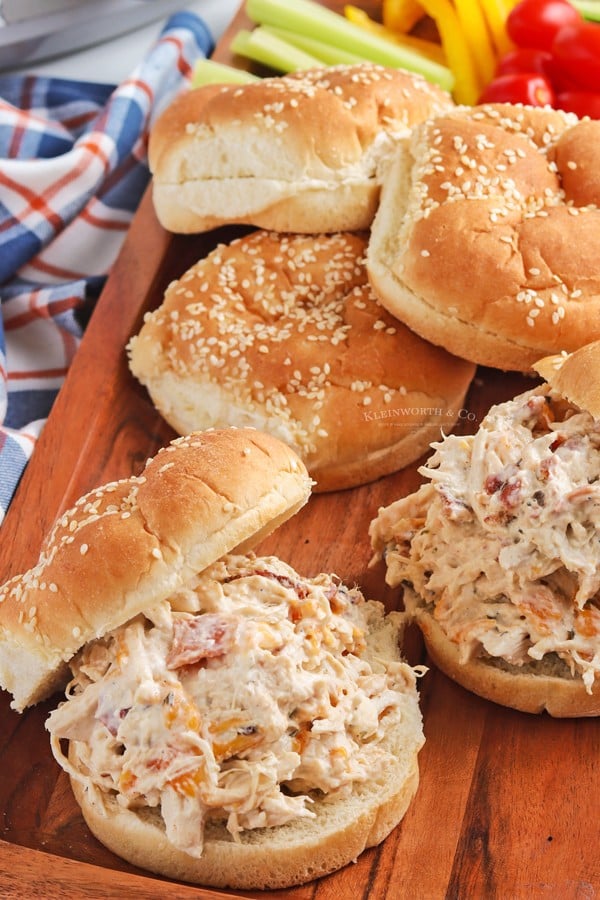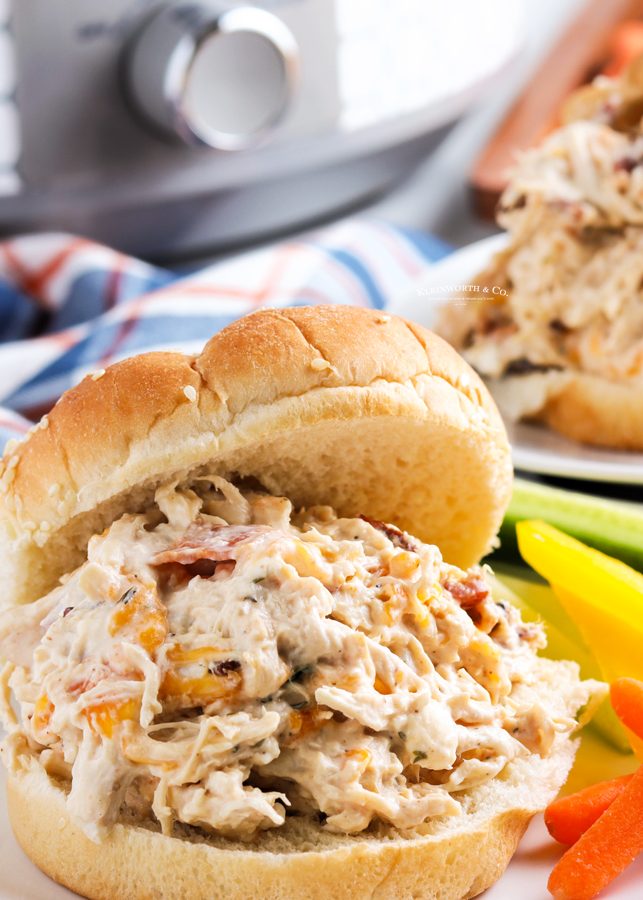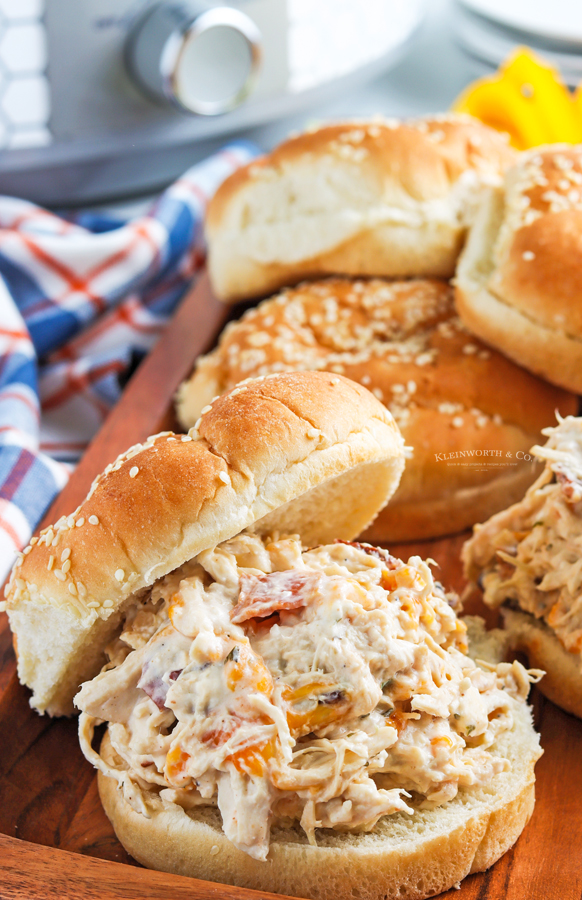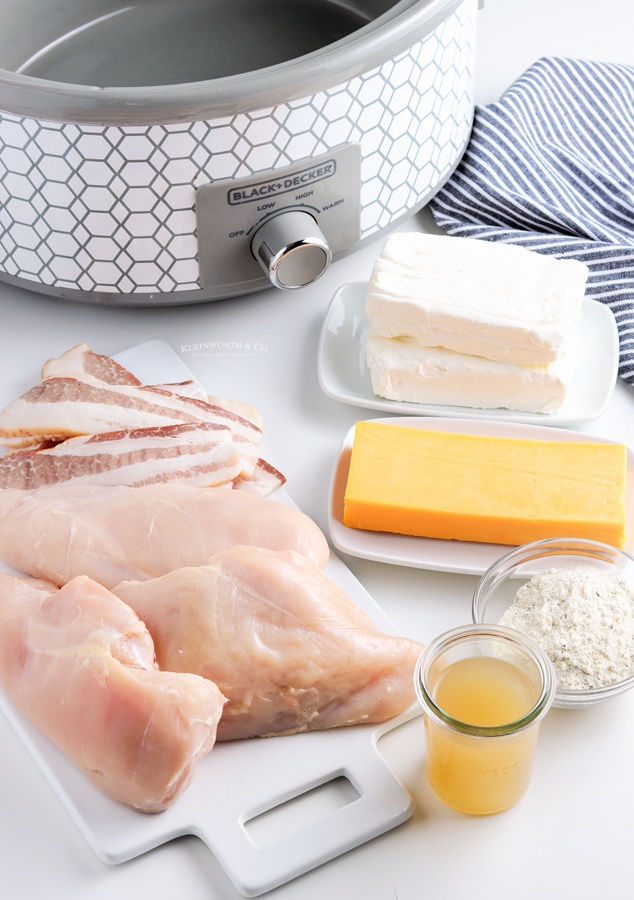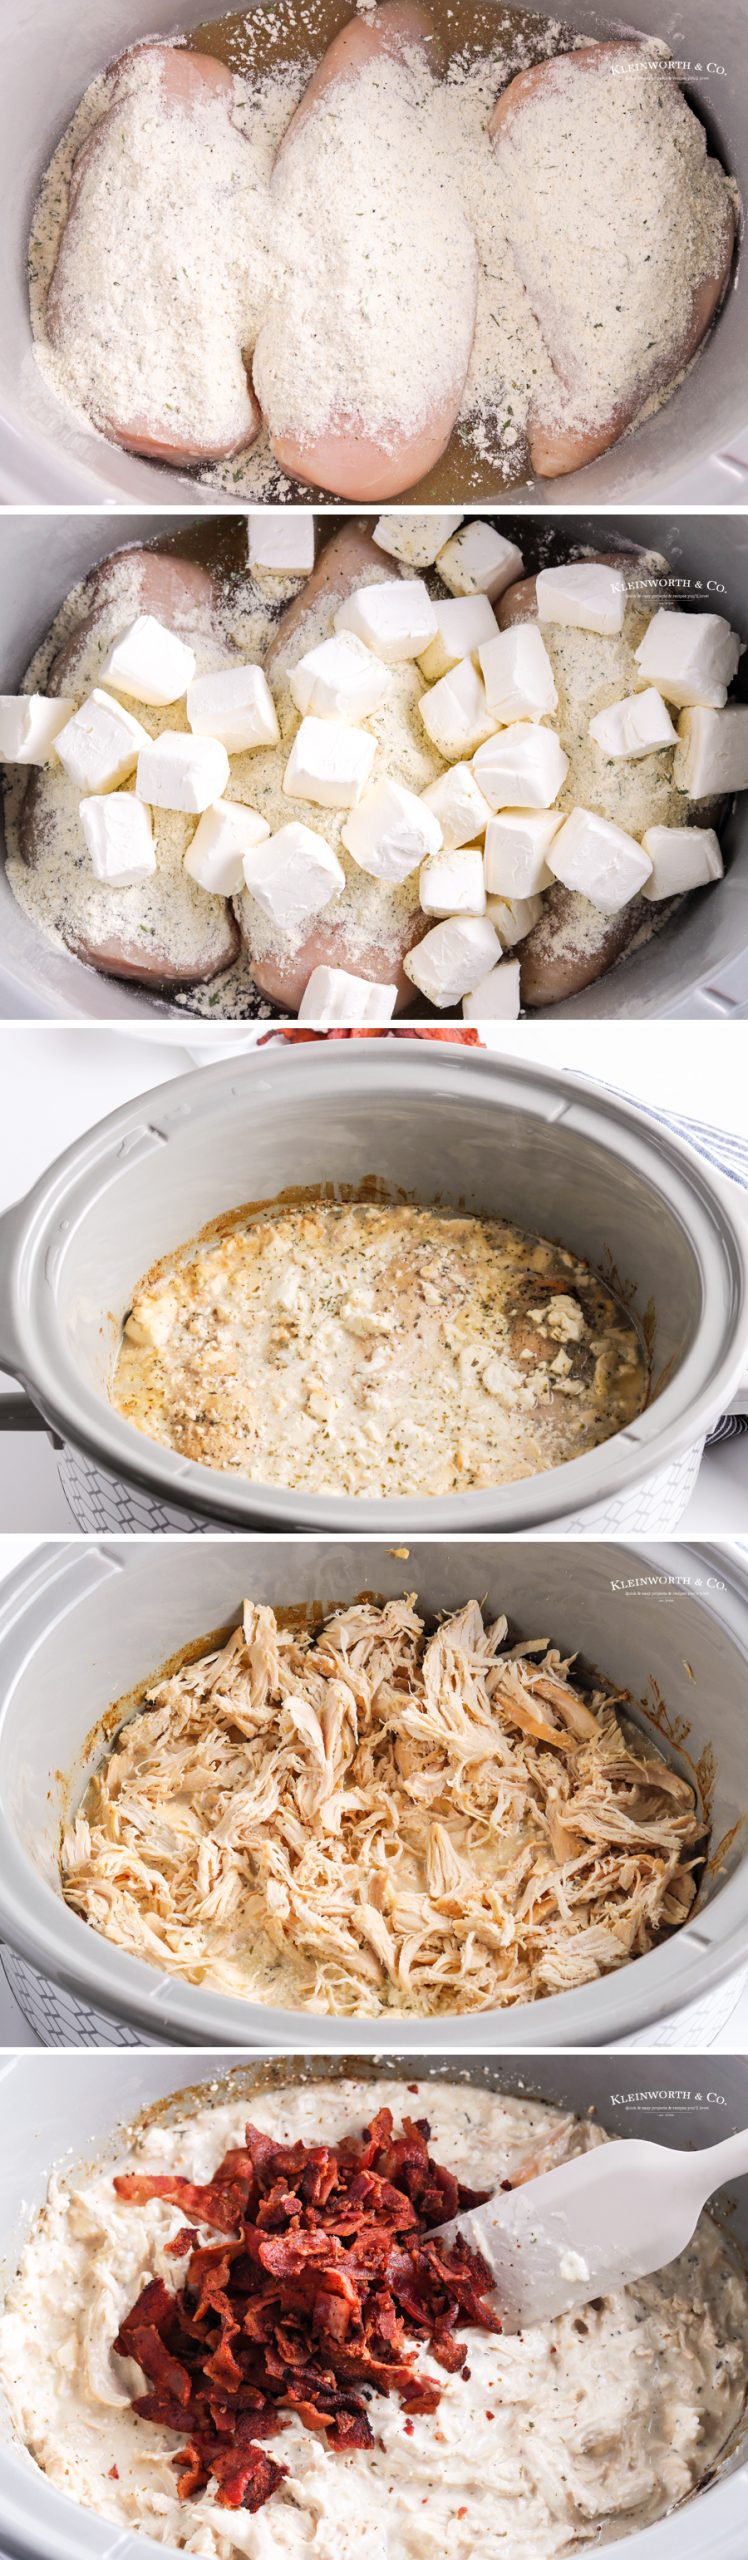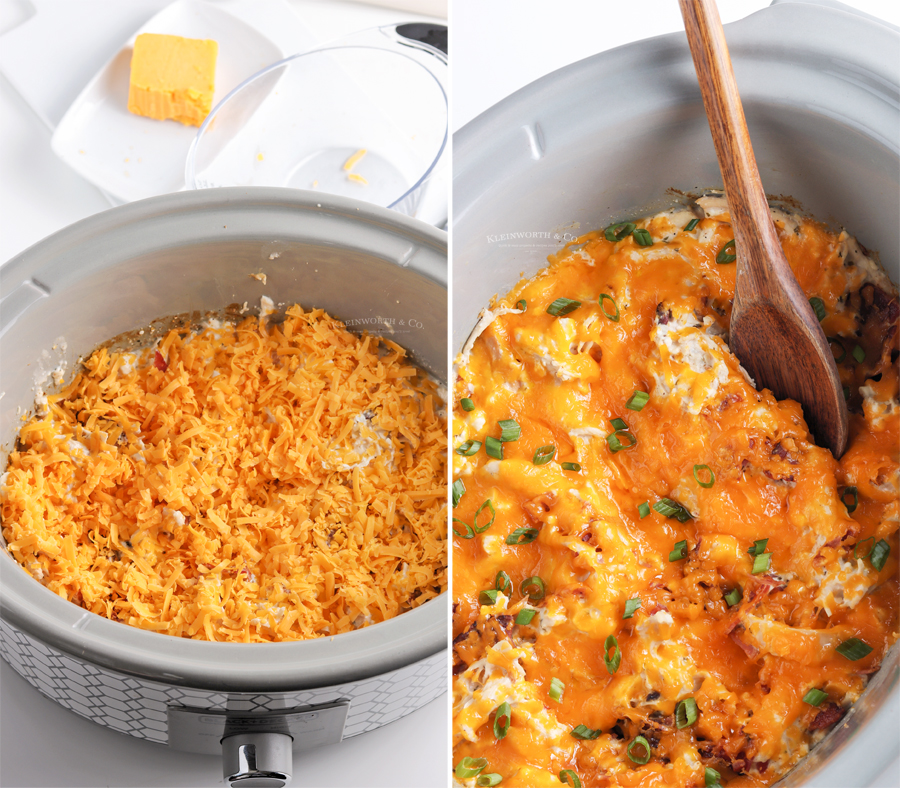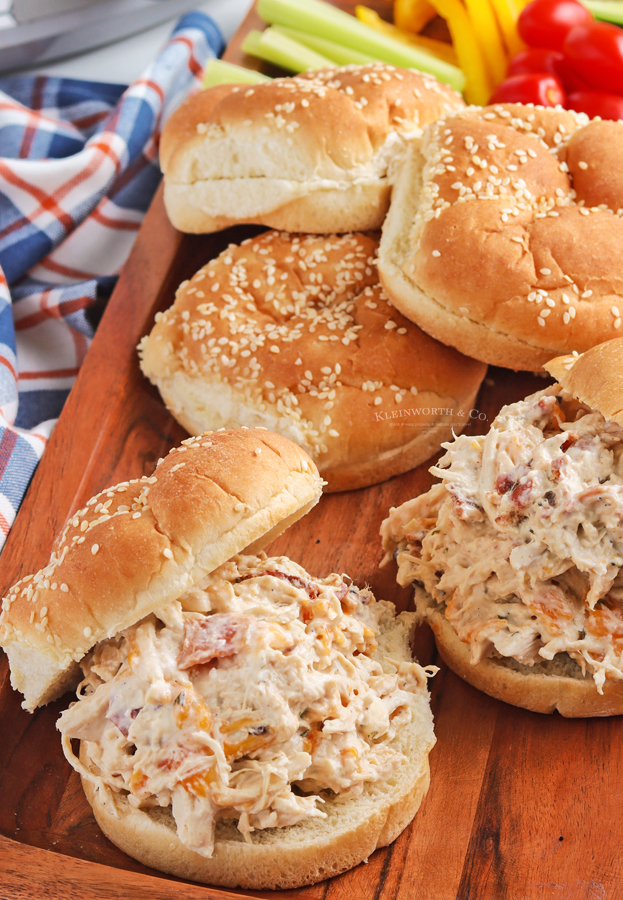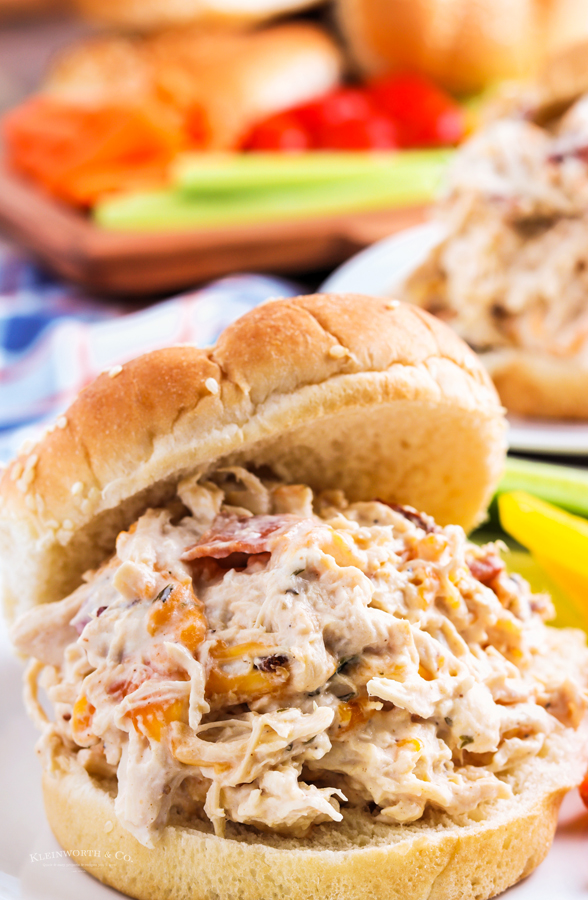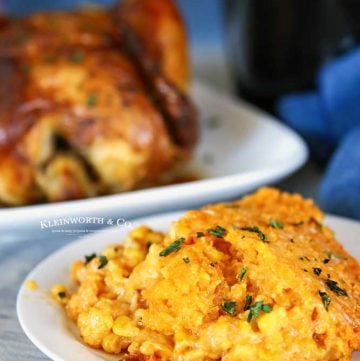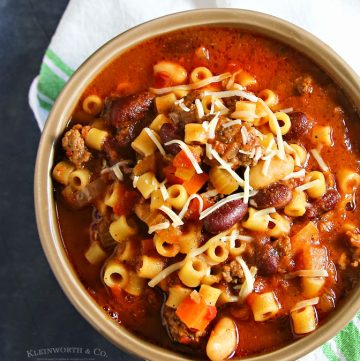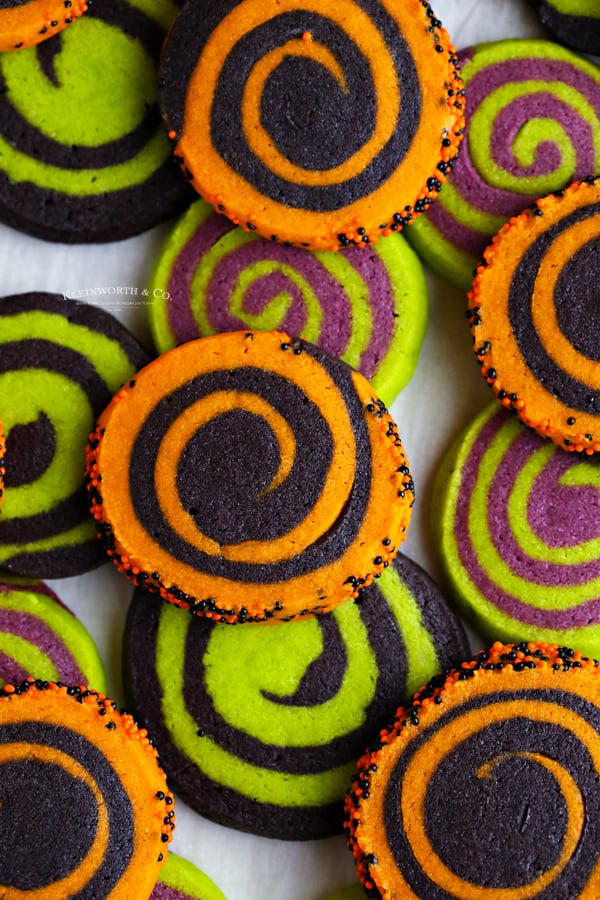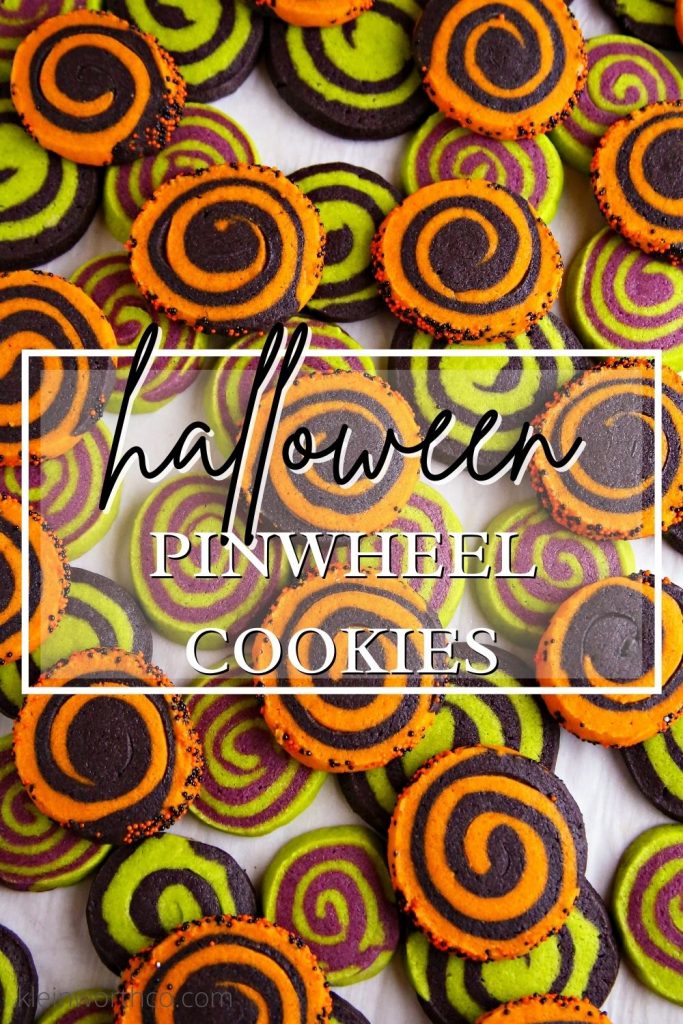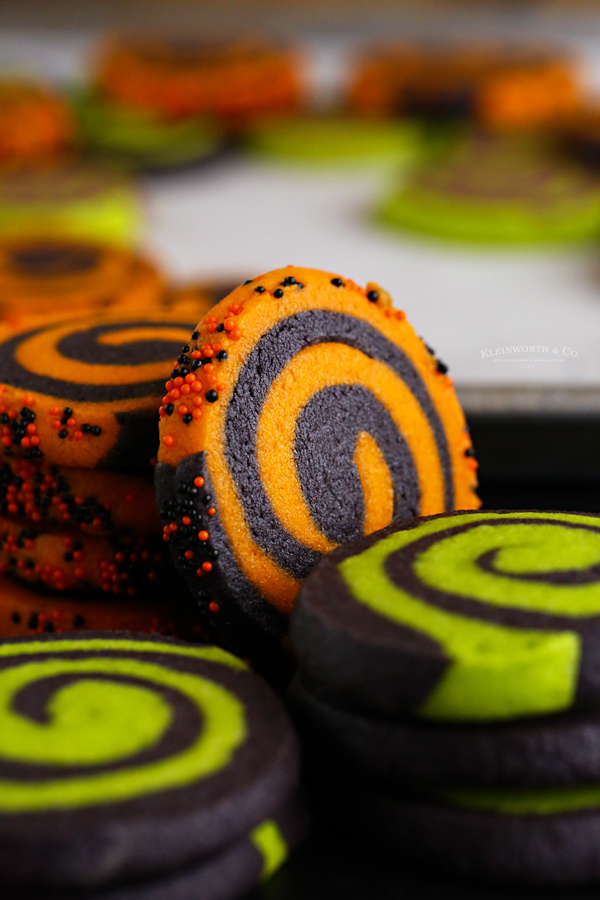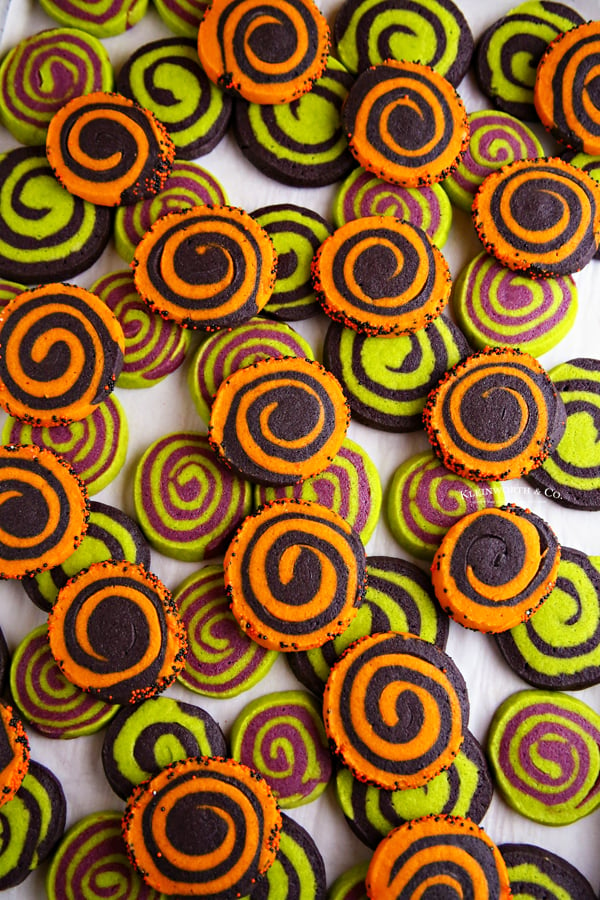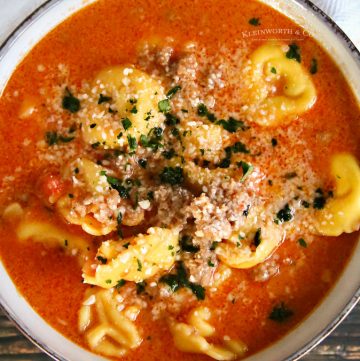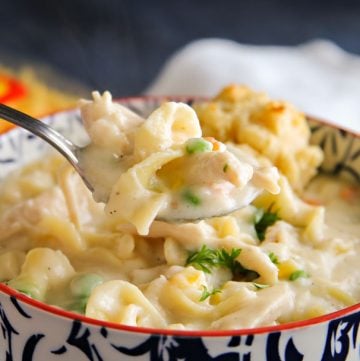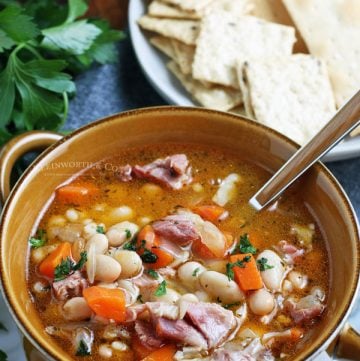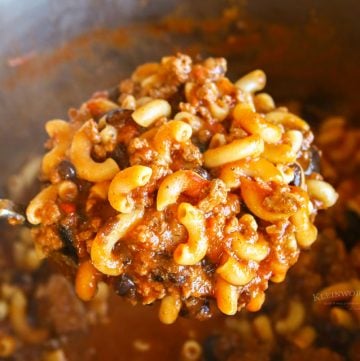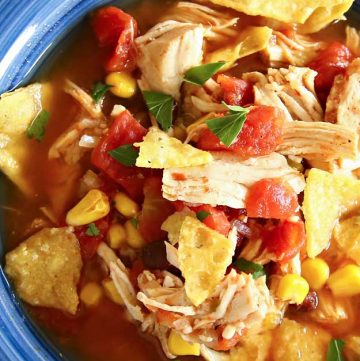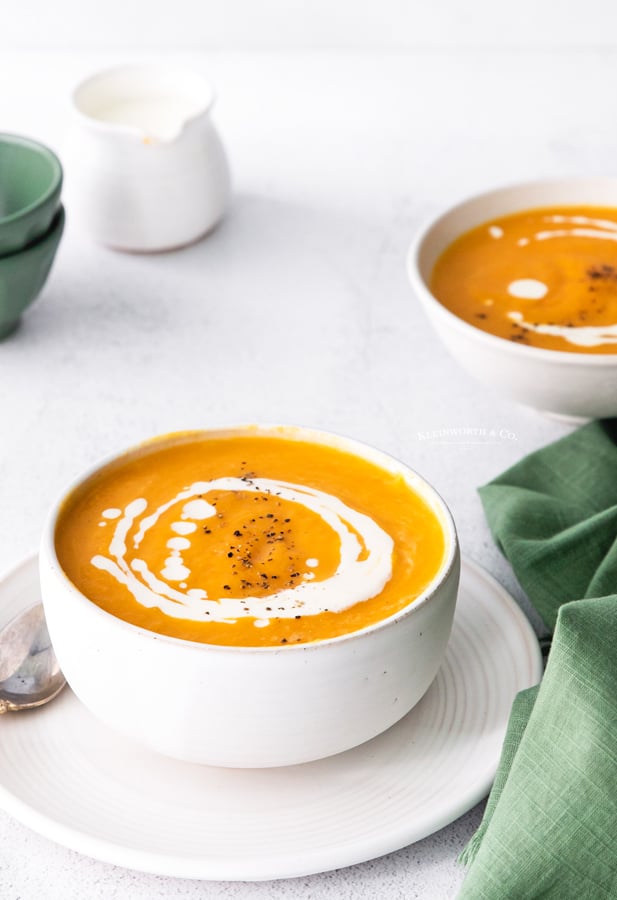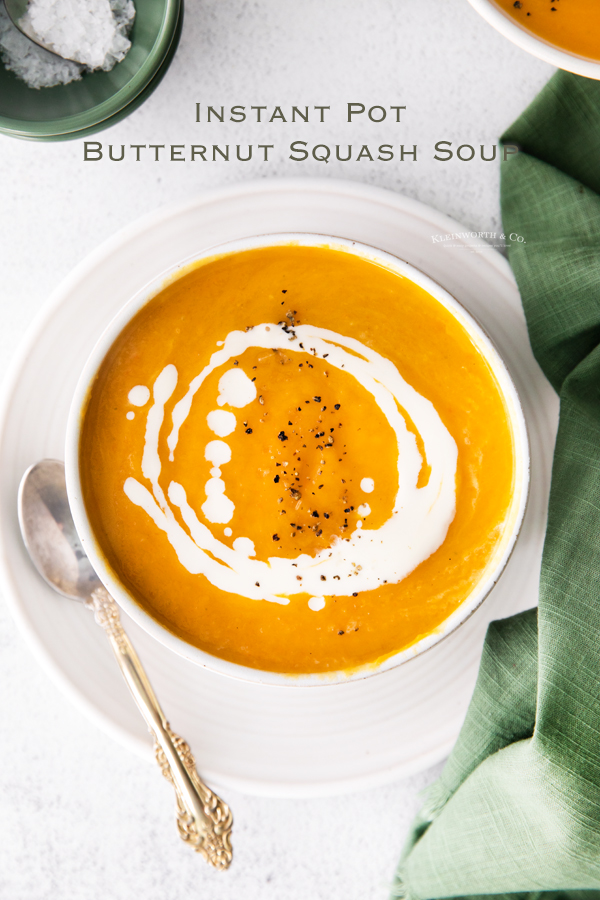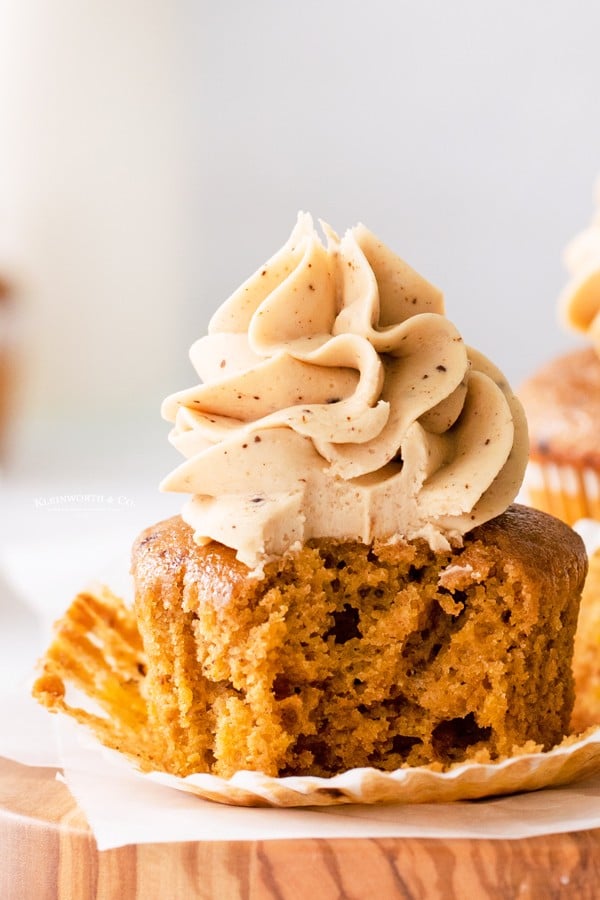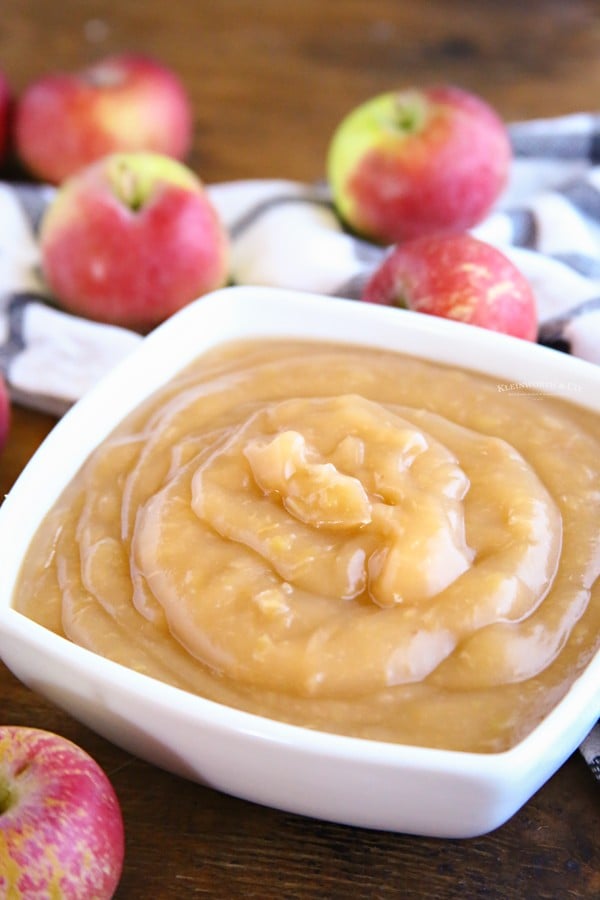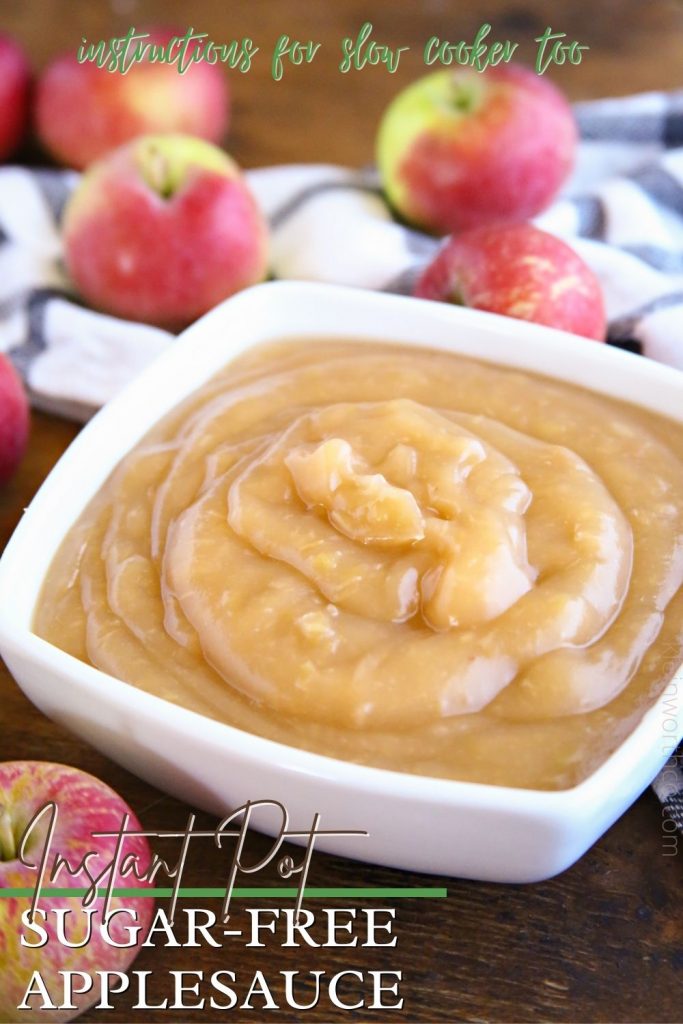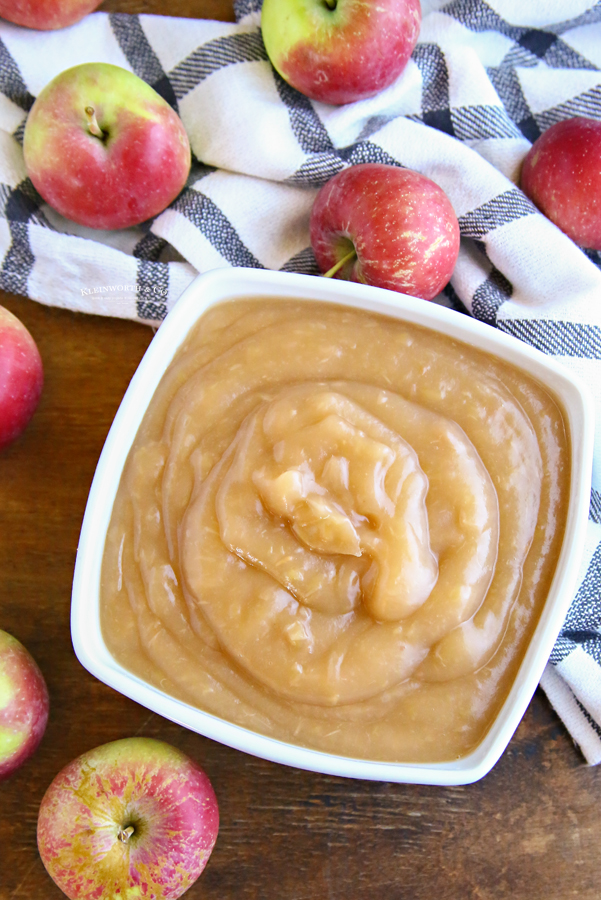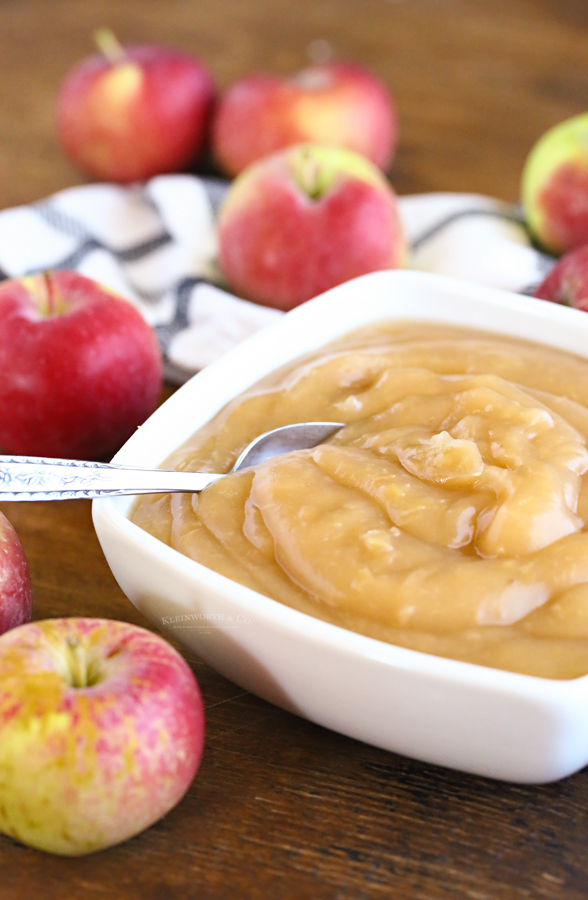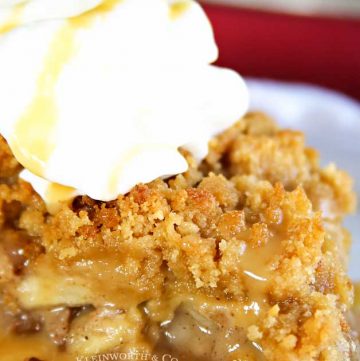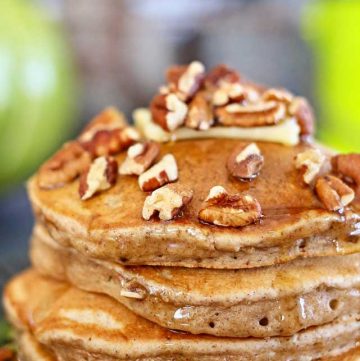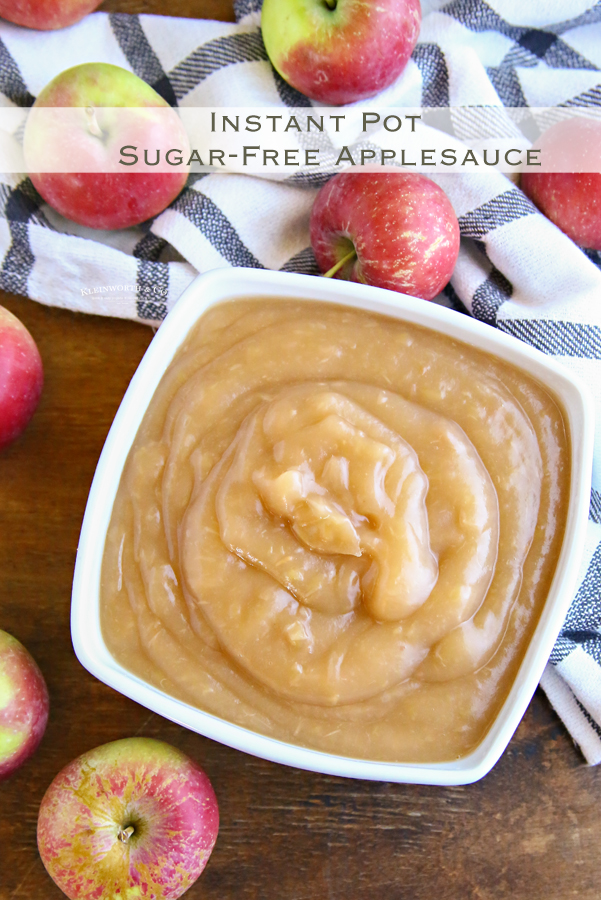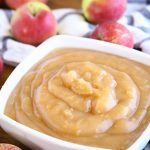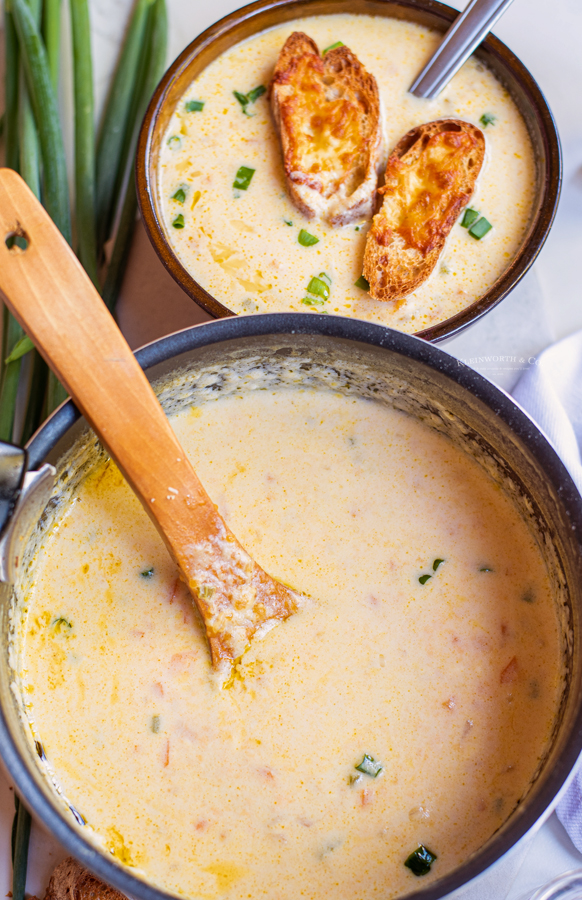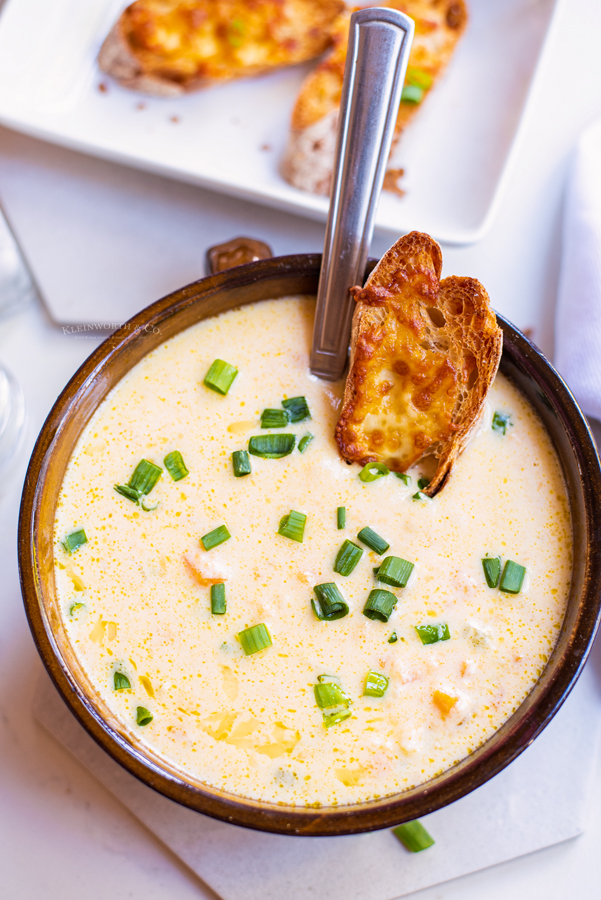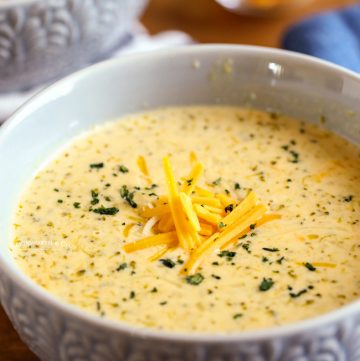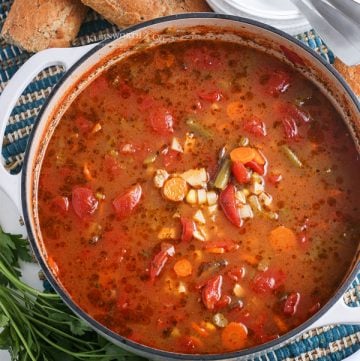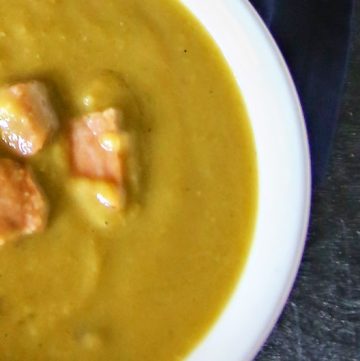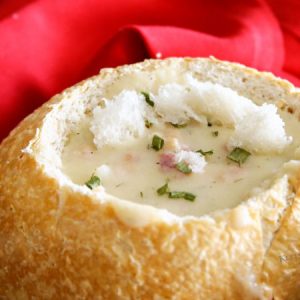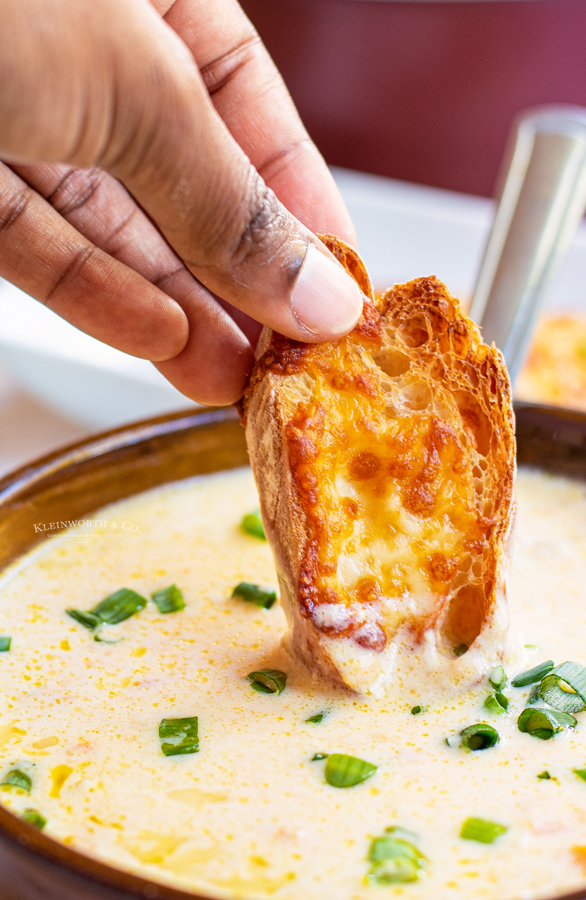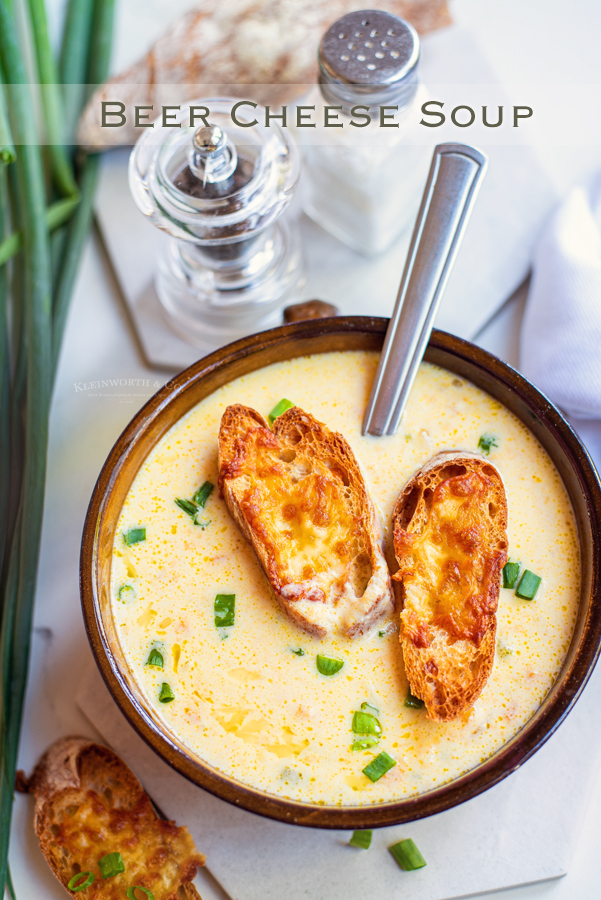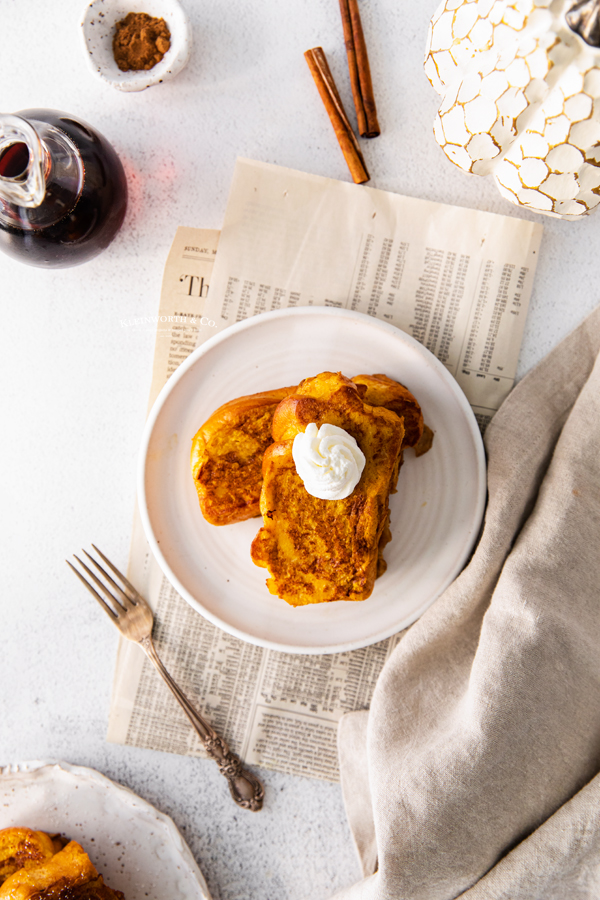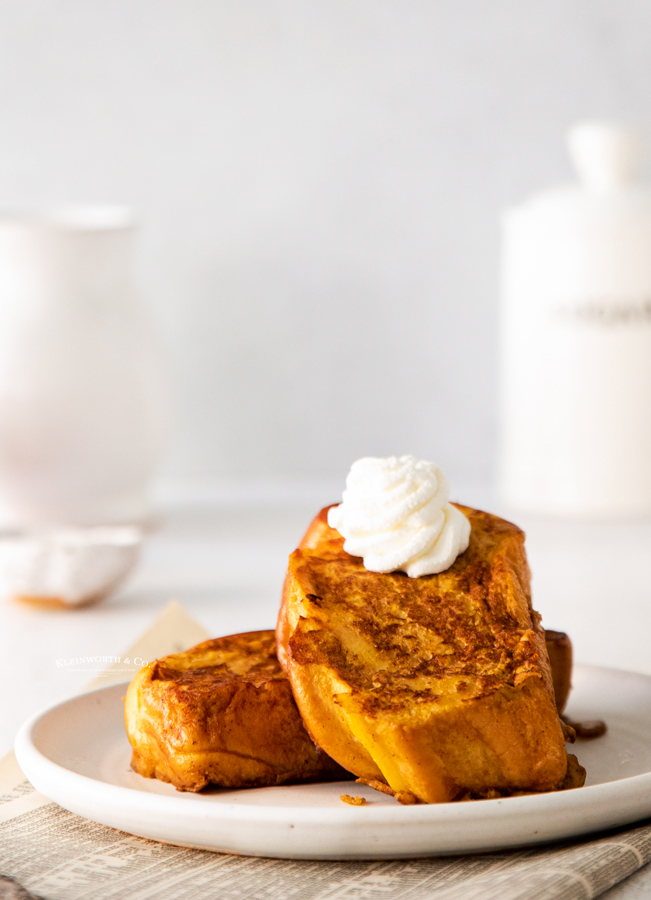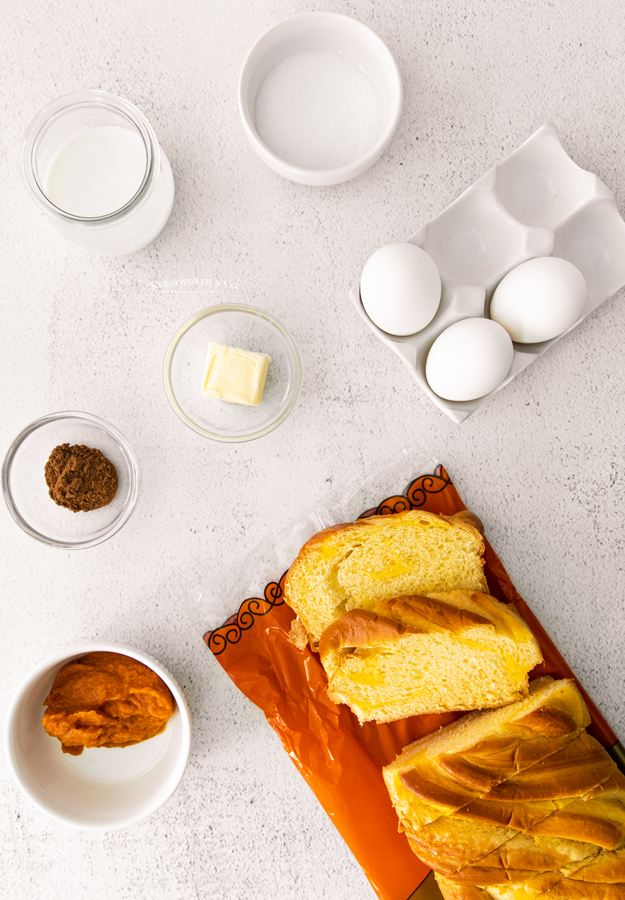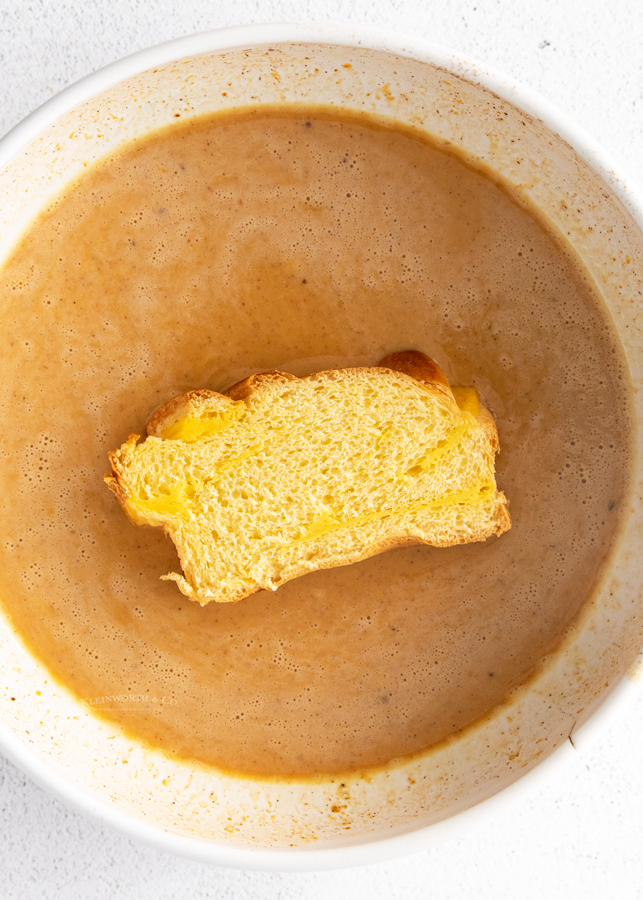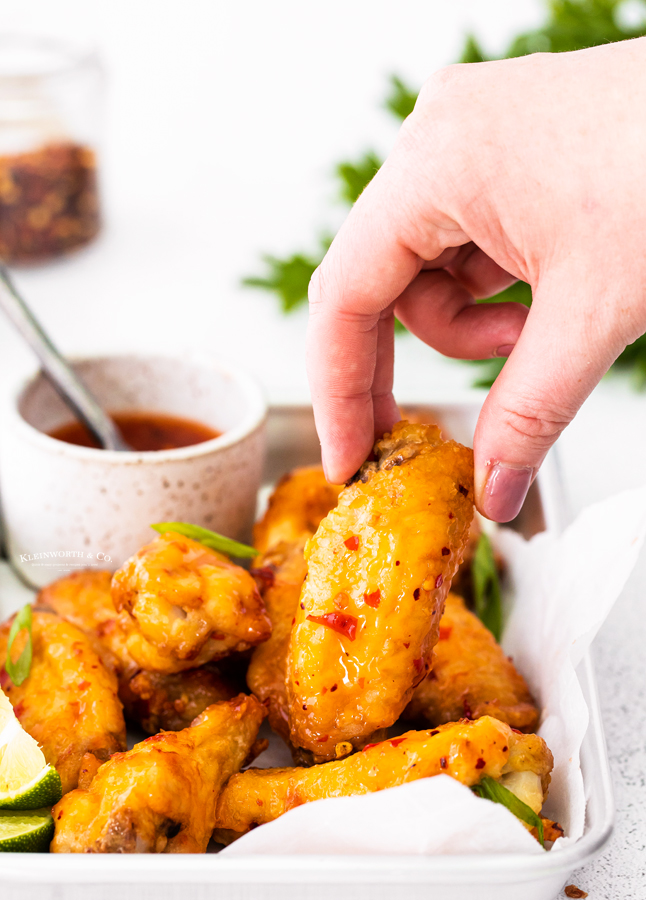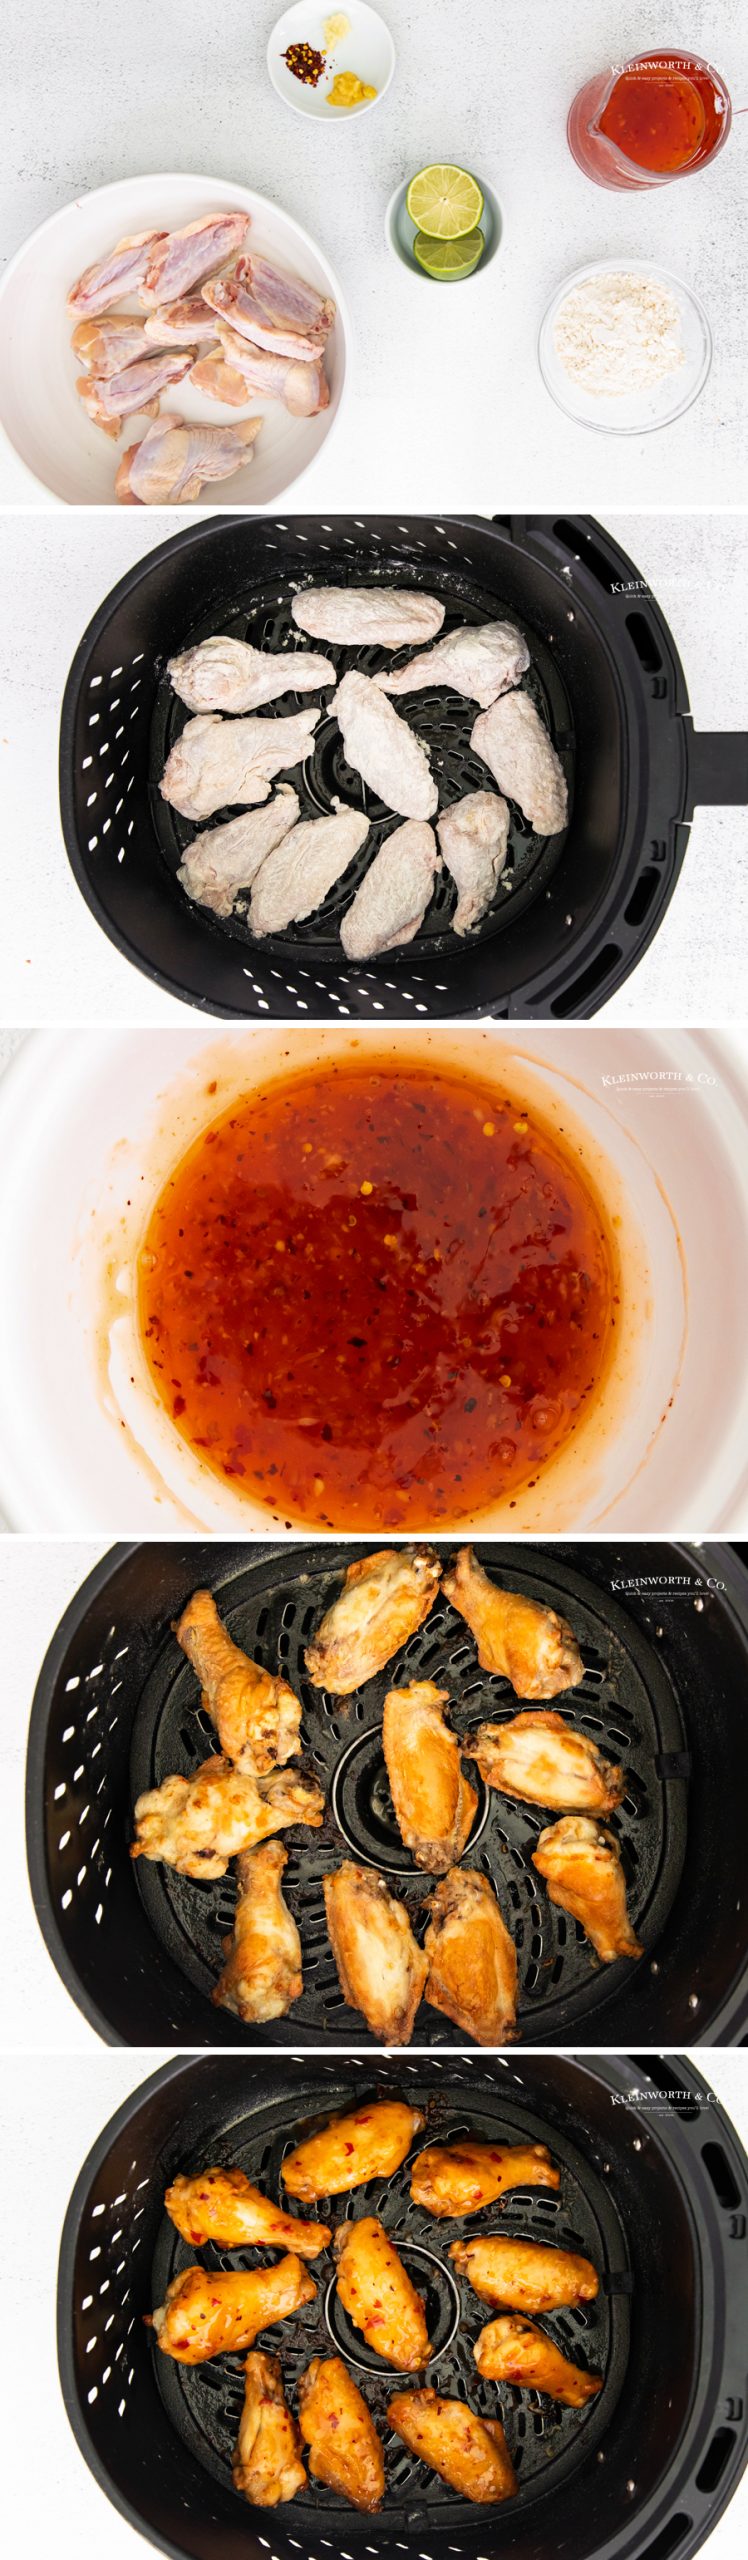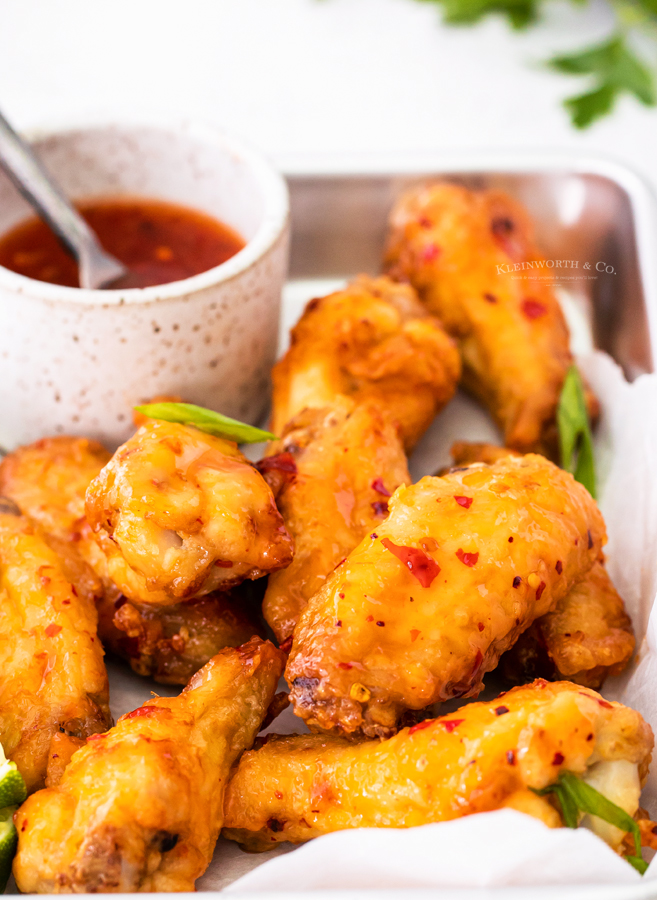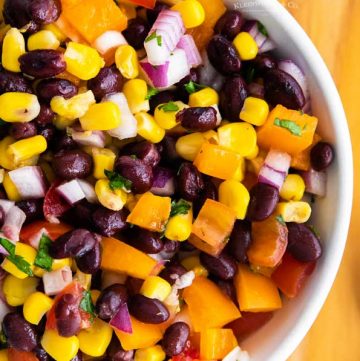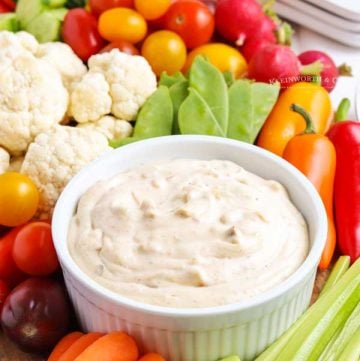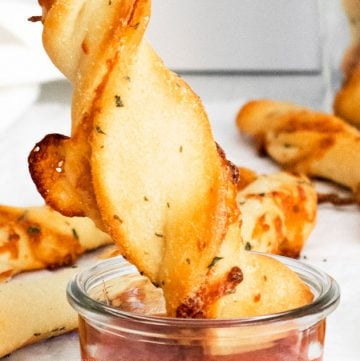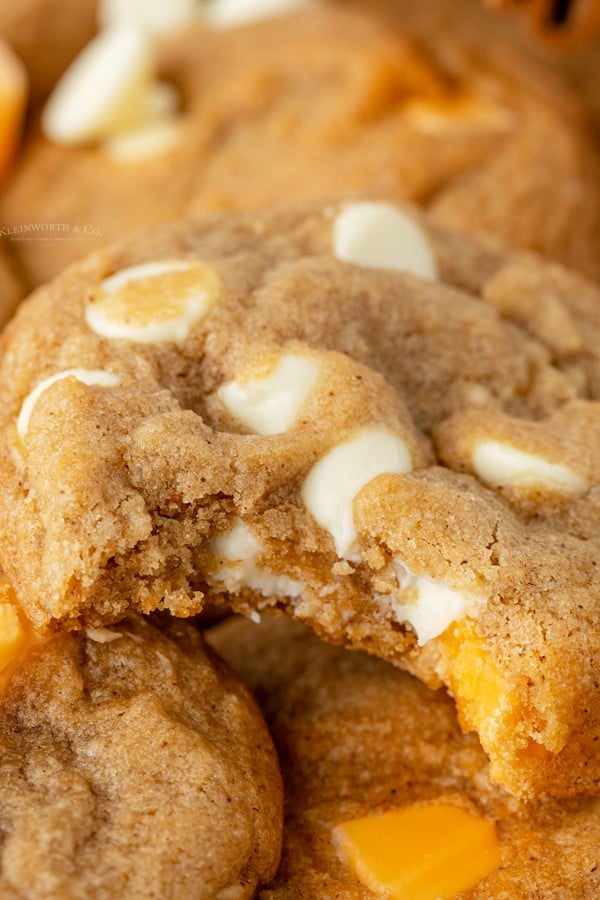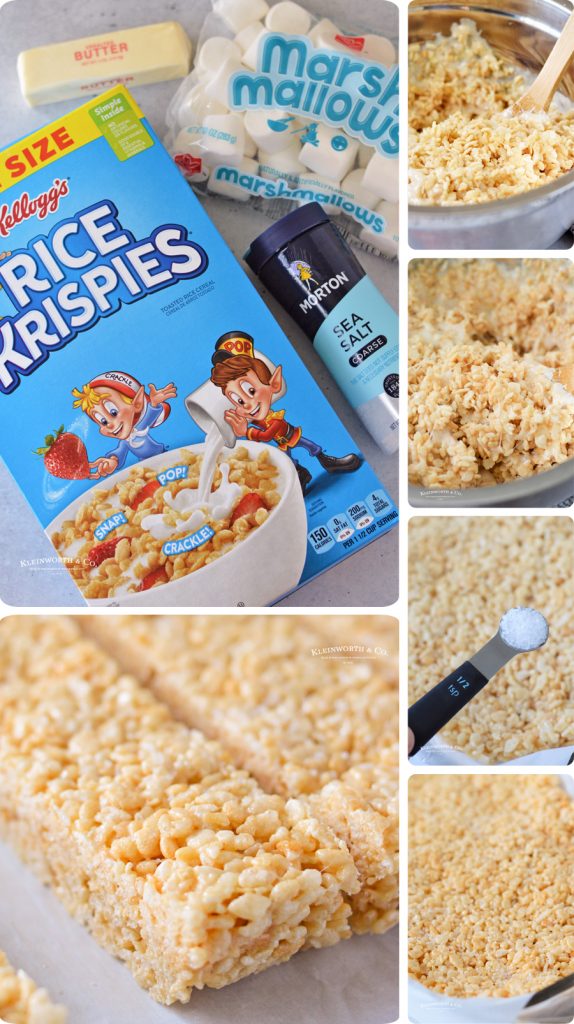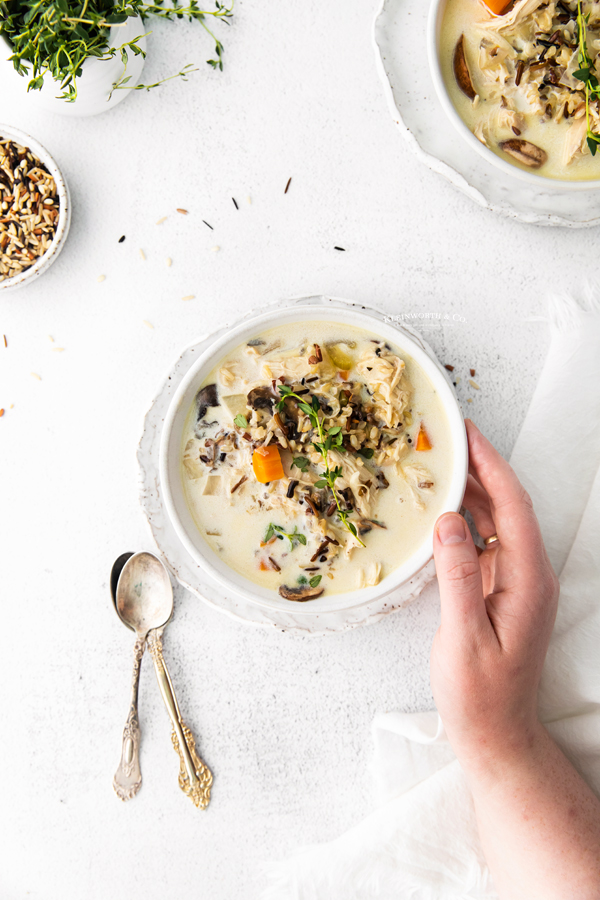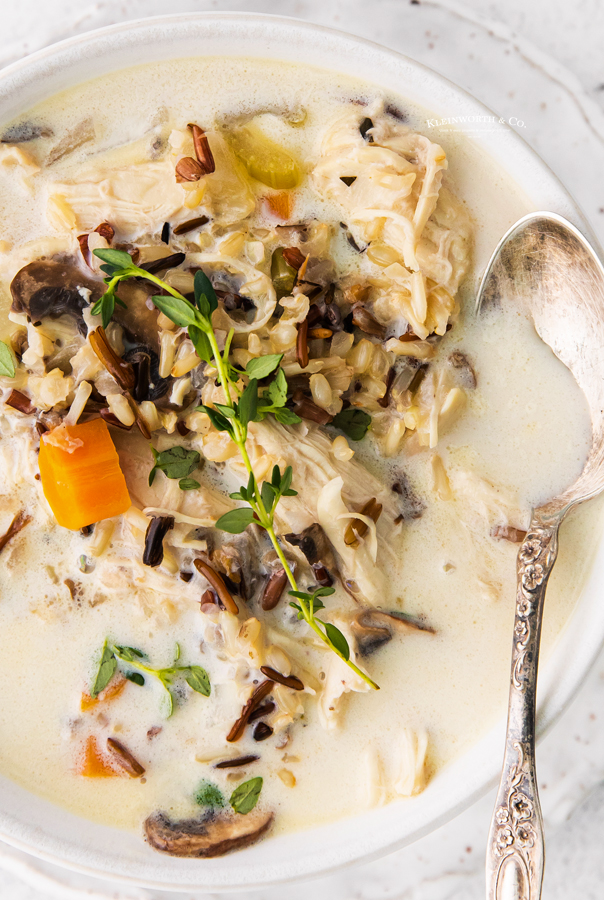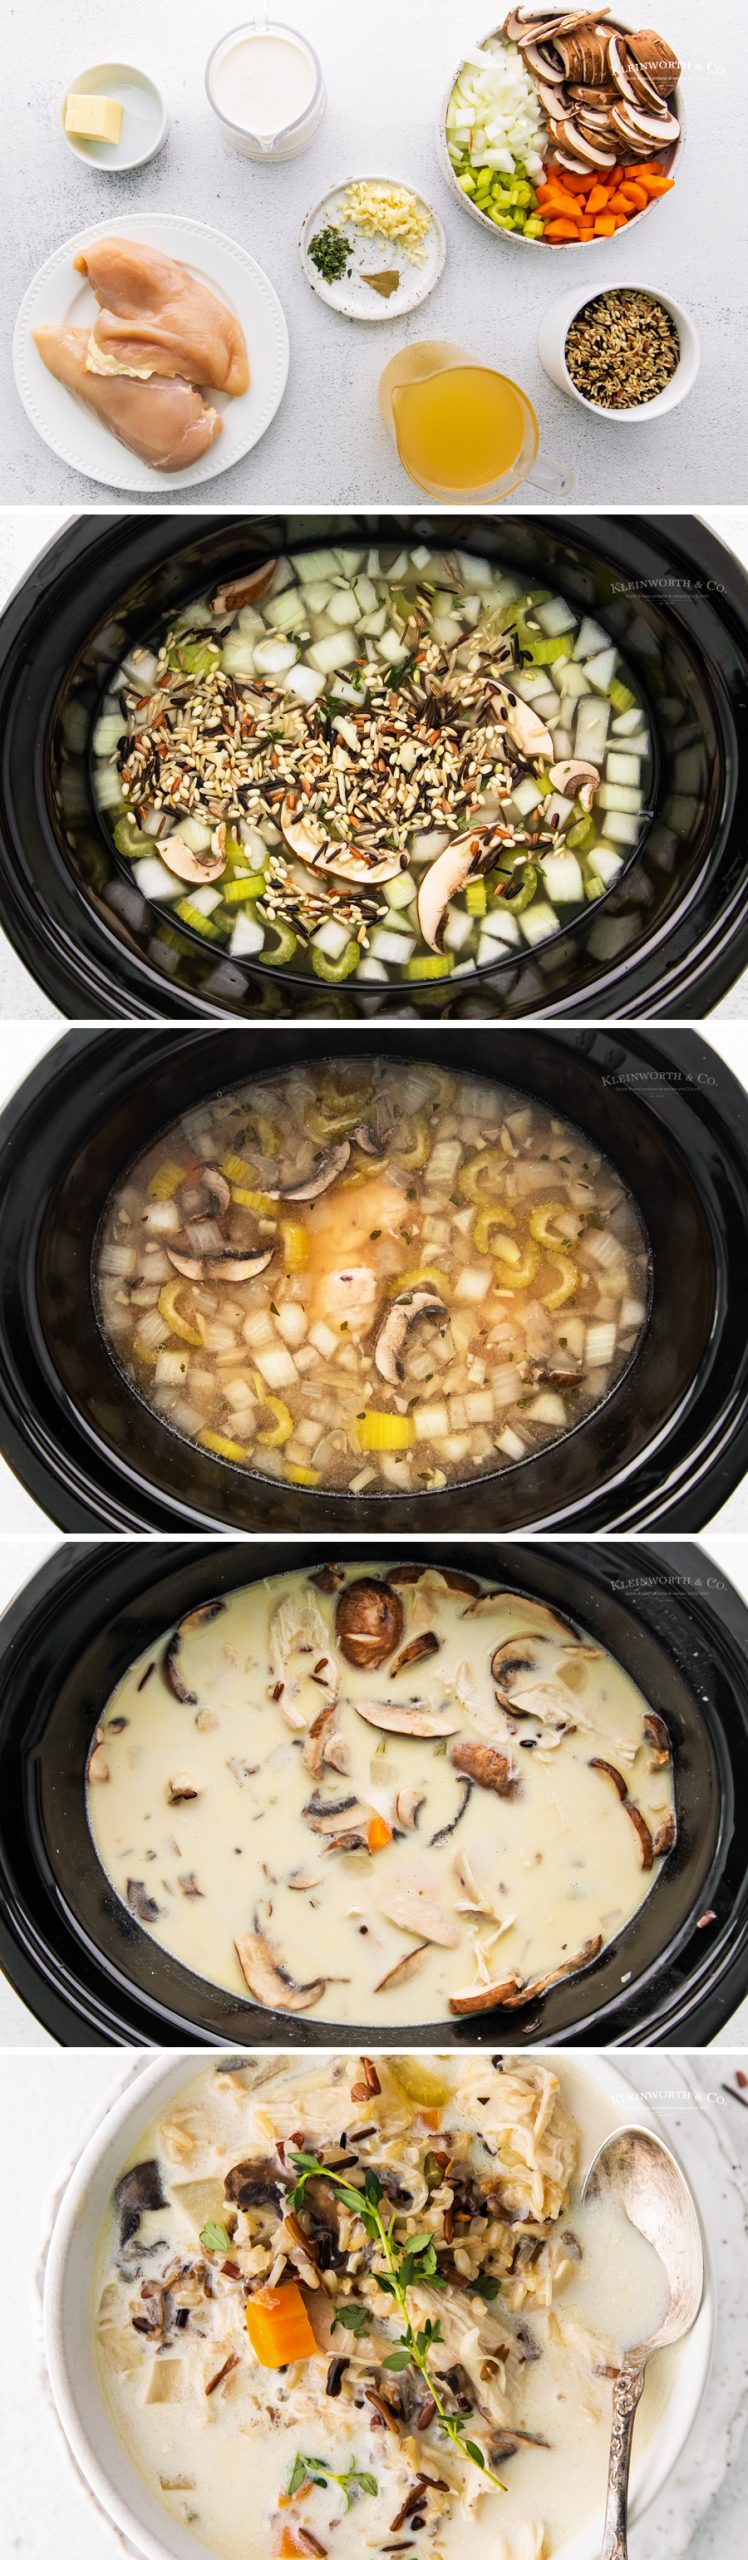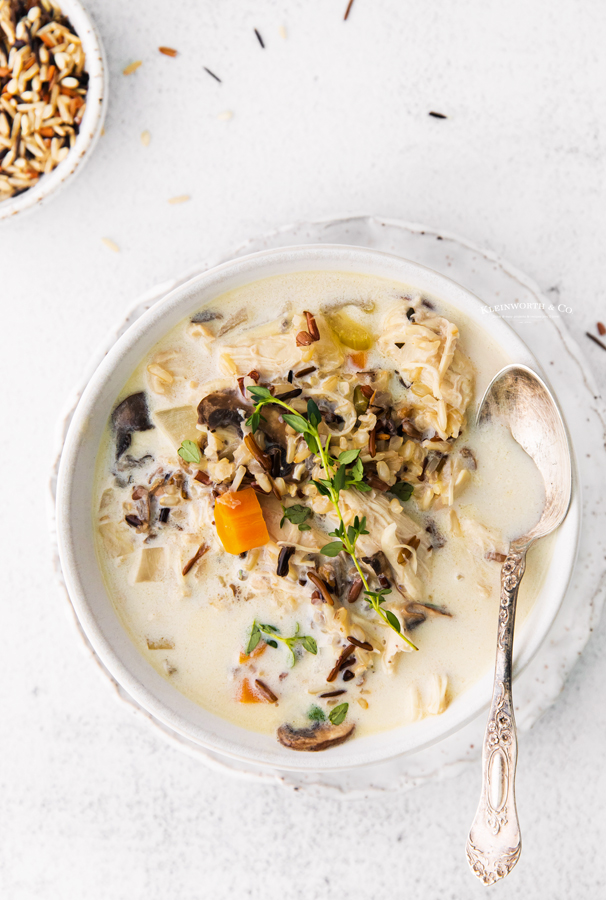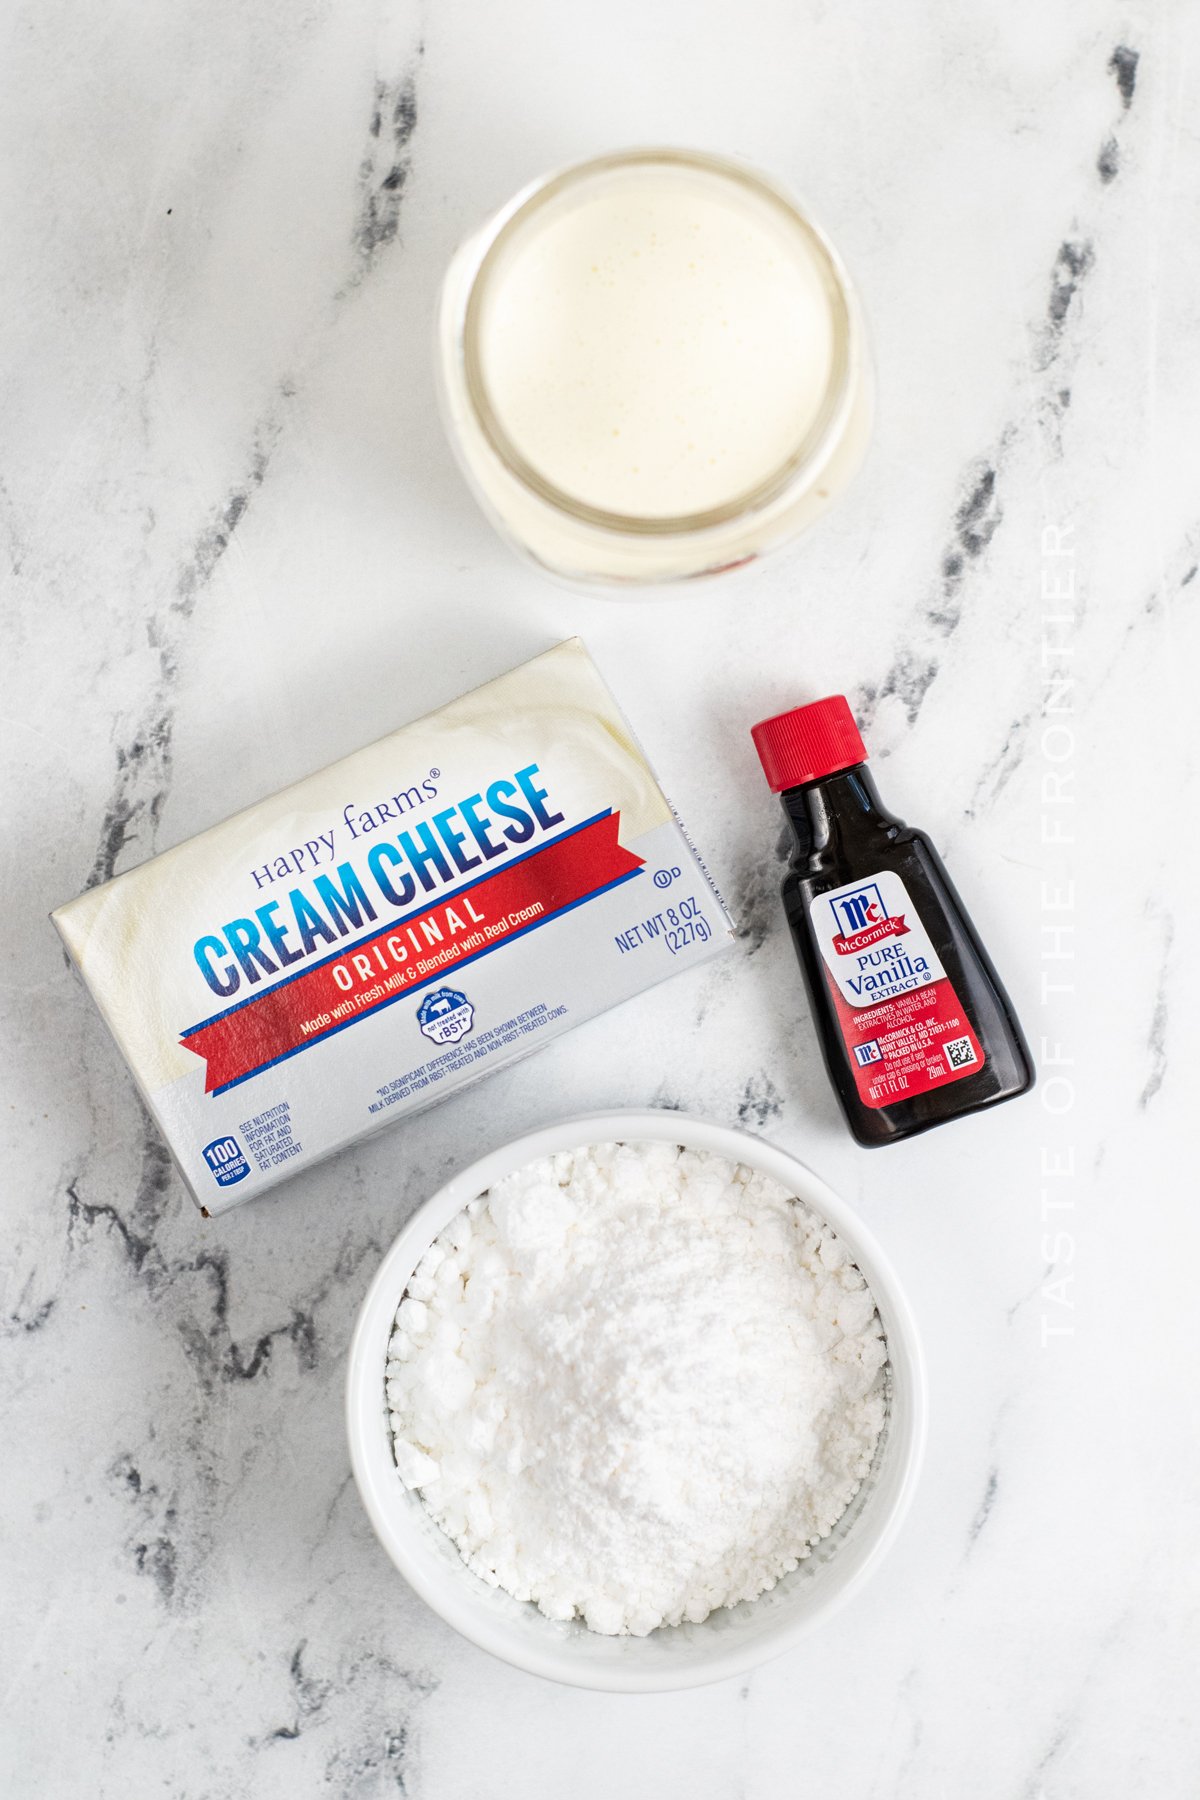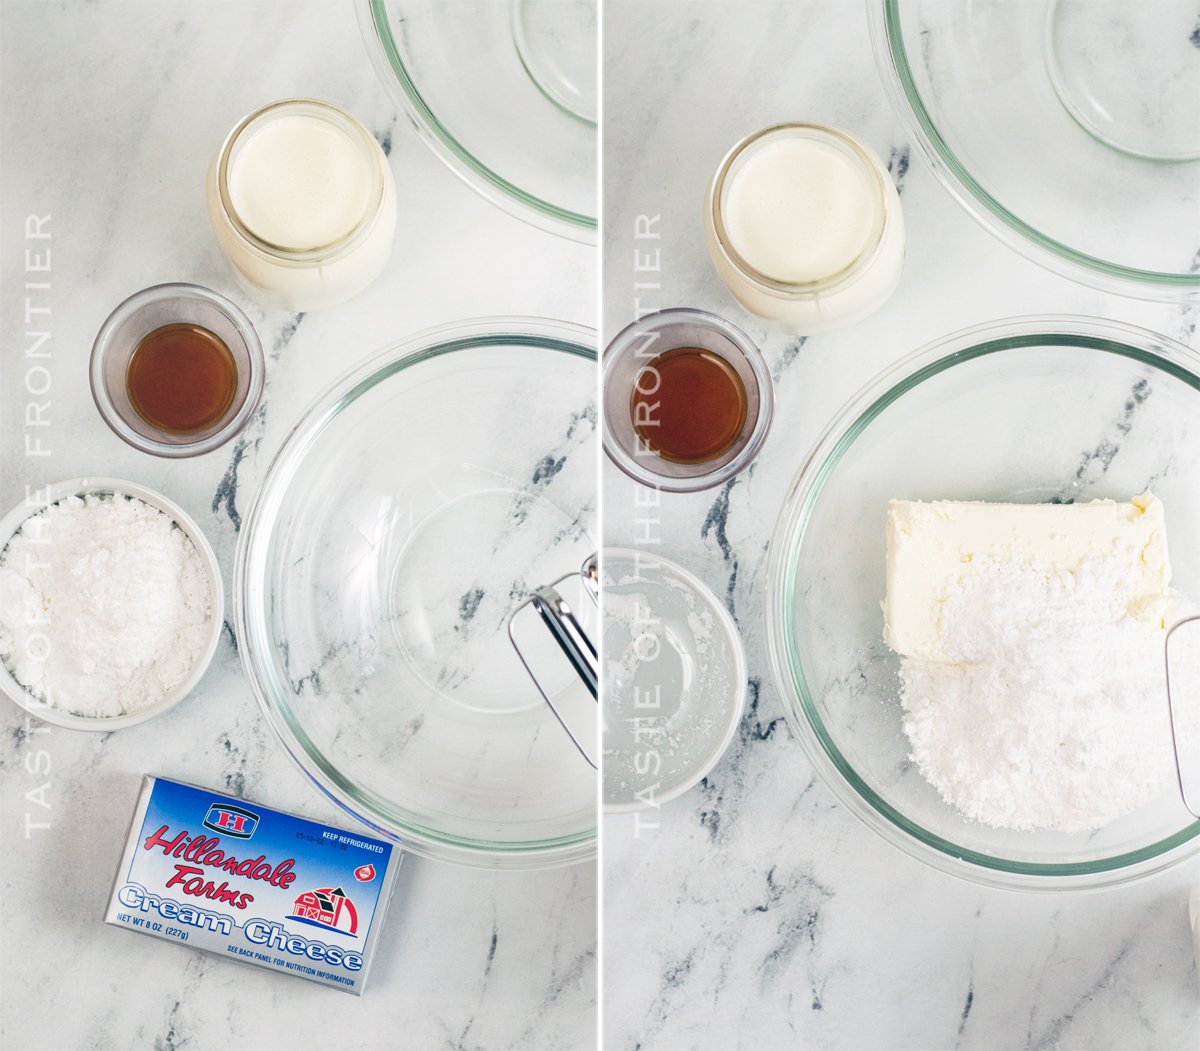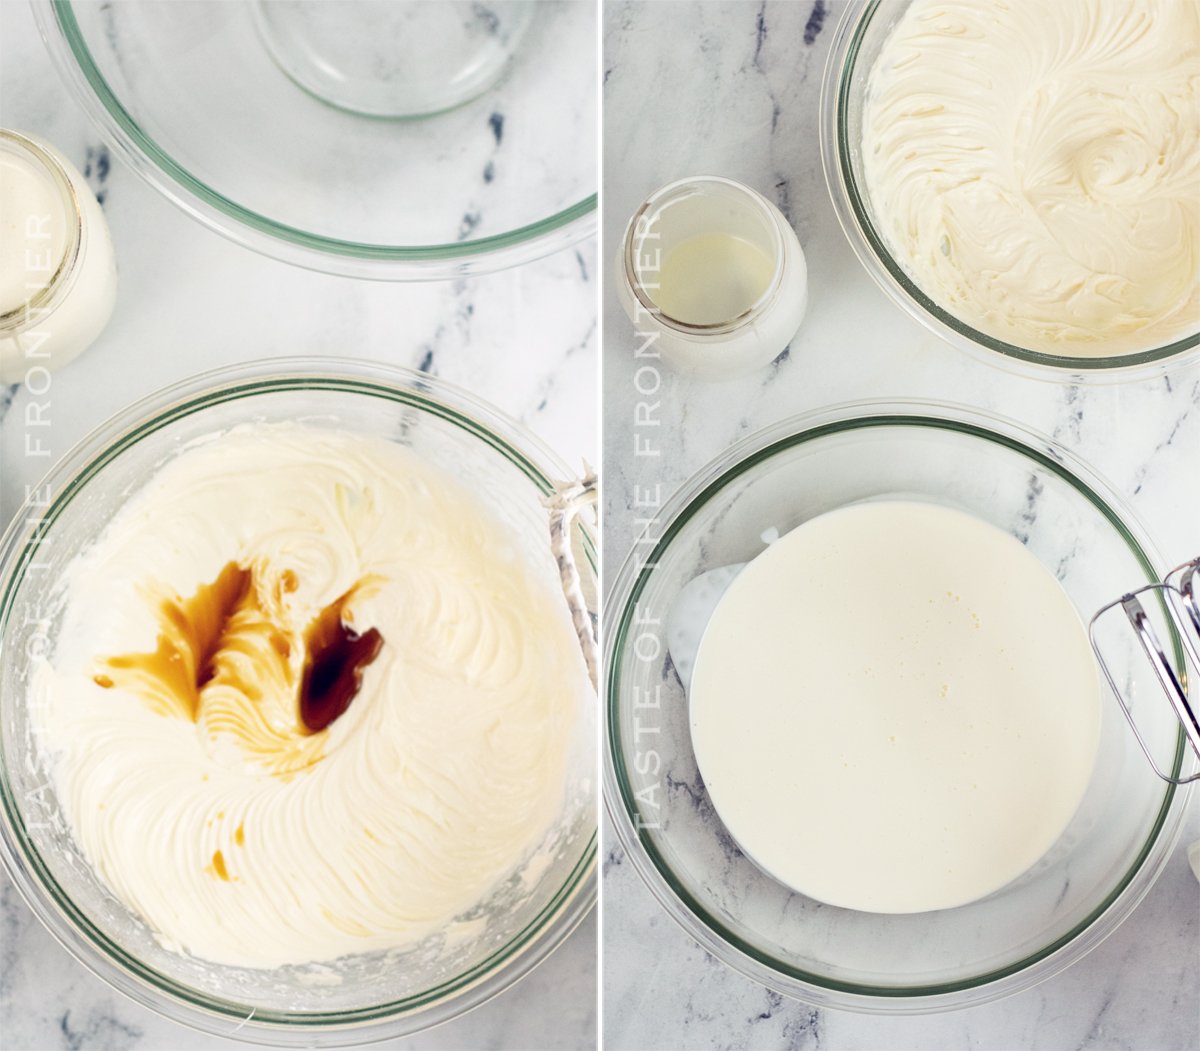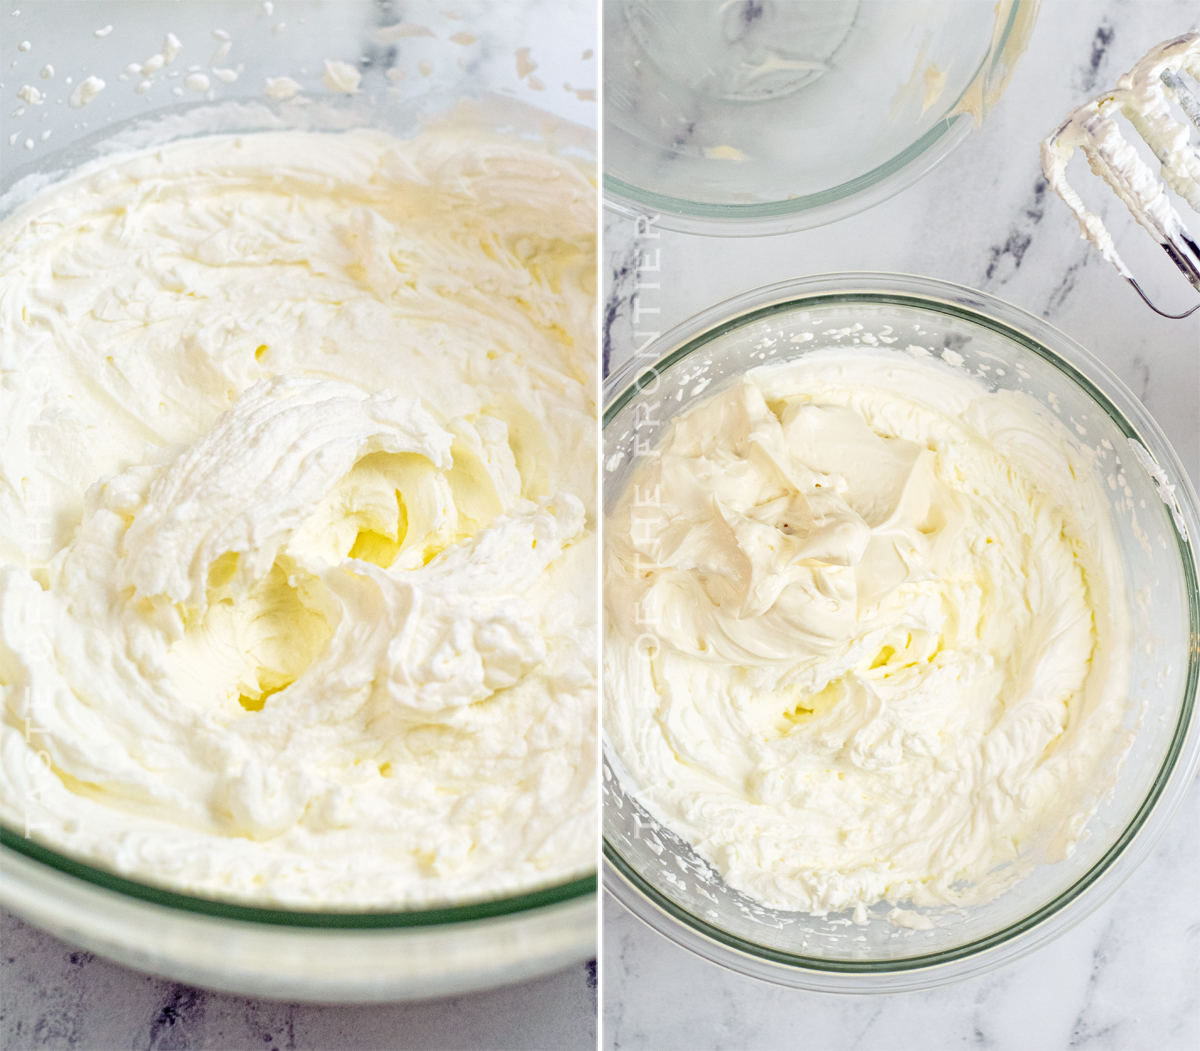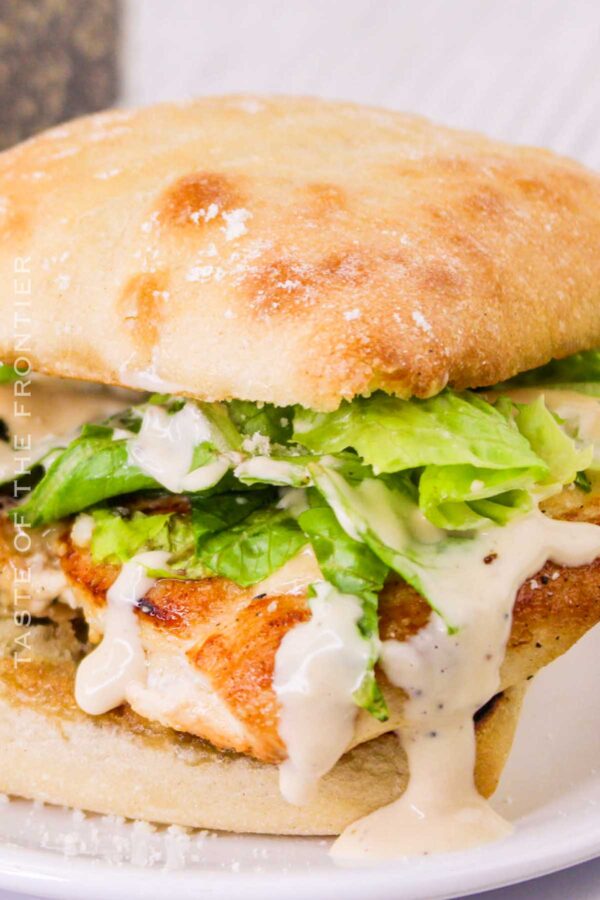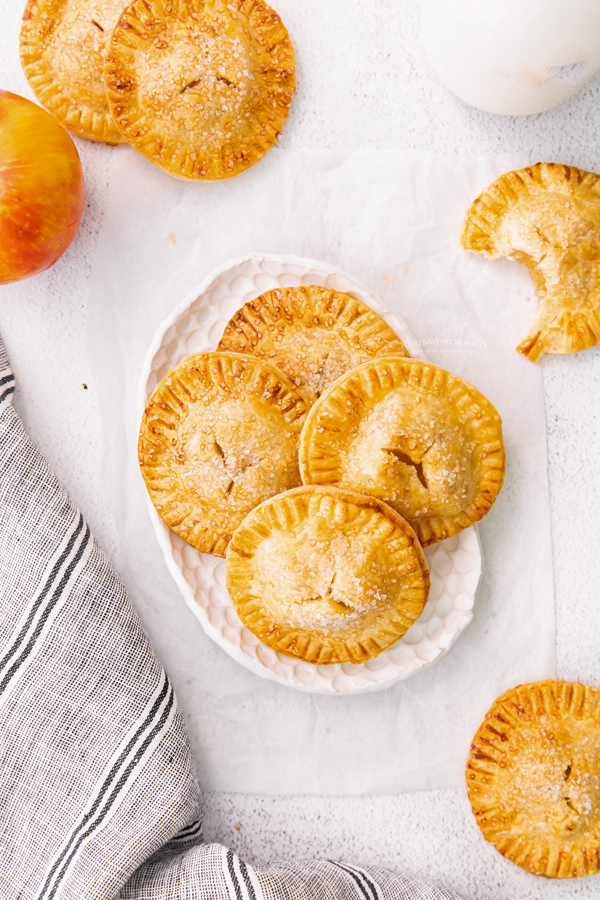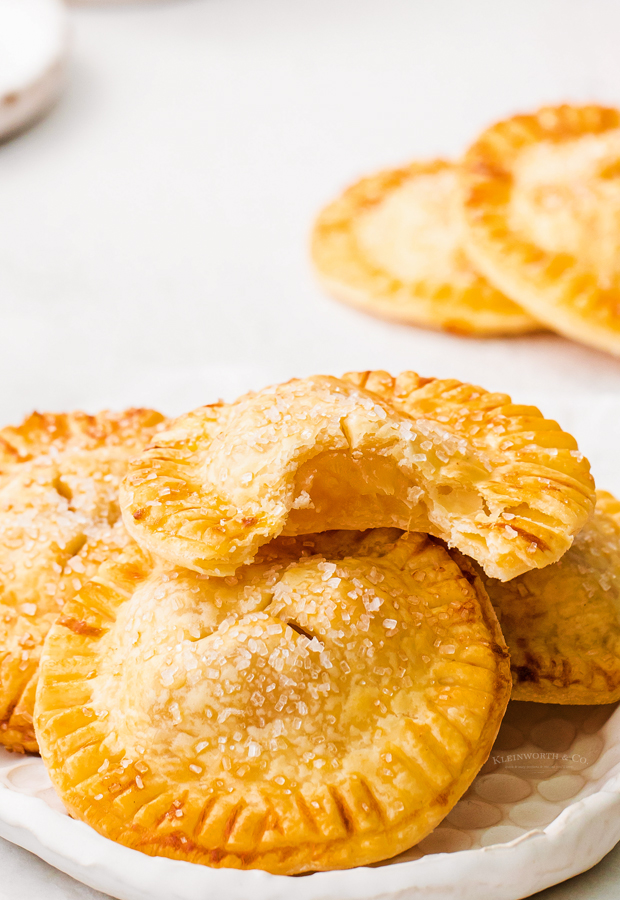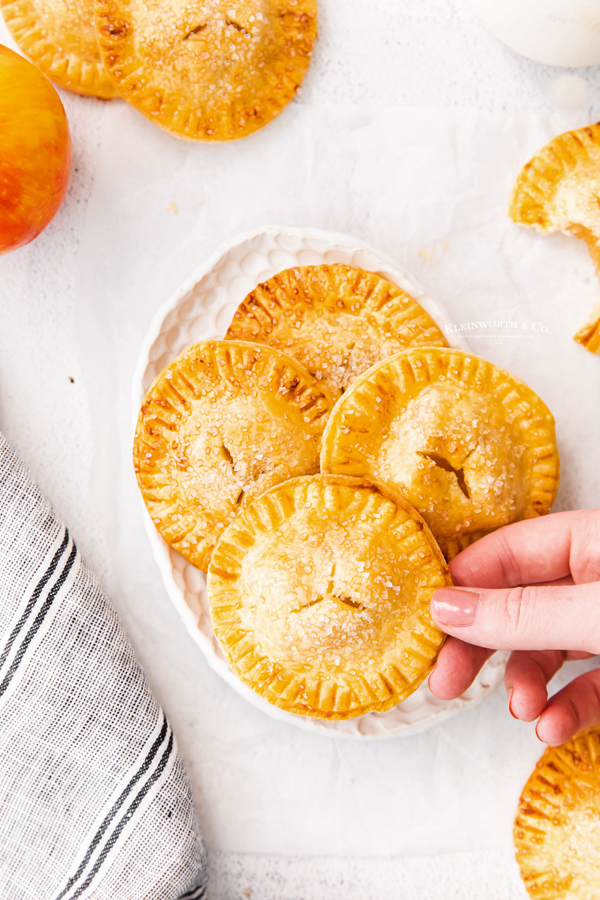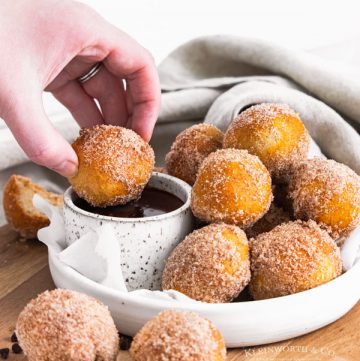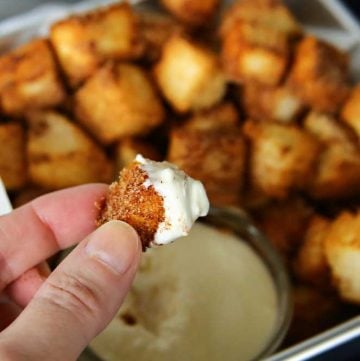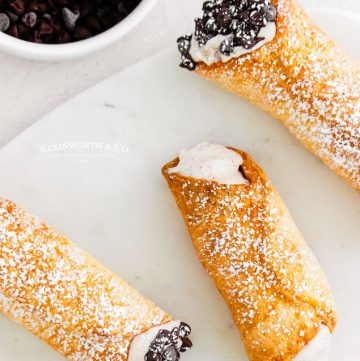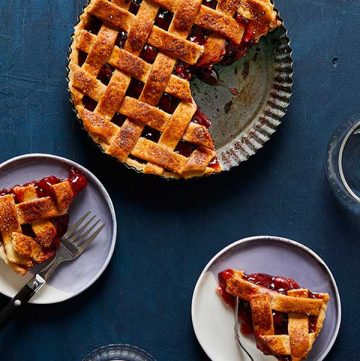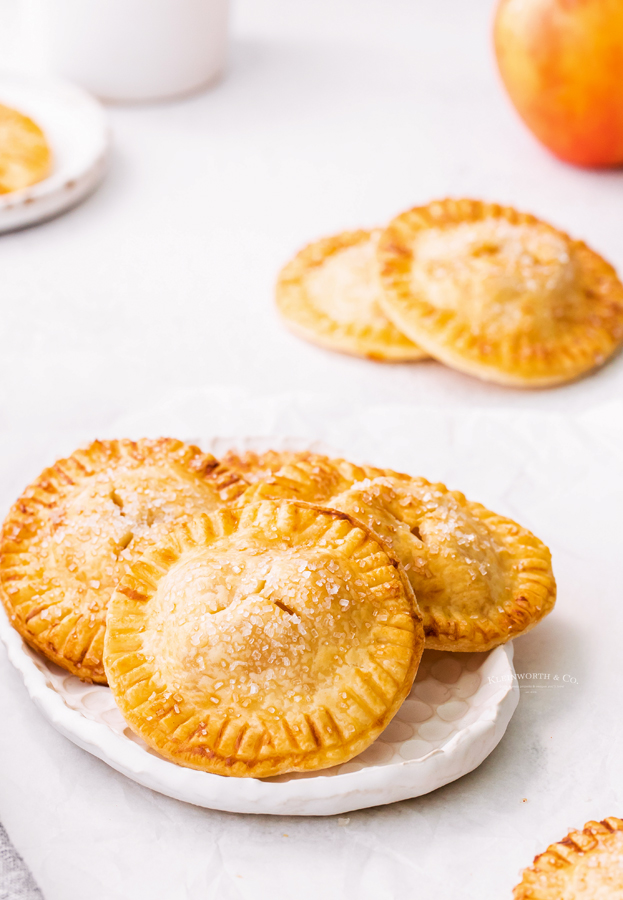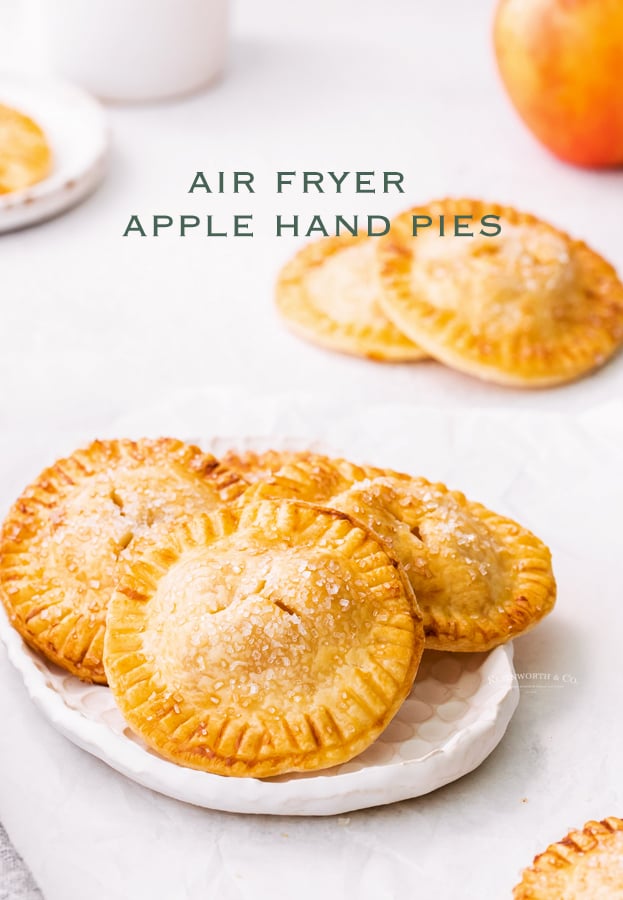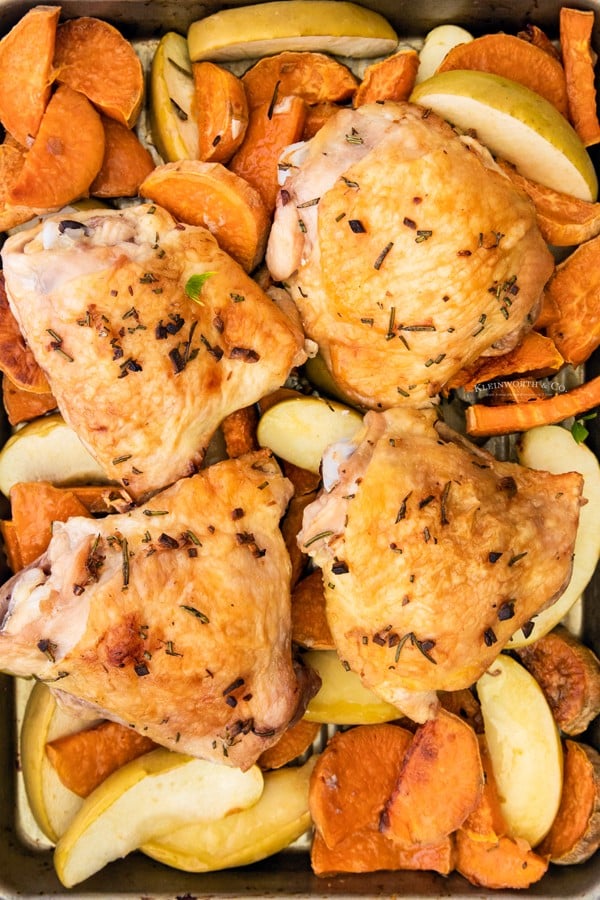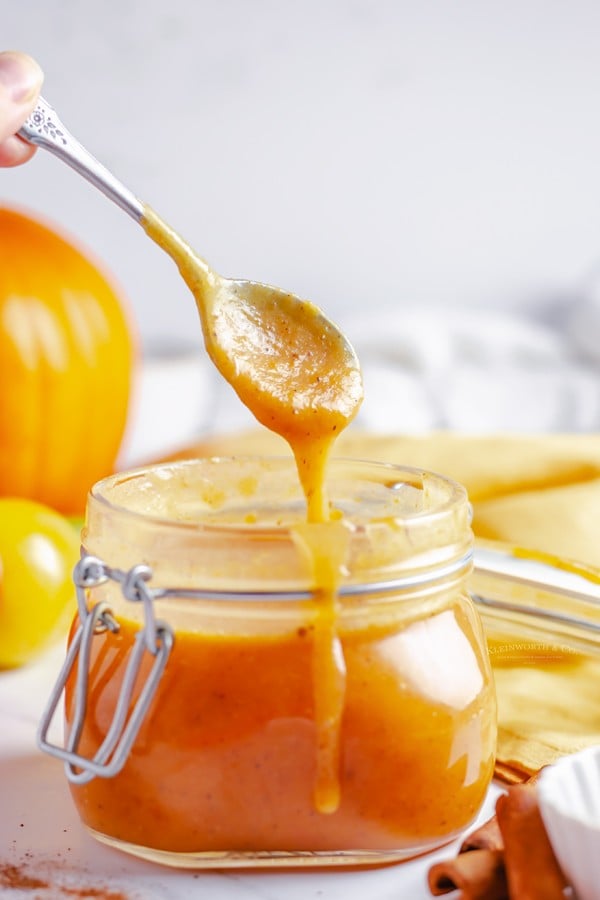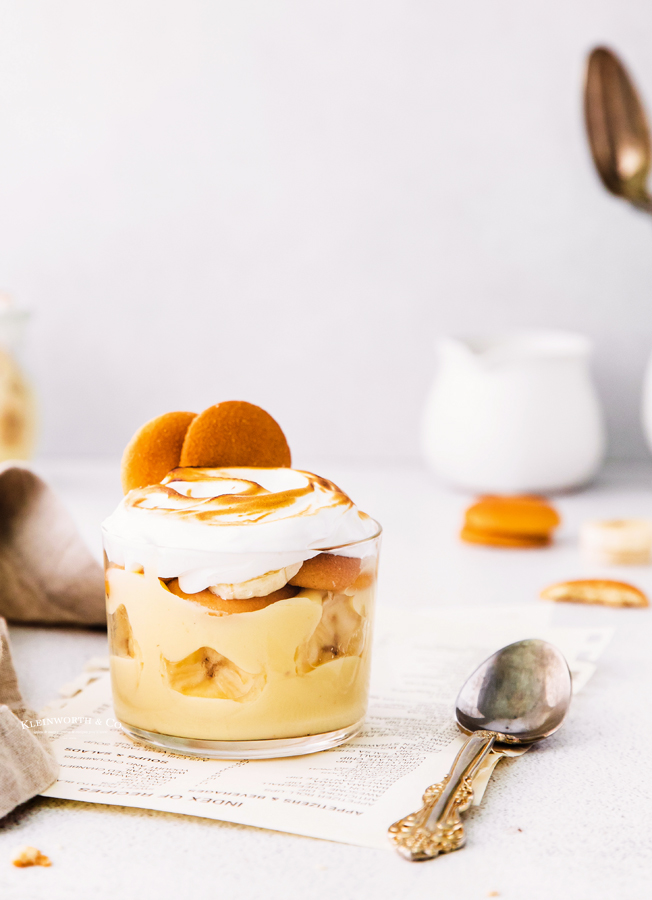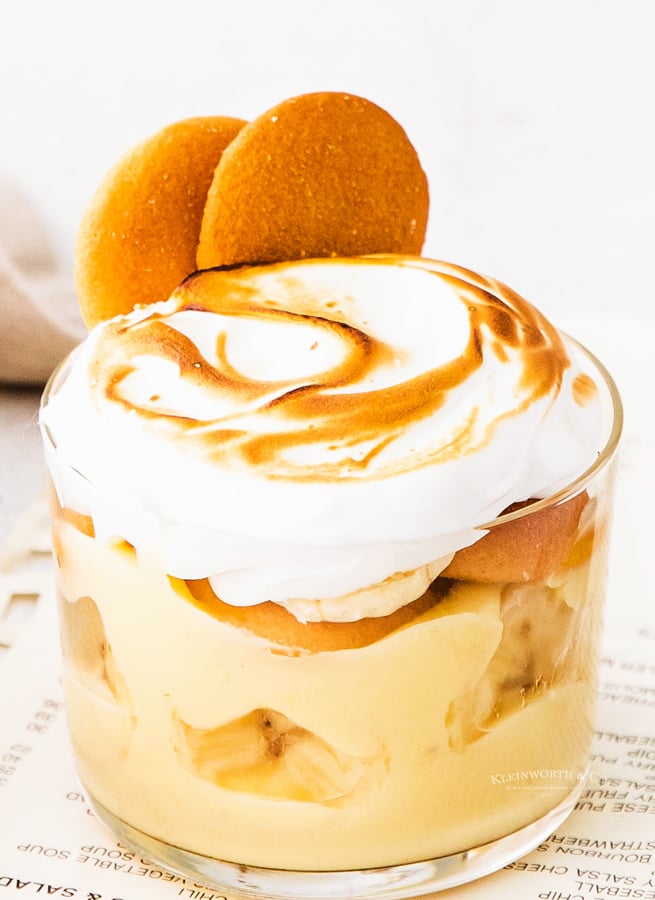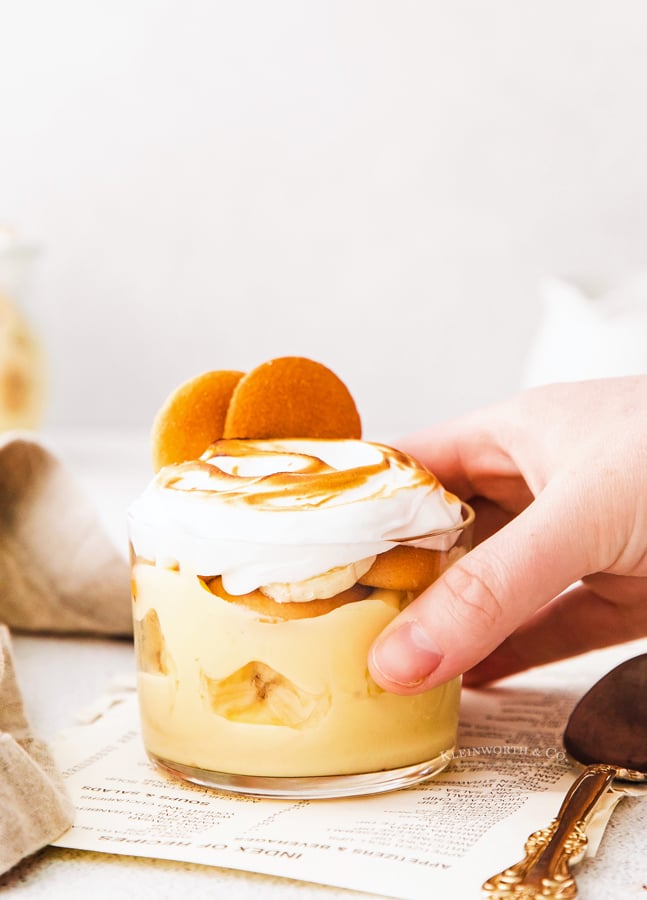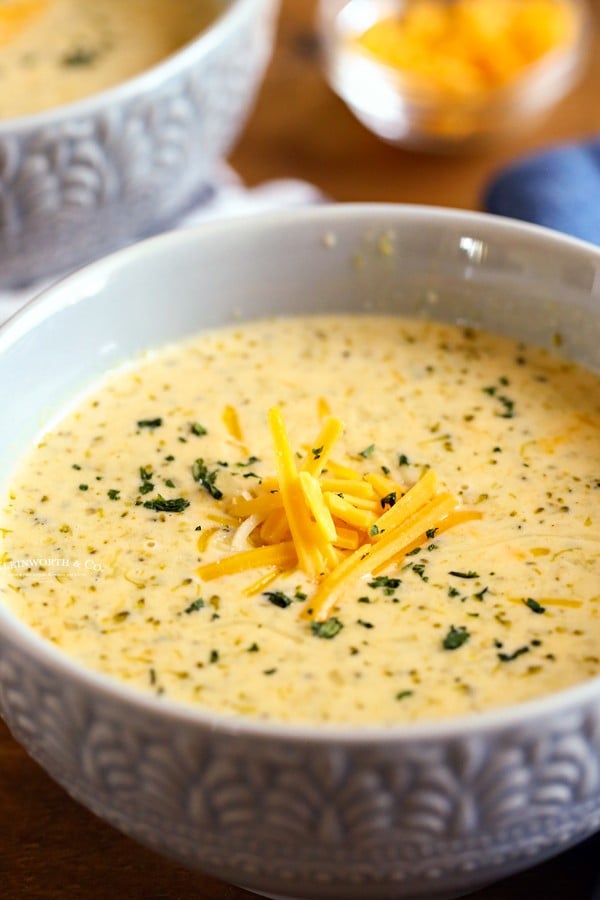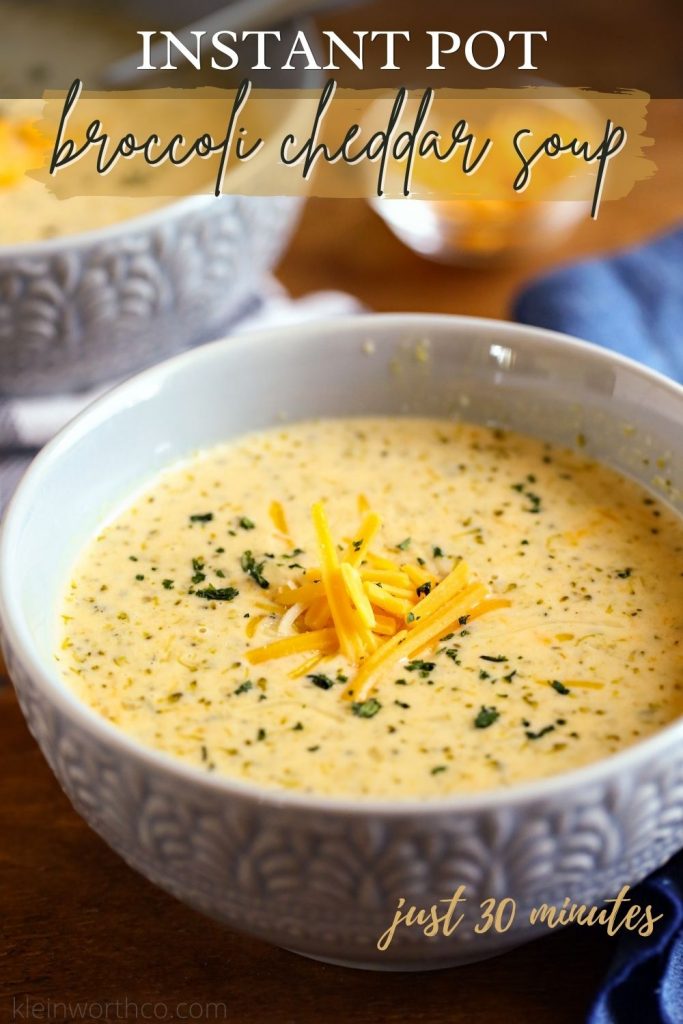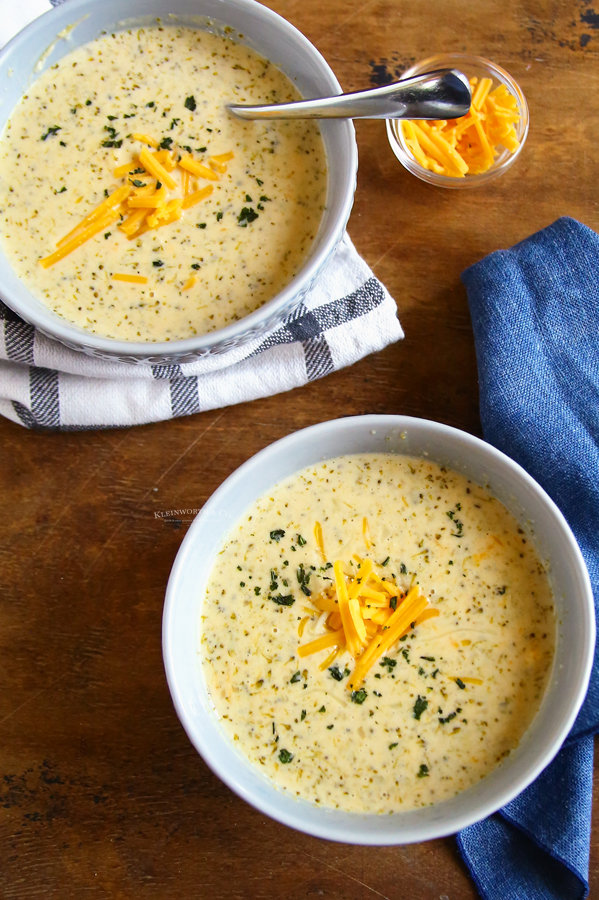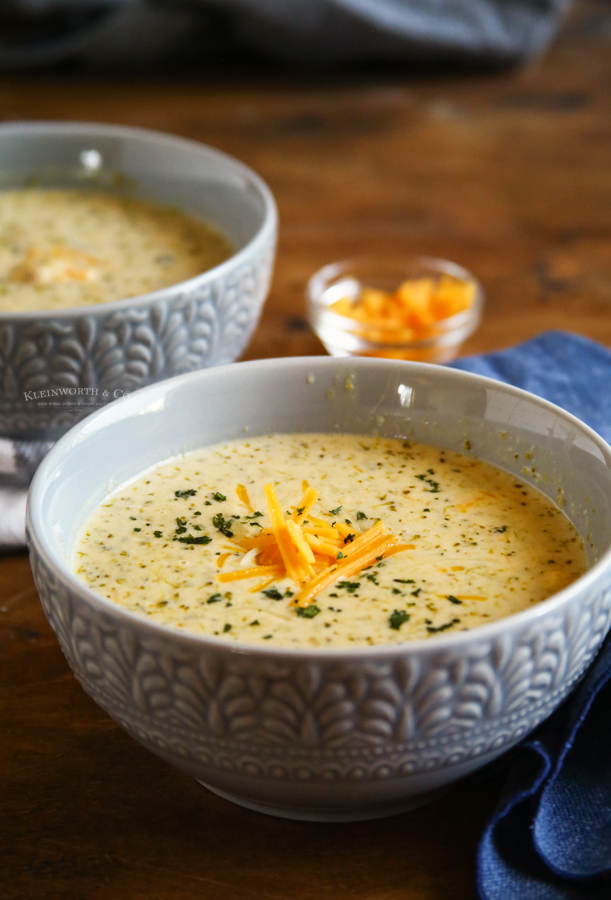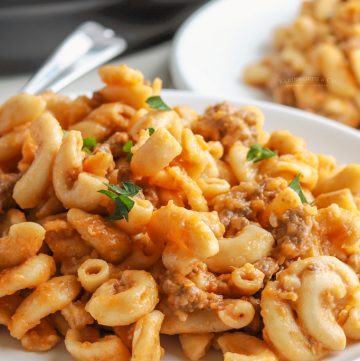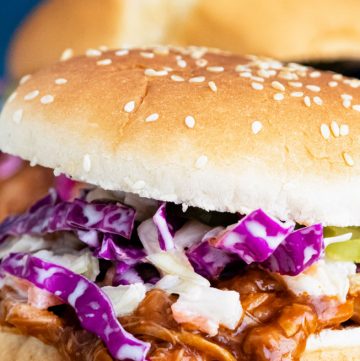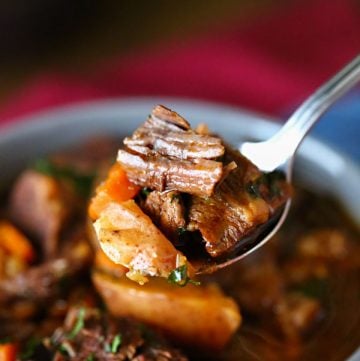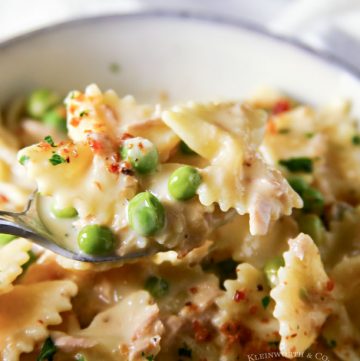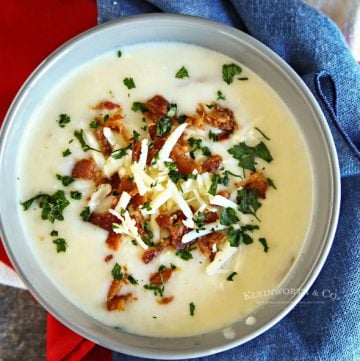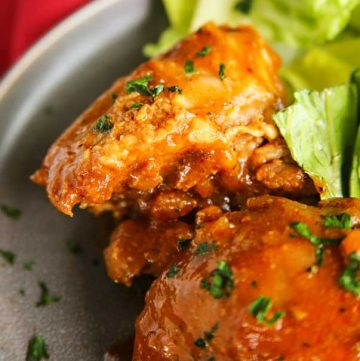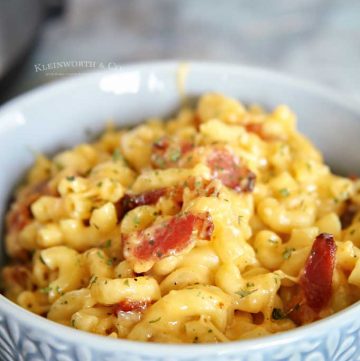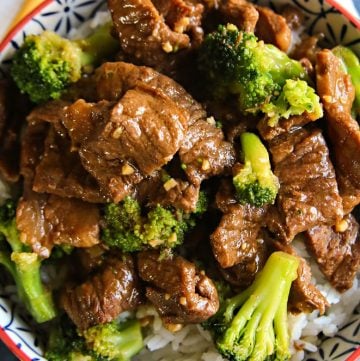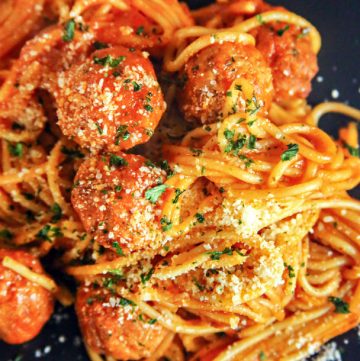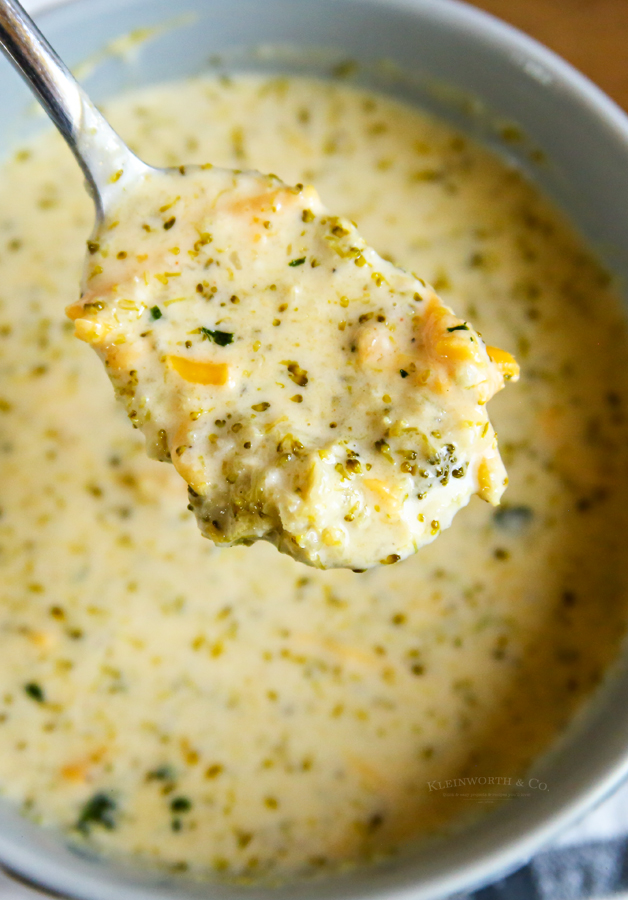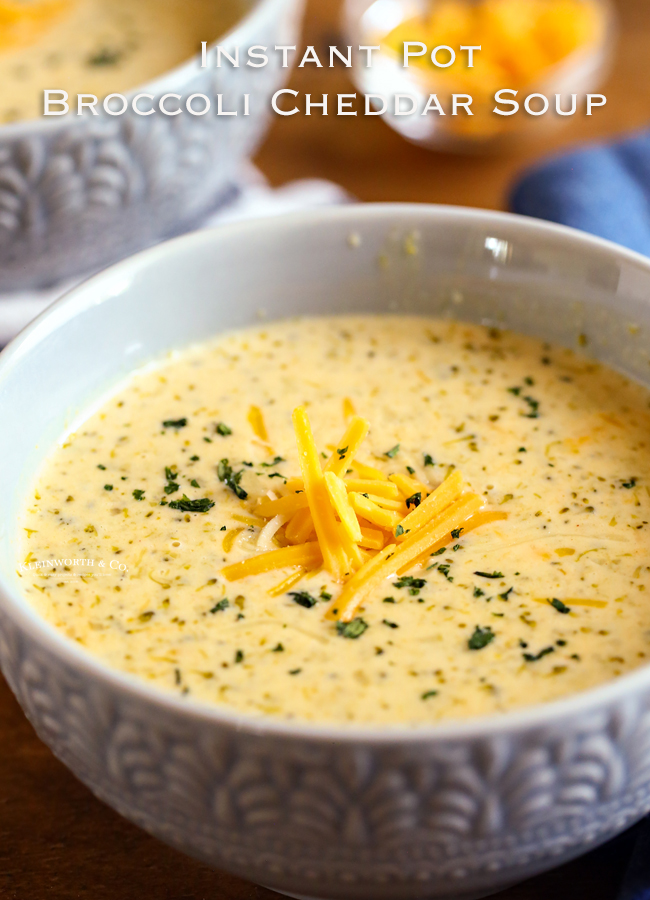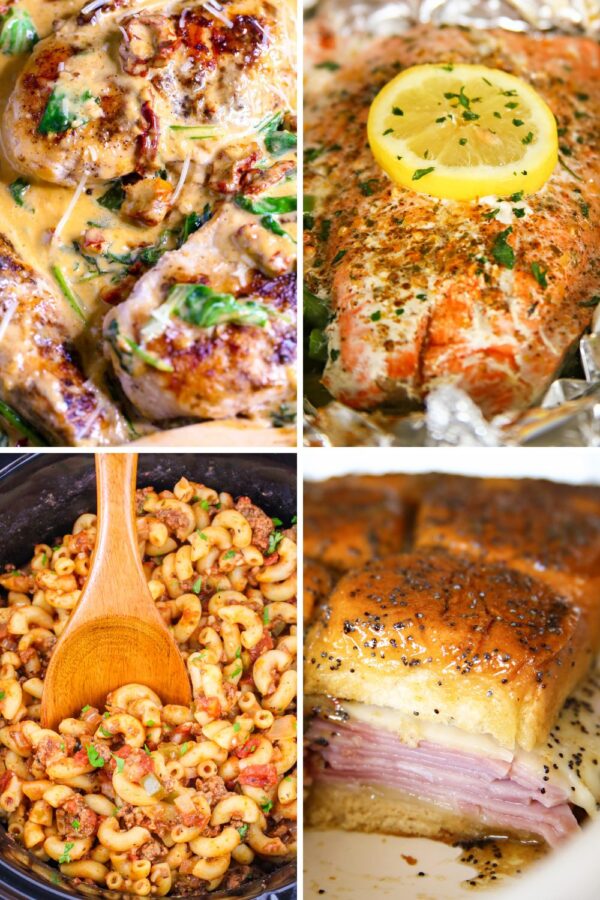
Fall dinners are all about comfort, flavor, and making life just a little easier when the evenings start to cool down.
This list of my favorite dinners brings together a mix of easy weeknight meals, cozy casseroles, lighter healthy picks, and a few show-stoppers that work great for a Sunday dinner or casual dinner party.
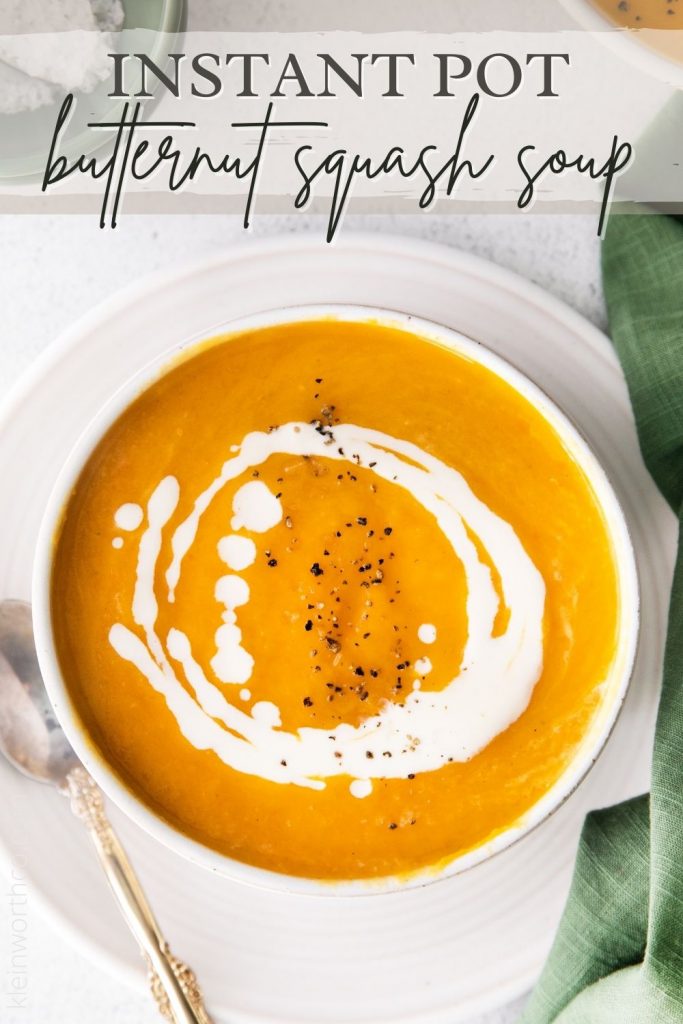
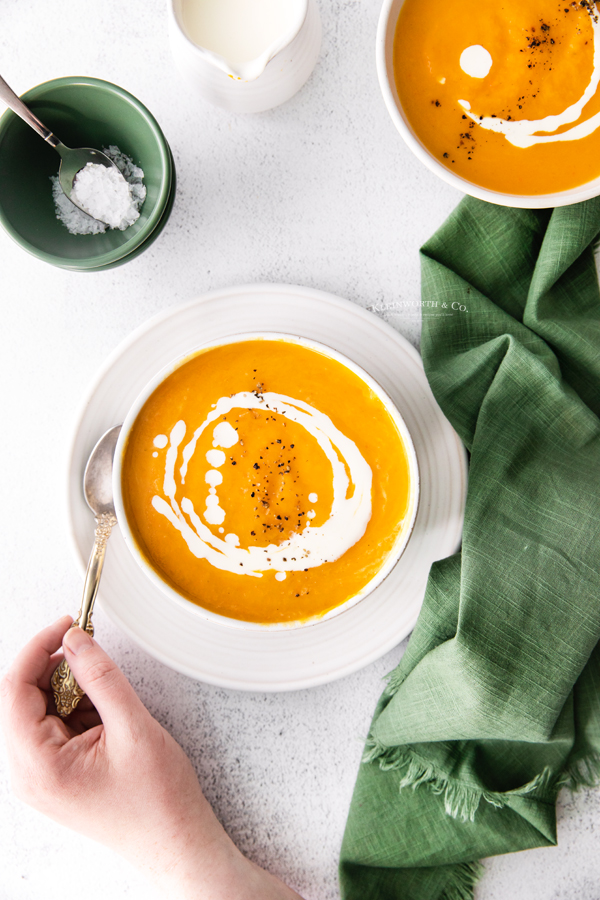
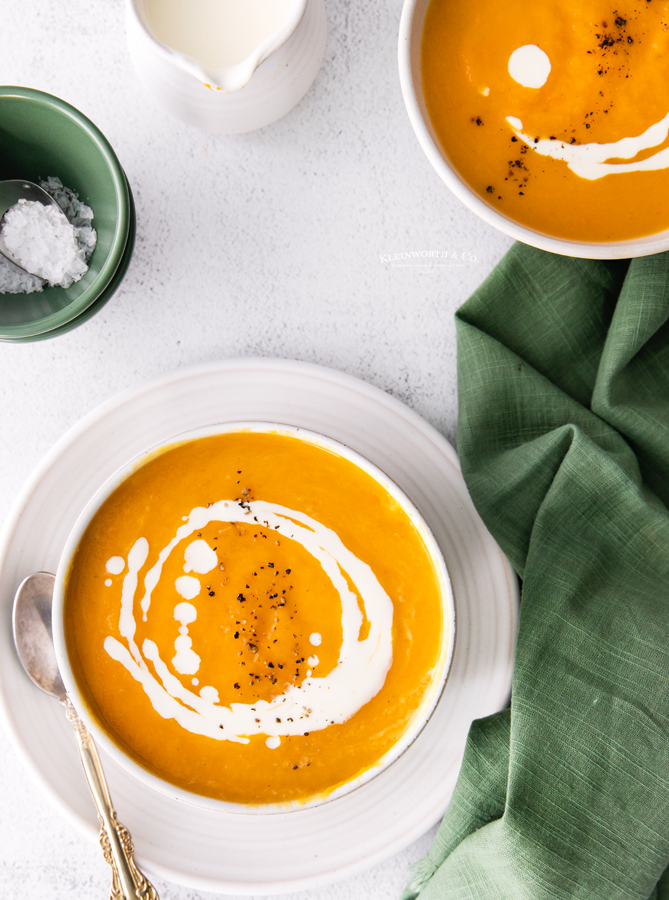
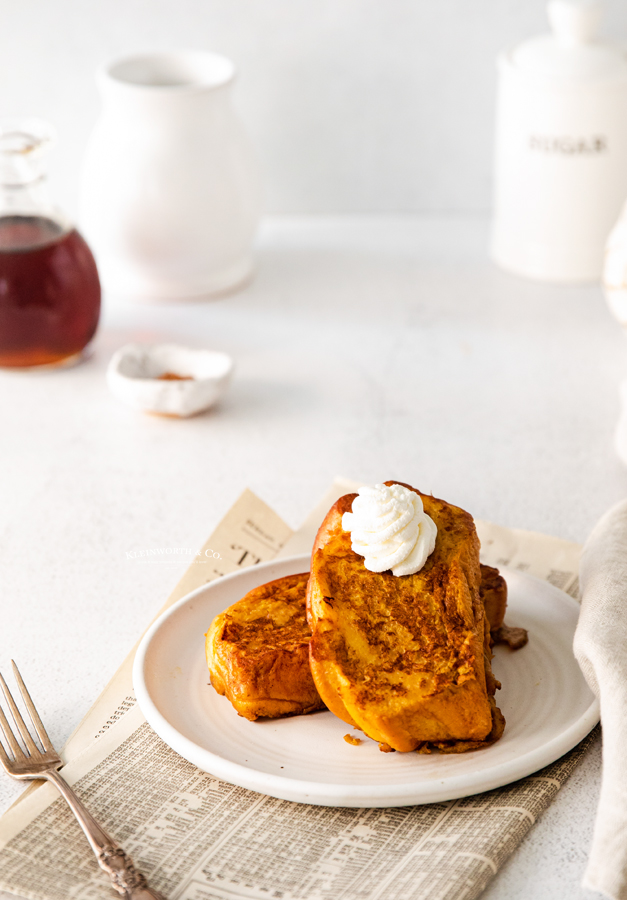
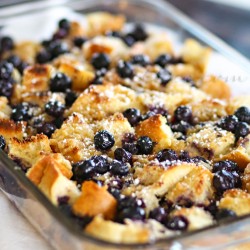
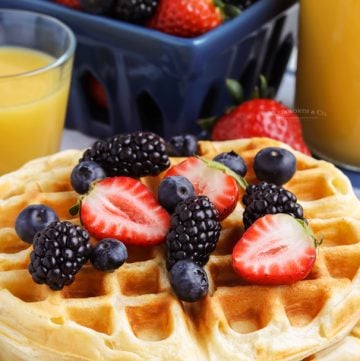
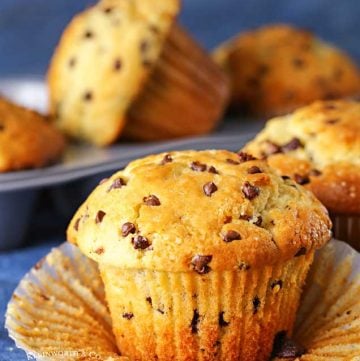
View post