

There’s something magical about cracking open a whole coconut and enjoying that incredibly fresh coconut water and sweet white flesh inside. When we lived on Big Island full-time, coconuts were everywhere; our neighbors were giving them to us by the wagon-full, and I quickly learned that knowing the right technique makes all the difference between a frustrating experience and enjoying one of nature’s most delicious fruits. Whether you’re working with young coconuts from the store or fresh mature coconuts straight from the tree, I’m here to share the best way to crack these tropical fruits open without losing your mind (or your fingers!).
The hard shell might look intimidating, but once you know a few simple methods, you’ll be opening coconuts like a pro. Trust me, fresh coconut tastes nothing like the dried stuff from the baking aisle, and the numerous health benefits make it worth the effort. Plus, there’s something deeply satisfying about using your own two hands to access such a naturally packaged snack!
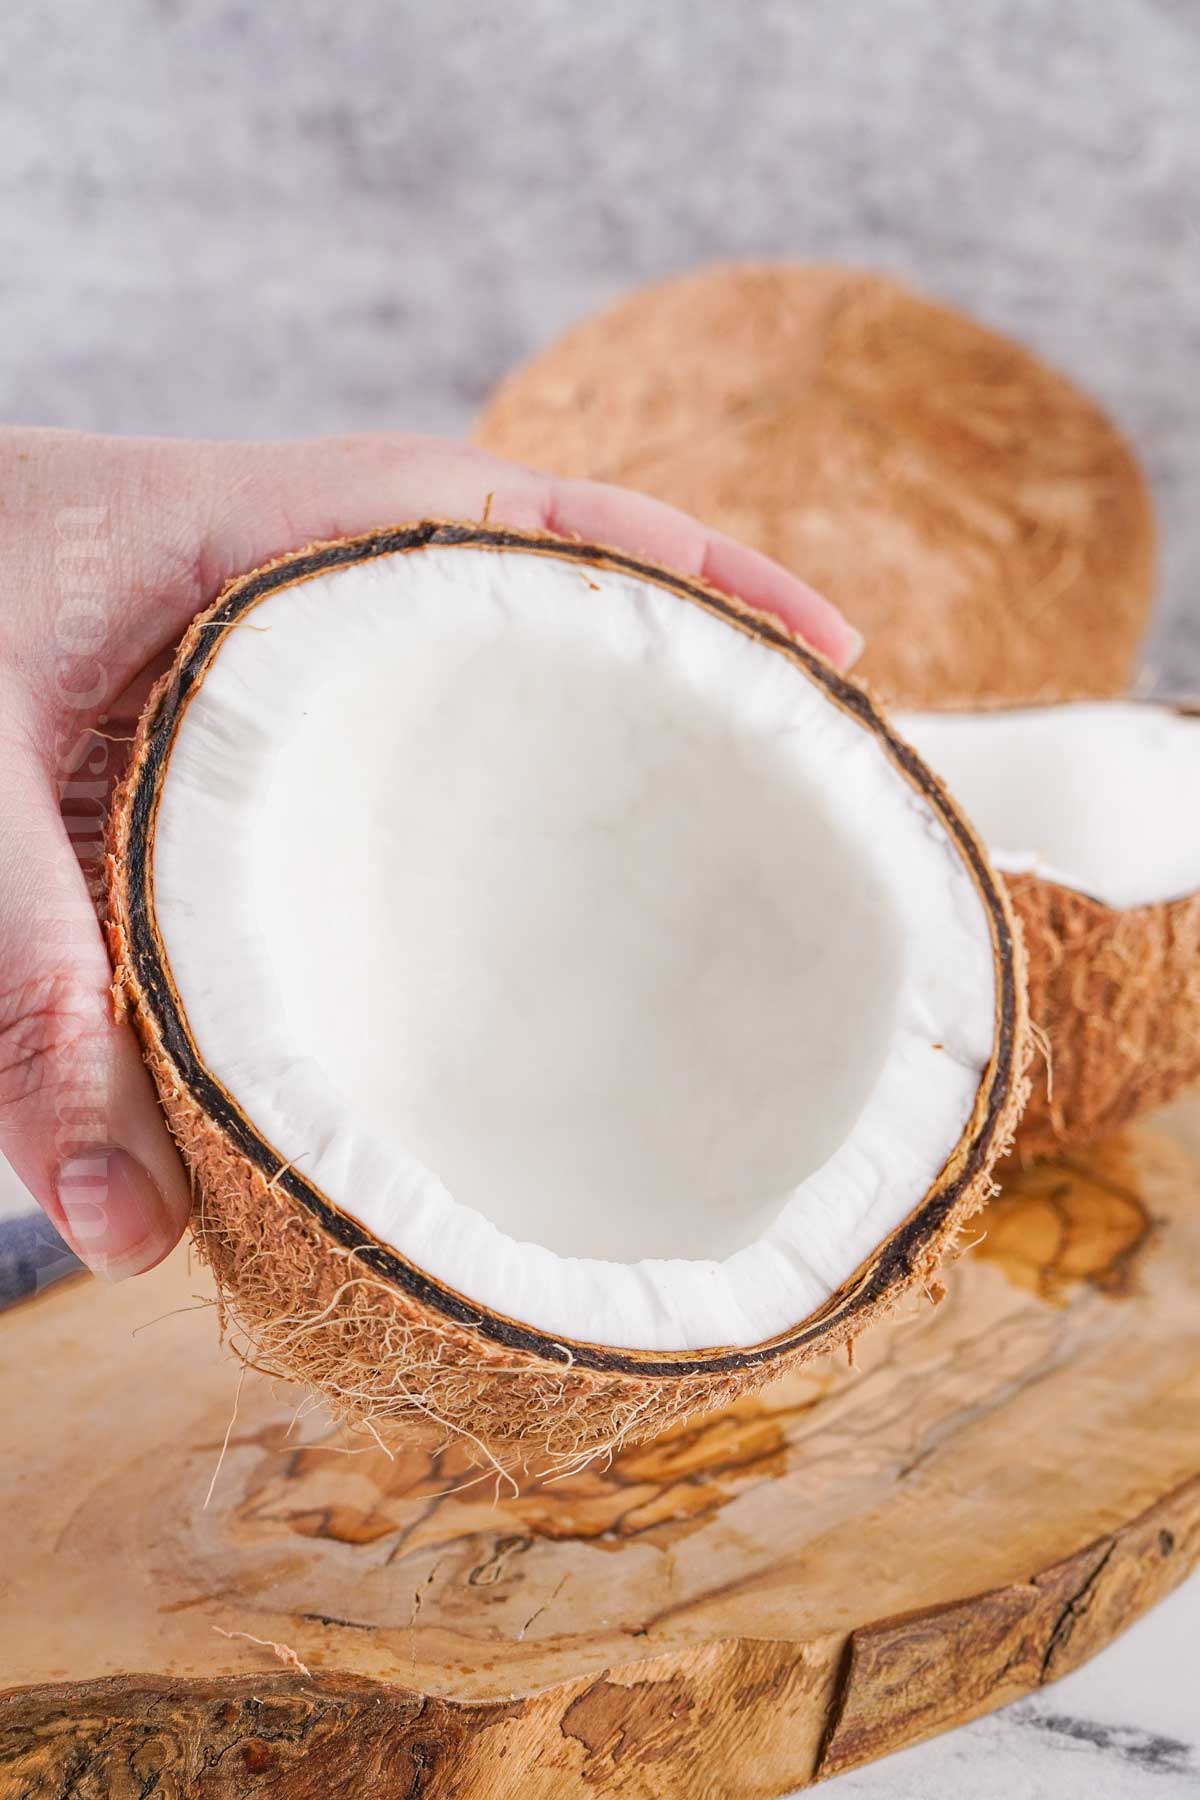
Gina’s Rundown:
Why I love it: I love cracking open a fresh coconut because there’s something incredibly satisfying about breaking through the shell to reveal the sweet water and fresh flesh inside. It turns a simple ingredient into an experience and makes enjoying fresh coconut feel even more rewarding.
Why You’ll Love This
Learning how to open a coconut is honestly one of those life skills that feels like a superpower once you master it. Fresh coconut water is incredibly hydrating and refreshing, especially on hot days, and the white coconut meat can be used in so many ways, from smoothies to coconut rice to savory dishes. Unlike store-bought versions, when you open your own coconut, you’re getting all those healthy fats and nutrients without any preservatives or additives.
The different types of coconuts each have their own charm. Young coconuts (those white or green coconuts you see at Asian markets) are easiest to open and have the most water, while mature brown coconuts have thicker, richer meat that’s perfect for making coconut milk or coconut oil. During our time on Big Island, we’d grab fallen coconuts from the beach, or our neighbors would give them to us from their yard, and we would crack them open right there on the concrete floor of the lanai or on the grass in the yard. The taste of truly fresh fruit like that is unforgettable.
Plus, coconut contains lauric acid, which has antimicrobial properties, and it’s a great addition to your diet if you’re looking for plant-based fats. Once you know the right method, you’ll find yourself buying whole coconuts regularly instead of settling for the packaged versions.

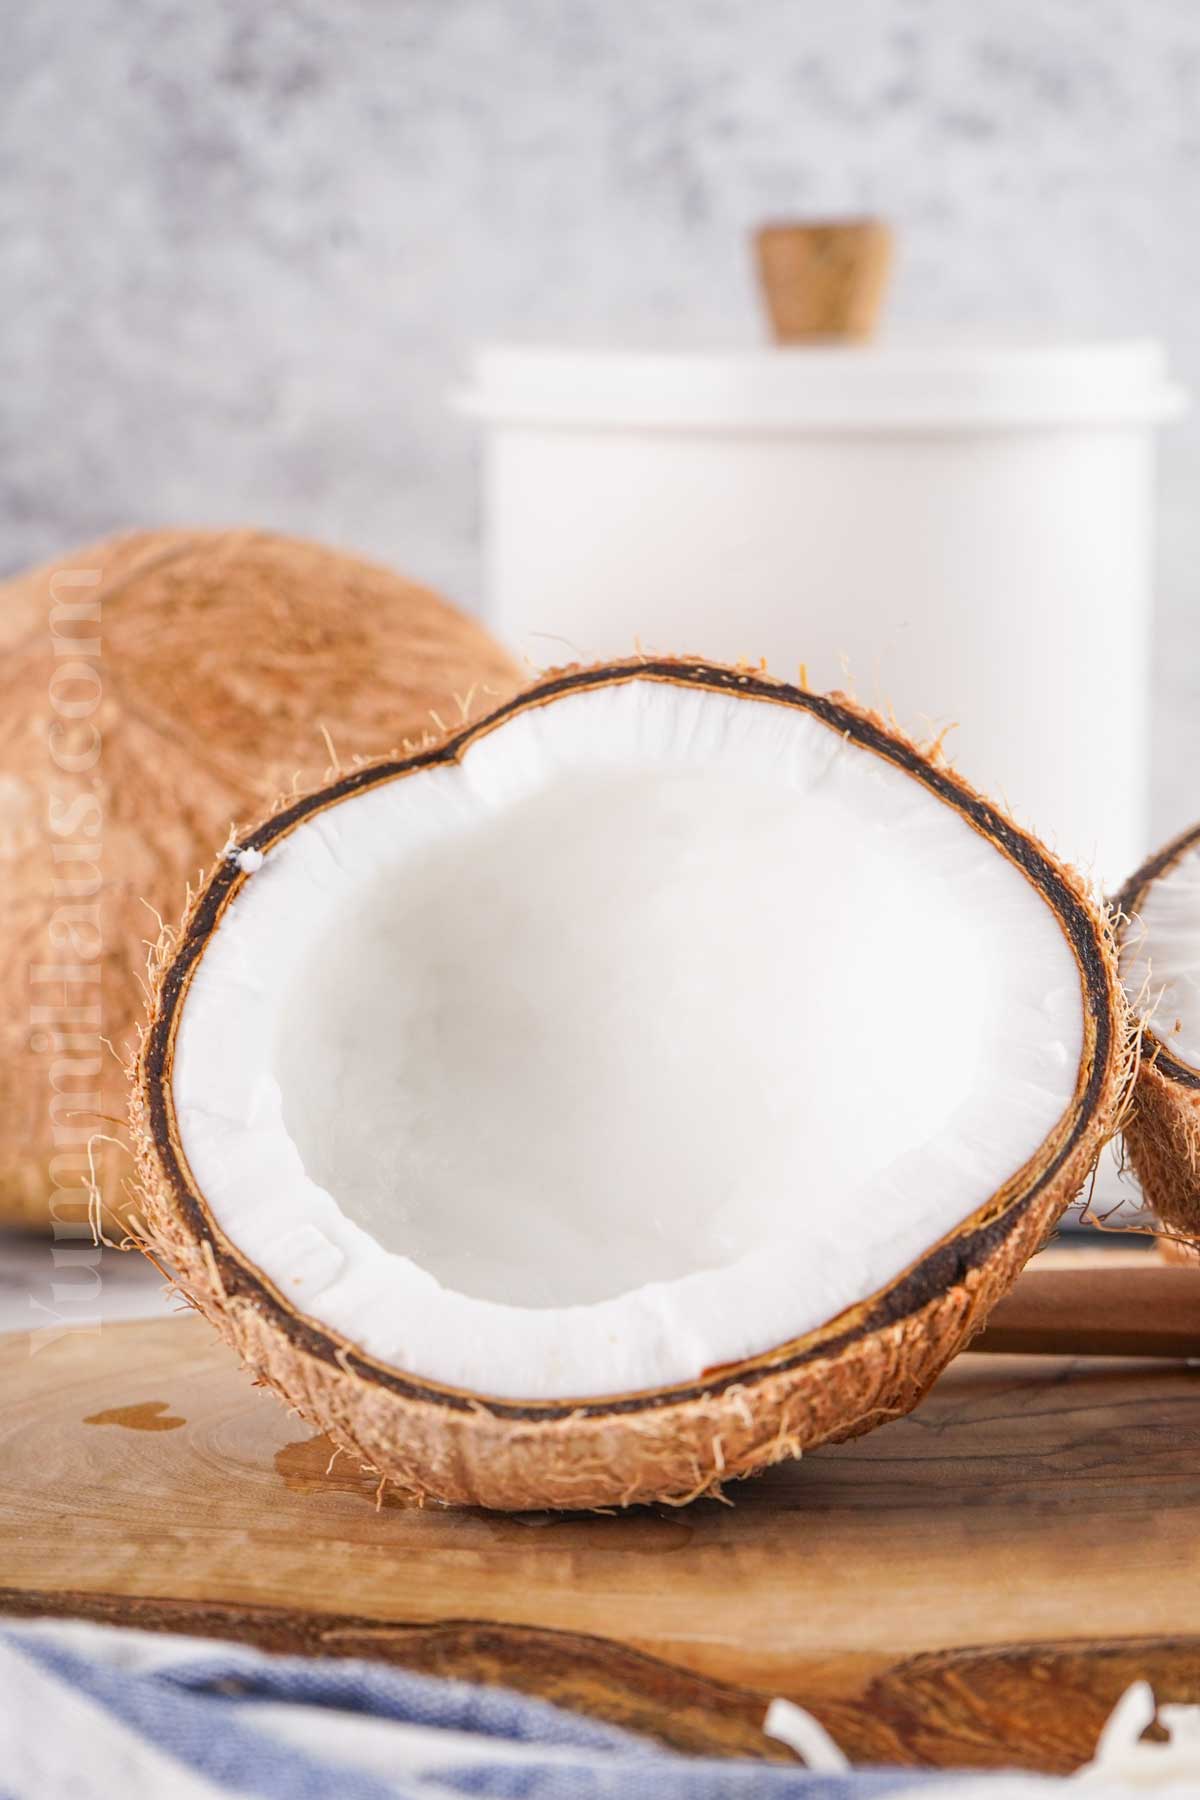
Ingredient Notes
Look for the Right Coconut: When buying a whole coconut, shake it near your ear. You should hear liquid sloshing around inside. If you don’t, it’s probably old and dried out. Also check for soft spots or cracks, which indicate spoilage.
Kitchen Equipment
A chef’s knife is your best friend for this task. Make sure it’s sharp and sturdy.
A butter knife or paring knife works great for prying out the flesh once you’ve cracked it open.
A hammer or meat mallet (the hammer method is classic for a reason).
A large bowl to catch that precious fresh coconut water.
A hard surface like a cutting board, concrete floor, or even just your countertop.
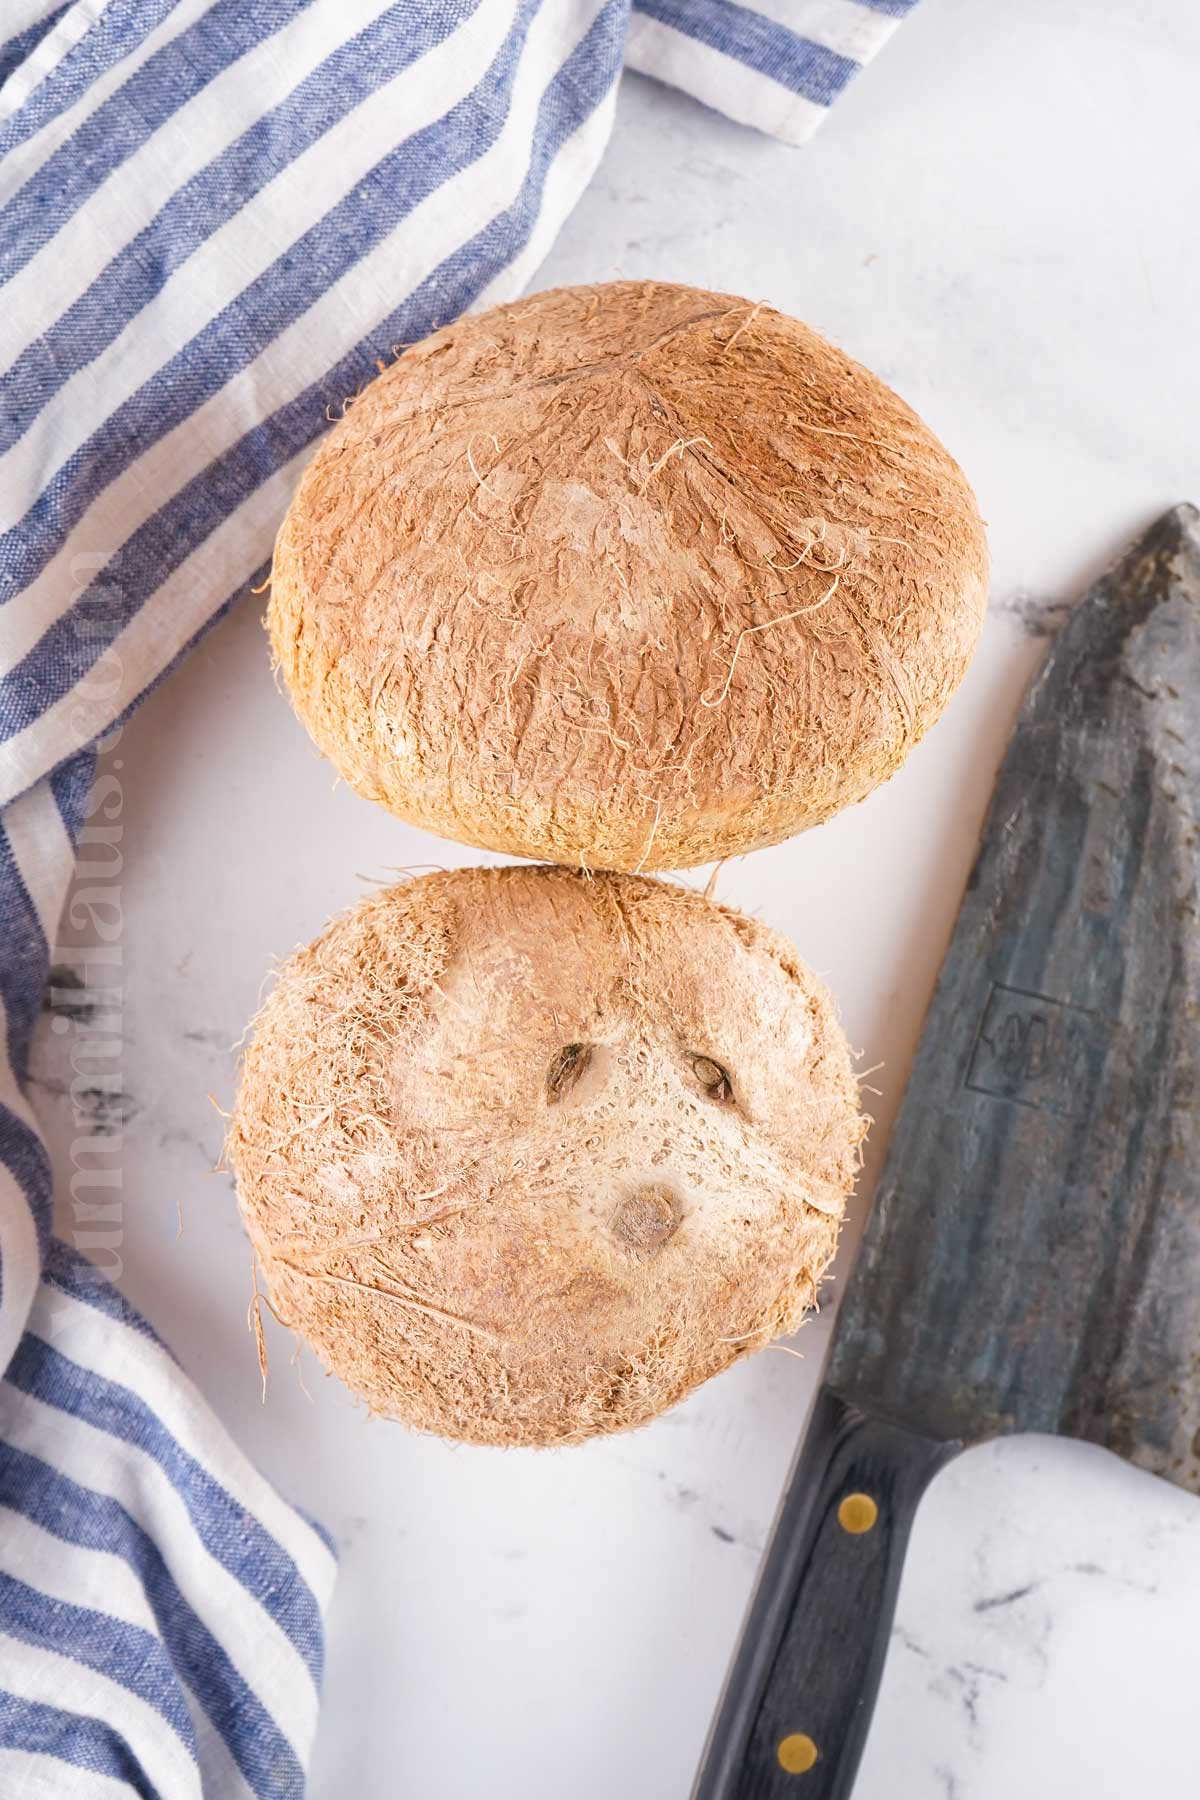
How to Open a Fresh Coconut
Without Draining First
- Start by placing a bowl in front of you to catch any coconut water that spills out. Hold the coconut in your non-dominant hand and the knife in your dominant hand.
- You’ll be using the back of the knife—the dull spine—not the sharp cutting edge. Make sure it’s a sturdy knife that can handle the impact without bending or breaking. A strong stainless steel knife works well for this.
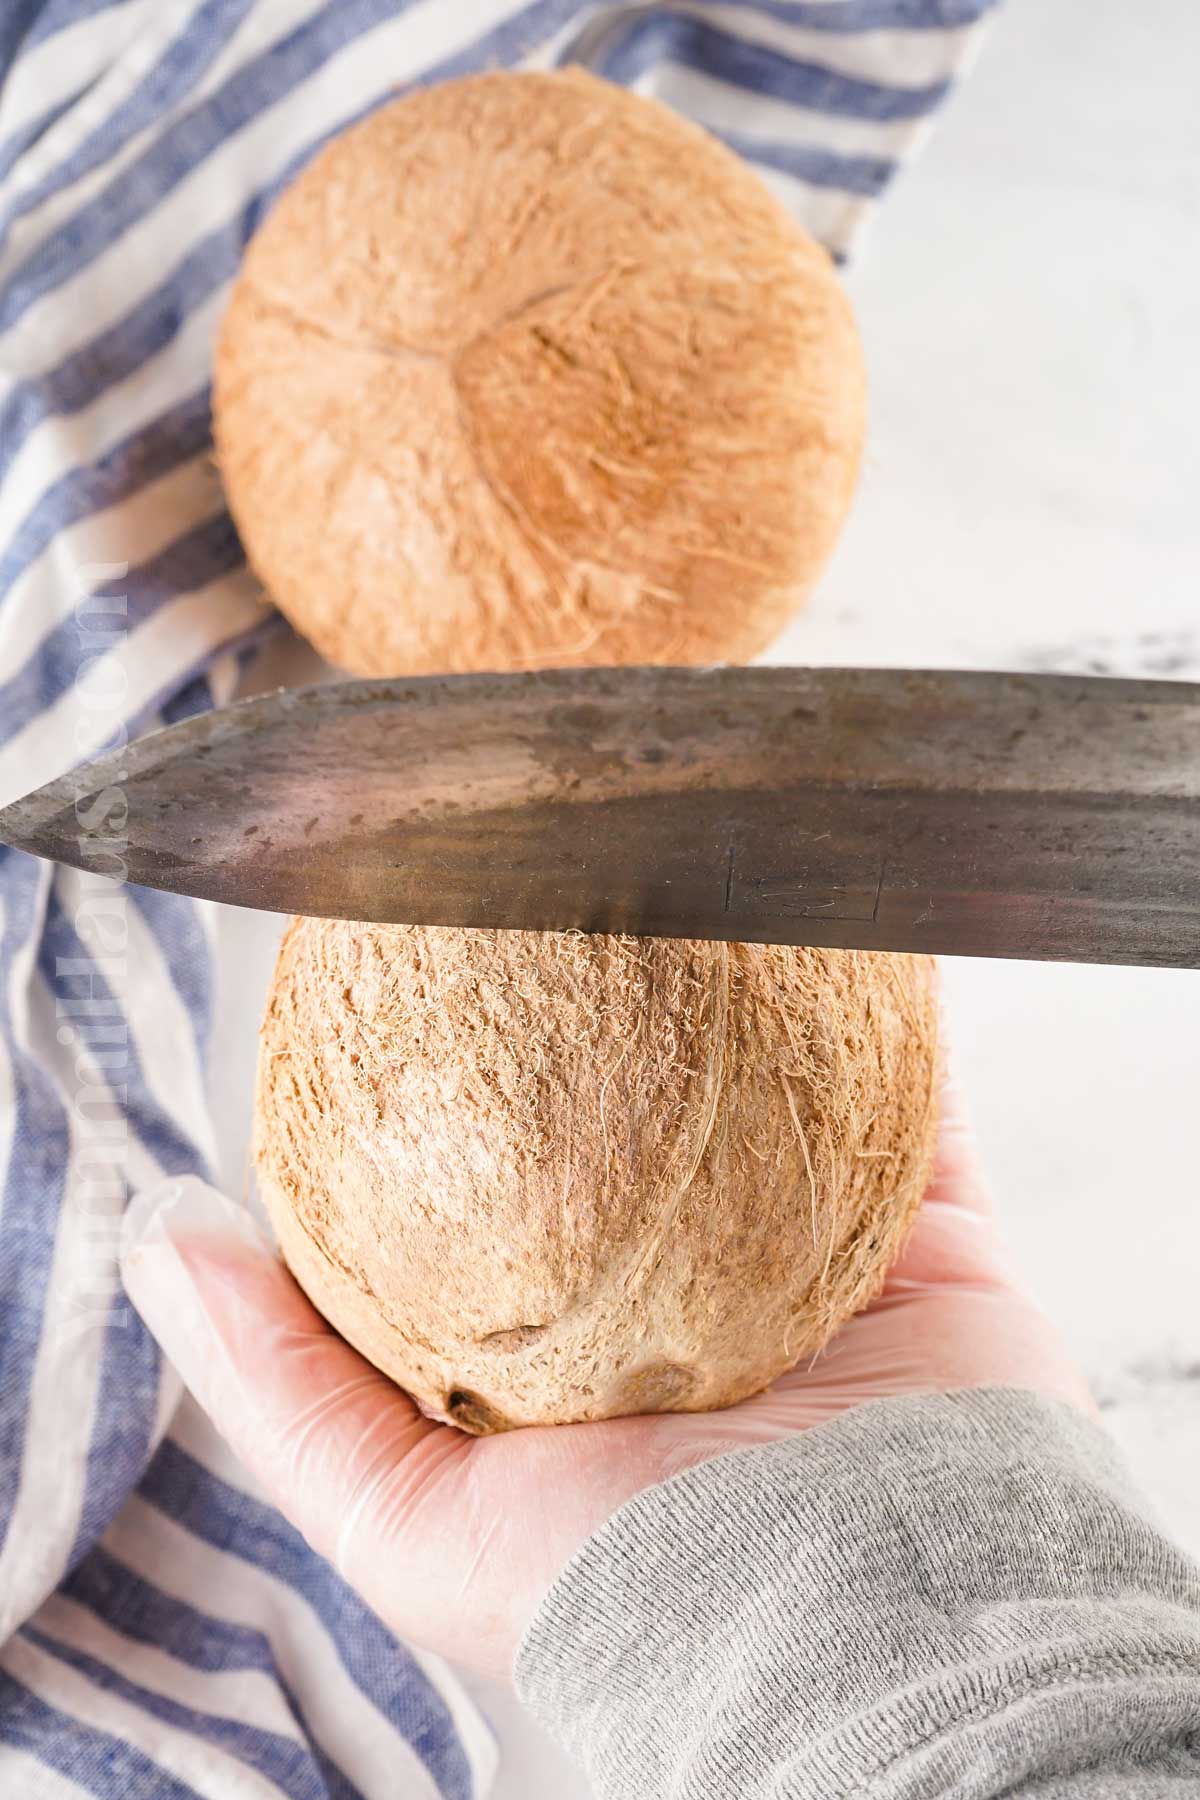
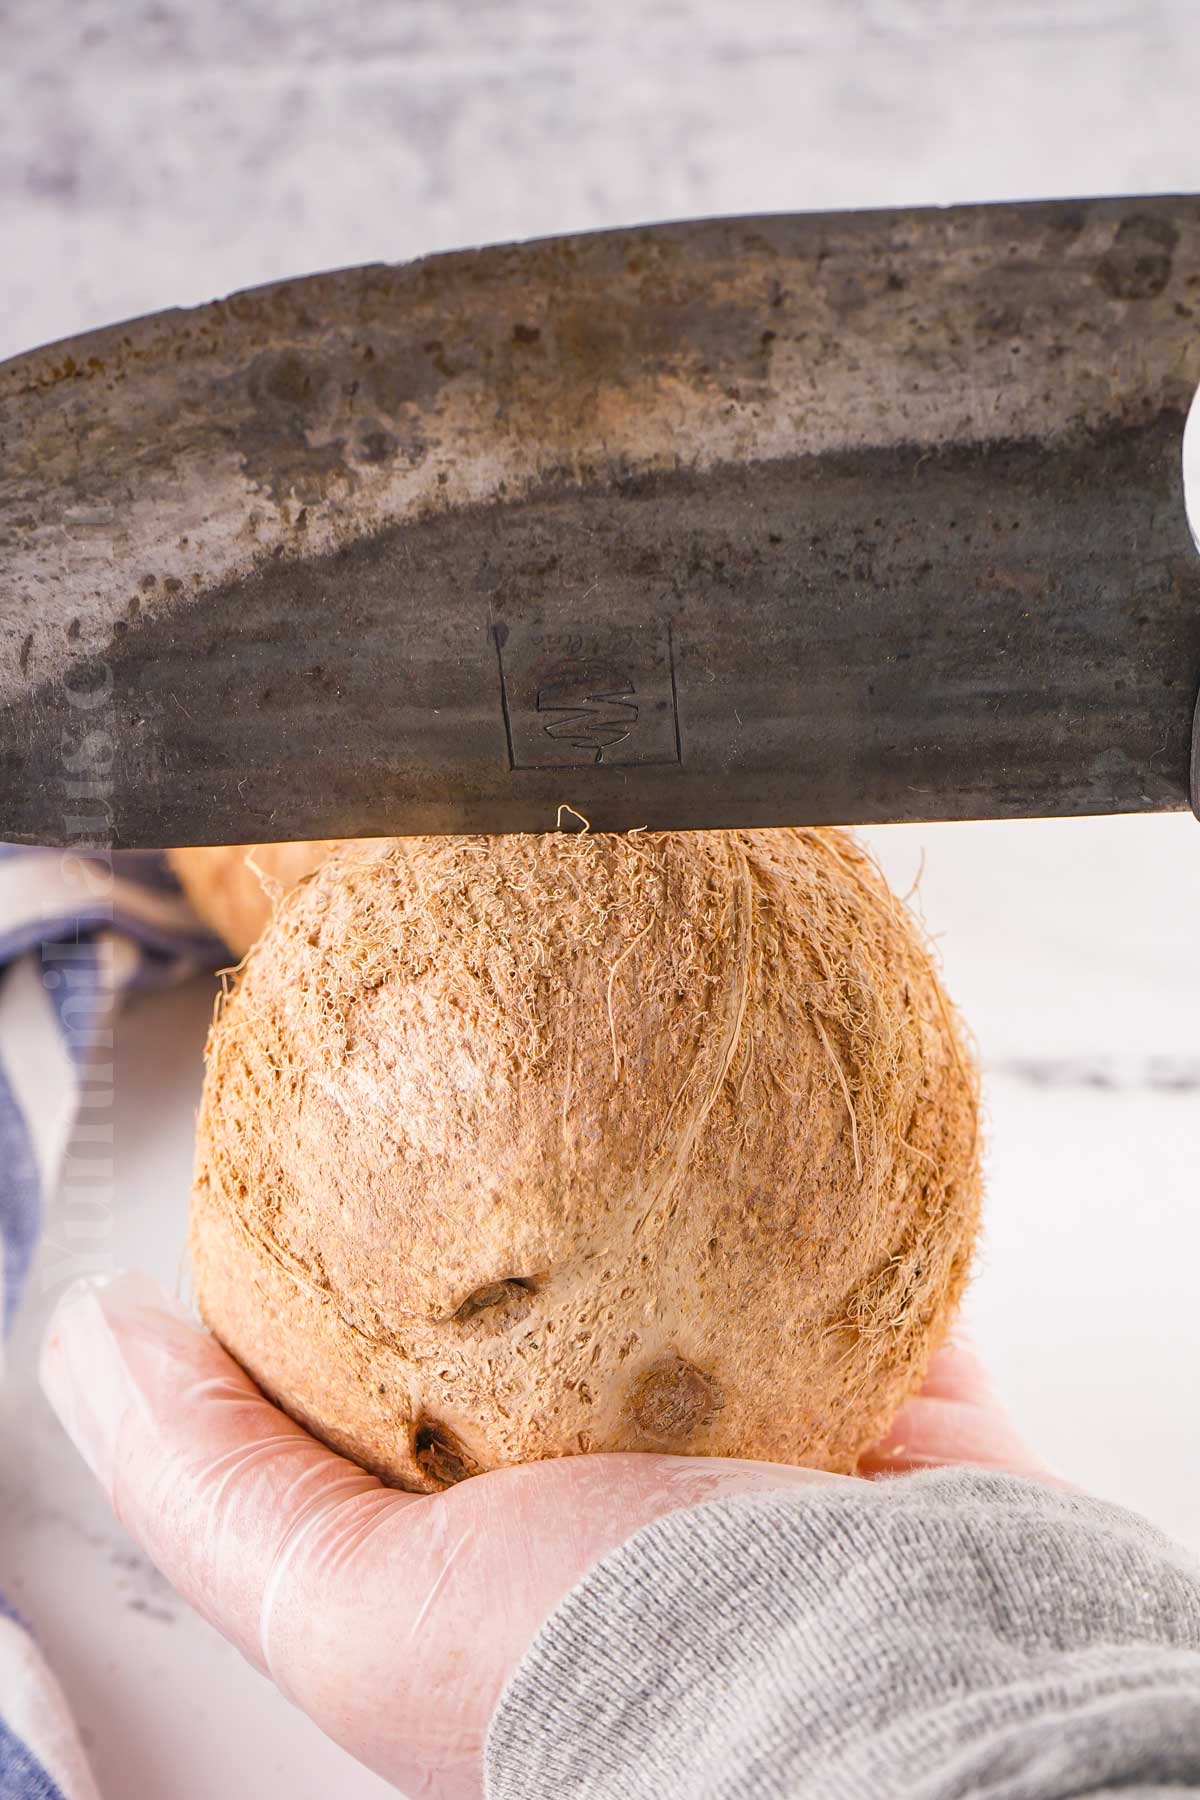
- Using the back of the knife, give the coconut a firm tap right around the middle, going across its width rather than from top to bottom. In other words, when the knife makes contact, the top and bottom of the coconut should be on either side of the knife, not above and below it.
- After each hit, rotate the coconut about a quarter turn and tap it again along the same middle line. Keep turning and tapping your way around the coconut until the shell cracks open. The number of hits it takes can vary depending on the coconut and how hard you’re striking it.
How to Drain the Coconut First
- Start by locating the three small indentations, or “eyes,” on one end of the coconut. One or two of these eyes are usually softer than the others and can be pierced with a clean screwdriver, metal skewer, ice pick, or similar pointed tool.
- Place the coconut over a bowl or measuring cup and carefully pierce one eye to create an opening. For faster draining, make a second hole in another eye to allow air to flow into the coconut.
- Turn the coconut upside down over the bowl and let the coconut water drain completely. You can gently shake the coconut to help release any remaining liquid. Once the coconut is empty, you can move on to cracking open the shell.
How to Remove the Outer Husk
If you’re working with a whole coconut that still has its outer husk attached, you’ll need to remove it before cracking the shell. Start by placing the coconut on a stable surface or holding it securely on the ground.
Using a sturdy tool such as a coconut husking spike, pry bar, or the corner of a heavy-duty shovel, pierce the fibrous husk near the top of the coconut and pull back to separate the fibers from the shell. Rotate the coconut and repeat the process in several spots around the surface, peeling away sections of the husk as you go.
Continue working your way around the coconut until all of the fibrous outer layer has been removed, leaving the hard brown shell exposed and ready to be drained and opened.
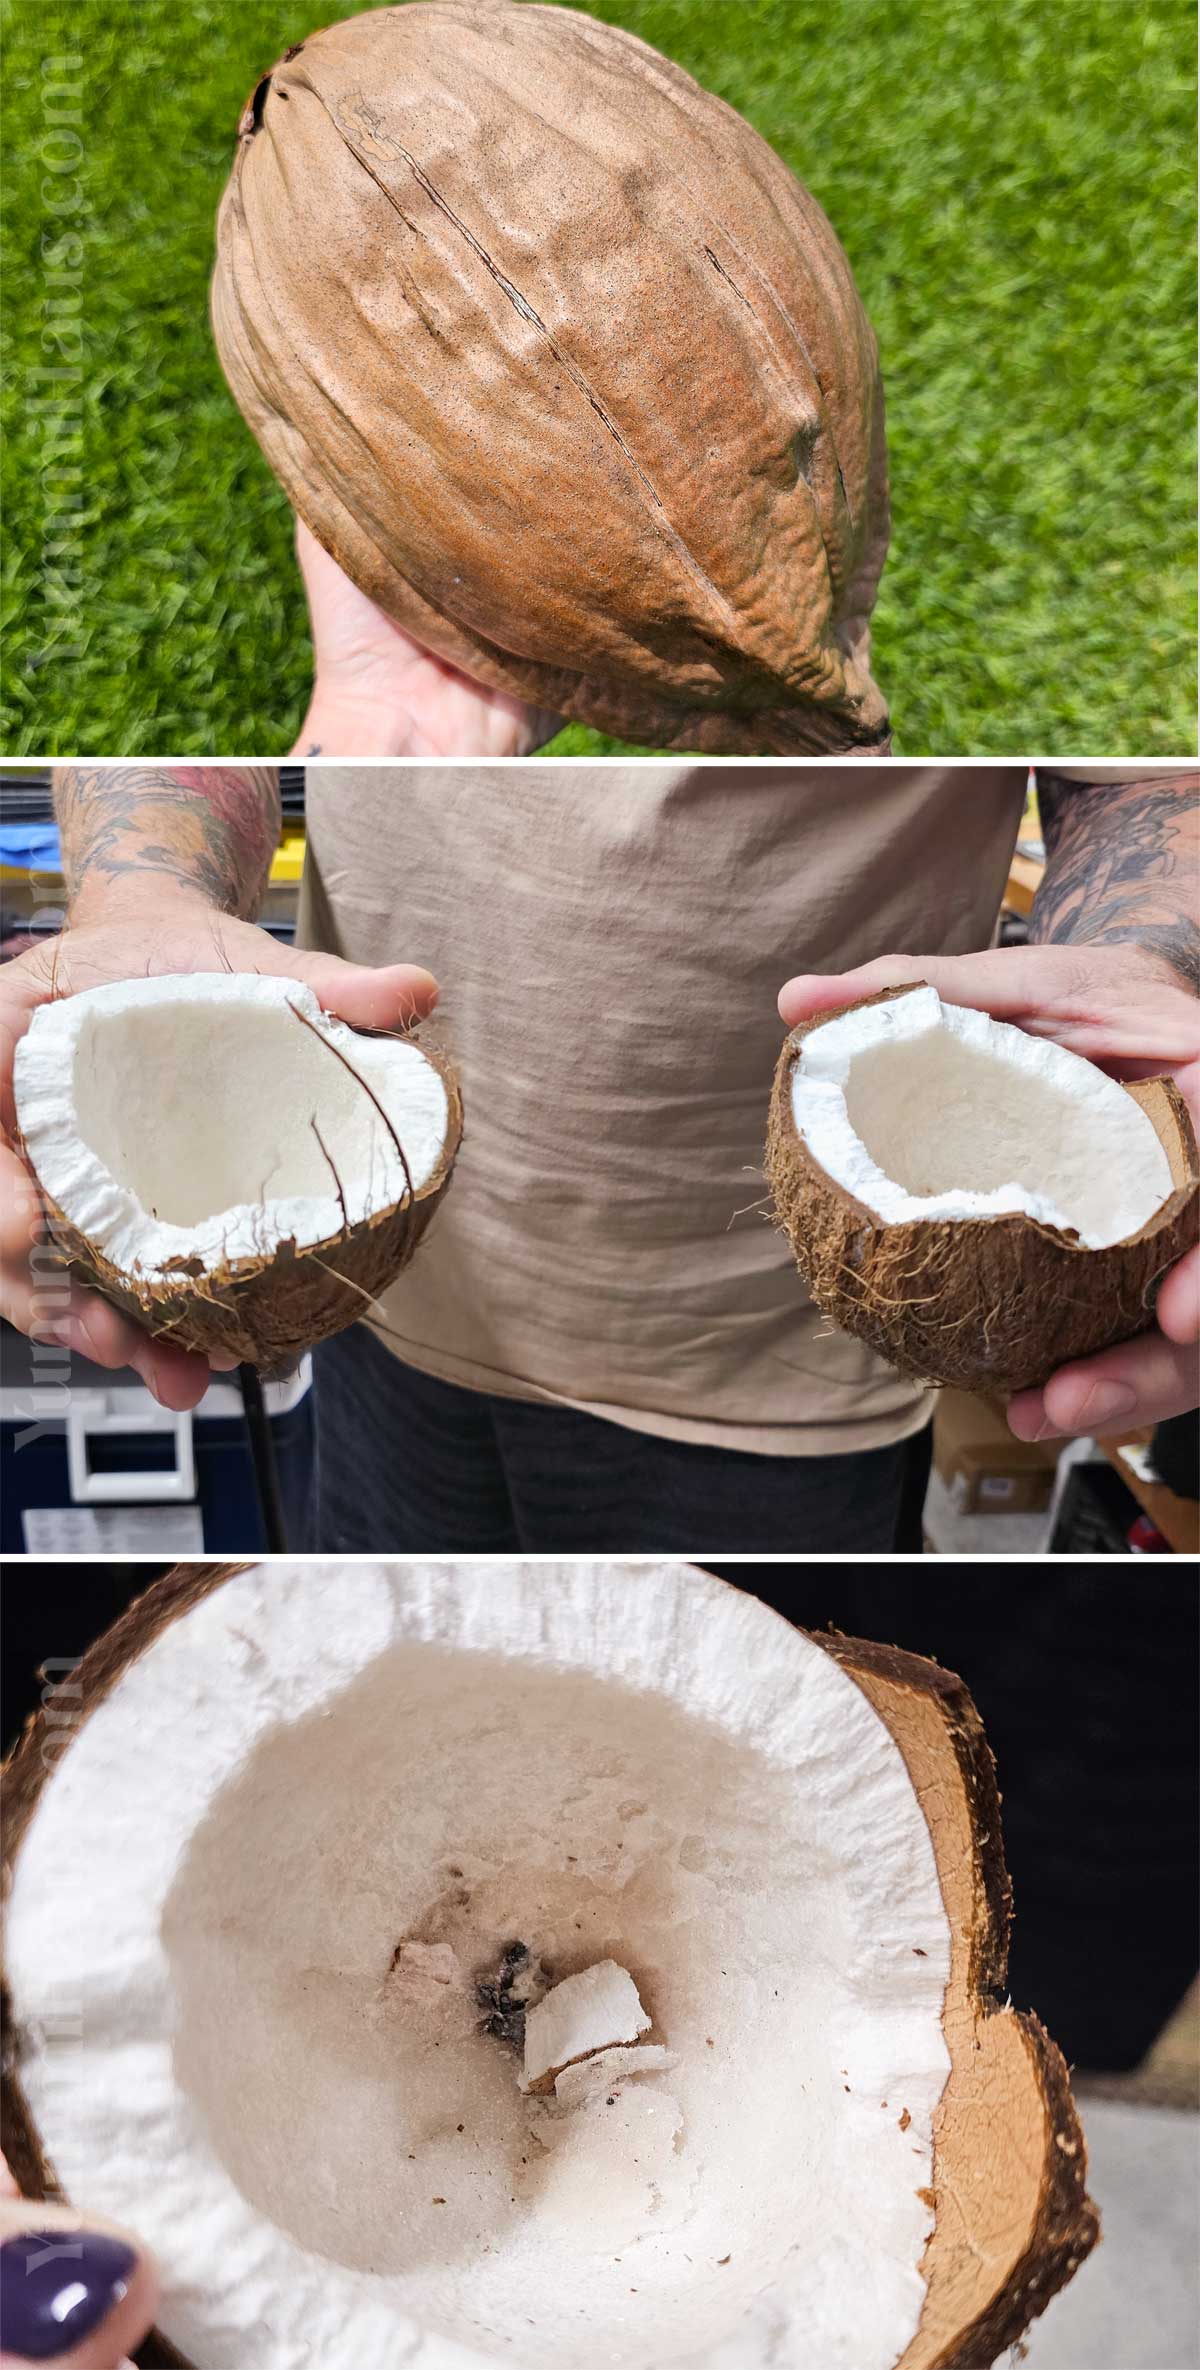
How to Remove the Flesh After Cracking
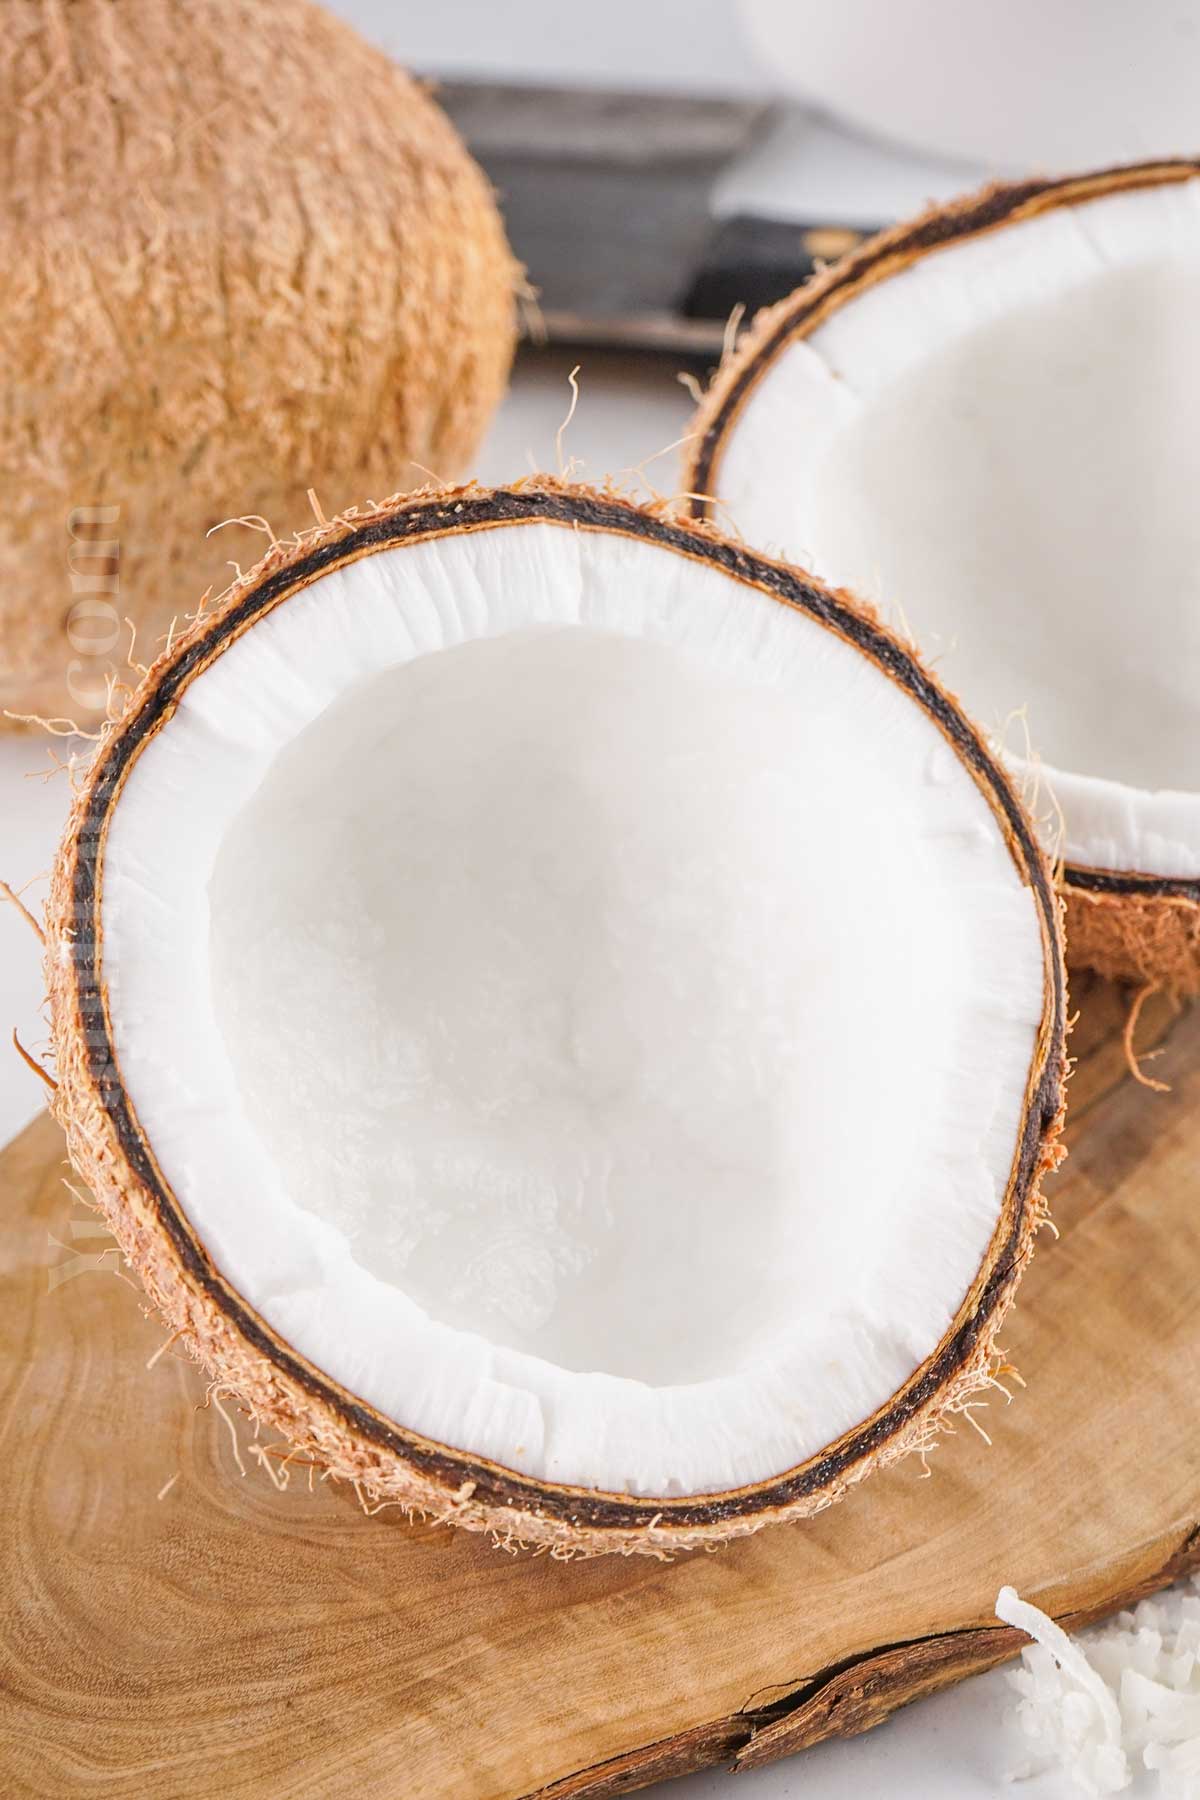
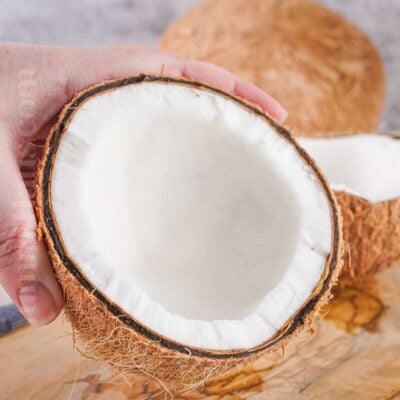
The Butter Knife Method: Slide a butter knife or paring knife between the white flesh and the hard shell. Work your way around, gently prying as you go. The meat should pop off in satisfying chunks.
The Freezer Trick: Some people swear by putting the cracked coconut halves in the freezer for 30 minutes. The temperature change makes the meat contract slightly and separate from the shell. We still experienced quite a bit of resistance when trying to get it to release this way.
MY PERSONAL FAVORITE: The Oven Method:
Preheat your oven to 375°F (190°C). Place the cracked coconut halves on a baking sheet with the cut side facing up and bake for about 10 to 15 minutes.
As the coconut heats, the flesh will begin to shrink slightly and pull away from the shell, making it easier to remove. Carefully remove the coconut from the oven and allow it to cool until it is comfortable to handle.
Once cooled, insert a butter knife or similar blunt utensil between the coconut flesh and the shell and gently work your way around the edge to loosen it. In many cases, the flesh will lift away in large pieces or even come out in one piece.
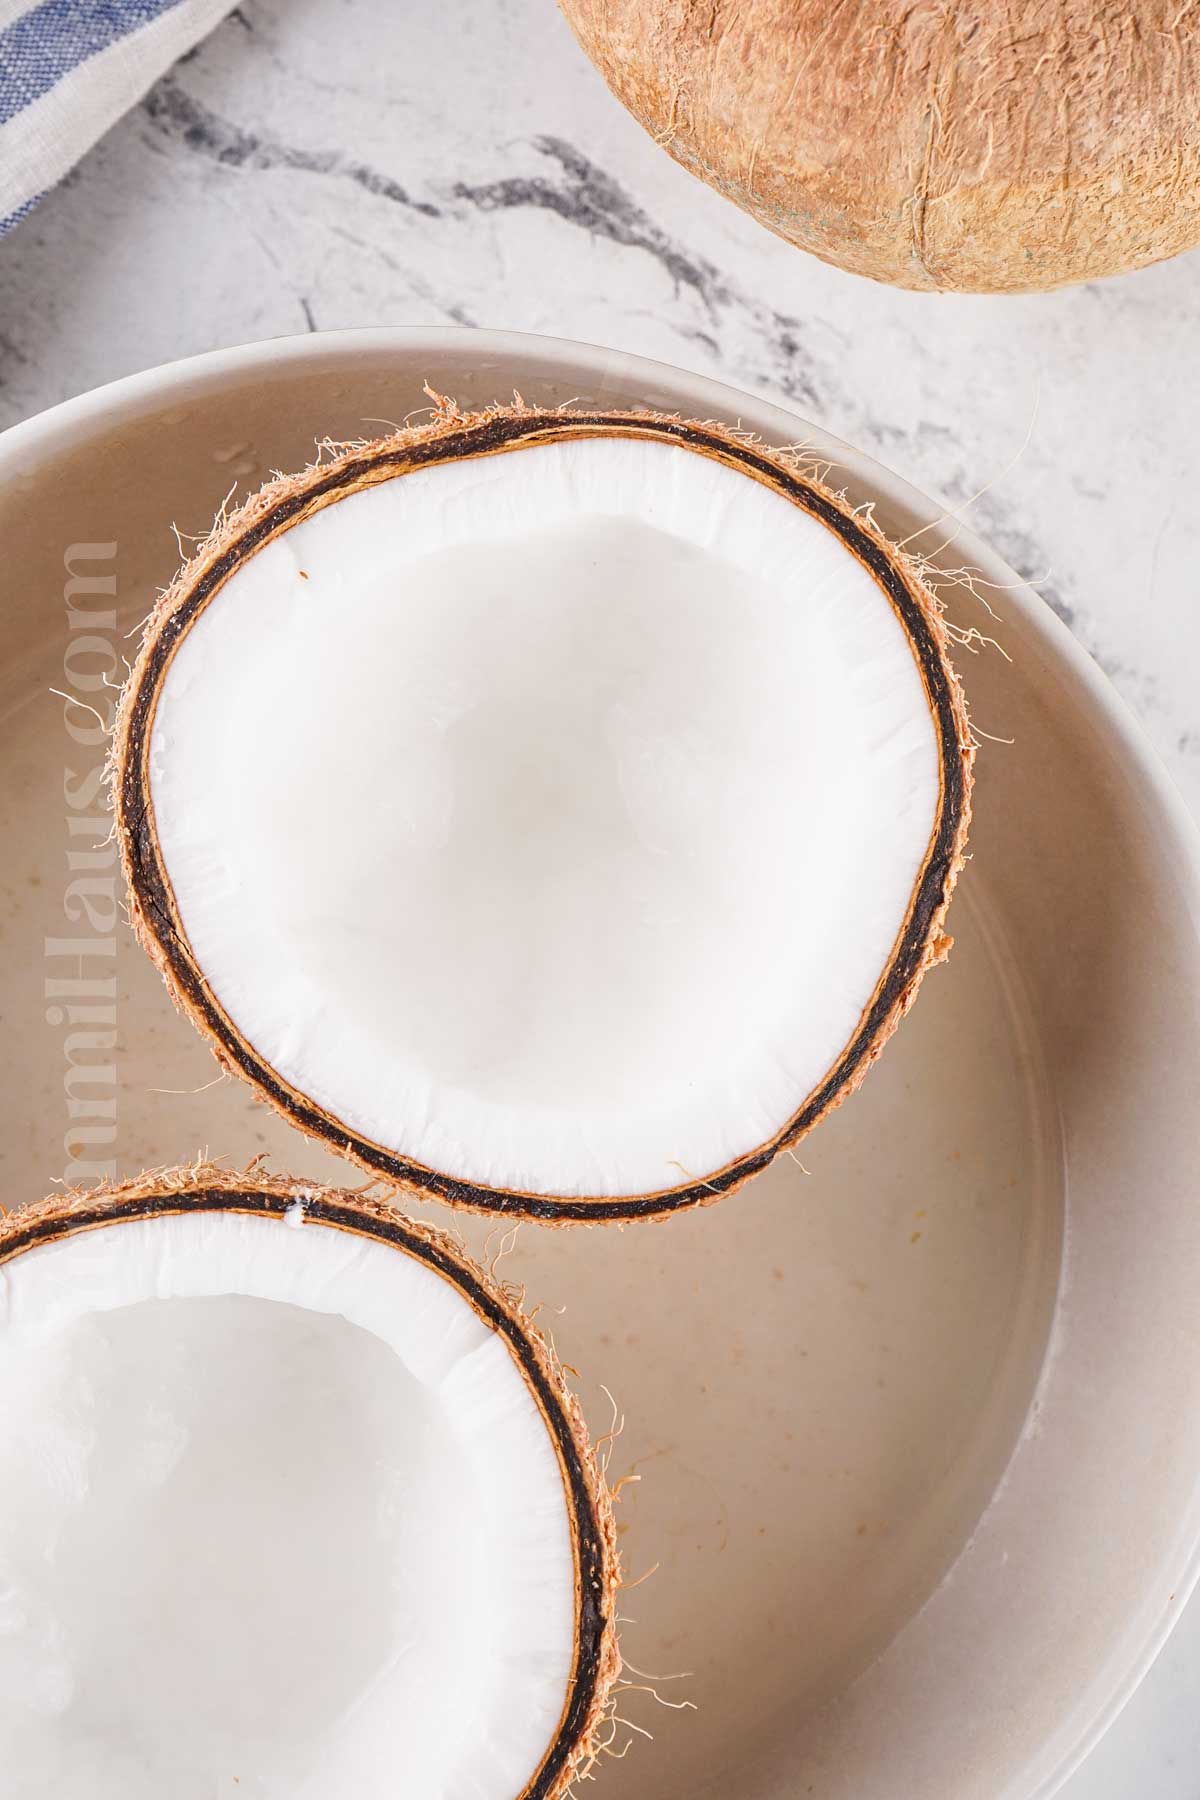
Once you’ve removed the chunks, you might notice a thin brown skin on the white coconut meat. You can leave it on (it’s totally edible), or use a vegetable peeler to remove it for a prettier presentation.
What to Do with the Fresh Coconut Flesh
Now comes the fun part! That fresh coconut meat is incredibly versatile. You can eat it raw as a snack (it’s so much better than dried coconut), or try these ideas:
Blend it with water to make homemade coconut milk (much better than canned).
Grate it fresh over coconut rice or add it to curries and savory dishes.
Toss chunks into smoothies for creaminess and healthy fats.
Make coconut oil by simmering the grated meat with water and straining.
Use it in desserts, or even add it to black milk tea for a tropical twist.
Dehydrate or toast it for coconut chips.
The coconut water is perfect on its own, but you can also use it as a base for smoothies or even freeze it into ice cubes. Nothing goes to waste with this delicious fruit! Fresh coconut water tastes SO MUCH better than the stuff you find in the store.
Variations & Substitutions
While there’s no real substitute for learning how to crack open a whole coconut, here are some variations and tips:
Types of Coconuts: Young coconuts are easier for beginners and have more water but less meat. Mature brown coconuts have less water but much more of that thick, rich white flesh that’s perfect for cooking.
If You Can’t Find Fresh: Frozen coconut chunks or even good quality packaged coconut water can work in recipes, though you’ll miss out on that incredible fresh taste and the satisfaction of doing it yourself.
Tools: If you don’t have a hammer, a meat mallet or even a rolling pin can work. Some people swear by specialized coconut opener tools, which can be worth it if you open coconuts regularly.
Regional Variations: In places like Hawaii, St. Barthélemy, Cayman Islands, St. Helena, St. Kitts & Nevis, and the Faroe Islands, you’ll see locals opening coconuts with whatever’s handy, from machetes to rocks. The method matters less than finding what works for you.
Storage
Once opened, fresh coconut flesh will keep in the refrigerator for about 4-5 days in an airtight container. Make sure it’s completely covered to prevent it from drying out. For longer storage, you can freeze the white flesh for up to 6 months. Just chop it into chunks first and store it in a plastic bag or freezer container.
Fresh coconut water should be consumed within 24 hours of opening for the best taste and nutrition. It can be refrigerated for up to 2 days, but it starts to ferment after that. You can also freeze coconut water in ice cube trays for longer storage.
If you’ve made homemade coconut milk, it’ll keep refrigerated for about 3-4 days. Give it a good shake before using, as it will naturally separate.
Expert Tips
Safety First: Always cut away from your body, keep your fingers clear of the blade, and work on a stable surface. These tropical fruits have a tough outer shell for a reason, so respect the process.
Find the Soft Eye: This is the easiest entry point for draining water and can guide where you start cracking. Test all three eyes at the top with gentle pressure.
Work Over a Bowl: You’ll want to catch every drop of that coconut water and any bits that fall off during cracking.
Temperature Tricks Work: Both the oven method (heat) and the freezer method (cold) can make removing the meat significantly easier. Don’t be afraid to use temperature to your advantage.
Practice Makes Perfect: Your first coconut might be messy and frustrating, but by your third or fourth, you’ll have found your rhythm and the right technique for you.
Fresh is Best: Try to use your coconut within a week of purchasing for maximum freshness and the best flavor. The health benefits are also highest when it’s fresh.
Save Everything: Even the coconut shell can be used as bowls for serving (very popular in tropical restaurants), and the coconut water is packed with electrolytes.
FAQ’s
What’s the easiest way to open a coconut?
For complete beginners, I recommend the hammer method on a mature brown coconut. Drain the water first through the soft eye, then tap around the middle in a circular motion until it cracks. Young coconuts are technically easier but require more knife skills.
How do I know if a coconut is fresh?
Shake it and listen for liquid sloshing around. Check for any soft spots, cracks, or mold on the outside. Fresh coconuts feel heavy for their size.
What’s the difference between young and mature coconuts?
Young coconuts (white or green) have more water and softer, thinner meat. Mature brown coconuts have less water but much thicker, flavorful white flesh.
Can I drink the water from any coconut?
Yes, as long as the coconut is fresh and hasn’t started to ferment. If it smells off or tastes sour (not in a good way), toss it.
What are the health benefits of fresh coconut?
Fresh coconut provides healthy fats, particularly medium-chain triglycerides (MCTs), lauric acid, which supports immune health, fiber, and minerals like manganese, copper, and selenium. The coconut water is naturally hydrating and full of electrolytes.
Can I make coconut milk from fresh coconut?
Absolutely! Blend fresh coconut meat with warm water (about 1 part coconut to 2-3 parts water), then strain through cheesecloth. It’s so much tastier than canned coconut milk.
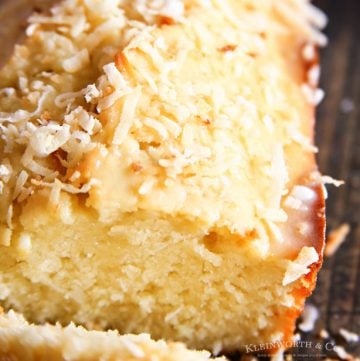
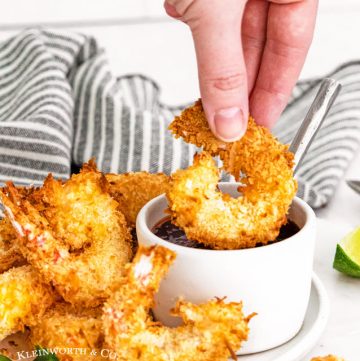
If you love this coconut tutorial, you’re going to love these recipes for what to do with it, too. Please click each link below to find the easy, printable recipe!


More Great Tutorial Recipes
How to Make a Kool-Aid Slushie
CONNECT WITH YUMMI HAUS!
Be sure to follow me on my social media, so you never miss a post!

How to Crack Open a Coconut

Ingredients
- Coconut
Instructions
Without Draining First
- Place a bowl in front of you to catch any coconut water that may spill during the process. Hold the coconut securely in your non-dominant hand and a sturdy knife in your dominant hand. Use the back (spine) of the knife rather than the sharpened cutting edge. A strong, durable knife, such as one made from stainless steel, is recommended.
- Strike the coconut with the back of the knife around its midpoint, hitting it across the width rather than from top to bottom. In this position, the top and bottom of the coconut should be on either side of the knife, not above and below it.
- After each strike, rotate the coconut approximately a quarter turn and strike it again along the same middle line. Continue rotating and striking in this manner until the shell cracks open. The number of strikes required can vary depending on the thickness of the shell and the force applied with each hit.
How To Drain The Coconut First
- Start by locating the three small indentations, or “eyes,” on one end of the coconut. One or two of these eyes are usually softer than the others and can be pierced with a clean screwdriver, metal skewer, ice pick, or similar pointed tool. We would use an electric drill sometimes.
- Place the coconut over a bowl or measuring cup and carefully pierce one eye to create an opening. For faster drainage, make a second hole in the other eye to allow air to flow into the coconut.
- Turn the coconut upside down over the bowl and let the coconut water drain completely. You can gently shake the coconut to help release any remaining liquid. Once the coconut is empty, you can move on to cracking open the shell.
Notes
Equipment
- Large Sturdy Knife (such as stainless steel)
- medium bowl
- Drill – for draining water prior to opening
Nutrition
Nutritional information for the recipe is provided as a courtesy and is approximate. Please double-check with your own dietary calculator for the best accuracy. We at Yummi Haus cannot guarantee the accuracy of the nutritional information given for any recipe on this site.







Share Your Thoughts