

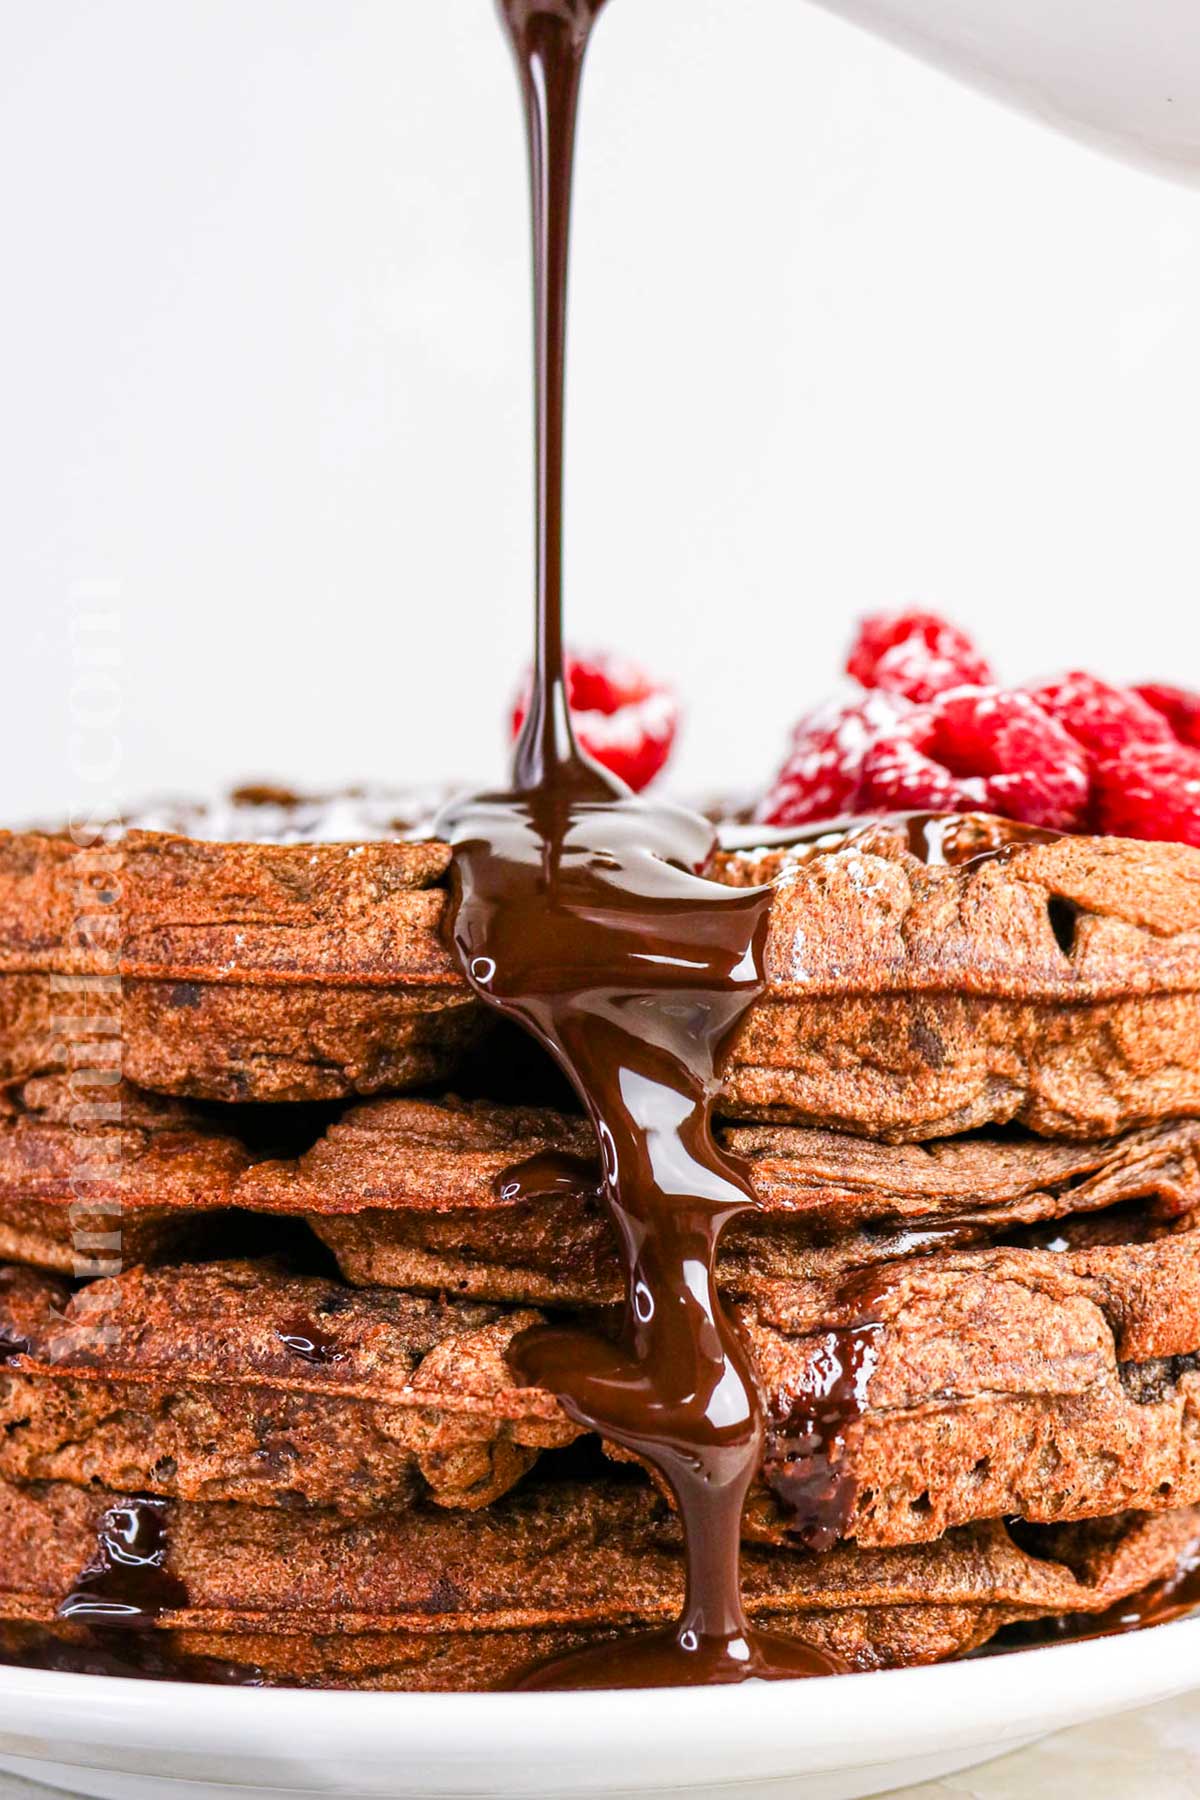
There’s something magical about starting your day with chocolate, and these easy chocolate waffles are the perfect way to turn breakfast into a celebration. Whether you’re making them for a special occasion like a birthday or a holiday like Valentine’s Day, or just because it’s Tuesday, these crispy chocolate waffles deliver pure happiness in every bite. The combination of a crispy exterior and fluffy interior makes these homemade waffles absolutely irresistible.
This easy chocolate waffle recipe comes together quickly with simple ingredients you probably already have in your pantry. Using your trusty waffle maker, you’ll create double chocolate waffles that rival any restaurant version. They’re perfect on their own with a drizzle of pure maple syrup, or you can get creative and turn them into waffle ice cream sandwiches for a fun dessert twist.
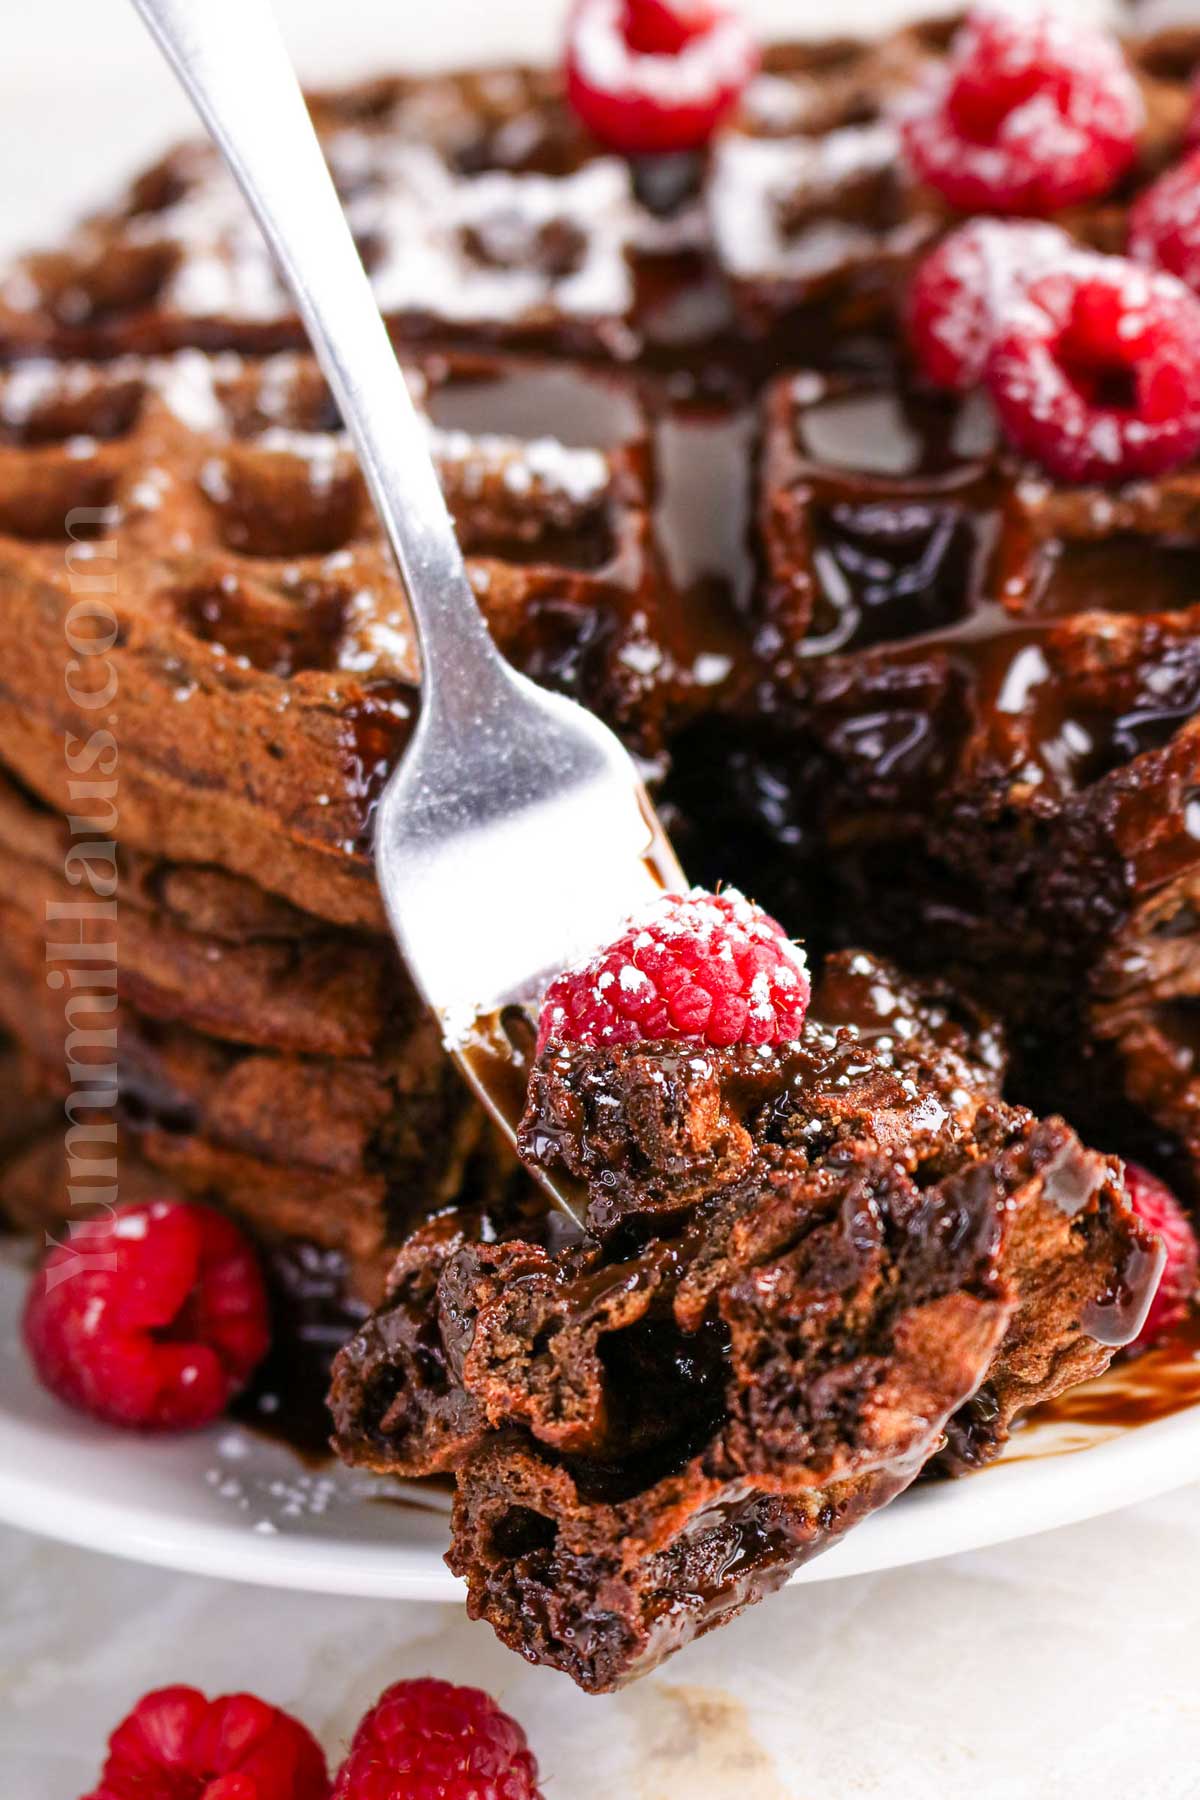
Gina’s Recipe Rundown:
Texture: They have a tender, fluffy interior with lightly crisp edges and a perfectly golden exterior.
Taste: These are rich and chocolatey with a fluffy interior, crisp edges, and pockets of melty chocolate in every bite.
Ease: These come together quickly with simple pantry staples and are easy enough for both beginner and experienced bakers.
Why I love it: The waffles are rich, chocolatey, and taste like dessert for breakfast.
Why You’ll Love This Recipe
These chocolate waffles are genuinely one of my favorite recipes because they’re versatile enough for breakfast or dessert. The chocolate waffle batter is easy to mix up, requiring just a large bowl for the dry ingredients and a medium bowl for the wet ingredients. You’ll get the best results with a golden brown exterior that stays crispy even after cooling.
The texture of these fluffy waffles is absolutely perfect. Plus, they’re way better than regular waffles when you’re craving something a little bit more indulgent.
Kids and adults go crazy for these, making them ideal for weekend brunch or special breakfast celebrations. You can customize them with chocolate chips, top them with fresh fruit, or even add a scoop of ice cream for an over-the-top treat. The number of waffles you get depends on your waffle iron, but this recipe typically makes enough to feed a hungry family.

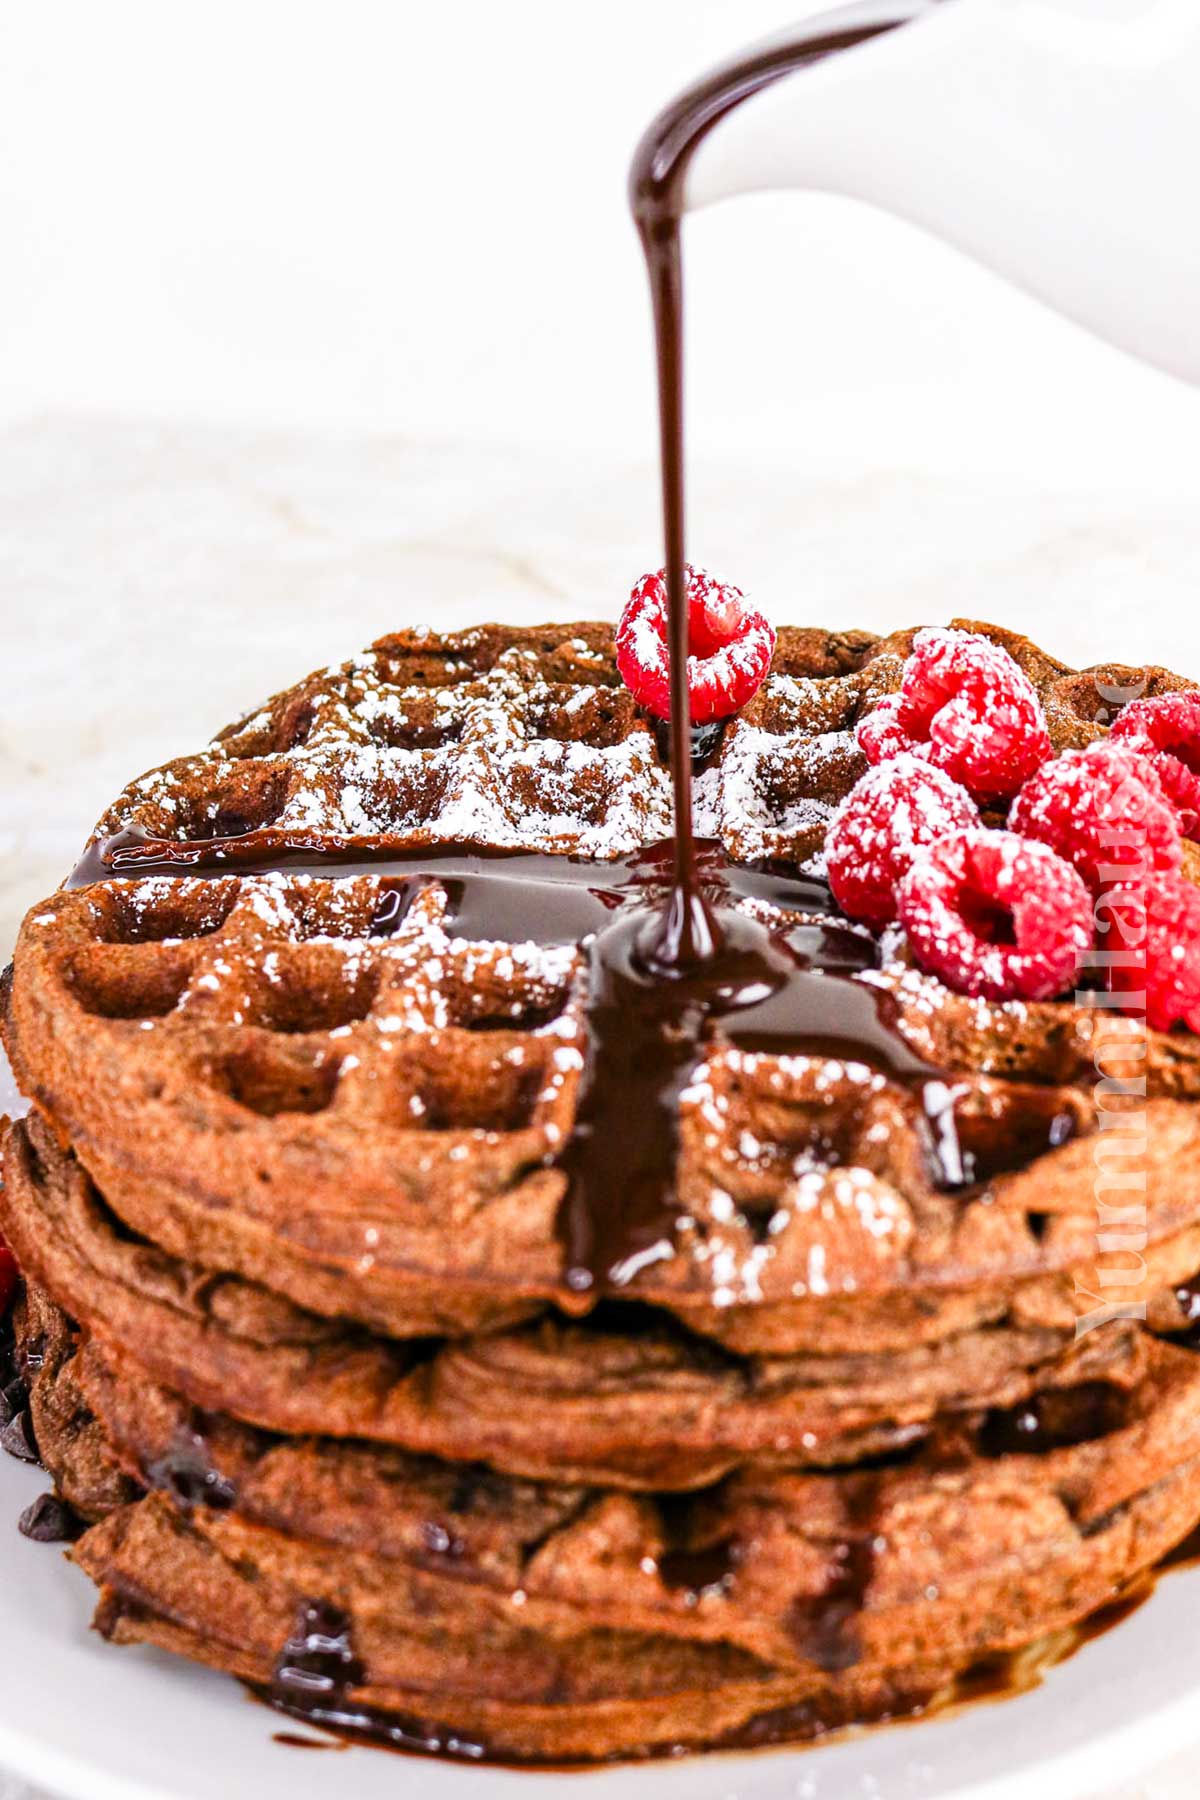
Ingredient Notes
- All-purpose flour: Provides the structure for the waffles while keeping them soft and tender inside.
- Unsweetened cocoa powder: Gives the waffles their rich chocolate flavor without making them overly sweet.
- Granulated sugar: Adds just the right amount of sweetness and helps create a lightly crisp exterior.
- Baking powder: Helps the waffles rise and become light and fluffy.
- Baking soda: Works with the other ingredients to create an airy texture and improve browning.
- Salt: Enhances the chocolate flavor and balances the sweetness.
- Large eggs: Add structure, richness, and help bind the batter together.
- Milk: Adds moisture and creates a smooth, pourable batter.
- Butter (or neutral oil), melted: Adds richness and helps produce tender waffles with crisp edges.
- Vanilla extract: Complements the chocolate and adds warmth and depth of flavor.
- Mini chocolate chips (optional): For extra bursts of chocolate in every bite. Regular chocolate chips can also be used if preferred.
Kitchen Equipment
- Waffle iron
- Large mixing bowl
- Small mixing bowl
- Measuring cups and spoons
- Whisk
- Rubber spatula or wooden spoon
- Ladle or measuring cup for portioning the batter
- Cooking spray or pastry brush for greasing the waffle iron
- Cooling rack or serving plate for finished waffles
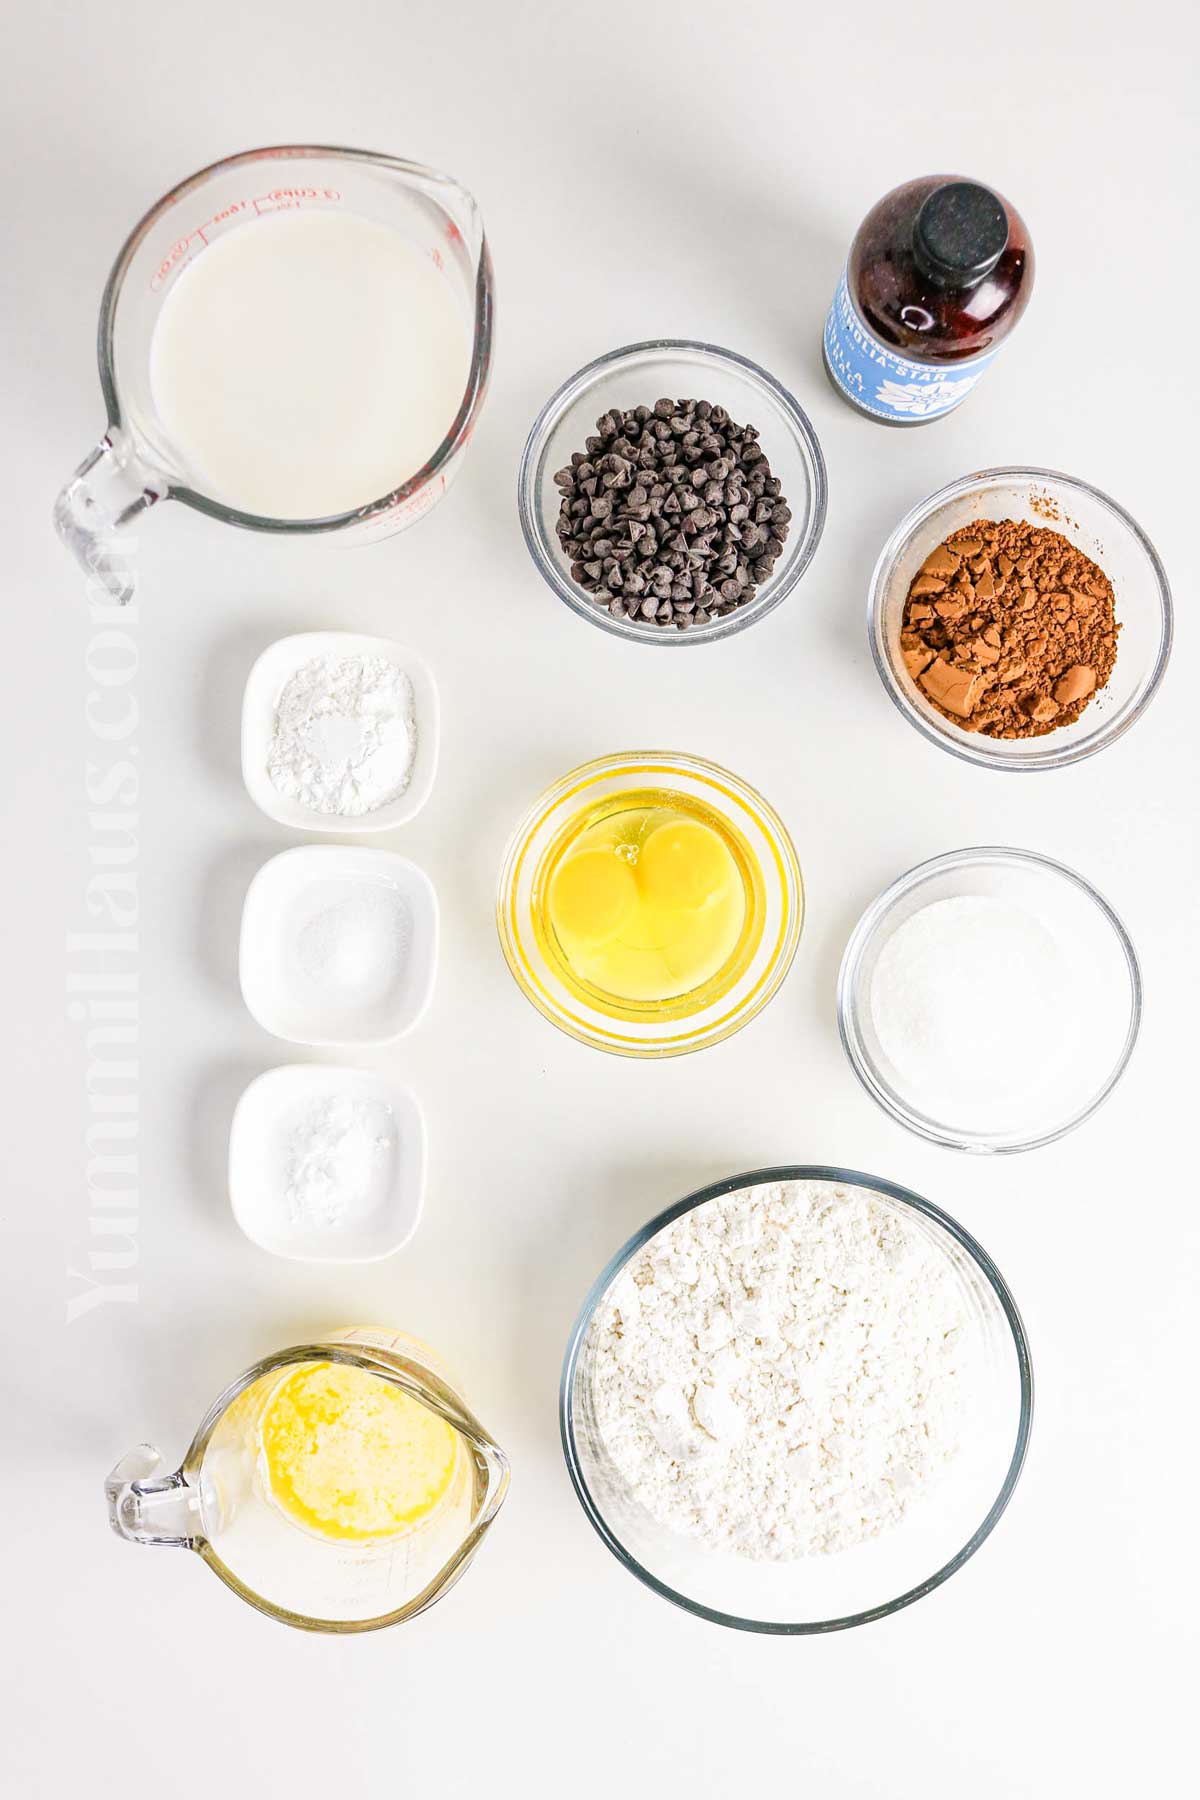
How to Make Chocolate Waffles
- Start by preheating your waffle iron according to the manufacturer’s instructions so it’s nice and hot when your batter is ready.
- In a large mixing bowl, whisk together the flour, cocoa powder, sugar, baking powder, baking soda, and salt until everything is evenly combined.
- In a separate small bowl, whisk the eggs, milk, melted butter, and vanilla extract until smooth and well blended.
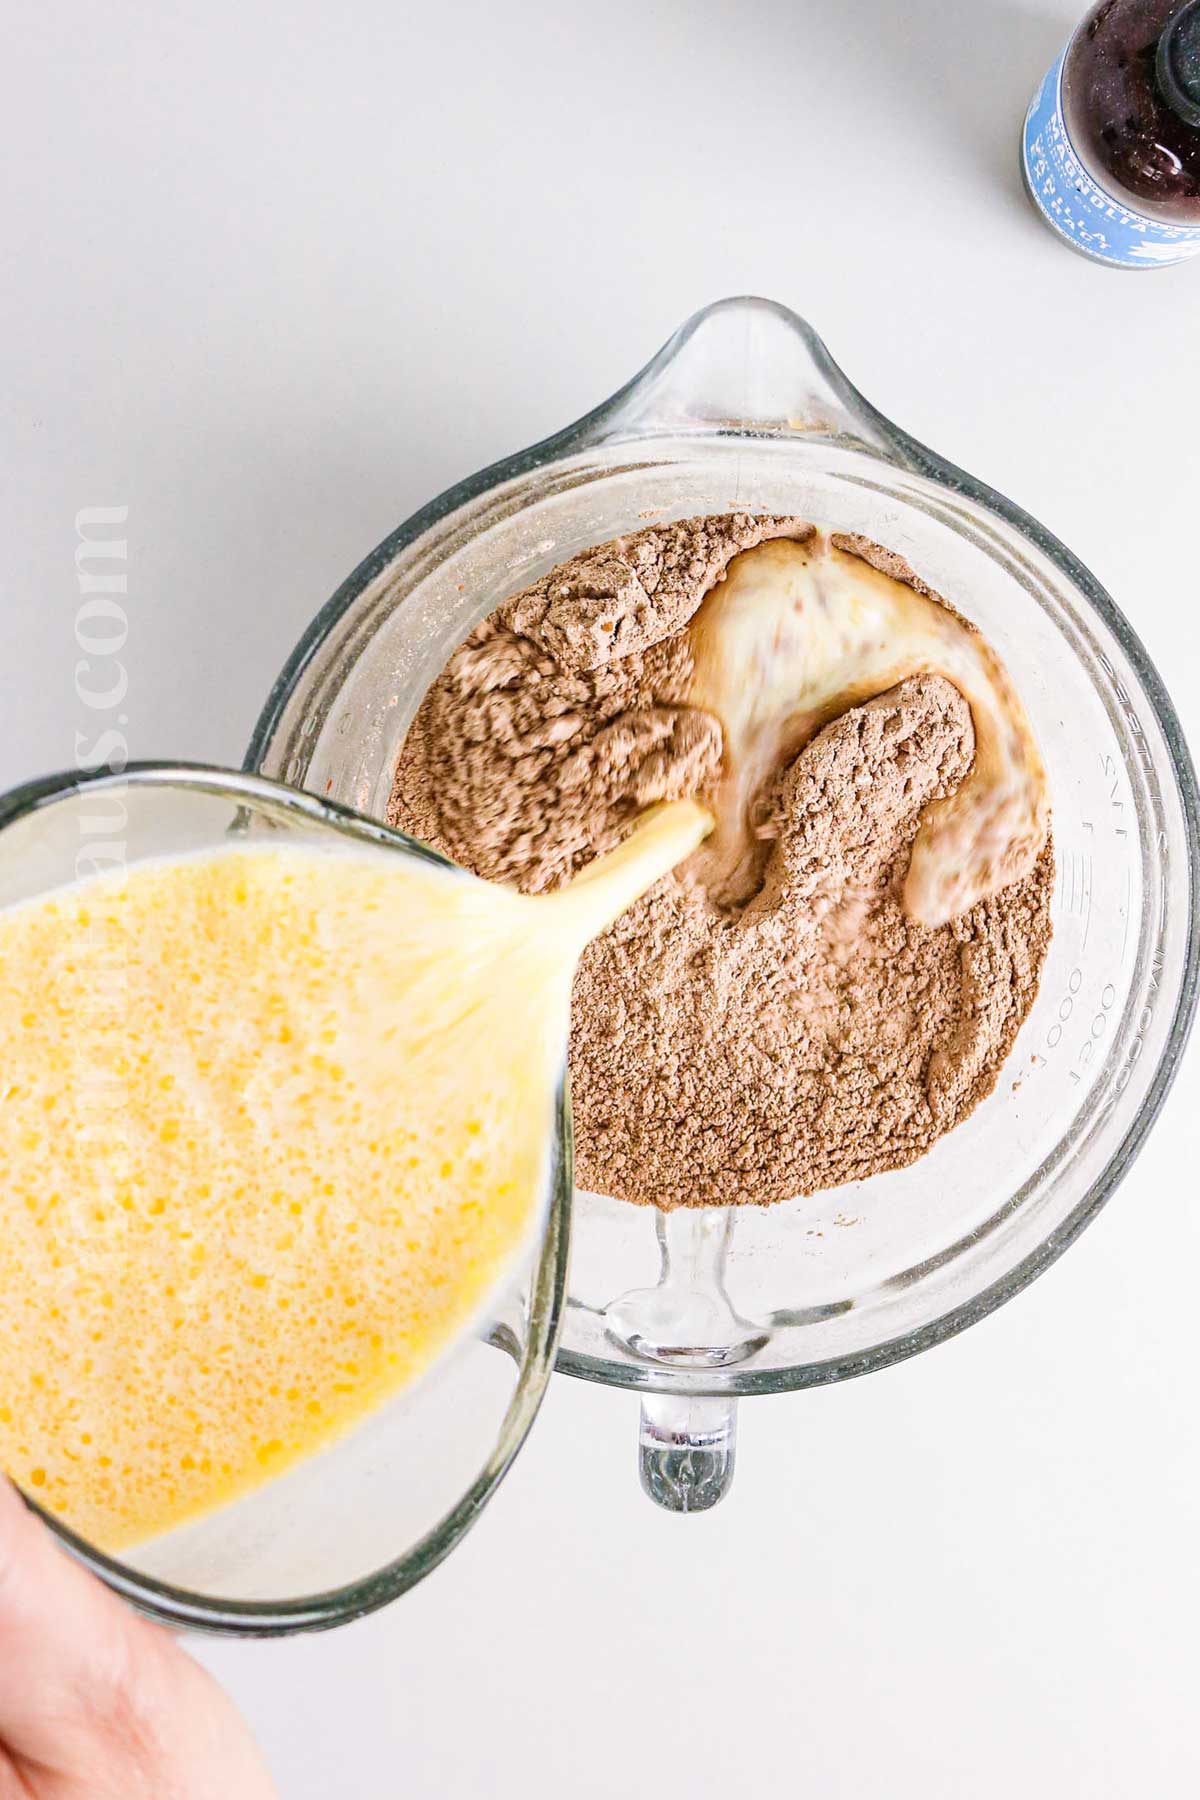
- Pour the wet ingredients into the bowl with the dry ingredients and stir gently until just combined. A few small lumps are perfectly fine—try not to overmix the batter.
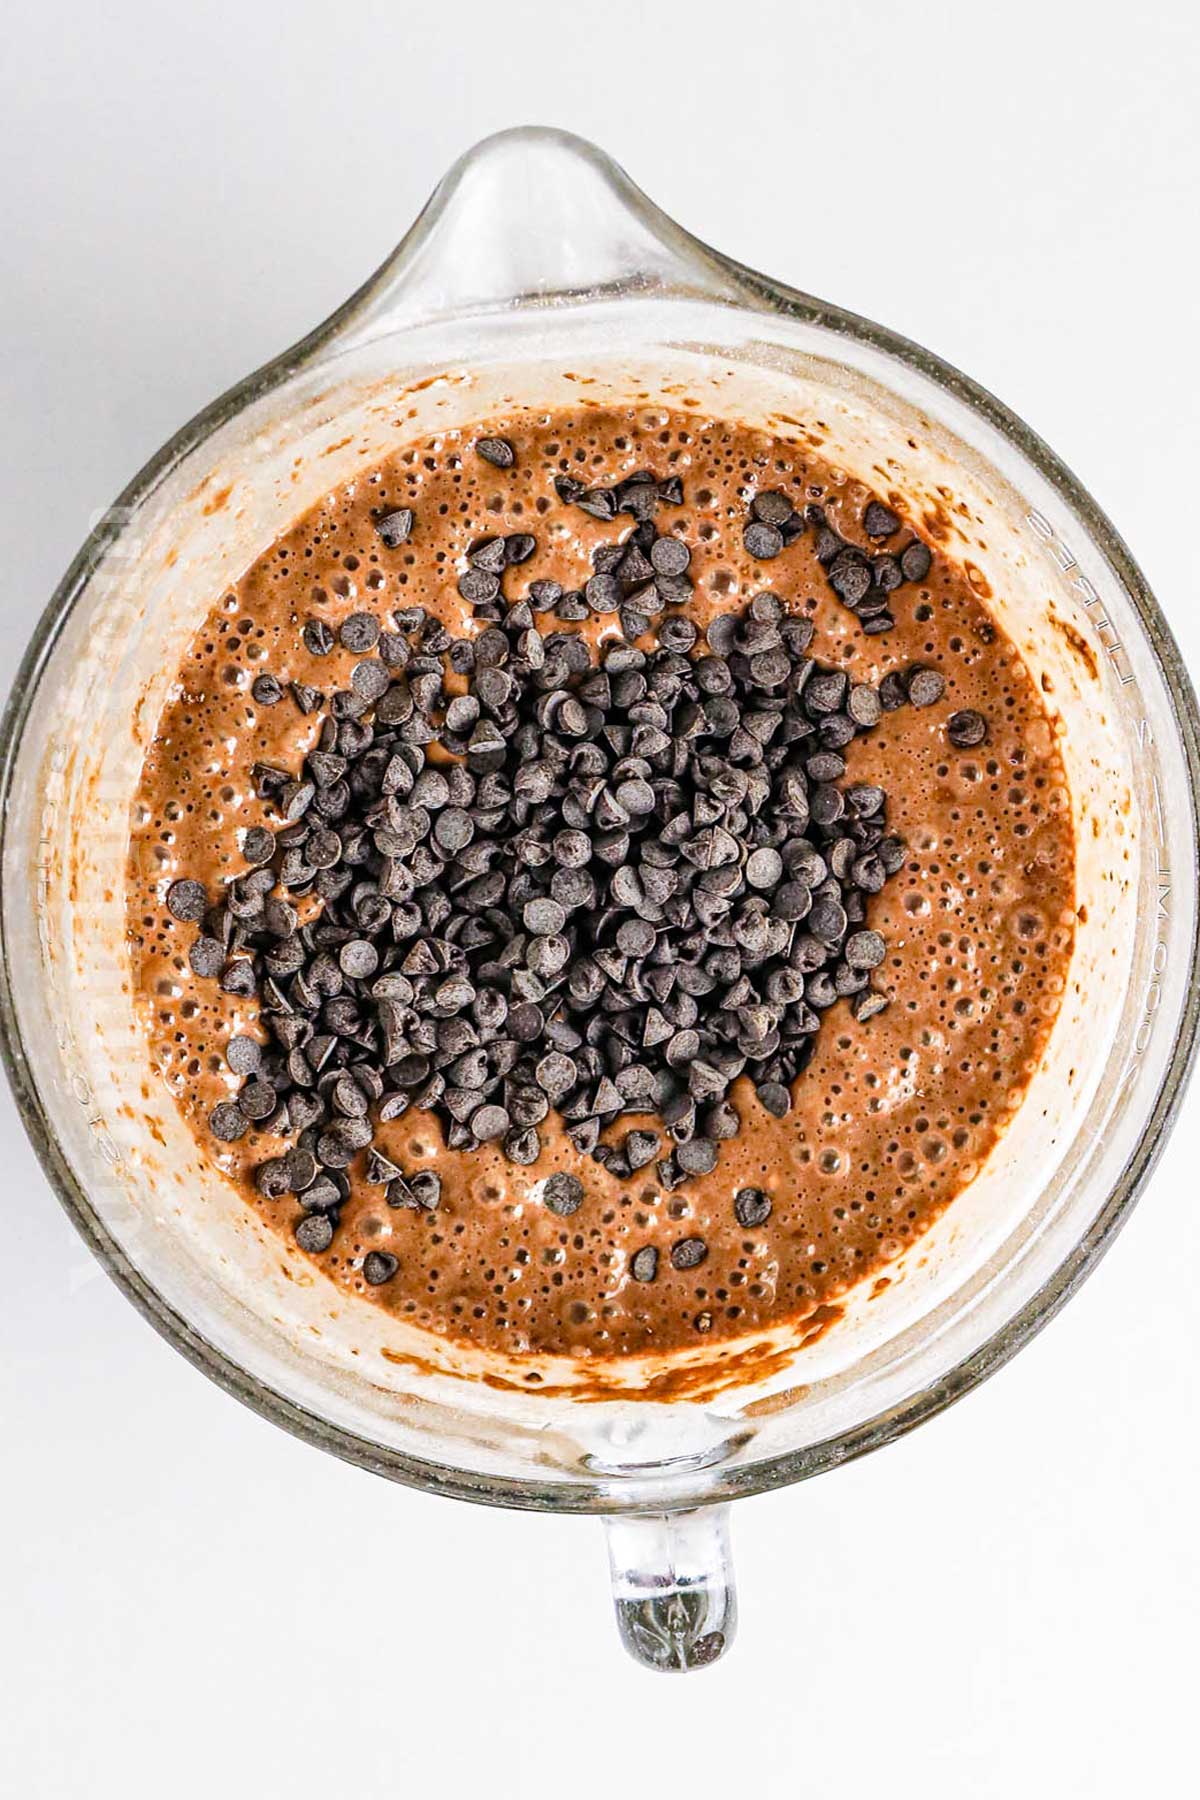
- Fold in the mini chocolate chips, making sure they’re evenly distributed throughout the mixture.
- Lightly grease your waffle iron, pour in the batter, and cook according to your waffle maker’s settings. The waffles are ready when they’re slightly crisp on the outside and release easily from the iron.
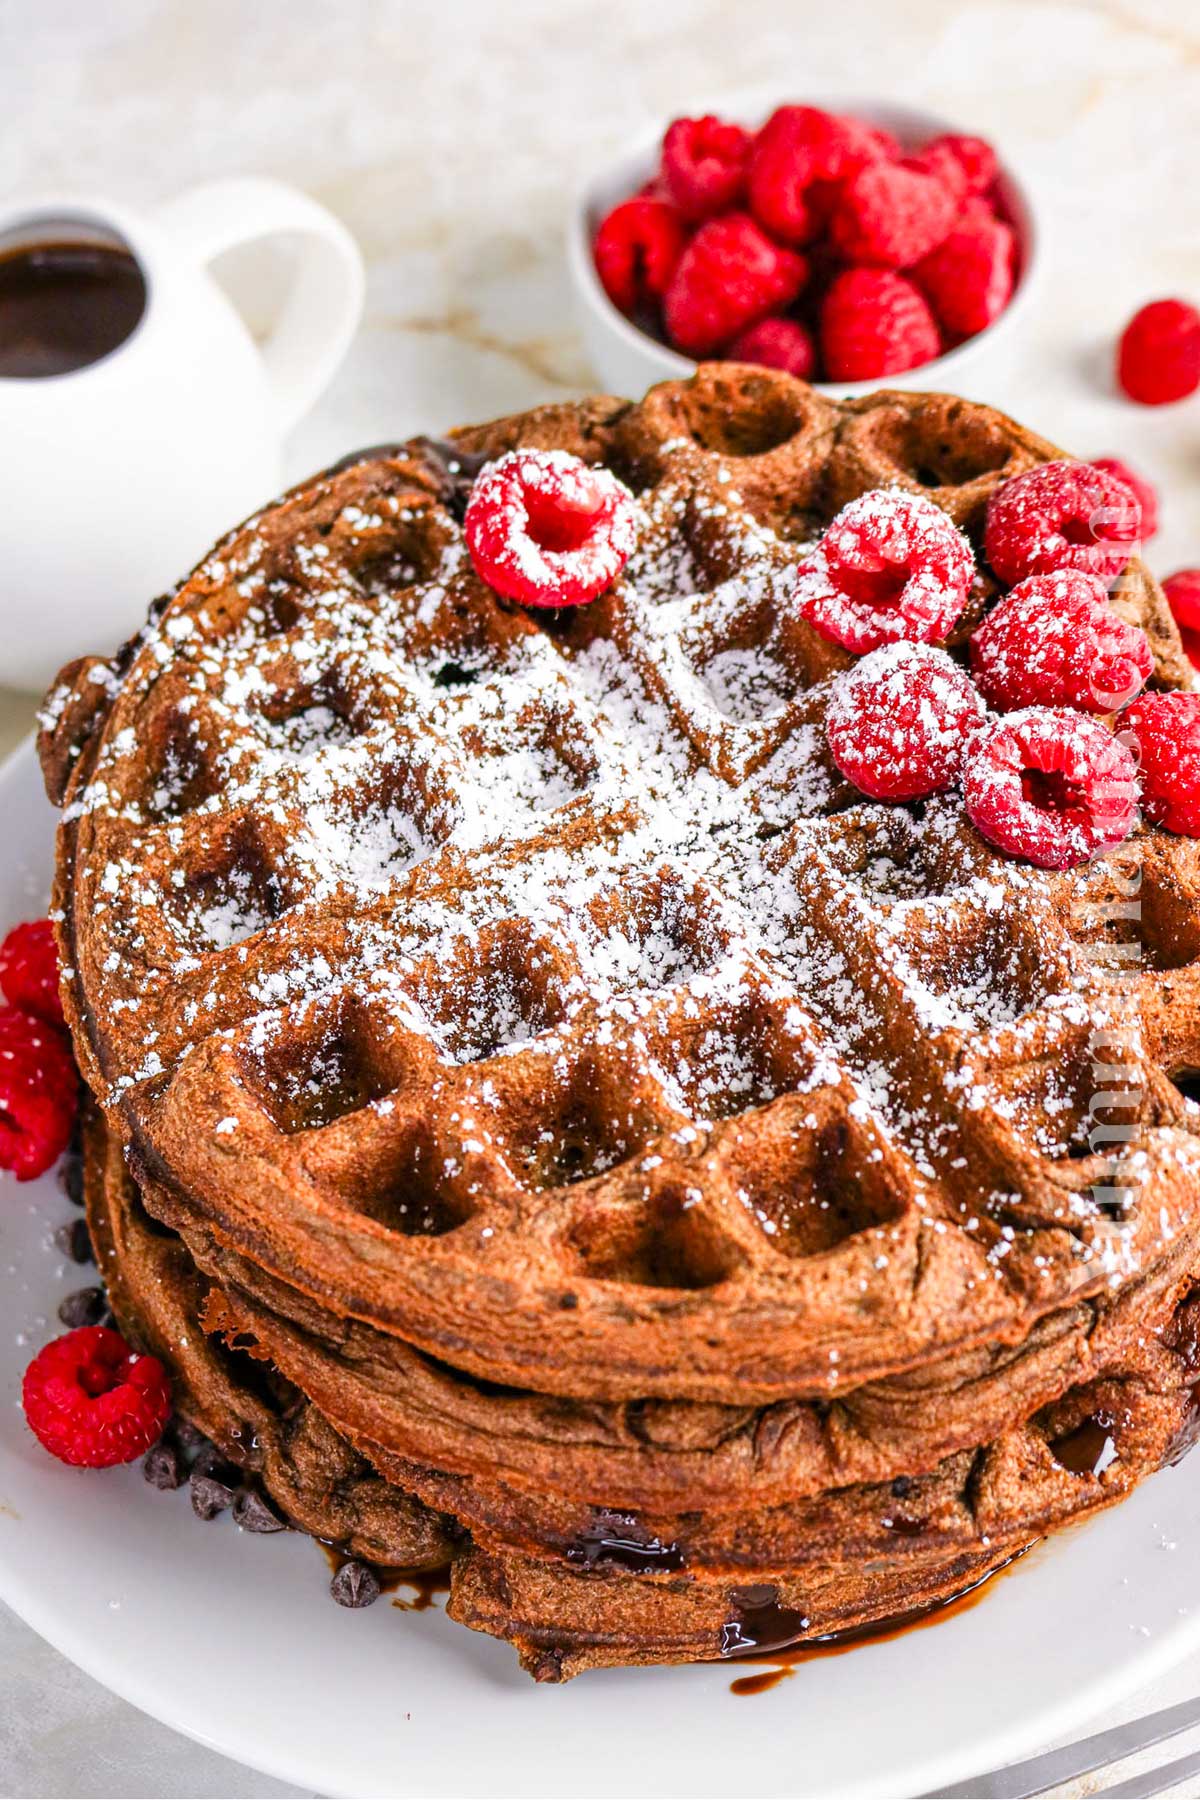
- Serve them warm with your favorite toppings, such as fresh berries, whipped topping, or an extra sprinkle of chocolate morsels.
Variations & Substitutions
Cocoa Powder Options:
You can use either Dutch-processed cocoa powder or regular unsweetened cocoa powder in this recipe. Dutch-processed cocoa powder gives a deeper, richer chocolate flavor and darker color, while regular cocoa provides a more traditional chocolate taste. Both work beautifully.
Flour Swaps:
All-purpose flour is what I typically use, but whole wheat flour makes a good option if you want a heartier, slightly nuttier flavor. You can substitute up to half the all-purpose flour with whole wheat flour without significantly changing the texture.
Milk Choices:
Whole milk creates the richest flavor and texture, but you can use whatever you have on hand. The milk mixture should be at room temperature for easier mixing with the other ingredients. A cup of milk is standard, but any dairy or non-dairy milk works.
Mix-Ins and Toppings:
Fold chocolate chips into the batter for extra chocolate goodness, or try peanut butter chips for a fun twist. Dark chocolate chunks add sophistication, while mini chips distribute more evenly throughout.
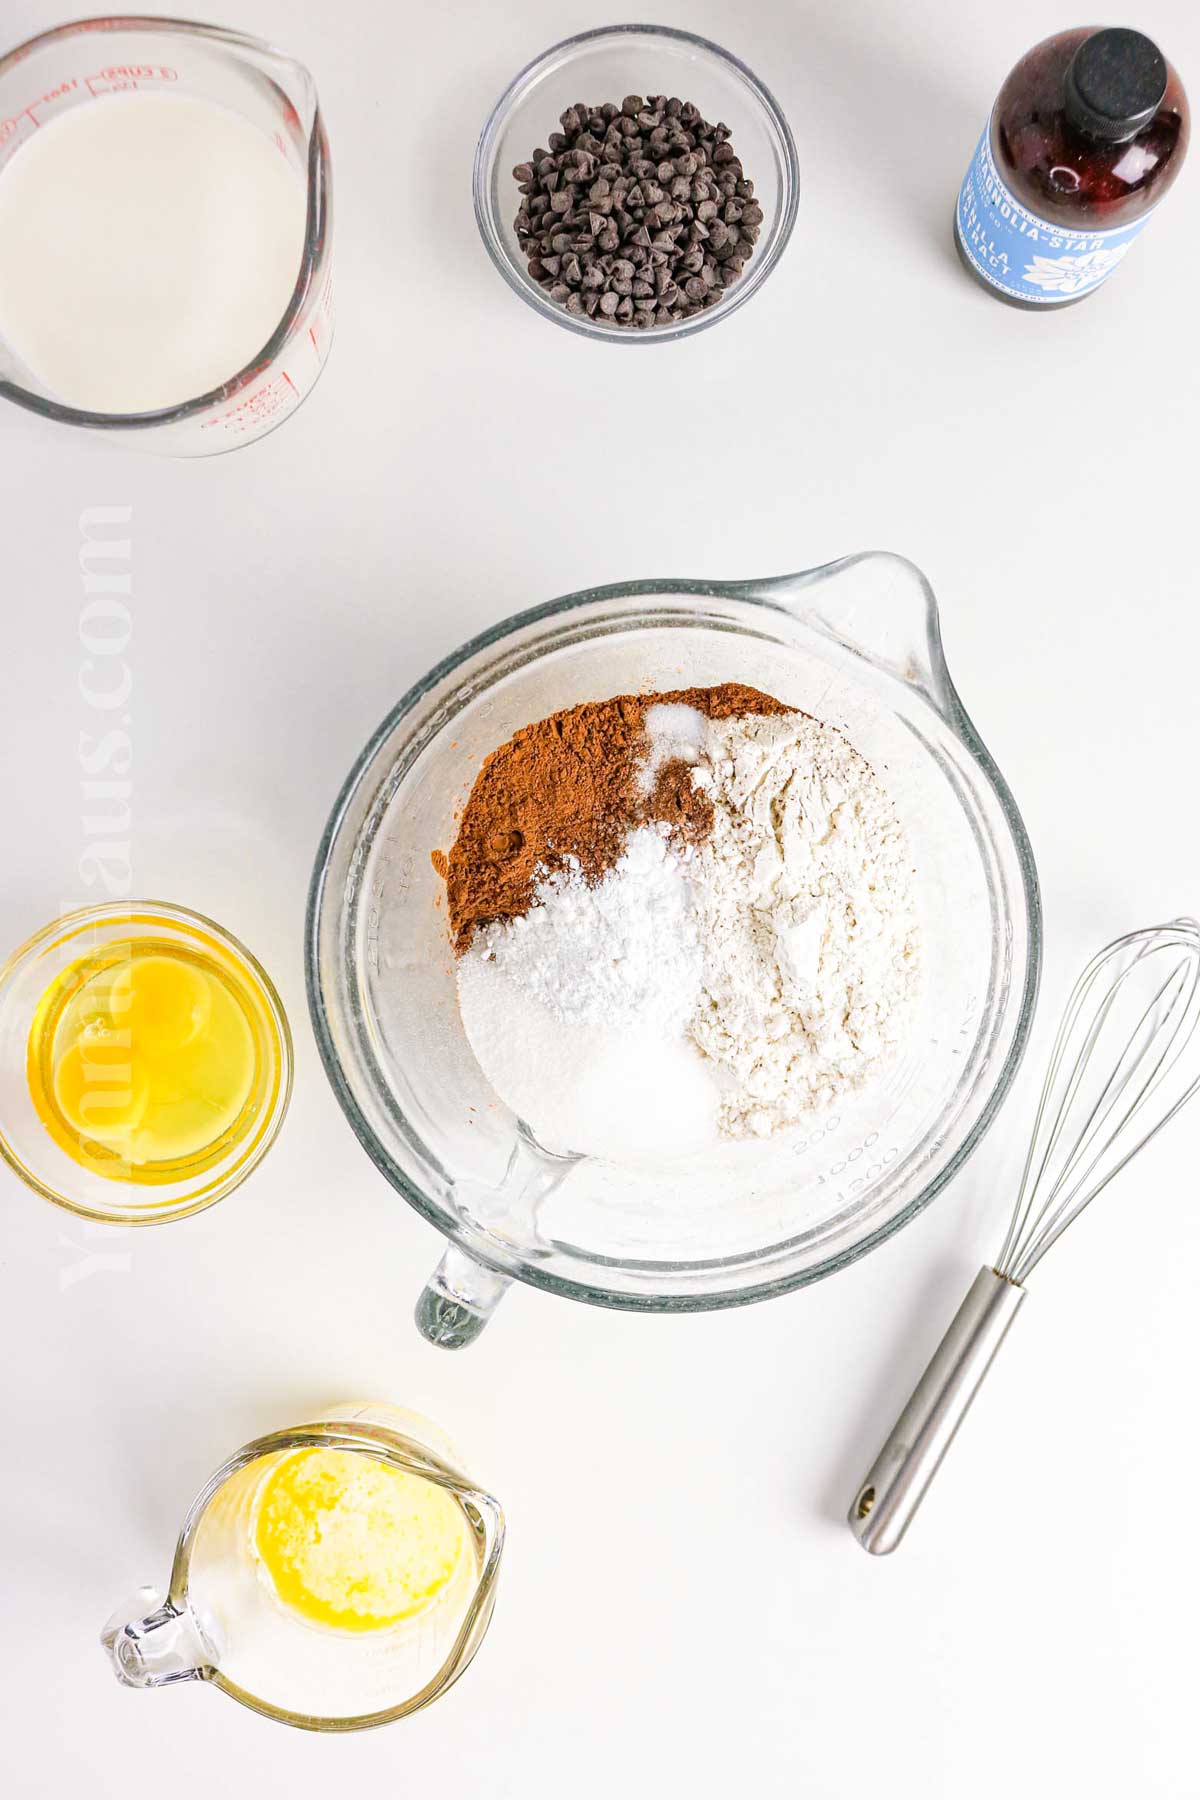
For toppings, the possibilities are endless. Try fresh berries, fresh strawberries, whipped cream, chocolate sauce, chocolate syrup, chocolate ganache, or melted butter. One of my favorite ways to serve these is with fresh fruit and a drizzle of pure maple syrup. You can also create waffle ice cream sandwiches by adding a scoop of ice cream between two waffles.
Storage
Room Temperature:
If you’re planning to eat your waffles within a few hours, you can keep them at room temperature on a cooling rack. Don’t stack them or cover them if you want to maintain that crispy exterior.
Refrigerating:
Leftover chocolate waffles keep well in the refrigerator for up to three days. Let them cool completely on a wire rack first, then store them in an airtight container with parchment paper between layers to prevent sticking.
Freezing:
These waffles freeze beautifully, making them perfect for meal prep. Arrange cooked waffles in a single layer on a baking sheet and freeze until solid, then transfer to a freezer bag. They’ll keep for up to three months. This is honestly one of the best ways to always have homemade waffles ready.
Reheating:
For crispier waffles, reheat them in your toaster or toaster oven. This brings back that crispy exterior better than the microwave. You can also warm them in a 350-degree oven on a baking sheet for about five minutes. If it’s your first time reheating frozen waffles, don’t thaw them first; just pop them straight from the freezer into the toaster for the best results.
Expert Tips
Prep Your Waffle Iron the Right Way:
Always preheat your waffle maker properly and use non-stick spray even if it has a non-stick surface. This ensures easy release and that perfect golden brown color. Wait for the indicator light to show it’s ready before adding your first cup of batter.
Don’t Overmix:
When combining your flour mixture with the wet ingredients, mix until just combined. A few lumps are perfectly fine and actually preferred. Overmixing develops gluten and makes tough, dense waffles instead of fluffy ones.
The Perfect Batter Consistency:
Your chocolate waffle batter should be thick but still pourable. If it seems too thick, add a little bit more milk, one tablespoon at a time. Too thin, and your waffles won’t be crispy.
Add Vanilla Extract:
Don’t skip the vanilla extract! It enhances the chocolate flavor and adds depth to the overall taste. This little bit of flavor makes a noticeable difference.
Use the Right Amount:
Depending on your waffle iron size, you’ll typically use about a cup of the batter or slightly less. Don’t overfill, or you’ll have a mess. It’s better to use a little bit less and get a perfect waffle than to overfill and have batter oozing everywhere.
Keep Them Crispy:
Place finished waffles on a wire rack instead of stacking them. If you need to keep them warm while finishing a batch, put the cooling rack in a 200-degree oven. This keeps them warm while maintaining that crispy exterior.
Belgian vs. Traditional:
This recipe works for both Belgian waffles and traditional waffles. Belgian waffle makers create thicker waffles with deeper pockets, perfect for holding toppings, while regular waffles are thinner and crispier.
Room Temperature Ingredients:
Let your eggs and milk come to room temperature before mixing. This helps everything incorporate more smoothly and creates better texture in your final product.
FAQ’s
Why are my waffles not crispy?
Several factors affect crispiness. Make sure you’re cooking them long enough to get that golden brown color, place them on a wire rack instead of stacking, and don’t cover them while they’re still warm. Using melted butter in the batter instead of oil also helps create crispier waffles.
How much batter should I use per waffle?
This depends on your specific waffle maker, but generally a cup of batter or about three-quarters of a cup works well. Check your waffle iron’s instructions, and after making your first waffle, you’ll know exactly how much to use.
What’s the difference between Dutch-processed and regular cocoa powder?
Dutch-processed cocoa powder has been treated to neutralize its acidity, resulting in a darker color and mellower, deeper chocolate flavor. Regular unsweetened cocoa powder is more acidic with a sharper chocolate taste. Both work in this recipe, so use what you have.
Can I make the batter ahead of time?
While fresh batter gives the best results, you can make it up to 24 hours ahead and store it in the refrigerator. Give it a gentle stir before using, and you may need to add a little bit of milk if it has thickened. The waffles might not be quite as fluffy as fresh batter, but they’ll still be delicious.
How do I know when the waffles are done?
Most waffle makers have an indicator light, but you’re generally looking for steam to stop coming out and for the waffles to be golden brown. They should release easily from the waffle iron when ready. If they’re sticking, they likely need another 30 seconds to a minute.
If you love this waffle recipe, you’re going to love these other waffle recipes, too. Please click each link below to find the easy, printable recipe!




More Great Recipes for Toppings
CONNECT WITH YUMMI HAUS!
Be sure to follow me on my social media, so you never miss a post!


Chocolate Waffles

Ingredients
- 1 ¾ cups all-purpose flour
- ⅓ cup unsweetened cocoa powder
- ¼ cup granulated sugar
- 1 tablespoon baking powder
- ½ teaspoon baking soda
- ¼ teaspoon salt
- 2 large eggs
- 1 ¾ cups milk
- ⅓ cup butter or neutral oil, melted
- 1 teaspoon vanilla extract
- ½ cup mini chocolate chips optional
Instructions
- Preheat your waffle iron according to the manufacturer’s instructions.
- Whisk the flour, cocoa powder, sugar, baking powder, baking soda, and salt in a large mixing bowl until well combined.
- Whisk the eggs, milk, melted butter, and vanilla extract in a small bowl until smooth.
- Pour the wet ingredients into the dry ingredients and stir just until combined, being careful not to overmix.
- Fold in mini chocolate chips.
- Lightly grease the waffle iron, add the batter, and cook to the maker’s settings. The waffles should be slightly crisp on the outside and release easily from the maker.
- Serve warm, topped with berries, whipped topping, and/or chocolate morsels.
Equipment
- waffle maker
Nutrition
Nutritional information for the recipe is provided as a courtesy and is approximate. Please double-check with your own dietary calculator for the best accuracy. We at Yummi Haus cannot guarantee the accuracy of the nutritional information given for any recipe on this site.







Share Your Thoughts