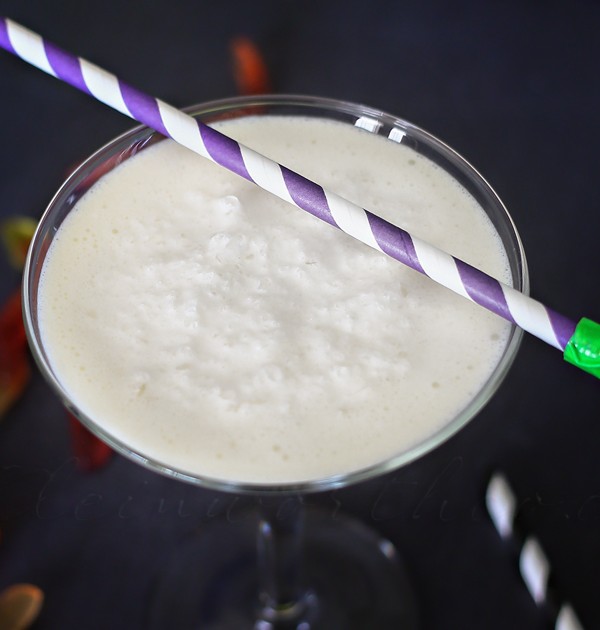
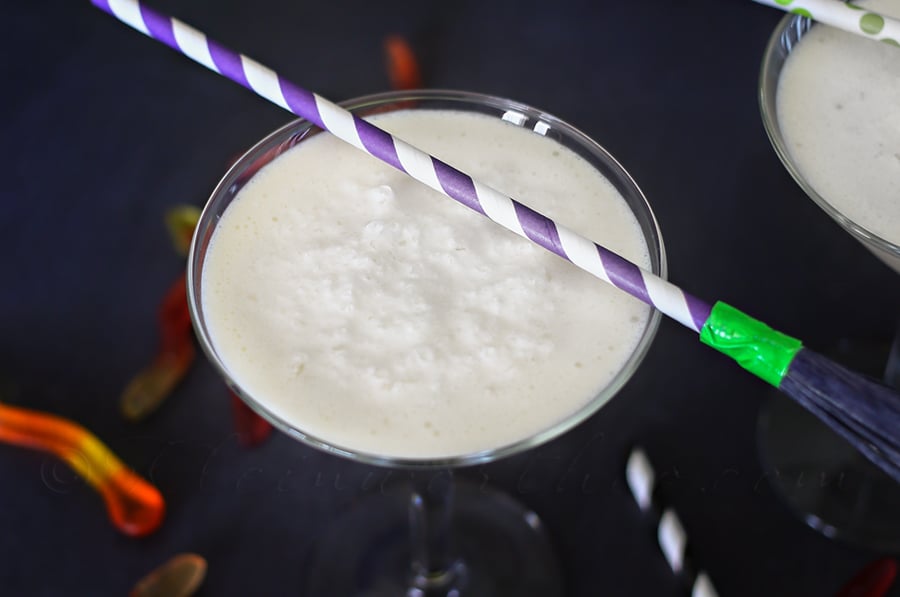
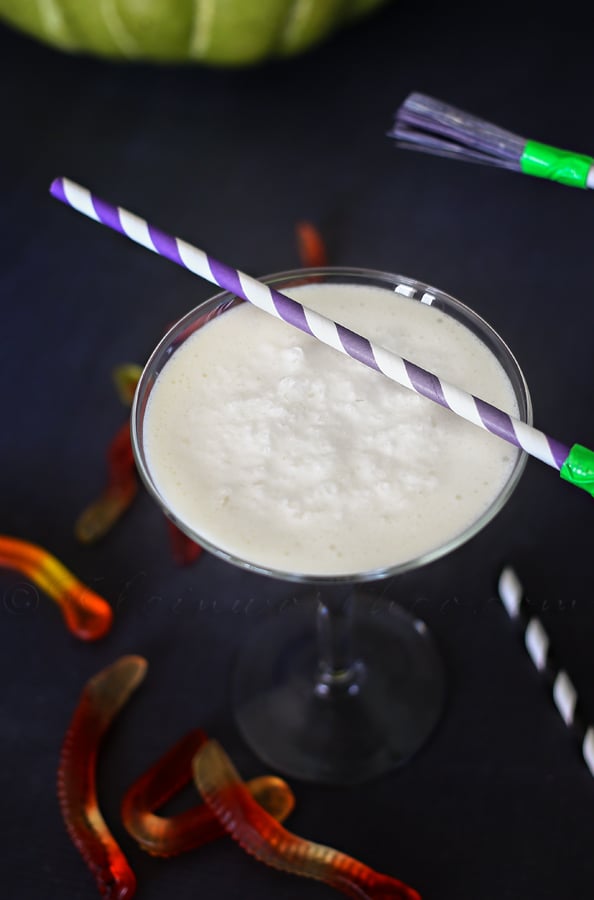
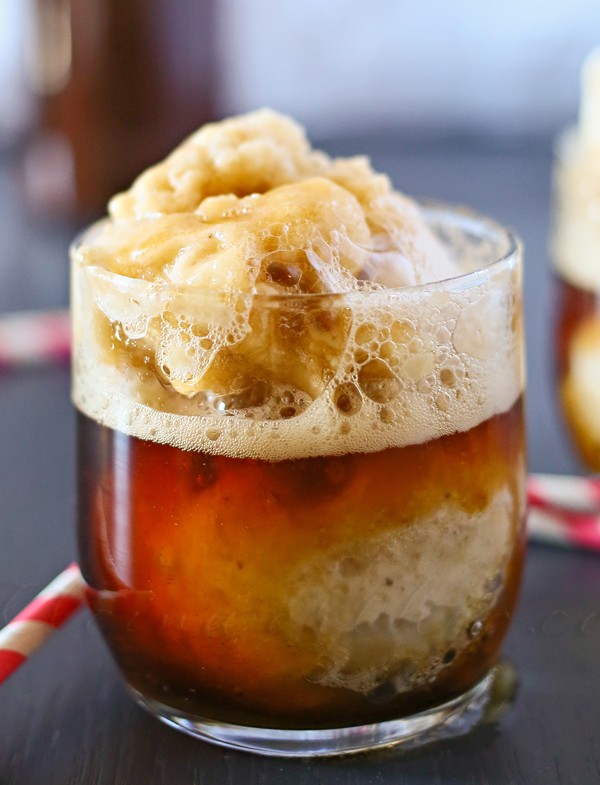
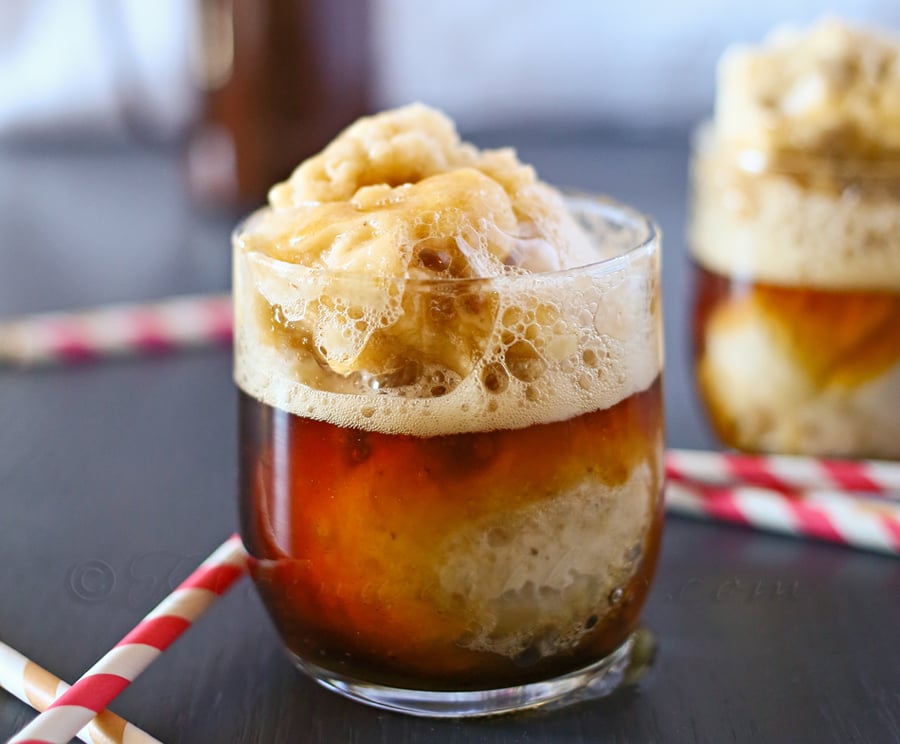
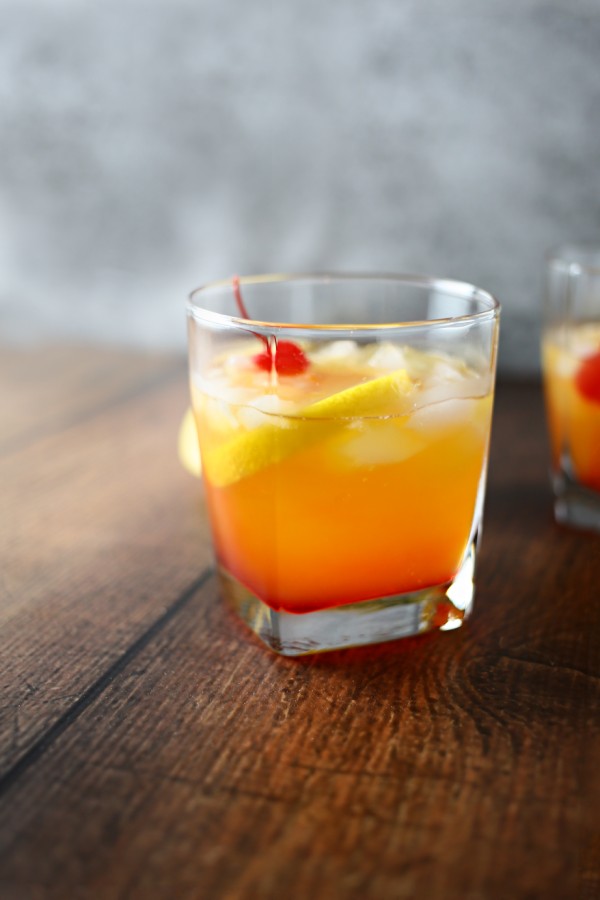
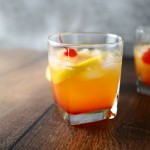
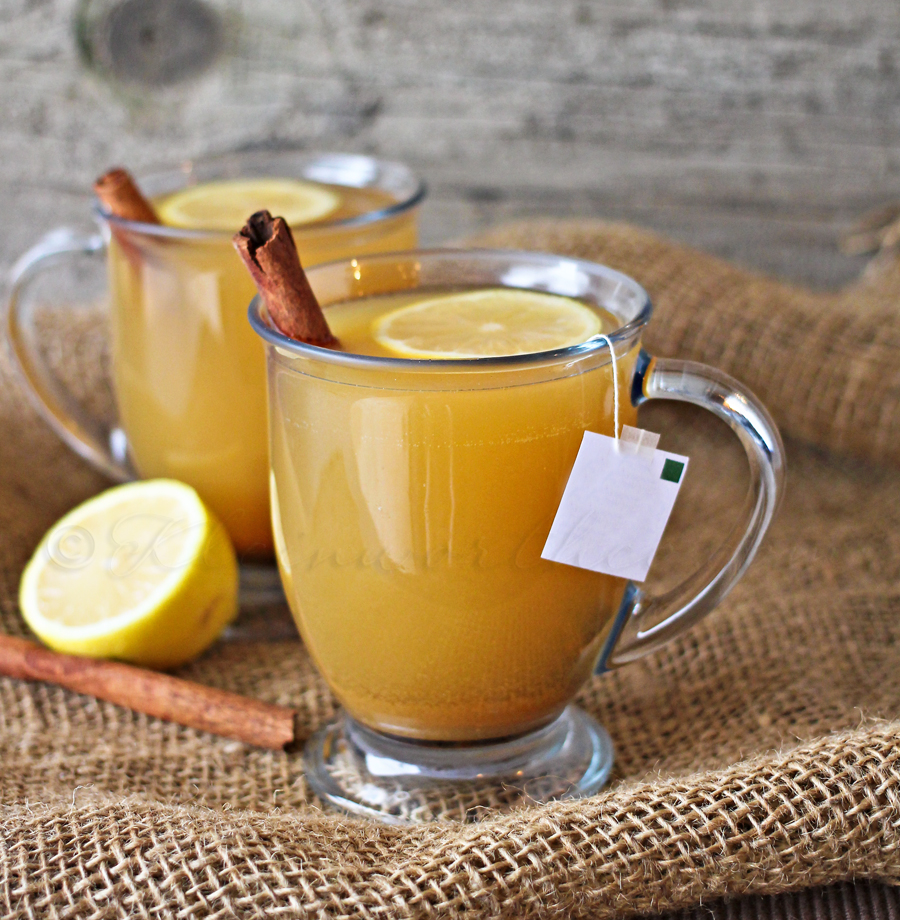
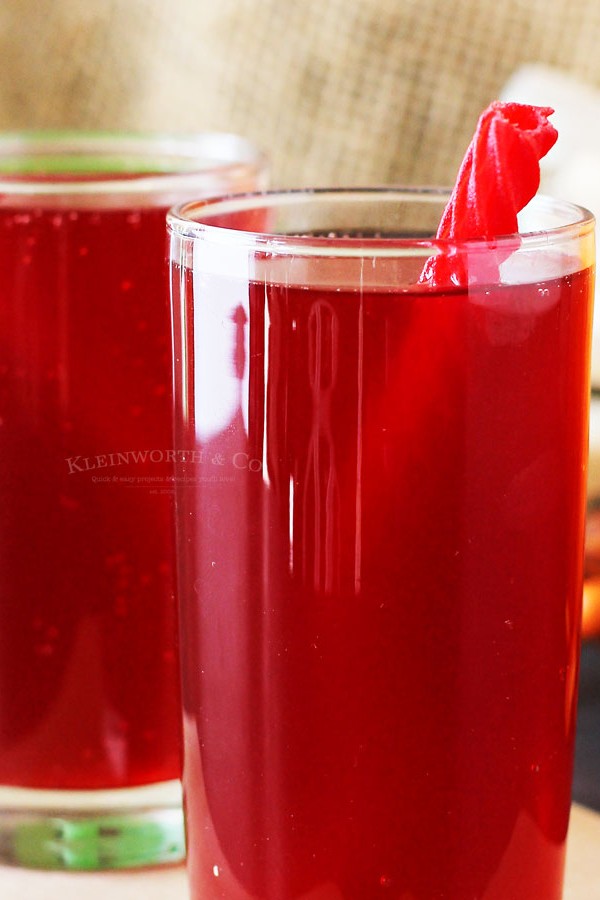
When I was a kid my best friend & I would throw a Halloween party every year, usually a couple days before Halloween. We would alternate houses for hosting, my mom would sew us matching costumes & a good portion of the school would attend. It was a great time every year. Do you usually go to a Halloween party?? How about hosting one?? If you do – I have the perfect easy cocktail for you to add to your party menu. This White Witch Cocktail is just a couple ingredients & whips together in just a few seconds. It will definitely keep all your party guests happy! I like this recipe because it’s made for adults – but it’s so simple to just omit the alcohol if you want to make a kid friendly version.
So maybe you don’t have a party going on this year.
You can still whip one of these up to enjoy while you pass out candy.
So for the kid friendly version – omit the vodka & creme de cacao.
Replace with milk & a splash of vanilla. Now everyone can have one.
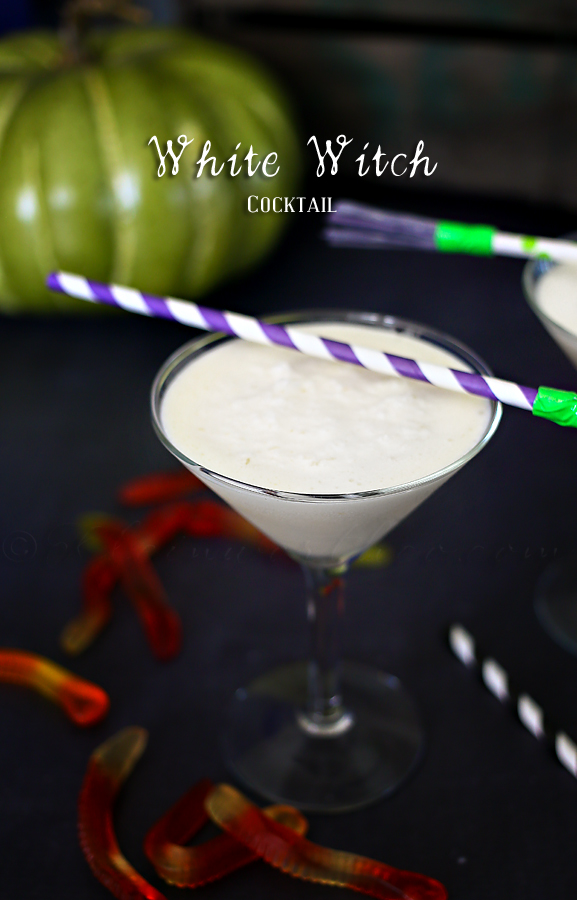
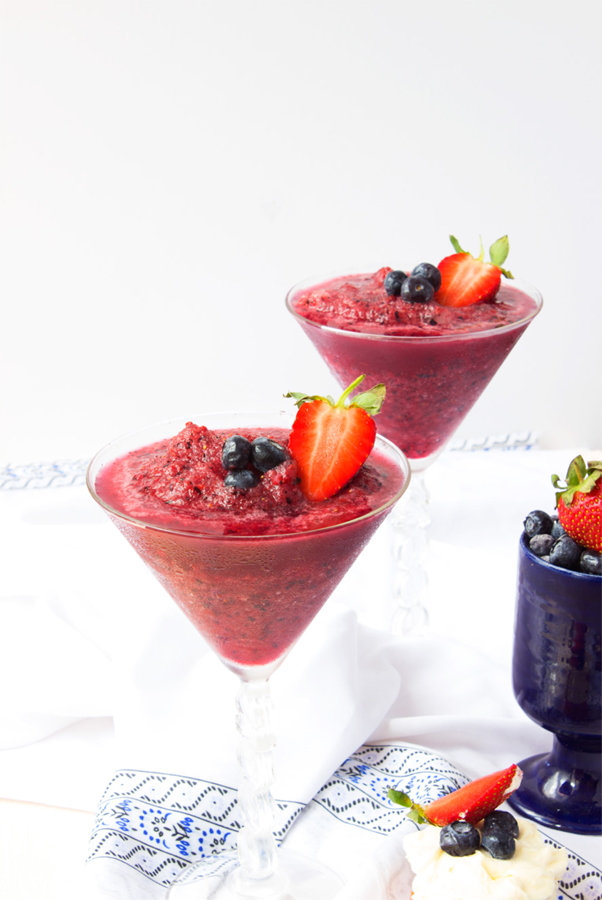
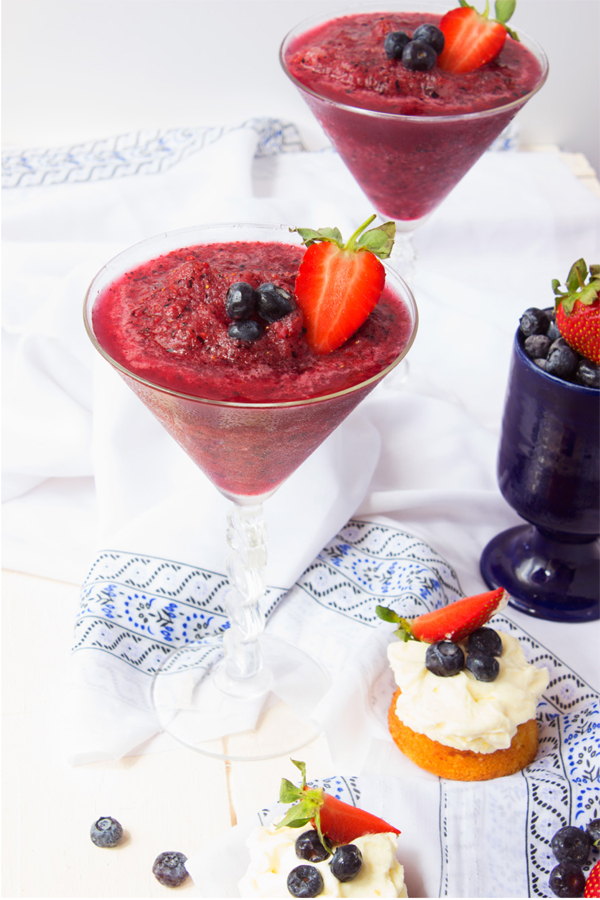
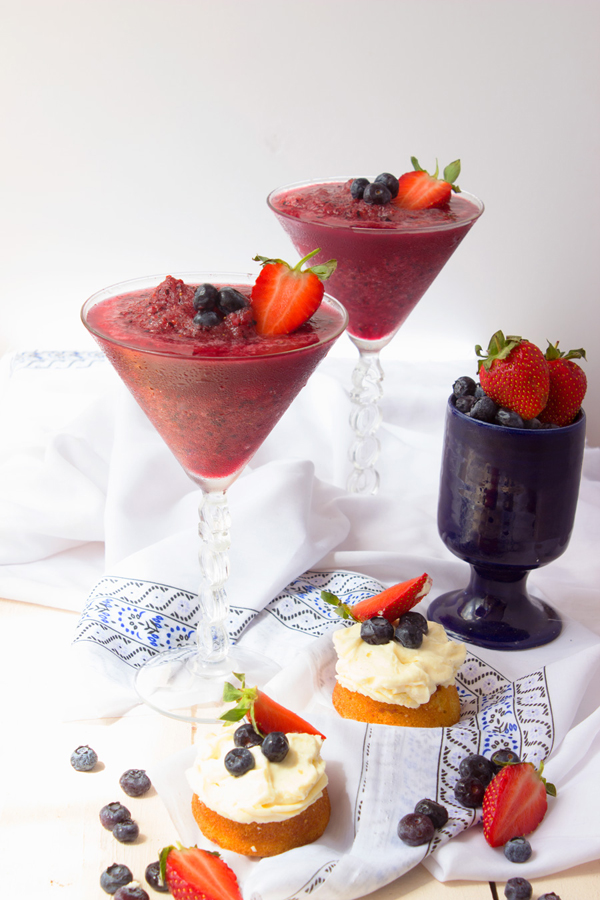
White Witch Cocktail
Ingredients
- **Recipe is per person serving
- 1/2 cup vanilla ice cream
- 1 ounce vodka
- 1 ounce white creme de cacao
- 1/4 cup ice
Instructions
- Add all ingredients to your blender & blend on high 10-15 seconds
- Once you reach a smoothie consistency - pour into our serving glass (martini glass or goblet)
- Garnish with a witch's broom straw
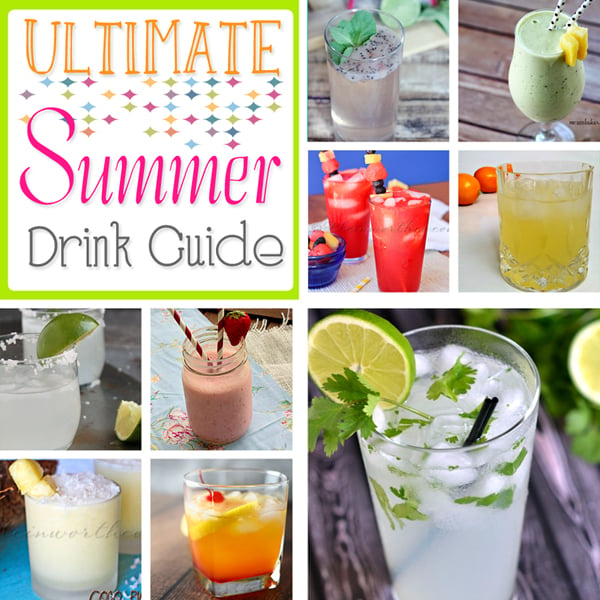
Want more great beverages?
To see where I am linking today- visit HERE


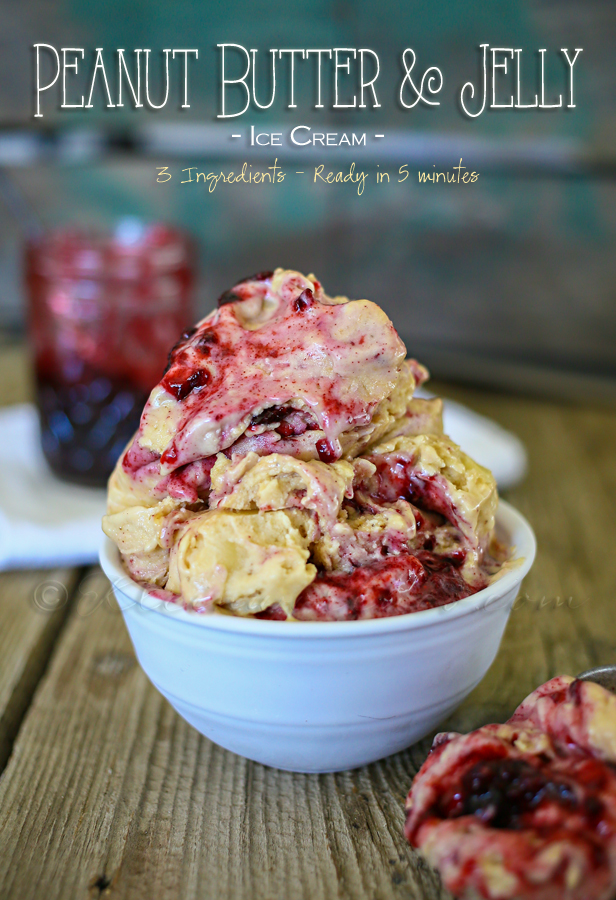


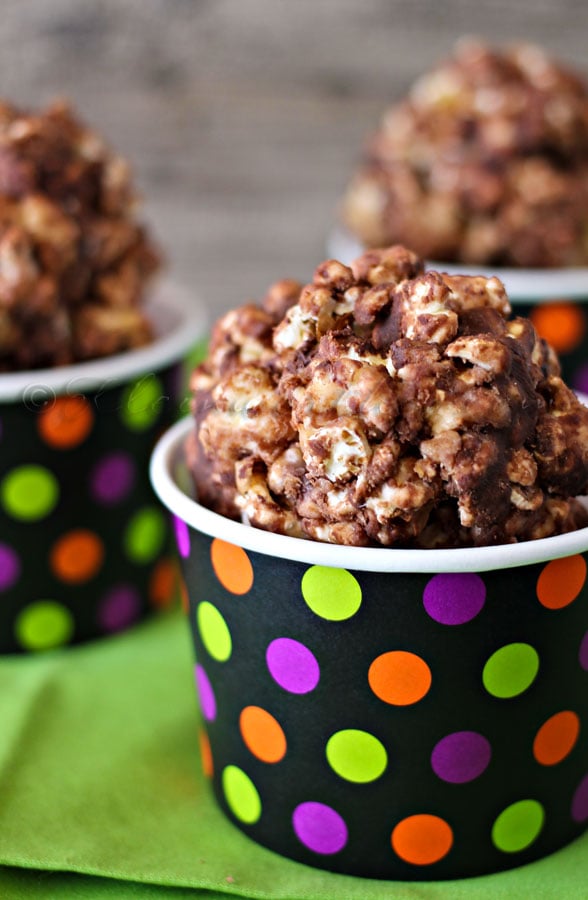
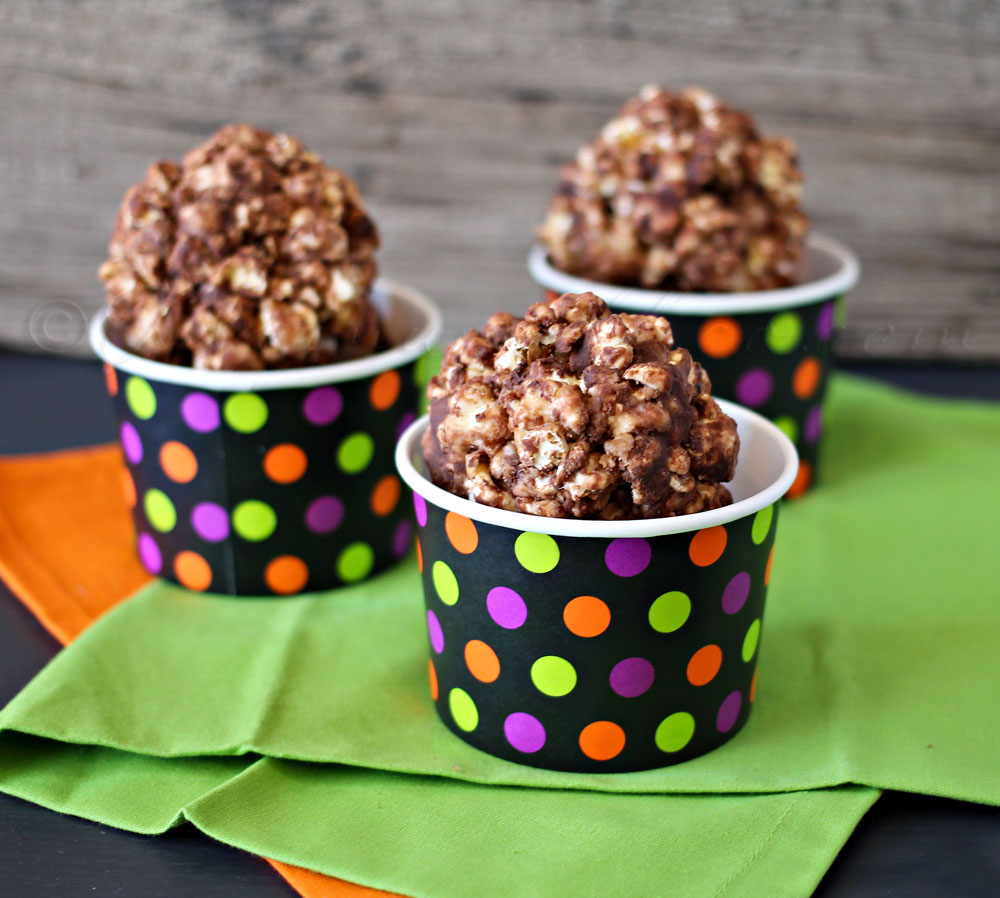

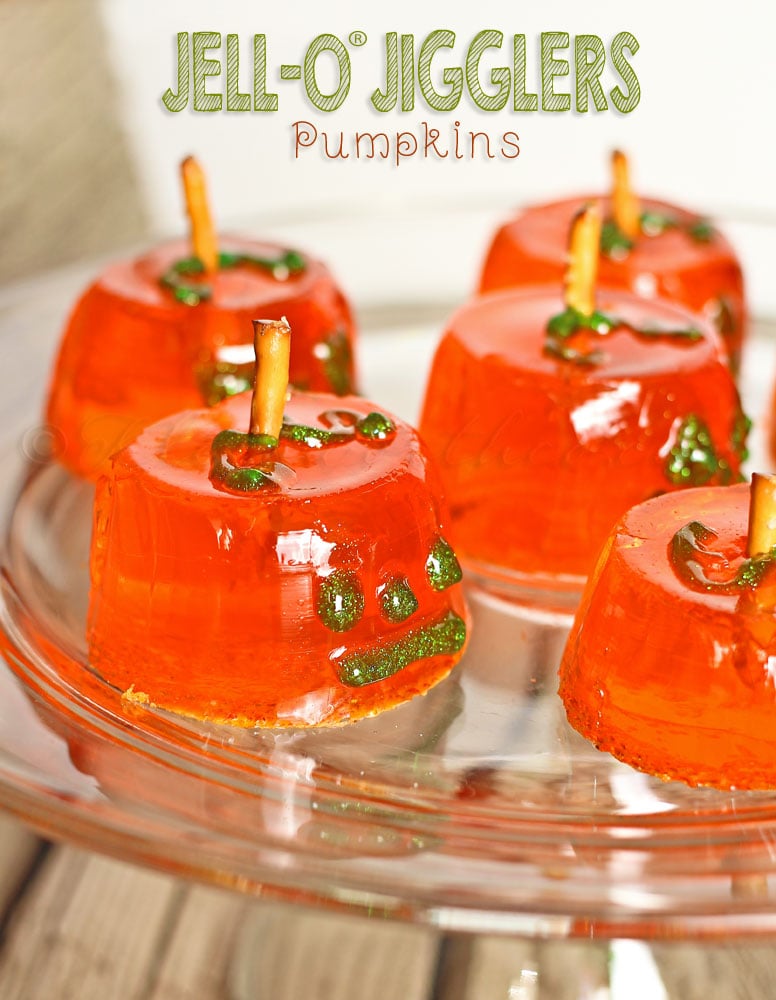
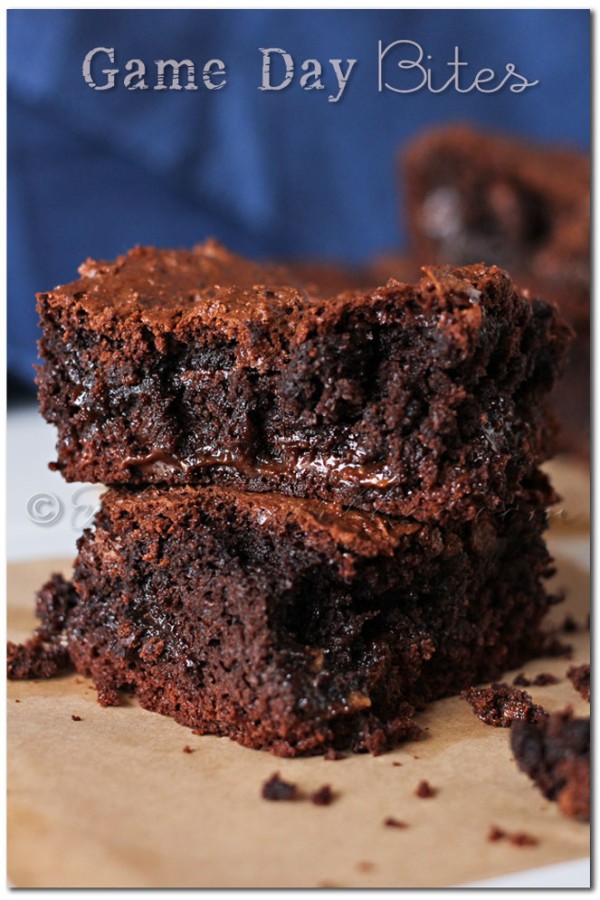
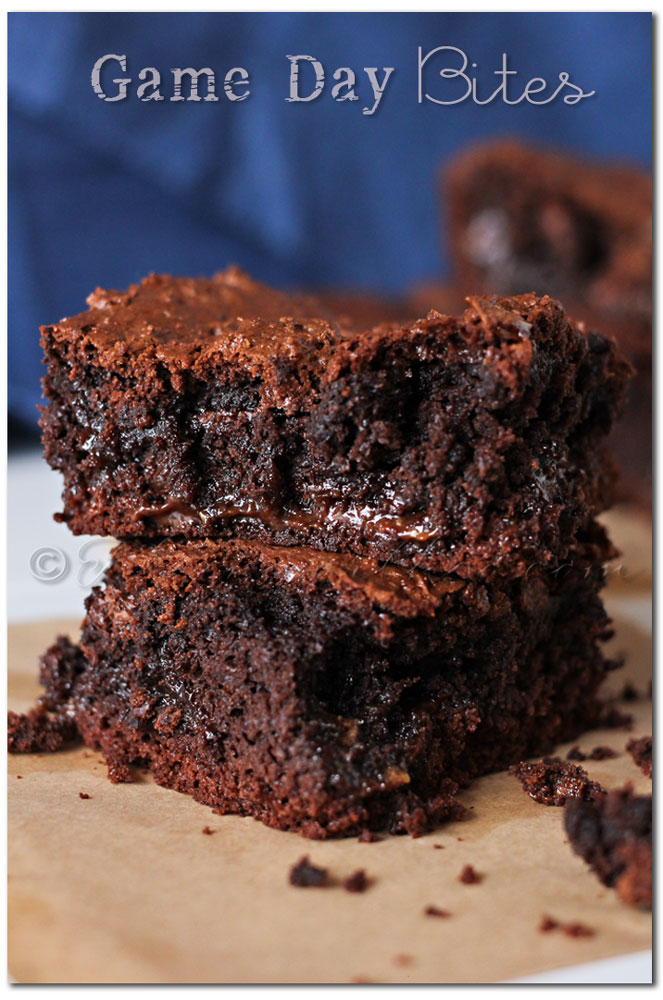
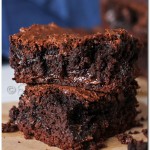
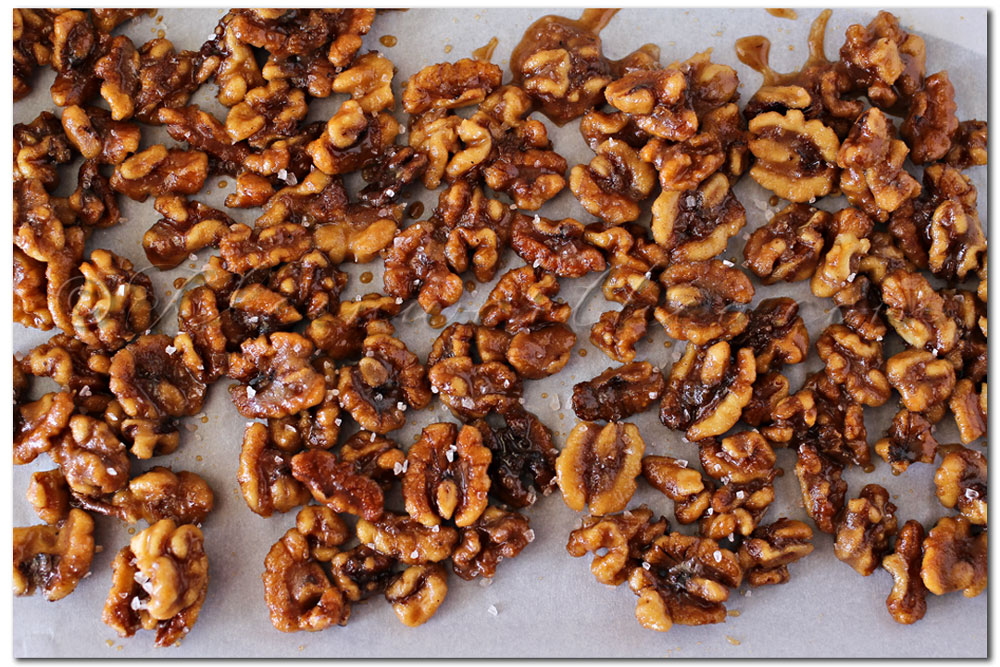
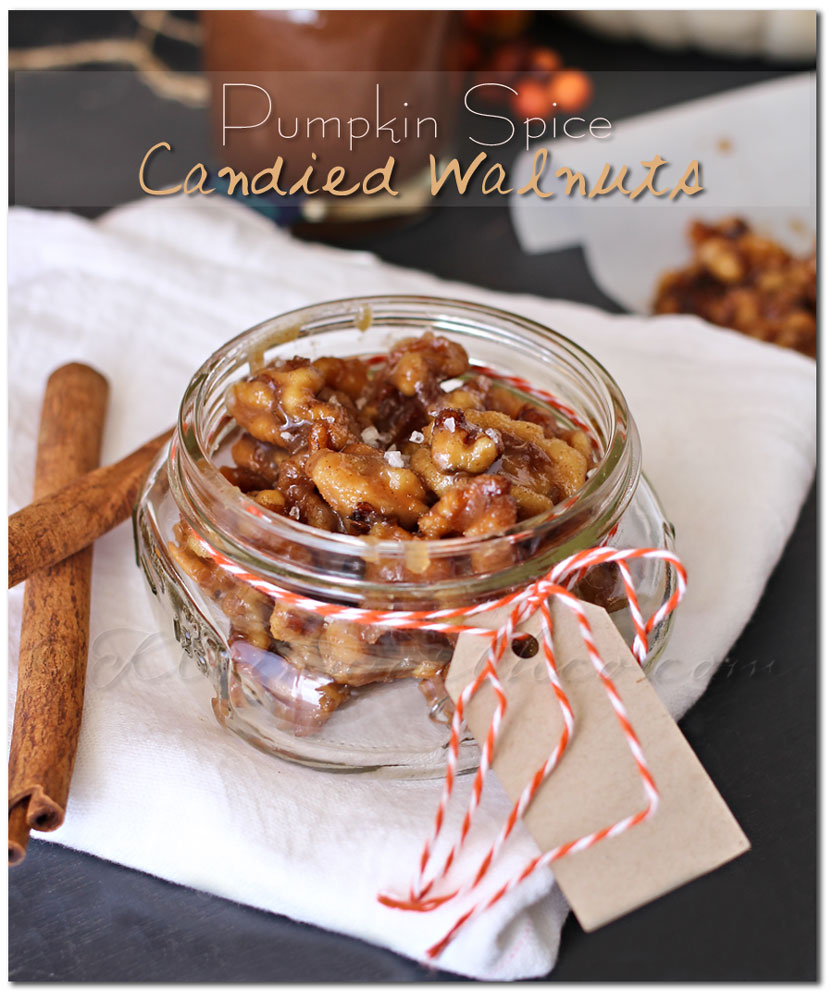
 Oh my goodness- I could eat the whole batch in one sitting.

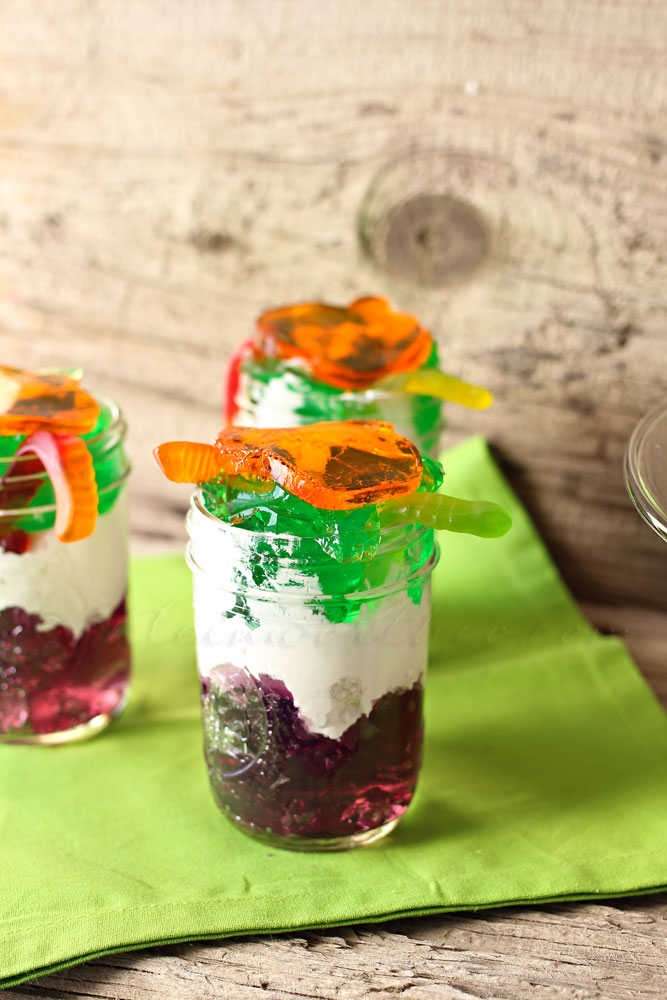 I also made some regular JELL-O® in Grape & Lime & layered it in these jars with some Whipped Cream & Gummy Worms.
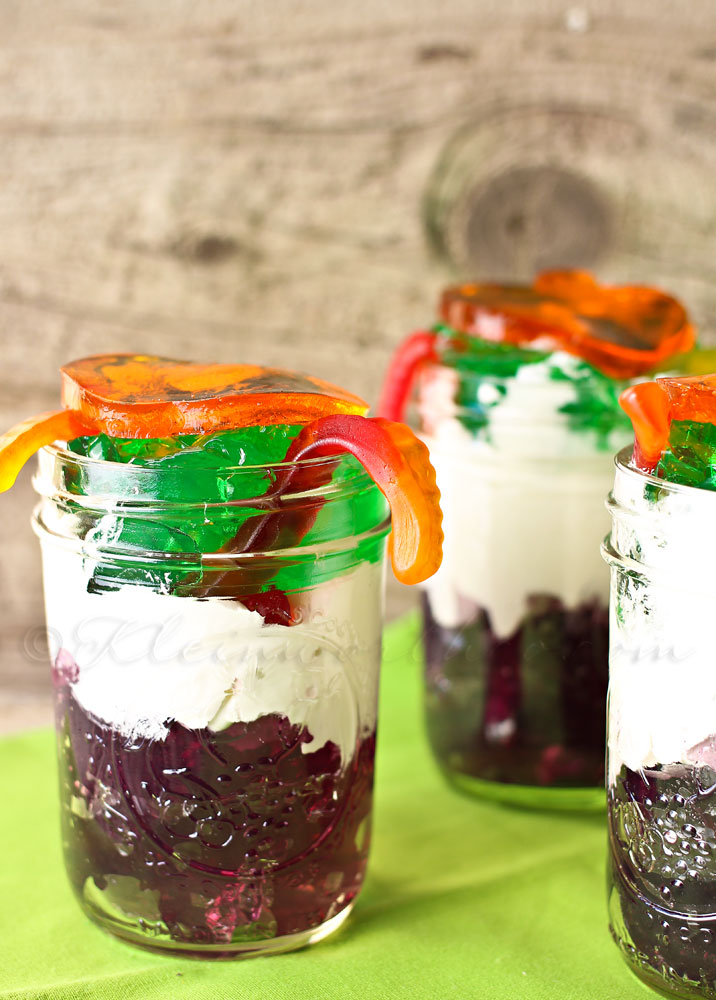 They had such a great time helping me with making them too.

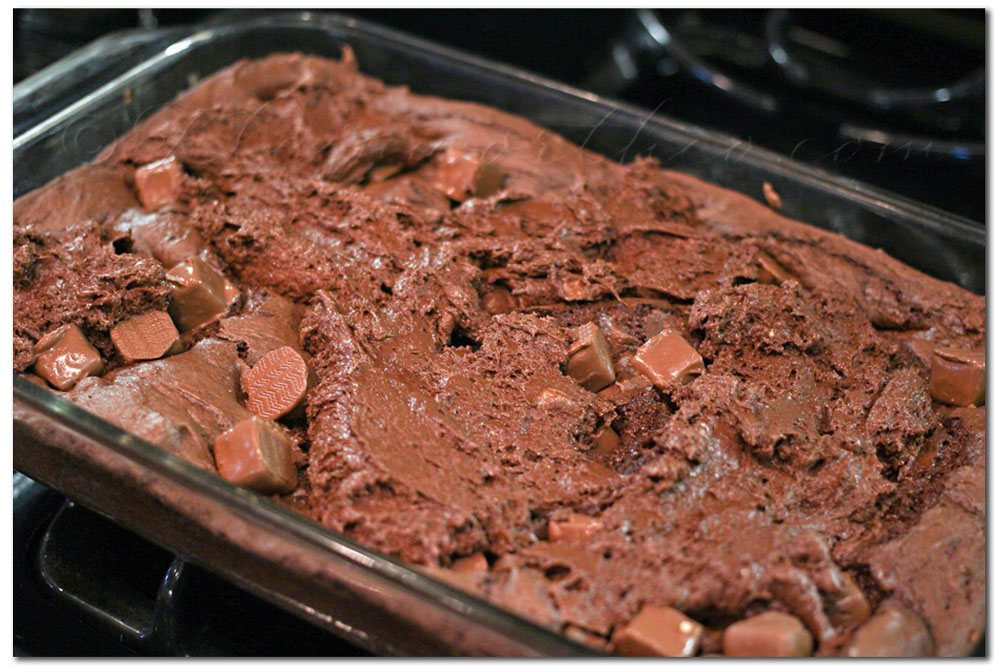
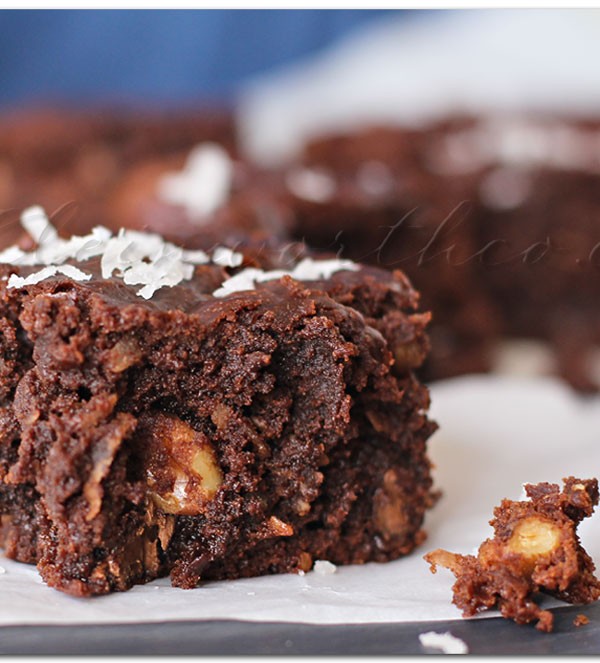
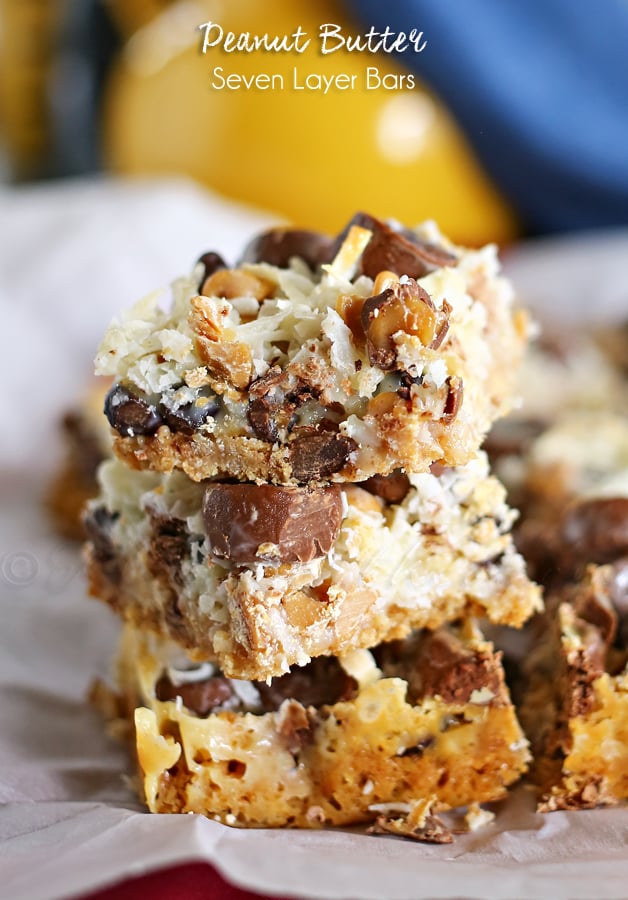
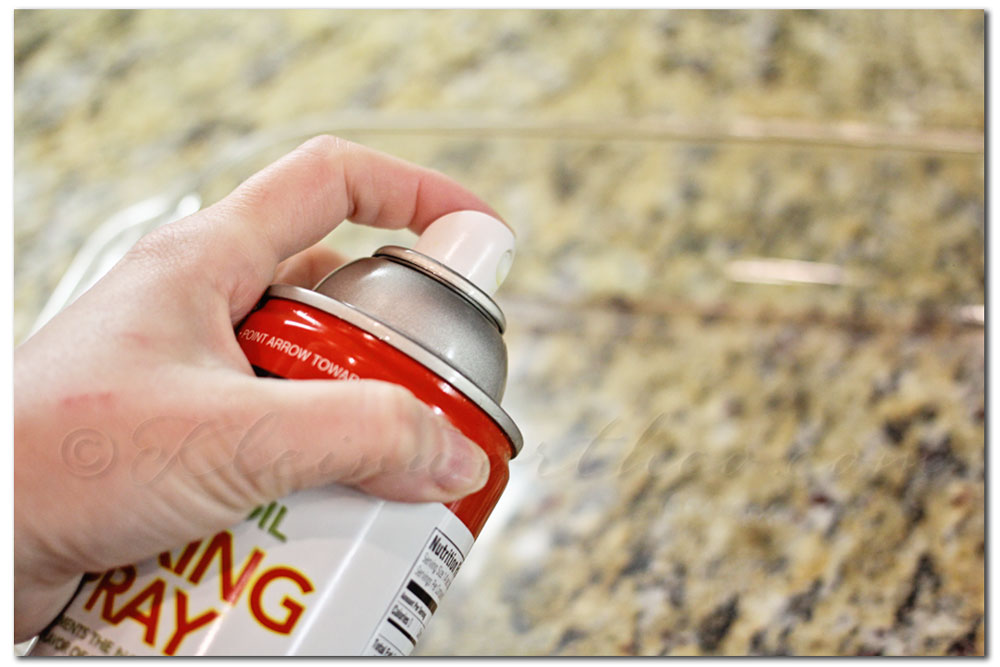 Preheat your oven to 350 degrees & coat your 9×13 glass pan with cooking spray.
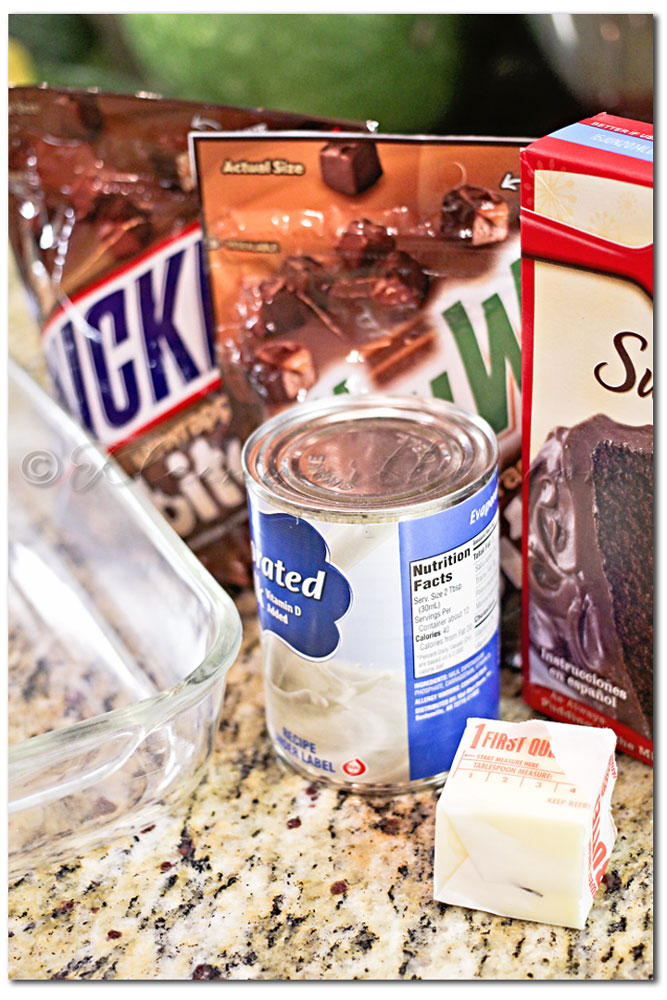
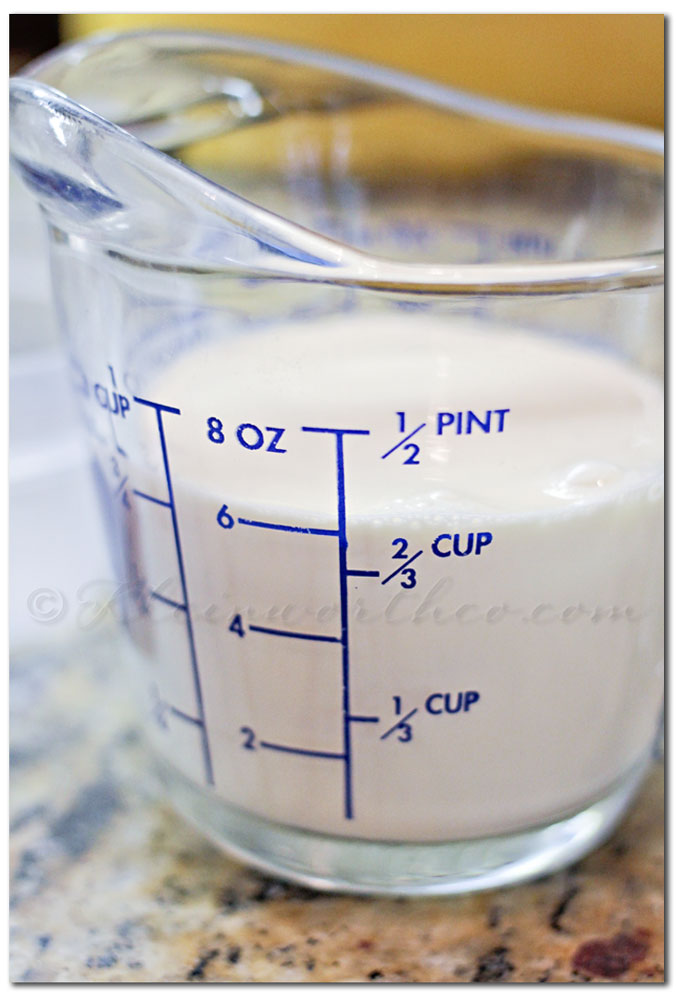 Put your cake mix, butter & evaporated milk in your mixer & beat well until it is thoroughly combined.Add in 1 cup of the Milky Ways bites & beat in on high.


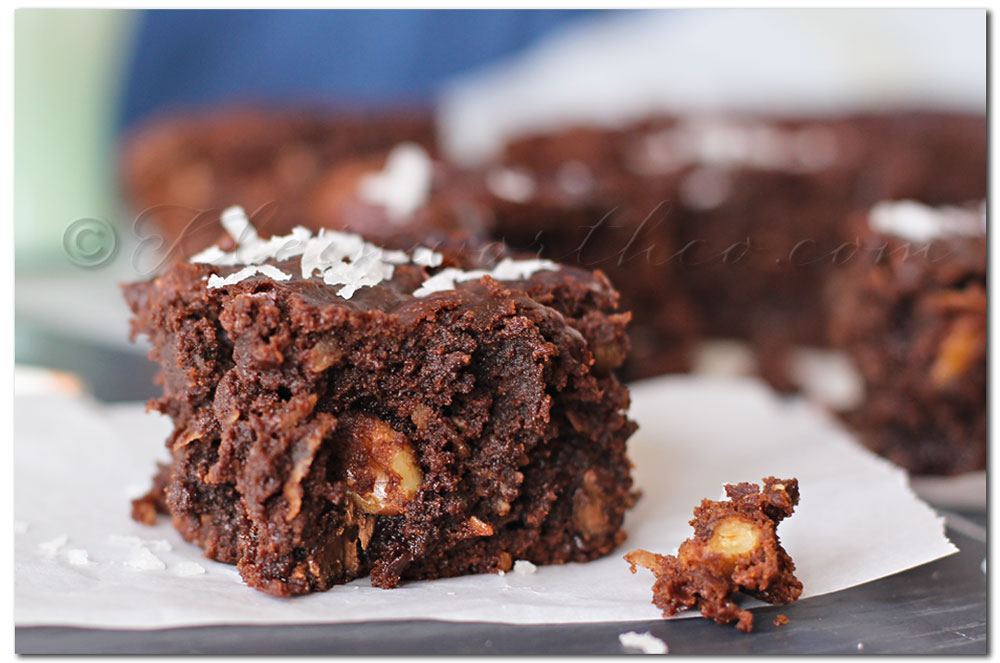 What’s on the menu this coming Game Day??
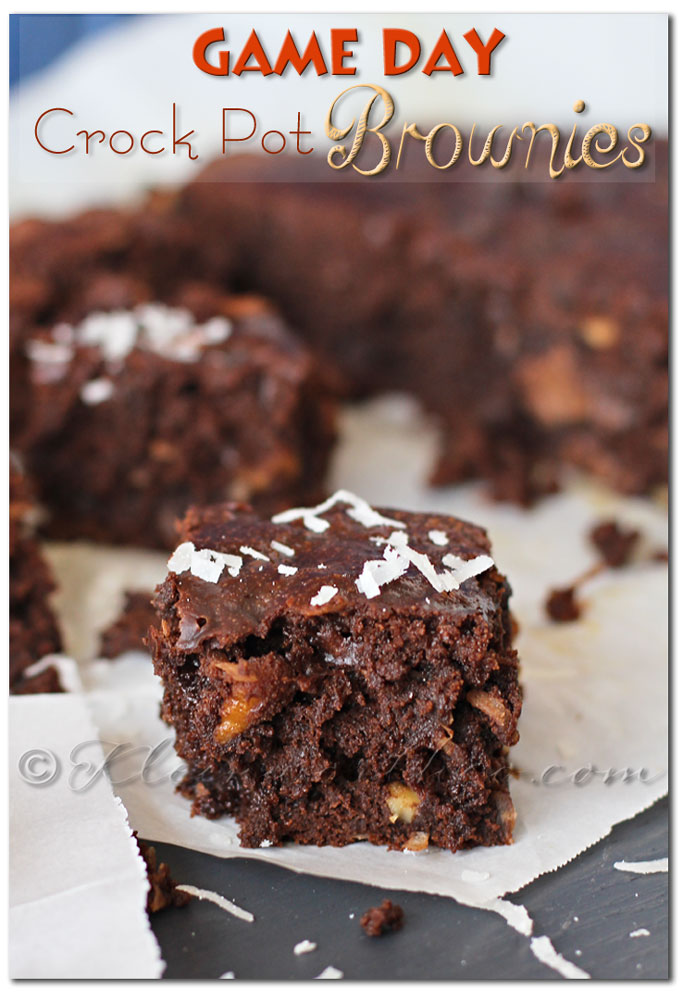

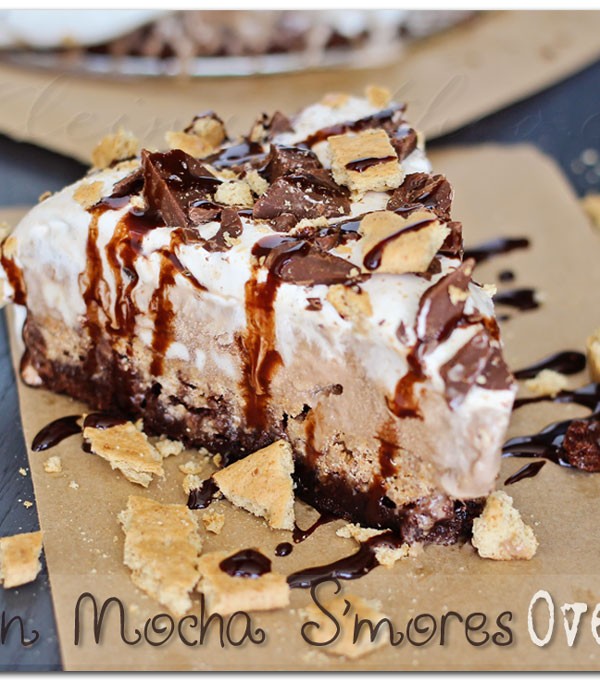
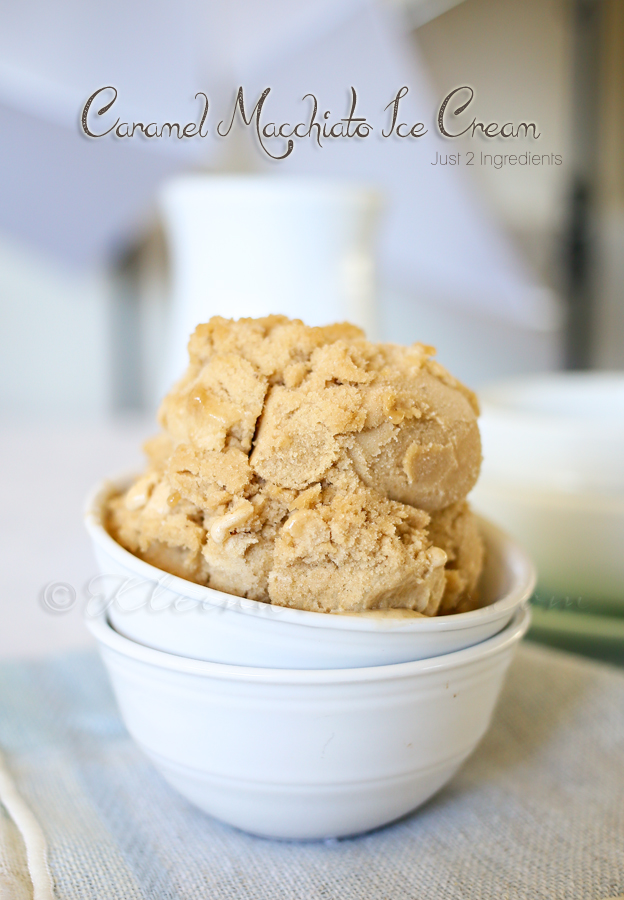
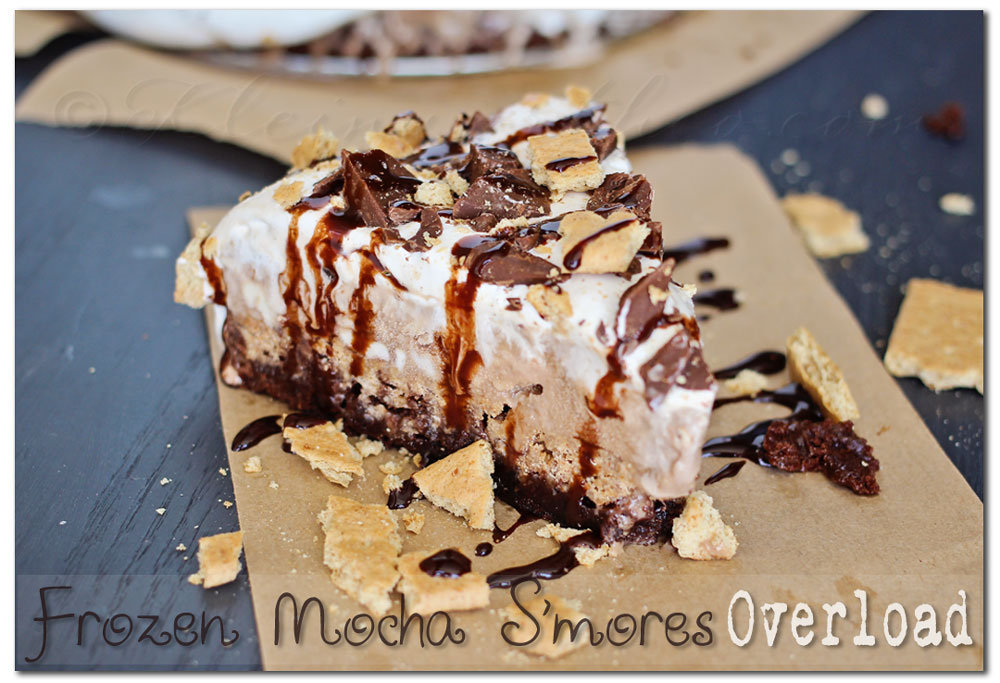
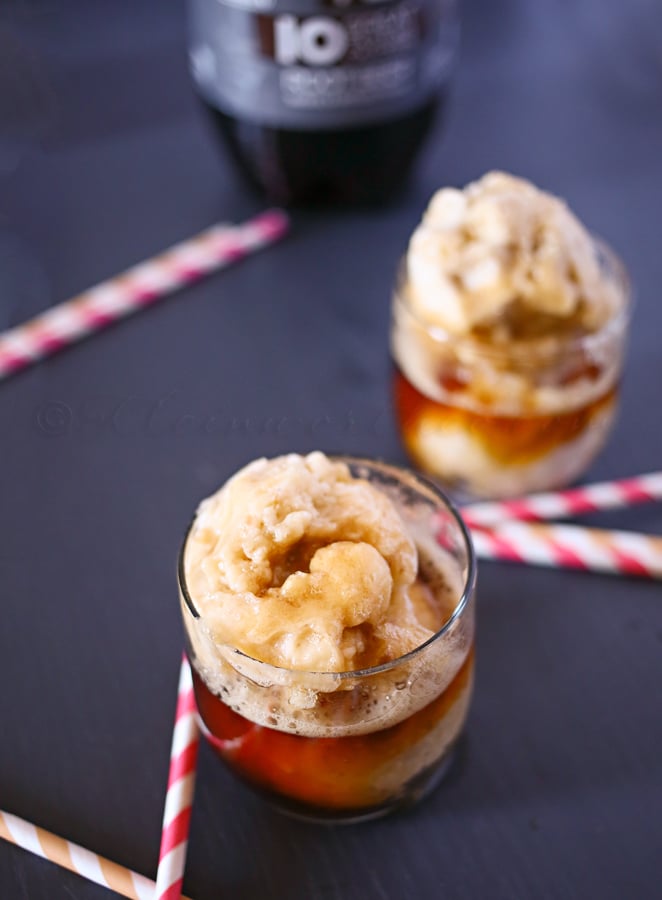
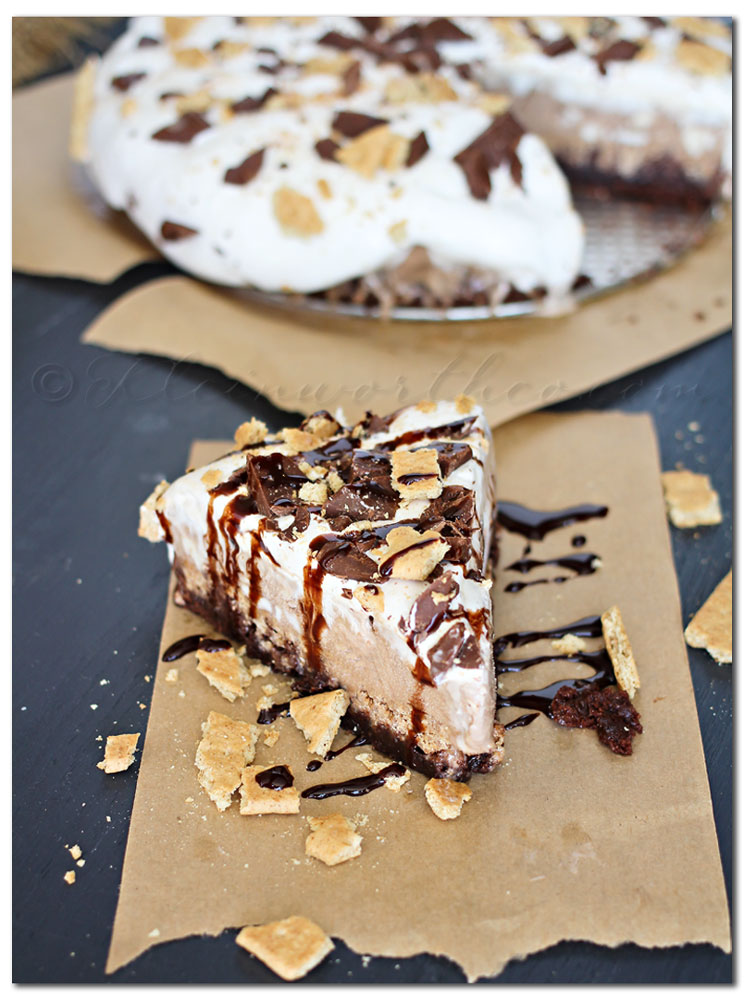 I will be sharing my recipe for this mocha ice cream soon- stay tuned.