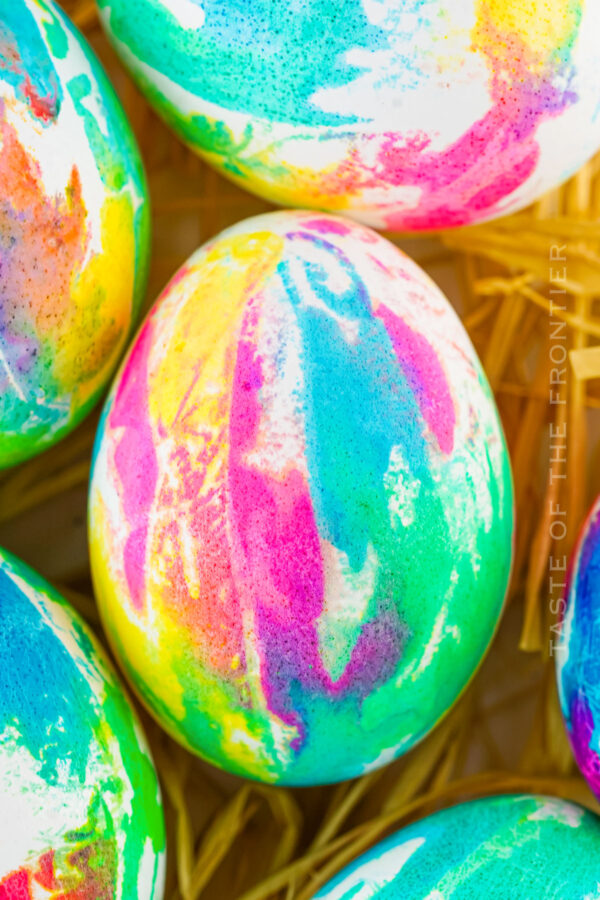
Elevate your appetizer game with our vibrant Colored Deviled Eggs! Perfect for parties, holidays, or any occasion where you want to add a pop of color and flavor to your table.
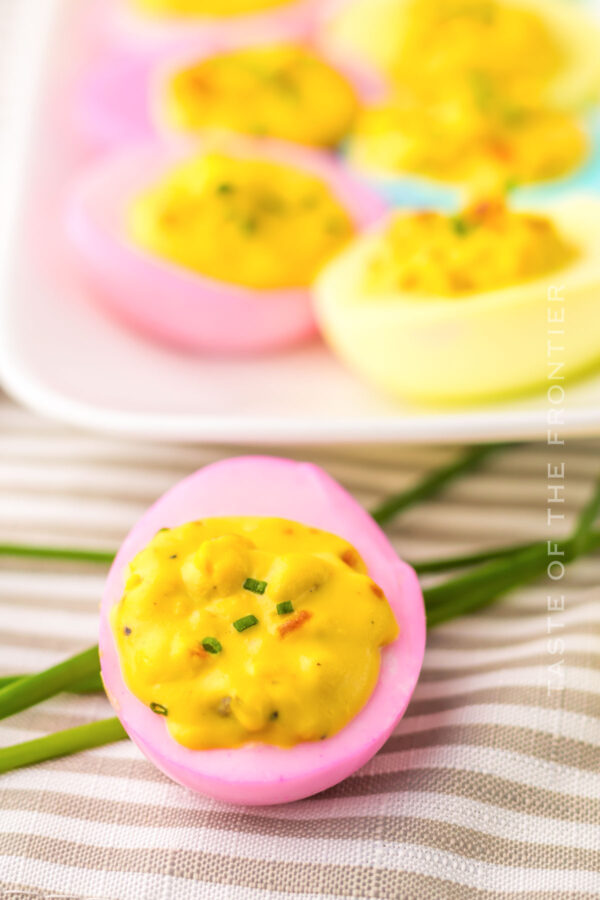
Over the years I’ve colored a lot of Easter eggs. You probably have to, right? Have you ever colored the inside, though? Today, I’ve got a recipe for Colored Deviled Eggs that will do exactly that!
These aren’t your everyday deviled eggs; they’re a vibrant, fun way to celebrate any special occasion, from Easter brunch to a sunny spring picnic. Imagine the smiling faces of your guests as they bite into creamy, flavorful fillings nestled in bright, pastel-hued egg whites.
View post