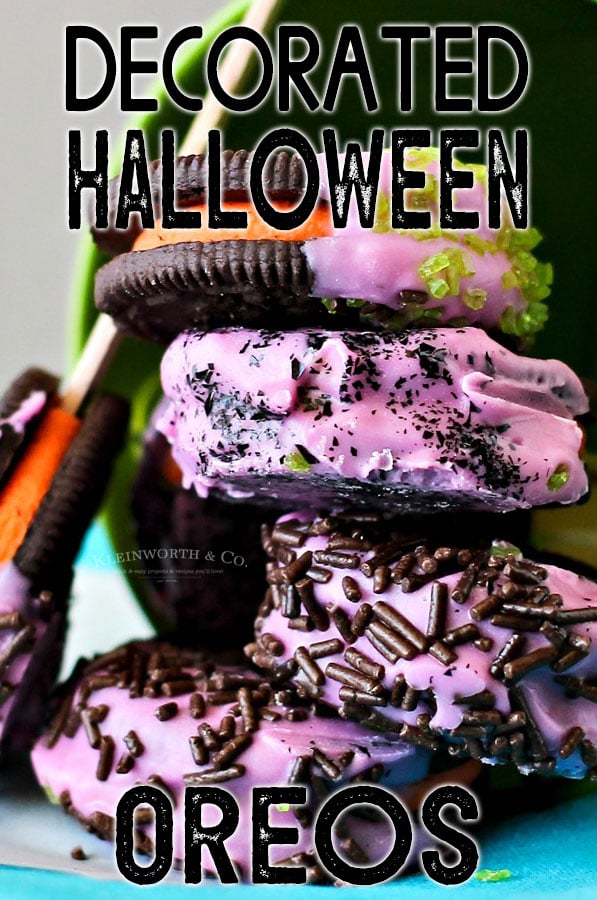
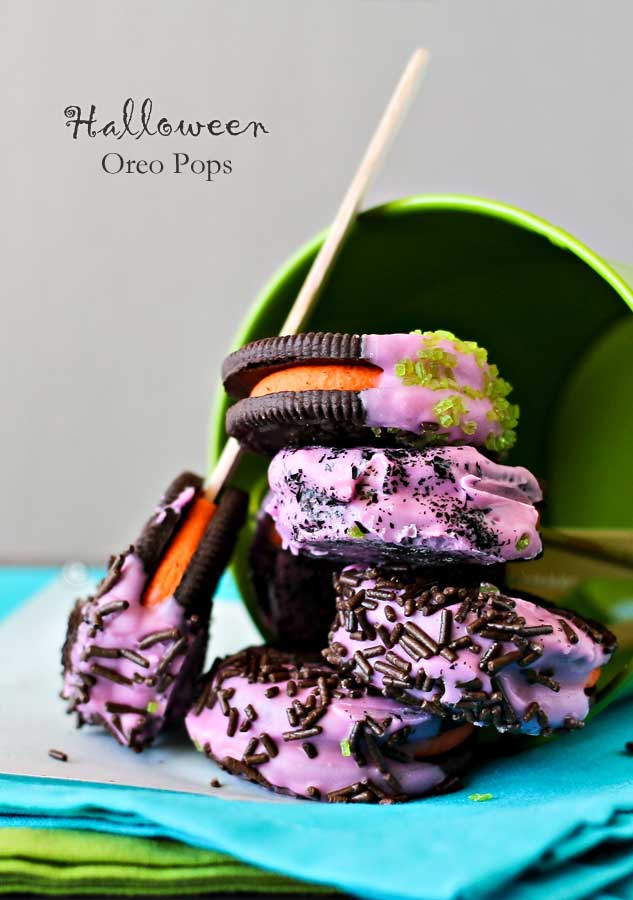
Halloween Oreo Pops area quick and easy chocolate-covered decorated Oreo cookie recipe that is fun for the kiddos and quite tasty too.
Looking for last-minute ideas for Halloween Treats? We have been working on some simple & quick little Halloween snacks that can be thrown together easily & that kids will love.

I’m sort of obsessed with these Halloween double stuffed Oreos.
I tried eating a regular stuffed Oreo & I definitely missed all that extra filling. I think they should call the regular ones “diet” and double stuffed should be the normal amount of creamy filling going forward.
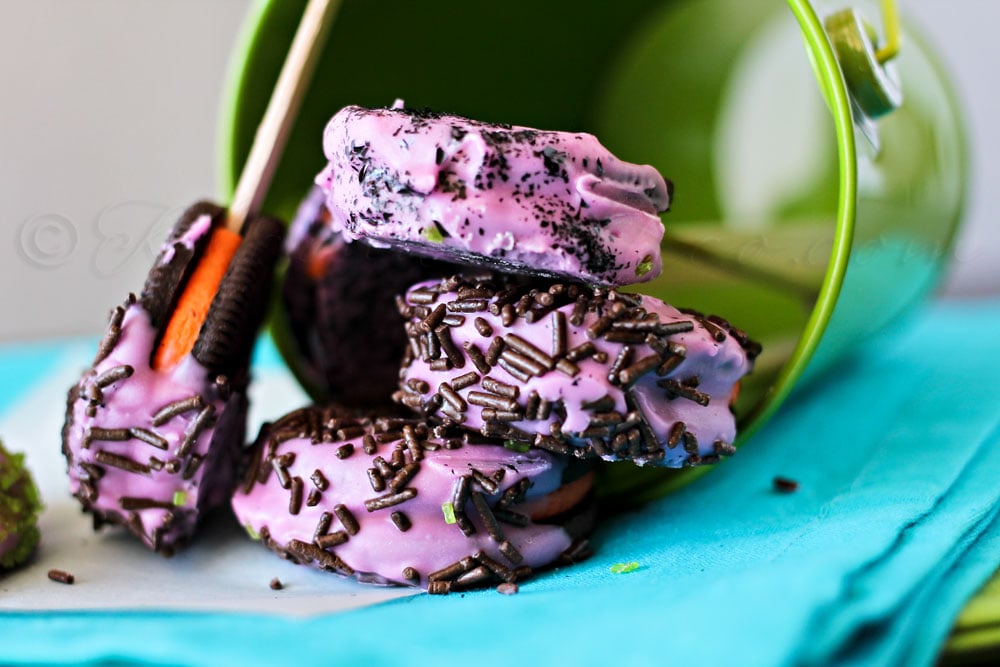
The kids & I had the idea that it would be fun to get all the kids in the kitchen to whip up something tasty. We like to create some sort of goodie for them to enjoy while they pass out candy on Halloween.
These chocolate-covered Oreo cookies were incredibly simple to make. The kids love helping & it creates lots of fun family time in the kitchen.
Oreo Halloween Treats

Here are some commonly asked questions
What is the best way to store leftover chocolate-covered Oreo cookies?
Once the chocolate has hardened, these are fine to store at room temperature. Just make sure to place them in an airtight container or zip-top bag.
Can this recipe be doubled?
You bet – I highly recommend doubling this recipe if you are serving these at a party or gathering. They are delicious and go quickly.
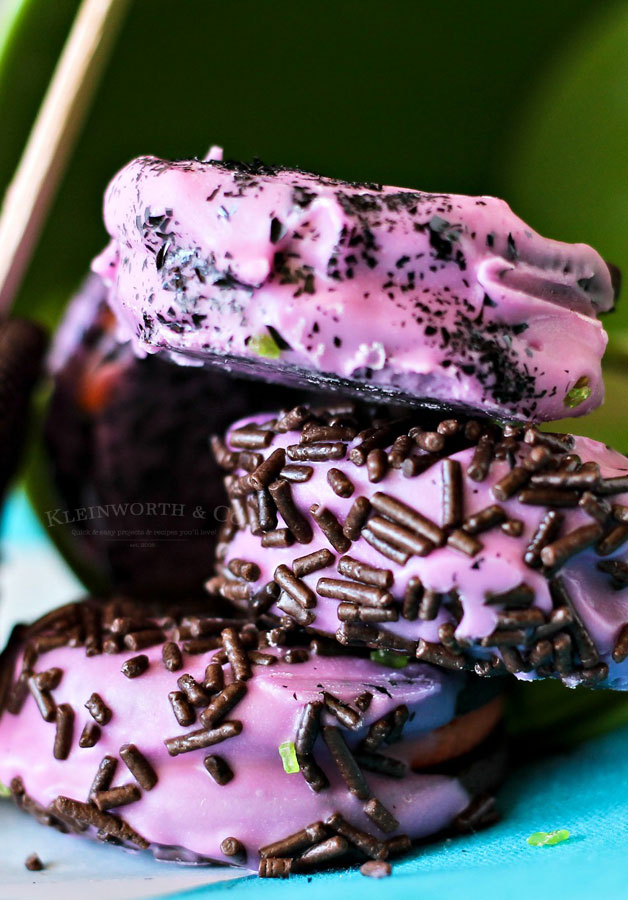
HOW DO YOU MAKE Halloween Chocolate-Covered Oreo Cookies?
- Line a baking sheet with parchment & set aside.
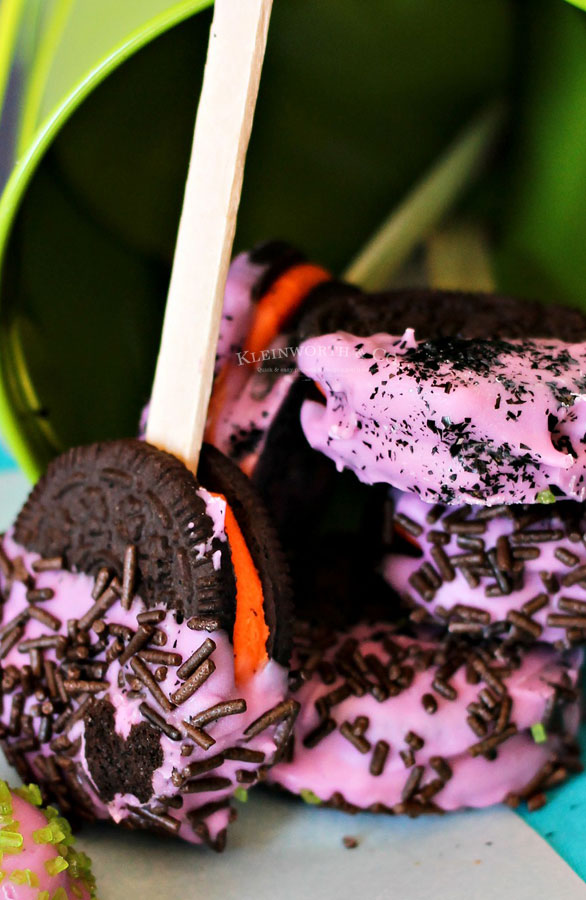
- Insert the Popsicle sticks into the Oreos carefully so you don’t separate them.
- Place your candy melts in a microwave-safe bowl & heat at 50% for 1 minute at a time. Stirring in-between.
- After the first minute add food color if using white candy melts. Stir. Continue heating.
- Once the chocolate has melted, start dipping the cookies in the melted chocolate until adequately coated.
- Immediately sprinkle with desired decorations & set on the prepared baking sheet to cool and set.
- Once you have completed all the cookies you wish to make, place the baking sheet in the refrigerator for at least 2 hours to help set the chocolate.
- Once the chocolate has set the cookies can then be stored at room temperature.
Can these cookies be made ahead of time?
Sure – as long as they are stored in an airtight container, these should be fine if you wanted to make them 1-2 days ahead of your celebration.
Can I use chocolate chips instead of candy melts?
You can, but sometimes they don’t temper as well and the chocolate will seize – especially when working with white chocolate chips. You may need to add 1/2 to 1 tbsp of shortening or coconut oil to help the chocolate chips melt.
To make Oreo Halloween Cookies you will need…
- Halloween Double Stuffed Oreos
- purple candy melts
- Popsicle sticks
- chocolate jimmies
- black edible glitter flakes
- green baking sugar sprinkles
Products I love when making Halloween Oreo Cookies…
This Halloween chocolate-covered Oreo cookie recipe is SUPER EASY and delicious – and if you’re like me this time of year, then you maybe already have some of these items on hand OR maybe you have never made chocolate-covered cookies before, & you might be a bit nervous – but you’re going to love them. I have made a list below of the things I absolutely can’t live without when it comes to making this treat recipe.
- Halloween Double Stuffed Oreos
- purple candy melts
- Popsicle sticks
- chocolate jimmies
- black edible glitter flakes
- green baking sugar sprinkles
- parchment paper
- baking sheet
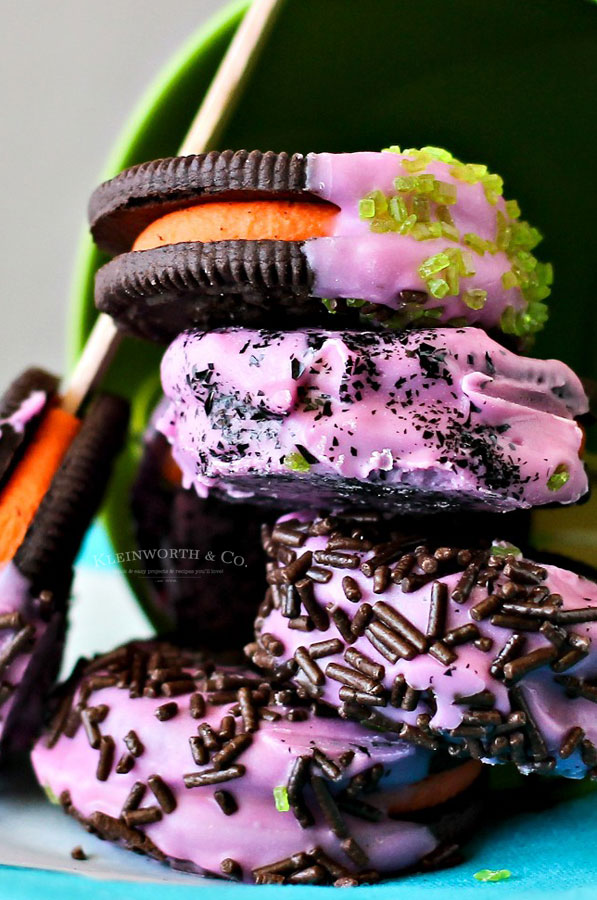
Halloween Oreo Cookies
If you love this Easy Halloween Oreo cookie recipe, you’re going to love these other treats too. Please click each link below to find the easy, printable recipe!

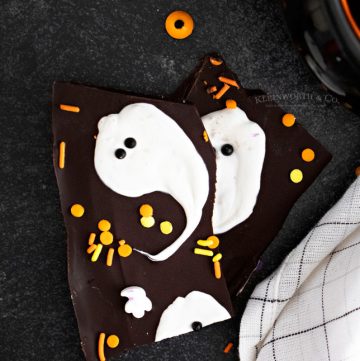
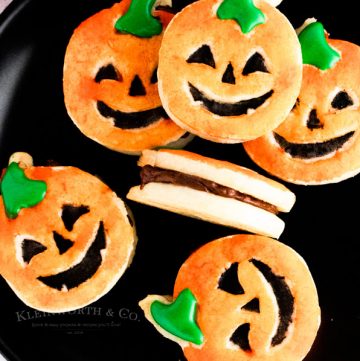
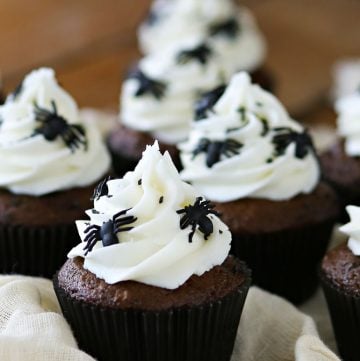

If you love this recipe for Halloween Oreo Pops as much as I do, please write a five-star review, and be sure to help me share on Facebook and Pinterest!
CONNECT WITH YUMMI HAUS!
Be sure to follow me on my social media, so you never miss a post!
Halloween Oreo Pops
Ingredients
- 1 pkg Halloween Double Stuffed Oreos 1.25 pound package
- 1/2 bag purple candy melts
- 27 Popsicle sticks
- chocolate jimmies
- black edible glitter flakes
- green baking sugar sprinkles
Instructions
- Line a baking sheet with parchment & set aside.
- Insert the Popsicle sticks into the Oreos carefully so you don't separate them.
- Place your candy melts in a microwave-safe bowl & heat at 50% for 1 minute at a time. Stirring in-between.
- After the first minute add food color if using white candy melts. Stir. Continue heating.
- Once the chocolate has melted, start dipping the cookies in the melted chocolate until adequately coated.
- Immediately sprinkle with desired decorations & set on the prepared baking sheet to cool and set.
- Once you have completed all the cookies you wish to make, place the baking sheet in the refrigerator for at least 2 hours to help set the chocolate.
- Once the chocolate has set the cookies can then be stored at room temperature.
Nutritional information for the recipe is provided as a courtesy and is approximate. Please double-check with your own dietary calculator for the best accuracy. We at Yummi Haus cannot guarantee the accuracy of the nutritional information given for any recipe on this site.




YUM! Those look so good! And they sound so simple to make. Thanks for sharing, Gina!
Indeed Kimberly. That was the best part (aside from eating them afterwards) 🙂
these are so cute!!
Thank you- the kids loved them.
So cute! And i LOVE white chocolate dipped oreos!
they are cute!
This looks delish! I love the purple.
you’ve done it again! Love these…so fun and festive! Would love you to come link up to our desserts only party~! DELISH! http://theinspiration-network.com/delish-8-desserts-link-party/
Thank you!!! I’ll be right over. Sorry about that- I totally spaced. 🙂
These are super cute and I love that you used a non-traditional purple rather than orange. Thanks for sharing on the weekend re-Treat link party.
Britni @ Play. Party. Pin.
I love these! They would be great for any holiday or just because.