Good Monday Morning Everyone!
Hope you all have had a great weekend & this week is kicking off to a fabulous start.
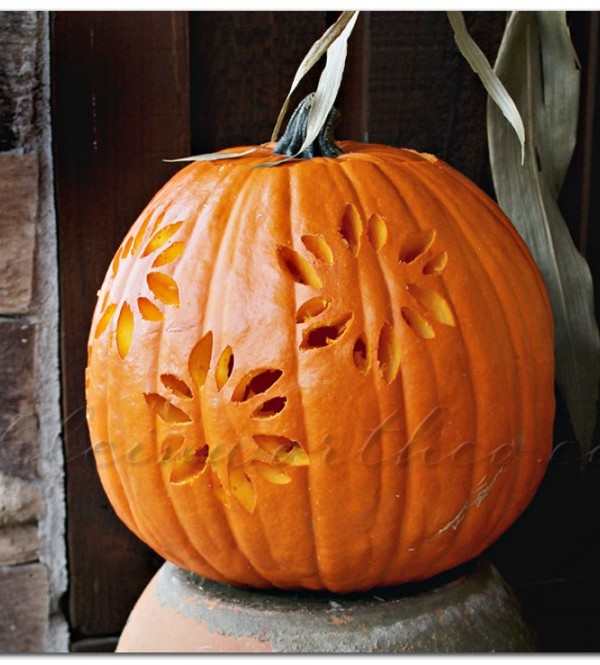
We had the chance this past week to try out the Pumpkin Masters Pumpkin Carving Kits. It was really fun. I had always wanted to give them a try but we never end up getting around to the pumpkins. So this year when I was asked to try them I knew it was my chance to actually do it & have some fun with the kids. The hubs is always worried that the time that goes in to the blog can pull me away from the family. But in this case- it gave us a full day of family fun. The kids had a blast- especially because with the use of the kit- they were able to do most of the work. YAY for me. I had the pleasure of taking the video & doing a little carving with them- while they got the messy part of cleaning out the pumpkins. 🙂

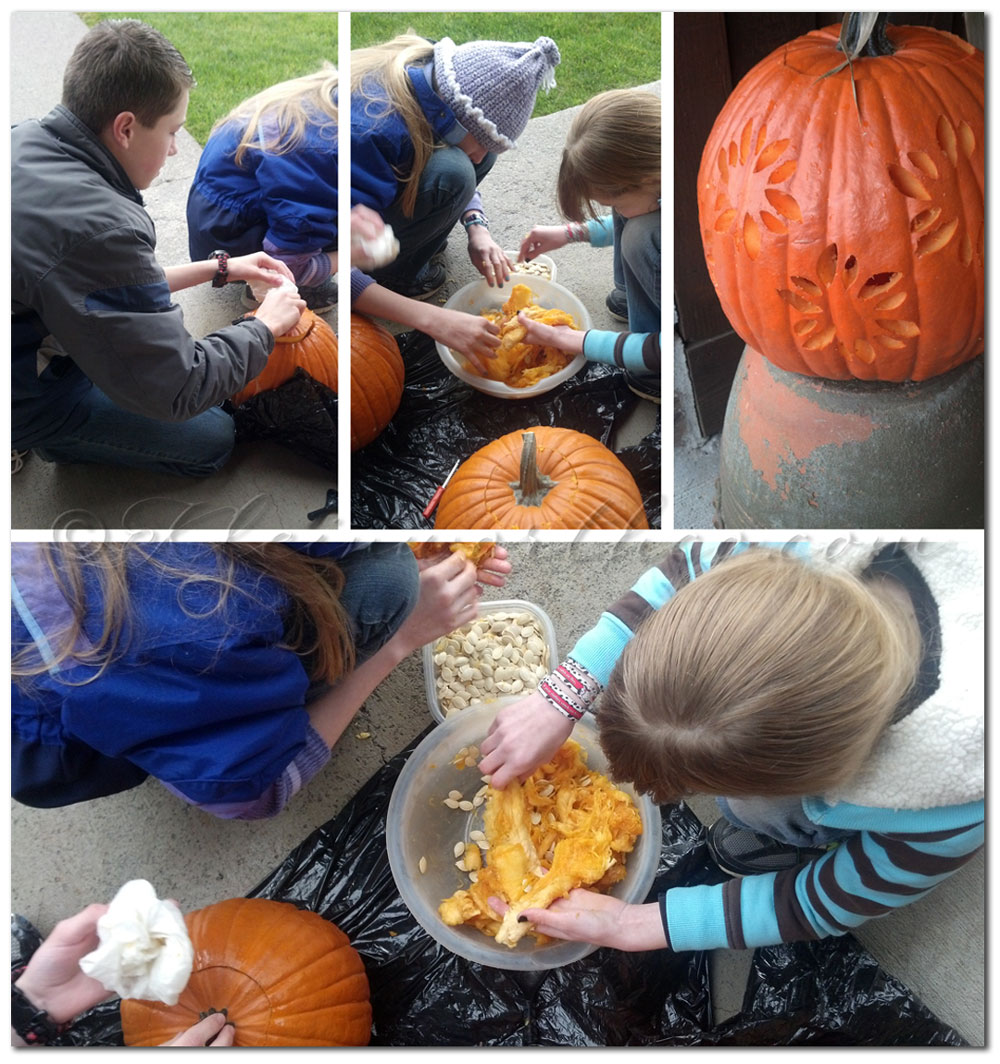 Since I was using the dslr for the video so I could have it in HD I had to take pics with my phone during the process.
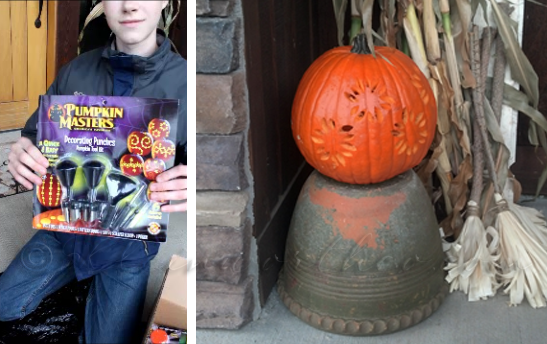
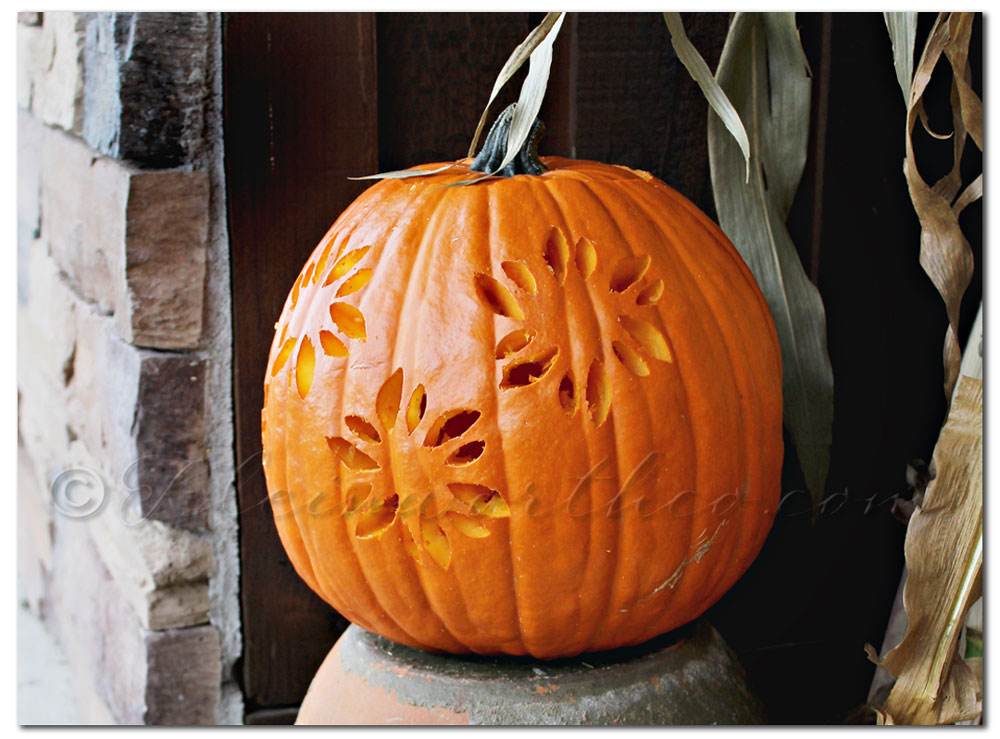
Pumpkin Masters Creative Carving
Since I was using the dslr for the video so I could have it in HD I had to take pics with my phone during the process.
We had to break up the shooting of the video into parts due to the rain- but you only see that on the full length version.
I realized when watching back the full length version that I say “really cool” a lot. Guess growing up in So Cal has not worn off yet. 🙂
Please excuse the camera angles- I was bending, stooping, crouching & hovering over the kids in all sorts of strange ways to get the right angle to show what we were doing. I’m sure the neighbors thought I had lost my mind. In fact, I’m pretty sure at this point that with all the things I do on the porch for the blog- they have given up TV & we have become their main source of entertainment.
**Want to win a kit of your own – ($35 value – US residents only)
watch the full length version of this video & leave me a comment telling me what your favorite part is?
Pumpkin Masters Carving Contest: Pumpkin Masters is searching for carving talent as part of its annual Pumpkin Masters Carving Contest. Share a pic of your carving via Instagram or Twitter with #PumpkinMasters2013, submit via the Facebook app or send via email to: social@pumpkinmasters.com to enter for the chance to win one of six prizes, including $5,000 for the Best Pumpkin.
Contest runs from October 1 – 31, 2013.
Contest details and official rules:
I was selected for this opportunity as a member of Clever Girls Collective and the content and opinions expressed here are all my own.
The P52 Details
* Post 1 photo or as many as you like each week on Mondays.
* The button or text link should be present in your post- but not absolutely necessary.
* Please visit some other blogs & leave some love & encouragement.
* Submit the URL of your blog post – not your home page.

To see where I am linking today- visit HERE 
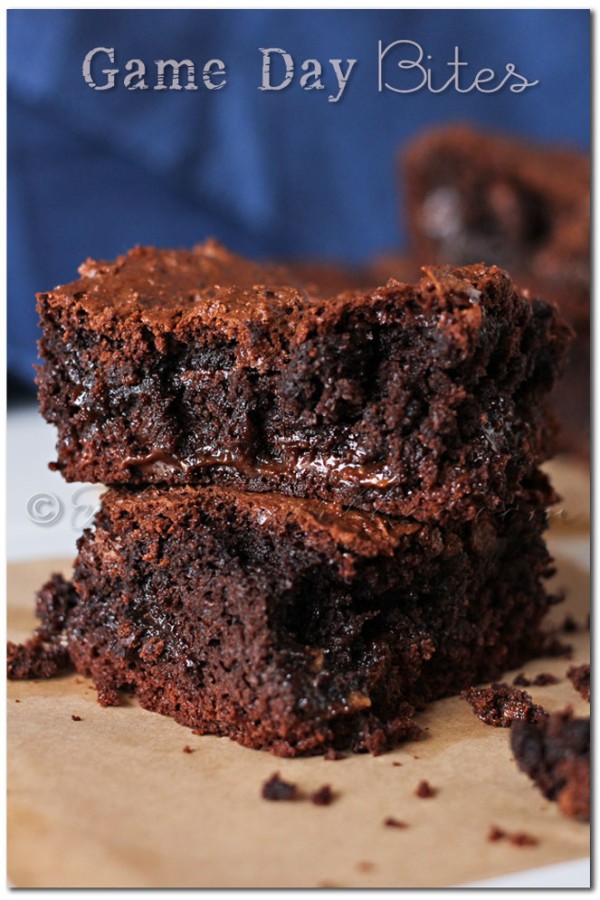
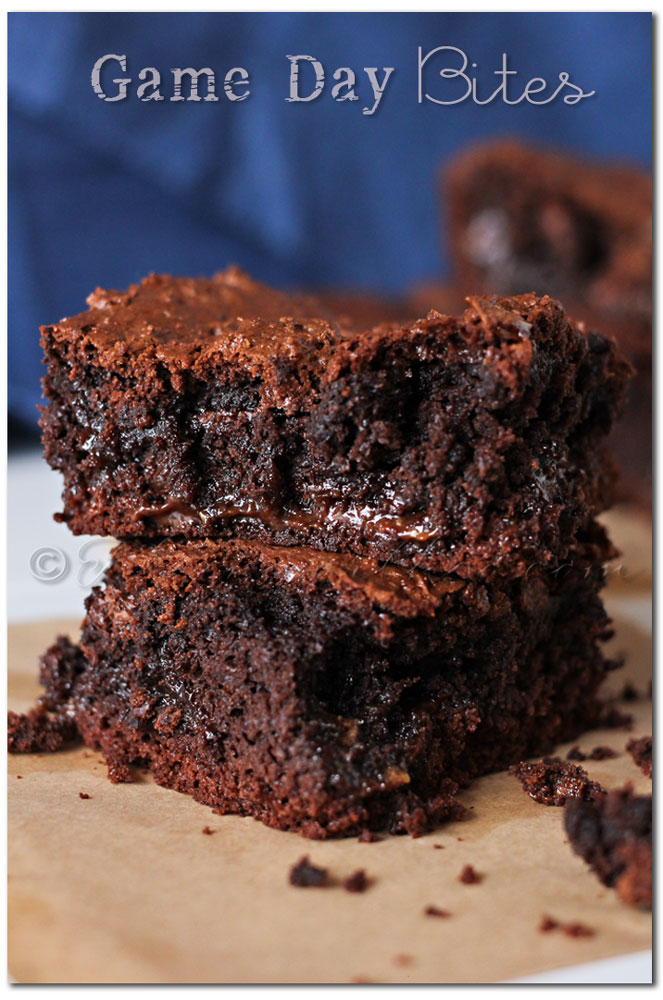
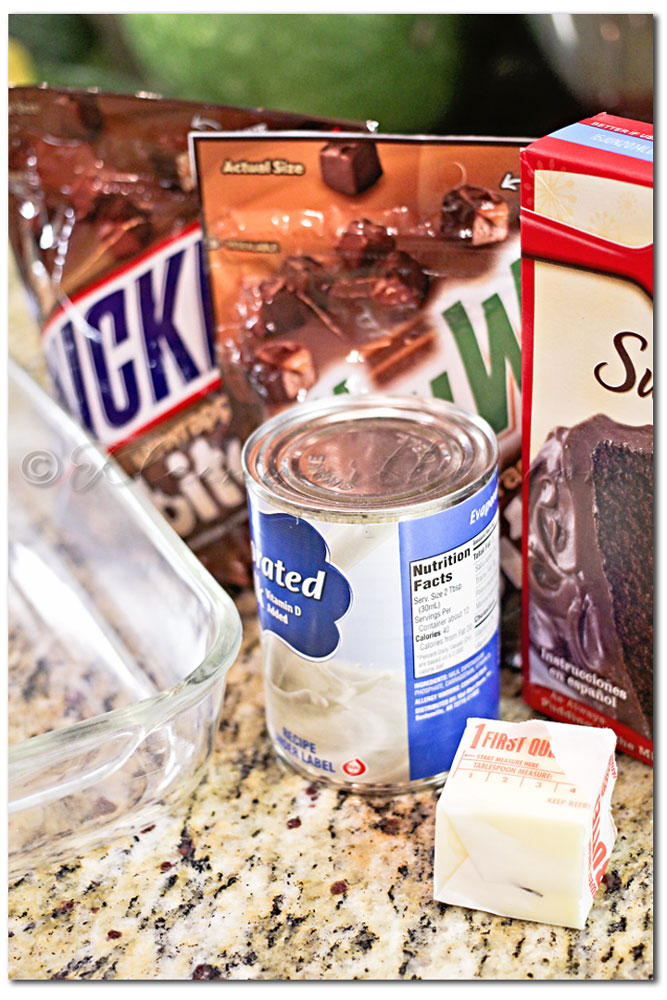
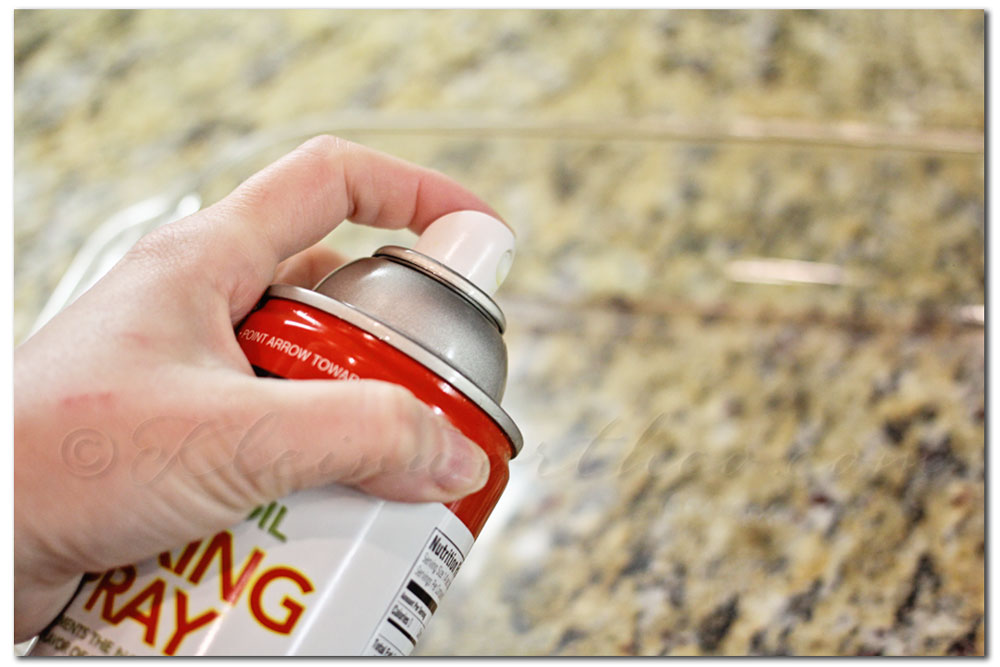 Preheat your oven to 350 degrees & coat your 9×13 glass pan with cooking spray.
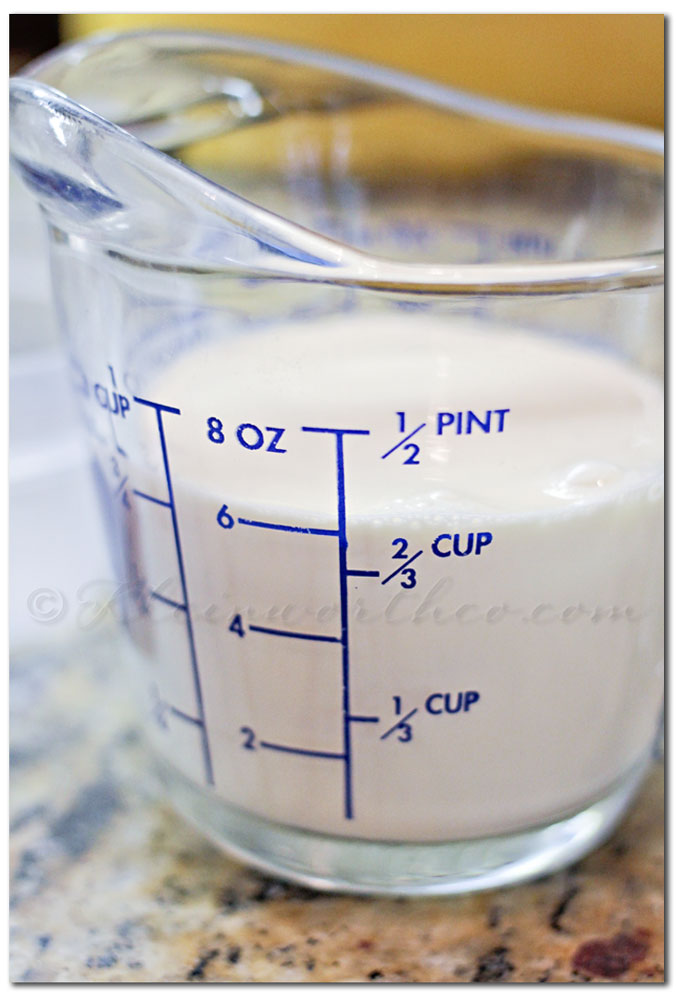 Put your cake mix, butter & evaporated milk in your mixer & beat well until it is thoroughly combined.Add in 1 cup of the Milky Ways bites & beat in on high.
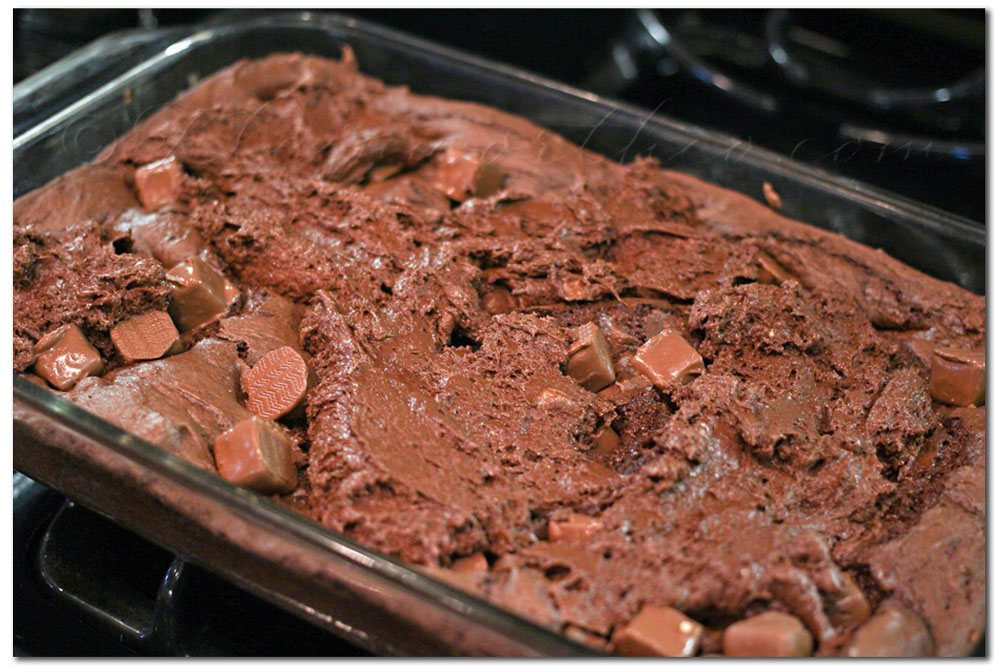
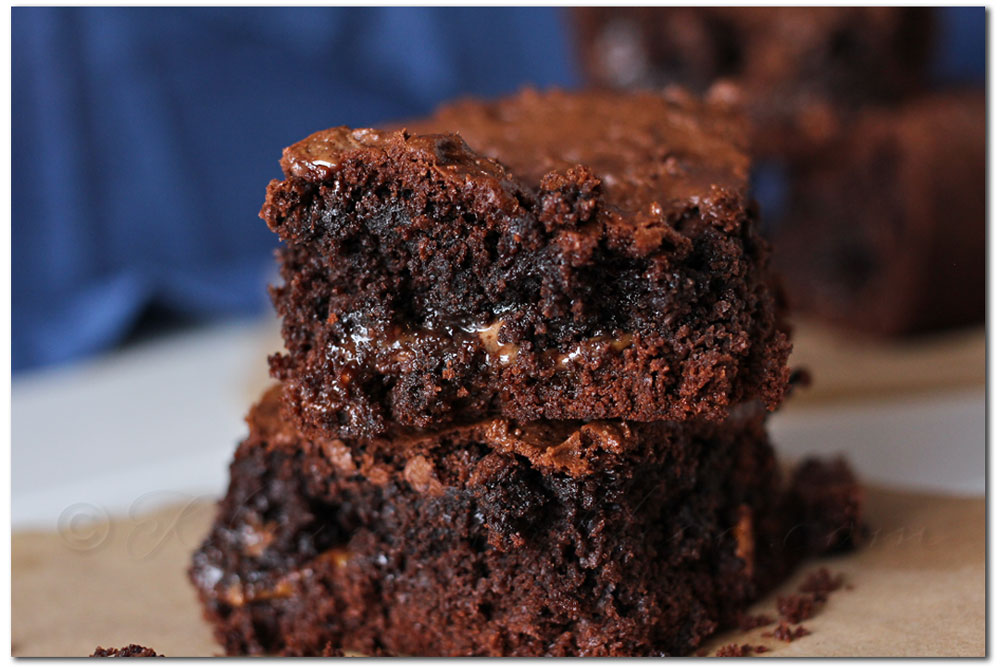

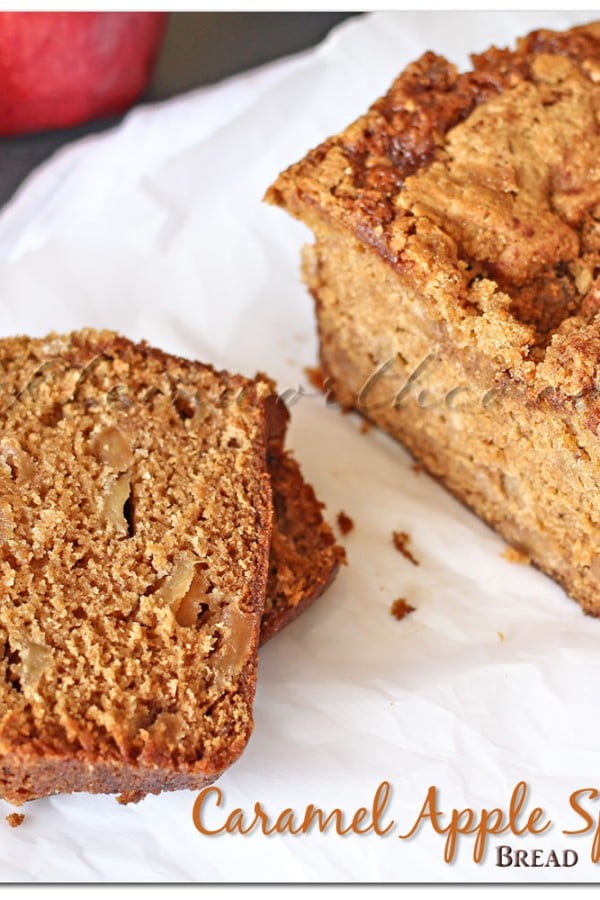
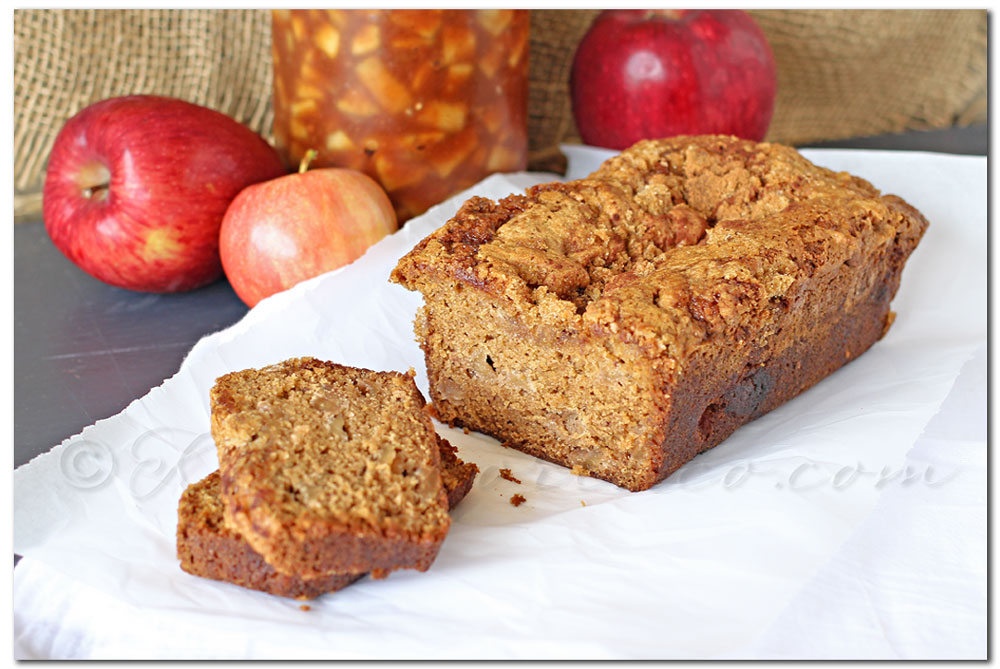
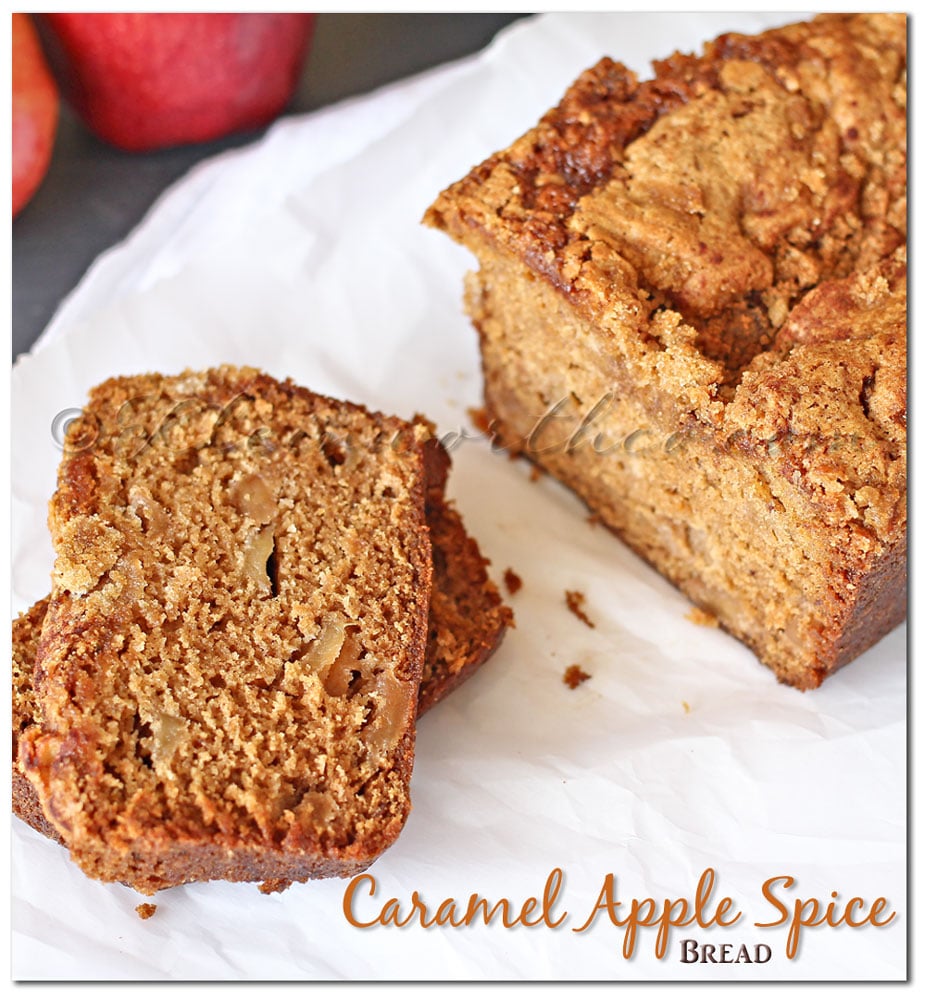
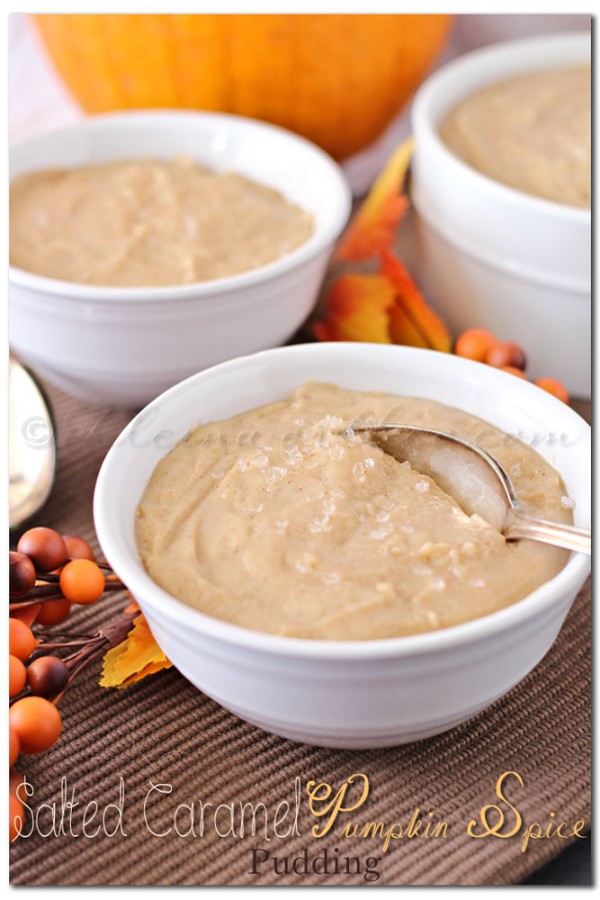
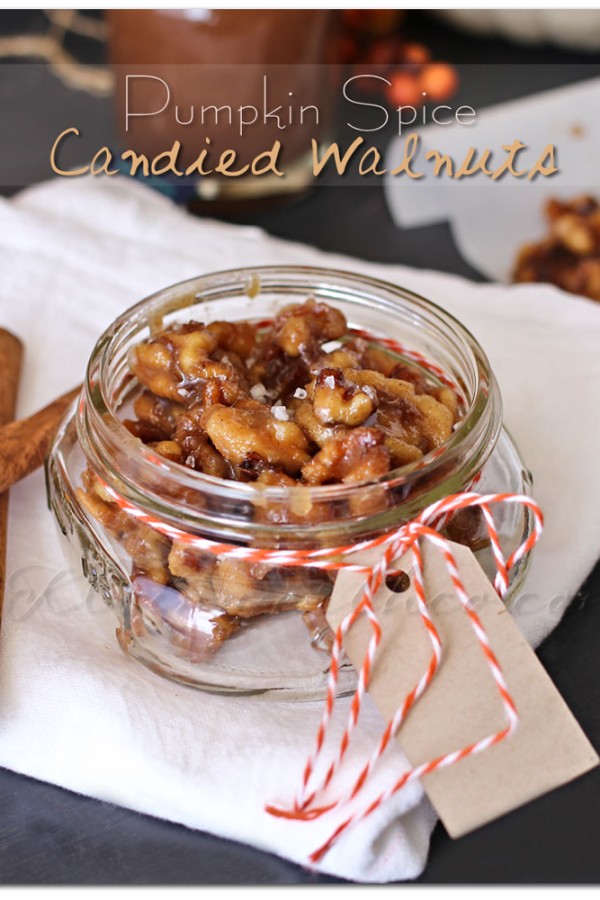
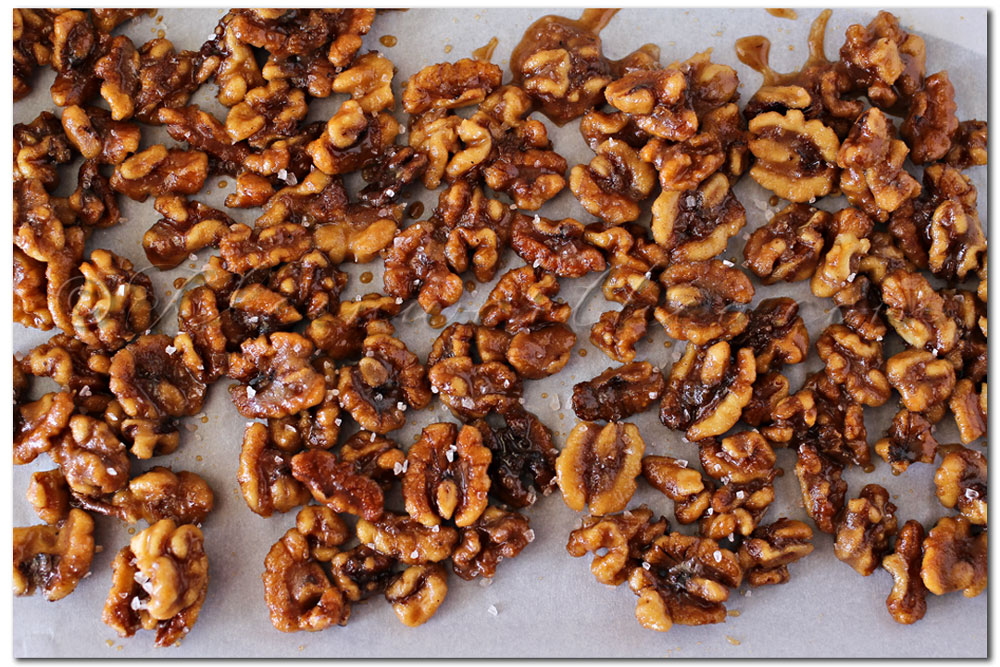
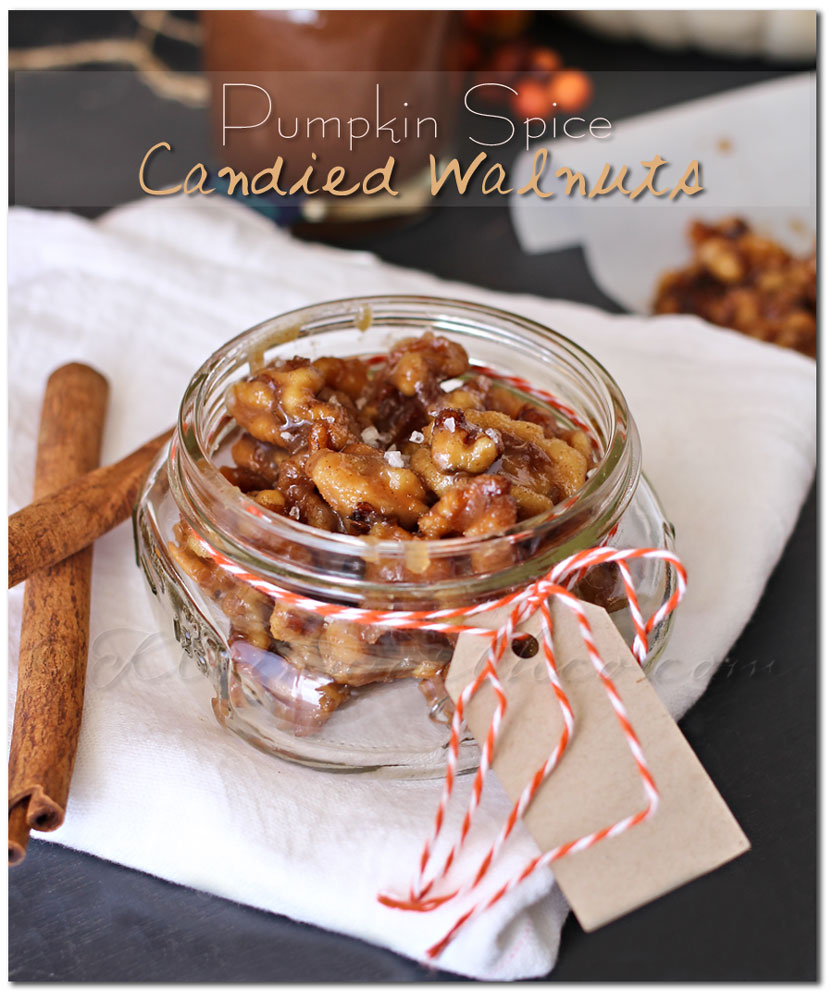
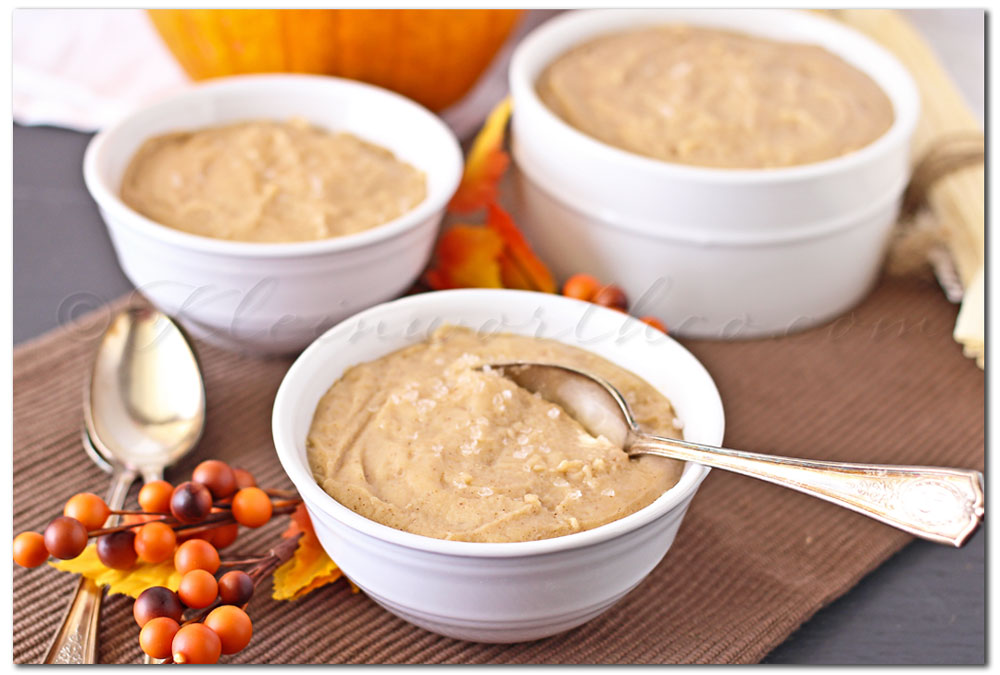 The salt mixed with the rich flavors of caramel & pumpkin spice is the perfect blend.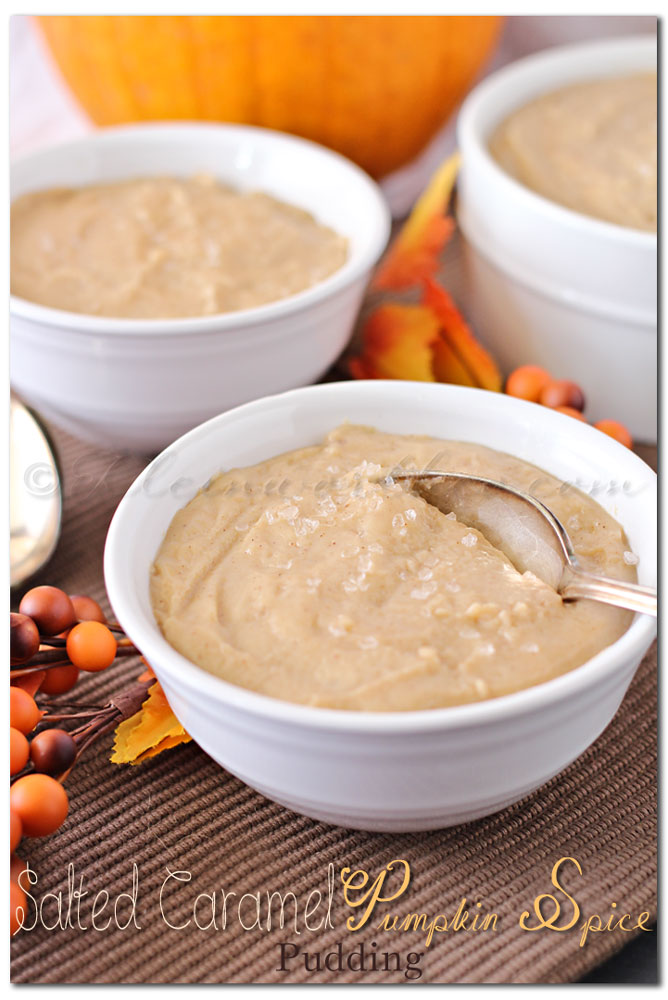
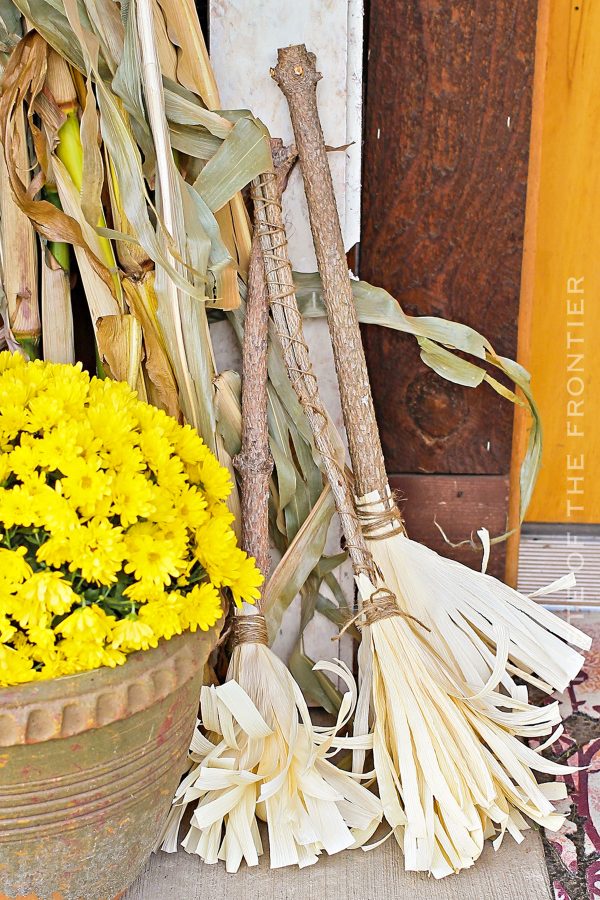
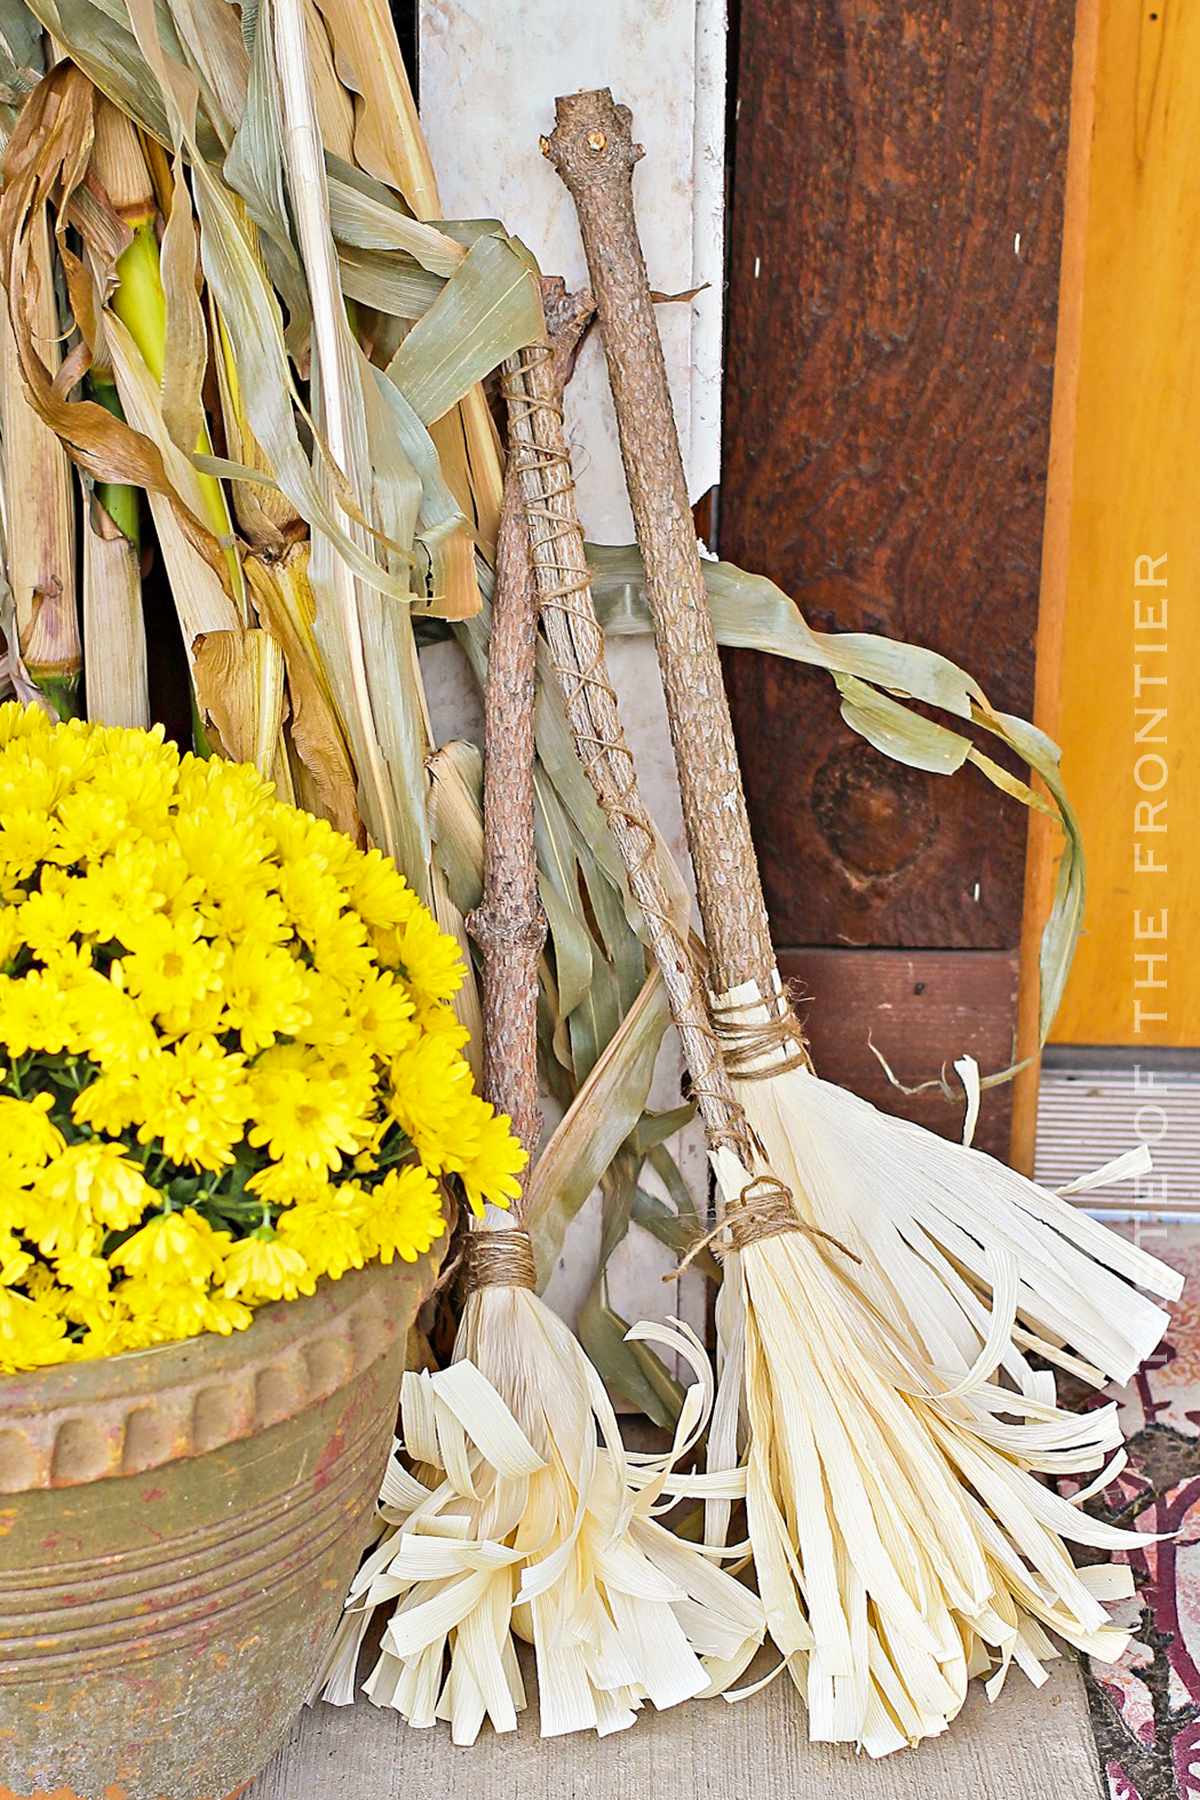
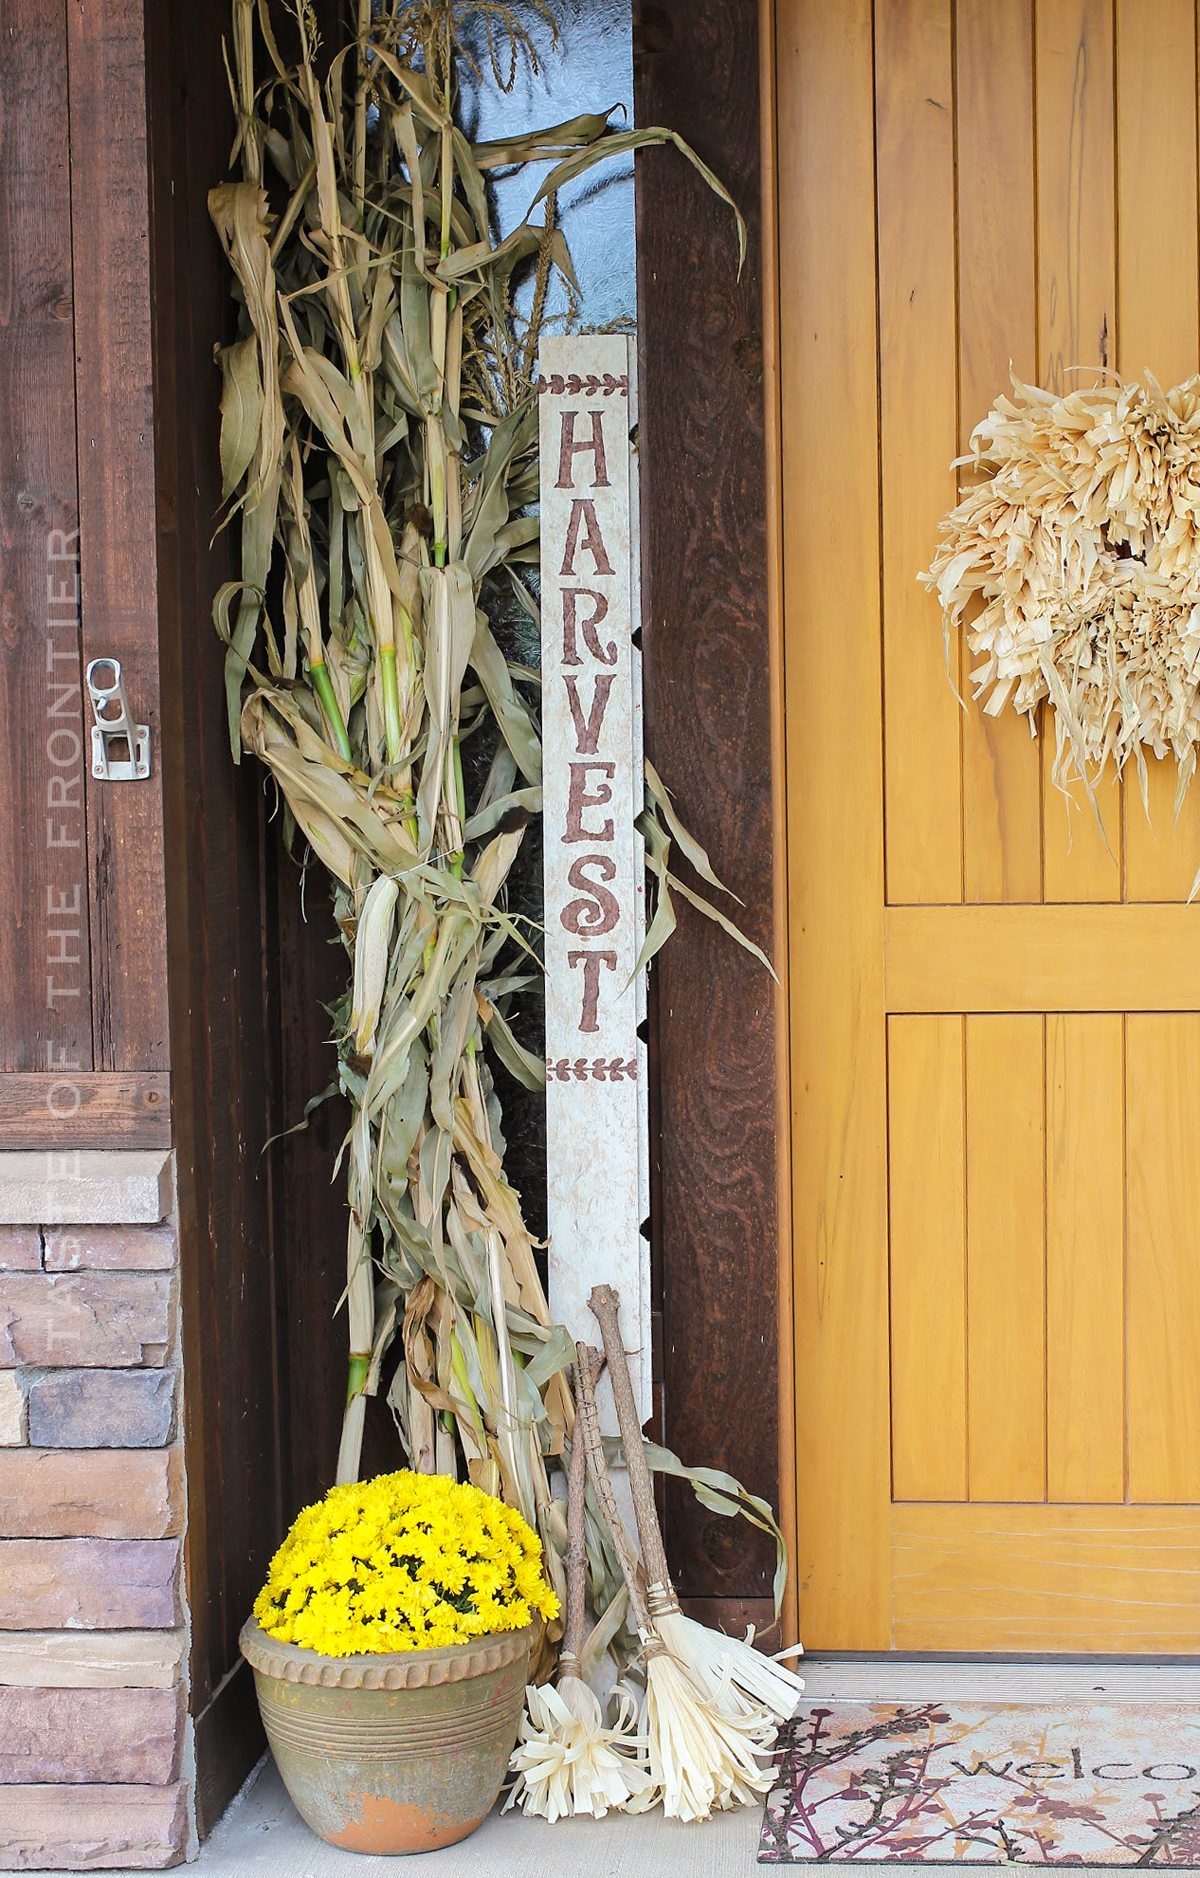
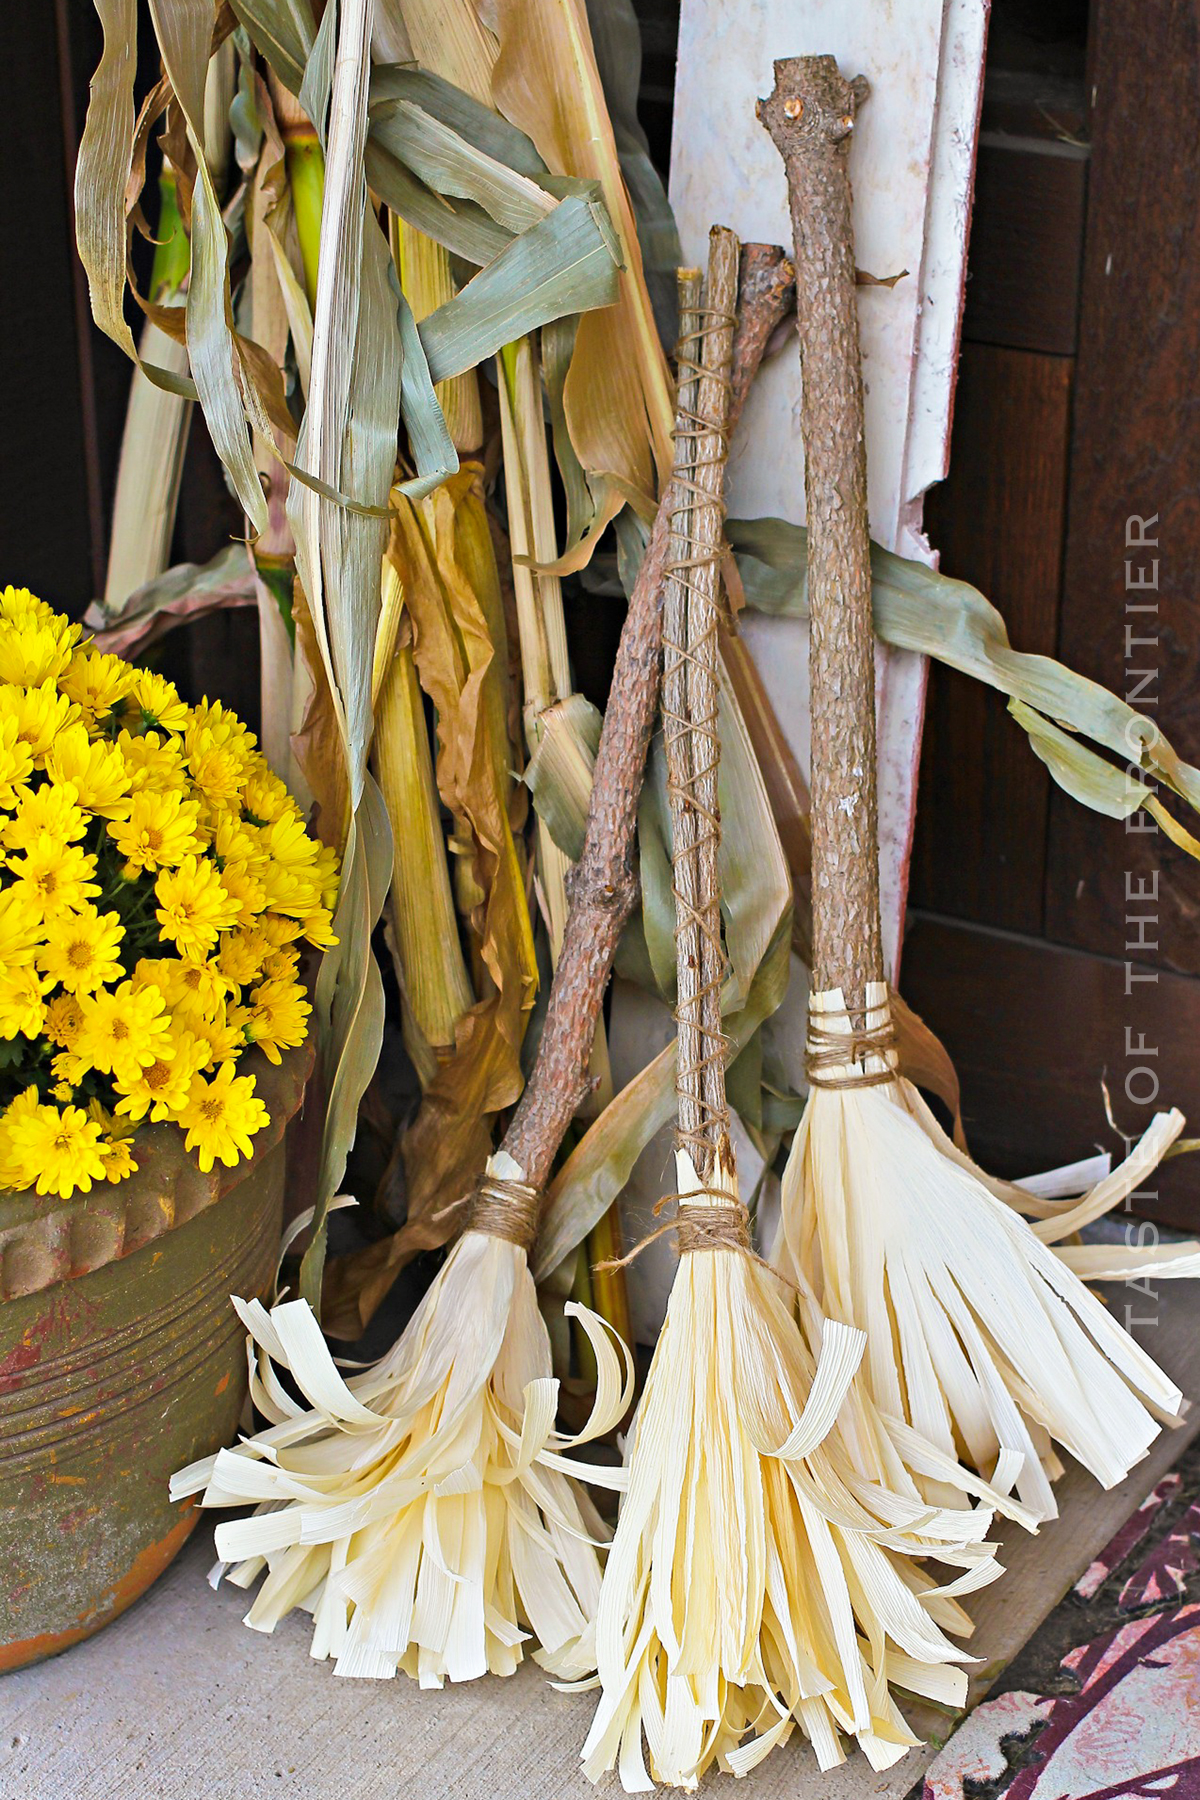
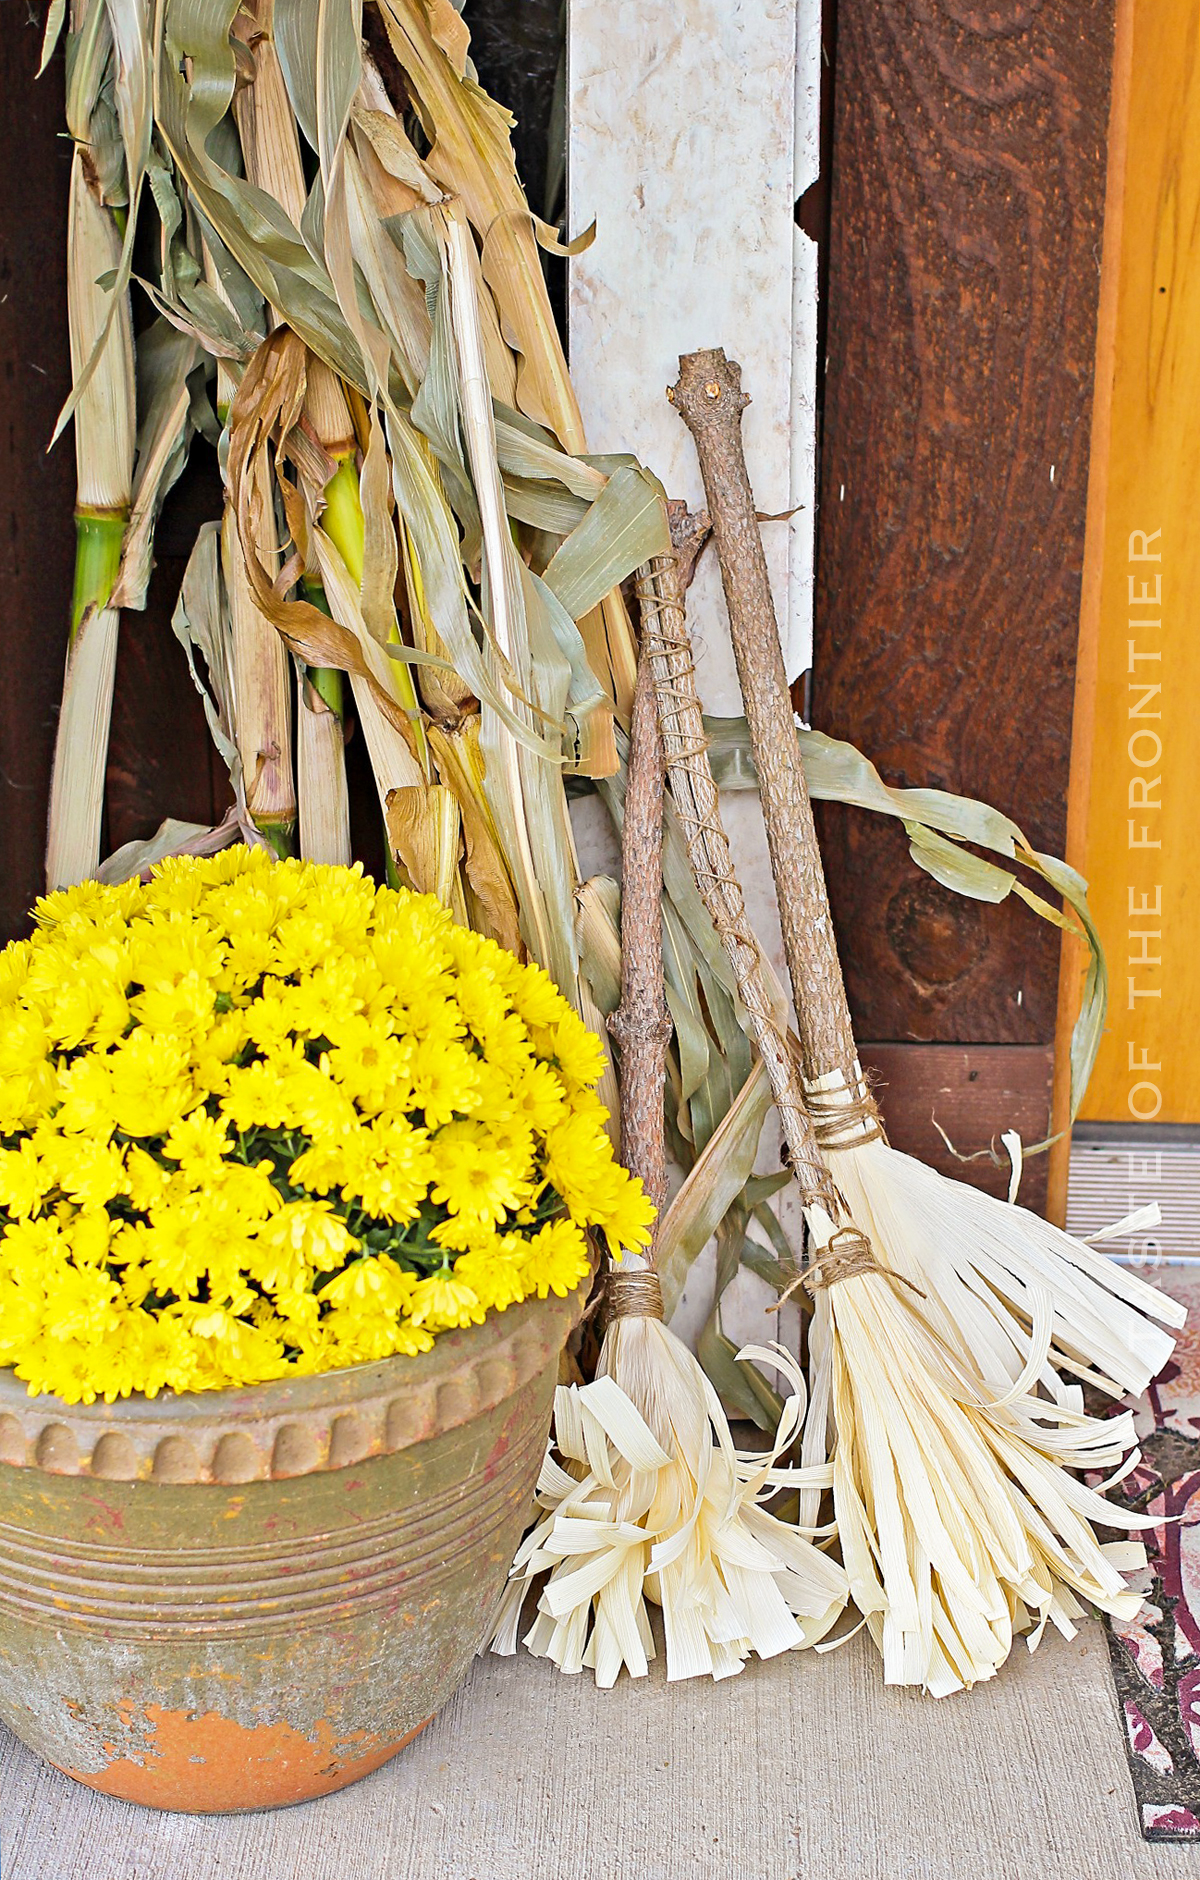
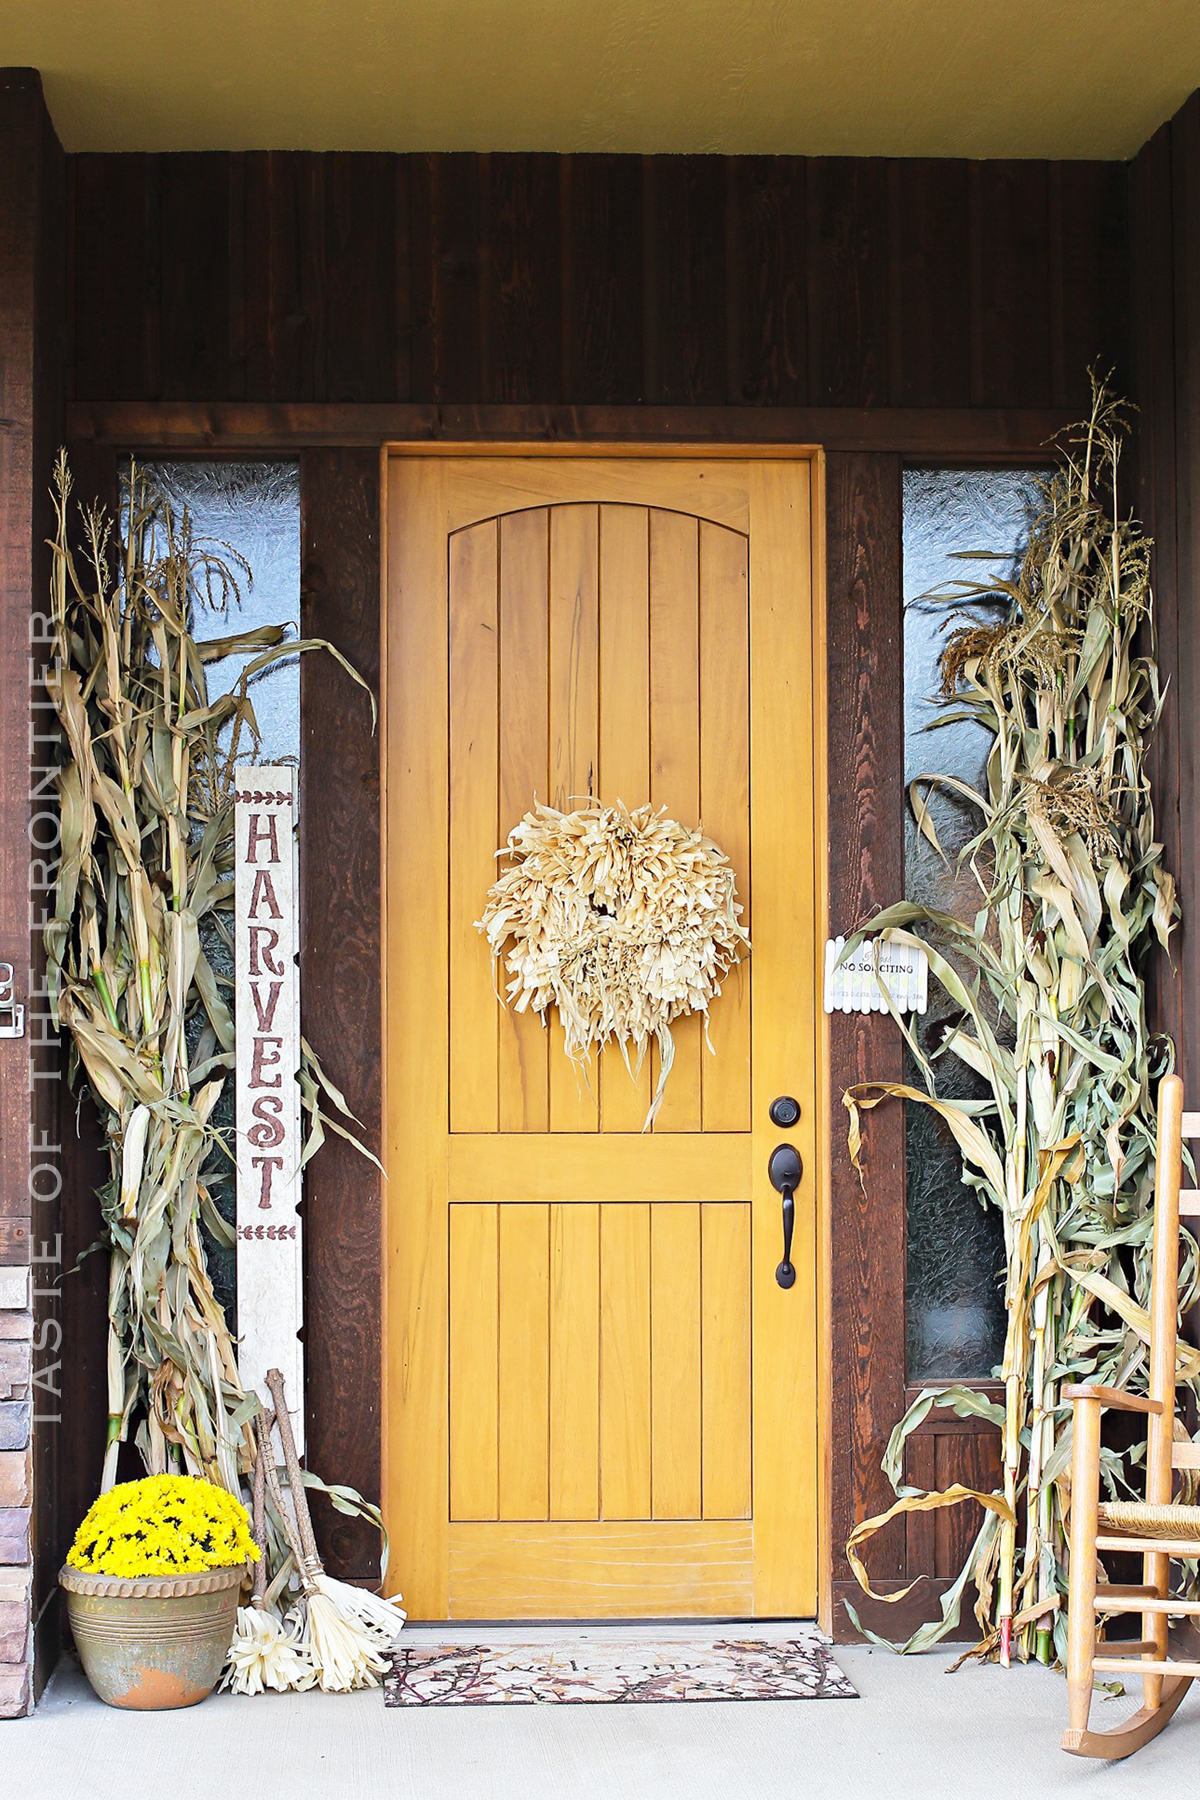
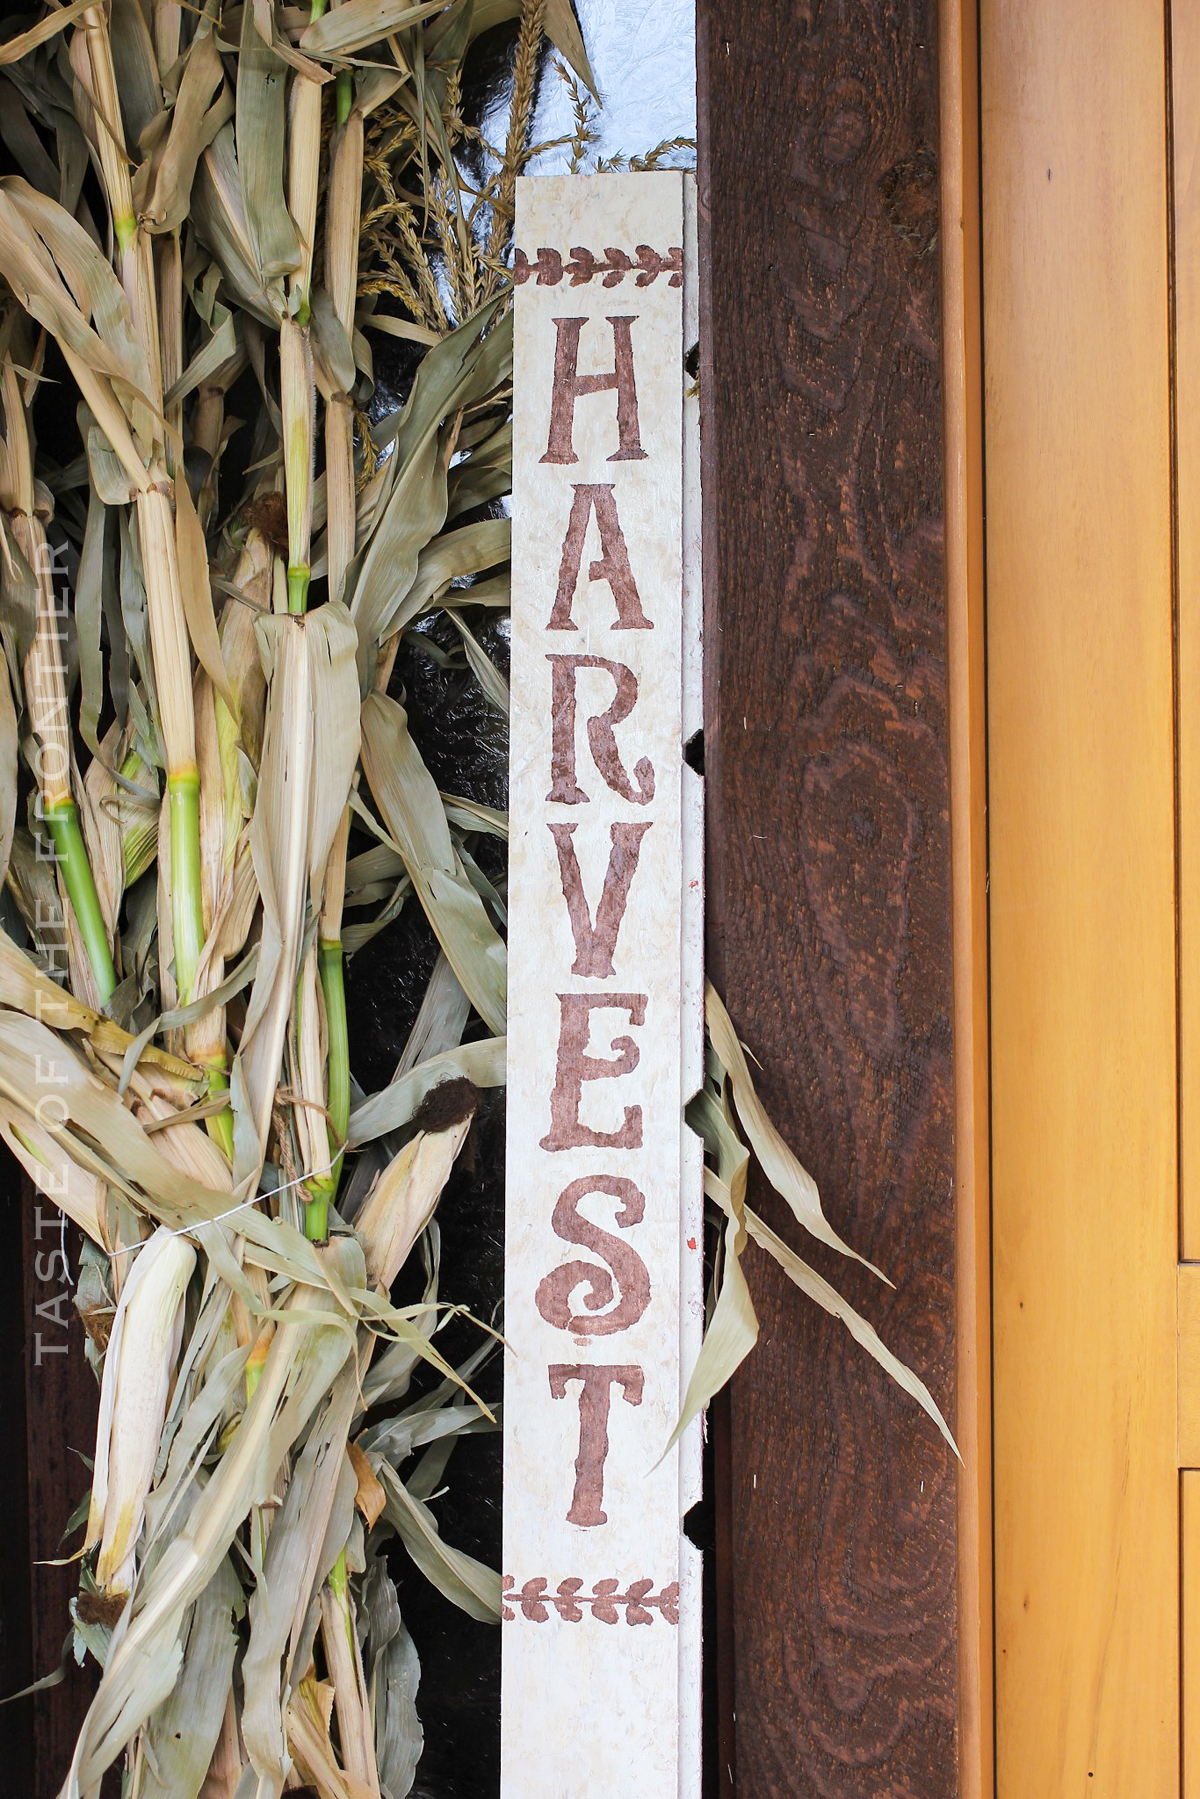
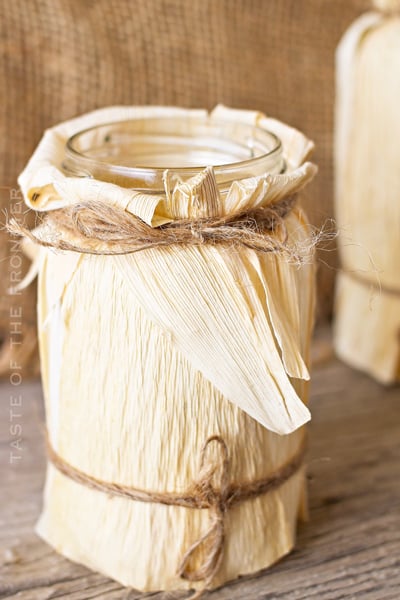
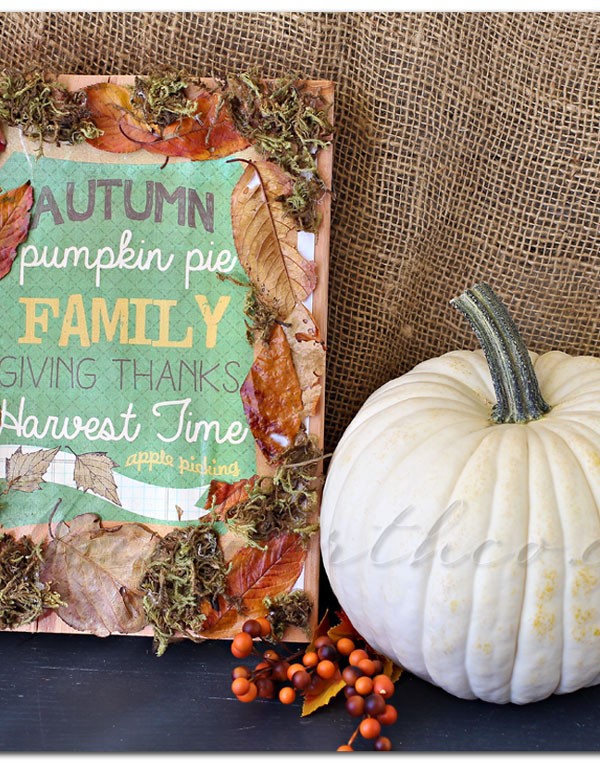
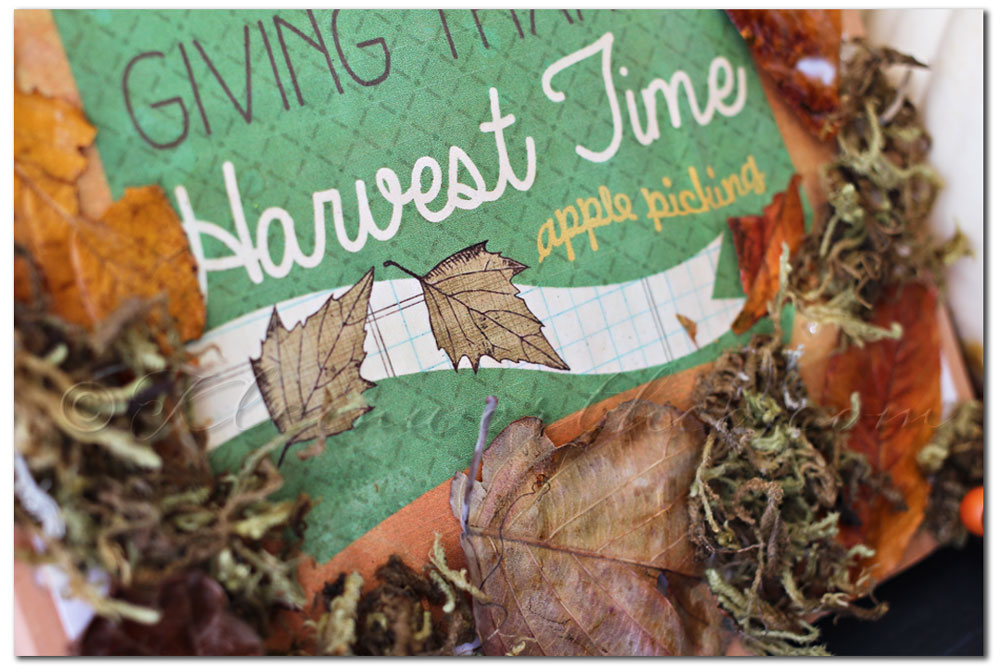
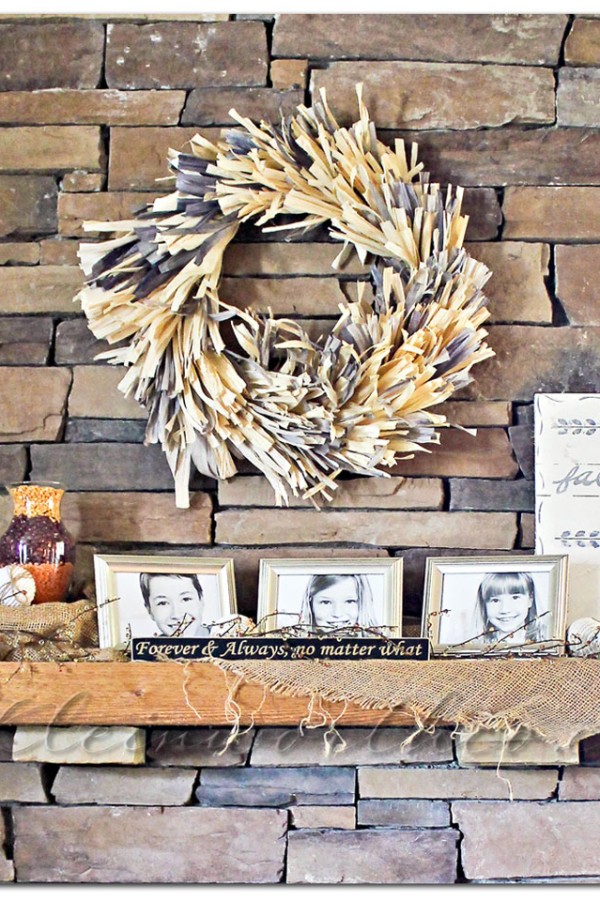
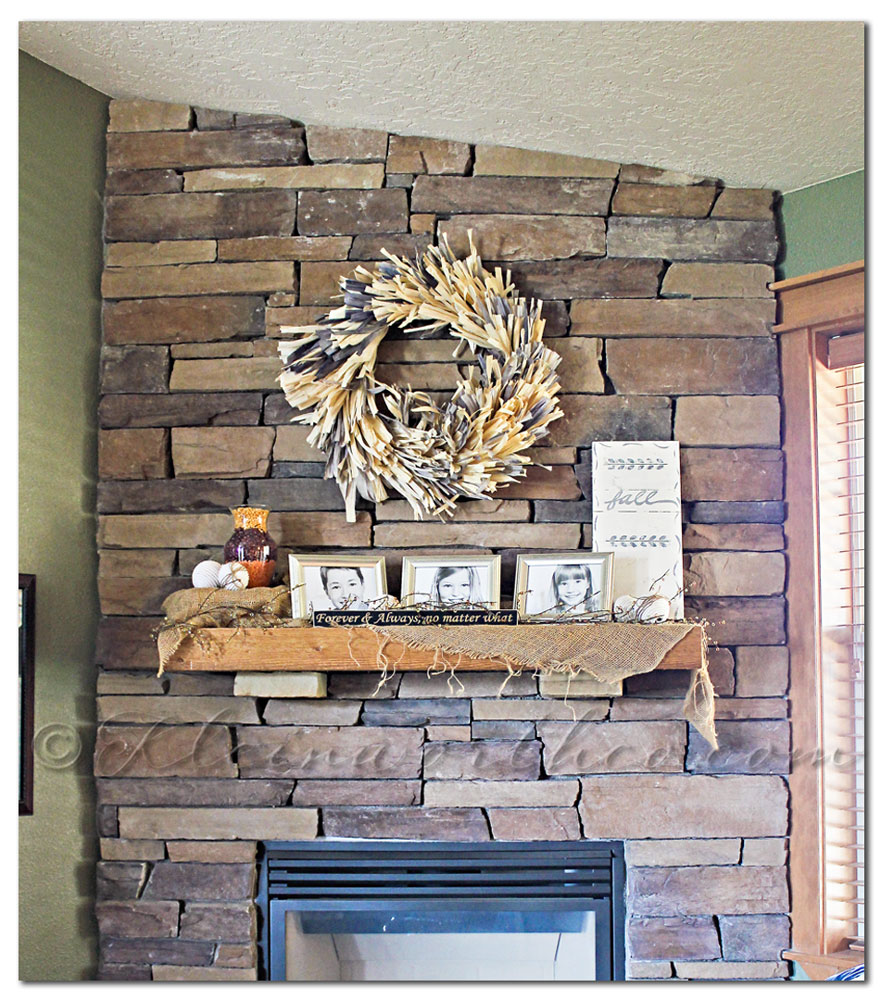
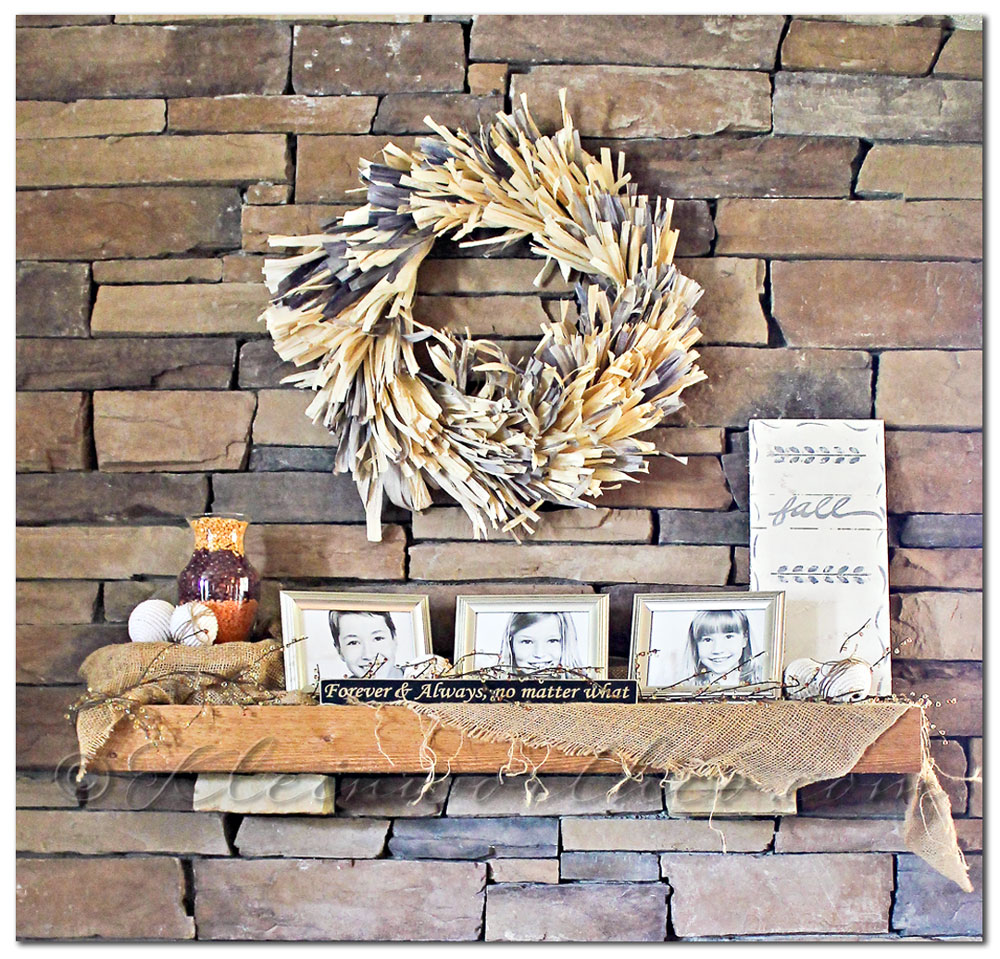
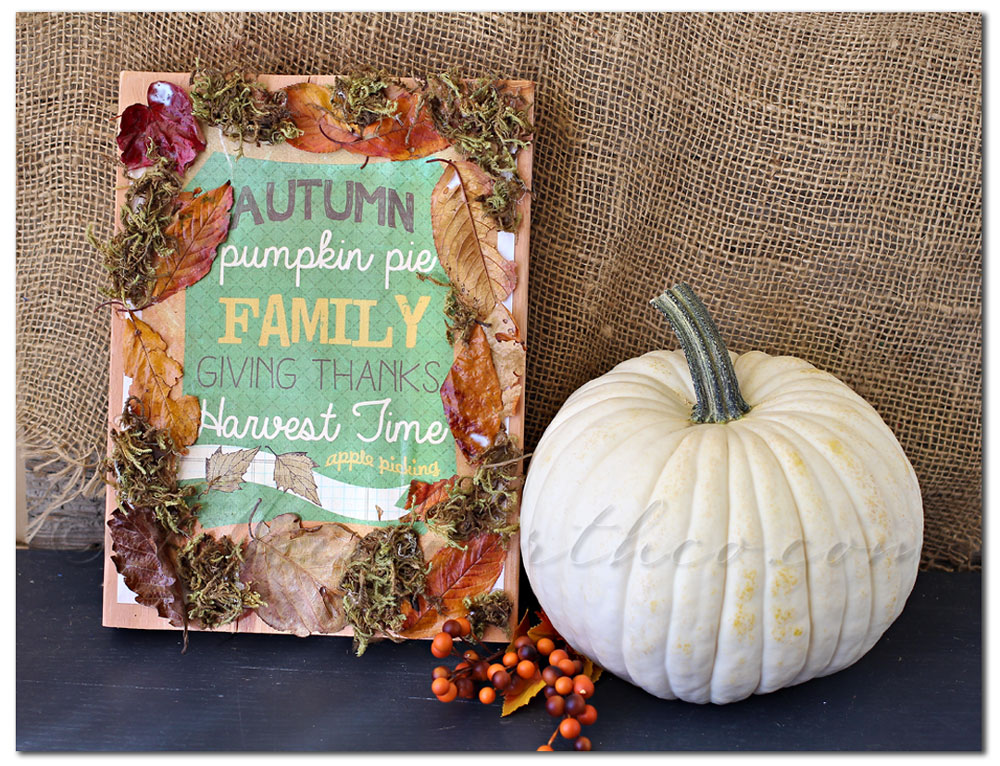 I have this propped on the hearth- looks so cozy & brings in the feel of the season.
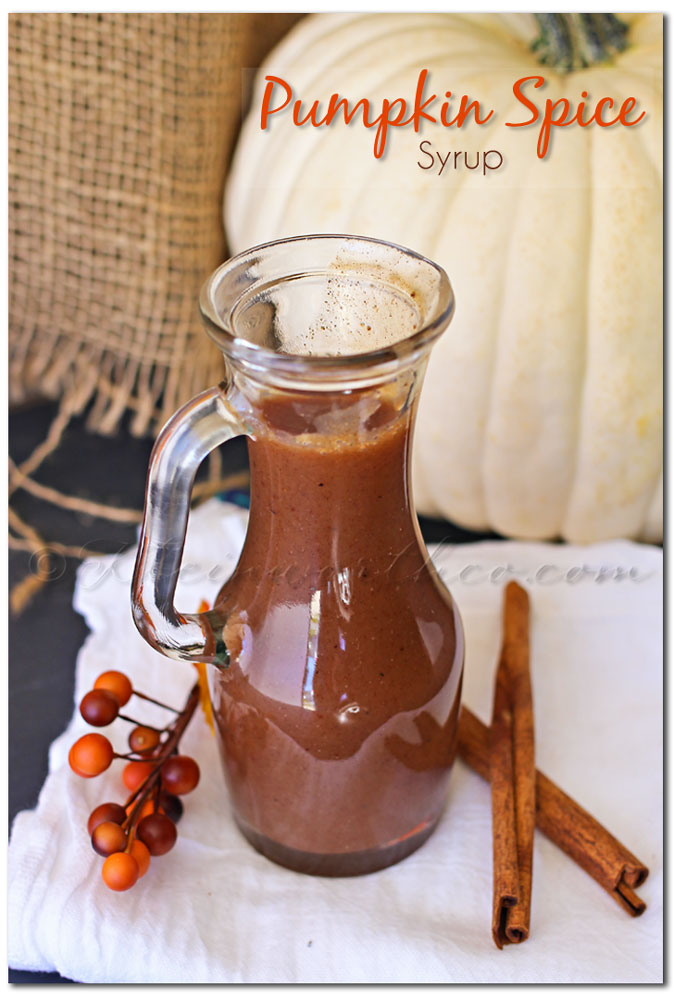
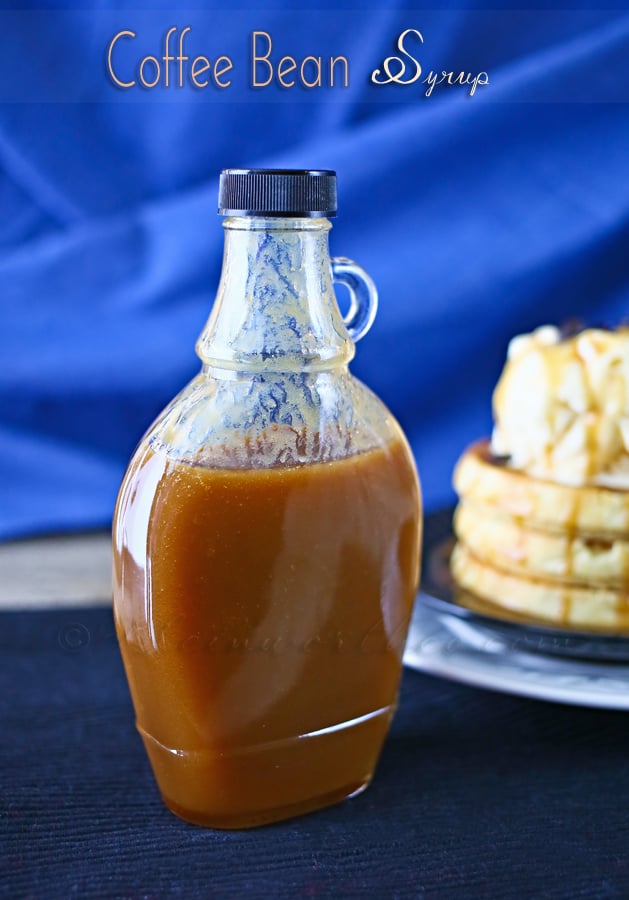
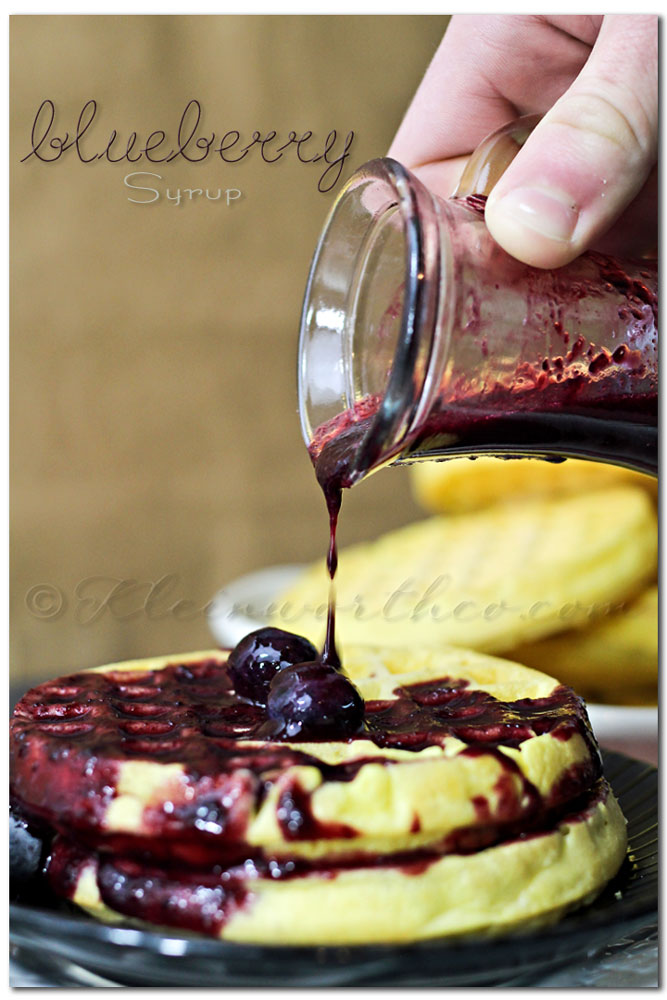
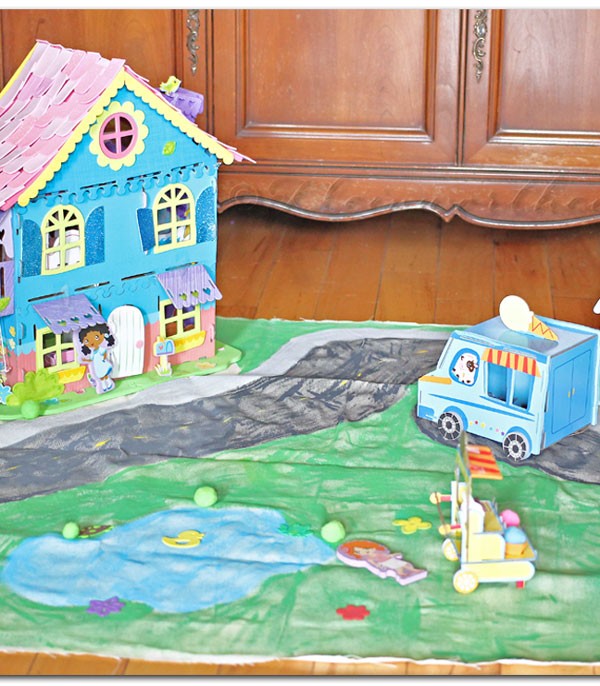
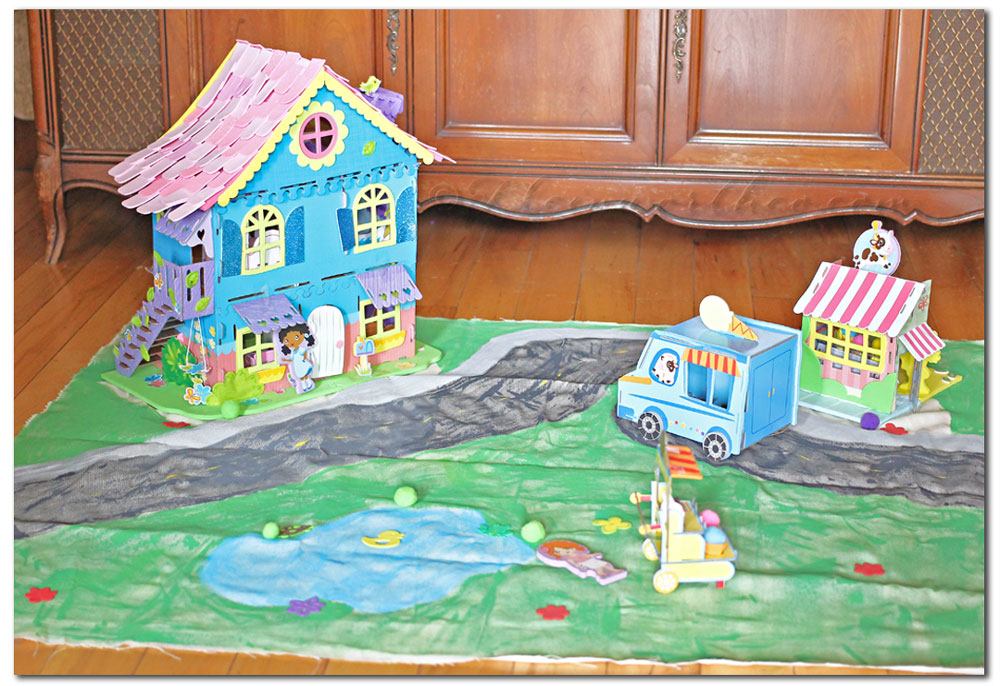
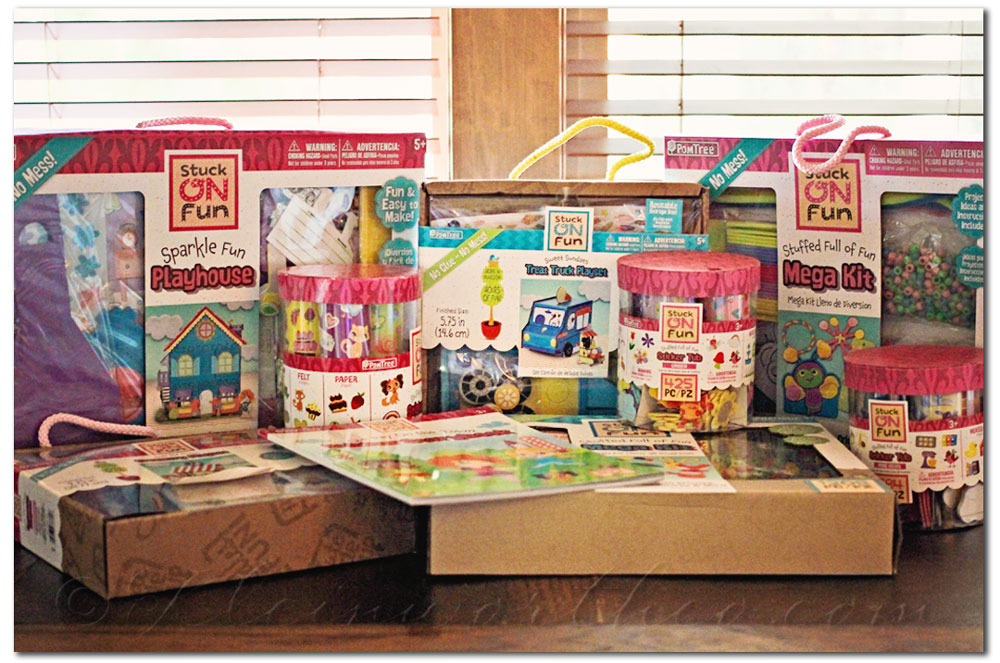
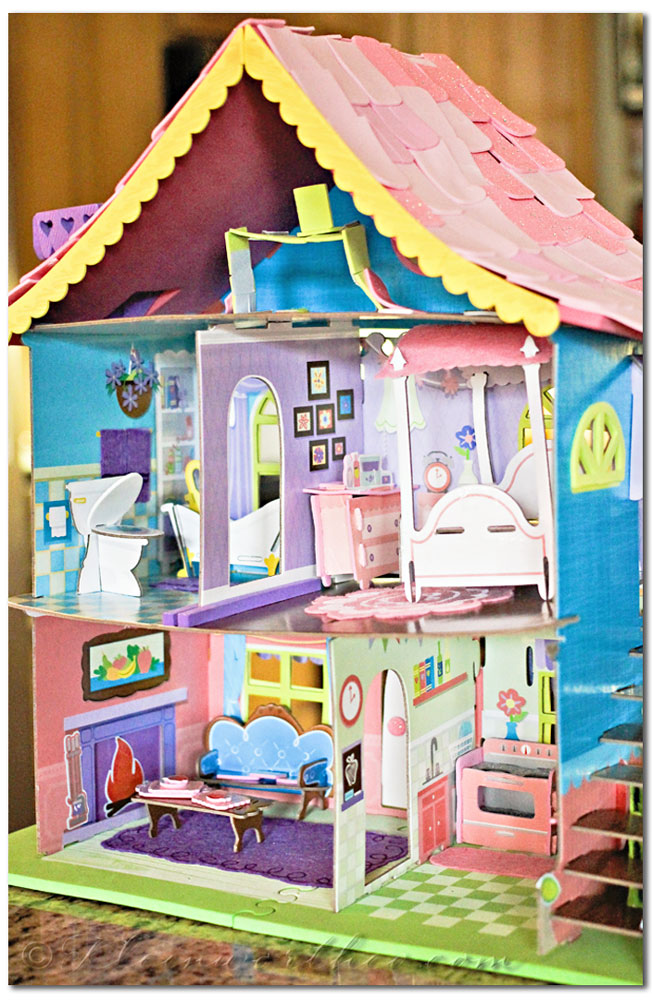
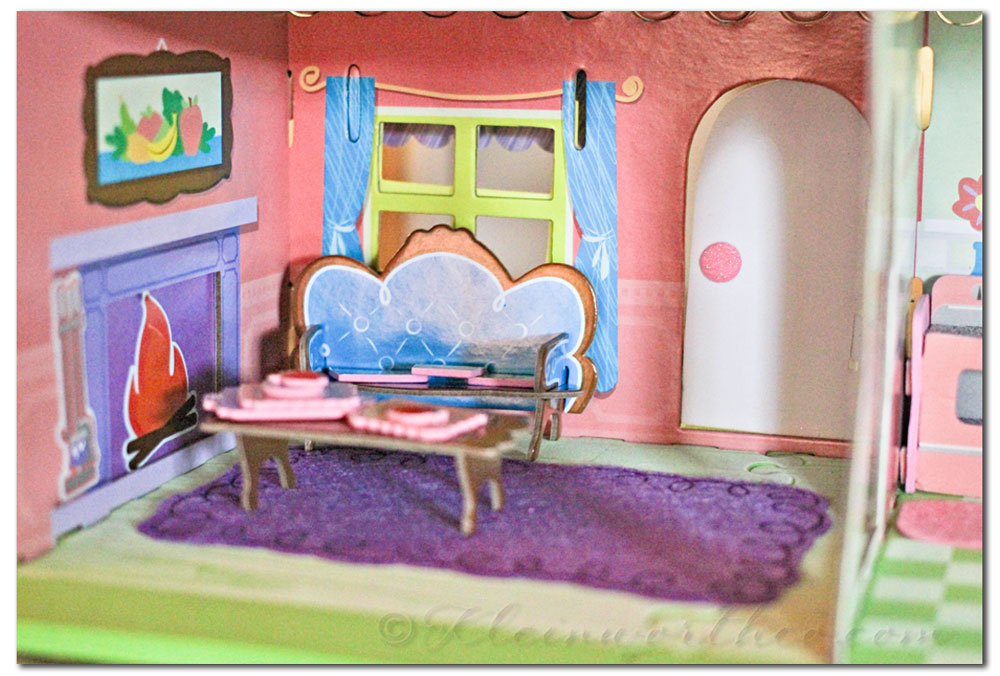
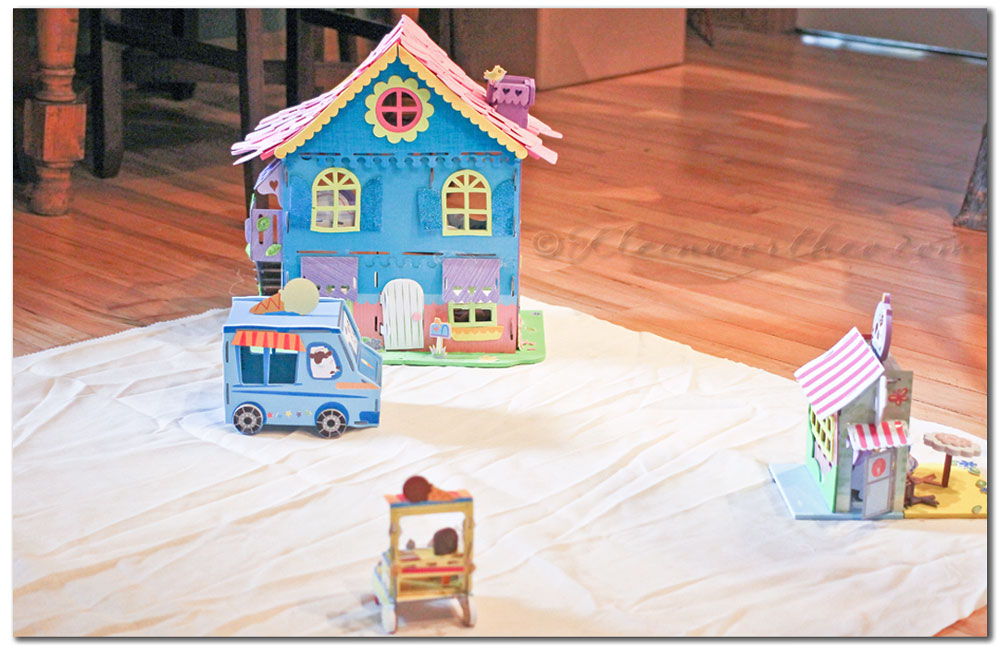
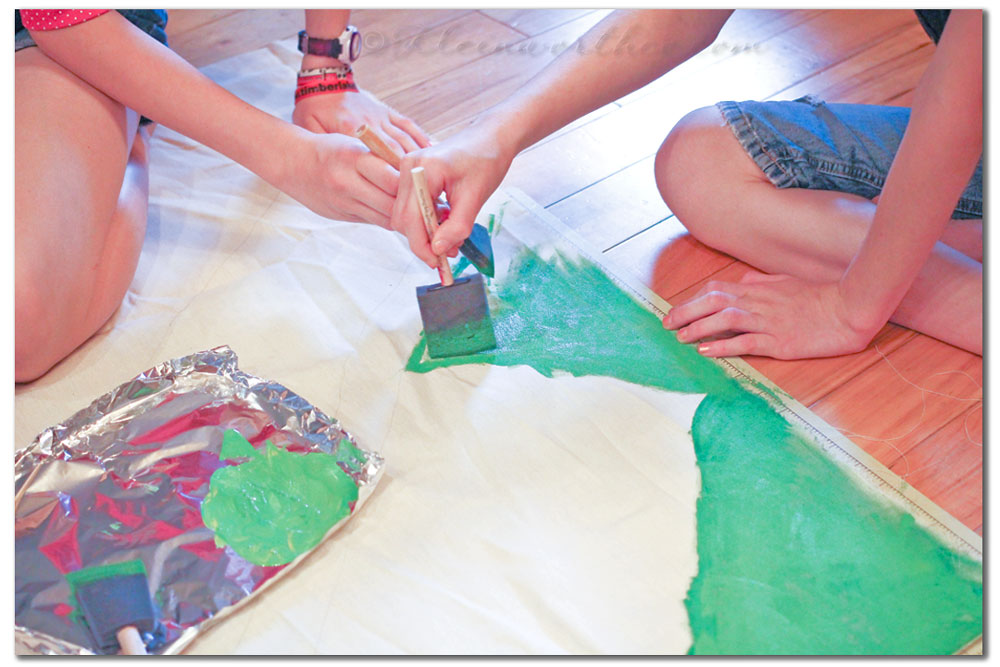
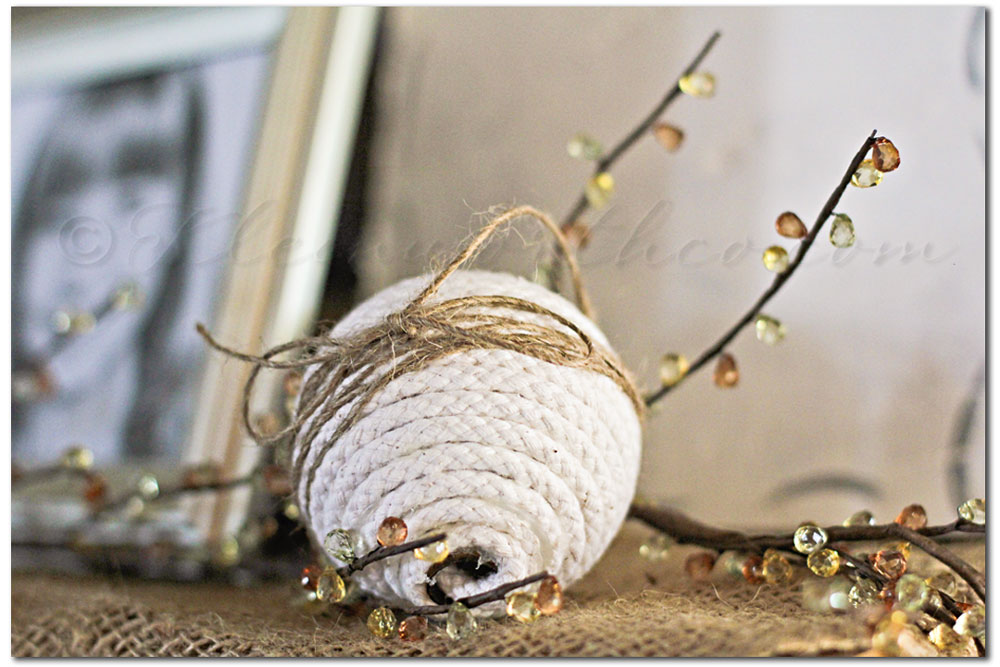
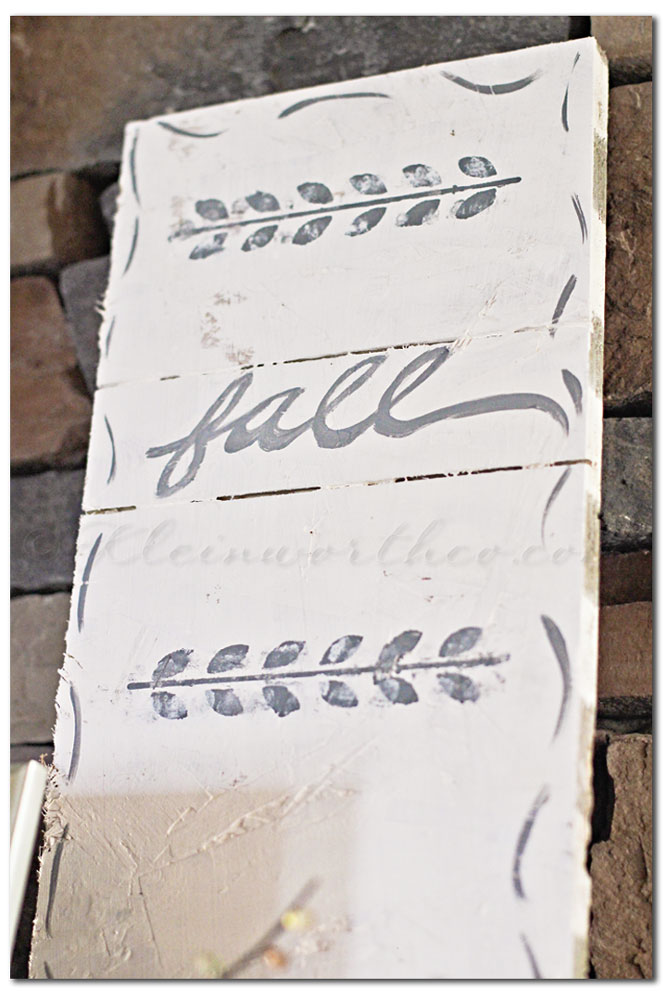
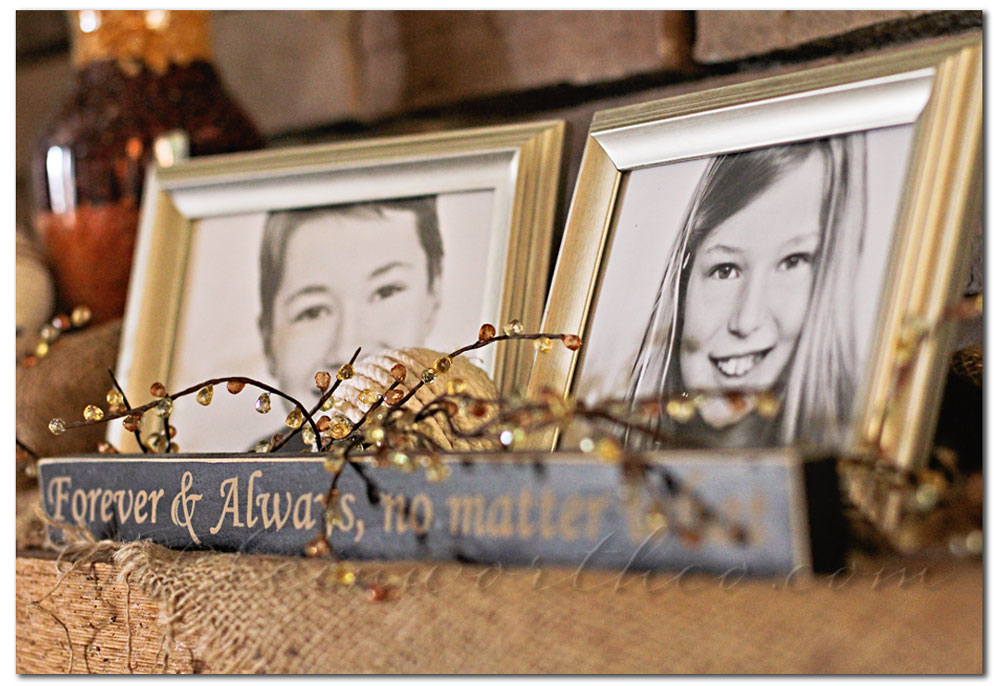
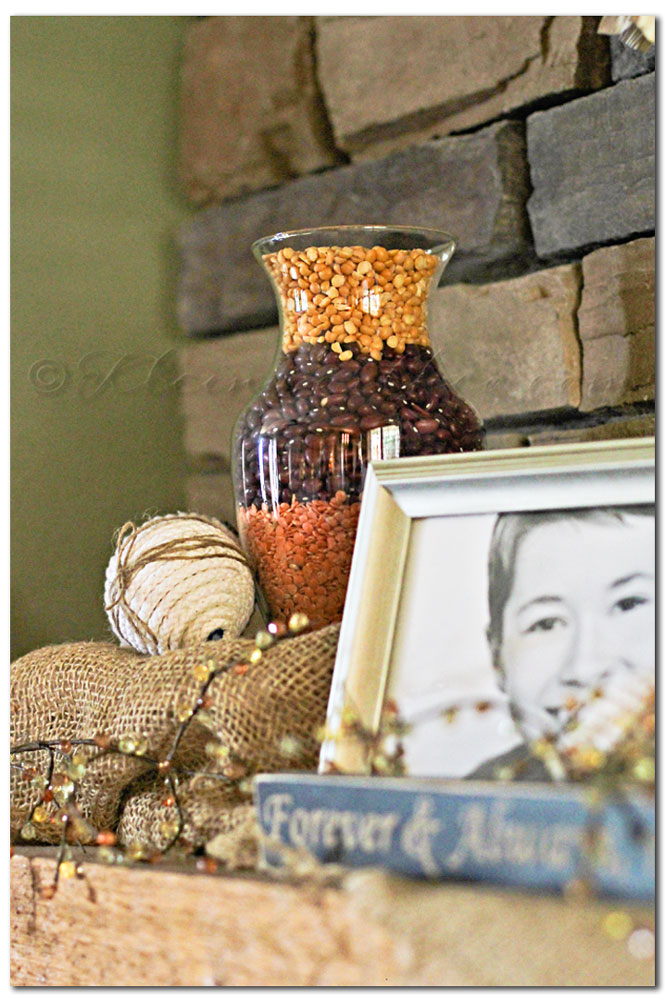

 The heat made a week long return after we had such fall like temps.

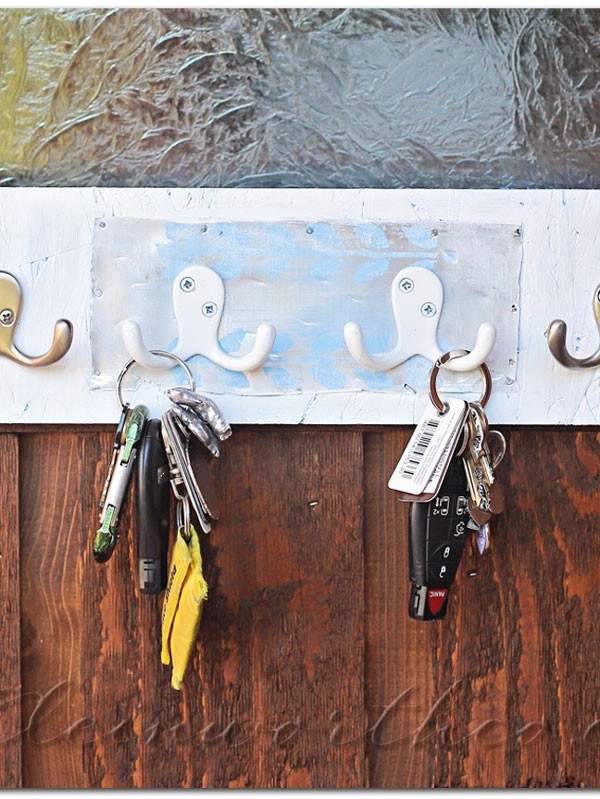
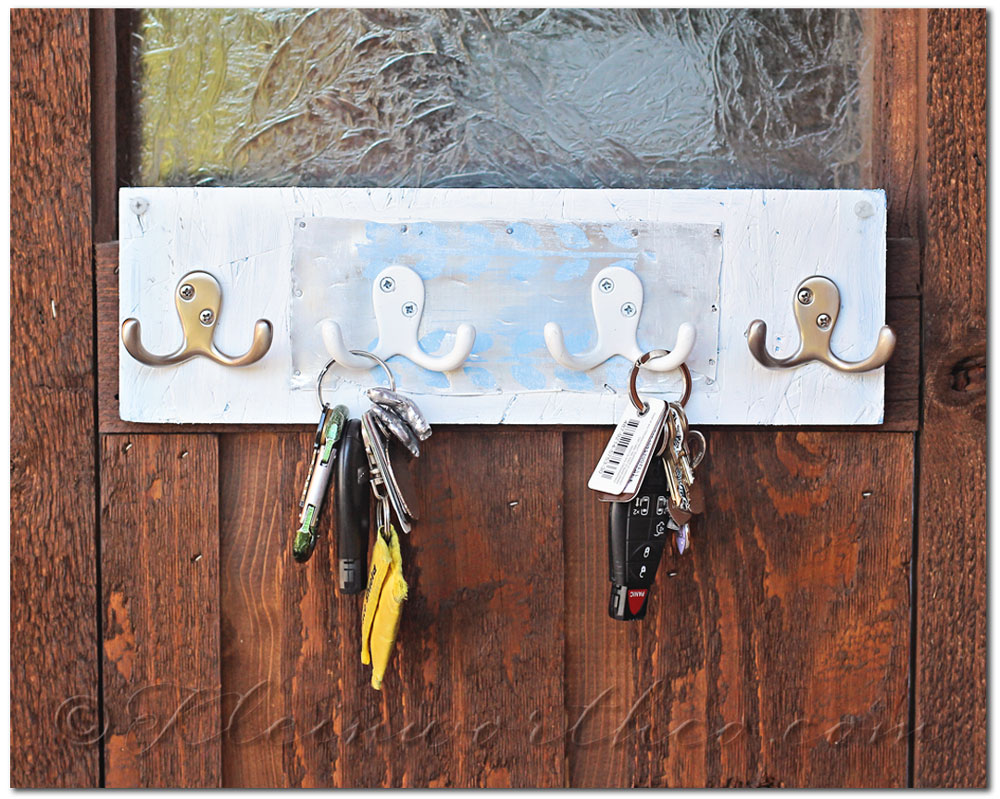
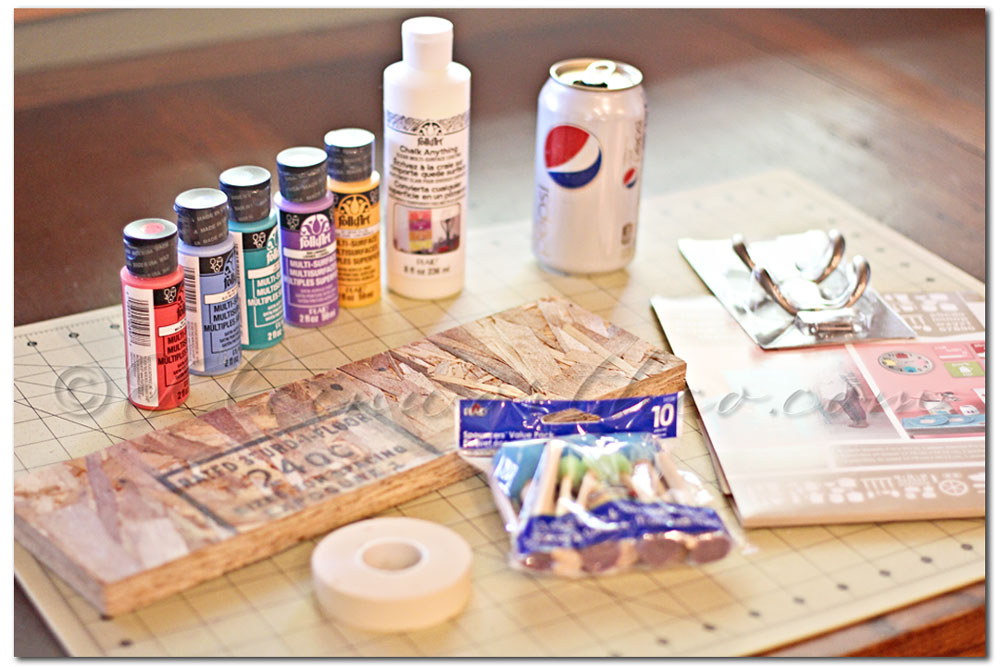
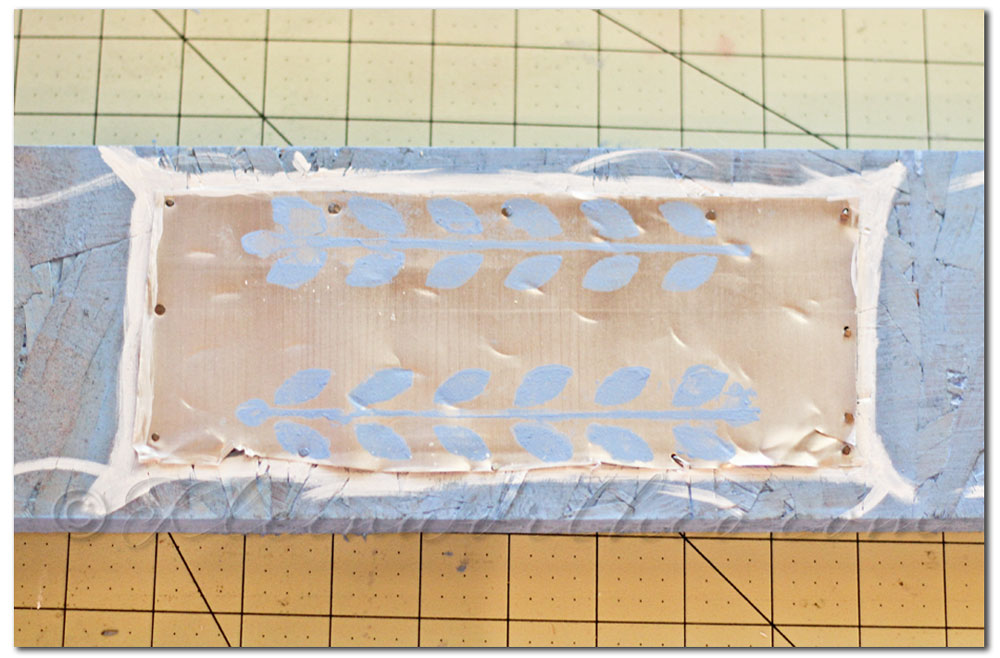
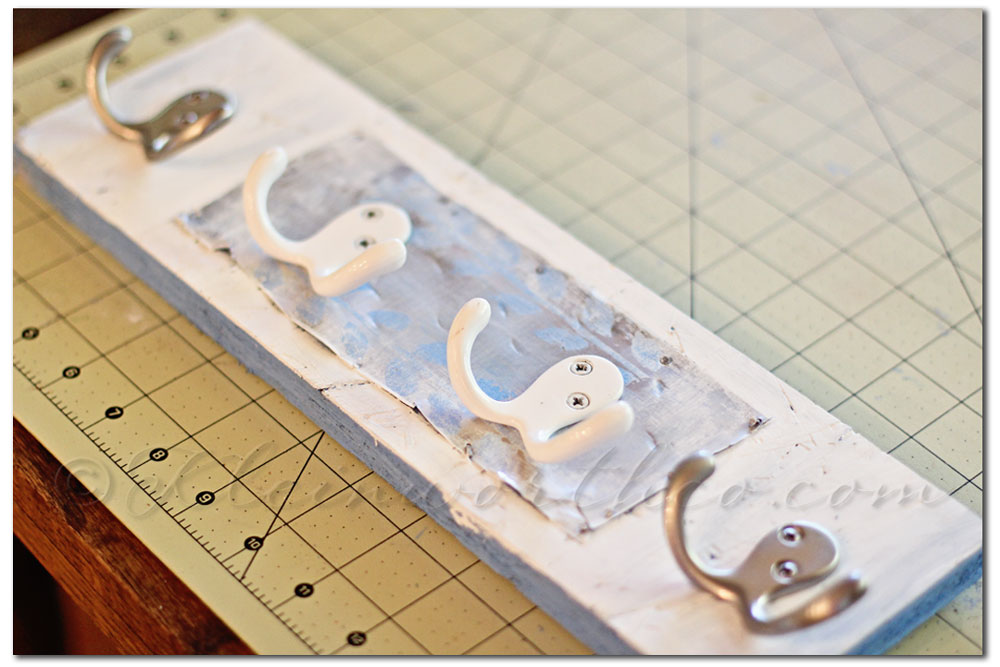
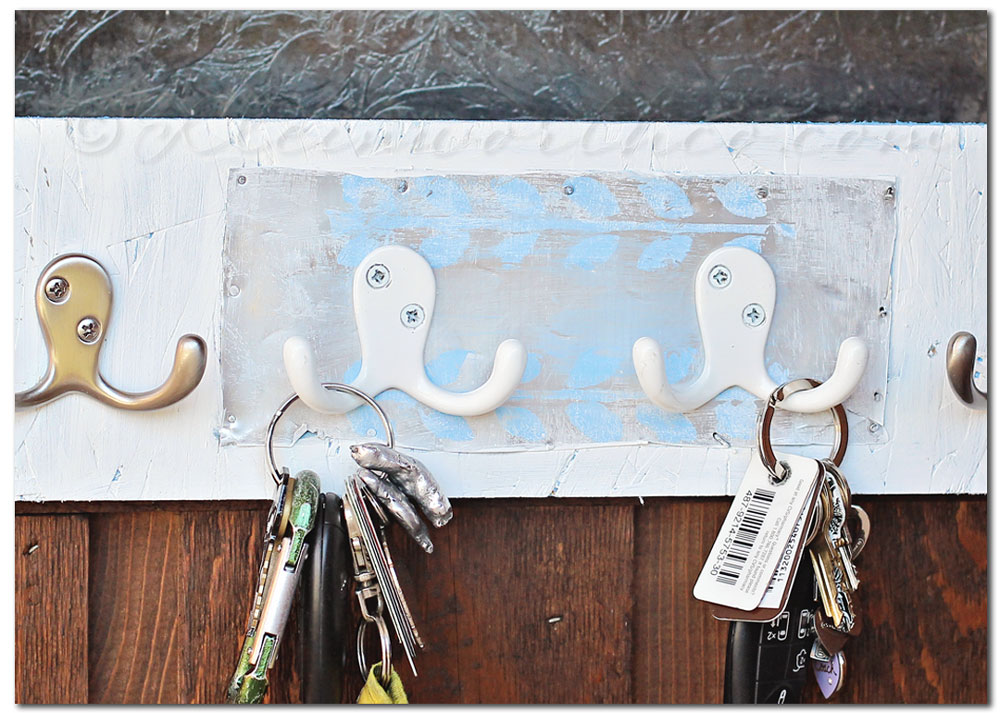
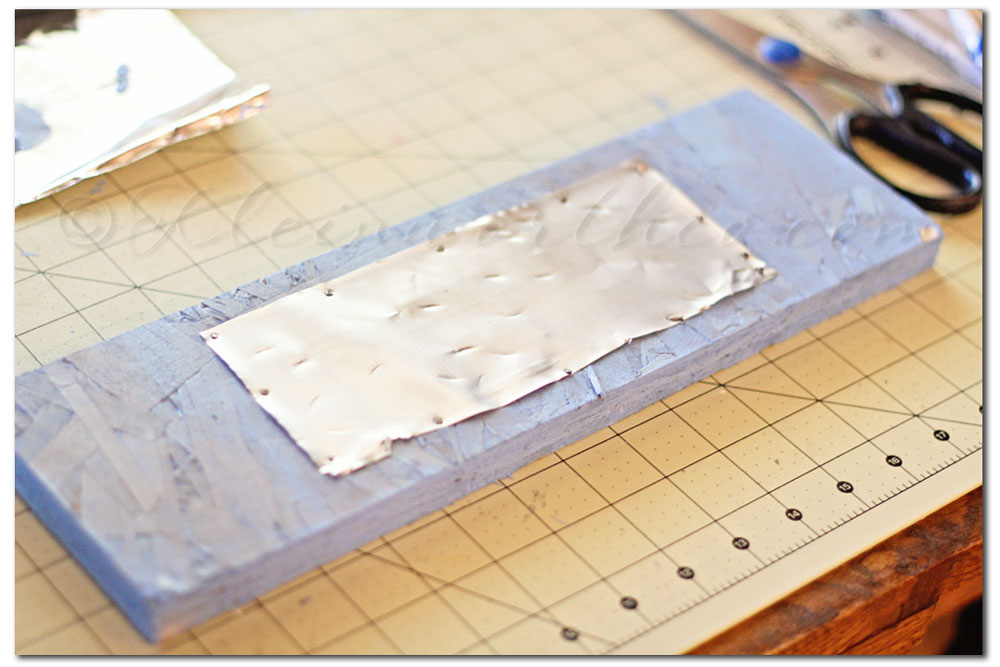 First I painted the whole thing in blue. Then I cut the can top & bottom off & then down the side.
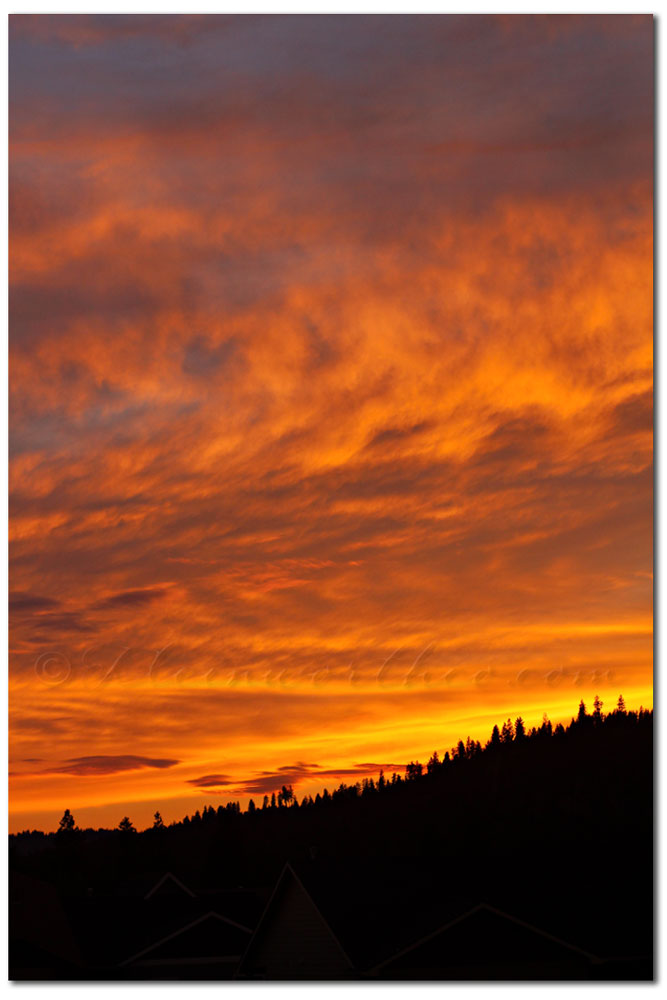
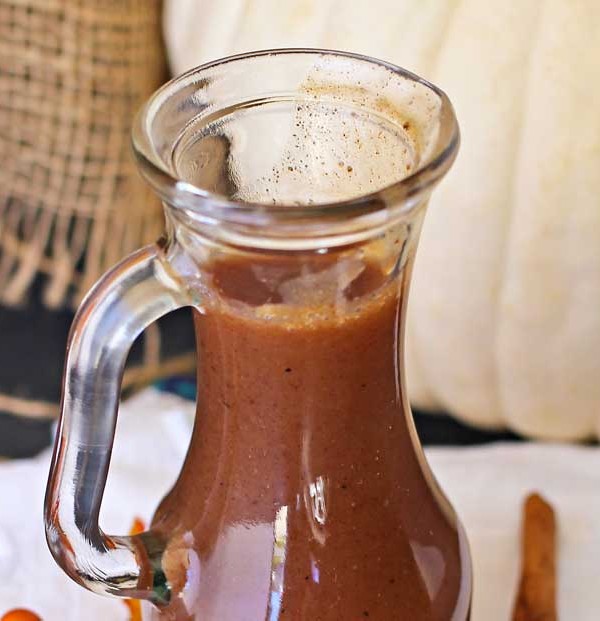
 So – like I said before, I’m not a fan of pumpkin anything. Plus I really only drink water or my morning coffee. I’m not a fan of calories from beverages so I keep it simple. But I had to do something for the prompt. So I’m sharing this shot from one of my client sets this past week- sort of reminded me of a pumpkin drink.