

There’s something magical about the smell of apples bubbling away in butter and brown sugar on the stovetop. These easy caramelized apples are one of my favorite ways to celebrate apple season, and honestly, they’re so simple that you’ll want to make them all year round. Whether you’re looking for a perfect topping for your morning French toast or a warm dessert to serve over vanilla ice cream, this delicious recipe has you covered.
This simple recipe comes together in just 15-20 minutes with minimal ingredients and maximum flavor. The combination of unsalted butter, brown sugar, and cinnamon creates a caramel sauce that coats tender apple slices perfectly. Trust me, once you try these stovetop apples, they’ll become your go-to for everything from breakfast to dessert.
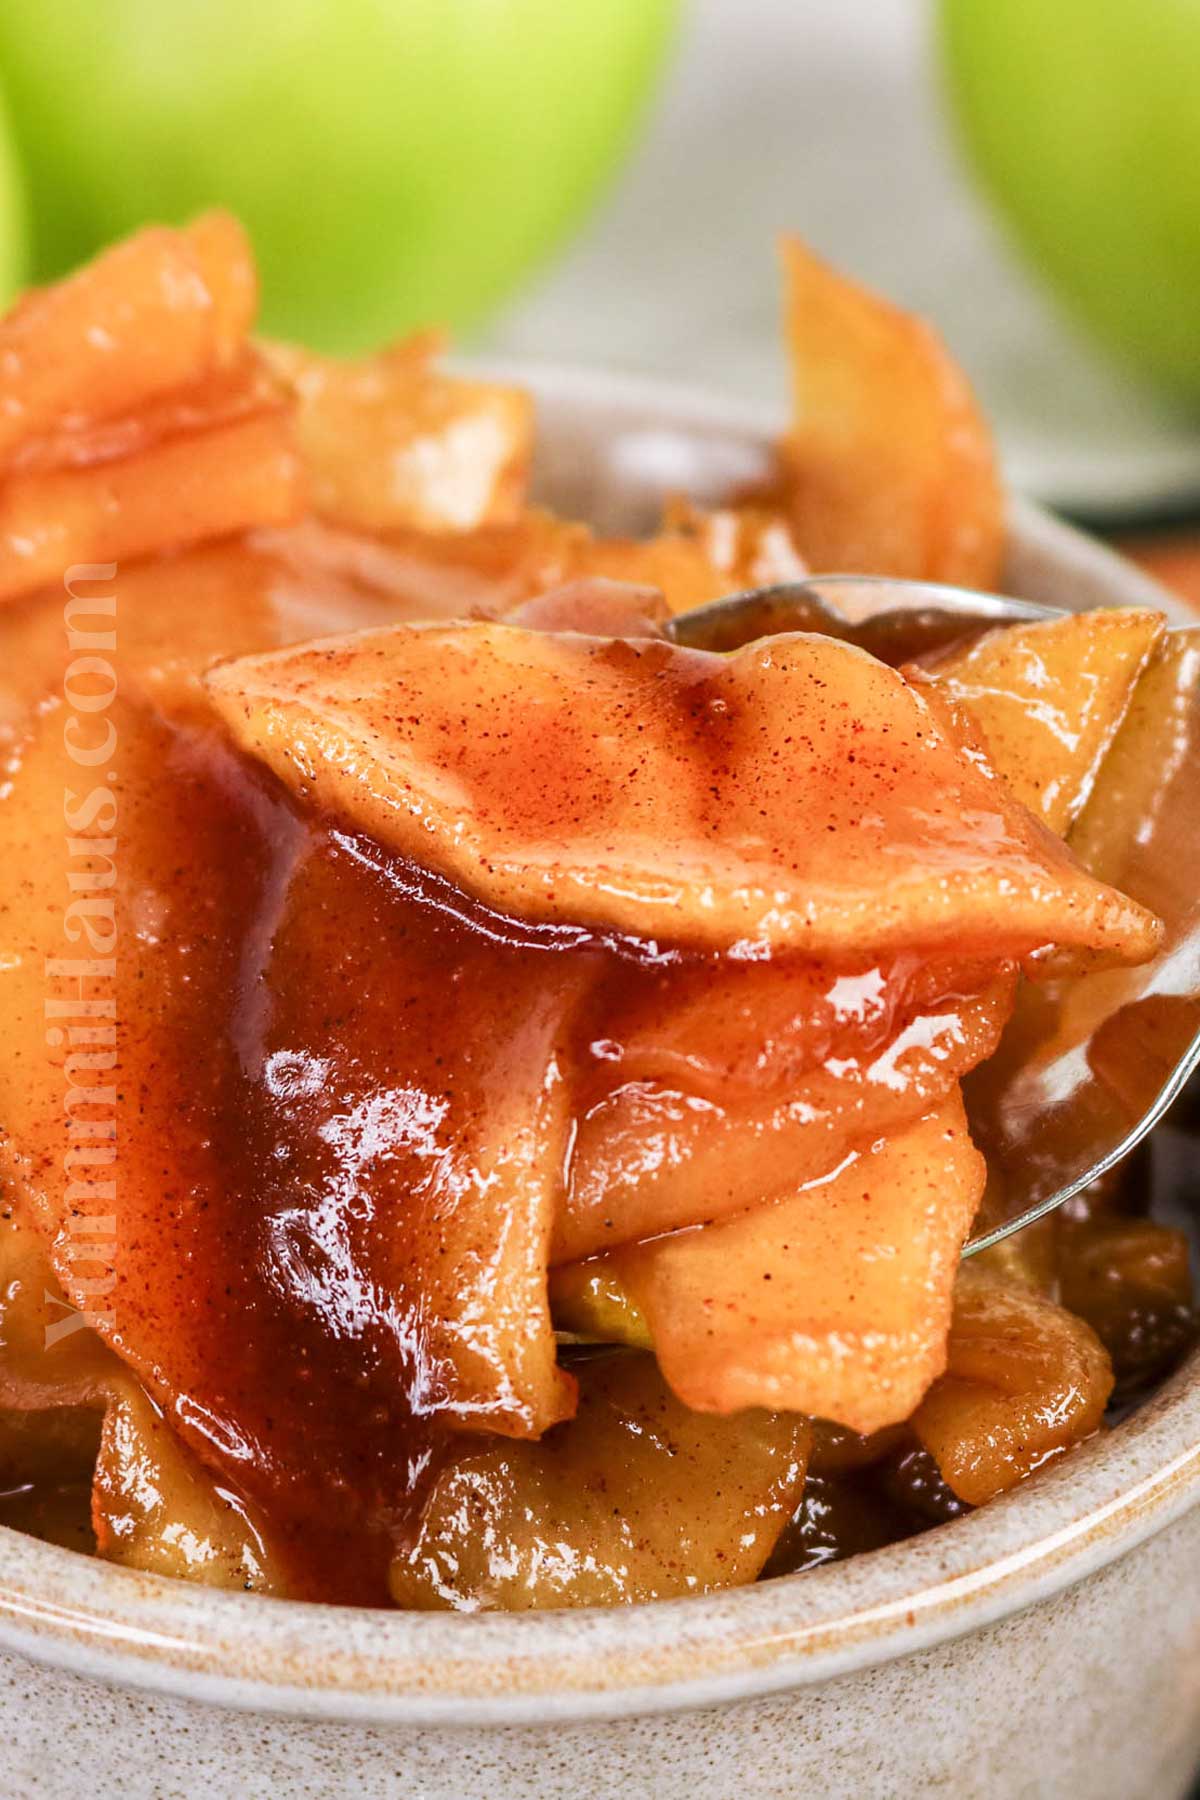
Gina’s Recipe Rundown:
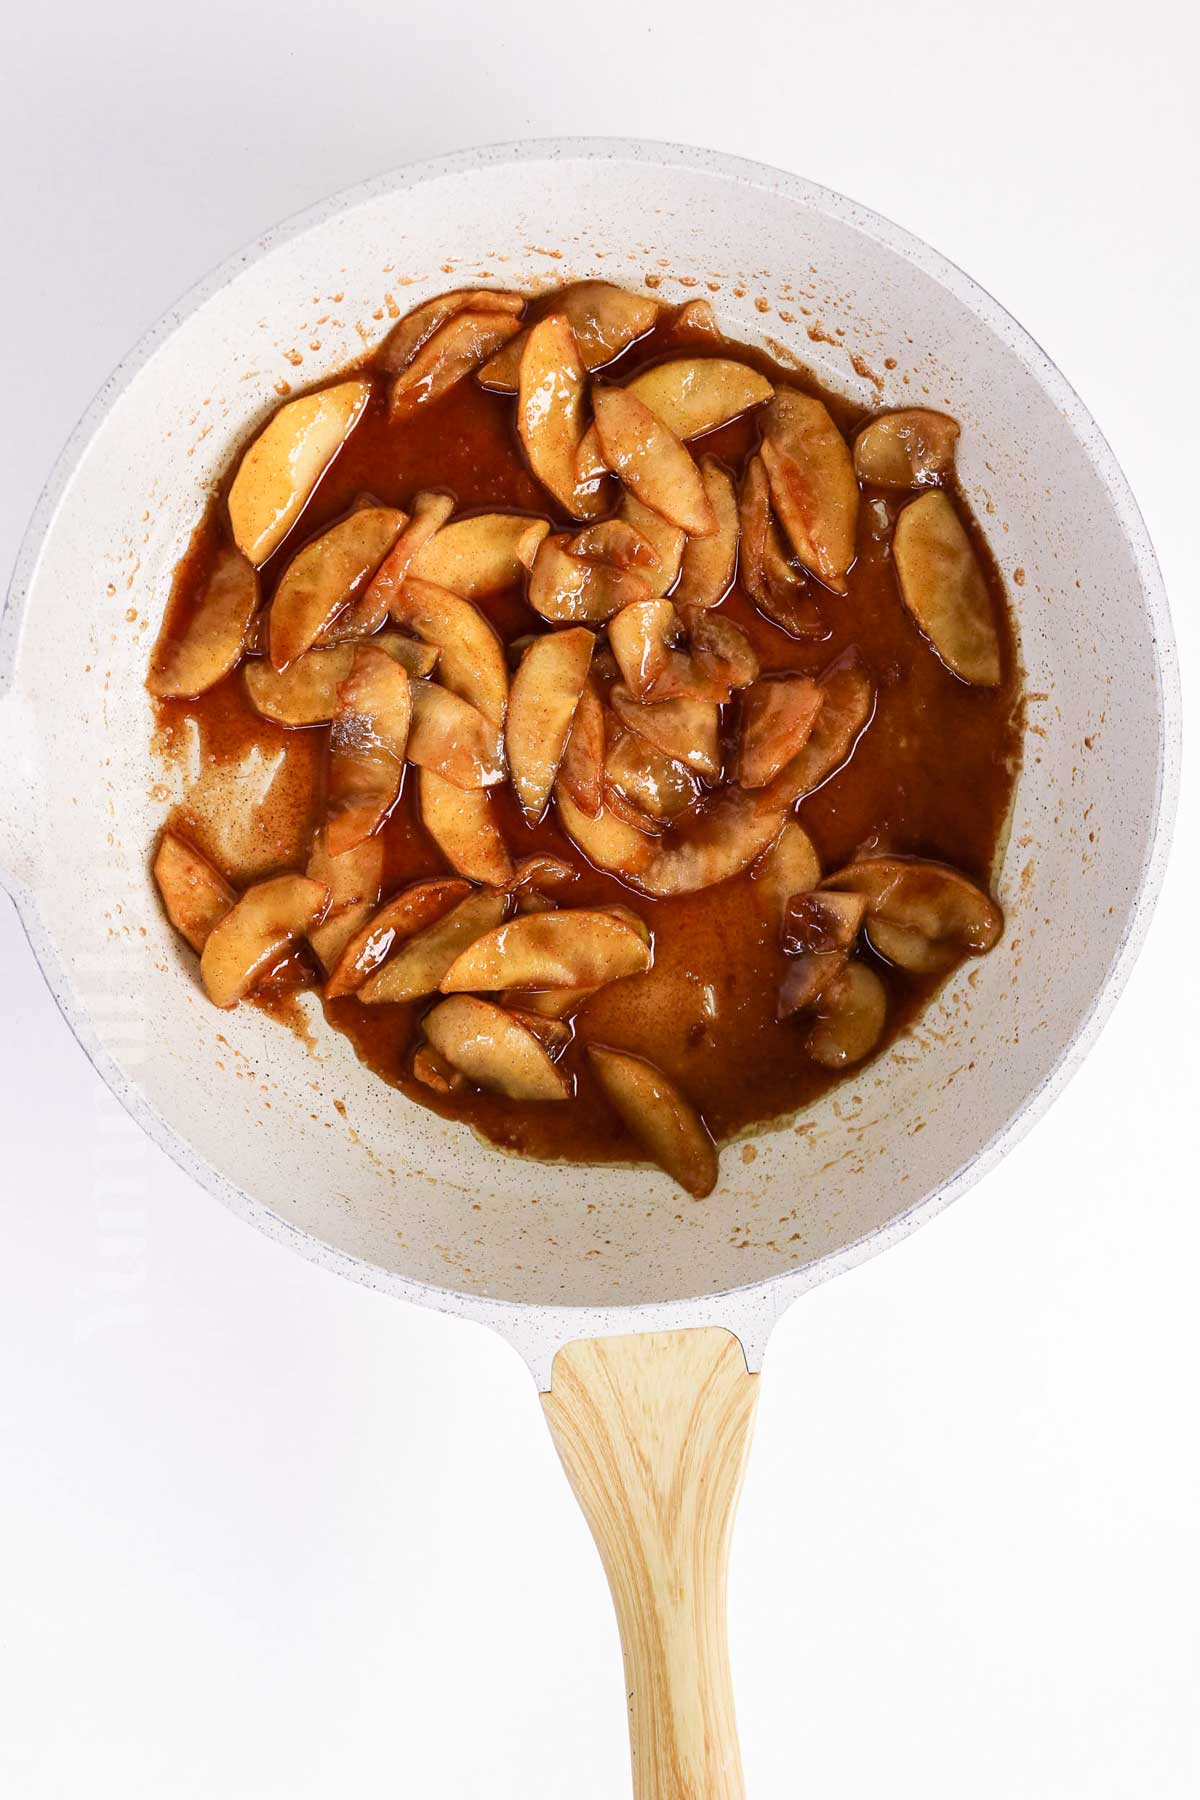
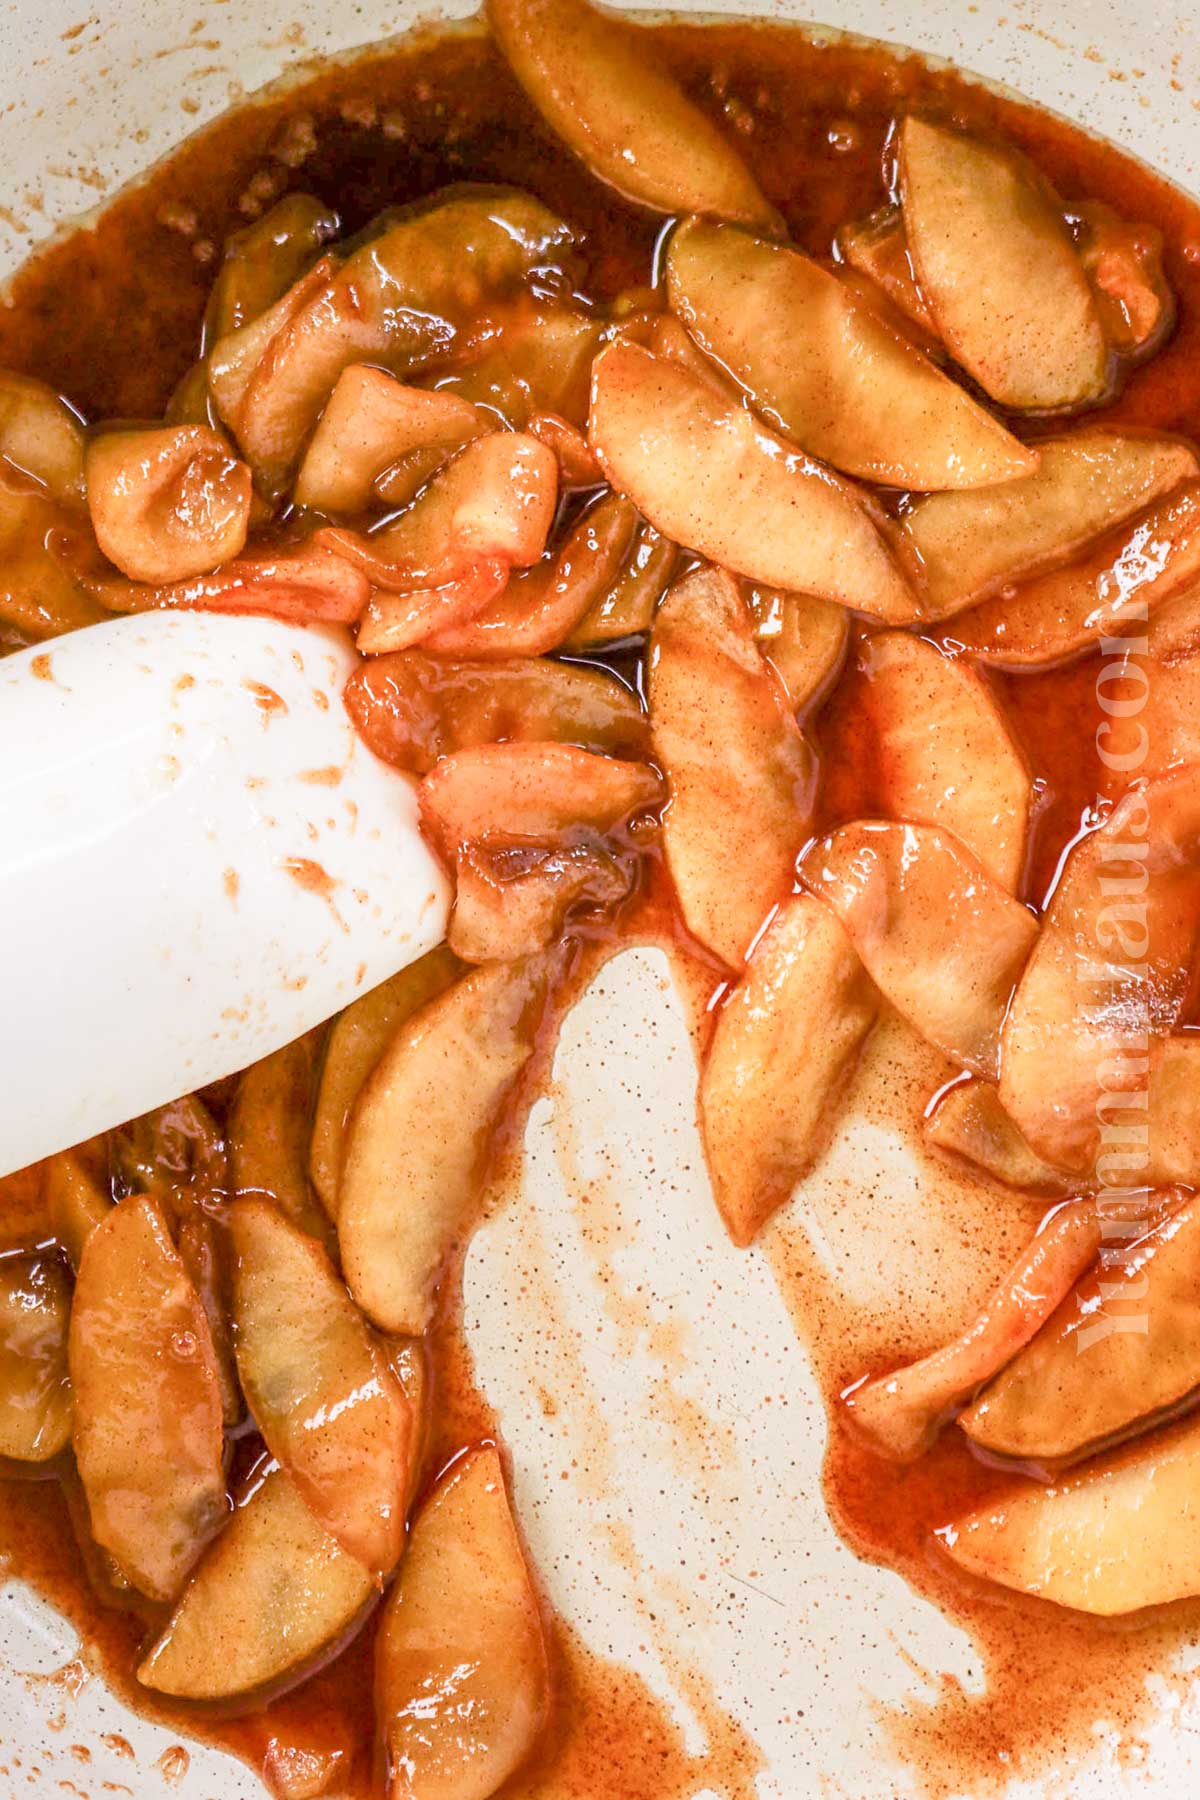
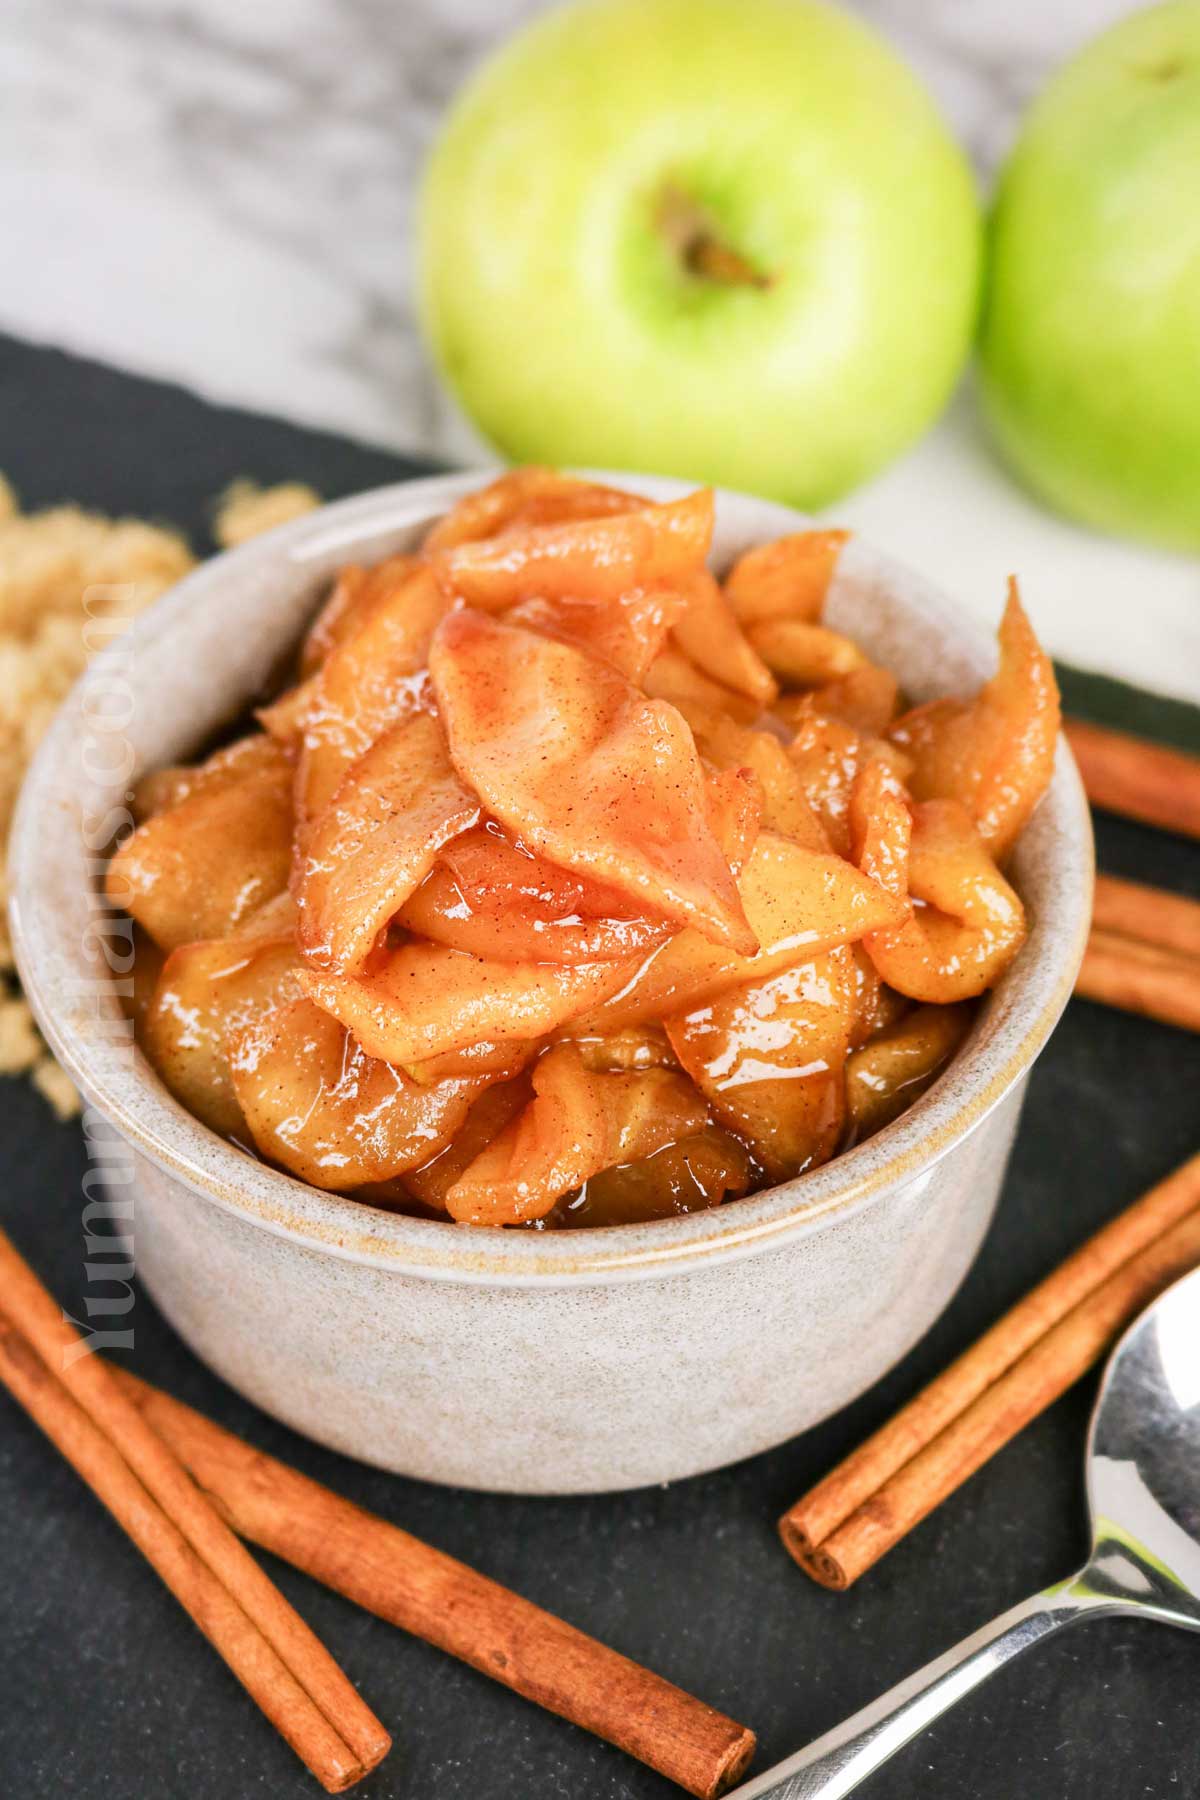
Texture: The apples are tender and buttery with lightly crisp edges, coated in a thick, glossy caramelized sauce.
Taste: Sweet and buttery with warm cinnamon notes, balanced by a bright hint of lemon and rich caramelized brown sugar.
Ease: A simple, beginner-friendly recipe that comes together quickly with just a skillet and a few basic ingredients.
Why I love it: They’re delicious on their own and make the perfect topping for pancakes, oatmeal, ice cream, or just about any cozy treat.
Why You’ll Love This Recipe
These easy caramelized apples are incredibly versatile. They work beautifully as a topping for Greek yogurt, pancakes, or even pork chops for those who love pairing sweet and savory dishes together. The warm apple pie filling vibe they give off makes them feel special without requiring any real effort.
The best part? You probably have most of the ingredients in your pantry already. This is an easy way to transform fresh fruit into something truly impressive. Whether you’re serving them as an easy dessert or as a great addition to your breakfast spread, they’re guaranteed to be a hit every single time.

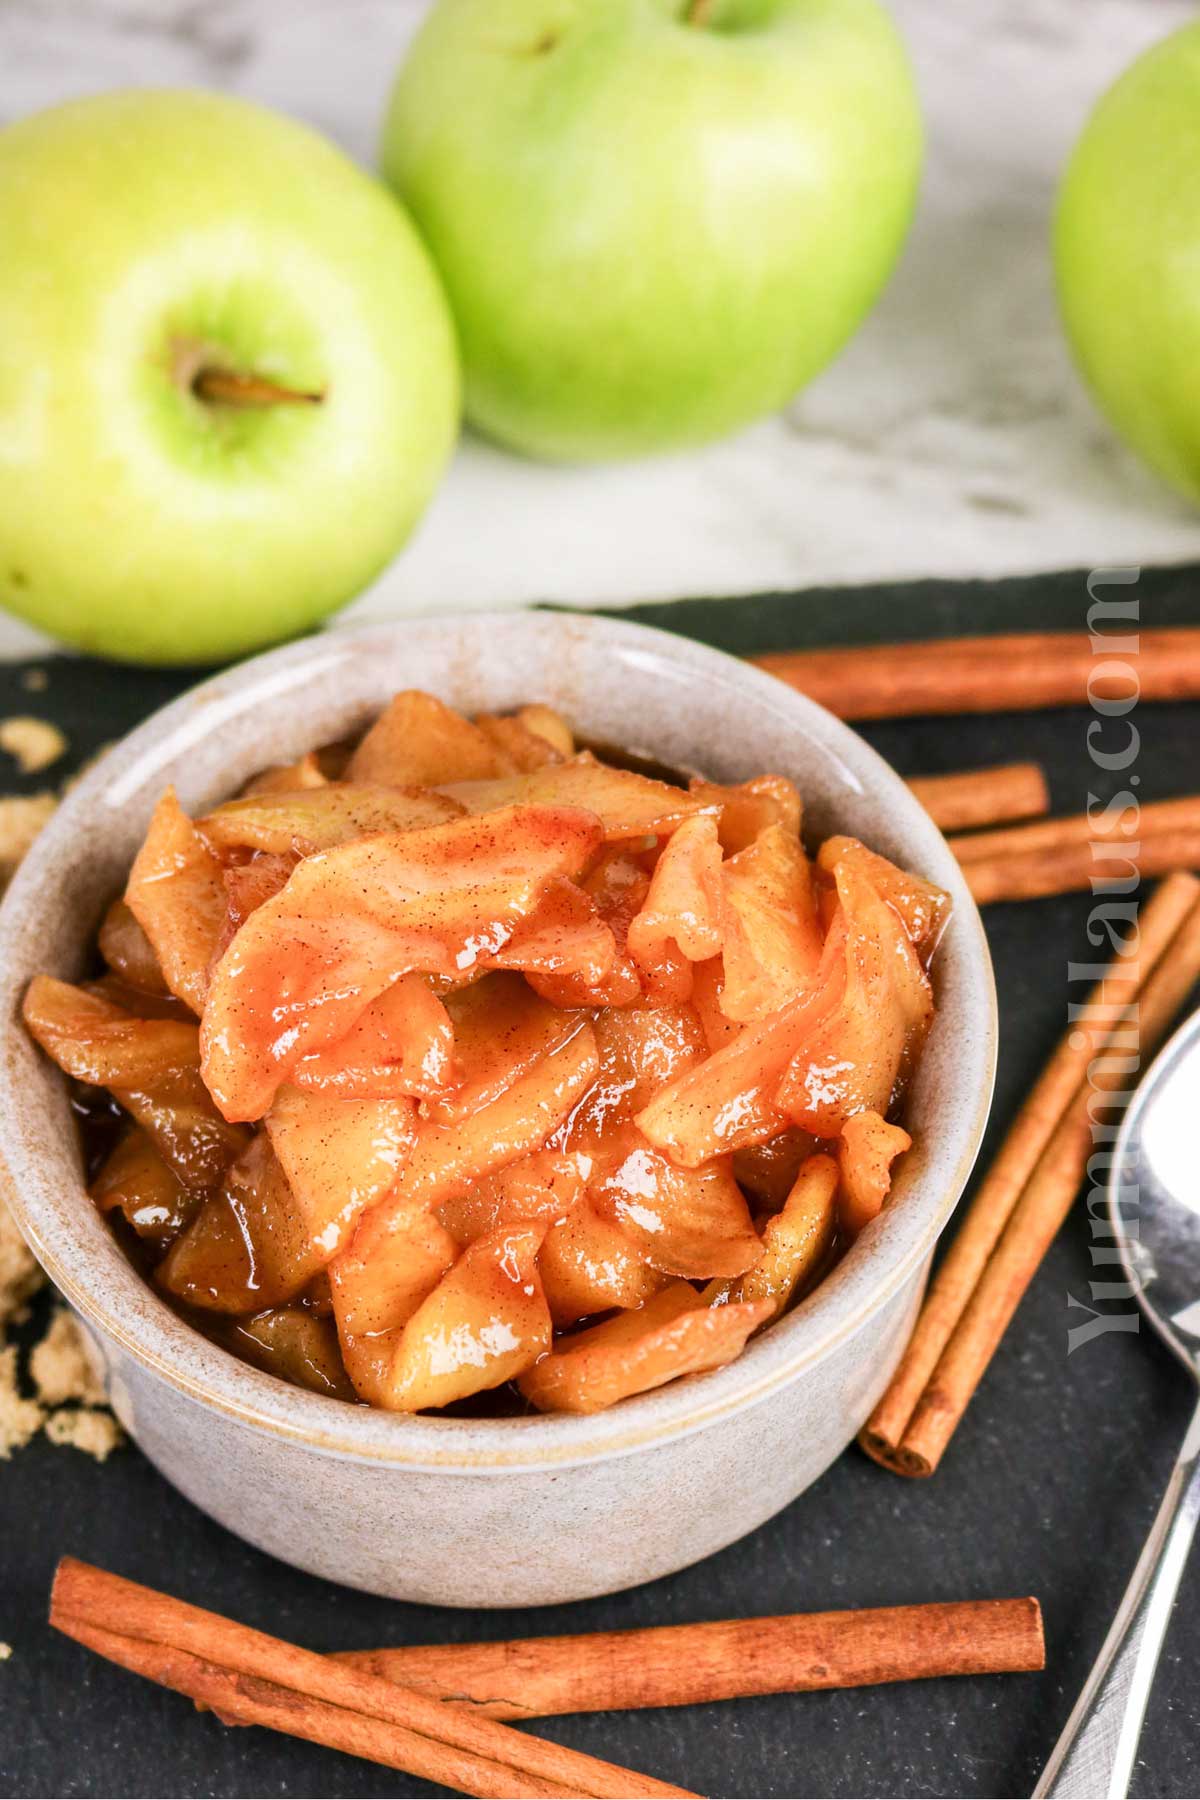
Ingredient Notes
- Apples: Granny Smith or Honeycrisp, peeled, cored, and sliced
- Unsalted butter: Adds rich, buttery flavor and helps caramelize the apples
- Brown sugar: Creates a sweet, caramel-like coating
- Cinnamon: Adds warm, cozy spice
- Salt: Balances the sweetness and enhances the flavors
- Lemon juice: Adds brightness and helps balance the sweetness
- Vanilla extract: Optional, for extra warmth and depth of flavor
Kitchen Equipment
- Large skillet: For cooking and caramelizing the apples
- Wooden spoon or spatula: For stirring and coating the apples
- Chef’s knife: For peeling and slicing the apples
- Cutting board: For safely preparing the apples
- Measuring cups and spoons: For measuring the ingredients
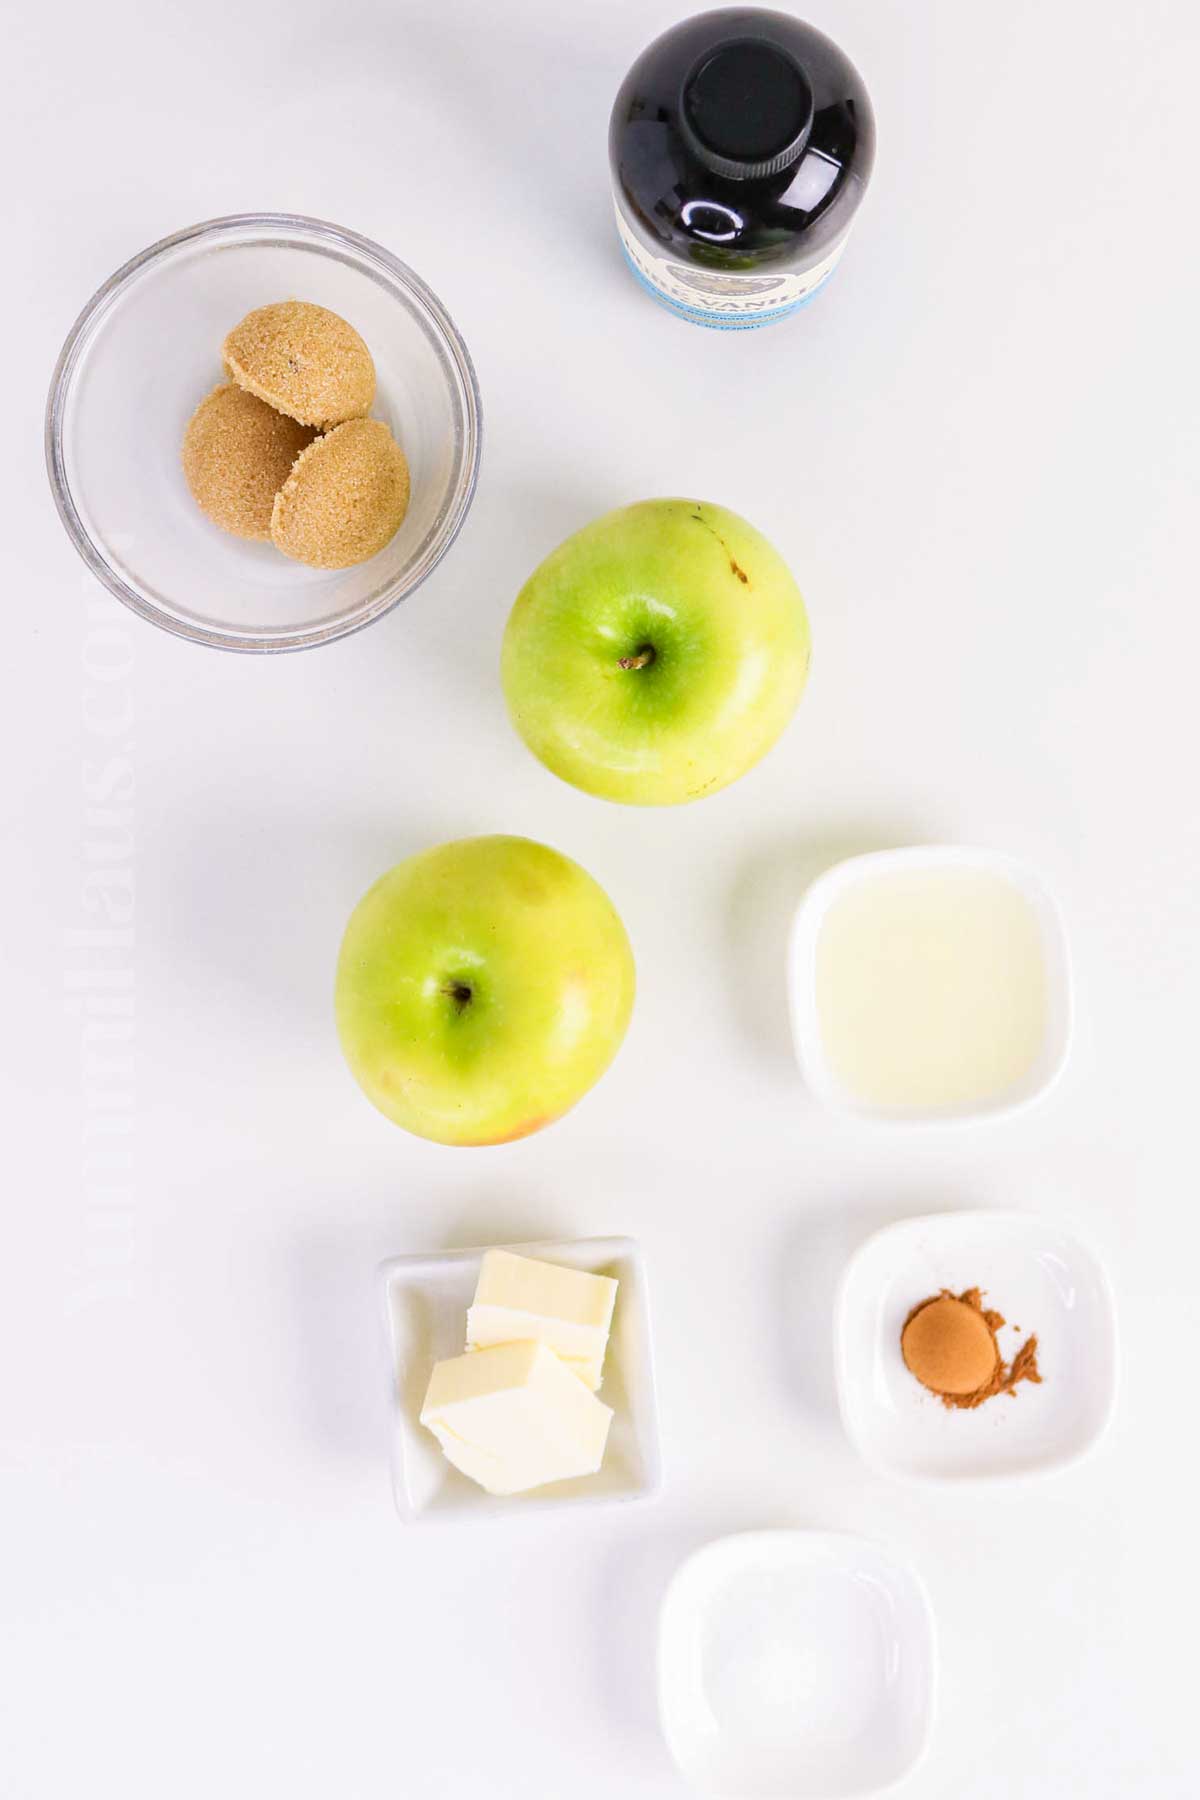
How to Make Caramelized Apples
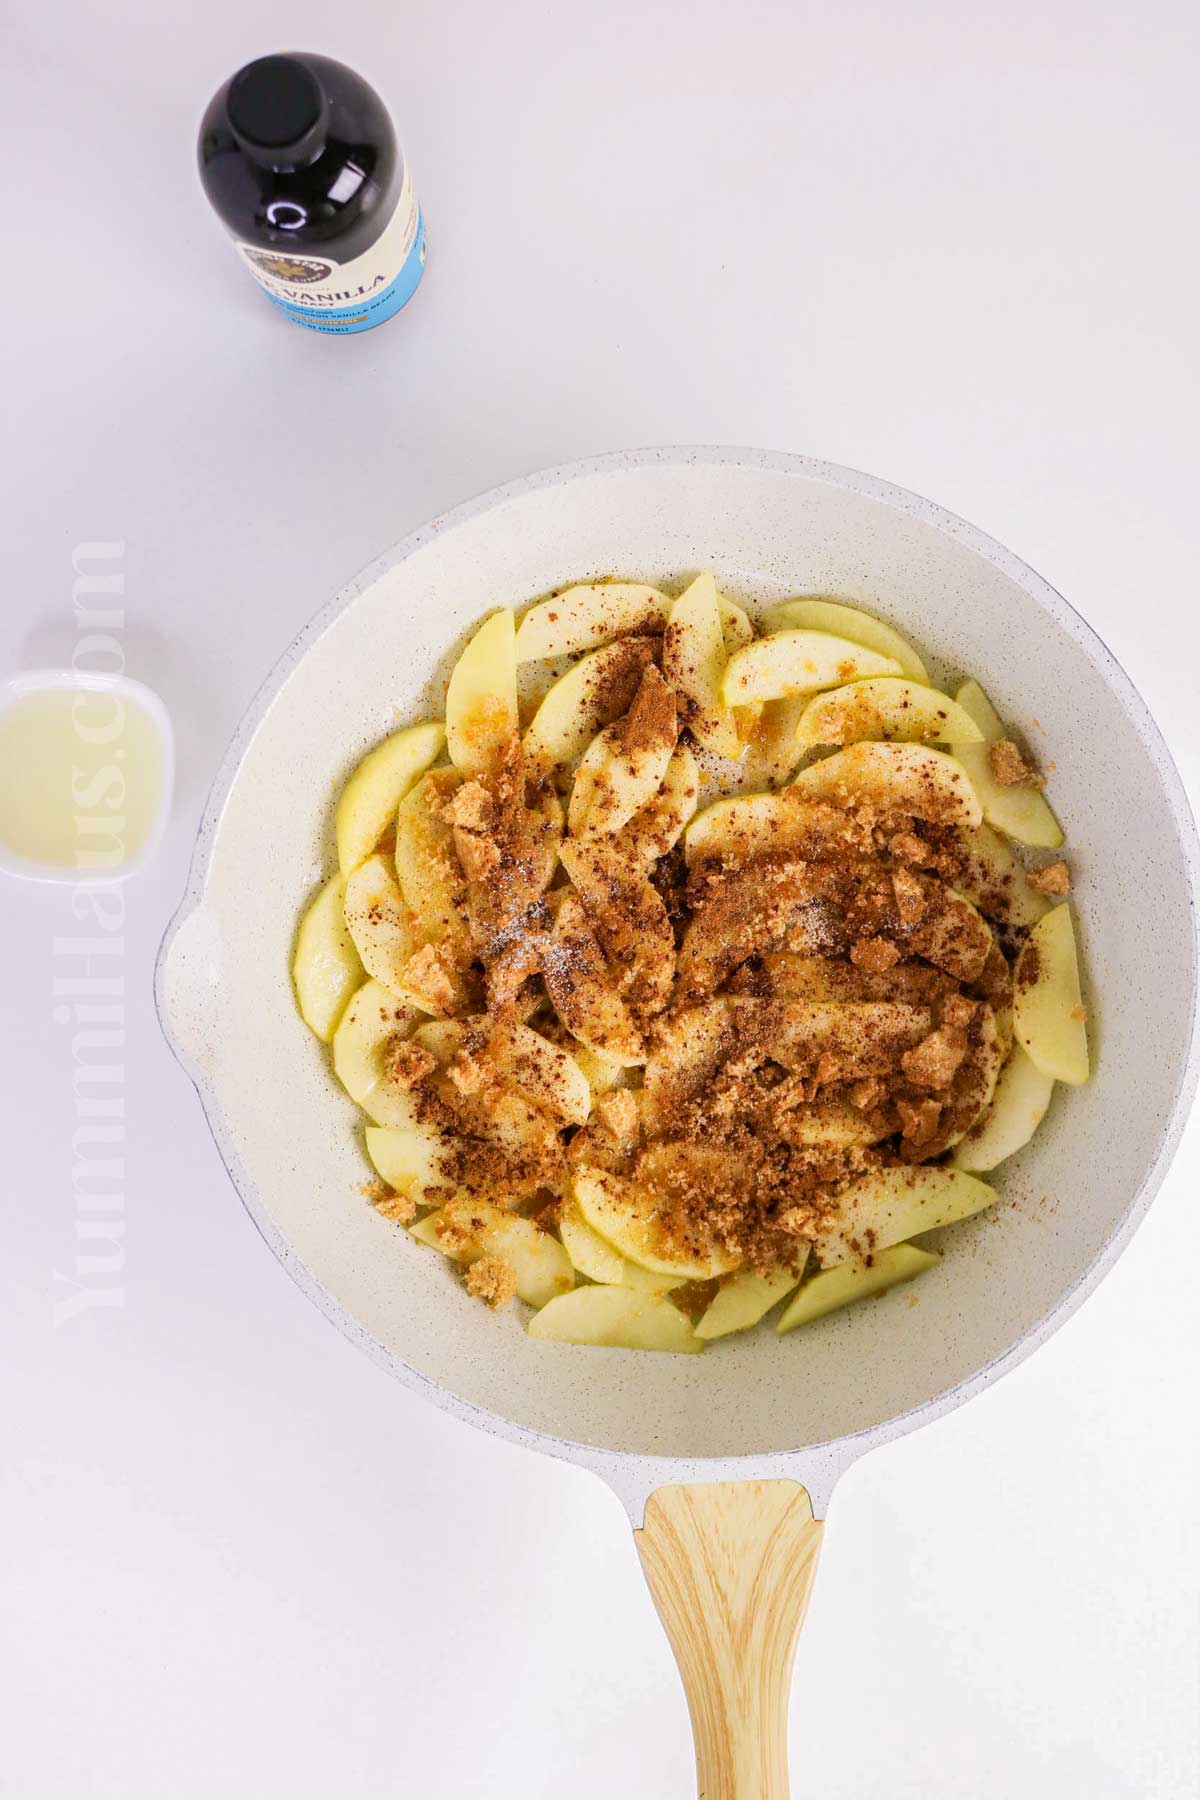
- Melt the butter in a large skillet over medium heat. Once it’s melted, add the sliced apples and cook for 4–5 minutes, stirring occasionally, until they start to soften.
- Add the brown sugar, cinnamon, and salt, and give everything a good stir so the apples are evenly coated. Continue cooking for another 4–6 minutes, or until the apples are tender and the sauce is thick and glossy.
- Once the apples are nice and soft, stir in the lemon juice and vanilla. Cook for another minute, just until everything comes together.
- Serve the caramelized apples warm on their own or spoon them over your favorite dish.
Variations & Substitutions
Sweetener Options: While brown sugar gives the best caramelized flavor, you can substitute with coconut sugar, maple syrup, or even conventional sugar in a pinch. Each sweetener will give a slightly different delicious flavor, so feel free to experiment.
Best Apples to Use: I prefer firm apples like Granny Smith apples, Honeycrisp apples, Pink Lady, or Cosmic Crisp. These hold their shape better during cooking. Softer apples will break down more quickly, which isn’t necessarily bad but gives you more of an applesauce texture. Your favorite apple will work, but in terms of uses for this recipe, firmer varieties are the perfect apple choice.
Butter Alternatives: If you’re dairy-free, vegan butter works wonderfully and doesn’t compromise the taste.
Spice It Up: Add apple pie spice instead of just cinnamon for a more complex cinnamon flavor. You could also add a splash of apple juice or lemon juice to brighten things up. The lemon juice especially helps balance the sweetness.
Savory Twist: These aren’t just for sweet dishes. Try them as a side dish with pork loin or pork chops for a great way to add something special to dinner.
Texture Preference: Cook them on low heat or low-medium heat for 5-10 minutes if you want firmer pieces, or extend the cooking time to 15-20 minutes on medium-high heat if you prefer them extra soft and saucy.
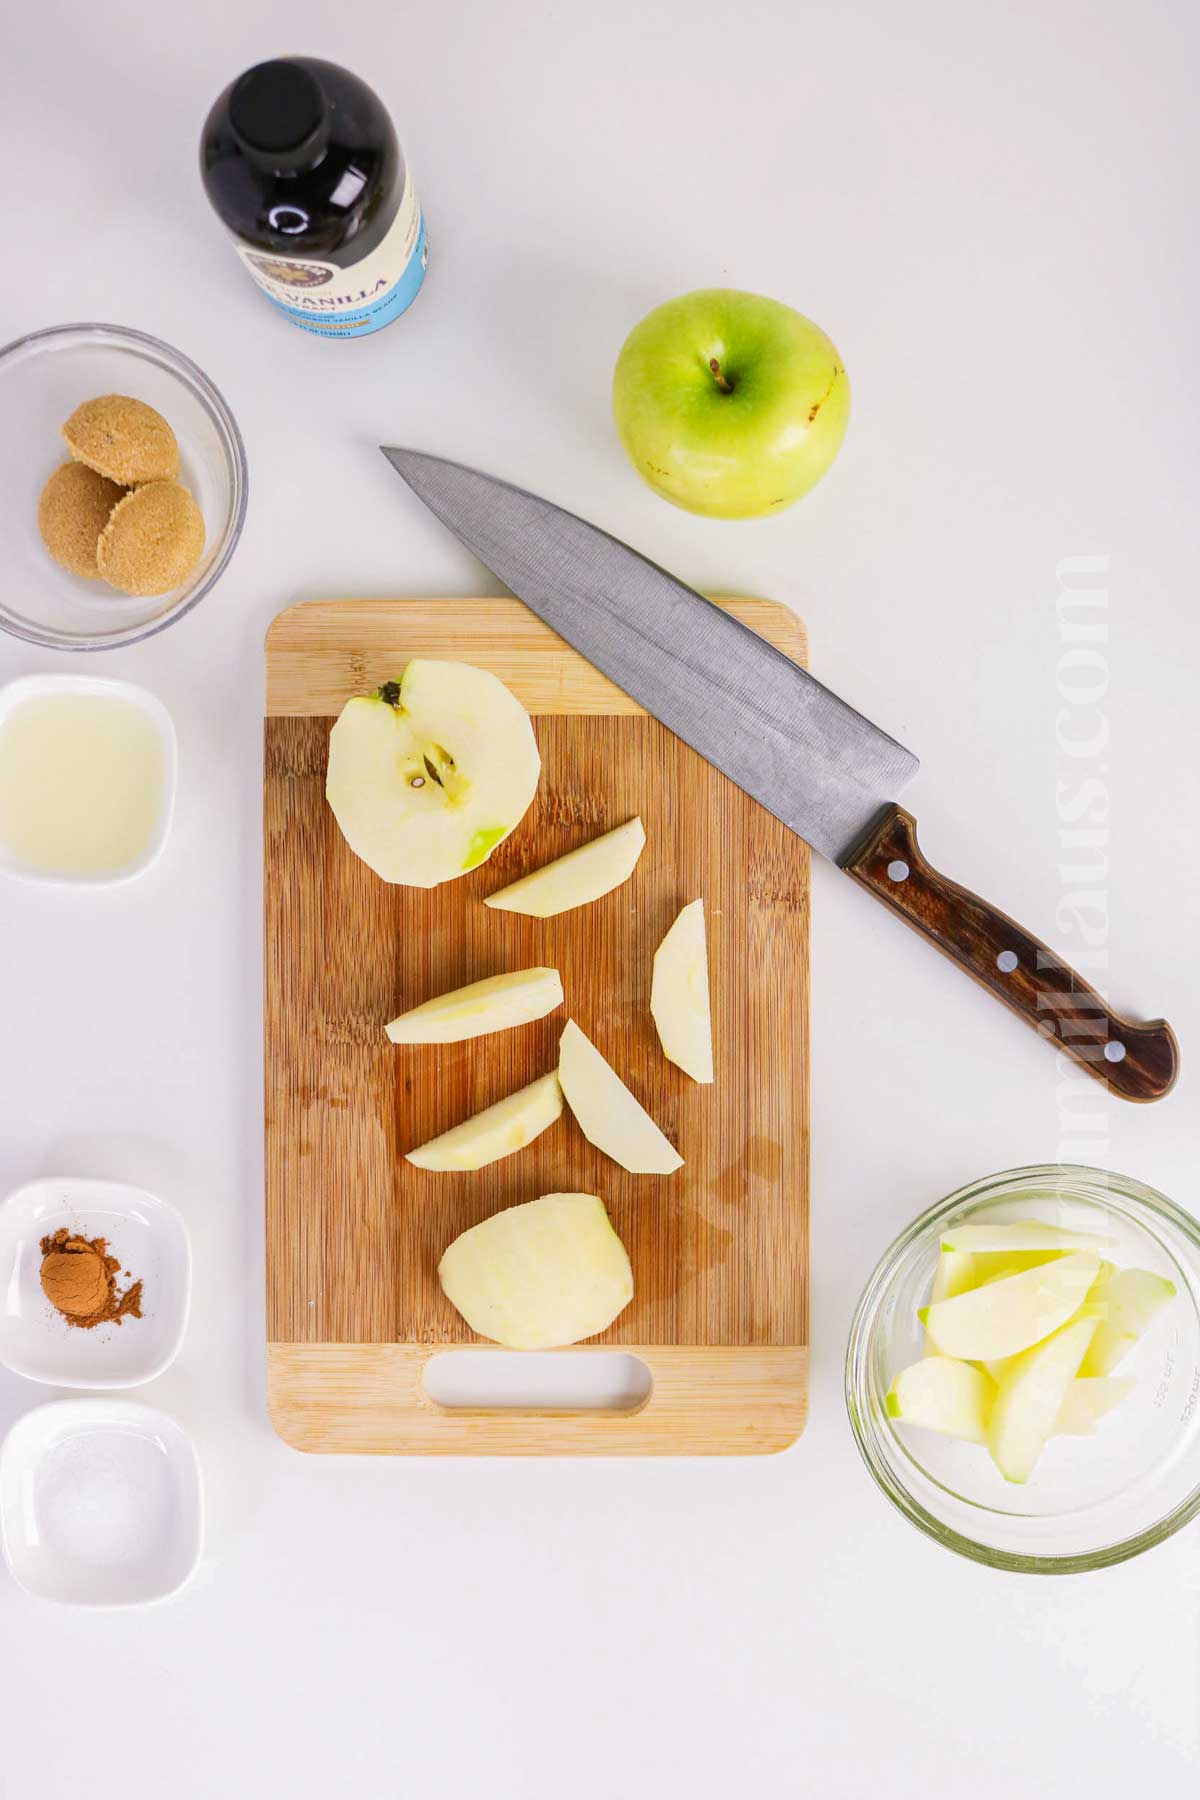
Storage
Store your leftover caramelized apples in an airtight container in the refrigerator for up to five days. They actually taste even better the next time you reheat them because the flavors have had more time to develop.
To reheat, simply warm them in a large skillet over low heat or pop them in the microwave for about 30 seconds. You can also enjoy them cold straight from the fridge over Greek yogurt or as a great addition to your morning oatmeal.
If you want to freeze them, they’ll keep for up to three months. Just thaw overnight in the refrigerator before reheating. Honestly, these go a long way when meal prepping breakfast toppings for the week.
Expert Tips
Cut Evenly: Try to make your apple slices uniform so they cook at the same rate. Nobody wants some pieces mushy while others are still crunchy.
Watch Your Heat: Start on medium-high heat to get things going, then reduce to low-medium heat once the sugar melts. This prevents burning and gives you better control.
Choose the Right Apples: The type of apple matters. Sweet apples like Honeycrisp are delicious, but mixing in some Granny Smith apples adds a nice tartness that balances the brown sugar.
Make Them Your Own: This is the perfect base recipe to customize. At this time of year, when apples are at their peak, experiment with different apple recipes and find your favorite combination.
Serve Warm: These are best enjoyed warm, especially with a scoop of vanilla ice cream on top. The contrast of hot cinnamon apples and cold ice cream is unbeatable.
FAQ’s
Can I use maple syrup instead of brown sugar?
Absolutely. Maple syrup creates a slightly different but equally delicious flavor. Just use about half the amount since it’s sweeter and more liquid than brown sugar.
How do I prevent the apples from getting mushy?
Use firm apples, cut them into thicker slices, and don’t overcook them. Start checking them around the 5-10 minute mark and stop cooking once they’re tender but still hold their shape.
Do I need to peel the apples?
That’s up to you. Leaving the peel on adds extra fiber and nutrients, plus it saves time. The peel softens during cooking, so it’s not noticeable in the final dish.
Why did my caramel sauce crystallize?
This can happen if you stir too much once the sugar starts melting. Let the butter and sugar do their thing with minimal stirring at first. A splash of lemon juice or apple juice can help prevent crystallization.
DON’T MISS THESE HOLIDAY E-BOOKS!



If you love this apple recipe, you’re going to love these other apple recipes, too. Please click each link below to find the easy, printable recipe!
More Great Caramel Apple Recipes
CONNECT WITH YUMMI HAUS!
Be sure to follow me on my social media, so you never miss a post!

Apples Caramelized

Ingredients
- 2 apples large – peeled, cored, and sliced (Granny Smith or Honeycrisp)
- 2 tablespoons butter – unsalted
- 3 tablespoons brown sugar
- ½ teaspoon cinnamon
- ¼ teaspoon salt
- 1 teaspoon lemon juice
- ½ teaspoon vanilla extract optional
Instructions
- Heat the butter in a large skillet over medium heat.
- Once melted, add the apple slices and cook for 4–5 minutes, stirring occasionally, until they begin to soften.
- Stir in the brown sugar, cinnamon, and salt, working to coat the apples evenly.
- Continue cooking for 4–6 minutes until the apples are tender and the sauce becomes thick and glossy.
- When the apples are softened, stir in lemon juice and vanilla, cooking for 1 more minute to bring everything together.
- Serve warm on its own or as a topping for your favorite dish.
Nutrition
Nutritional information for the recipe is provided as a courtesy and is approximate. Please double-check with your own dietary calculator for the best accuracy. We at Yummi Haus cannot guarantee the accuracy of the nutritional information given for any recipe on this site.







Share Your Thoughts