

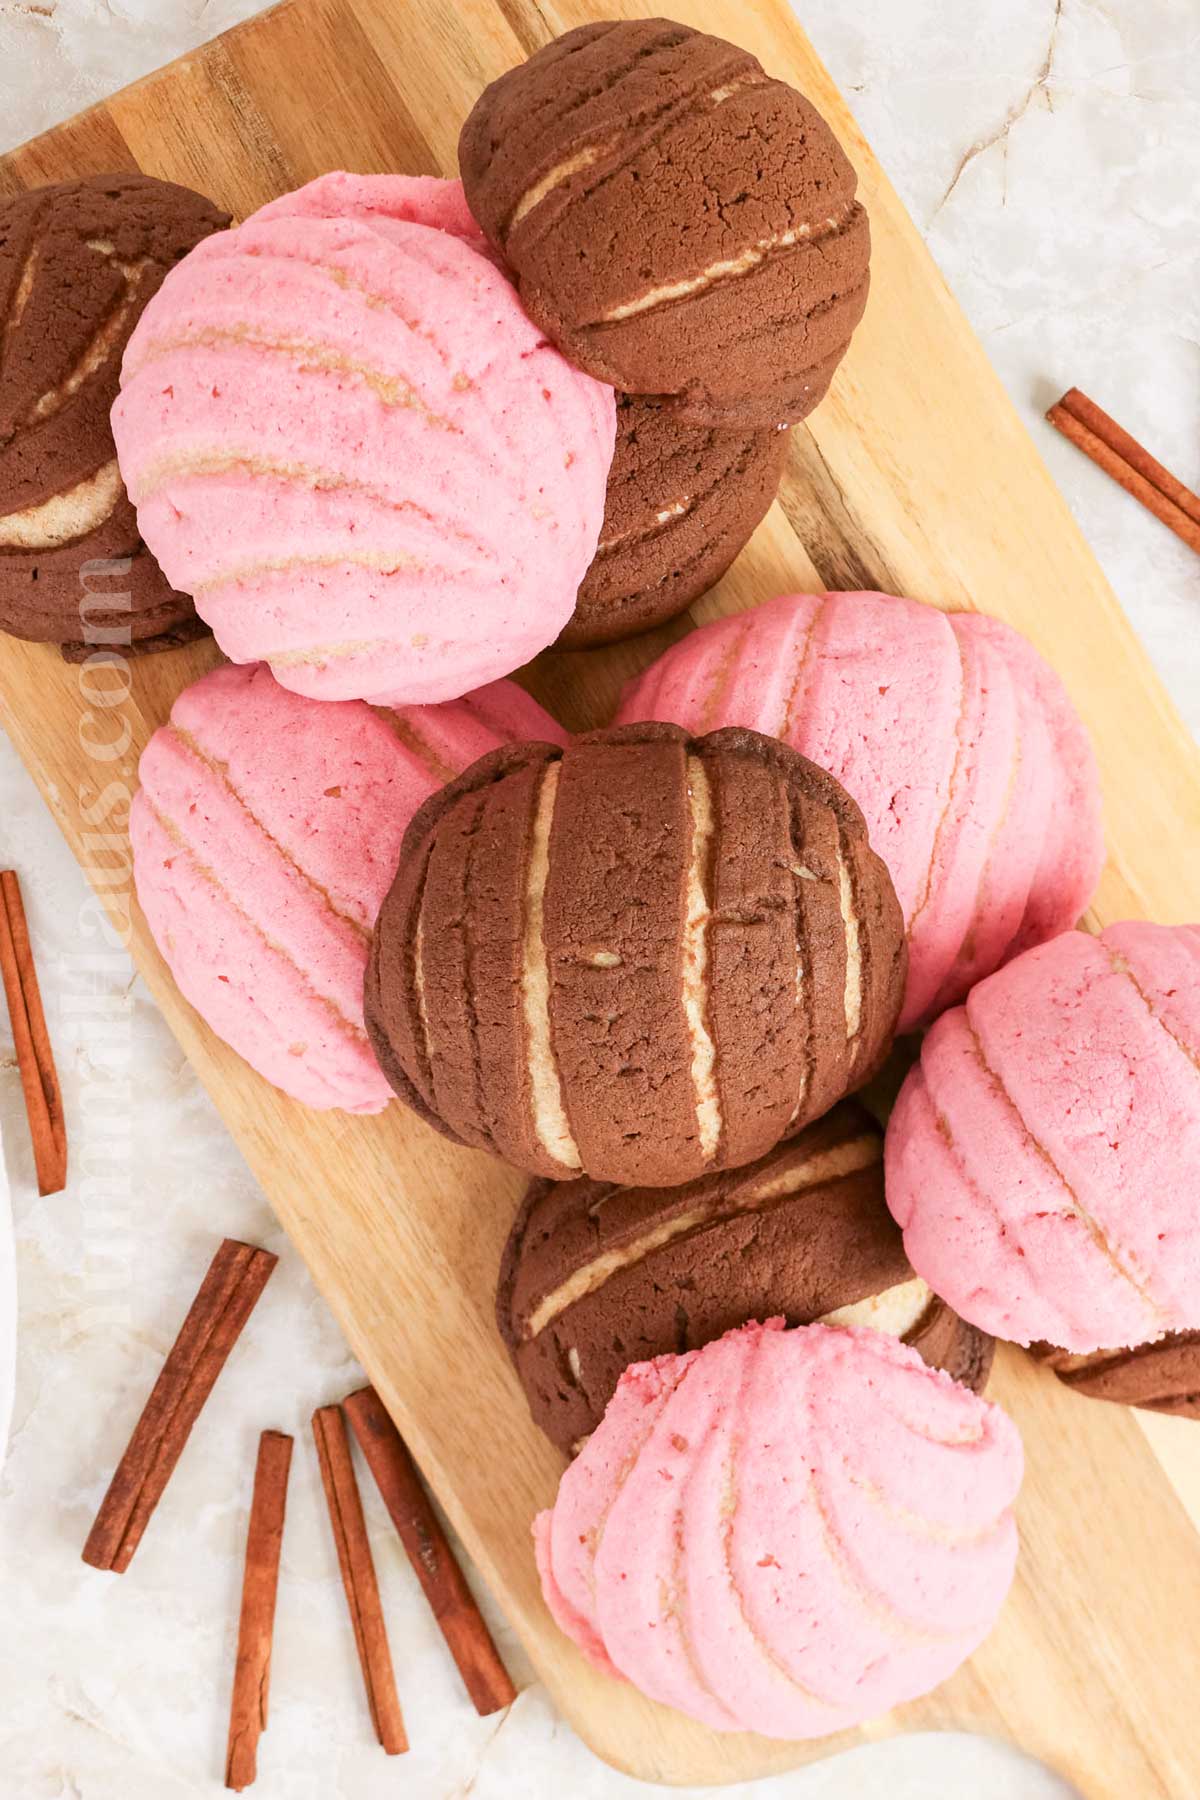
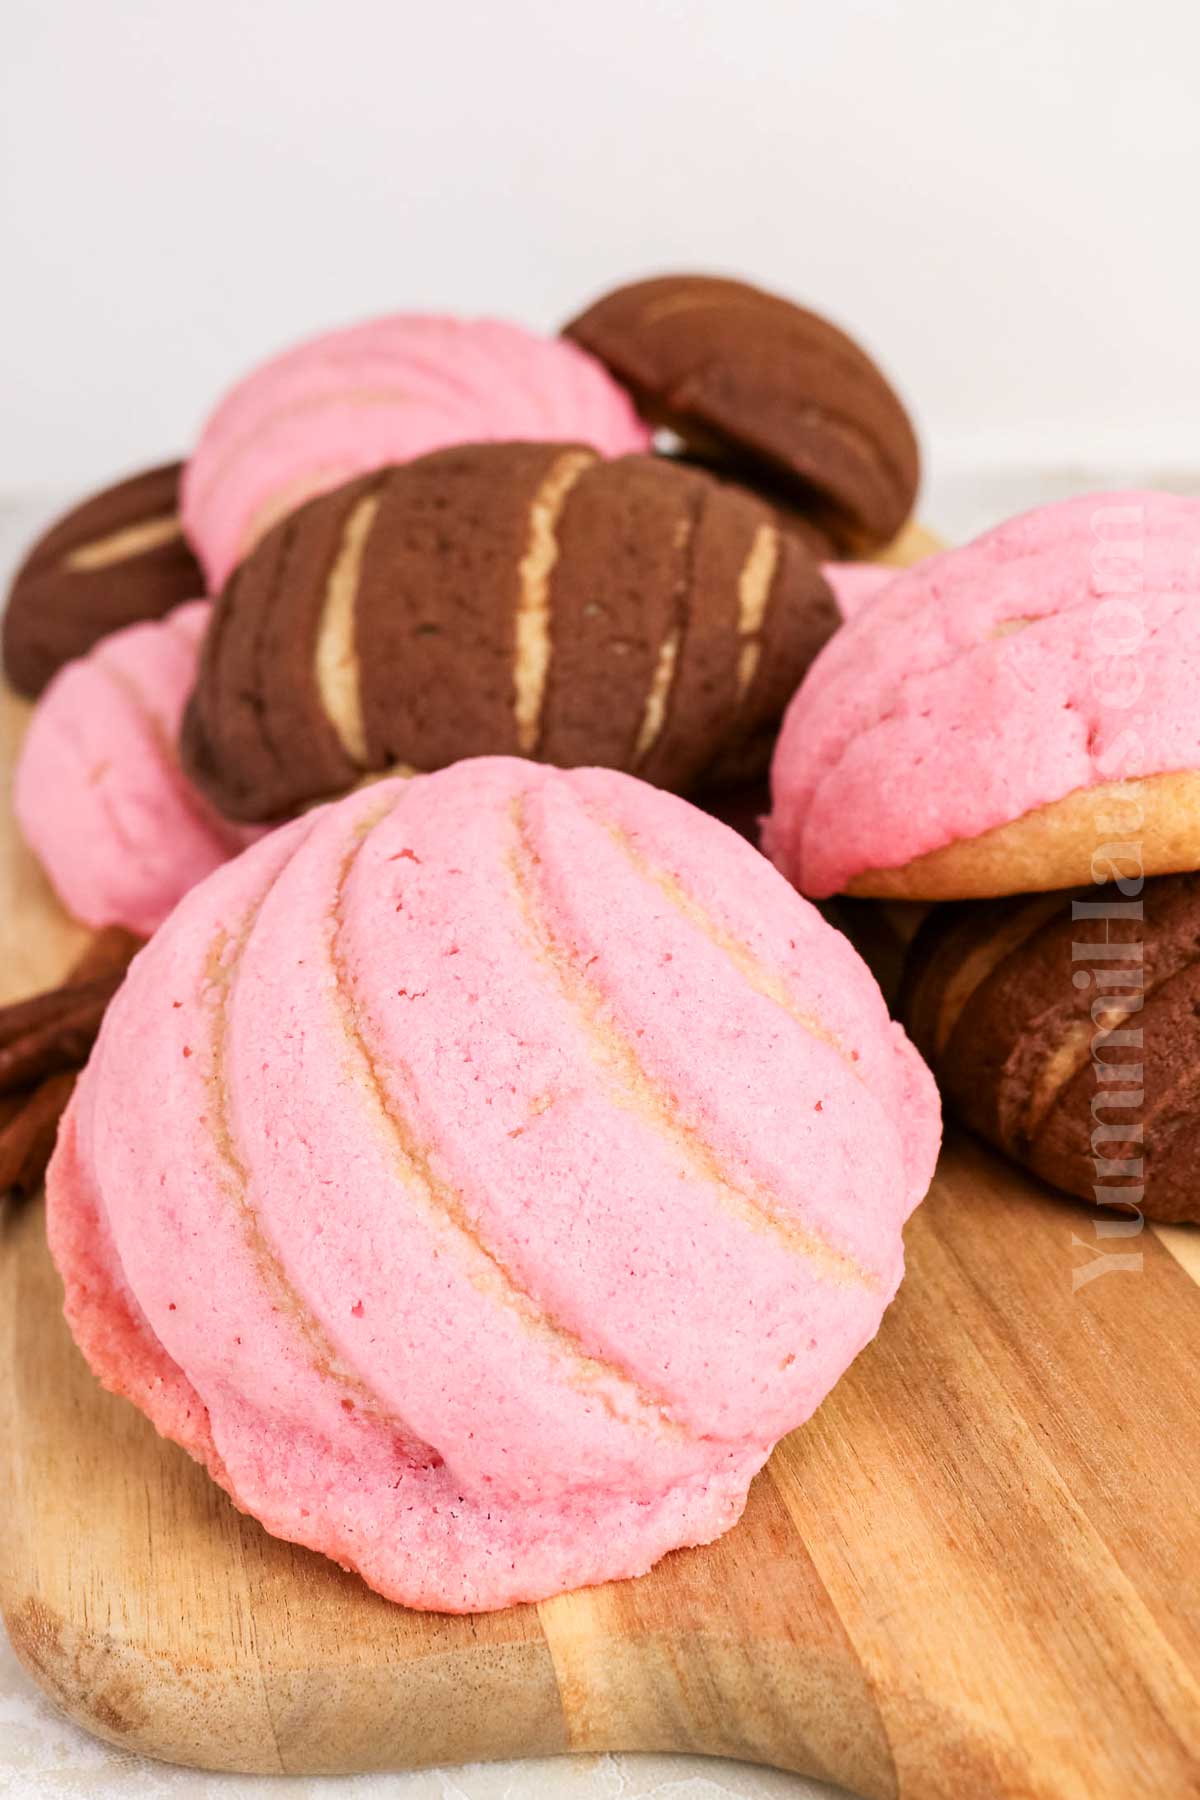
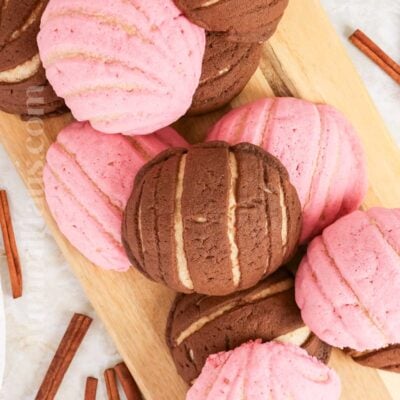
If you’ve ever walked into a Mexican bakery and been captivated by those beautiful sweet bread rolls with the shell-like topping, you already know the magic of conchas. These traditional Mexican sweet bread rolls are a staple of Mexican pan dulce, and making them at home is easier than you might think. The name conchas comes from the Spanish word for shells, perfectly describing that gorgeous seashell pattern on top. Whether you’re enjoying them with a cup of coffee or dunking them in Mexican hot chocolate, conchas are pure comfort in bread form.
Today’s recipe walks you through creating these iconic treats right in your own kitchen. While you might have admired them at Mexican bakeries for a long time, making your first batch at home is incredibly rewarding. The combination of soft, spongy bread with that sweet, crunchy topping is absolutely irresistible, and once you master the basics, you’ll be whipping up batches for every occasion.
Gina’s Recipe Rundown:
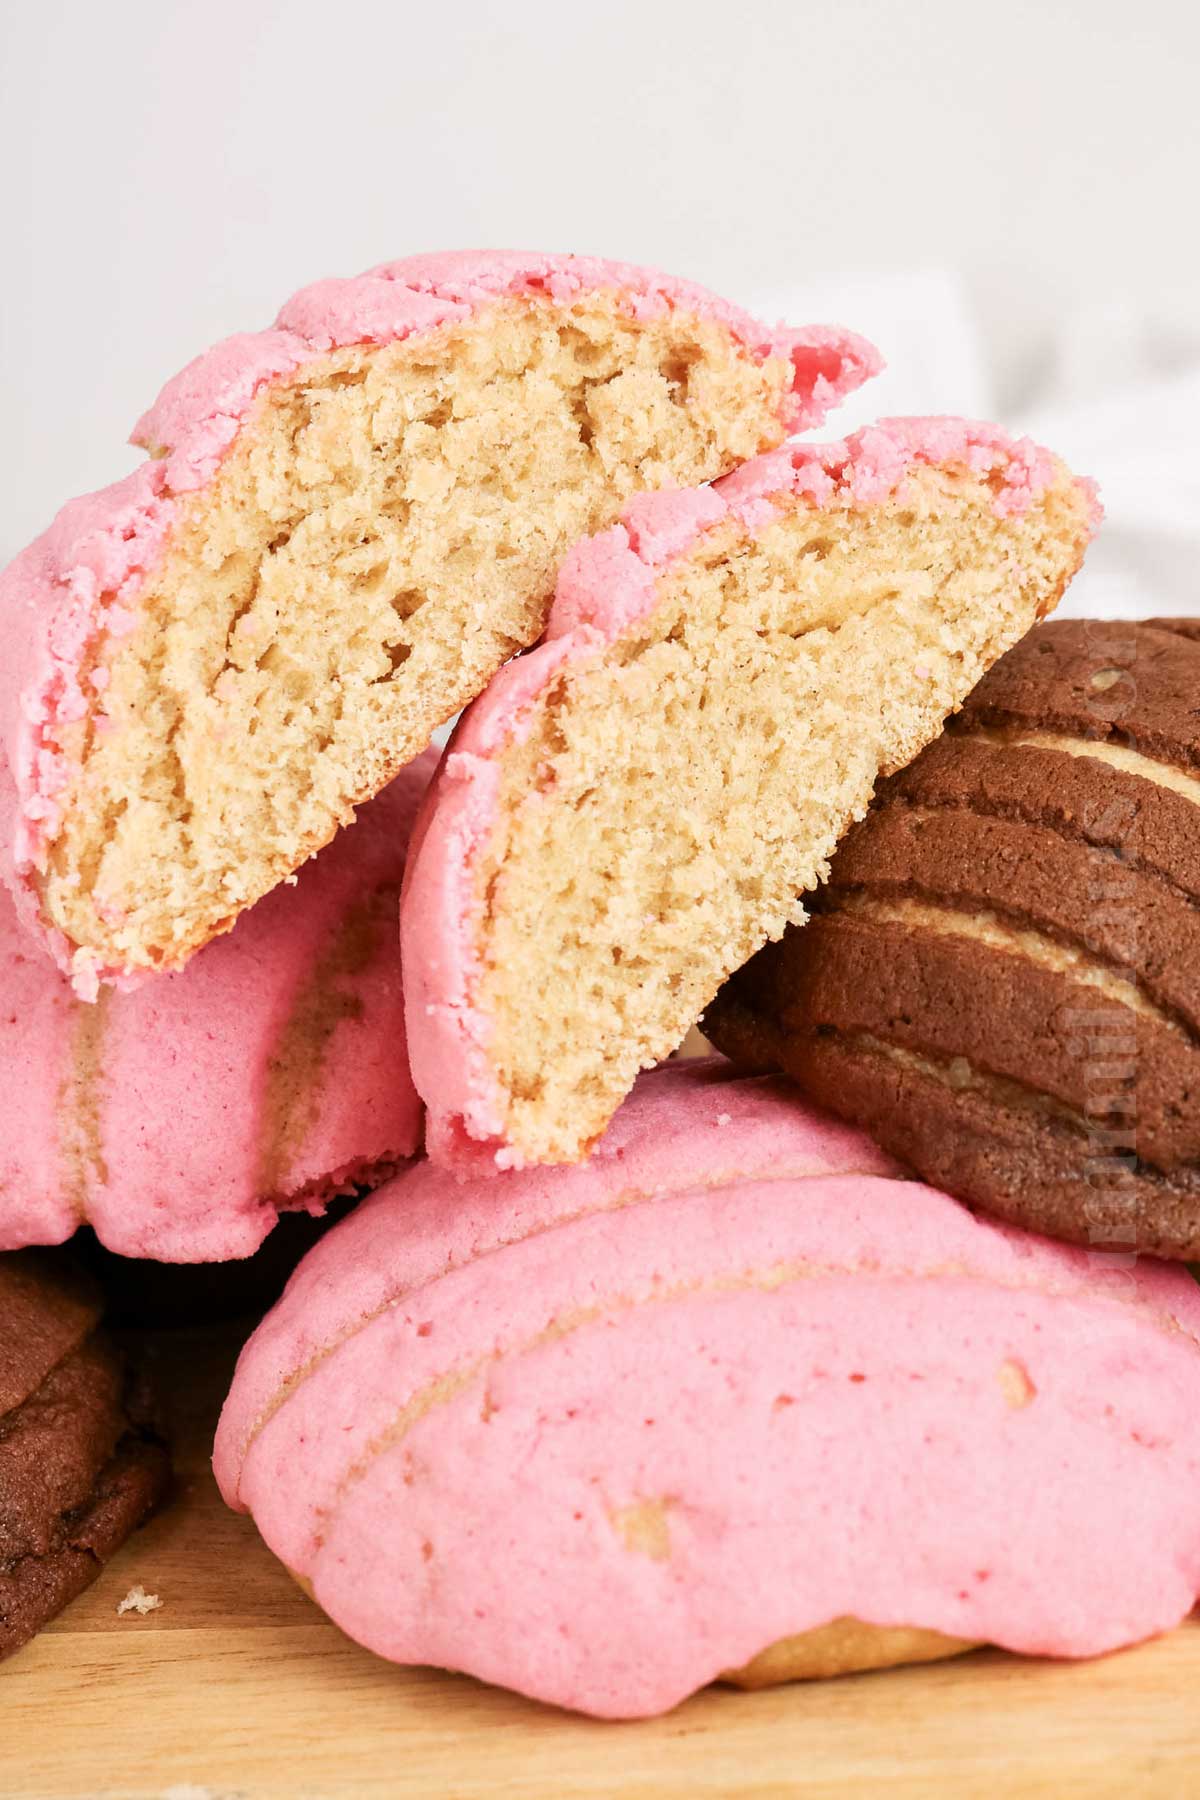
Texture: Conchas are soft, fluffy, and tender inside, with a lightly crisp, sweet shell topping.
Taste: They taste sweet and buttery, with warm notes of vanilla and cinnamon and a rich chocolate flavor in the cocoa topping.
Ease: Moderately easy to make, though they require some kneading, rising time, and shaping.
Why I love it: I love conchas because they’re soft, sweet, buttery, and comforting, with a beautiful shell topping that makes every bite feel special.
Why You’ll Love This Recipe
This concha recipe delivers authentic Mexican sweet bread that rivals anything you’d find at your favorite Mexican bakery. The soft, pillowy texture of the bread combined with the signature sugar paste topping creates the perfect balance of flavors and textures. You’ll love how versatile these sweet rolls are, whether you’re serving them for breakfast, dessert, or an afternoon snack.
Making conchas from scratch gives you complete control over the flavors and ingredients. You can customize the topping with cocoa powder for chocolate conchas, add orange zest for a citrus twist, or even experiment with food coloring to make them as vibrant as the ones you see in Mexican bakeries. Plus, your home will smell absolutely amazing while they bake. There’s nothing quite like pulling a baking tray of golden brown conchas from the oven and knowing you made them yourself.
The process might seem intimidating the first time, but with the right kitchen equipment and enough time for the dough to rise, you’ll be amazed at how achievable this recipe really is. These aren’t difficult to make; they just require a little patience during the first rise and shaping process.

Ingredient Notes
Dough
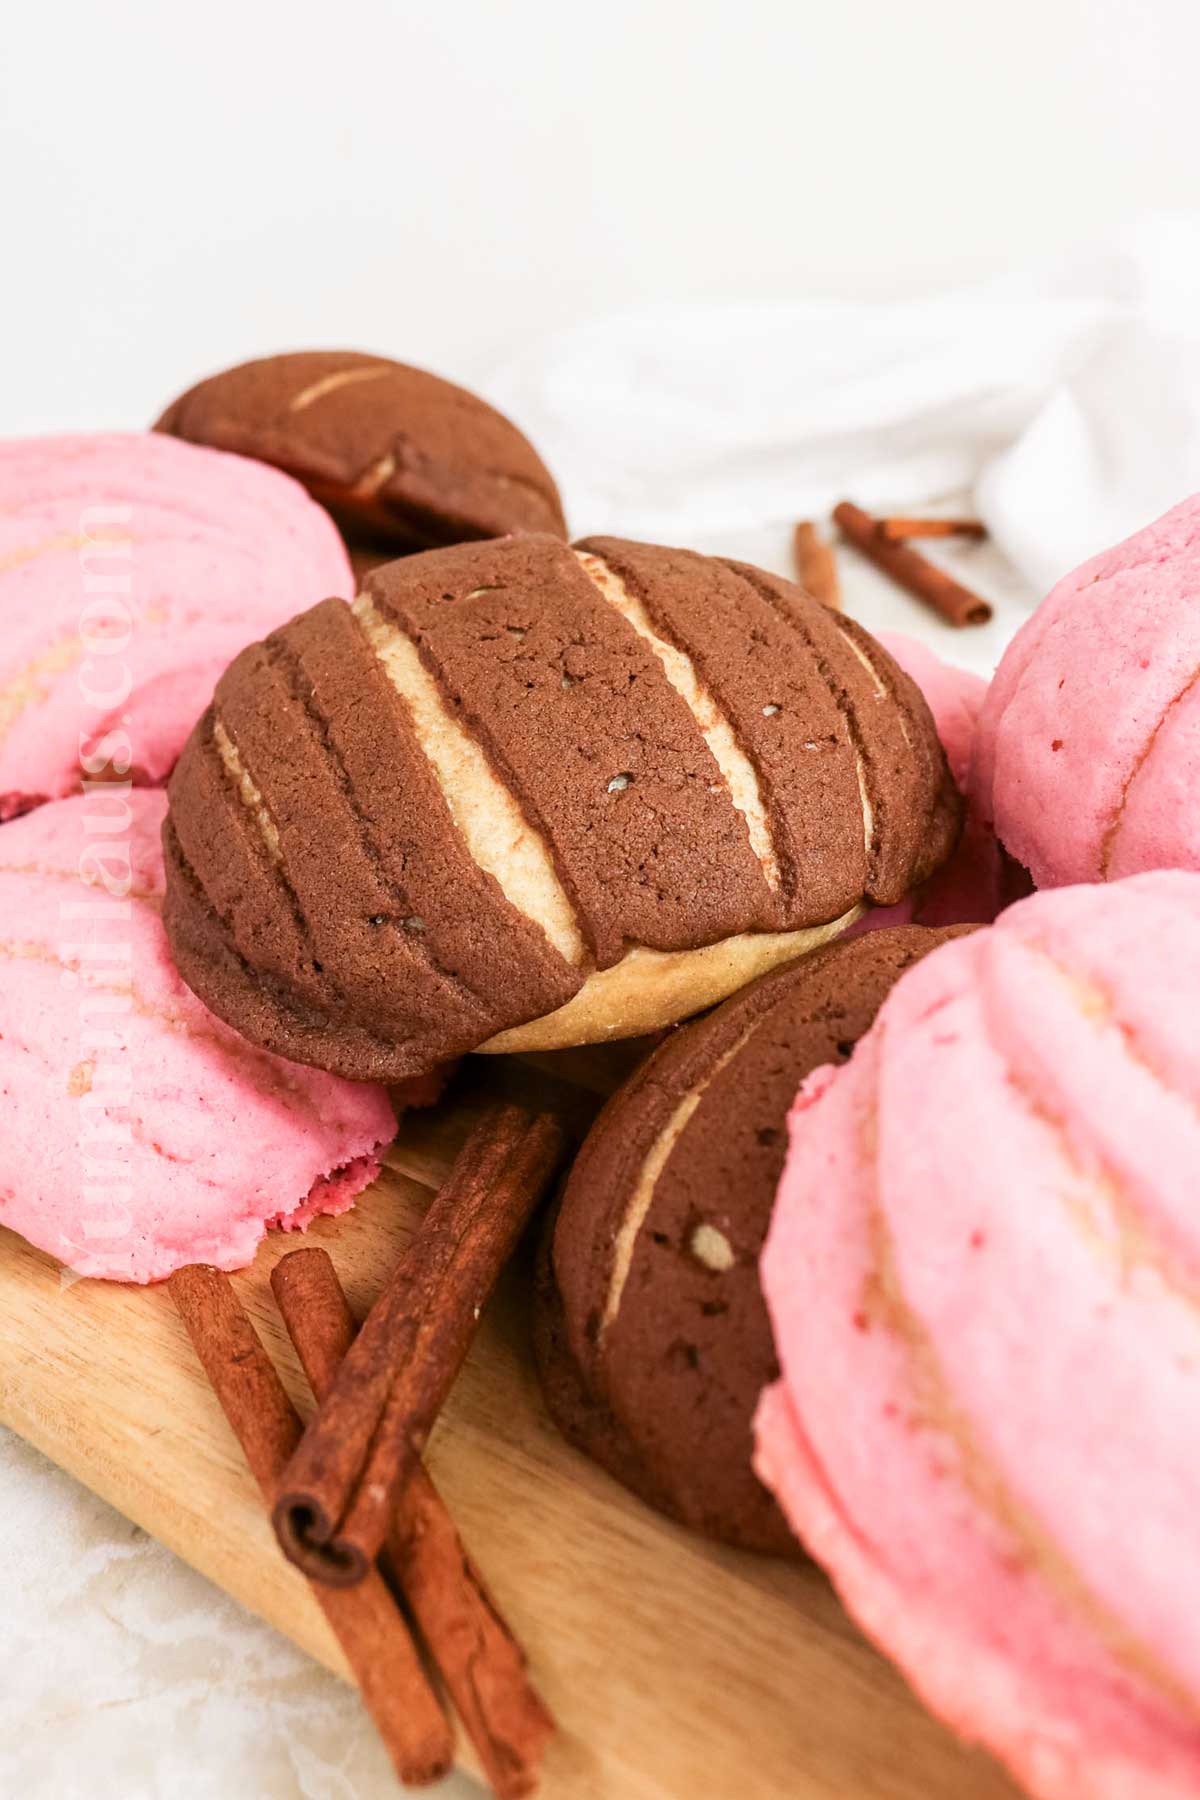
- Warm water: Use water at 105–110°F to activate the yeast without overheating it.
- Active dry yeast: Helps the dough rise and creates a soft, fluffy texture.
- Unsalted butter: Melted butter adds richness, tenderness, and flavor.
- Vegetable oil: Helps keep the conchas soft and moist.
- Granulated sugar: Adds sweetness and helps create a tender crumb.
- Evaporated milk: Adds richness and a creamy texture; whole milk can be used instead.
- Kosher salt: Balances the sweetness and enhances the overall flavor.
- Vanilla extract: Adds warmth and depth of flavor.
- Ground cinnamon: Gives the dough a subtle, aromatic spice.
- Eggs: Bring richness, structure, and moisture to the dough; use room-temperature eggs for better mixing.
- All-purpose flour: Forms the structure of the dough; add gradually as needed for a soft, workable dough.
Topping
- Unsalted butter: Softened butter creates a smooth, spreadable topping.
- Granulated sugar: Provides sweetness and helps create the classic crisp, tender shell.
- All-purpose flour: Gives the topping its structure and helps it hold its shape on the dough.
- Vanilla extract: Adds a classic sweet, aromatic flavor.
- Unsweetened cocoa powder: Creates a rich chocolate topping with balanced sweetness.
- Gel food coloring: Optional; use to create colorful concha toppings without adding excess liquid.
Kitchen Equipment
- Large mixing bowl: For mixing and kneading the concha dough.
- Small bowl: For proofing the yeast and mixing the topping.
- Measuring cups and spoons: For accurately measuring ingredients.
- Stand mixer with dough hook: Optional, for easier dough mixing and kneading.
- Rubber spatula: For scraping the bowl and combining ingredients.
- Rolling pin: For flattening the concha topping.
- Cookie cutter or round cutter: Optional, for evenly portioning the topping.
- Baking sheets: For arranging the shaped conchas before baking.
- Parchment paper or silicone baking mats: Prevents sticking and makes cleanup easier.
- Kitchen thermometer: Useful for checking the water temperature and ensuring it is 105–110°F.
- Pastry brush: Optional, for lightly brushing or finishing the dough.
- Concha mold: Optional, for creating the traditional shell pattern on top.
How to Make Conchas
- Activate the yeast: Combine warm water and yeast in a stand mixer bowl. Let sit for 5–10 minutes until foamy. If it doesn’t foam, start again with fresh yeast.
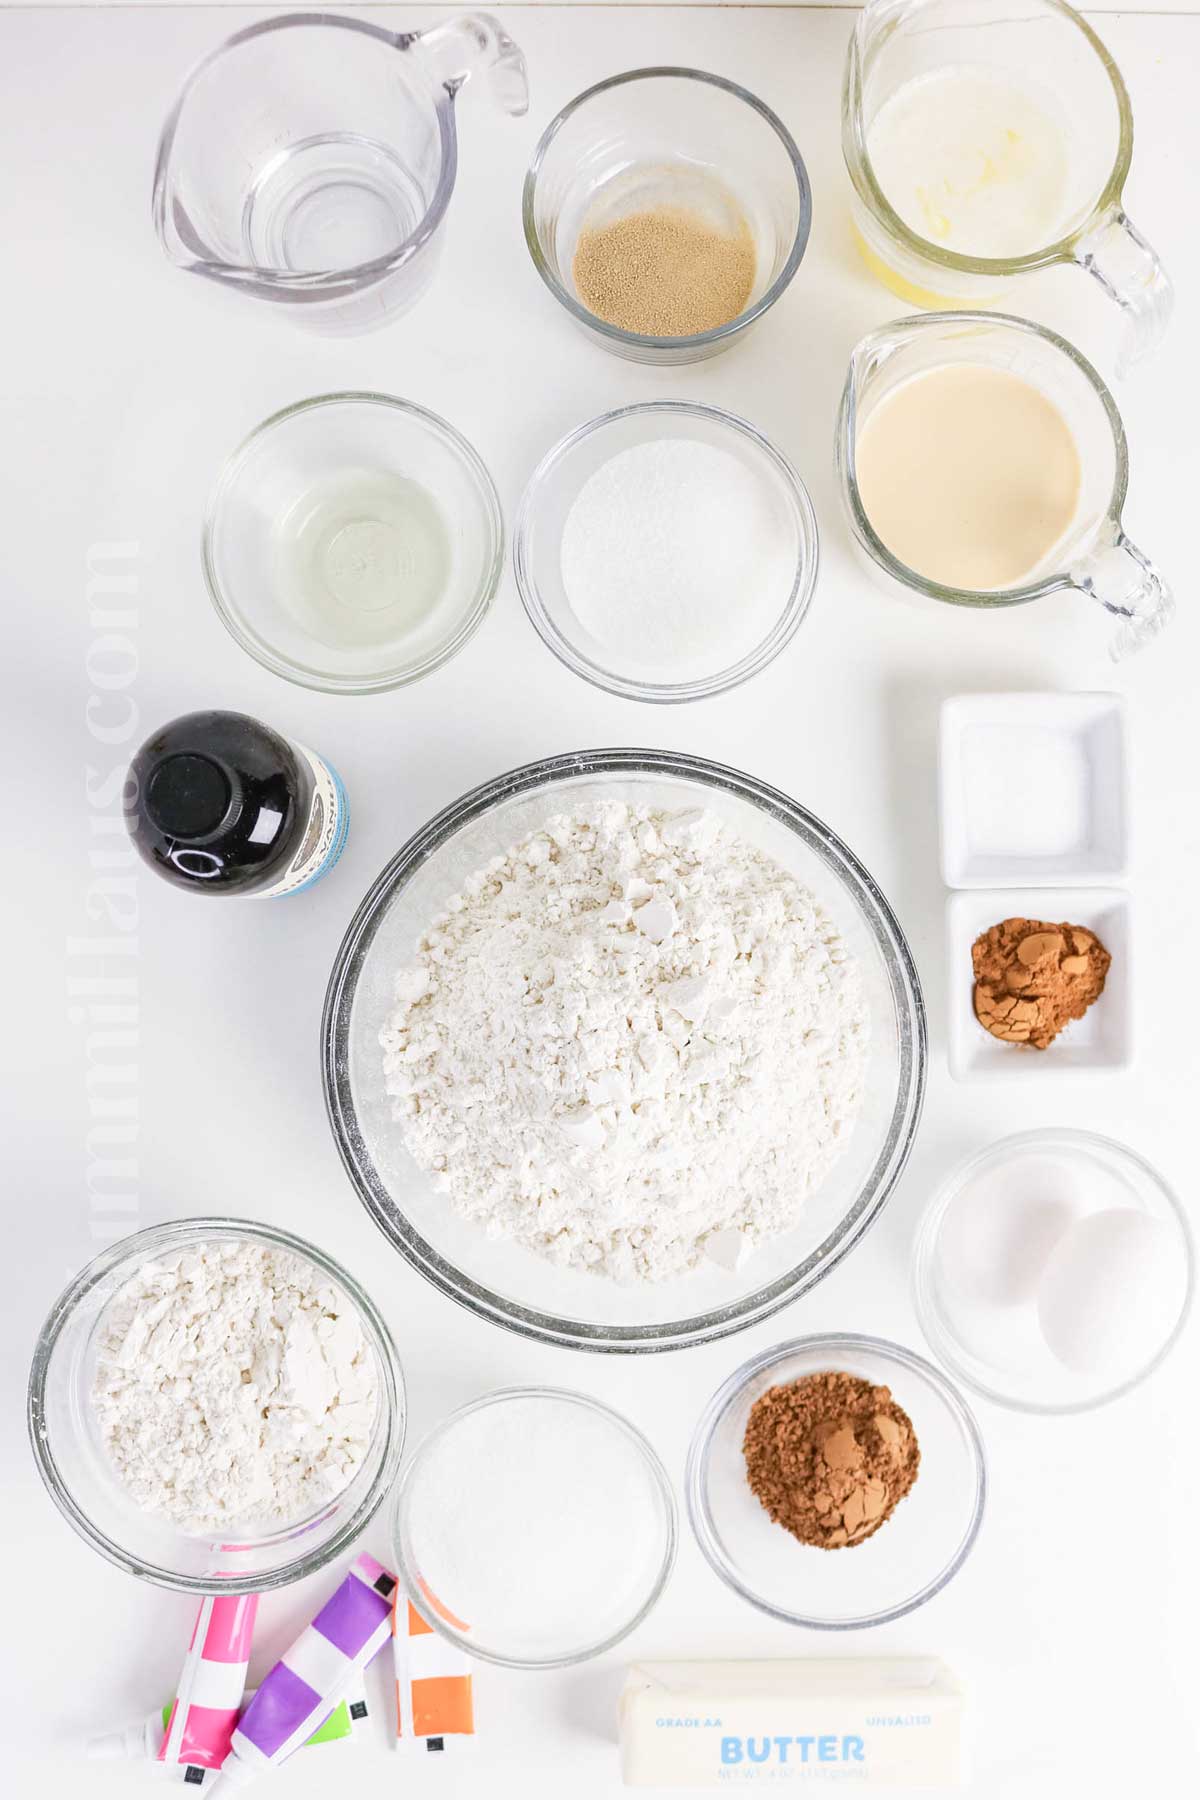
- Make the dough: Add melted butter, oil, sugar, evaporated milk, salt, vanilla, cinnamon, and eggs. Mix until combined. Add flour and knead with the dough hook for 5–7 minutes, until smooth, soft, and slightly tacky. By hand, knead for about 10 minutes.
- Let it rise: Place the dough in a lightly greased bowl, cover, and let rise in a warm spot for about 1 hour, or until doubled.
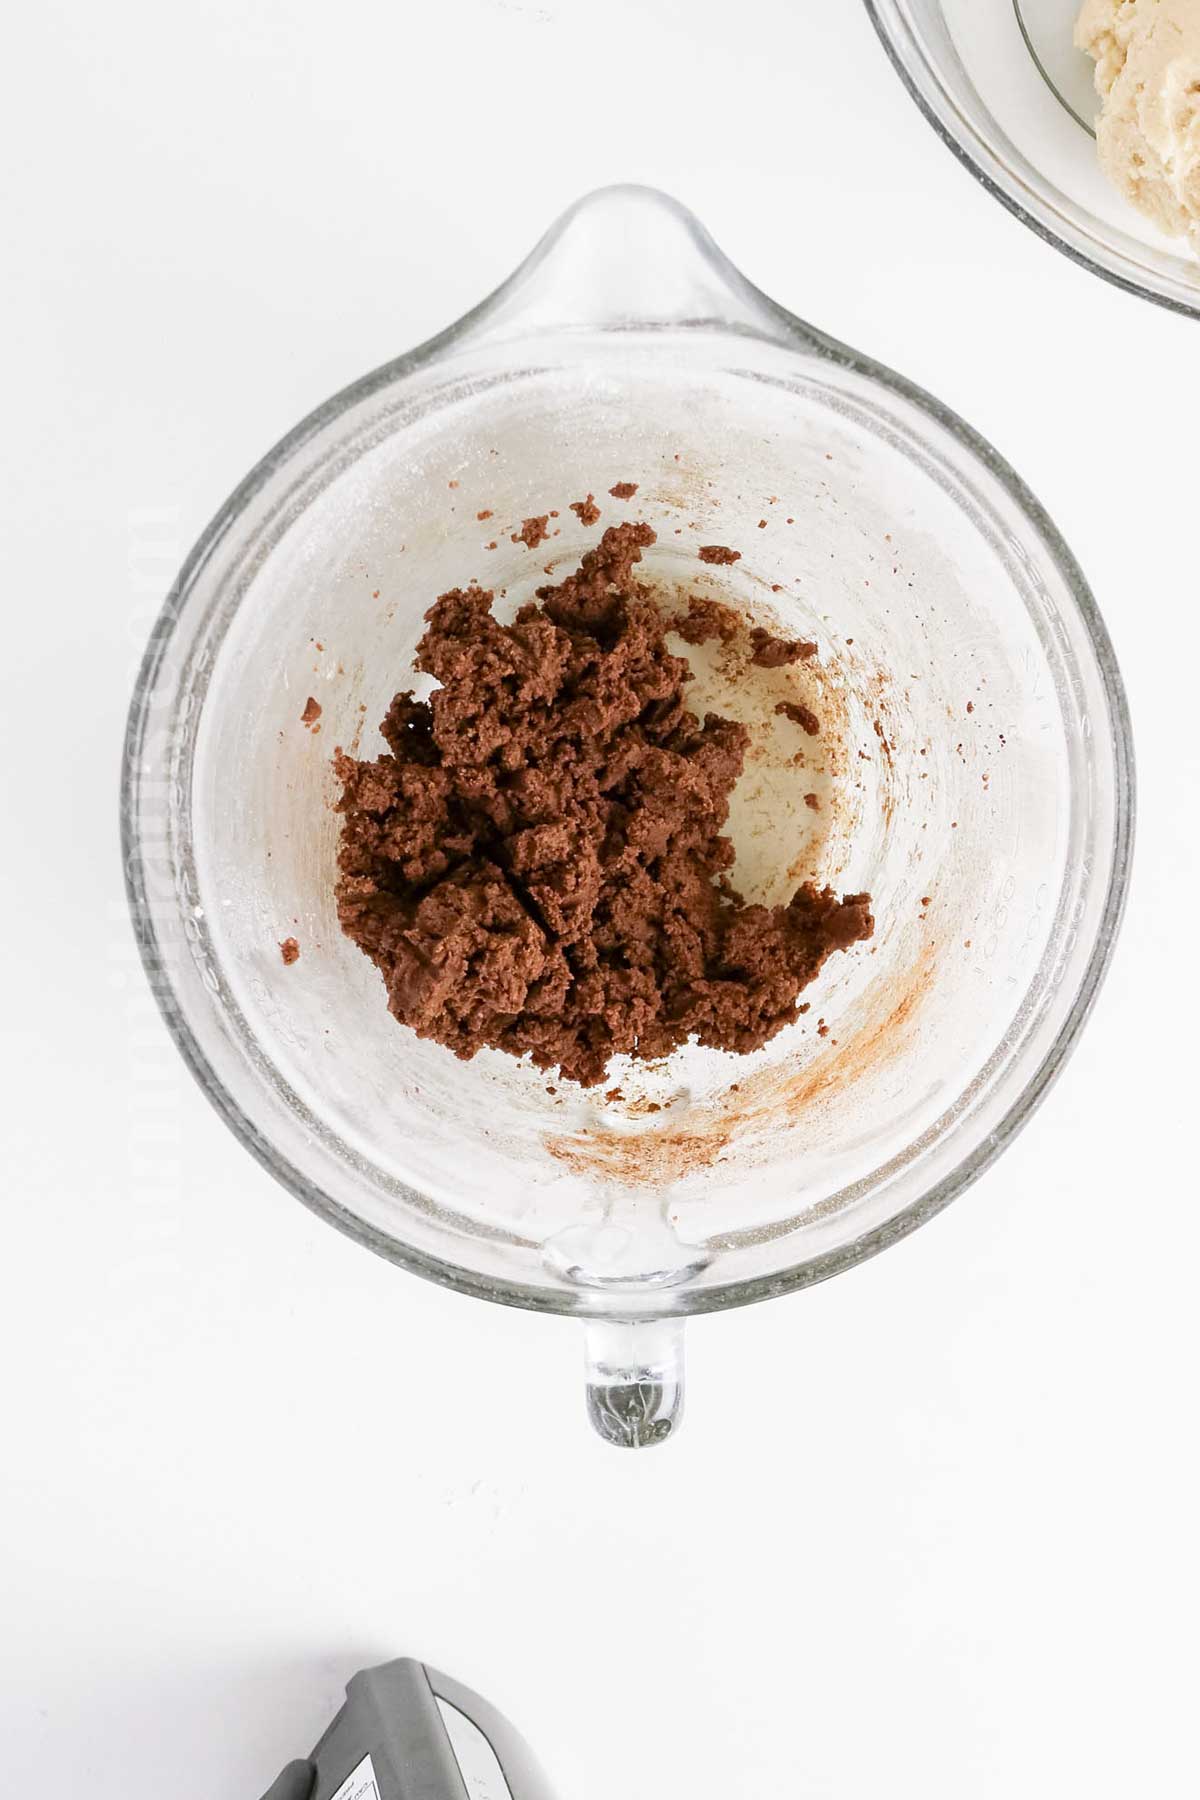
- Prepare the topping: Beat softened butter, sugar, flour, and vanilla until a soft paste forms. Divide in half. Mix cocoa powder into one portion and, if desired, tint the other with gel food coloring.
- Shape the conchas: Punch down the dough and divide into 12 equal pieces. Roll into smooth balls and place on parchment-lined baking sheets.
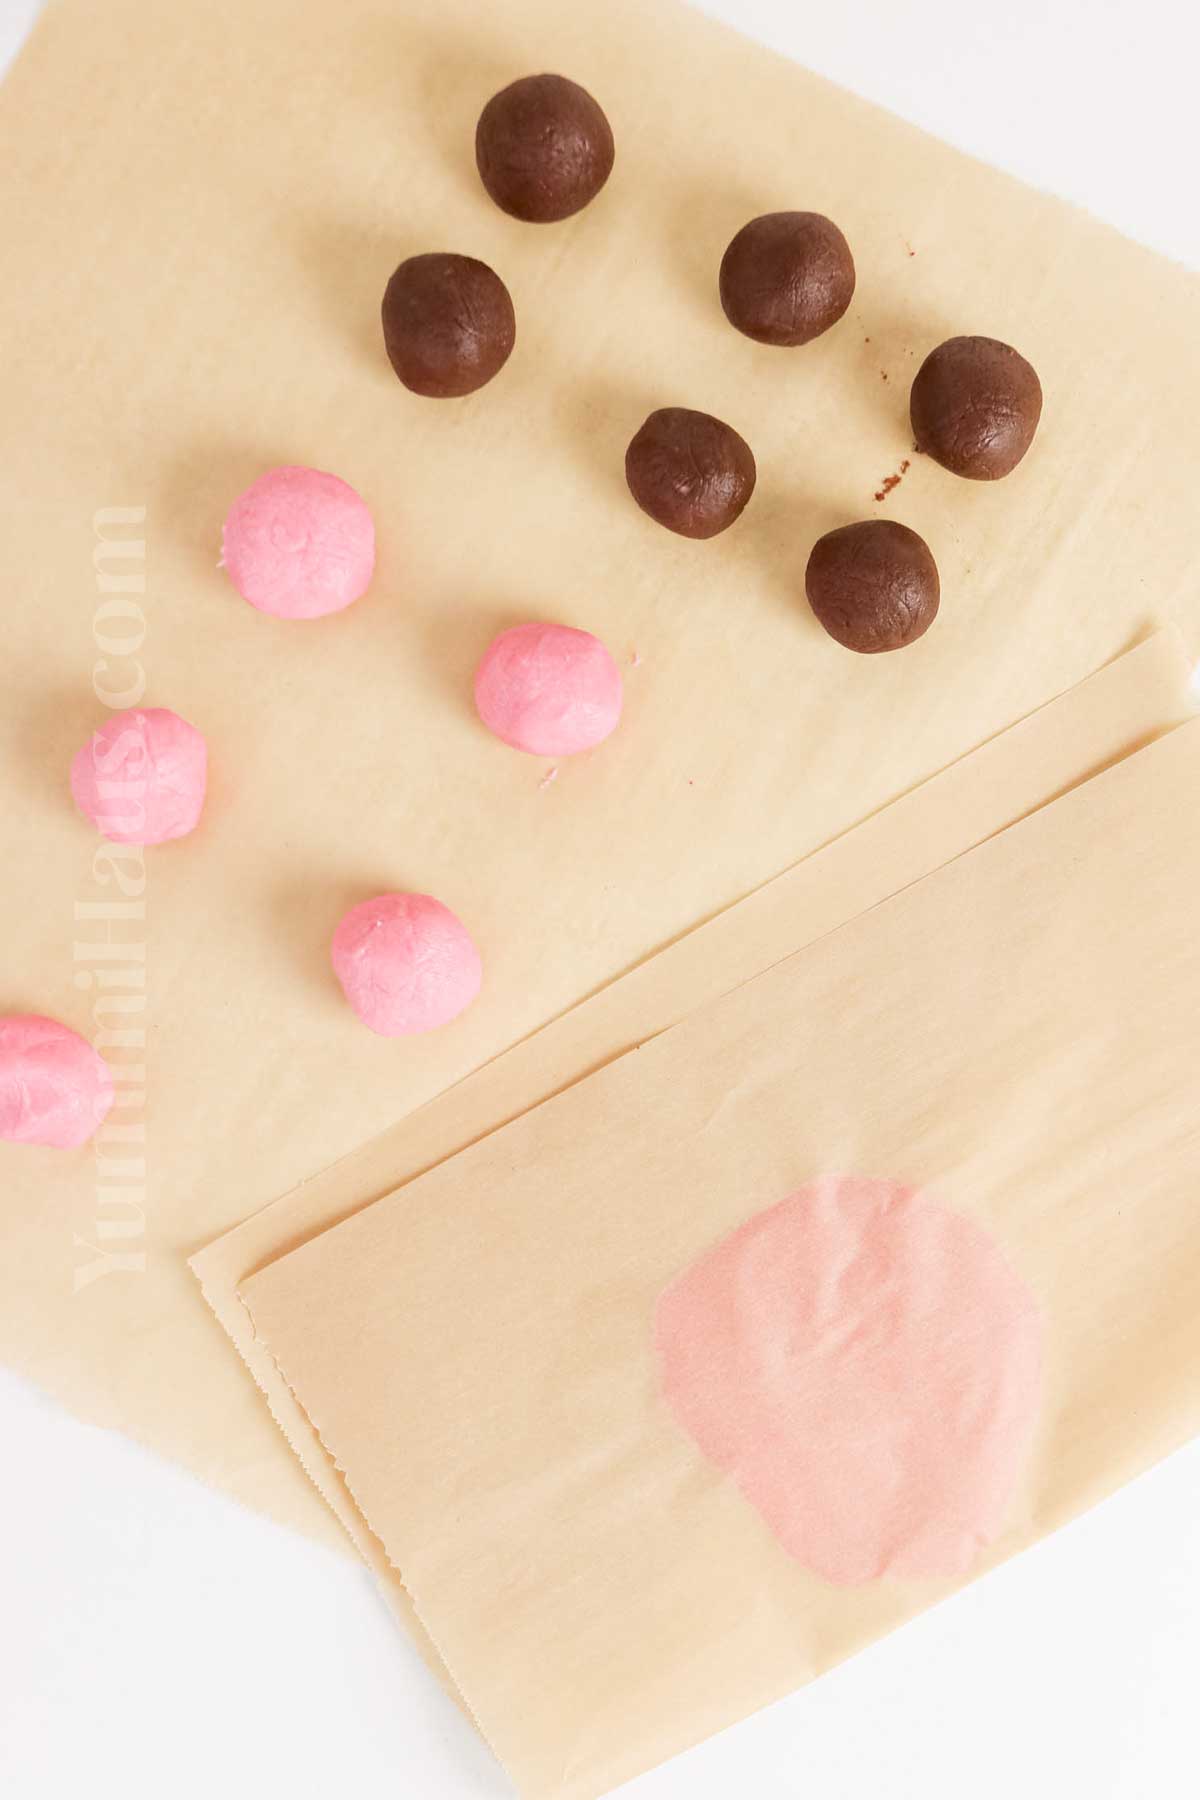
- Add the topping: Flatten about 2 tablespoons of topping into a thin circle and place it over each dough ball. Gently press to adhere.
- Create the pattern: Use a concha stamp or sharp knife to score the topping with a shell pattern, being careful not to cut into the dough.
- Second rise: Cover and let rise for 25–30 minutes, until puffy.
- Bake: Heat the oven to 350°F. Bake for 18–20 minutes, until the bottoms are lightly golden and the topping remains pale.
- Cool and serve: Cool on a wire rack for at least 10 minutes. Enjoy warm or at room temperature with coffee, tea, or Mexican hot chocolate.
Variations & Substitutions
Flour Options
While all-purpose flour works beautifully in this dulce recipe, you can substitute bread flour for a chewier texture. Just keep in mind that bread flour absorbs more liquid, so you might need to add a little bit more warm milk or warm water to achieve the right consistency. Most concha recipes use regular all-purpose flour, which gives you that characteristic soft, spongy bread texture.
Milk Alternatives
Whole milk creates the richest flavor, but you can use any milk you have on hand. The milk should be at room temperature or slightly warm to properly activate the active dry yeast. If you’re dairy-free, plant-based milk works well too; just warm it gently before adding it to the flour mixture.
Butter Substitutes
Unsalted butter is traditional and gives the best flavor, but you can use melted butter or even substitute equal parts of shortening if needed. Make sure whatever fat you use is at room temperature for easier incorporation into the dough.
Topping Flavors
The classic topping comes in vanilla and chocolate (made with cocoa powder), but feel free to get creative. Add almond extract for a nutty flavor, mix in orange zest for brightness, or try vanilla bean paste for extra vanilla intensity. You can even make colored toppings using food coloring to match special occasions.
Size Variations
Traditional Mexican sweet bread rolls are usually medium-sized, but you can make mini conchas for parties or larger ones for serious sweet roll lovers. Just adjust your baking time accordingly and keep an eye on them for that perfect golden brown color.
Storage
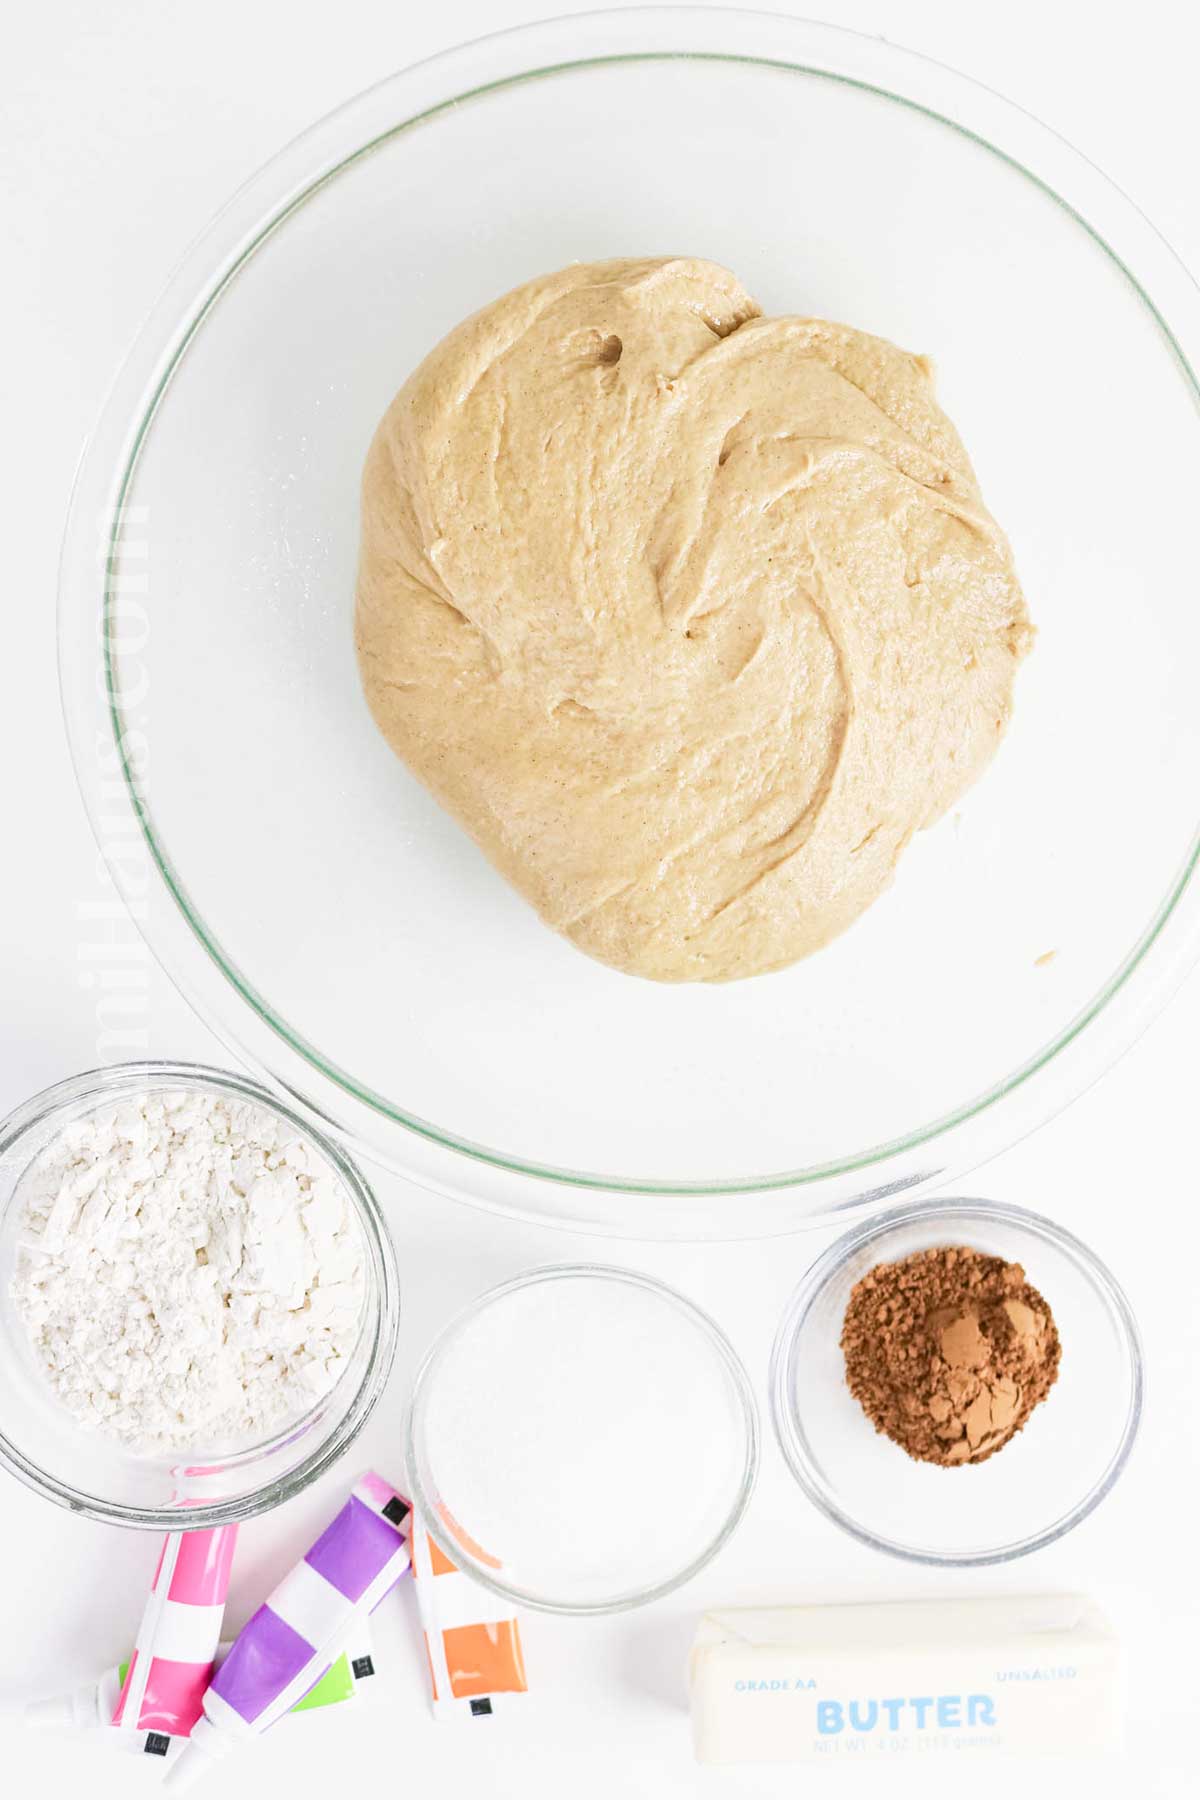
Fresh conchas are best enjoyed the first thing in the morning with a glass of milk or a cup of coffee, but they store well if you have leftovers. Keep them in an airtight container or plastic bags at room temperature for up to three days. The shelf life can be extended by storing them in the refrigerator, though they may lose some of their soft texture.
For longer storage, conchas freeze beautifully. Wrap each one individually in plastic wrap, then place them all in a freezer bag. They’ll keep for up to three months. When you’re ready to enjoy them, simply let them thaw at room temperature or warm them briefly in the oven. A quick 5-minute warm-up in a 300-degree oven will bring back that fresh-baked taste.
If you’re planning an overnight proof, cover your shaped concha dough ball portions tightly with plastic wrap and refrigerate them after shaping but before the second rise. The next part involves letting them come to room temperature the next morning before baking. This method actually develops more flavor and can fit better into a busy schedule.
Expert Tips
Temperature Matters
Your ingredients should be at room temperature, especially the butter and milk. Cold ingredients won’t incorporate well into the yeast dough and can prevent proper rising. The warm water or warm milk used to activate the active yeast should be between 100-110 degrees, warm enough to wake up the yeast but not so hot that it kills it.
Don’t Rush the Rise
Give your dough enough time for both the first rise and second rise. Rushing this process results in dense bread instead of that signature light, spongy texture. The dough should roughly double in size during the first rise. If your kitchen is cool, try placing the covered bowl in the oven with just the oven light on to create a warm environment.
Shaping Smooth Balls
When dividing your dough into equal pieces, use a kitchen scale for precision. To shape smooth balls, cup your hand over each piece of dough and roll it in a circular motion on your clean work surface. This technique creates surface tension that helps the conchas maintain their round shape during baking.
Perfect Topping Application
The sugar paste should be firm but pliable. If it’s too soft, it will melt into the bread during baking instead of creating that signature crunchy layer. Press the topping gently onto each concha dough ball, being careful not to deflate the risen dough. The concha cutter or knife should create grooves without cutting all the way through.
Baking Success
Don’t overbake your conchas. They should be just golden brown on the bottom with the topping set but not dark. Overbaking creates dry bread instead of the tender crumb you want. Start checking a few minutes before the recommended time, as every oven is different.
FAQ’s
What if I don’t have a concha cutter?
No problem! A sharp knife, paring knife, or even a tortilla press edge can create the seashell pattern. Some bakers use the back of a spoon or even cookie stamps. The pattern is traditional, but your conchas will taste amazing regardless of how perfect the design looks.
Why didn’t my dough rise?
The most common issue is that the active yeast wasn’t properly activated. Make sure your yeast isn’t expired and that the warm water or warm milk is the right temperature. Water that’s too hot kills the yeast, while water that’s too cold won’t activate it. Also ensure you’re giving the dough enough time to rise in a warm environment.
Can I make the dough ahead of time?
Yes! An overnight proof in the refrigerator actually improves the flavor. After the first rise, shape your conchas, cover them tightly with plastic wrap, and refrigerate. The next morning, bring them to room temperature, add the topping, let them rise again, and bake. This method is perfect when you want fresh conchas but don’t have enough time to make them start to finish in one day.
What if my topping is too crumbly?
If your sugar paste topping is falling apart, add a little bit of melted butter or work it with your hands to warm it up. It should hold together when pressed but still be shapeable. If it’s too soft and sticky, add more powdered sugar until you reach the right consistency.
If you love this Mexican recipe, you’re going to love these other Mexican recipes, too. Please click each link below to find the easy, printable recipe!

More Great Recipes
CONNECT WITH YUMMI HAUS!
Be sure to follow me on my social media, so you never miss a post!

Conchas – Pan Dulce

Ingredients
Dough
- 3 tablespoons warm water 105–110°F
- 2½ teaspoons active dry yeast
- ½ cup butter melted – unsalted
- 1 tablespoon vegetable oil
- ⅓ cup granulated sugar
- ¾ cup evaporated milk or whole milk
- 2 teaspoons kosher salt
- 2 teaspoons vanilla extract
- 2 teaspoons ground cinnamon
- 2 large eggs room temperature
- 4 cups all-purpose flour
Topping
- ½ cup butter softened – unsalted
- ⅔ cup granulated sugar
- 1 cup all-purpose flour
- 1 teaspoon vanilla extract
- 2 tablespoons unsweetened cocoa powder
- Gel food coloring optional
Instructions
- Combine the warm water and yeast in the bowl of a stand mixer. Let the mixture sit for 5 to 10 minutes until it becomes foamy. If the yeast doesn’t activate, discard it and start again with fresh yeast.
- Add the melted butter, vegetable oil, sugar, evaporated milk, salt, vanilla, cinnamon, and eggs. Mix briefly until the eggs are blended into the liquid ingredients.
- Knead in the flour with the dough hook on medium speed for 5 to 7 minutes, or until the dough is smooth, soft, and slightly tacky. If mixing by hand, knead on a lightly floured surface for about 10 minutes.
- Transfer the dough to a lightly greased bowl, turning once to coat. Cover with a towel or plastic wrap and let rise in a warm place for about 1 hour, or until doubled in size.
- While the dough rises, prepare the topping.
- Beat together the softened butter, sugar, flour, and vanilla until a soft paste forms.
- Divide the topping mixture into two equal portions. Mix cocoa powder into one half until evenly incorporated. If desired, tint the remaining half with a few drops of gel food coloring.
- Punch down the risen dough and divide it into 12 equal pieces.
- Shape each piece into a smooth ball and arrange them on parchment-lined baking sheets, leaving space between each roll.
- Flatten about 2 tablespoons of topping into a thin circle using your hands or a piece of parchment paper. Lay it over the top of each dough ball, gently pressing so it adheres.
- Using a sharp knife or a concha stamp, score the topping with a shell pattern or another decorative design, being careful not to cut into the dough underneath.
- Cover the shaped rolls and let them rise for 25 to 30 minutes, until noticeably puffy.
- Heat the oven to 350°F.
- Bake the conchas for 18 to 20 minutes, until the bottoms are lightly golden while the topping remains pale.
- Cool on a wire rack for at least 10 minutes before serving.
- Enjoy warm or at room temperature with coffee, tea, or Mexican hot chocolate.
Nutrition
Nutritional information for the recipe is provided as a courtesy and is approximate. Please double-check with your own dietary calculator for the best accuracy. We at Yummi Haus cannot guarantee the accuracy of the nutritional information given for any recipe on this site.







Share Your Thoughts