

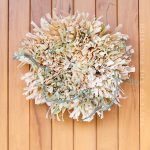
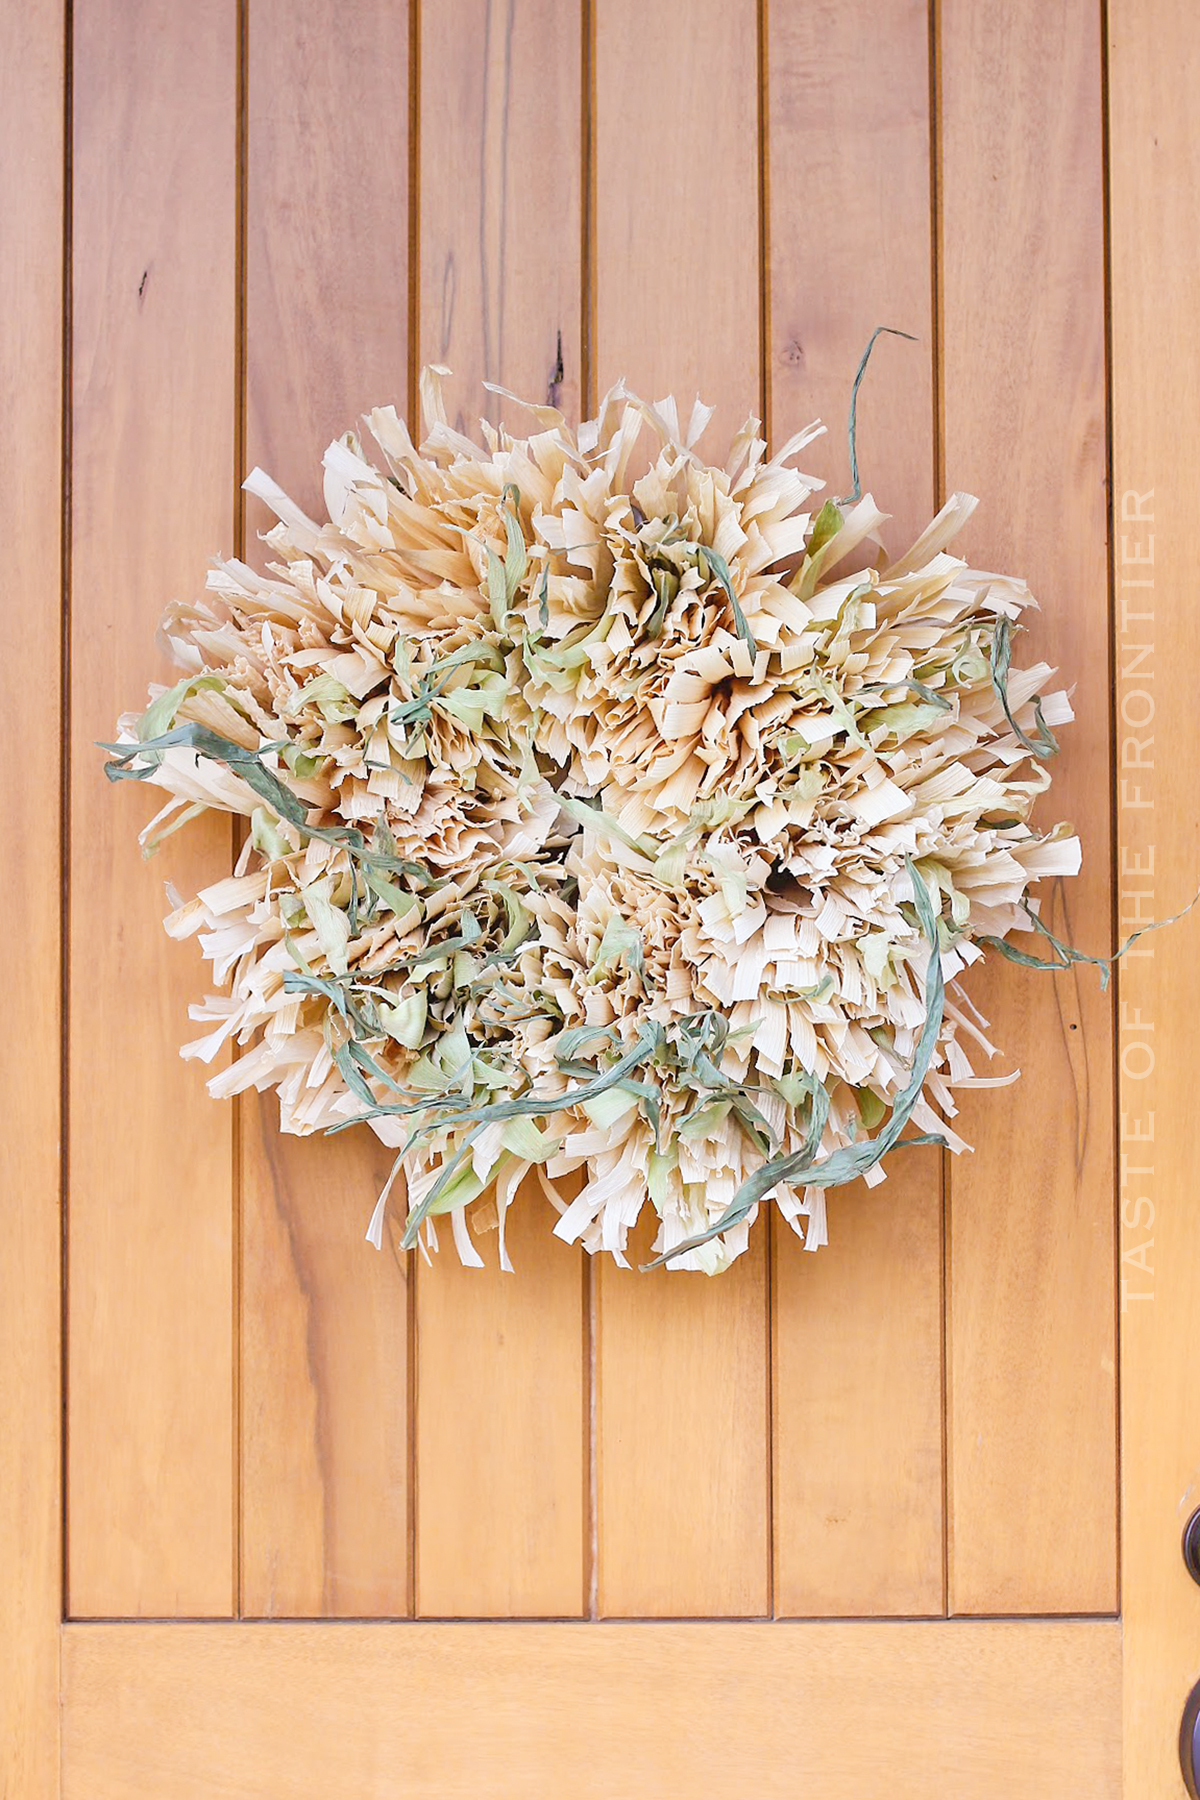
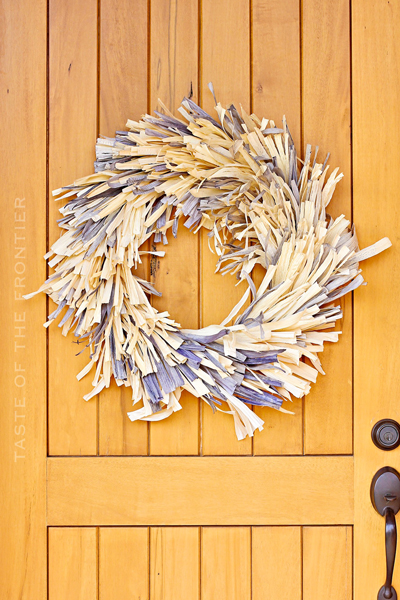
Celebrate the fall harvest with our beautiful, natural Raw Husk Corn Husk Wreath. Designed to be hung on your front door, this wreath is a reminder of all the beauty around you.
Fall is the perfect time to add some decorative touches to your home, and a raw cornhusk wreath is a great way to do that. This project is simple and can be done in just a few hours, so it’s perfect if you’re looking for a quick but stylish way to decorate your porch for autumn.
Plus, it’s a great way to use up any extra corn husks you may have lying around. Let’s get started!
PIN THIS TO SAVE FOR LATER
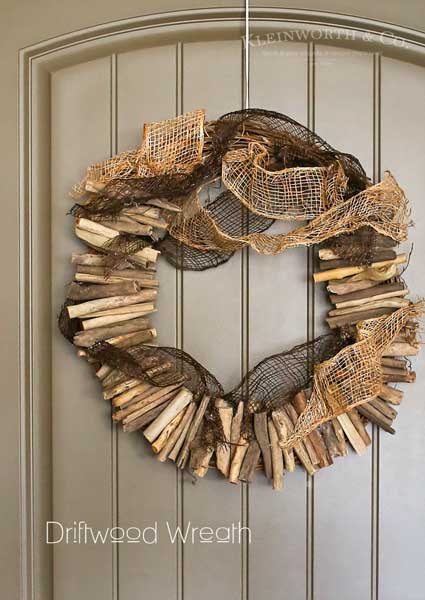
A week ago I shared with you my Frayed Corn Husk Wreath. I had said at that time that it would be more for over the mantle than on the front door.
We ended up finishing the mantle decor & I did move that wreath to above the mantle. I will be sharing that with you all soon.
corn husk crafts
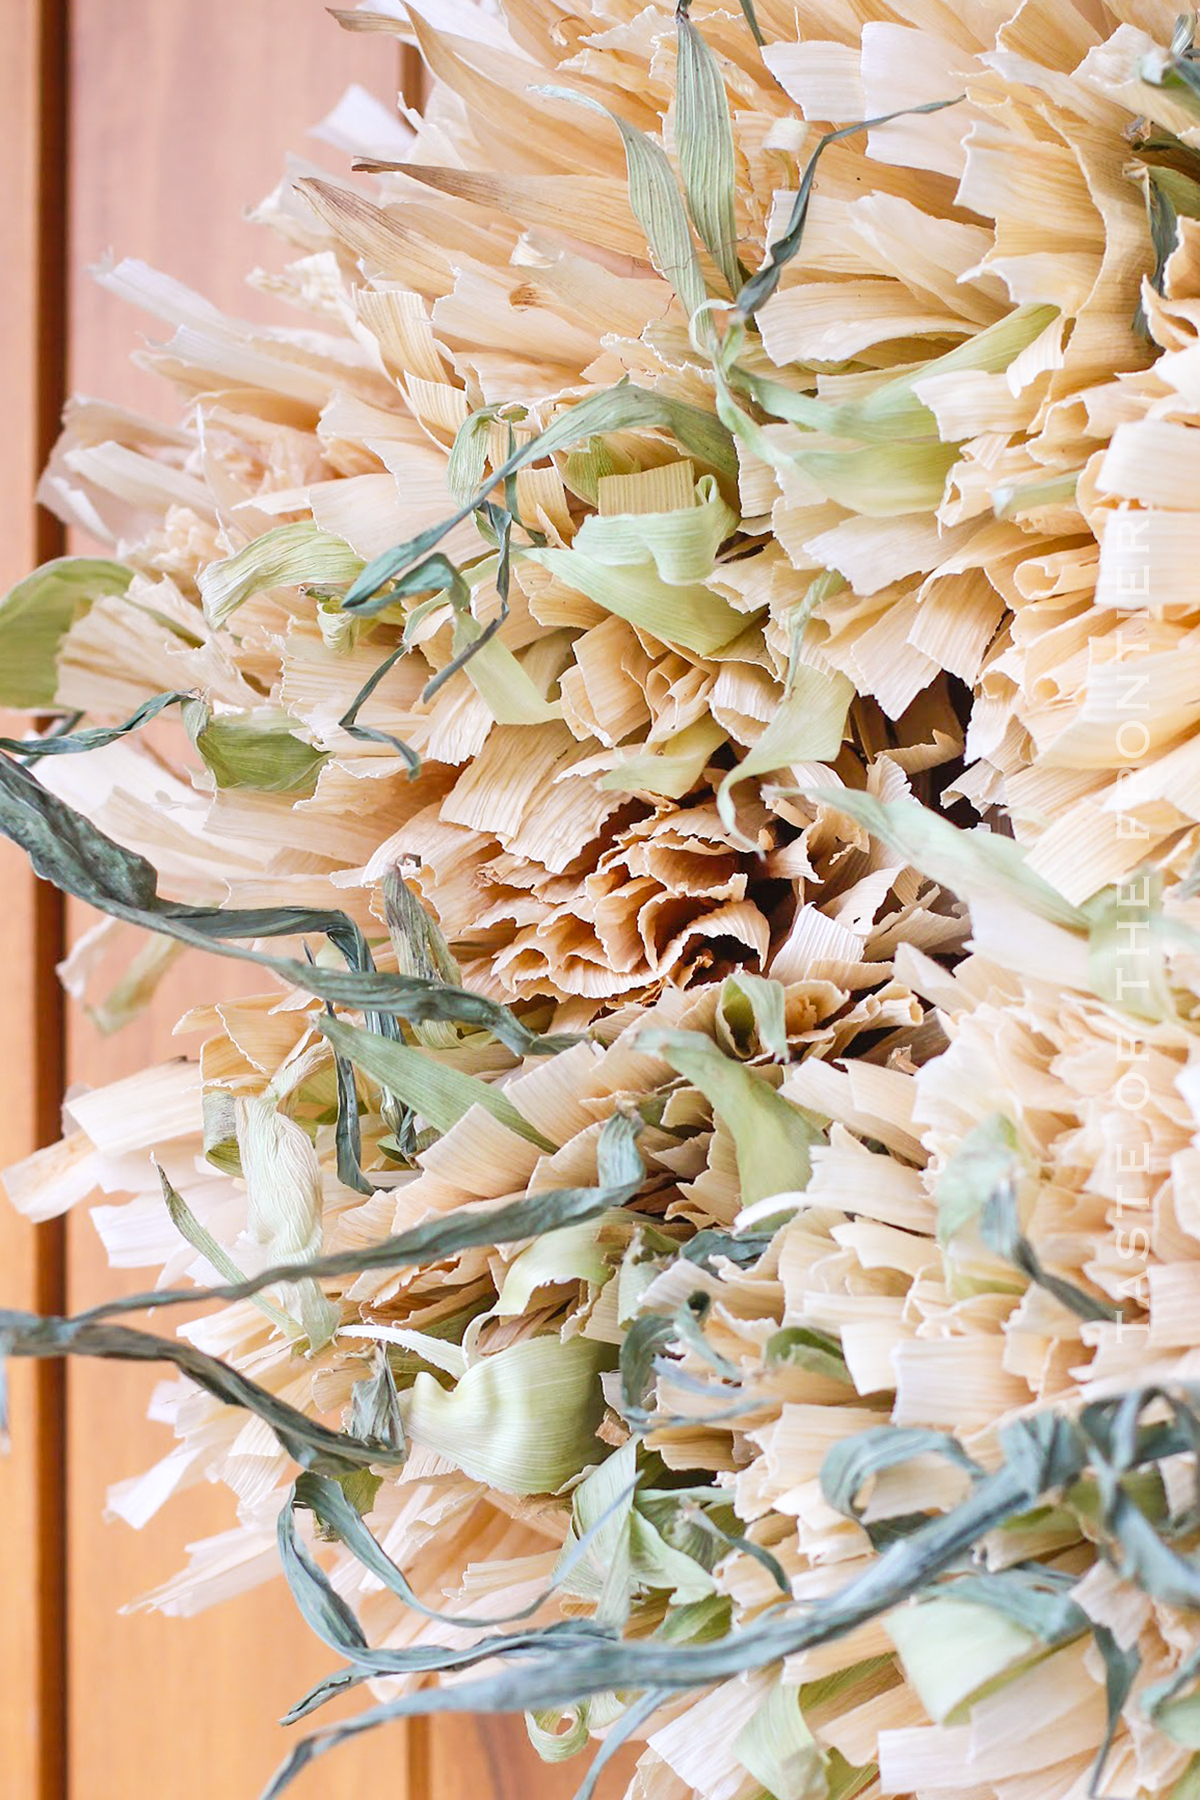
That meant that I needed a wreath for the front door. I had already picked up some bags of husks at the store- but I was standing at the counter shucking the corn for dinner when I realized that the green husks were also beautiful.
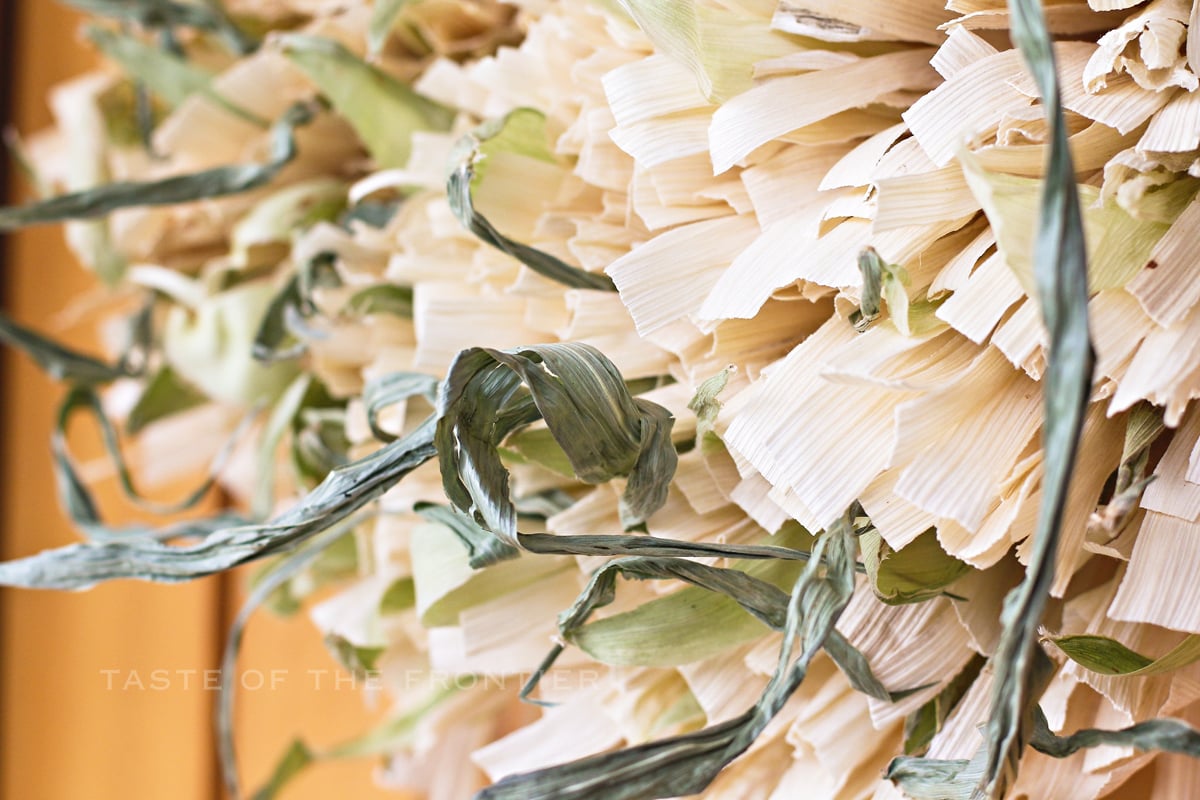
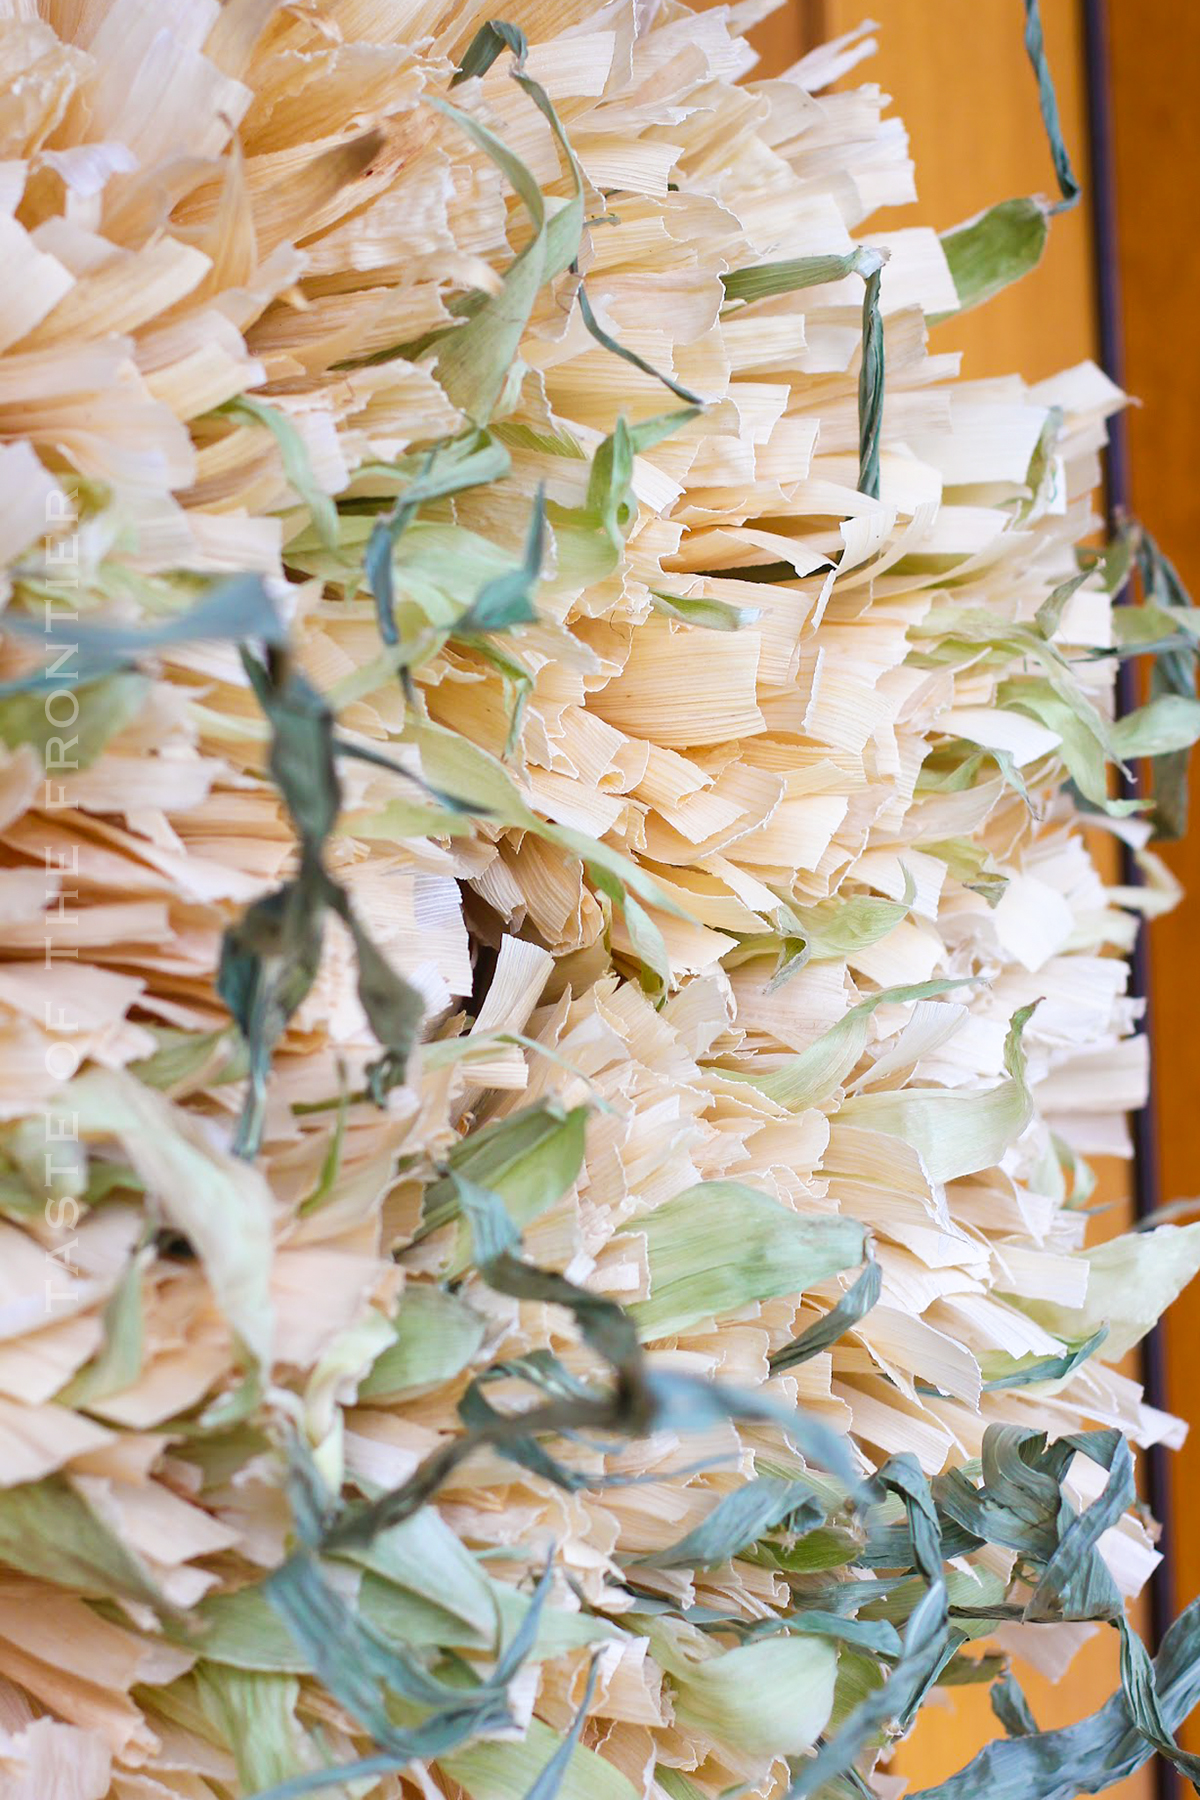
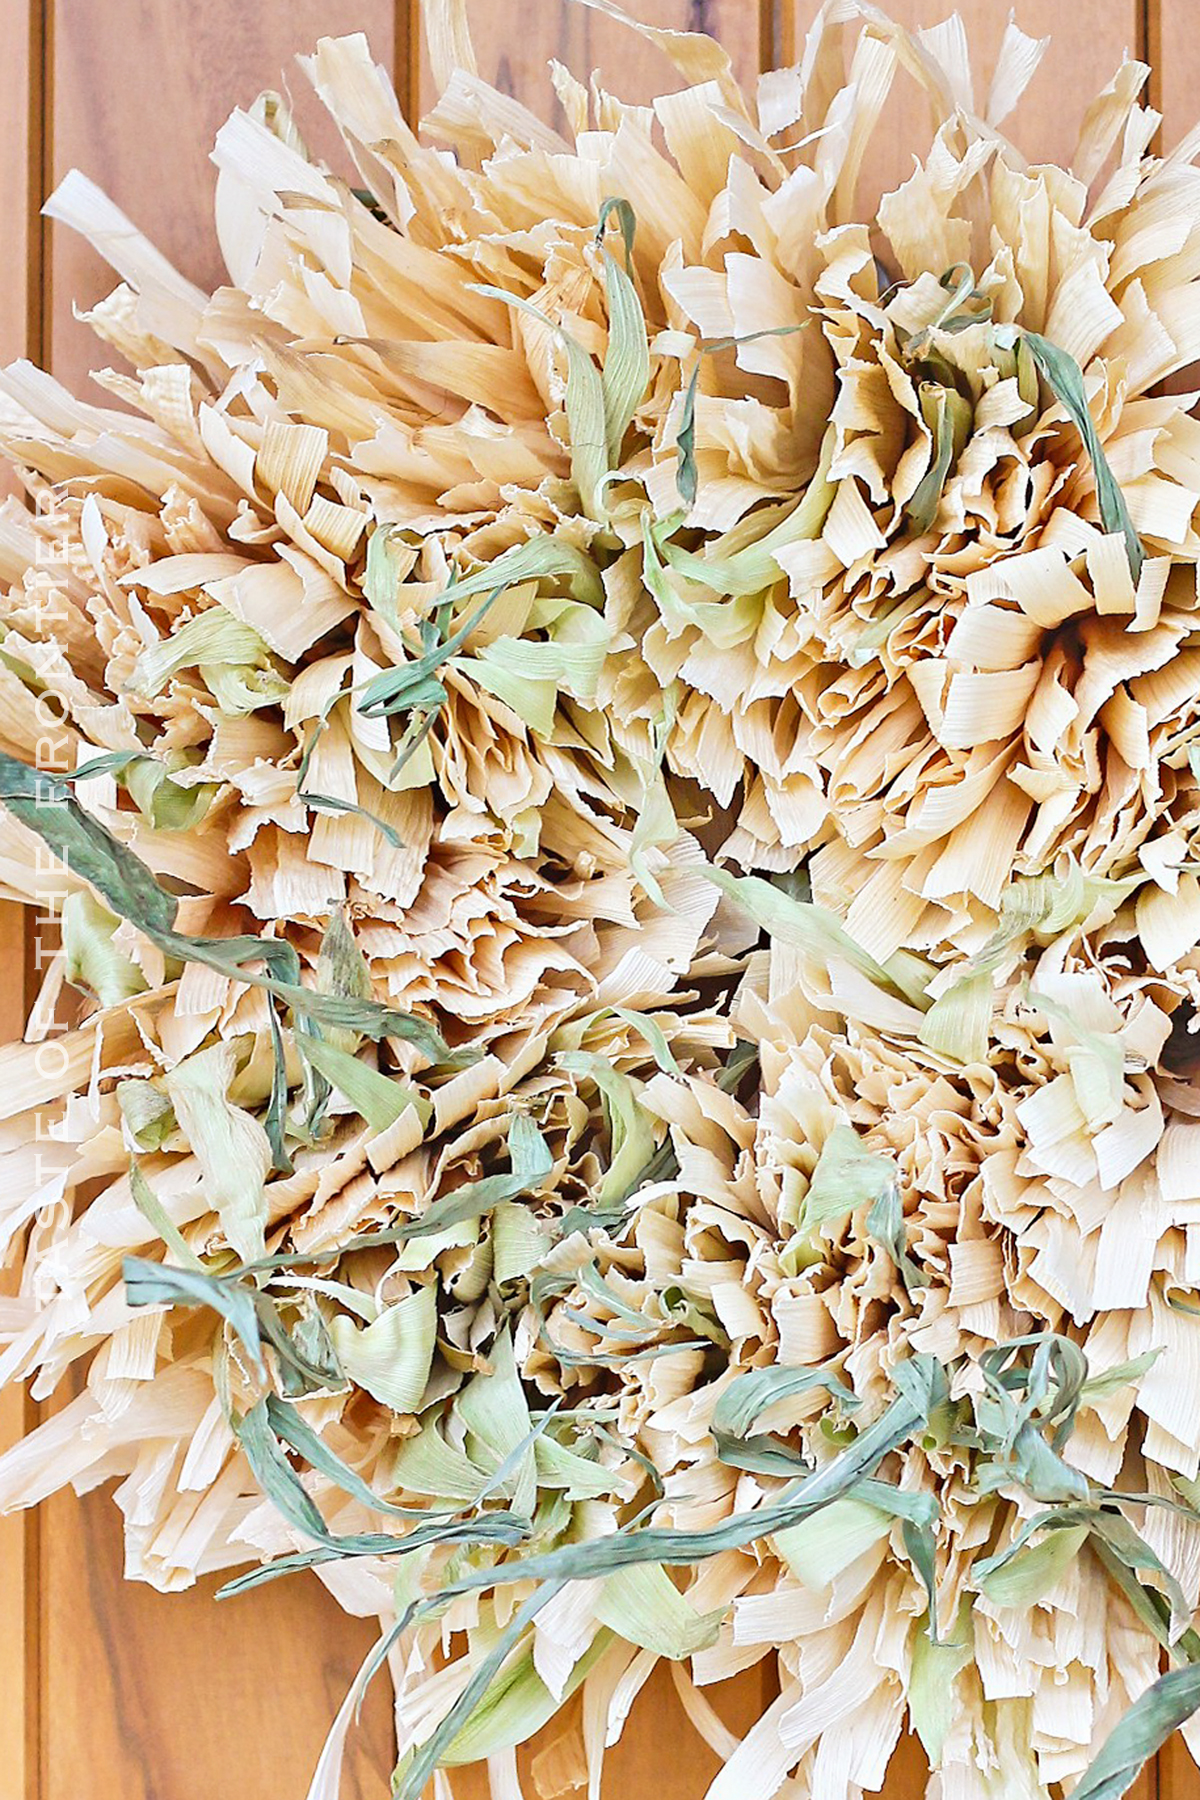
Instead of tossing them- I separated them from the silks & laid them on the counter to dry overnight. Then the next day the ends were nice & curled & I knew I could spend some time working on a new front door wreath. The finished project ended up being this…
Here are some commonly asked questions
Where can I find corn husks?
Corn husks can be found in the international food section of the grocery store. I haven’t bought any in a while, but I used to be able to get a decently large bag for around $2-5. Now they run about $8 a bag – but you might be able to find them at the dollar store for so much less. You will need at least 2-3 bags to make this wreath, depending on how full you want the end result to be.
NOTE: TIE THE HUSKS AS TIGHT AS YOU CAN – THEY WILL SHRINK AS THEY DRY. They will eventually fall out of the twine if they are not tight enough.
Can this be made without the raw husks?
You bet! If you want to make this wreath using only the husks you can find in the bag – that will work just fine. You won’t need the raw ones for the wreath to work – it just won’t have the green pieces from the raw husks.
Where do I find raw corn husks?
Find raw corn husks when buying fresh corn on the cob. Just pick up some corn on the cob – shuck the corn and separate the silks from the husks. You can then use the green husks for this wreath craft.
SUPPLY LIST
- flat wood wreath form
- 2 bags of corn husks
- raw husks – still green
- twine
How to hang the wreath
If you are using the wire form linked here, it should slide right onto a hook or nail to hang it up. If you choose another wreath form that doesn’t fit nicely onto a hook or nail – you can use the twine to tie a loop onto the back of the form to make it easier to hang the wreath.
Cleaning a Corn Husk Wreath
As with most things that sit outside, the wreath can collect dust and pollen that is in the air. To clean the wreath you can take some canned air or even just an air compressor or leaf blower and gently blow the dust and dirt off of the wreath.
Do not wash the wreath with the hose or bring it inside and rinse it off with water. Re-wetting the husks will make the wreath fall apart.
NOTE – KEEP THE WREATH OUT OF DIRECT WEATHER – YOU DON’T WANT IT TO GET WET FROM RAIN OR SNOW.
How to Prepare the Corn Husks for Crafting
- Soak the natural husks from the bags in a fresh bowl of clean water.
- Place another bowl or jar on top of them to hold them down in the water as they will want to float. Leave them in the water for several hours to really soften them up. The water will soften the husks and make them pliable and easier to work with.
- Once soft, remove from the water and pat any excess moisture off with paper towels.
How to Make a Corn Husk Wreath
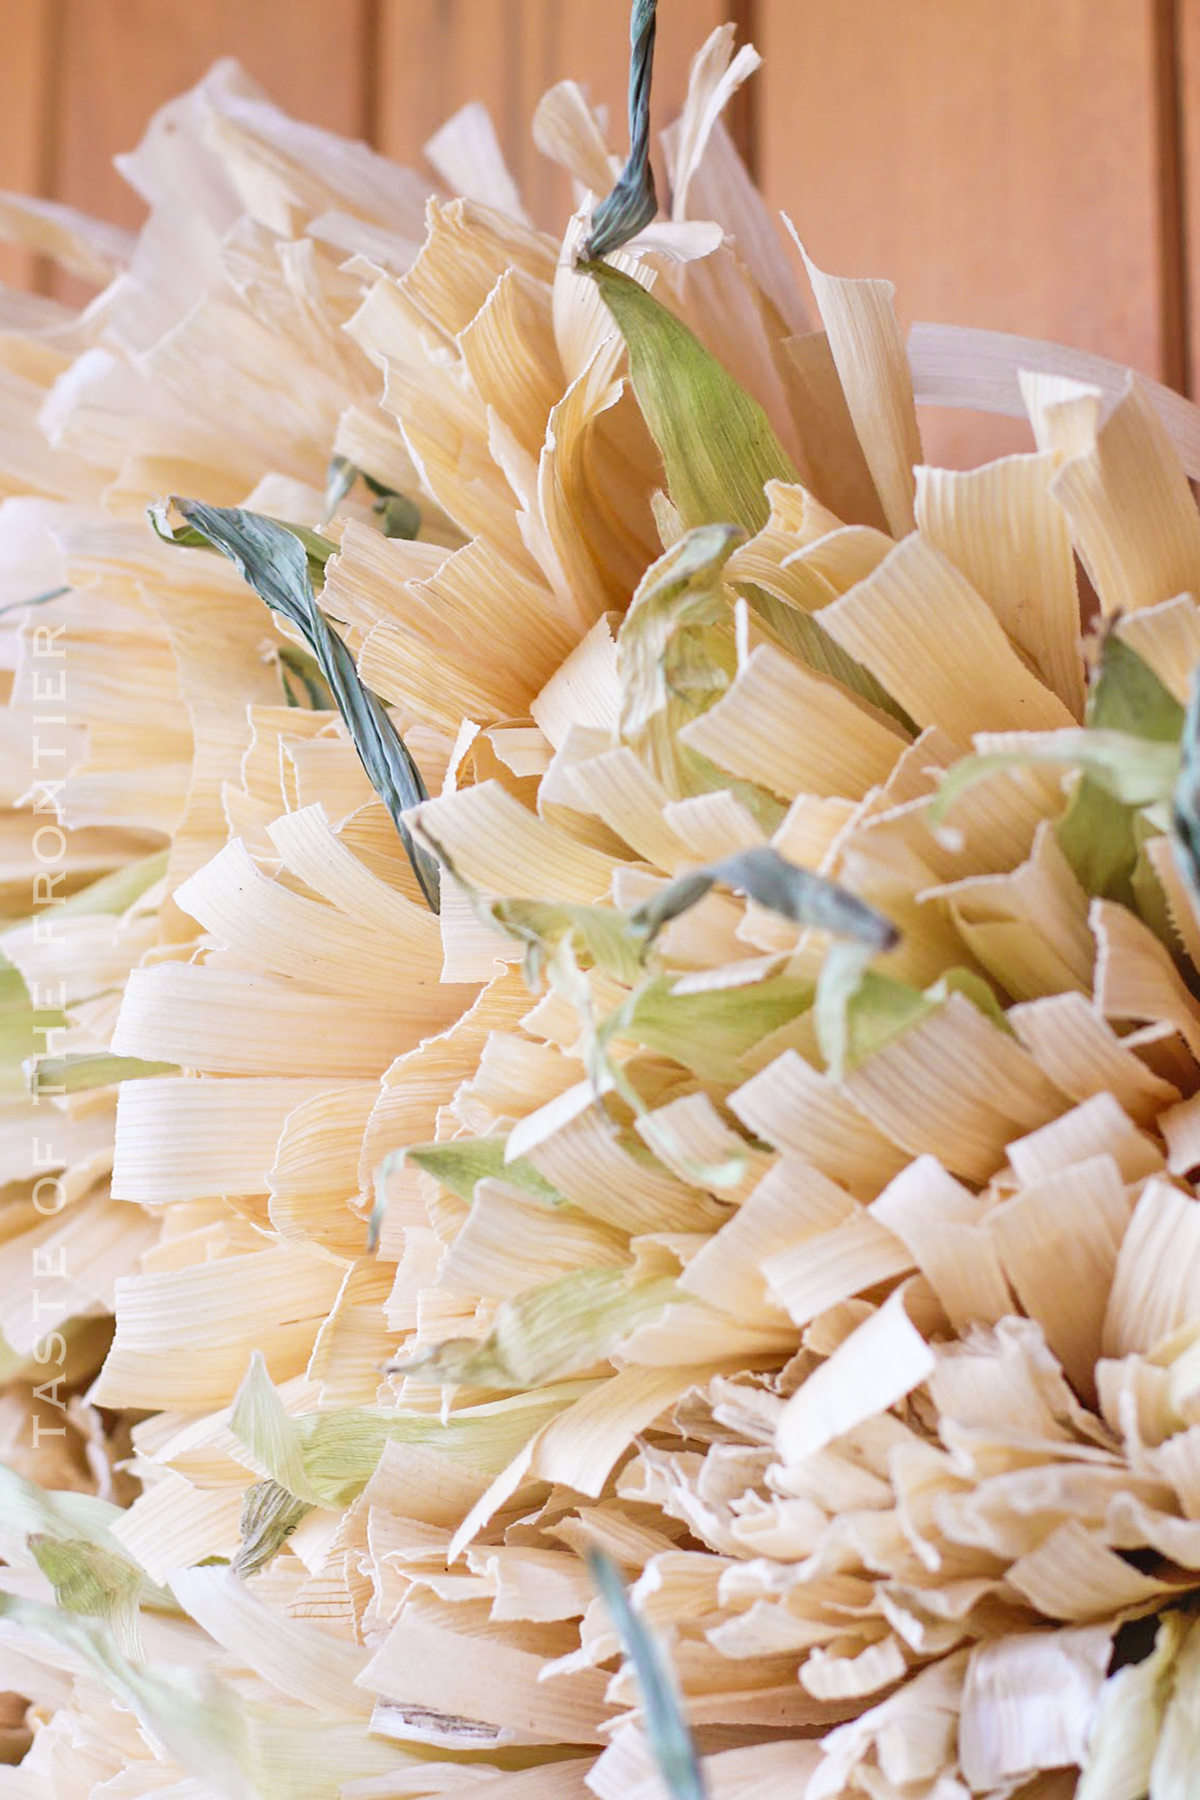
- Working with 3 at a time- (1 raw green husk in-between 2 natural husks) bunch them at one end.
- Take a piece of twine & tie them to the wreath form.
- Continue adding the bundles of husks onto the wreath form, making sure to overlap the bundles of husks to make the wreath as thin or full as you desire.
- Once you have assembled the entire wreath, hang the wreath upside down in a warm place to dry. This allows the husks to all dry straight out instead of sagging towards the bottom. I attached mine to a wire hanger with paper clips & hung it in the warm garage for a couple of days.
If you love this easy-to-make wreath, you’re going to love these other crafts too. Check out the other fun ideas below!


If you’re looking for a rustic and chic way to decorate your porch for fall, this Raw Husk Corn Husk Wreath is perfect. It’s easy to make and adds a touch of autumnal charm to any space. Give it a try and I know you’ll love it!
If you love this Raw Husk Corn Husk Wreath as much as I do, please be sure to help me share on Facebook and Pinterest!
CONNECT WITH YUMMI HAUS!
Be sure to follow me on my social media, so you never miss a post!


I think this might be your most beautiful wreath yet…..and they have all been beautiful! Thankfully most of the corn crop in Colorado has been harvested already, but I think anything left is covered with water now. Probably won’t be a lot of Fall corn husk crafts or corn mazes for us this year. So I will enjoy seeing yours all the more. 🙂
Thank you Danelle- I’m a little crazy with the husks at the moment. 🙂
I was wondering how you have been doing with the water. Been on my mind – so devastating. Please keep me posted on things there.
Gina, this wreath is so beautiful – love it…. visiting from Pieced Pastimes… have a wonderful weekend… Cathy
Pretty! I’m going to have to try this! 🙂
The wreath is beautiful! I love it when people use what they have and come along with something wonderful.
Thank you Lynn- I have a slight obsession with corn husk decorating this time of year.
Love the subtle colors of this wreath, Gina. It would be perfect on a dark wood or dark-colored door.
Stopping by from DIY Sunday Showcase.
I agree Shana. I would love a darker door for it.
Wow, Gina, this is AMAZING!
Thank you- I have a slight obsession with corn husks this time of year 🙂
Your wreath is beautiful, I love the fullness and the wonderful texture… When I was young we lived near a farm and used corn husks in so many projects, love seeing yours, it brings back memories!
I linked over from the Homemade by You Party where I am participating too with Spooky Spider Card and would love it if you’d stop by.
Hugs, Antonella 🙂
Thank you so much- I love hearing about your memories of the corn husks. I really love crafting with them.
I love the texture. It totally drew me in! very nice.. I might have to try that one of these days!
Thank you Erin- crafting with corn husks is a favorite for me this time of year.
I LOVE this wreath Gina!! Thanks for sharing it at Work it Wednesday this week! Hope to see you back tomorrow – party goes live at 9am EST.
~Krista
The Corn Husks make this wreath a show stopper! Looks beautiful and so very fall-ish! Come link up to the Fall Wreath challenge at The CSI Project. It is going on right now!!! Come on over!
http://www.thecsiproject.com
Any chance you remember what size wreath form you used? I just bought an 18” flat form from Michael’s to try this, but now I’m worried it’s too large for the corn husks to really fill in the middle the way yours does. Thanks.
Hi Leslie, I just measured it & it is a 12″ form.
You could still use that form & try my other corn husk wreath (https://www.kleinworthco.com/frayed-corn-husk-wreath/) It would work better with the supplies you have on hand.
When you are done with your project, please share it & tag me on Instagram so I can see how it turned out.
Pics for each step would’ve been very helpful..like how to attach to form? How did you tie the bundles together?? I’m a very visual learner and this is absolutely gorgeous! Just a friendly suggestion
My apologies Kim. I made this wreath back in 2013, when this blog was for sharing with just family and friends. It was not an information hub as it is now – so this post has had to evolve over the years. We have since moved 4 times, the wreath did not survive. I will have to see if I can remake it at some point and photograph the steps.