Hi Everyone!!
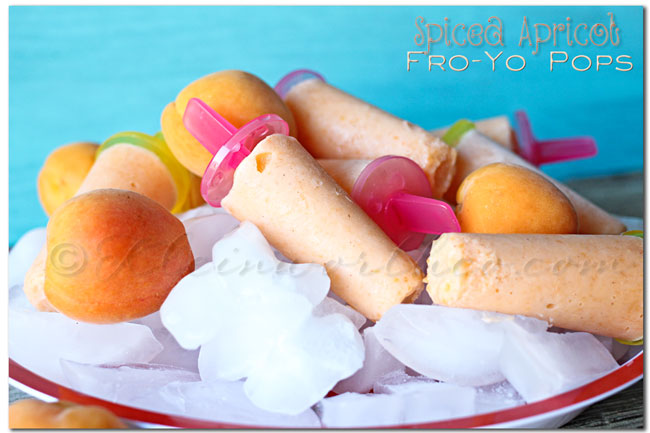
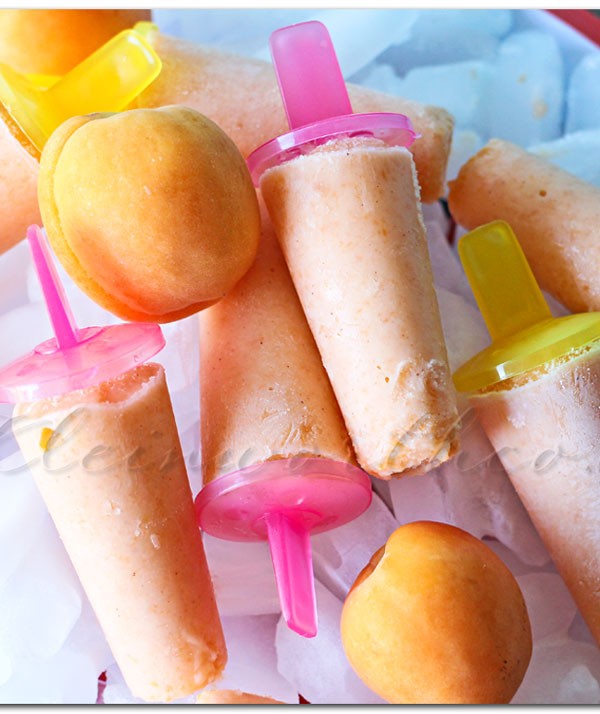
What a nutty week!! A while back I shared these Spiced Apricot Fro Yo Pops when I was contributing over at Reasons to Skip the Housework. I’m guessing that not all of you popped over to pick up the recipe – or missed the post that mentioned I was contributing over there that day- so I thought I would share it all with you today.
These were so easy & HEALTHY. I didn’t feel at all guilty about giving these to the kids with their lunch or after dinner. They loved them & didn’t mind at all that they were not loaded with sugar or sweeteners. My kids are pretty good about that anyway- they actually like things like broccoli & don’t even like soda. So I wasn’t shocked that they loved these. For my own peace of mind I felt so much better knowing I wasn’t loading them up on junk.

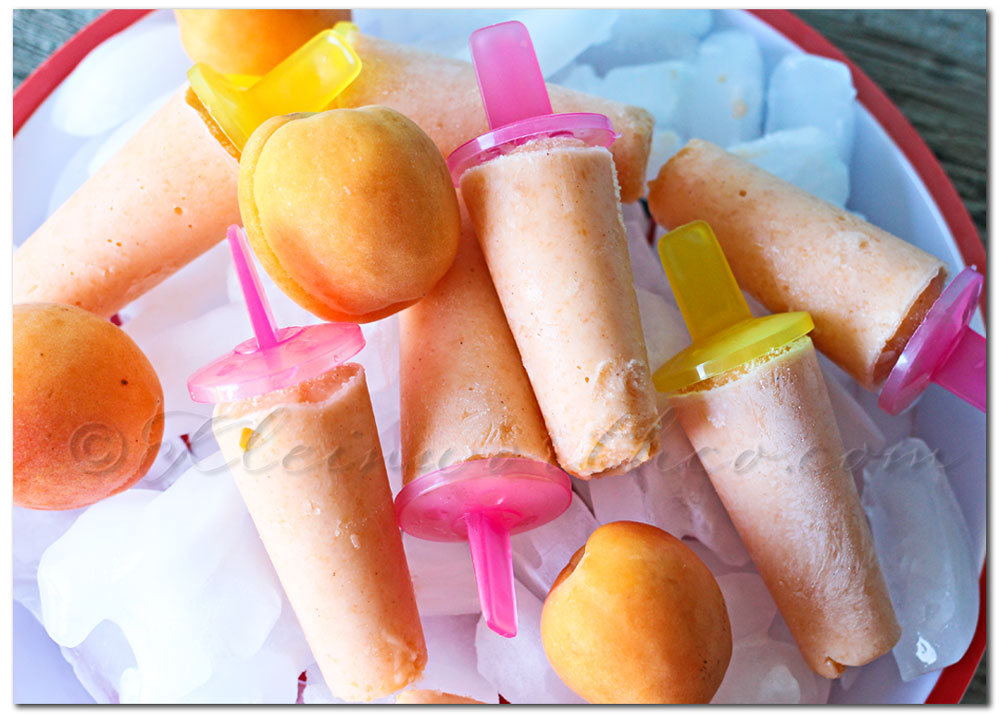
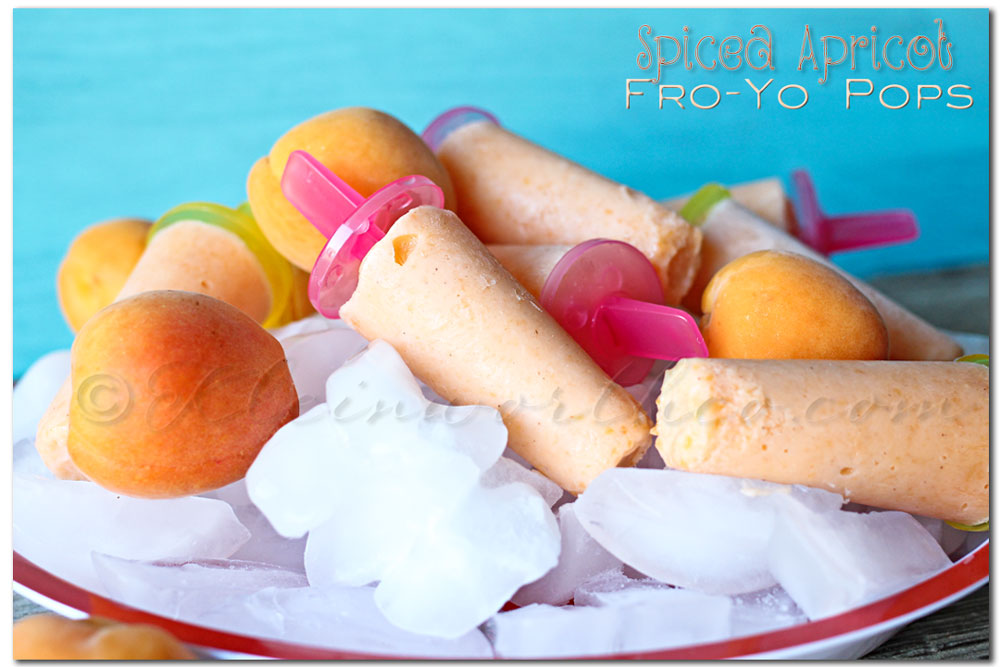
Spiced Apricot Fro Yo Pops
Ingredients
- 2 cups pitted & halved apricots
- 16 oz vanilla yogurt
- 1 tbsp cinnamon/sugar mix
Instructions
- Add all ingredients to blender & puree 1-2 minutes
- Add to pop molds
- Freeze at least 4 hours before serving.
As we move through August I am sure you will be seeing less & less frozen treats & more baked goods.
I have really missed baking & I am really looking forward to doing more of it as the weather cools in the coming weeks.
*Also- today I’m guest posting over at Baby Bump Bundle – head on over & check it out.
Don’t forget to come back & join me on Mondays for Project 52
To see where I am linking today- visit HERE

[jetpack_subscription_form]
 What’s on the menu this coming Game Day??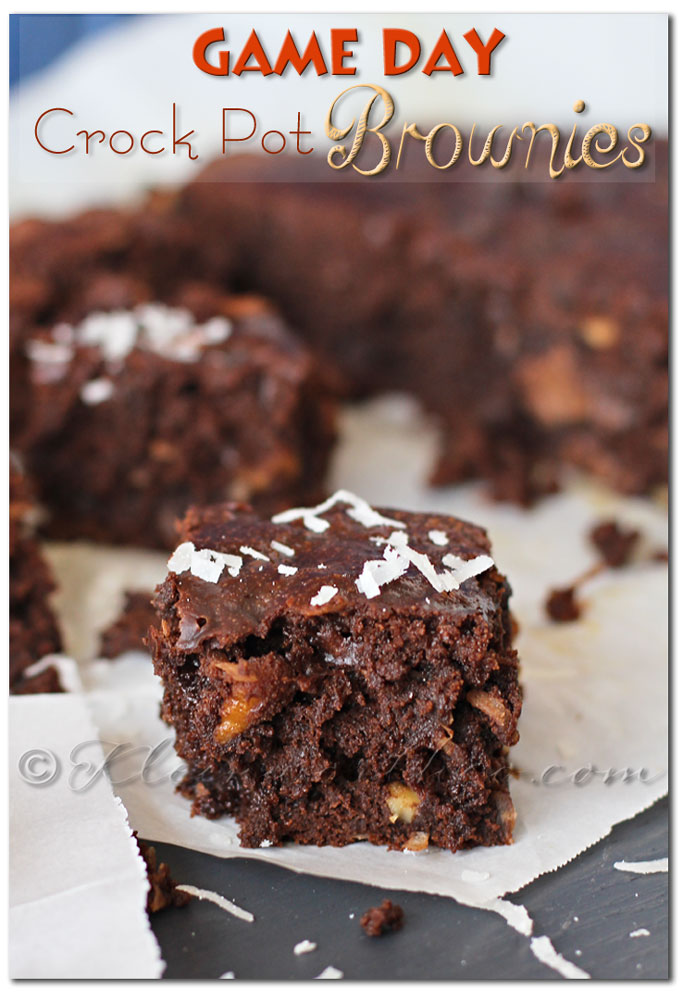

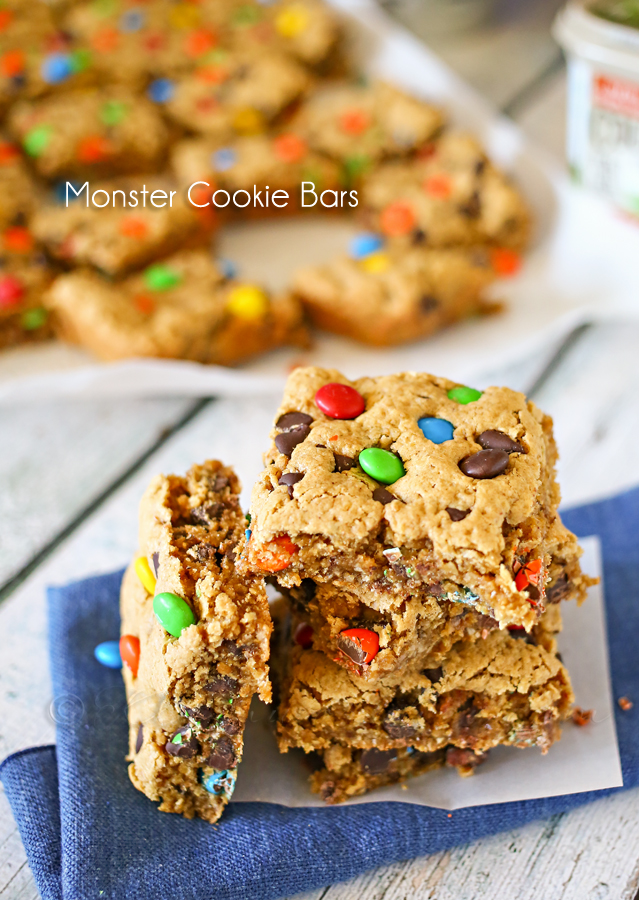
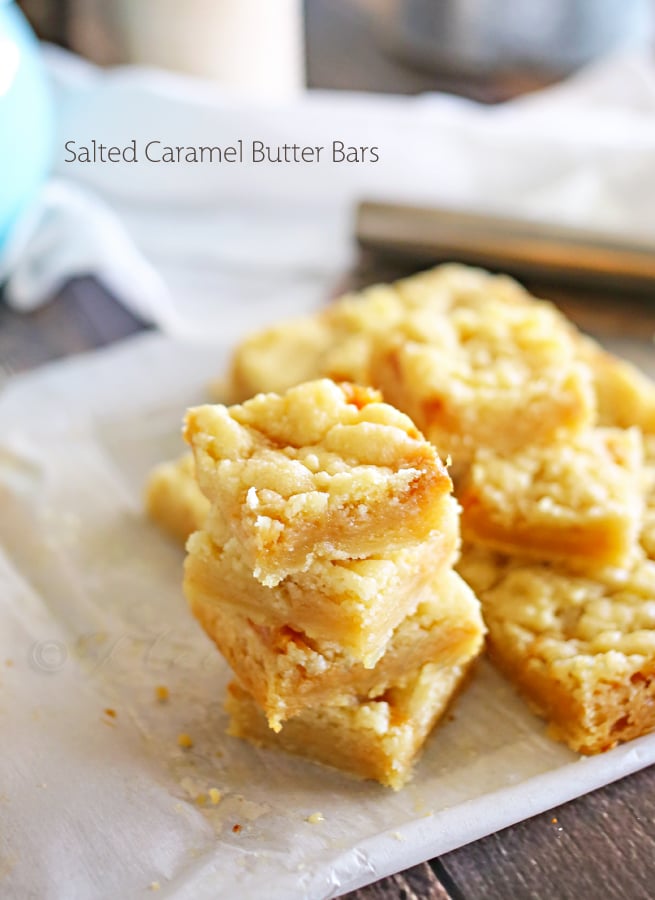
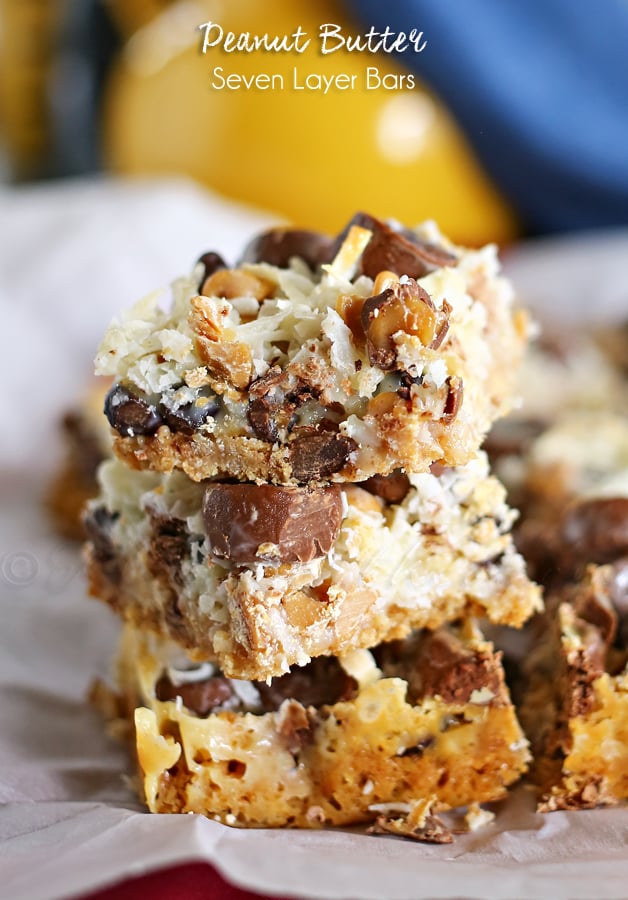
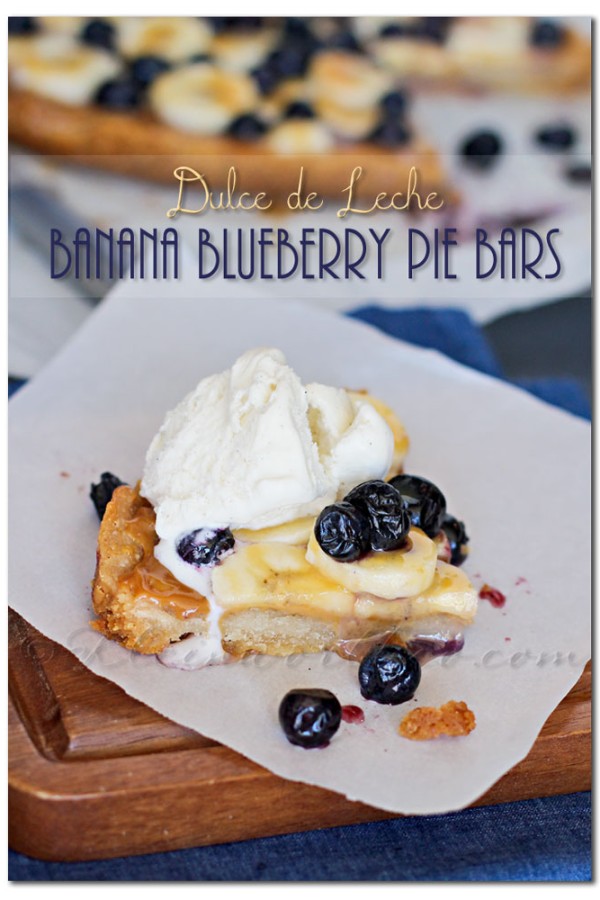
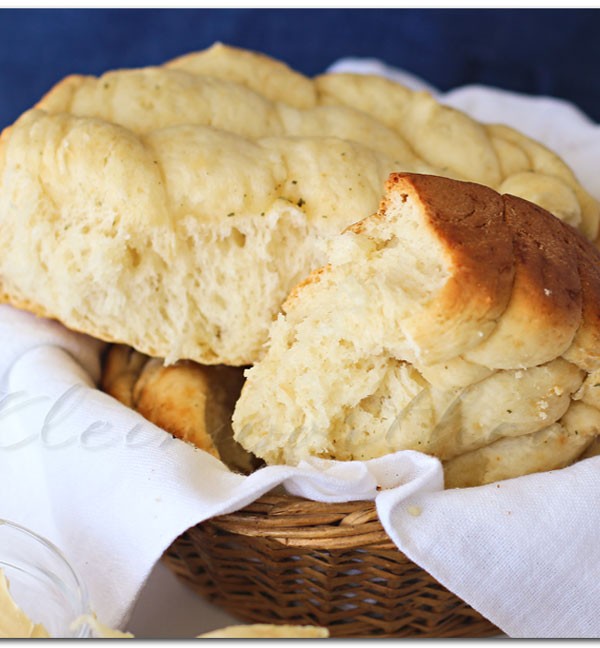
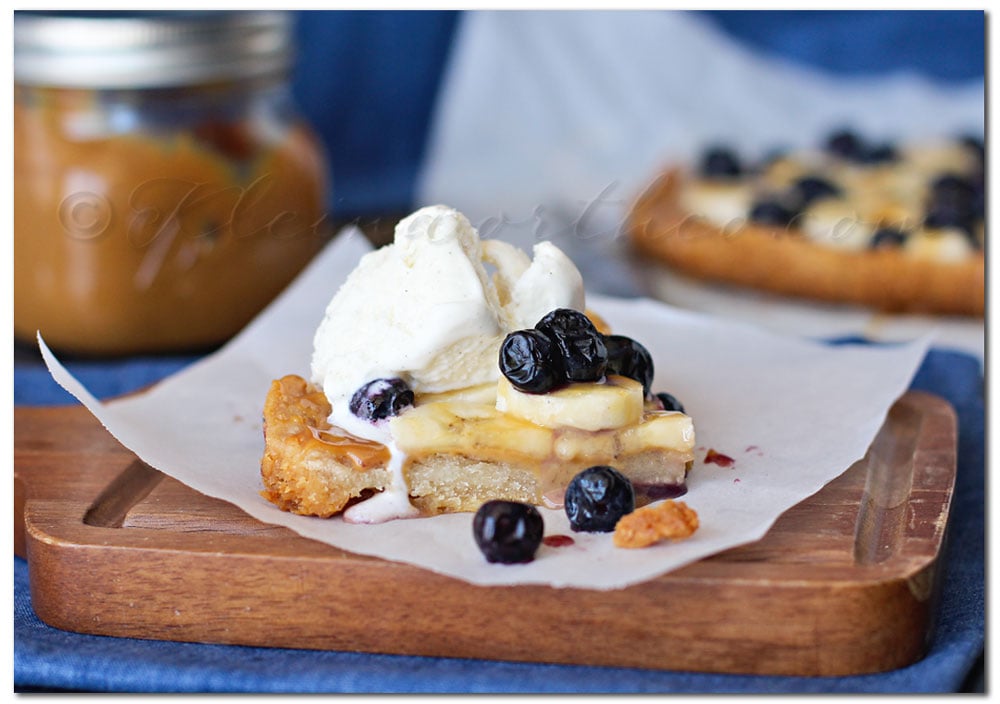 The crust was so buttery & flavorful.
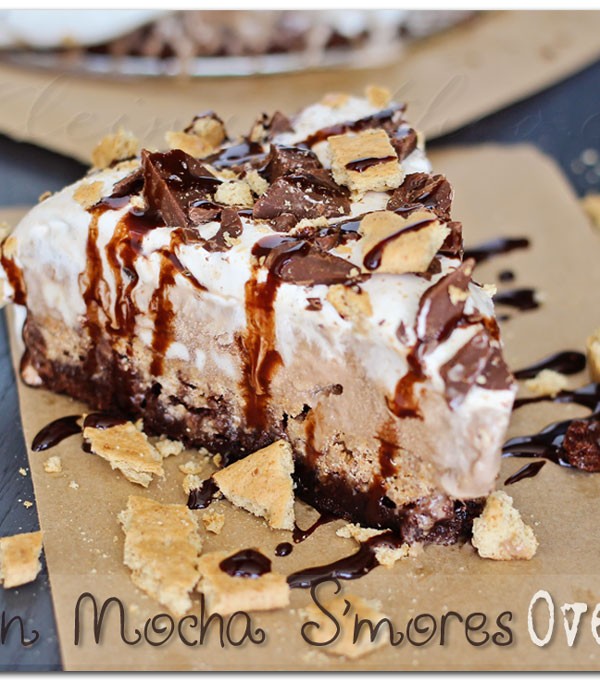
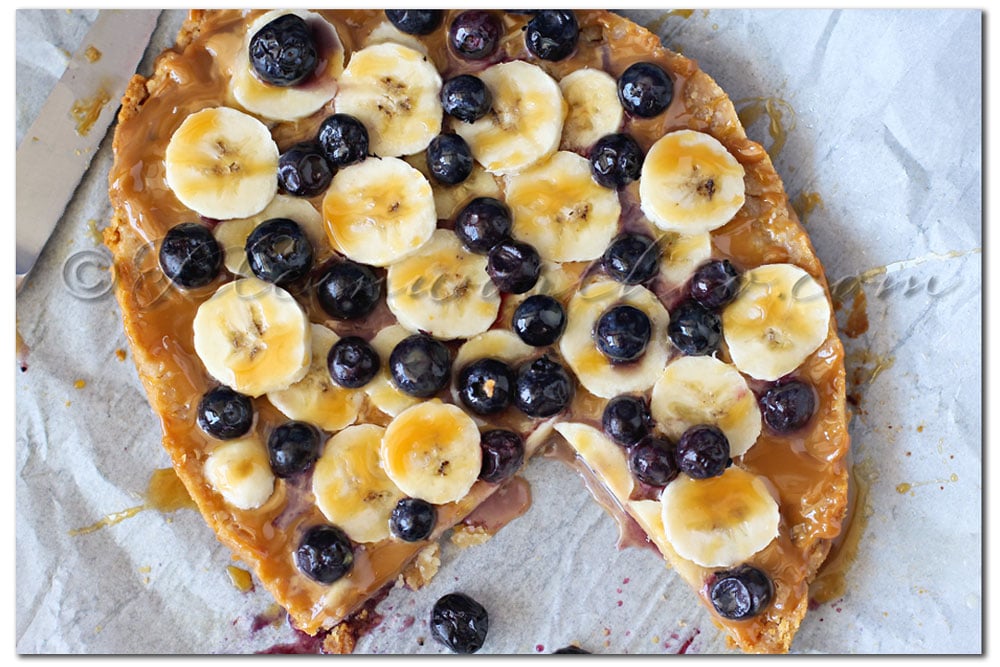 Oh yes- it was ooooey, gooey goodness all over the place.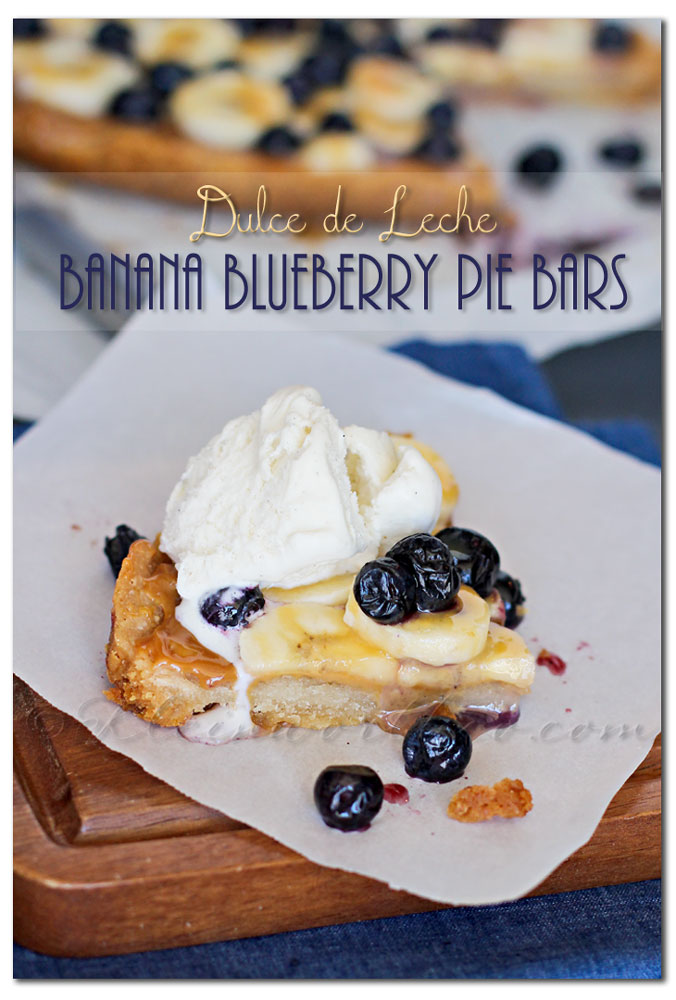


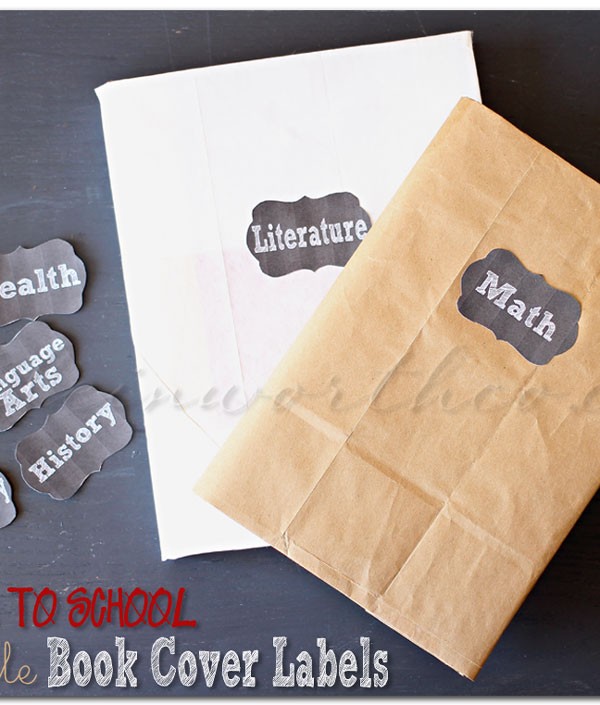
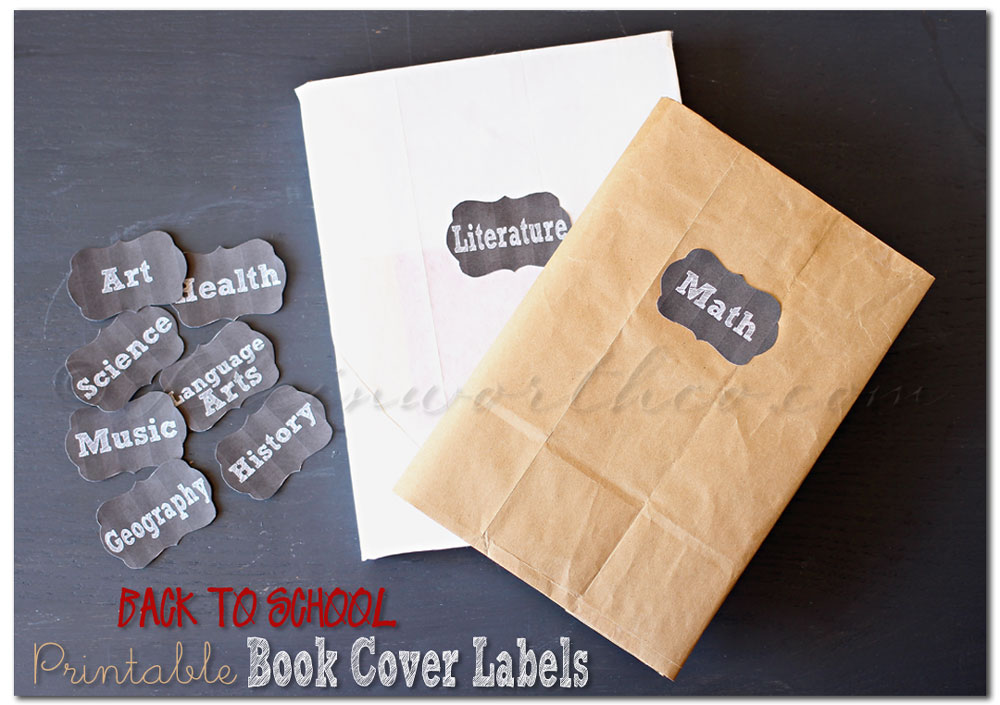 Even though we decorated our book covers- I would have loved having the ability to print off some cute little labels to make my covers more personal yet stylish. If my kids were going back to school they would definitely be using these.

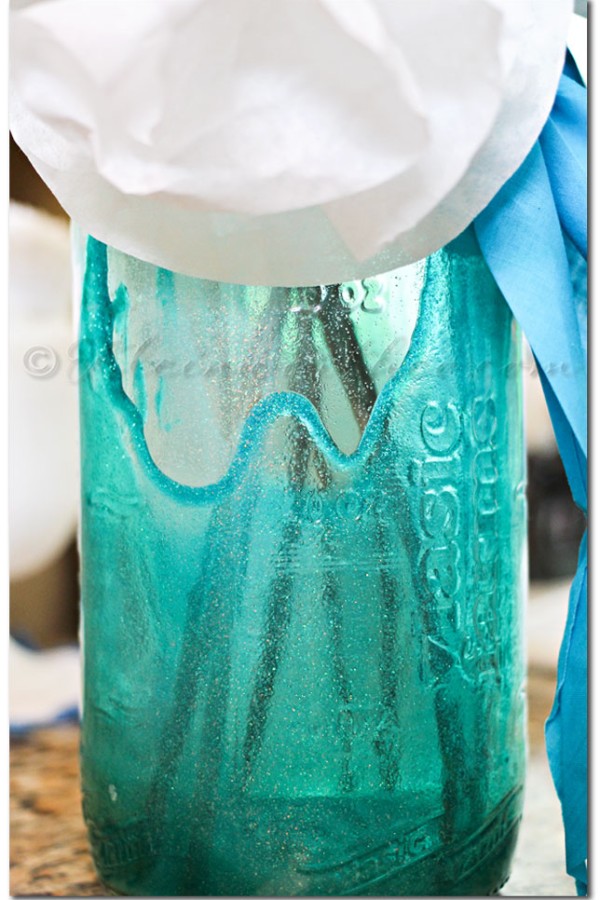
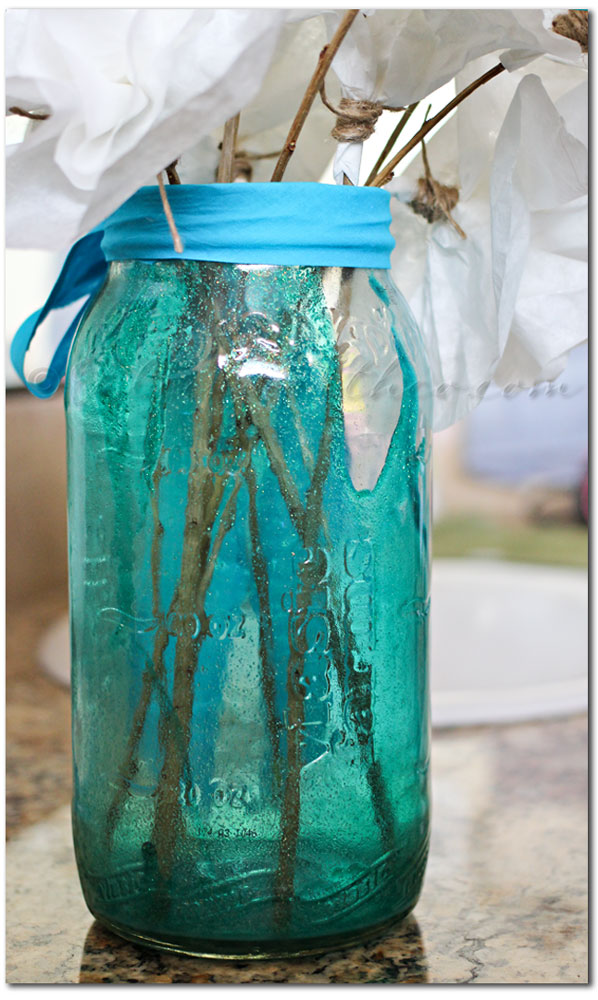
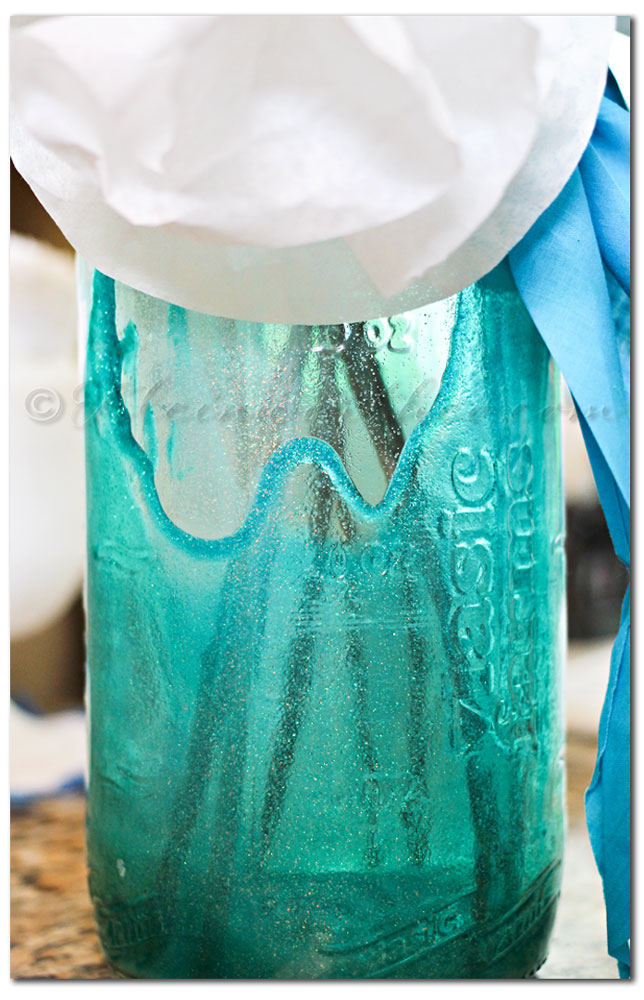
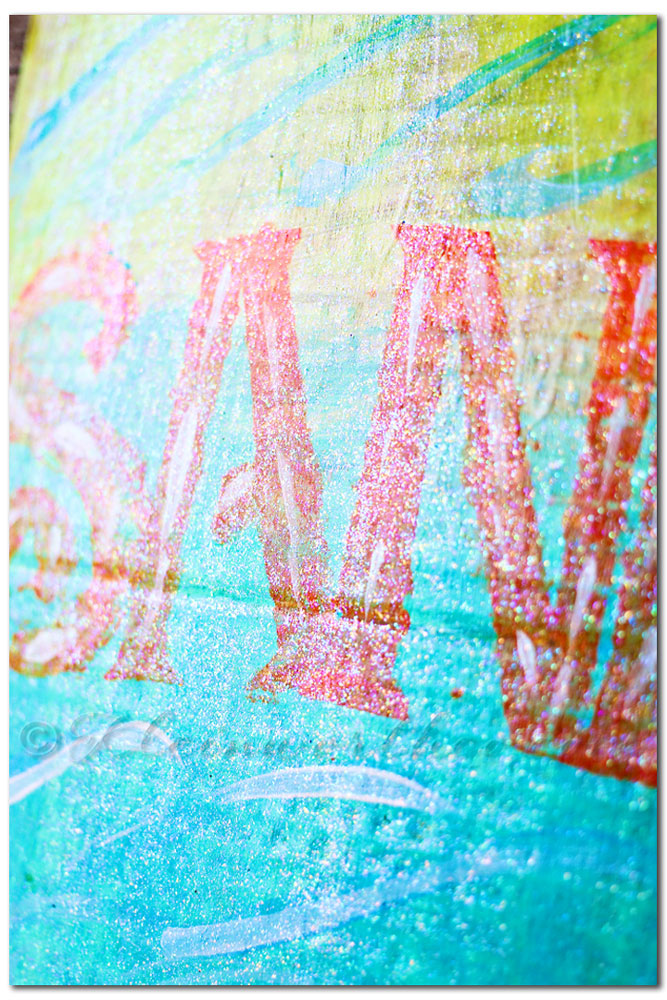
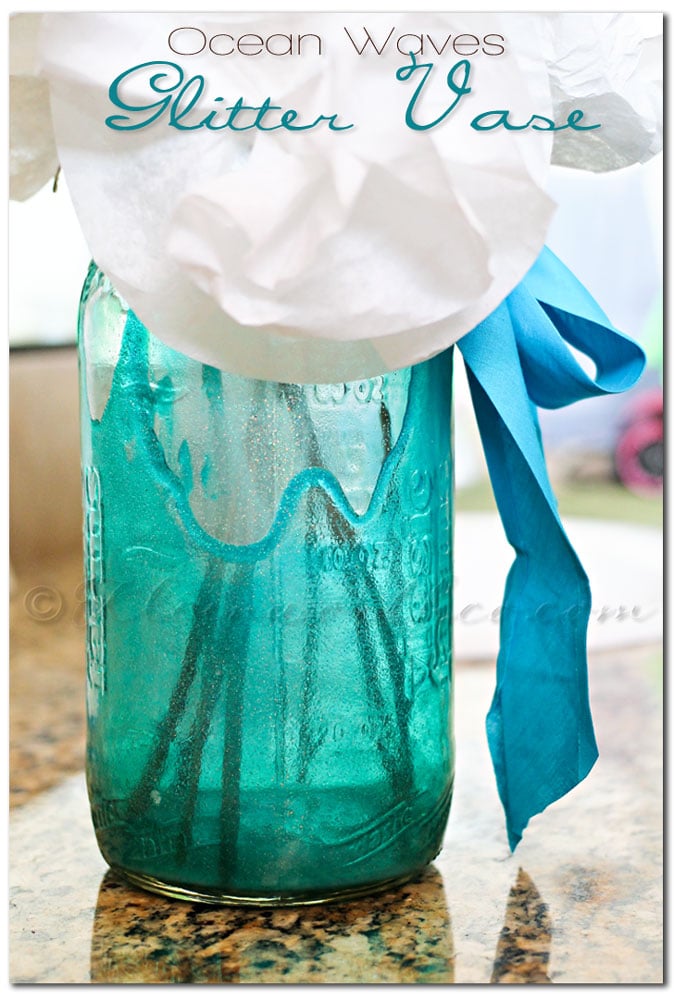 This was 3 tbsp Mod Podge Extreme Glitter & a couple drops of green & blue gloss paint.
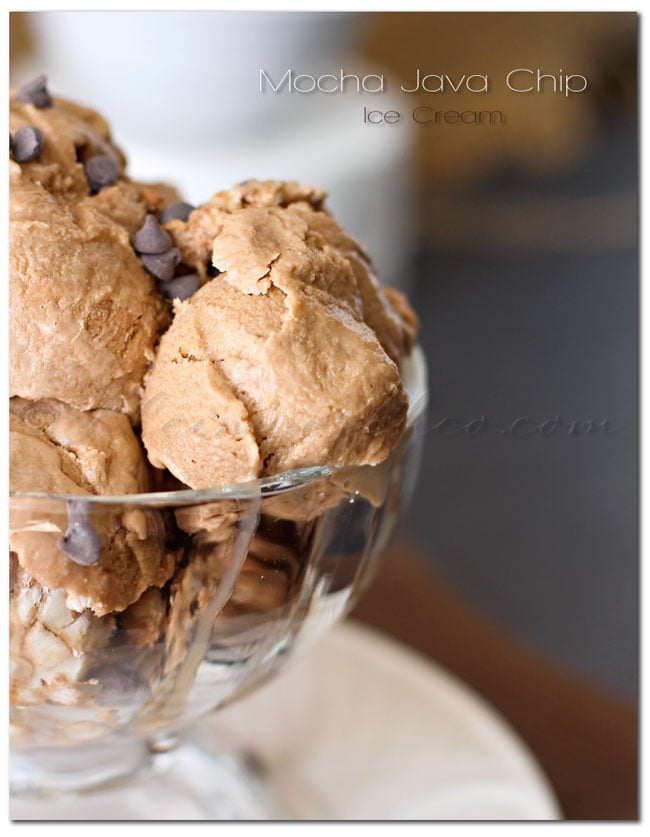
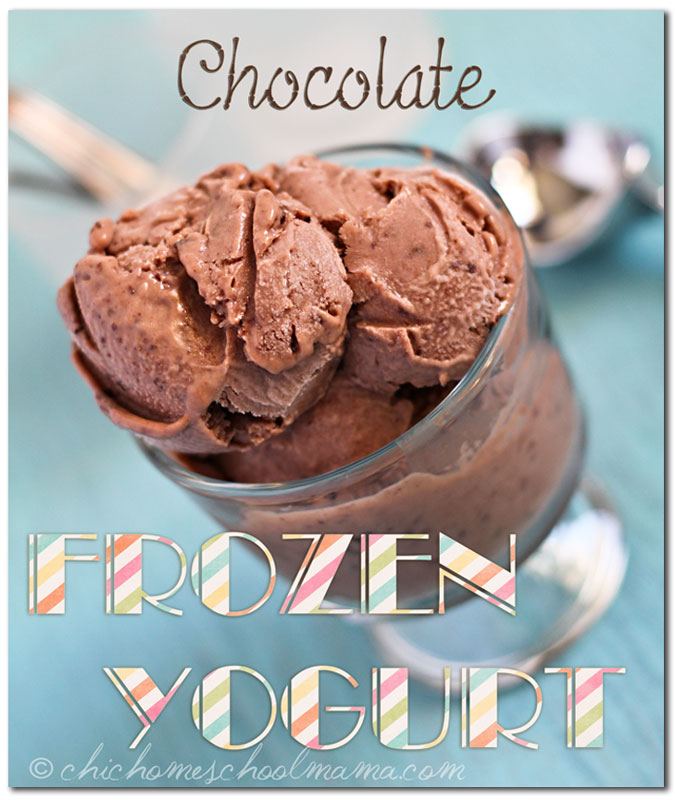
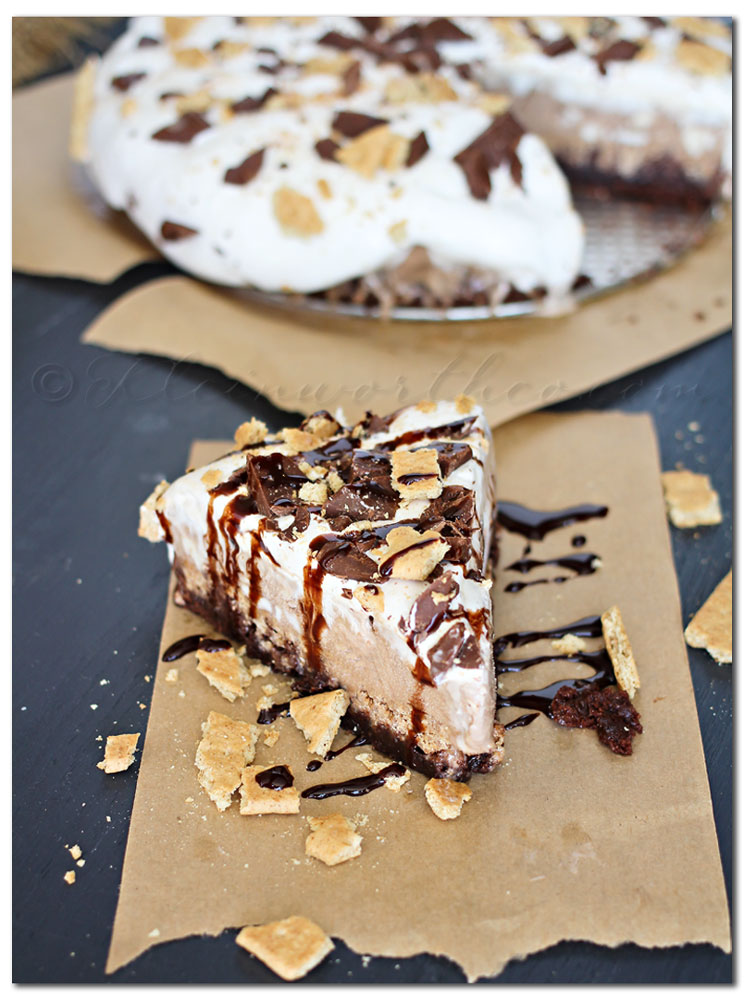 I will be sharing my recipe for this mocha ice cream soon- stay tuned.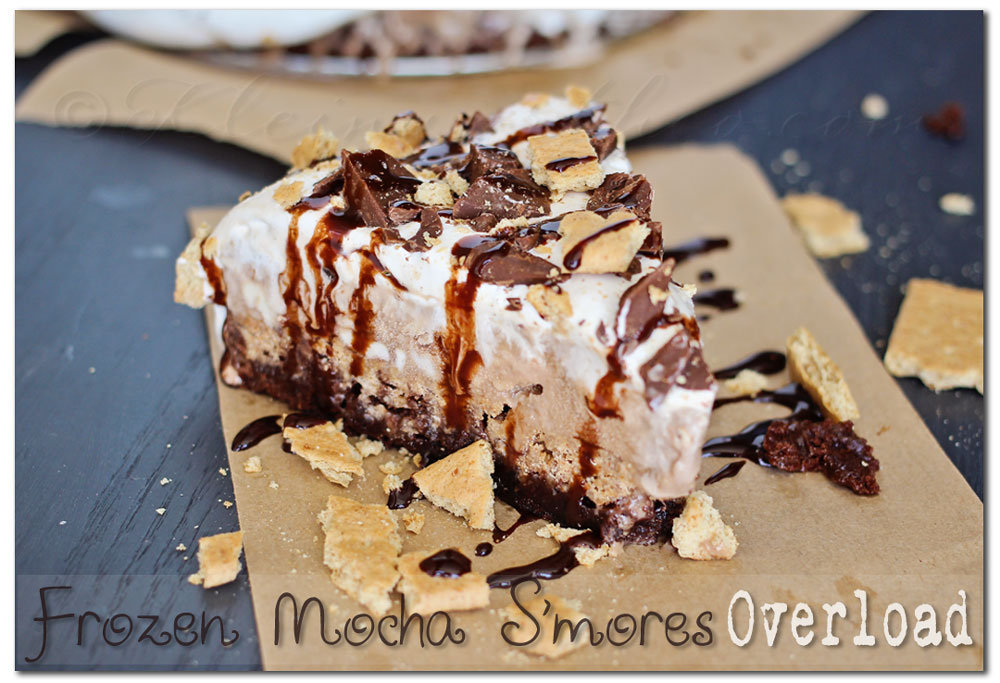



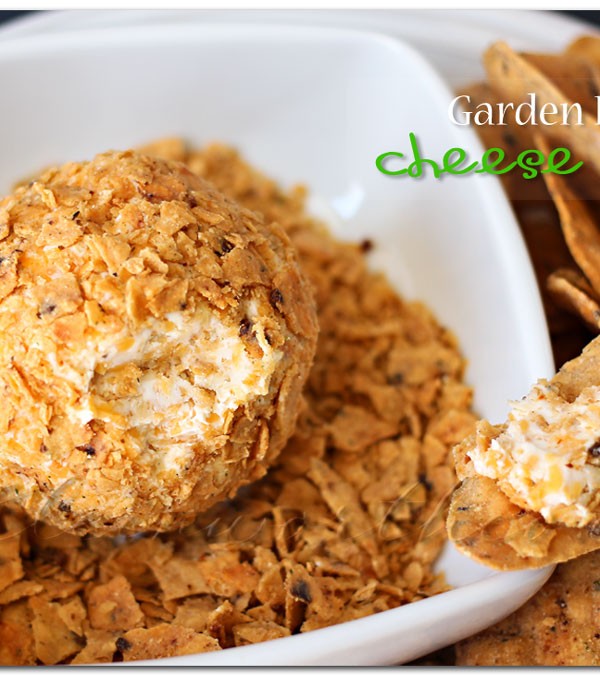
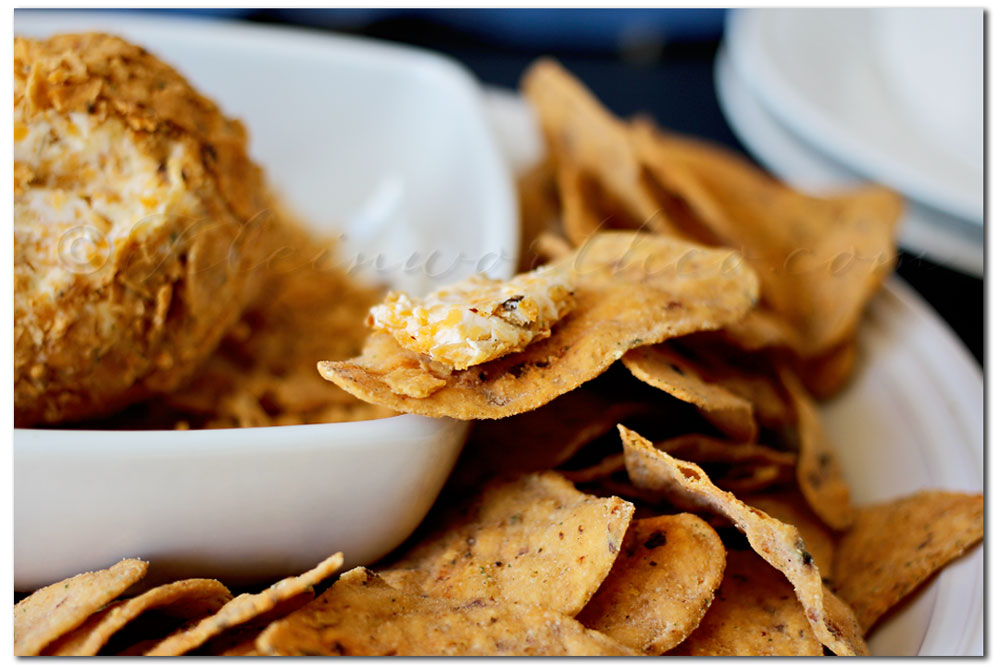
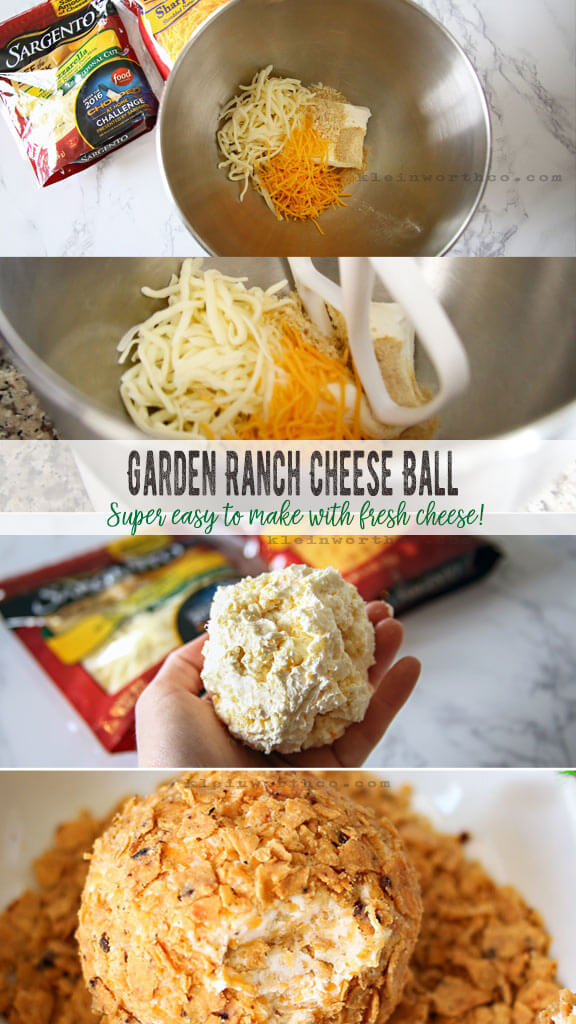
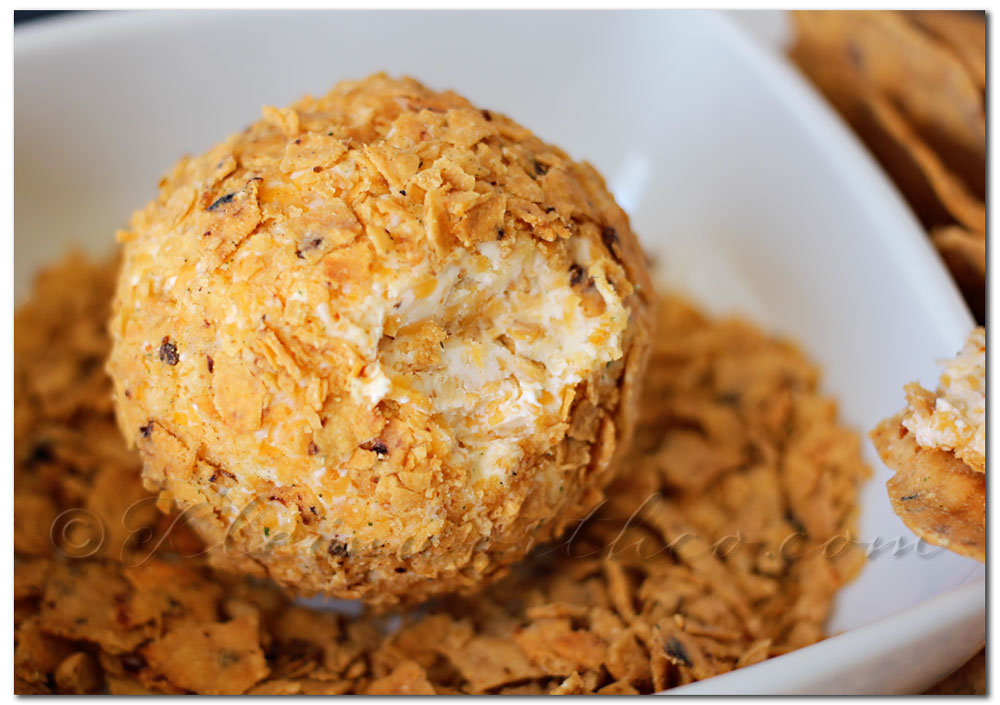
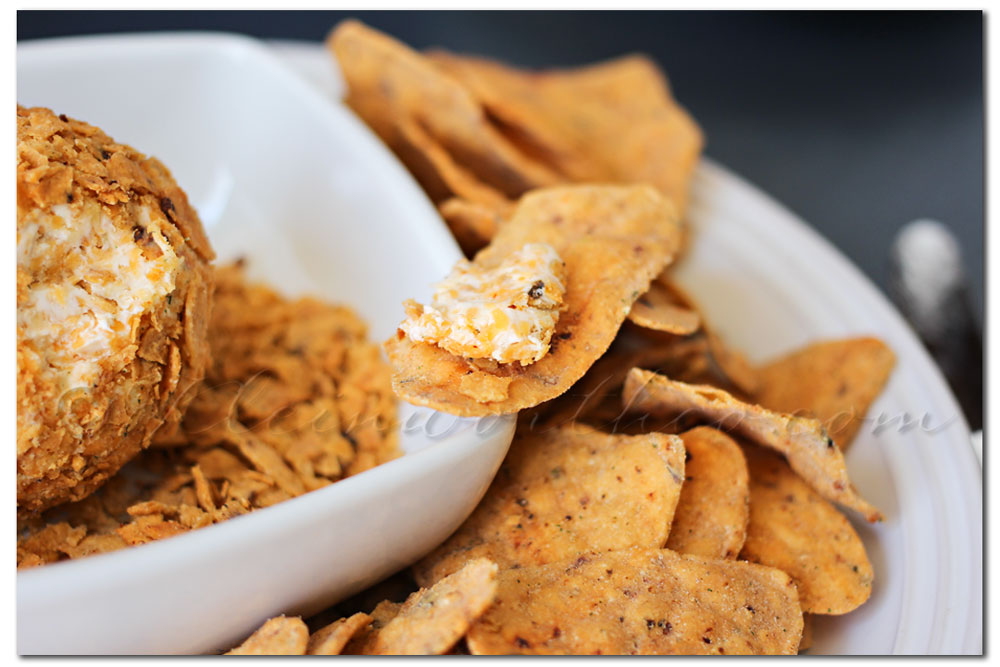
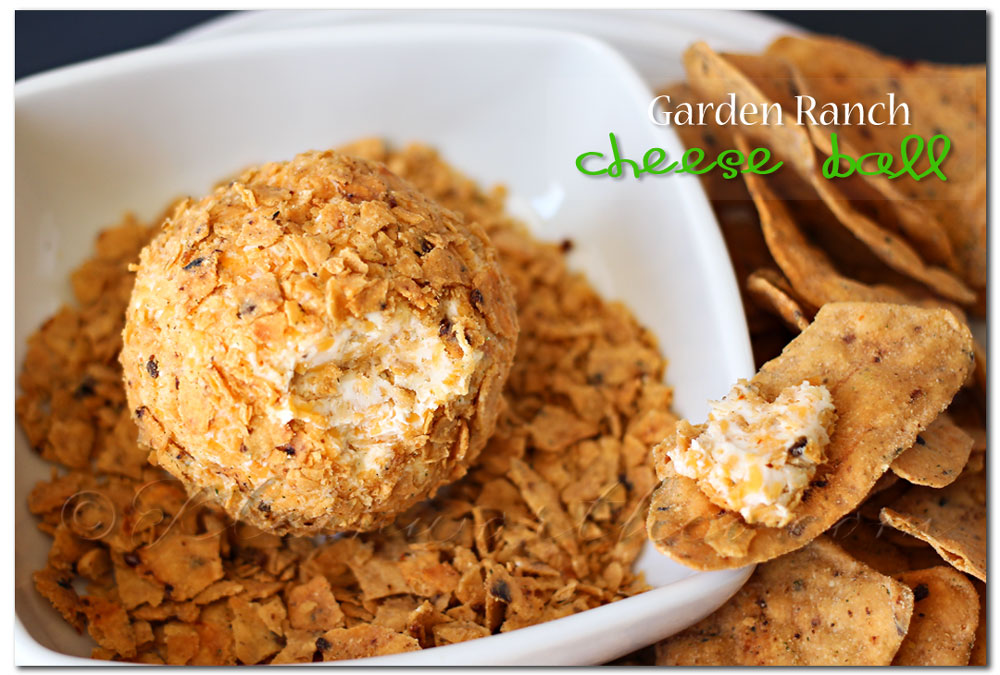

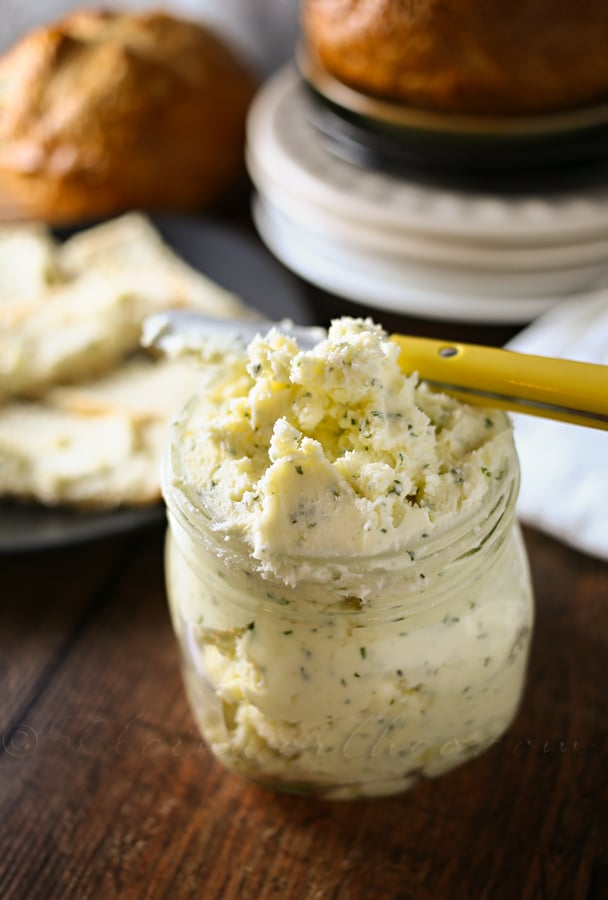
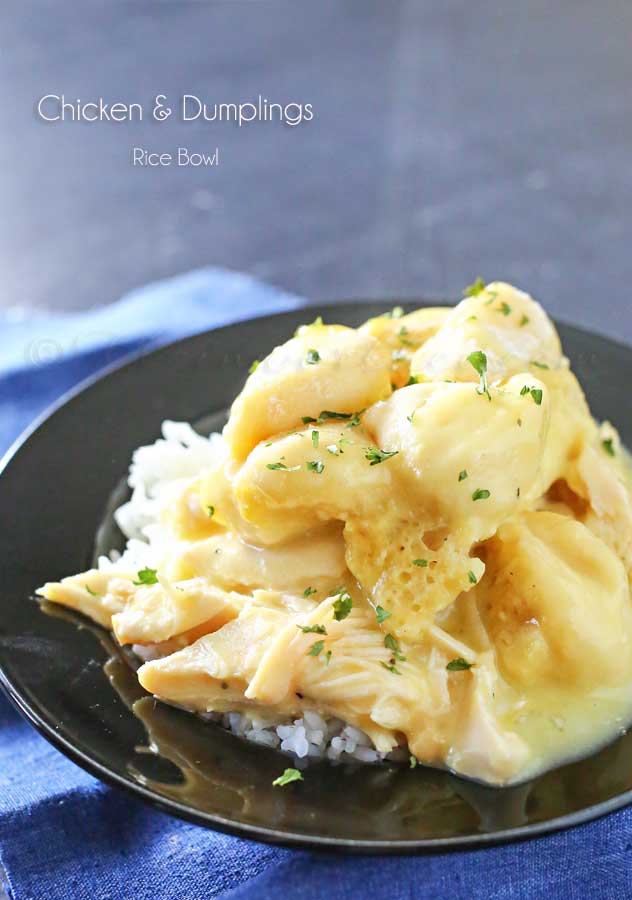
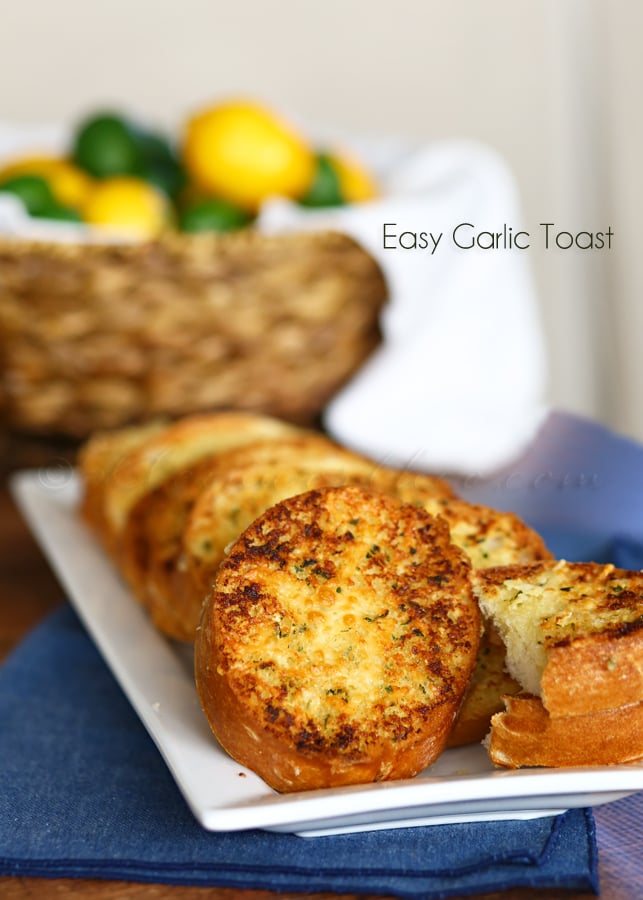
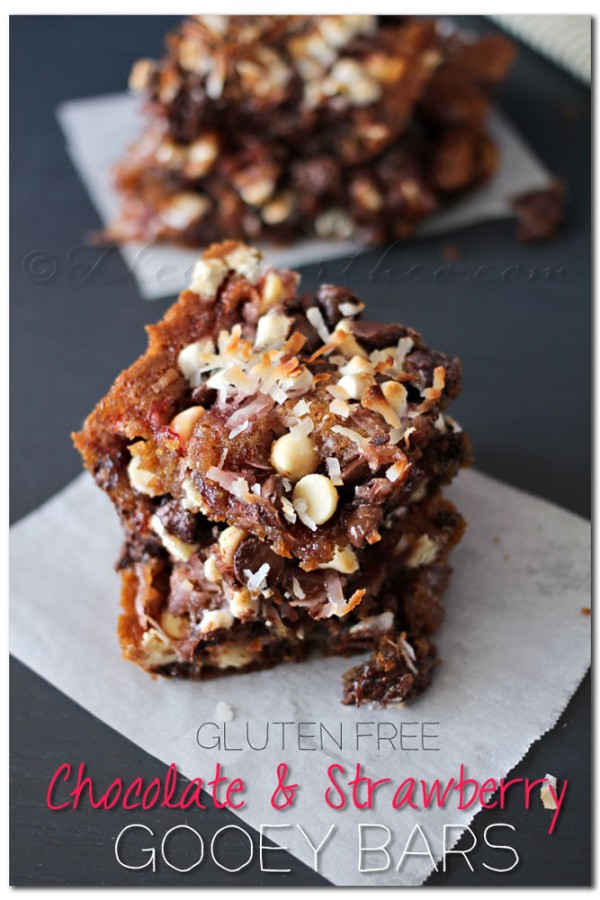
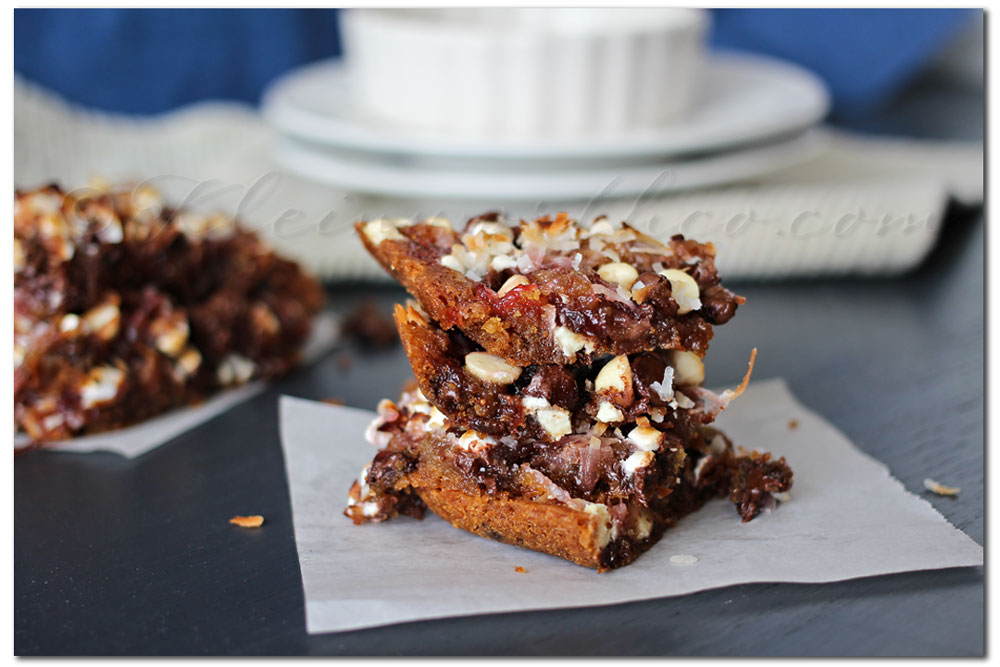

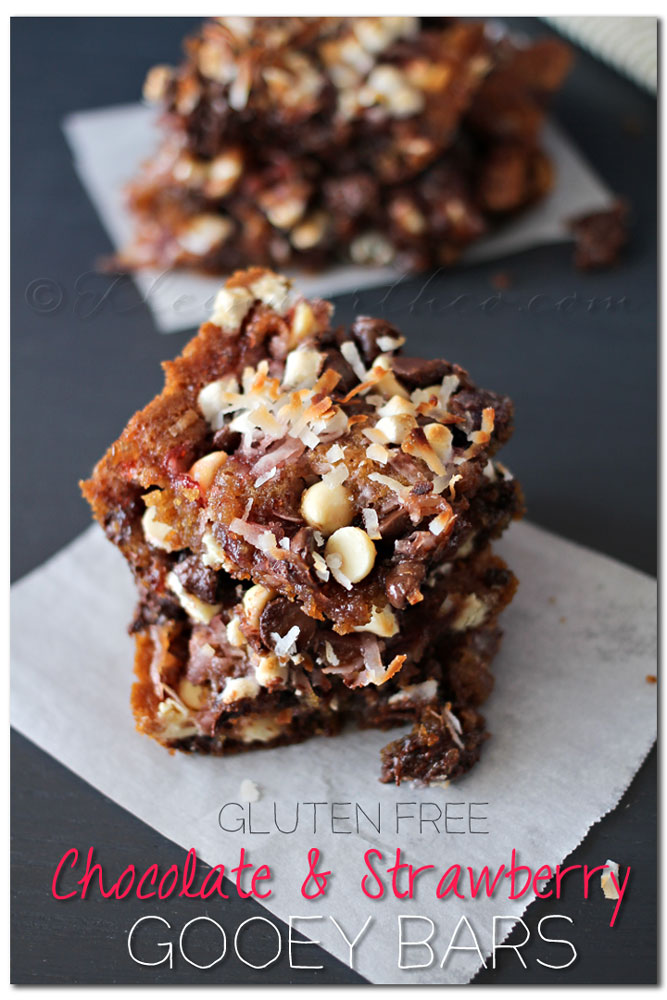
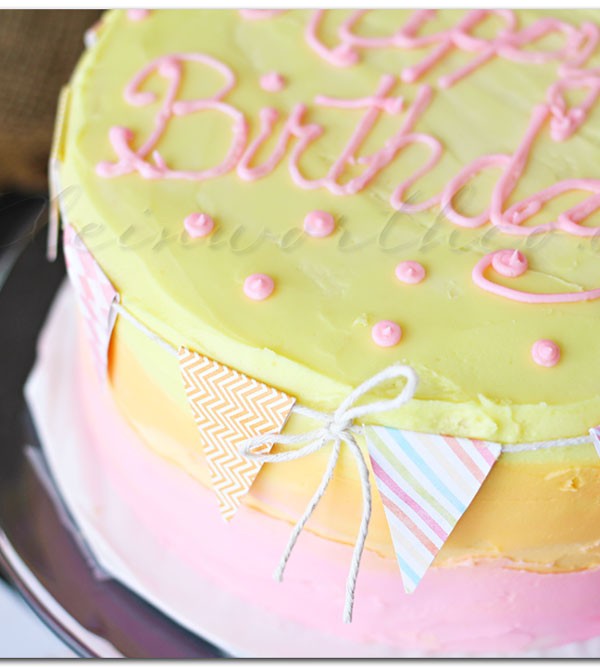
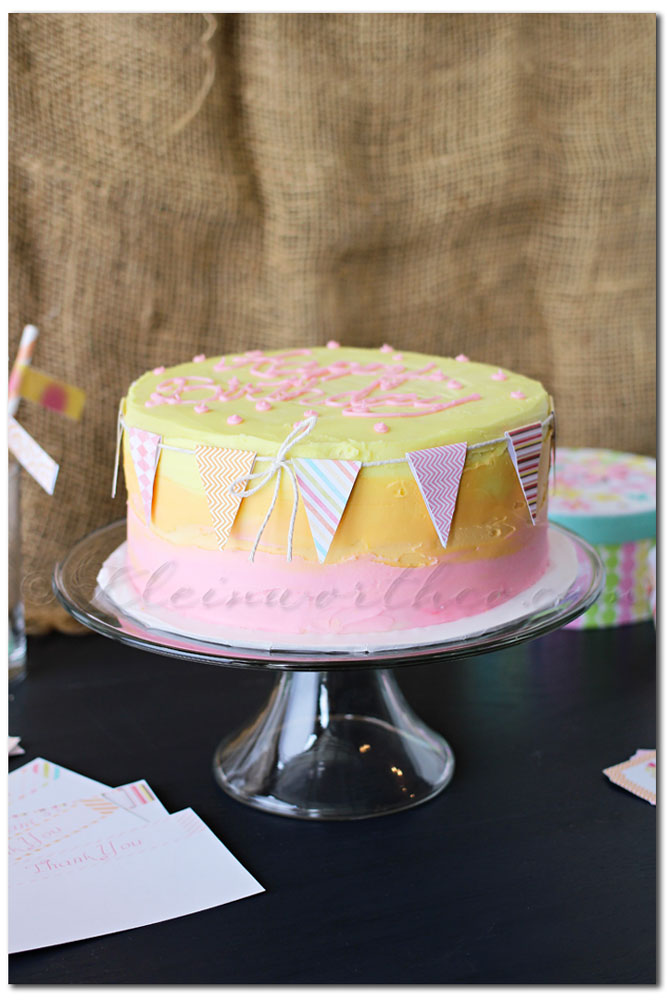
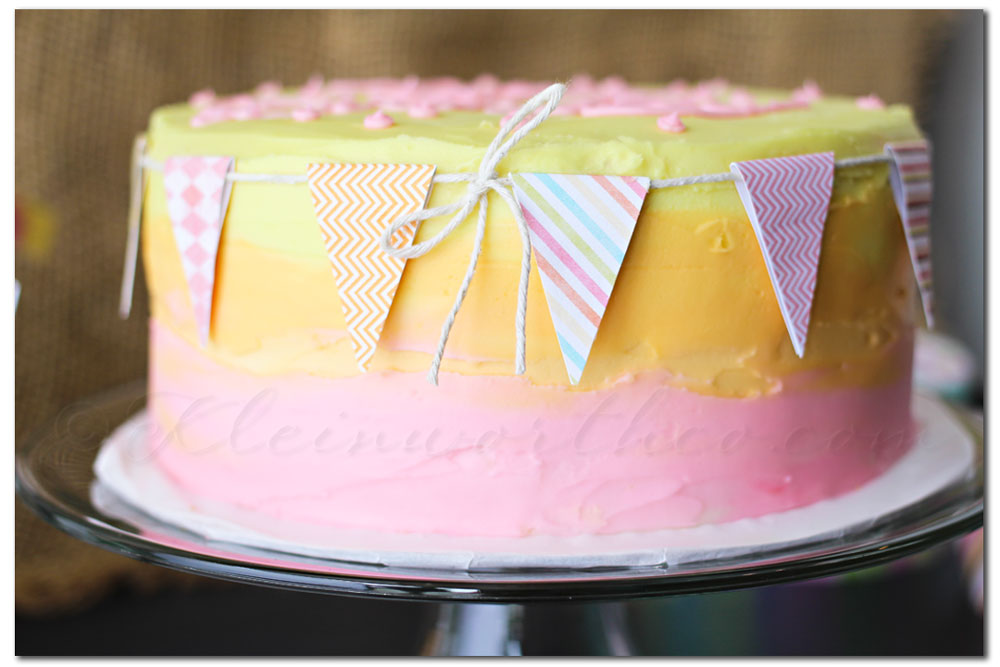
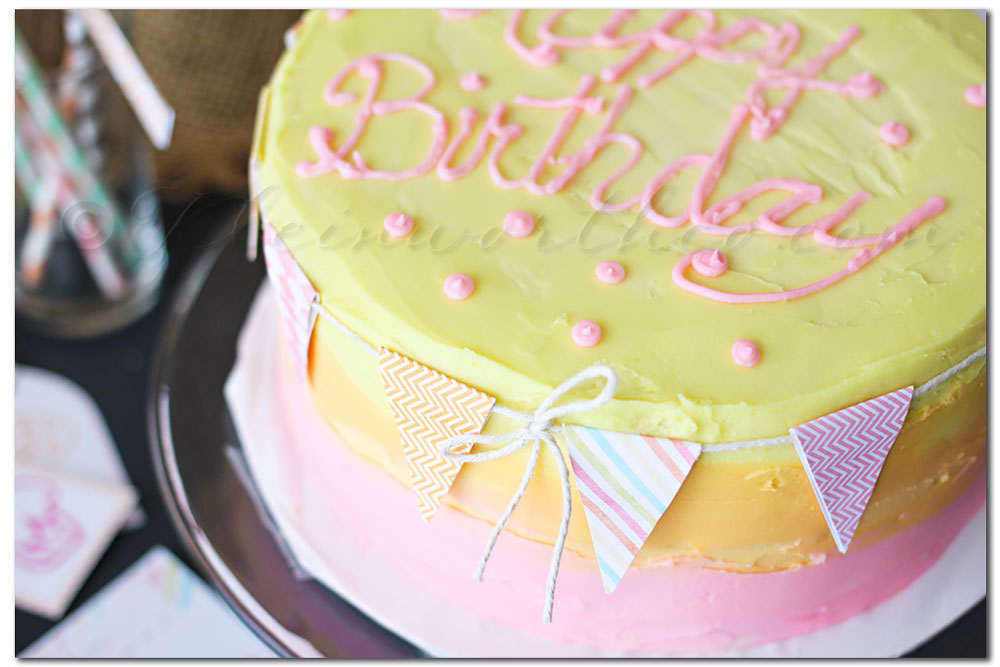
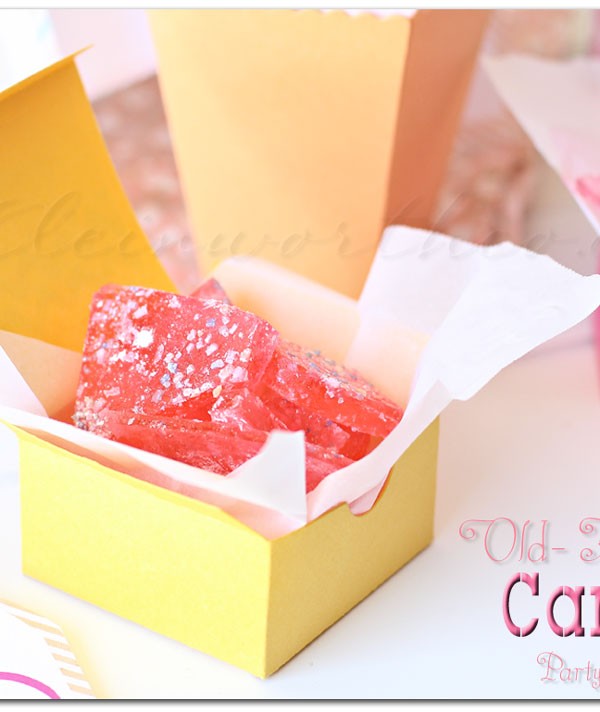
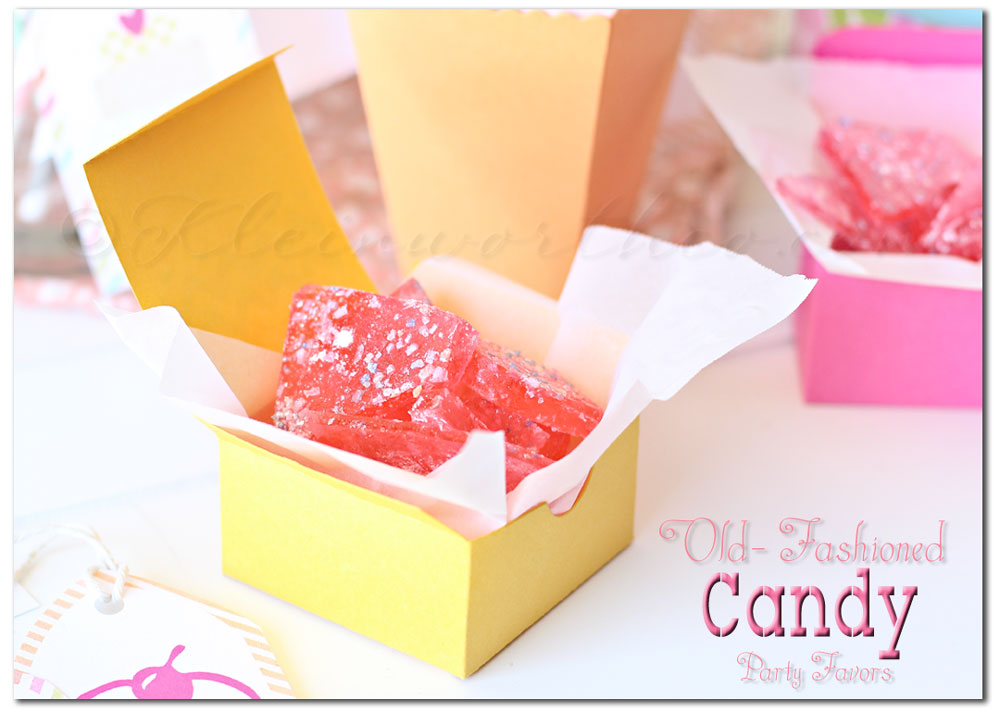
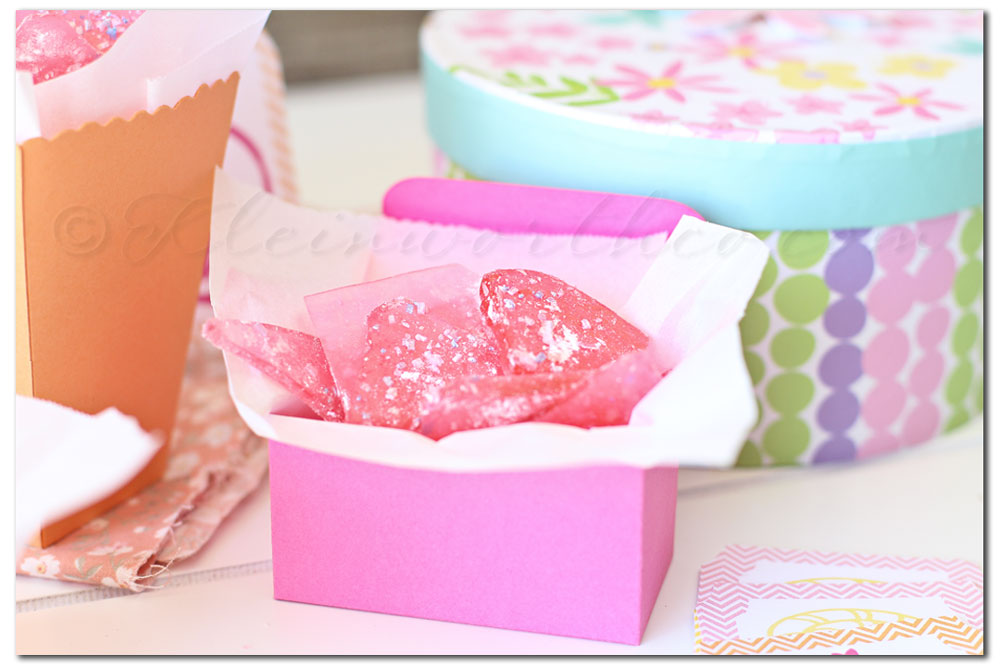 The kids are loving it & asking when I will make more.
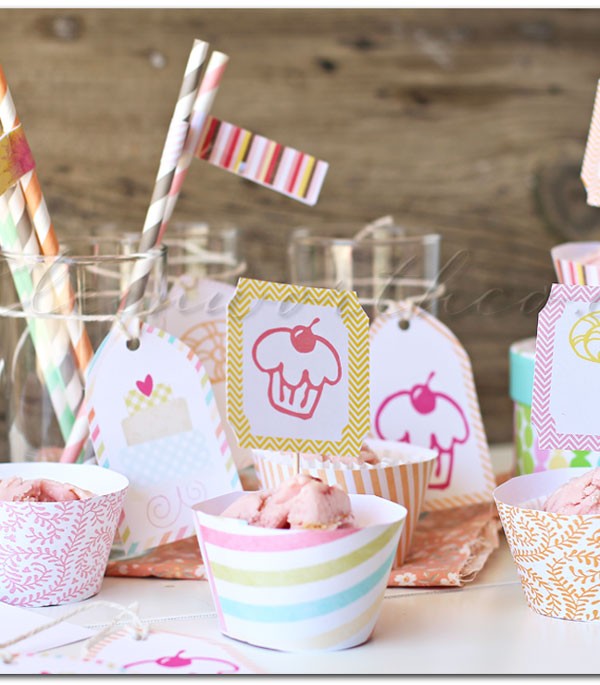
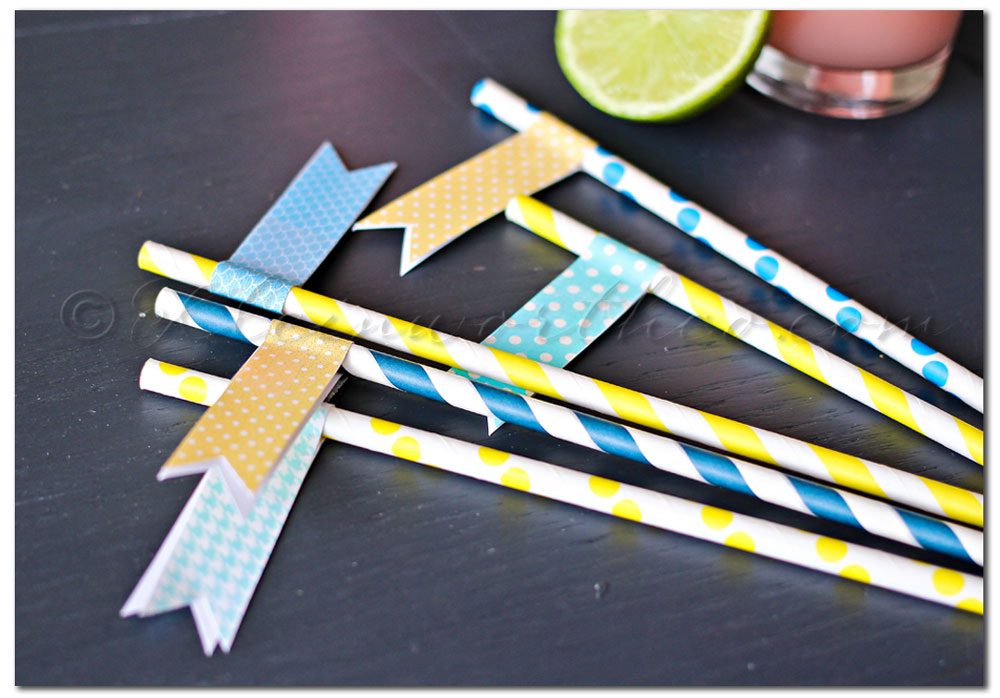
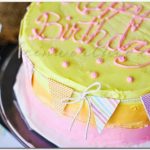
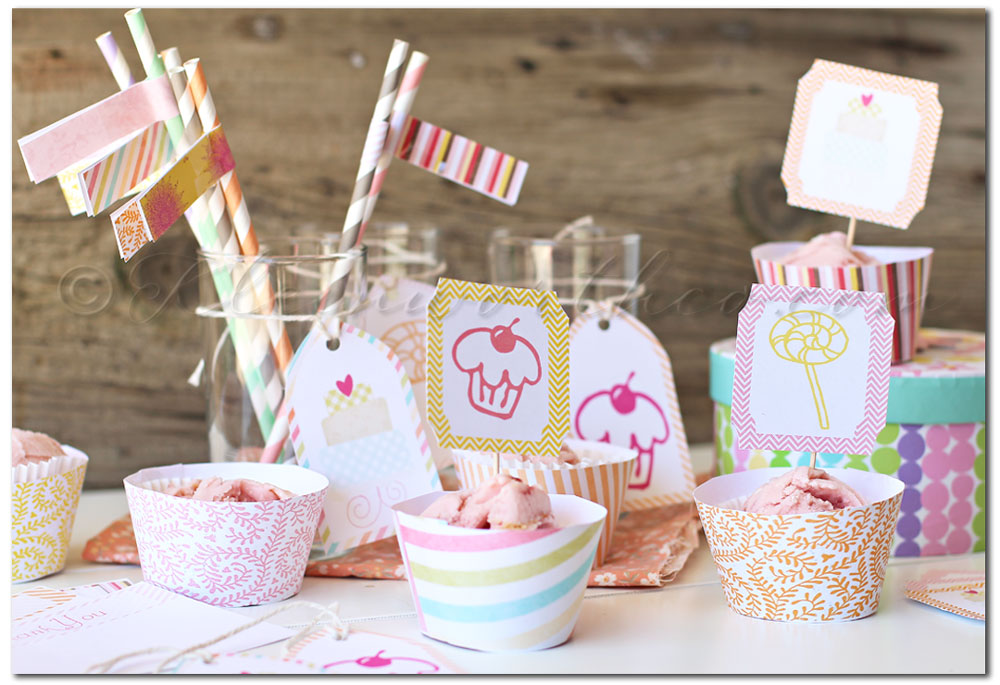
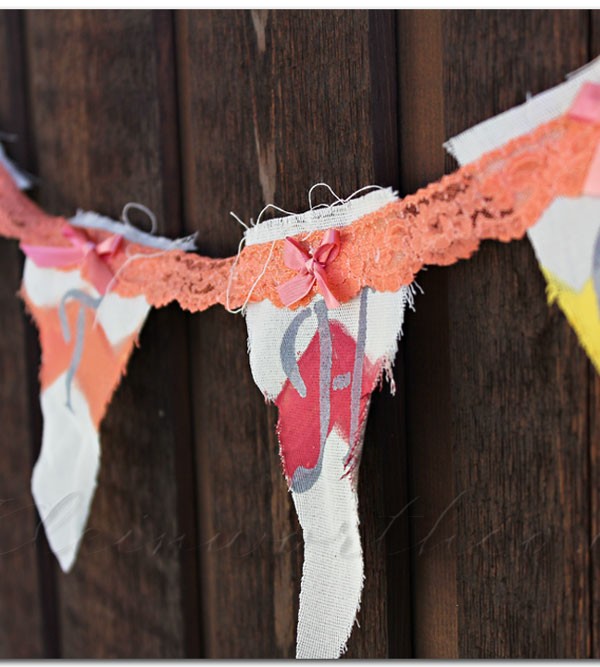
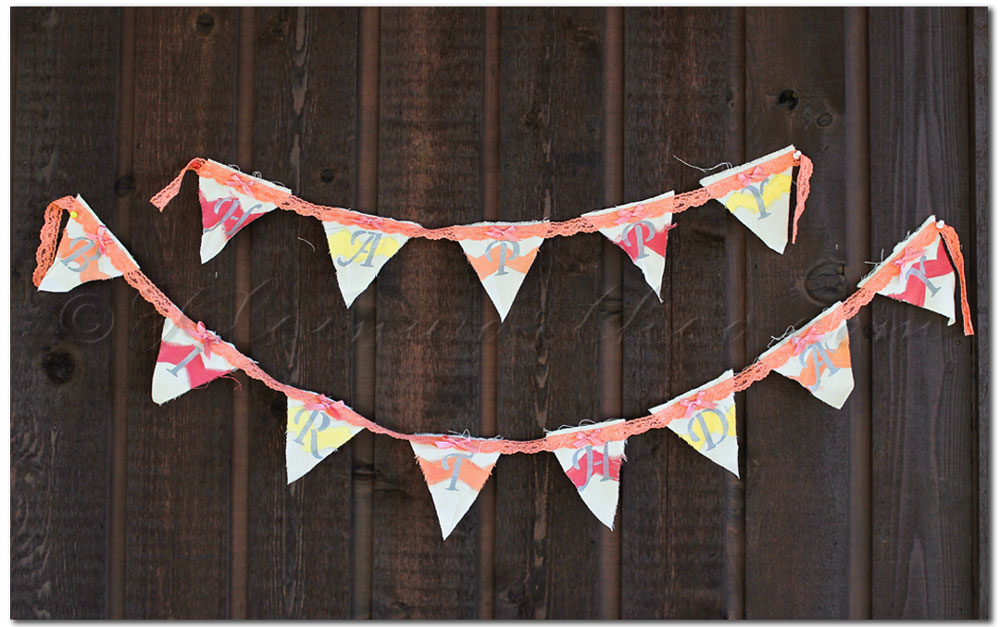
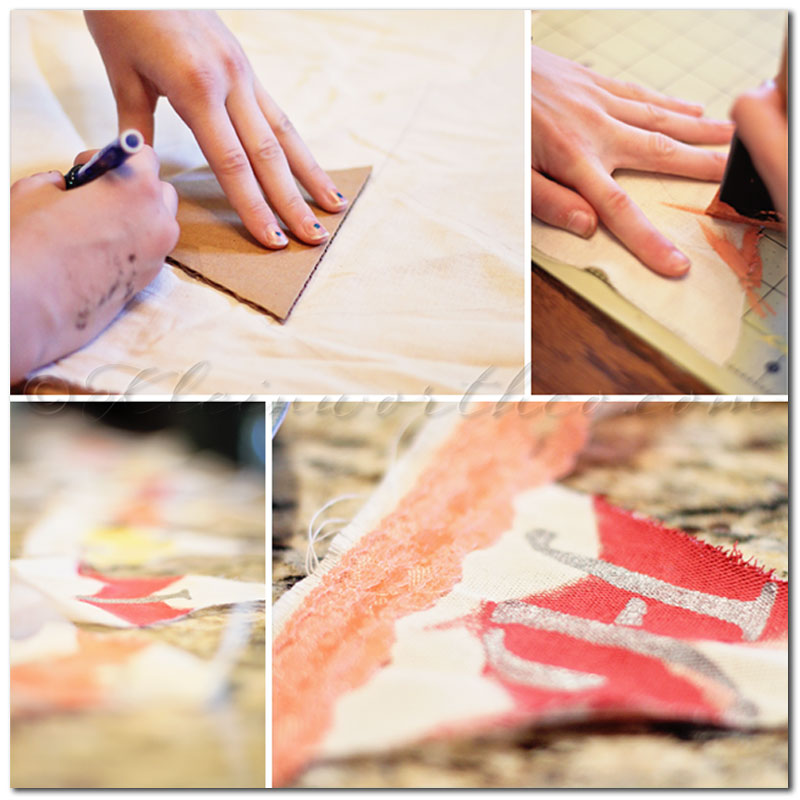
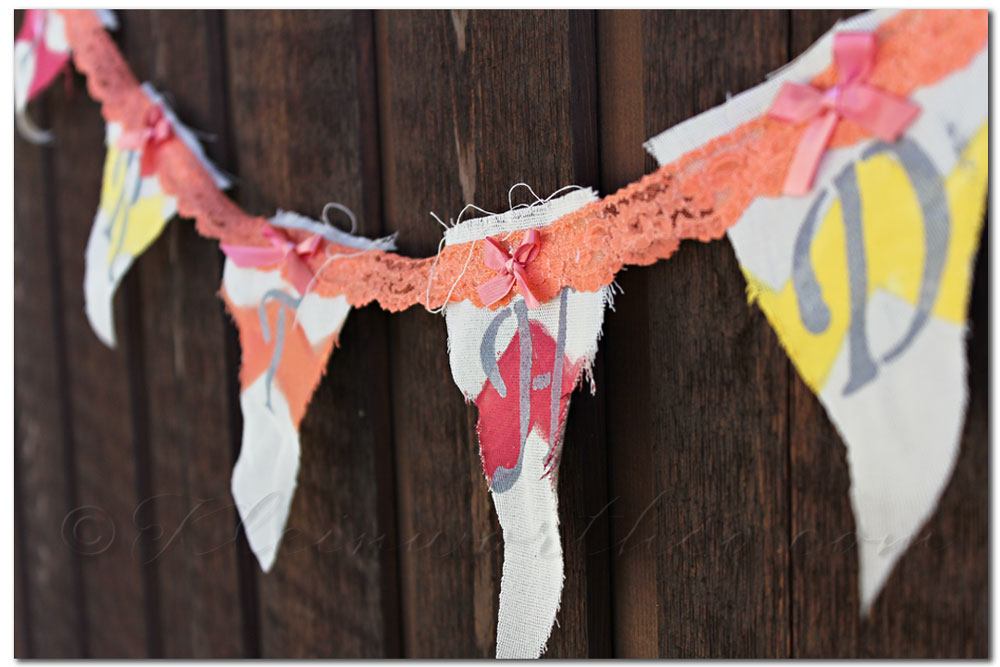
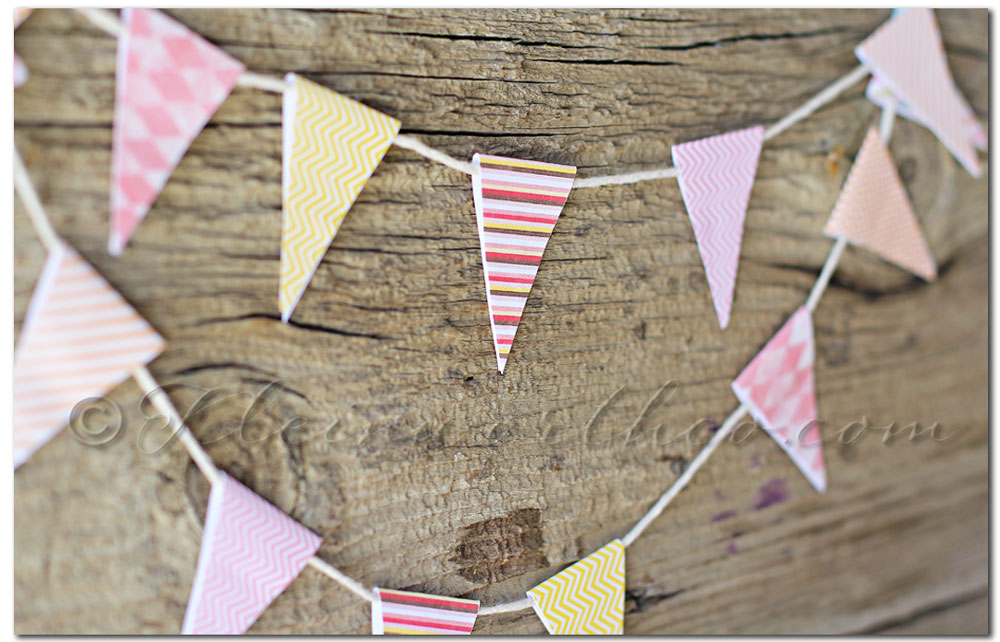 There is this banner- I think I will be using this on her cake.




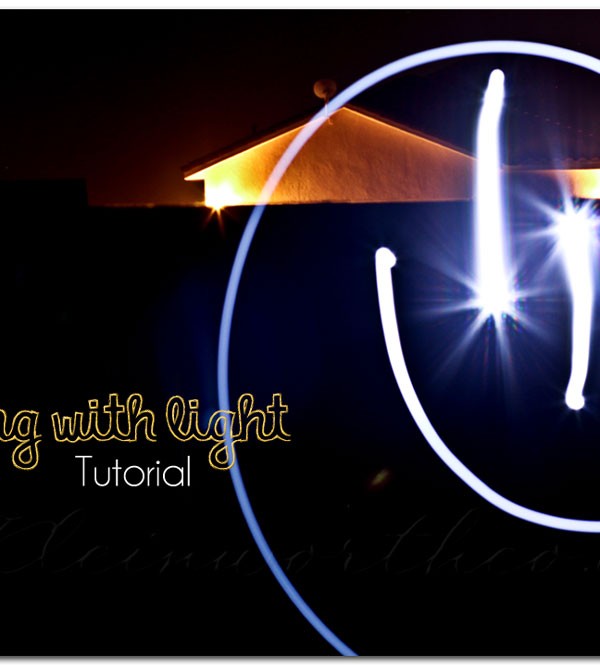
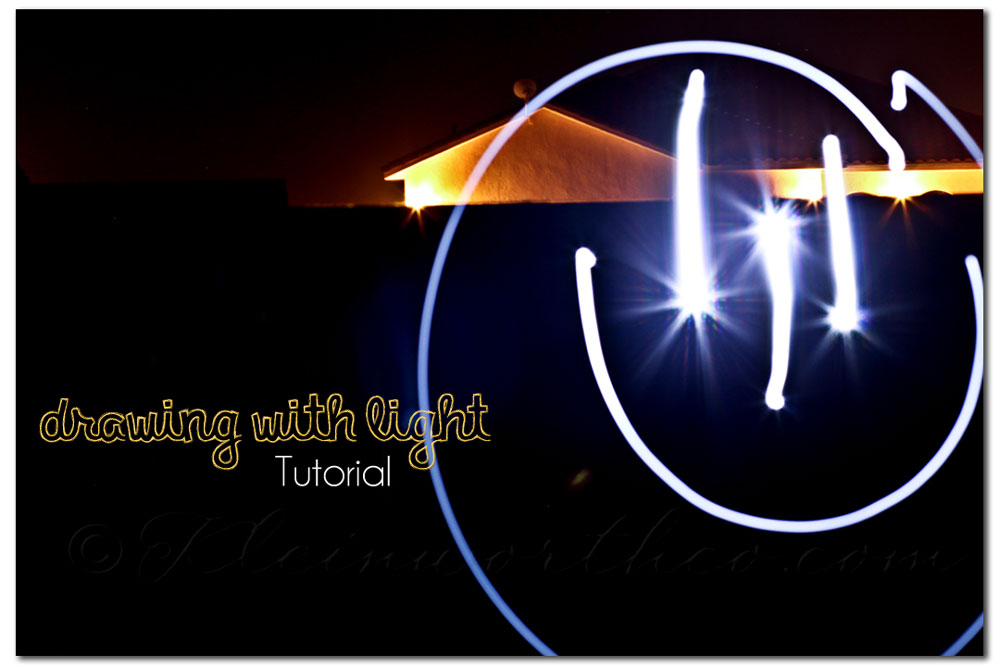 Settings for a DSLR should be set to Manual ISO 100 f/3.5-5 depending on how many people you have in your shot. SS 10-30 seconds.
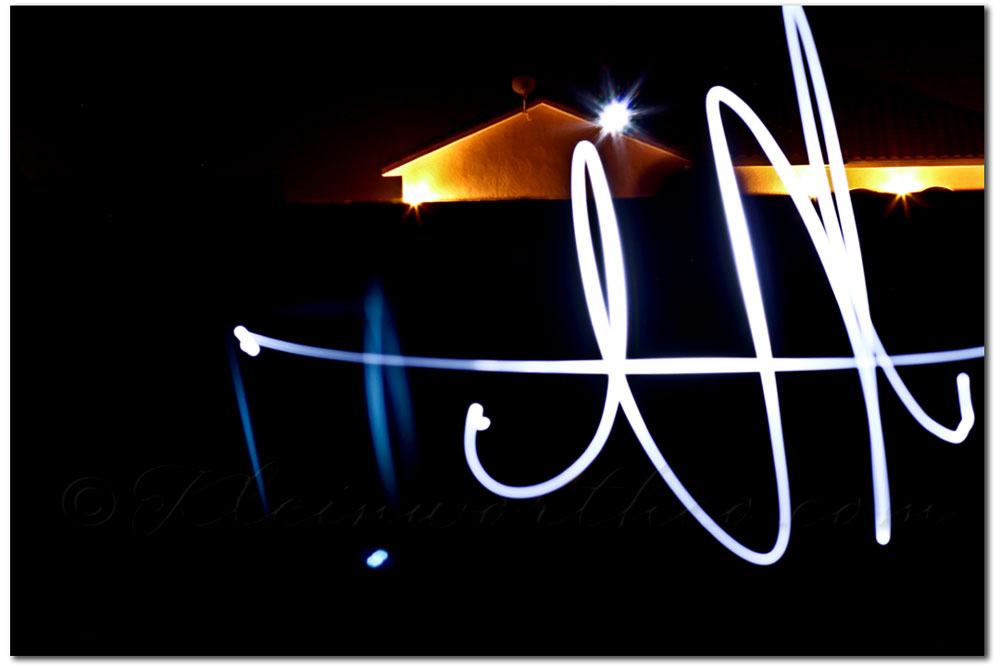 I found that using a flashlight with a click button on/off worked well. That way we could control when the light was on. You could use glow sticks if you like- but you will have to have the kids move them to behind their back’s when they are done drawing.
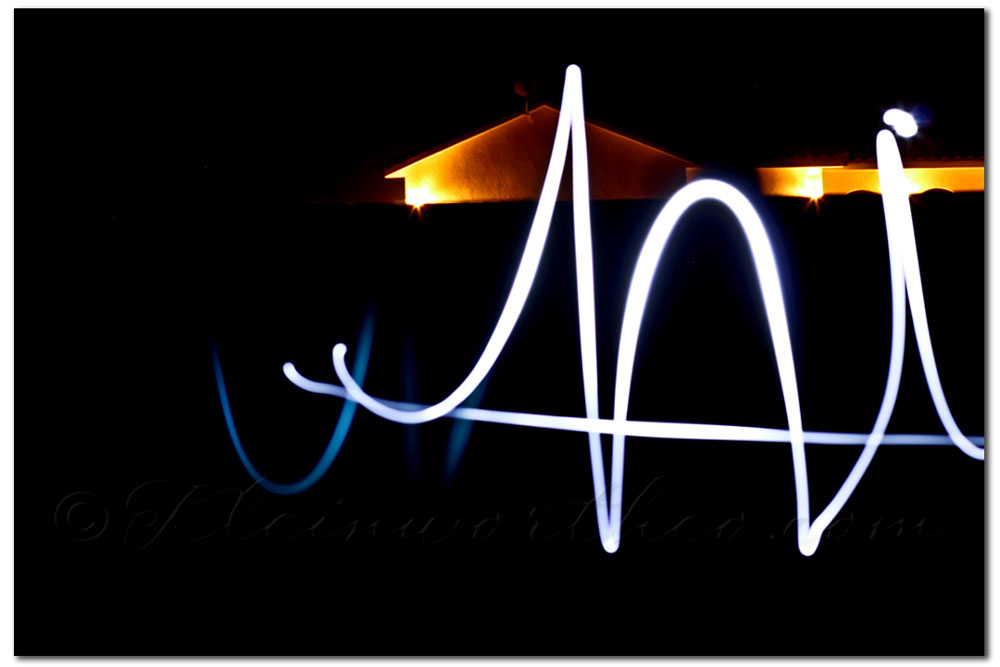 I had my son stand in front of me with the lights on- I took a single test shot to make sure I was in focus- you will need to manually focus. You may need a couple test shots for this. Once you get your focus- don’t move your tripod & try to have the kids keep their feet in one place even though their arms will be moving . This is part of the fun to see who can do all these crazy things with their hands while keeping their feet in one place.
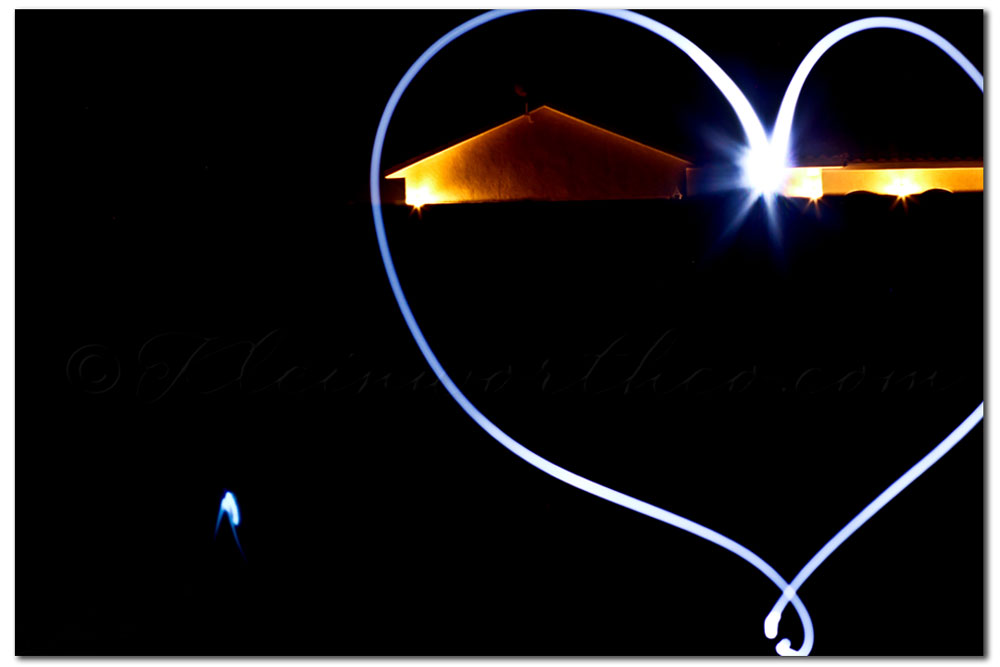 It’s super fun to see how creative they get with the things they want to draw. We had shapes & then he tried to write messages.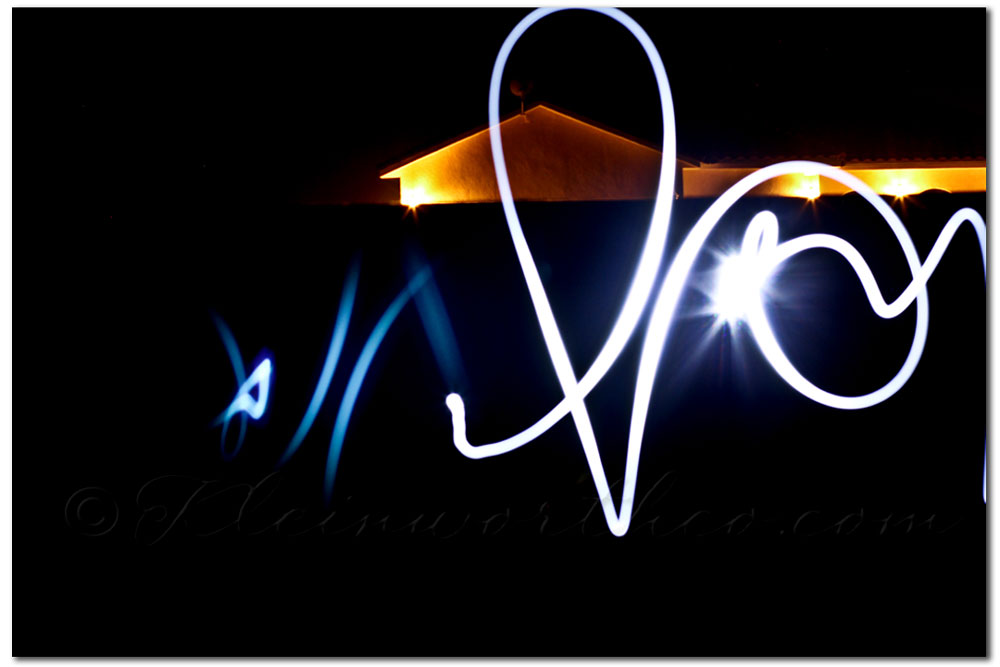
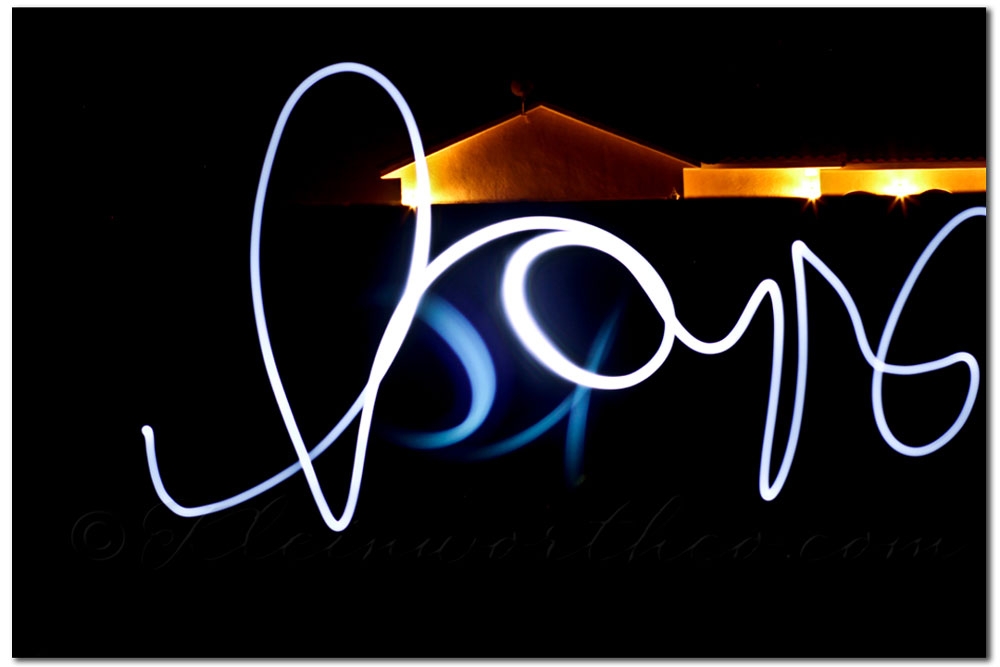 Have fun- as far as processing, not much needs to be done to images like these.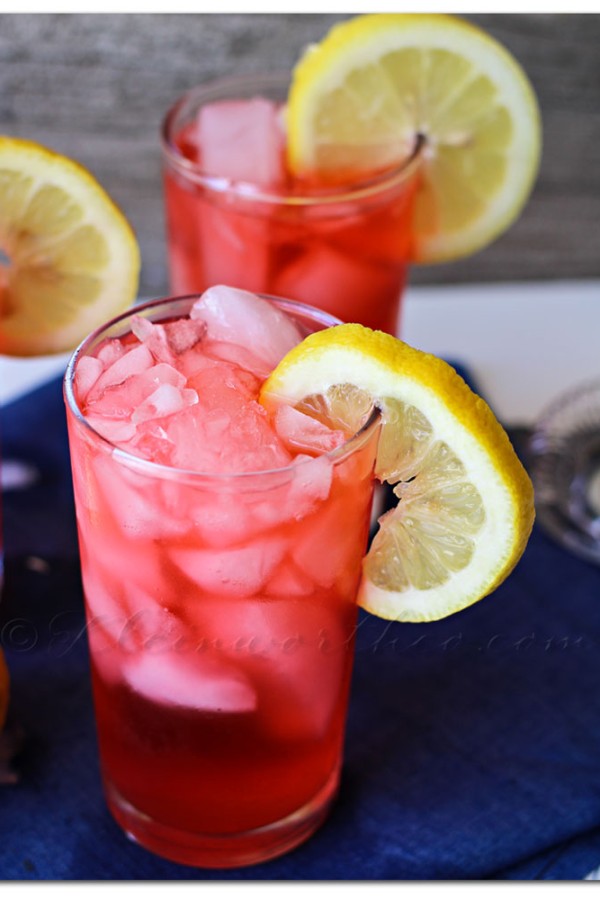
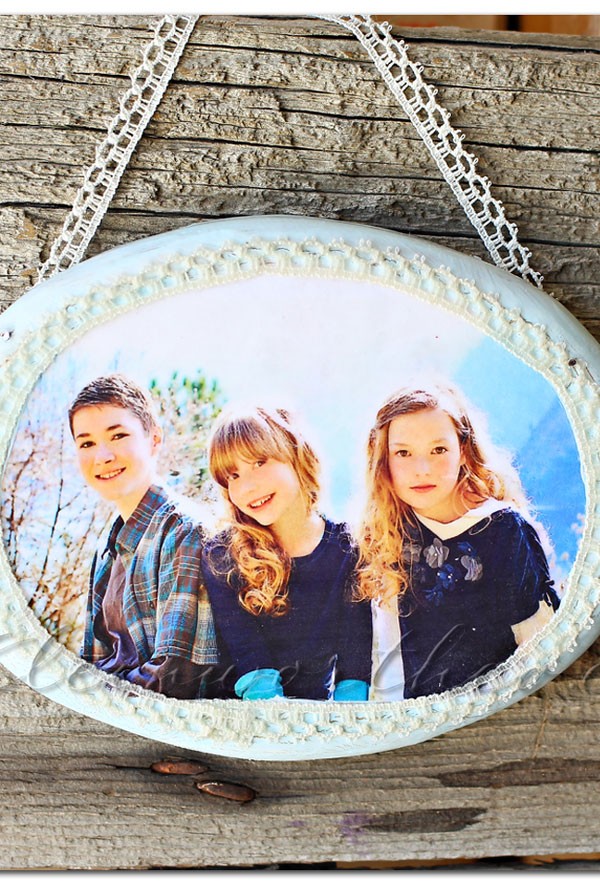
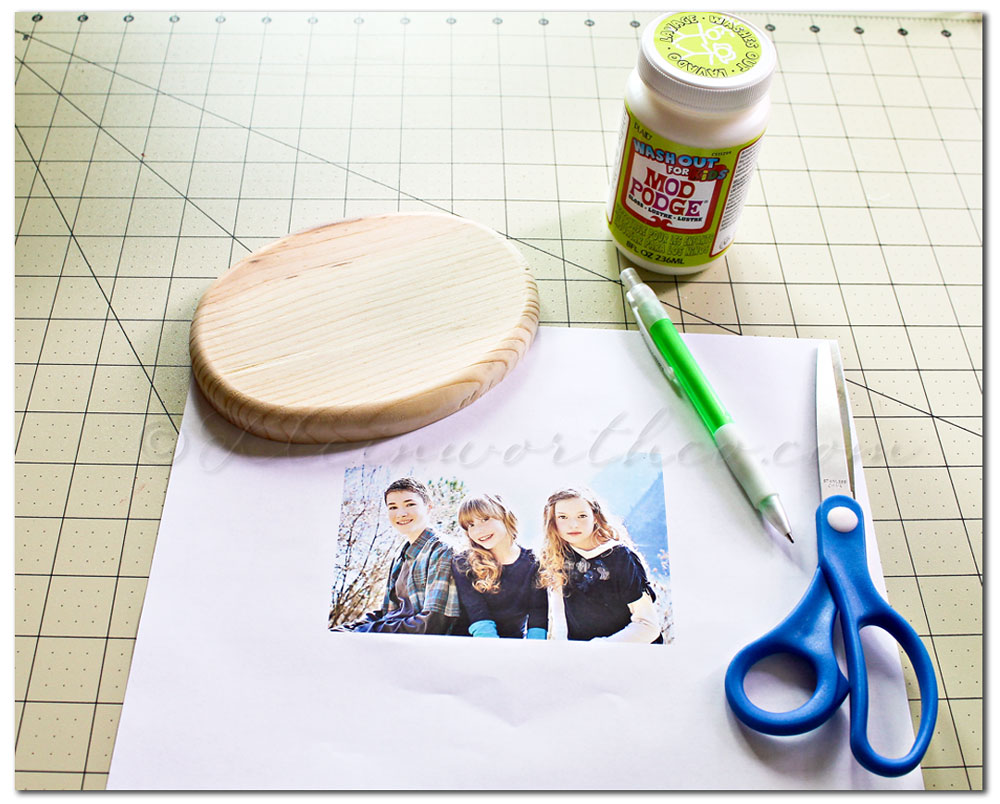
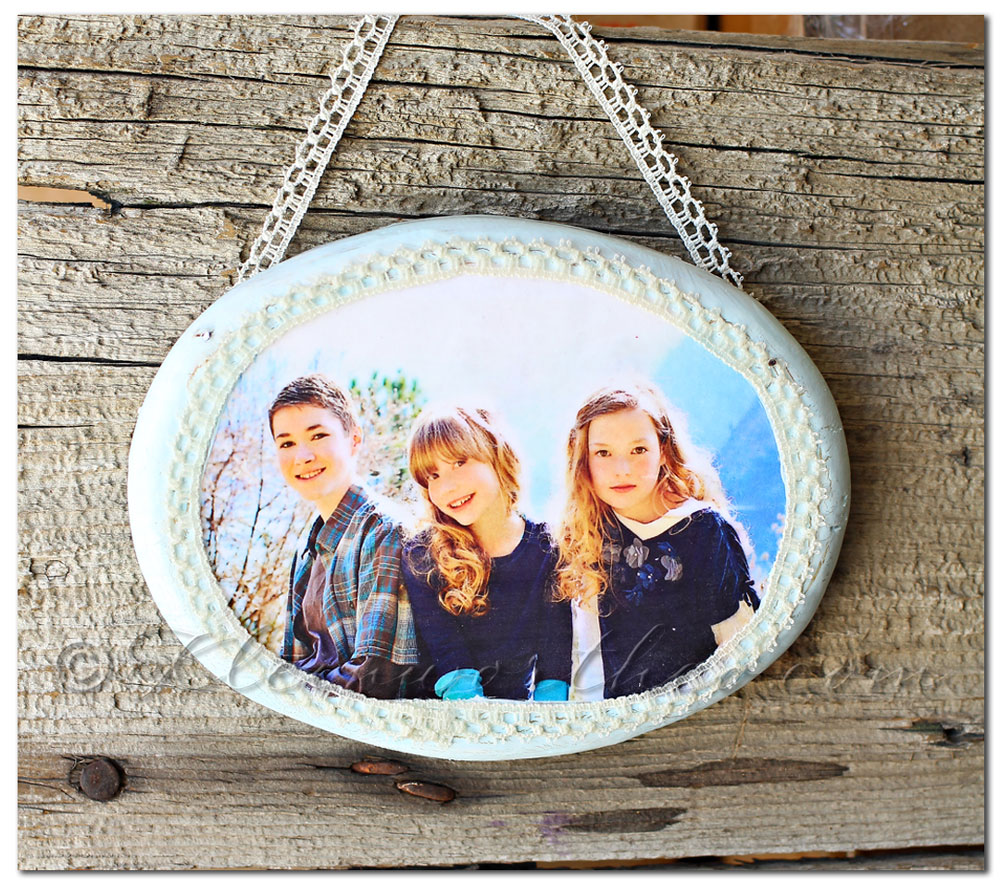 Then I just painted the edges, added some lace around the edge of the image & nailed in some more lace on the back for the hanger.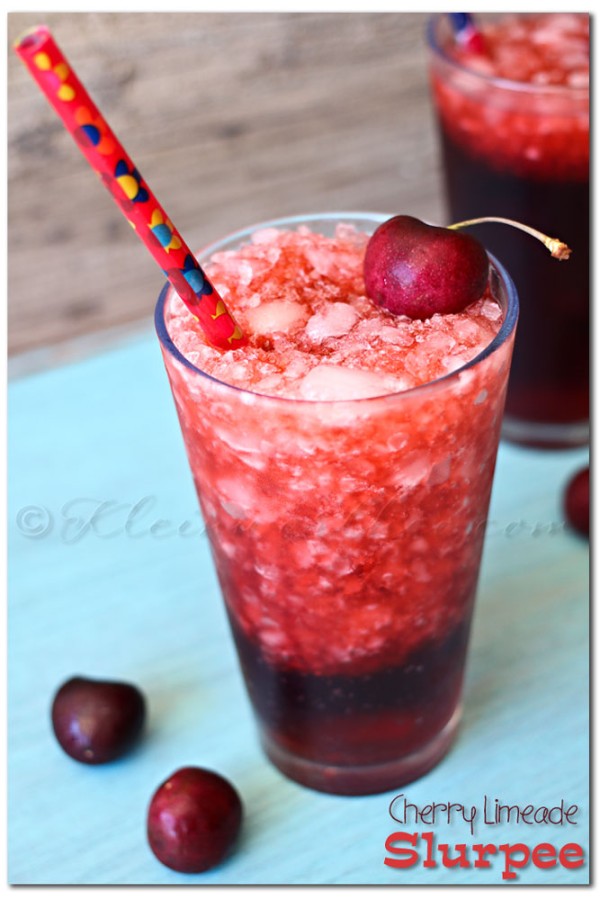
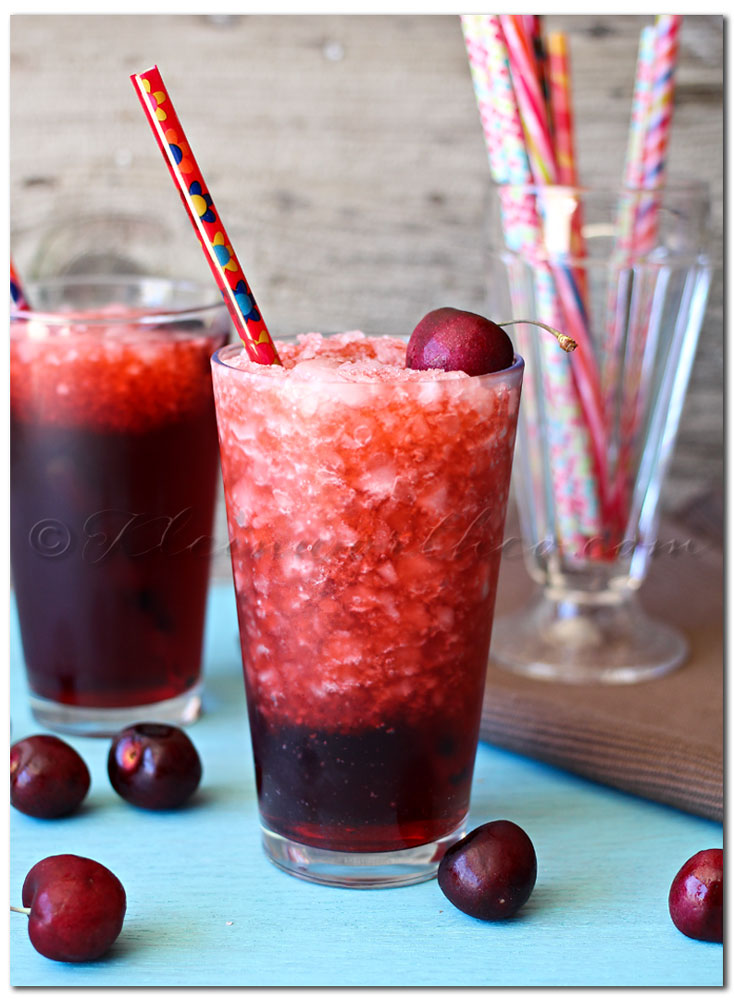
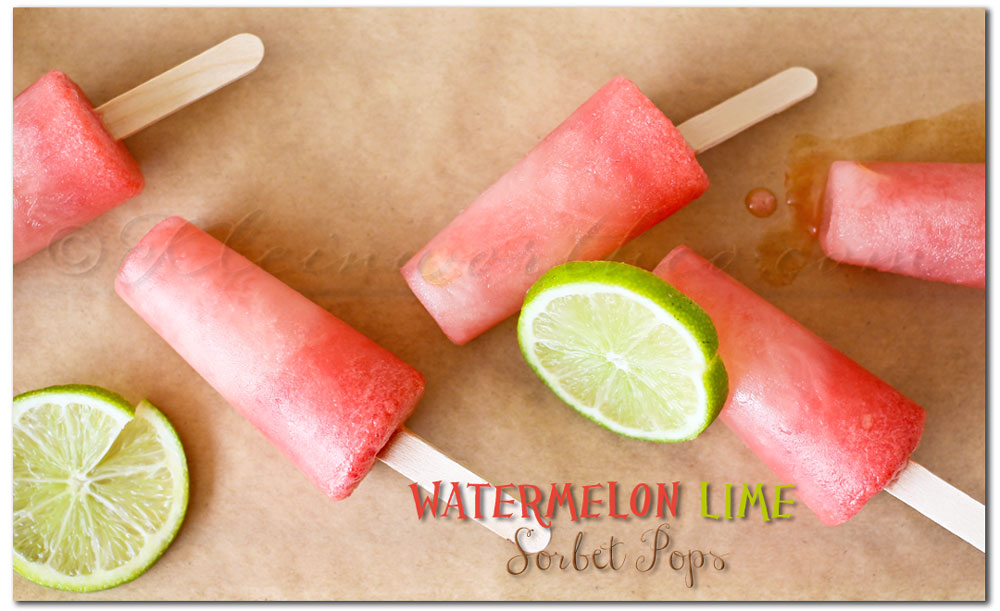
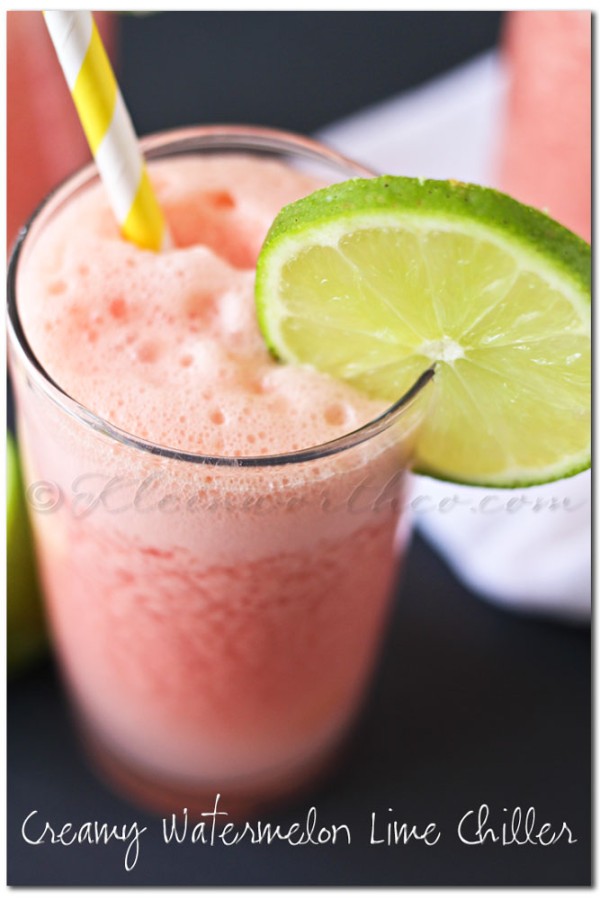
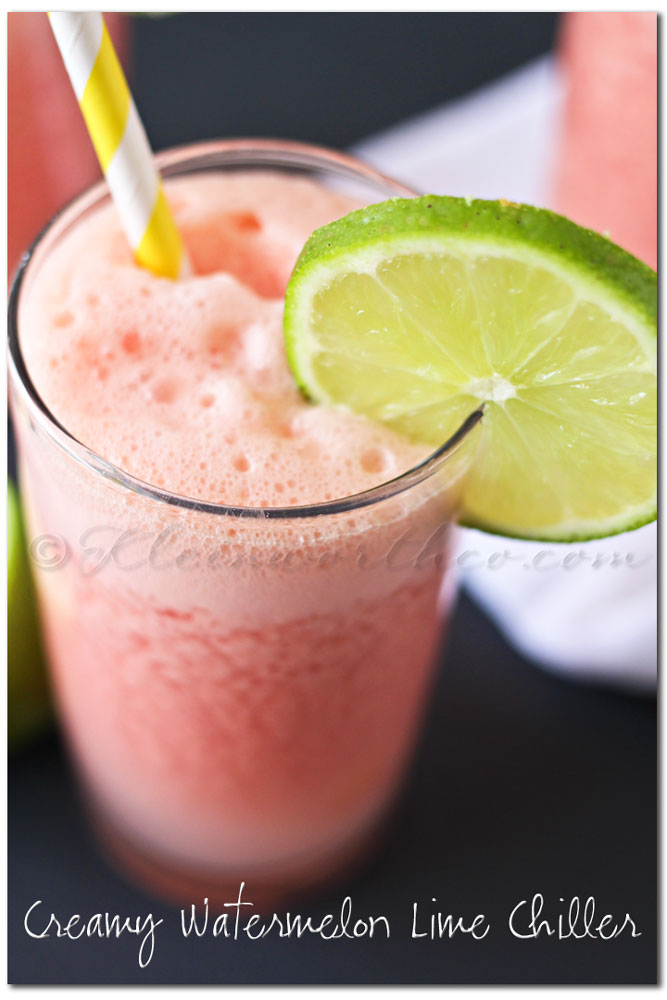
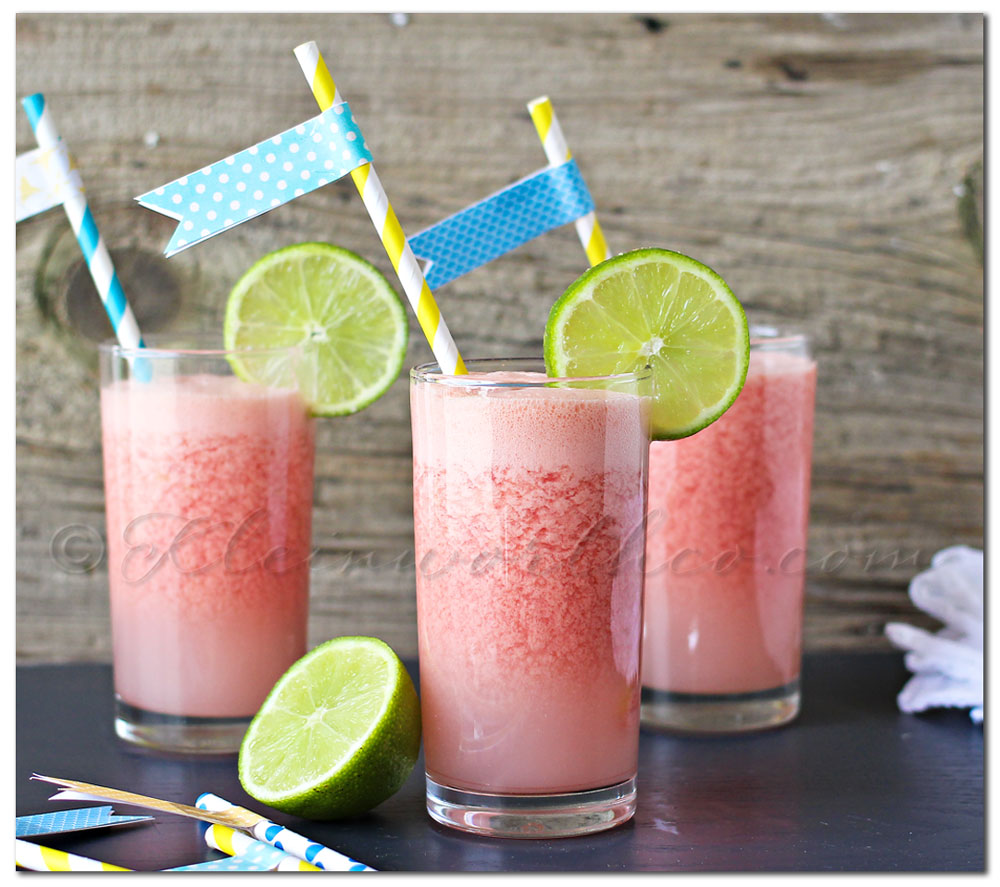
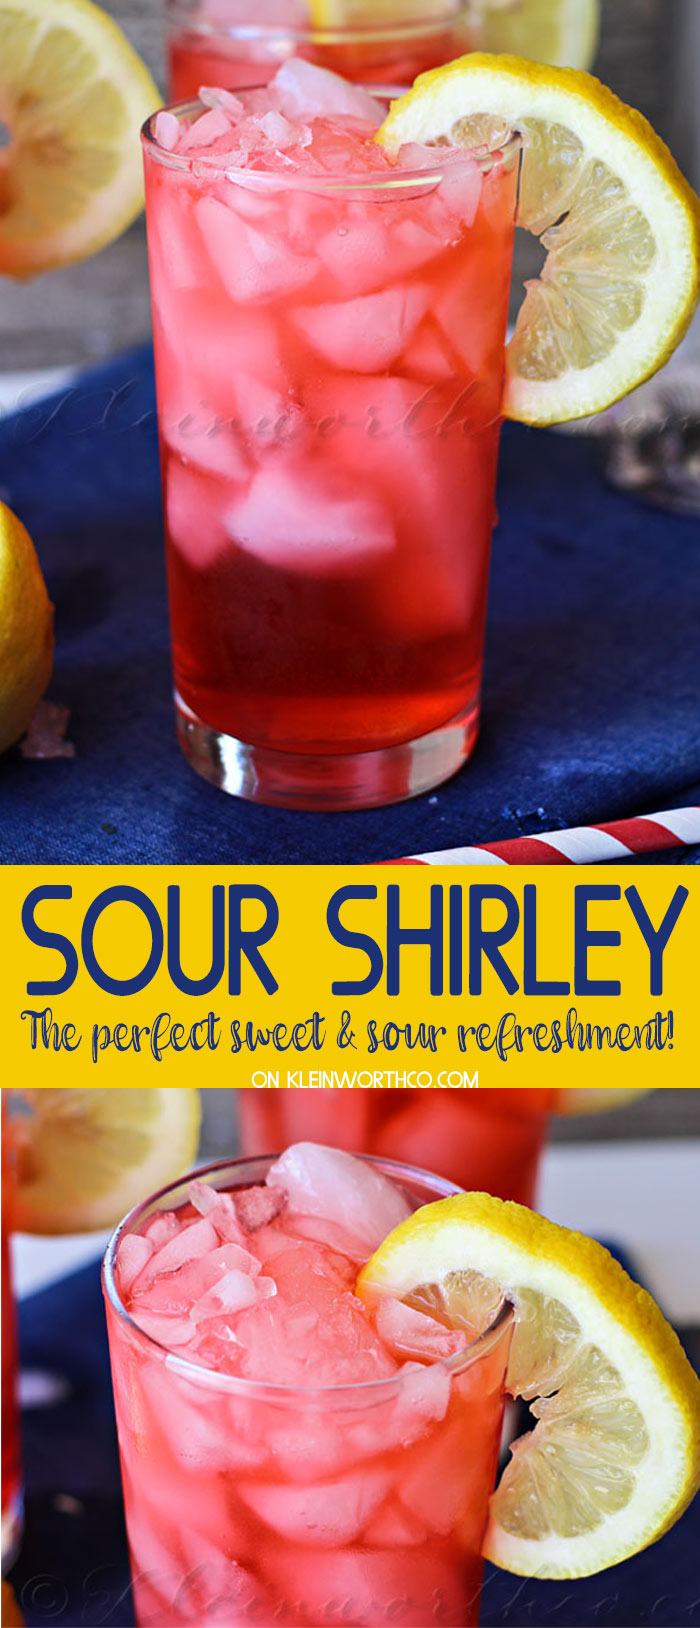
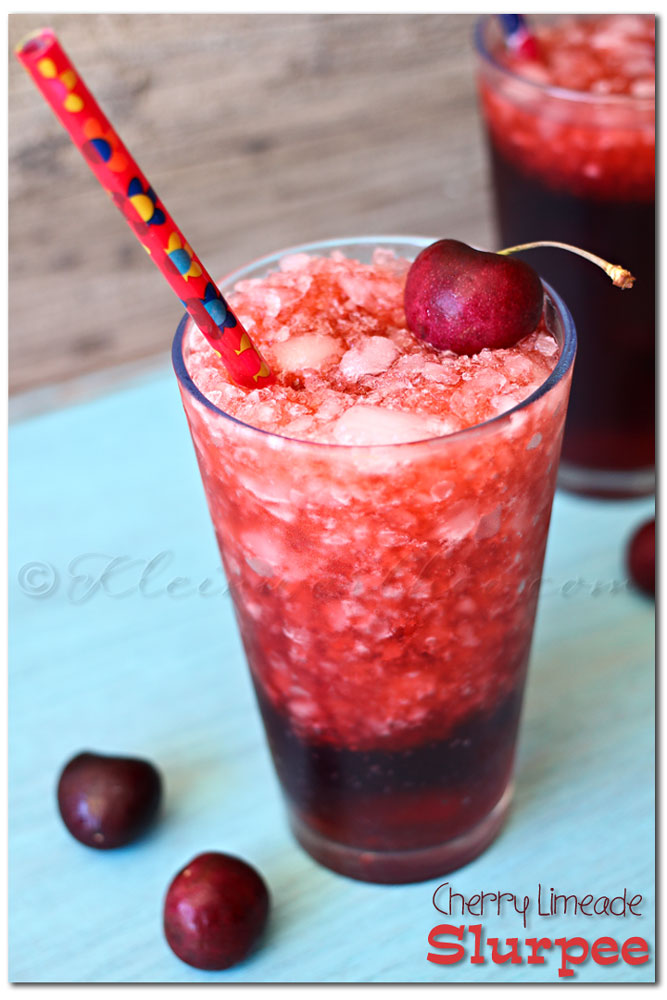 So refreshing on these hot summer days. I could drink one all day long.