
Most of you know that I’m married to a fire chief. This means that I’m a stickler for not only safety (especially on holidays) but super cautious when it comes to fire. I love luminaries & the fun feel they give when decorating. But I get really nervous when it comes to sticking that tea light in there & lighting it. I worry about it getting kicked over, or a costume brushing against it & catching fire or the wind blowing it over. Sooooooo- I decided to use some of the fun paints & products I have been given through some past campaigns & create some safer luminaries for Halloween decorating.
No Flame Halloween Luminaries

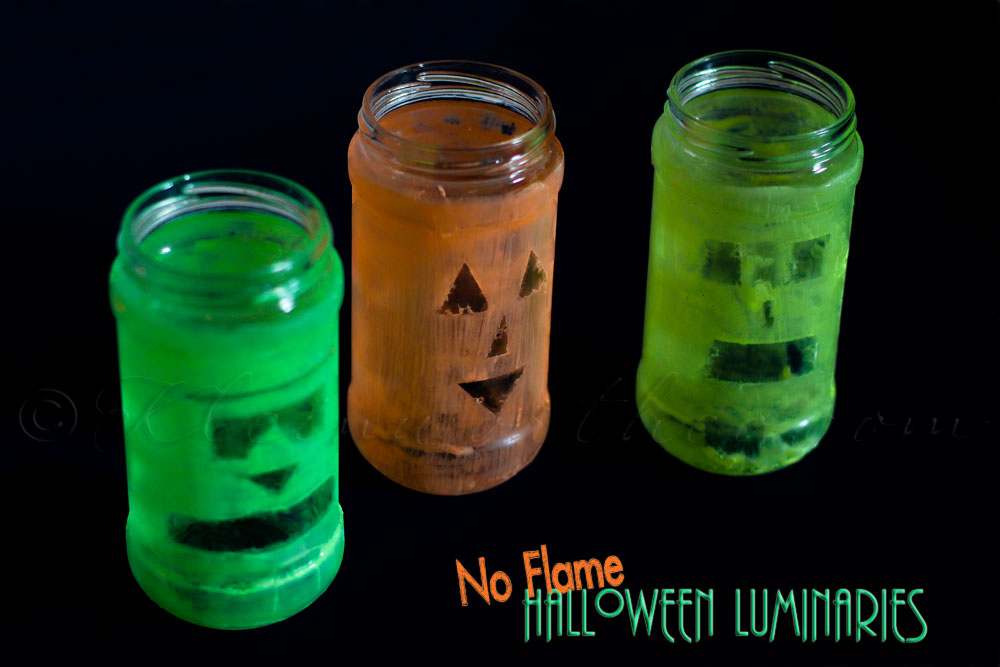
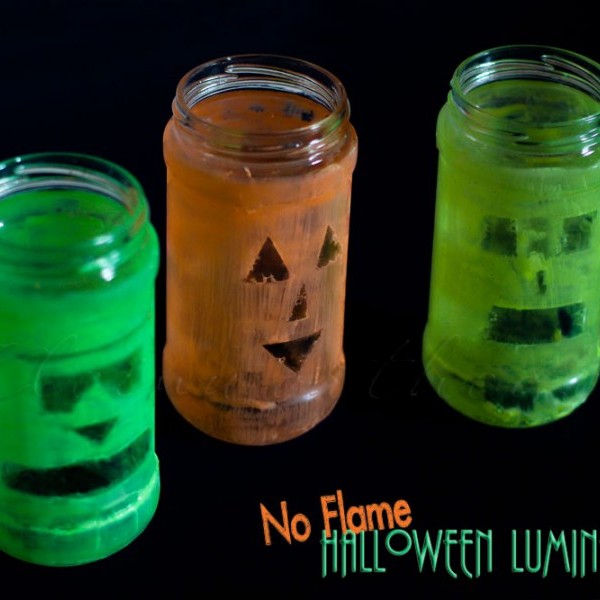
These were really easy. I just re-purposed some spaghetti jars I had saved & first painted them with some Plaid Glow in the Dark Acrylic Paints. I used #20485 Yellow, #20484 Orange & #20486 Green. Dabbed on several coats & waited for it to dry. Then I added Plaid Glo-Away Glow-in-the-Dark Gel in a thick layer & let dry. I decided to let them look a little weathered & rubbed for a spookier vibe – instead of completely coating them. Then I just left them sitting on the counter under the under-cabinet lights all day. When we went to bed- there they were- glowing like they should. So if you are leaving these on your porch- the sun should charge them with more than enough light to keep them going all Halloween long.
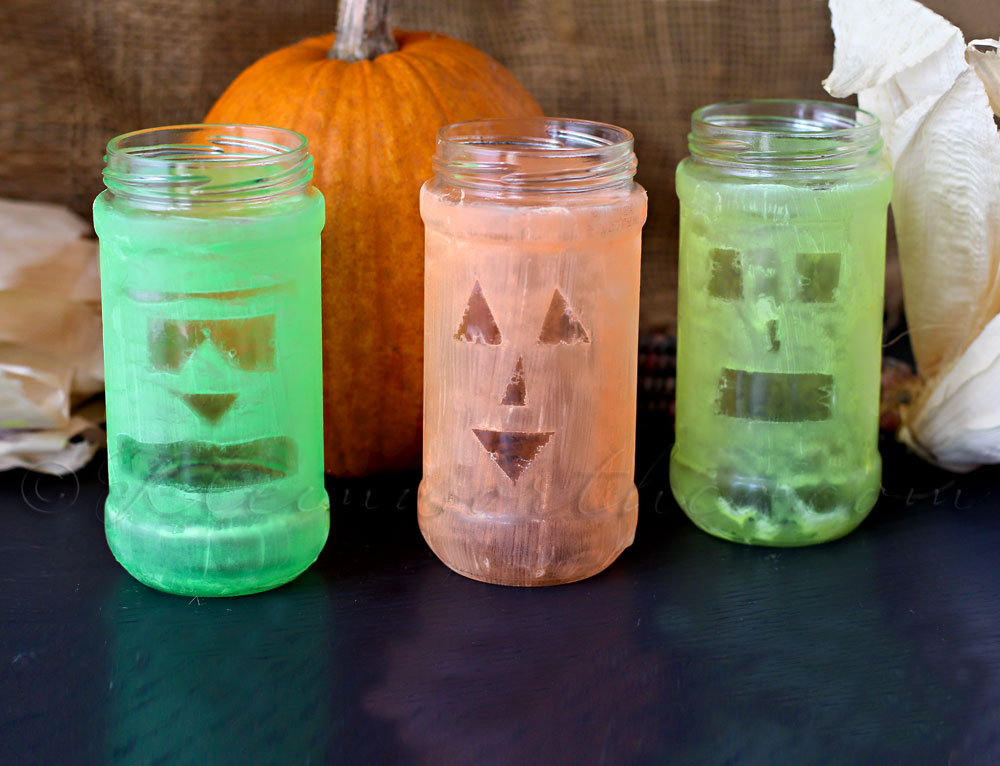
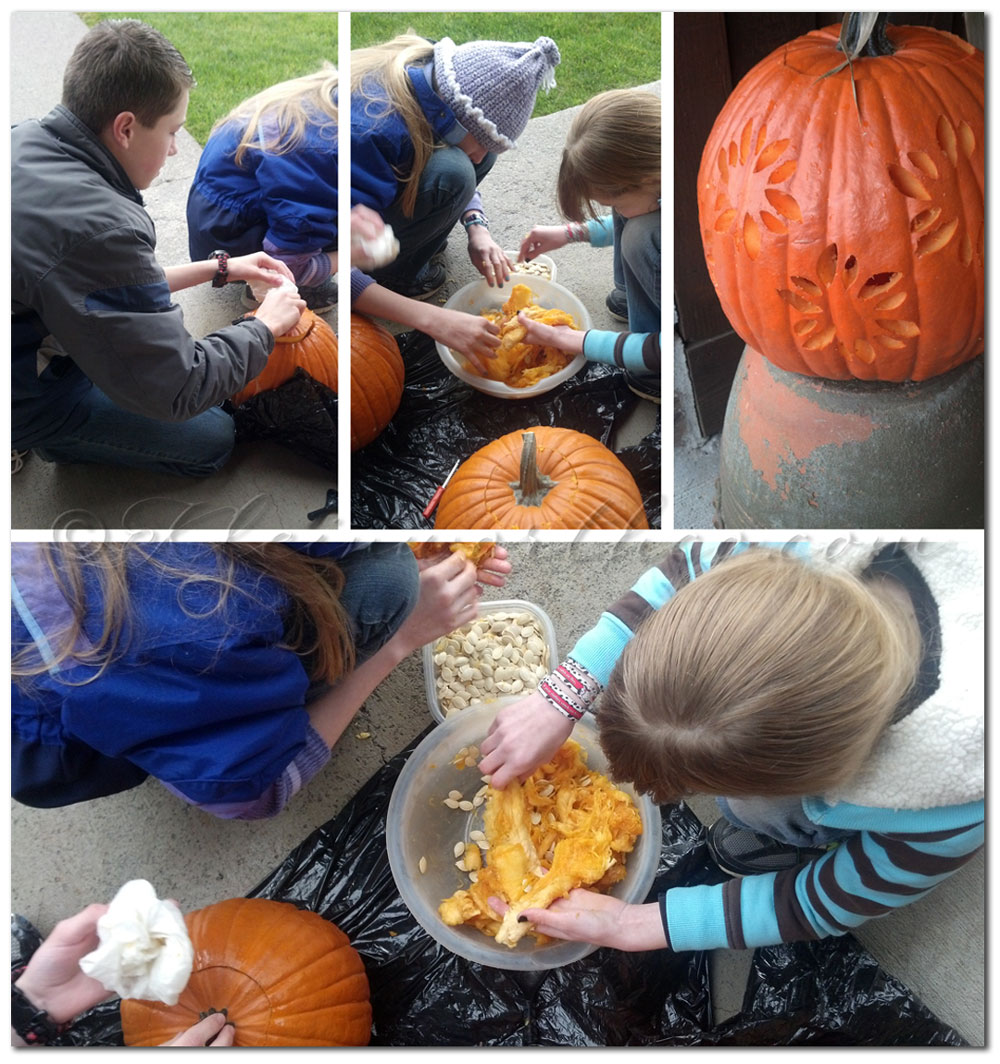
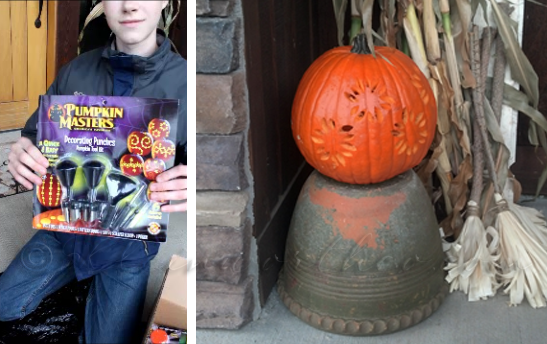
This was a simple project that the kids loved helping me with.
This post is not sponsored- I just wanted to use some of these fun products I was given in the past for more seasonal projects.
Don’t forget to come back & join me on Mondays for Project 52
To see where I am linking today- visit HERE


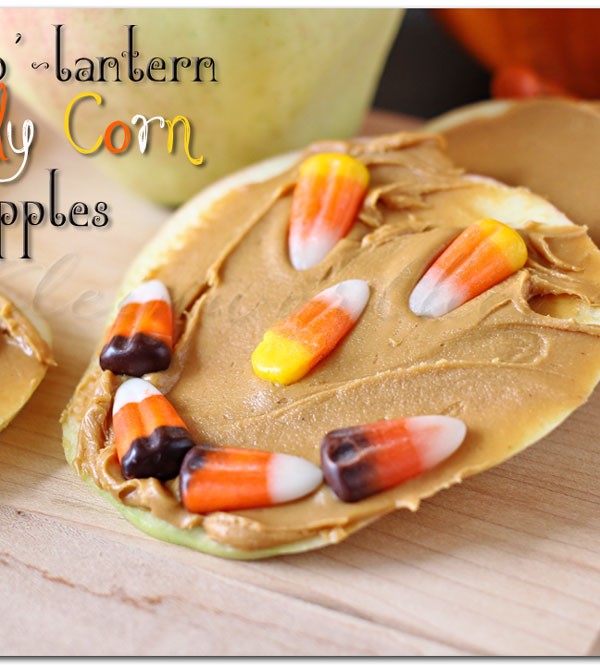
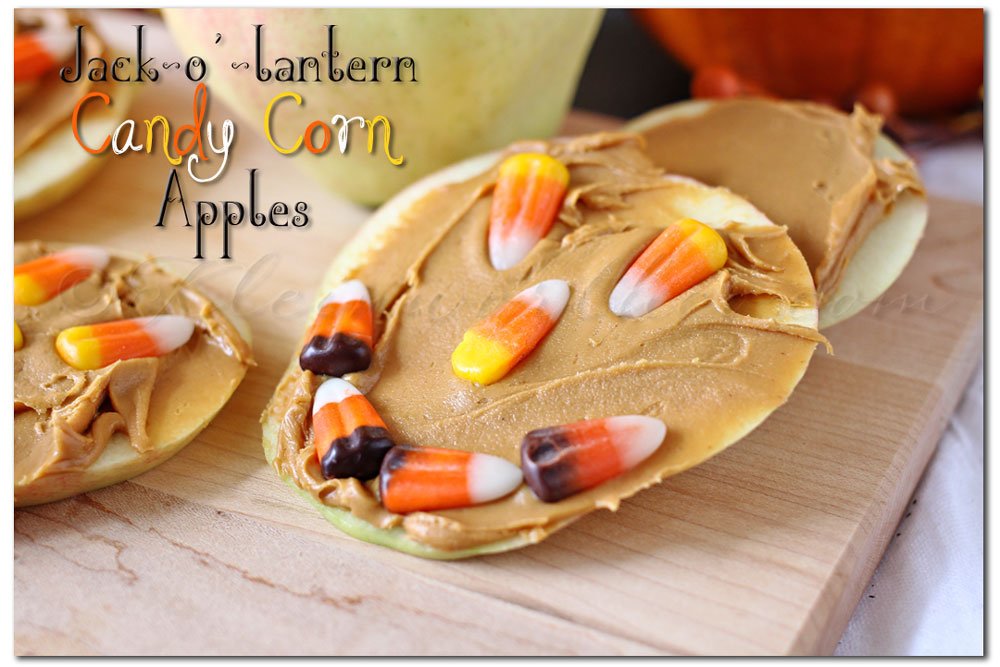
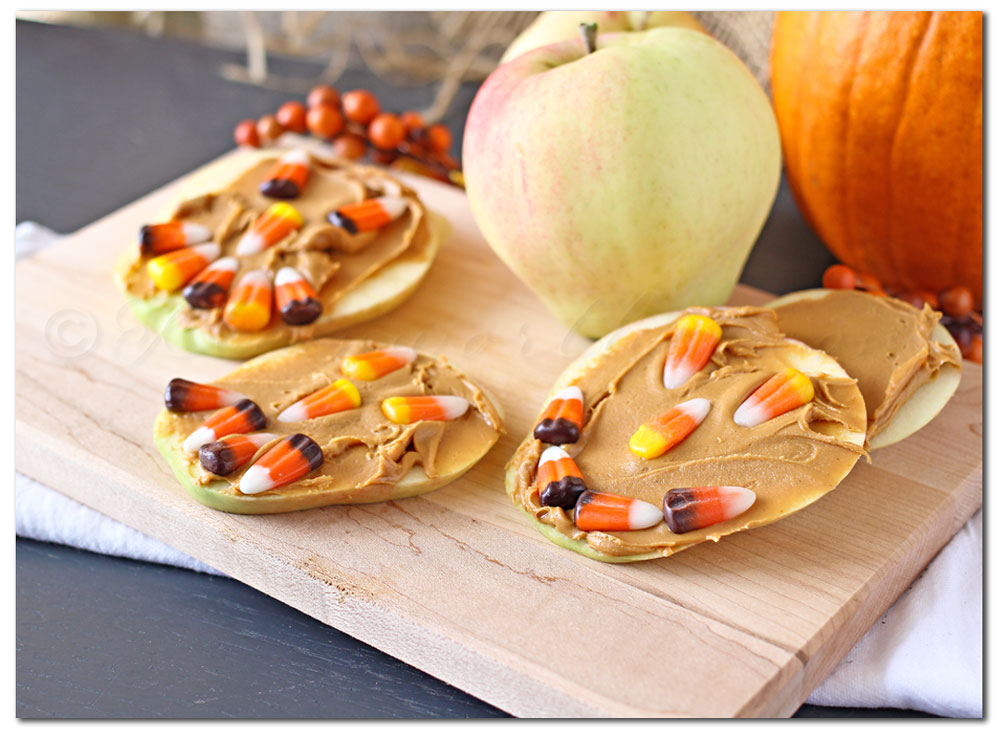 The kids loved them- even if they are a bit old for playing with their food. I know they like apples & peanut butter.
But adding candy corn- what’s not to like?
The kids loved them- even if they are a bit old for playing with their food. I know they like apples & peanut butter.
But adding candy corn- what’s not to like?
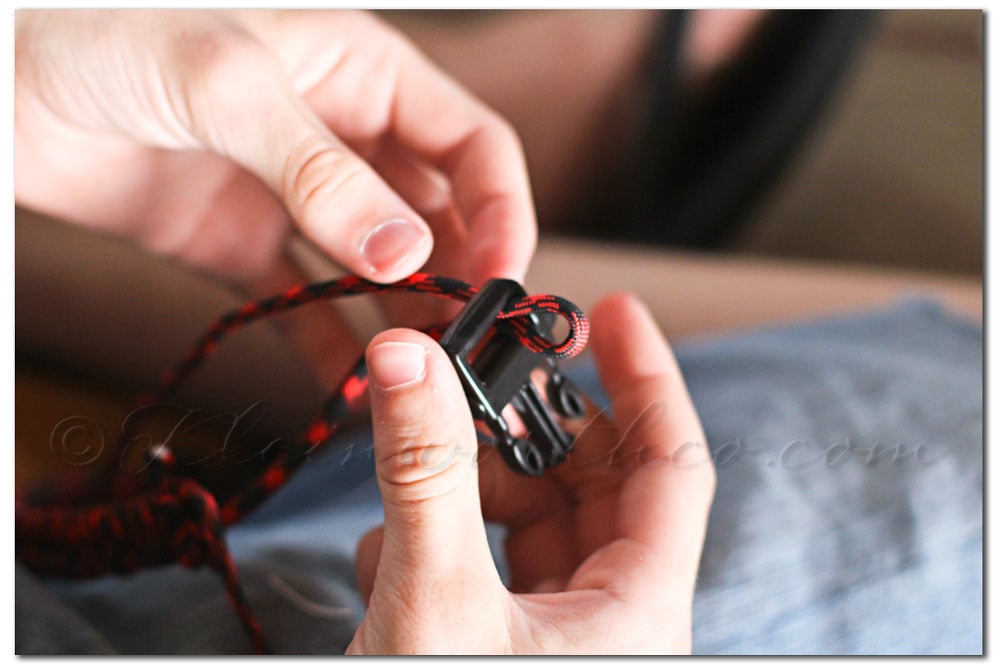
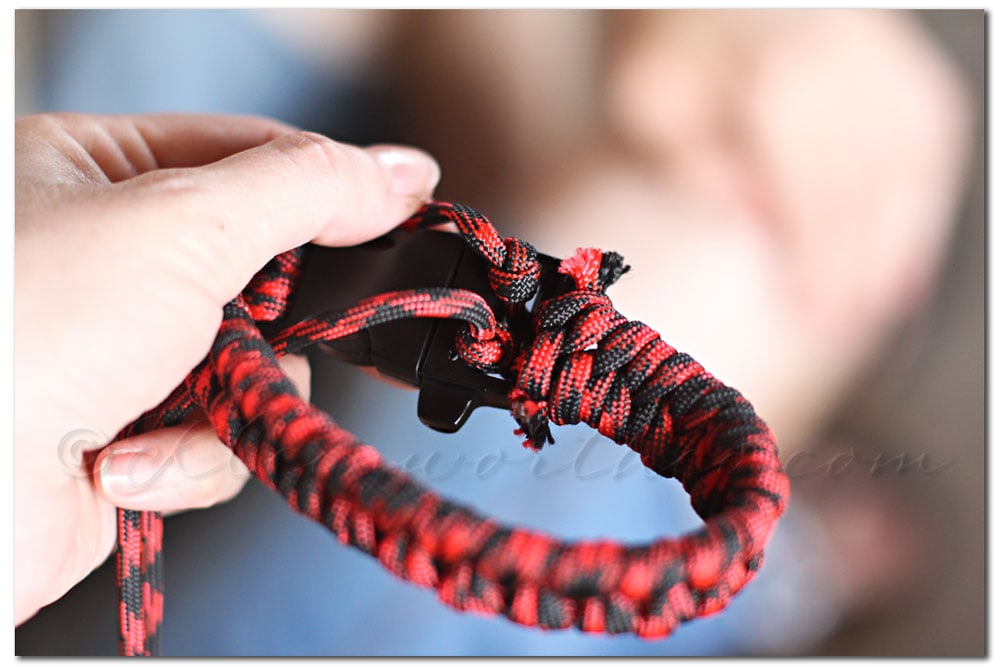
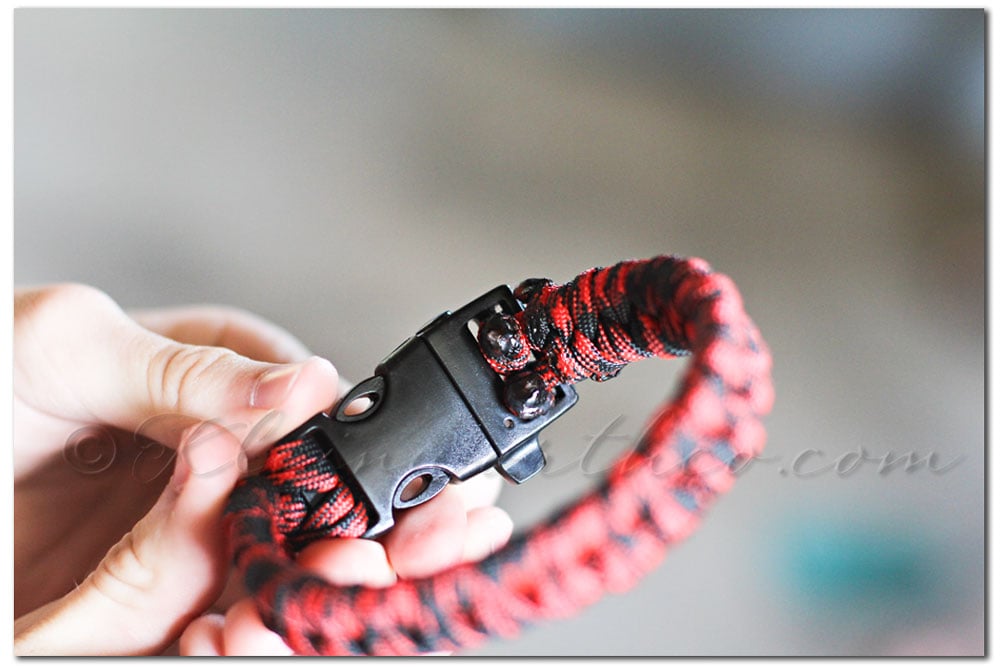
 No need for a
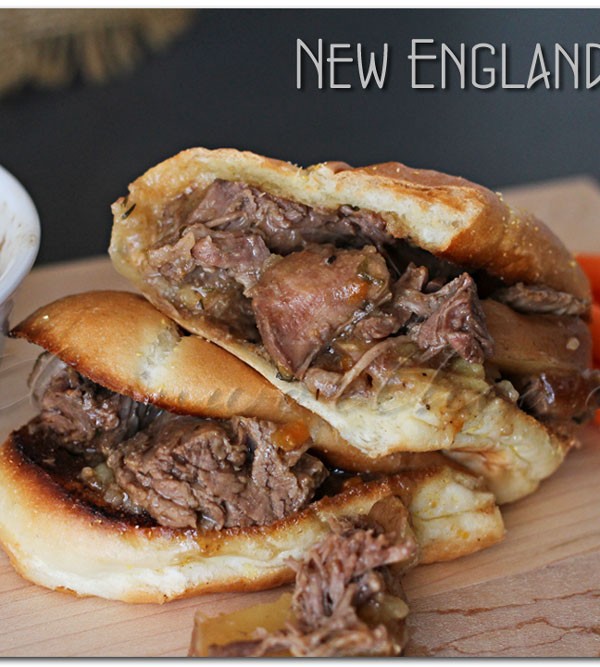
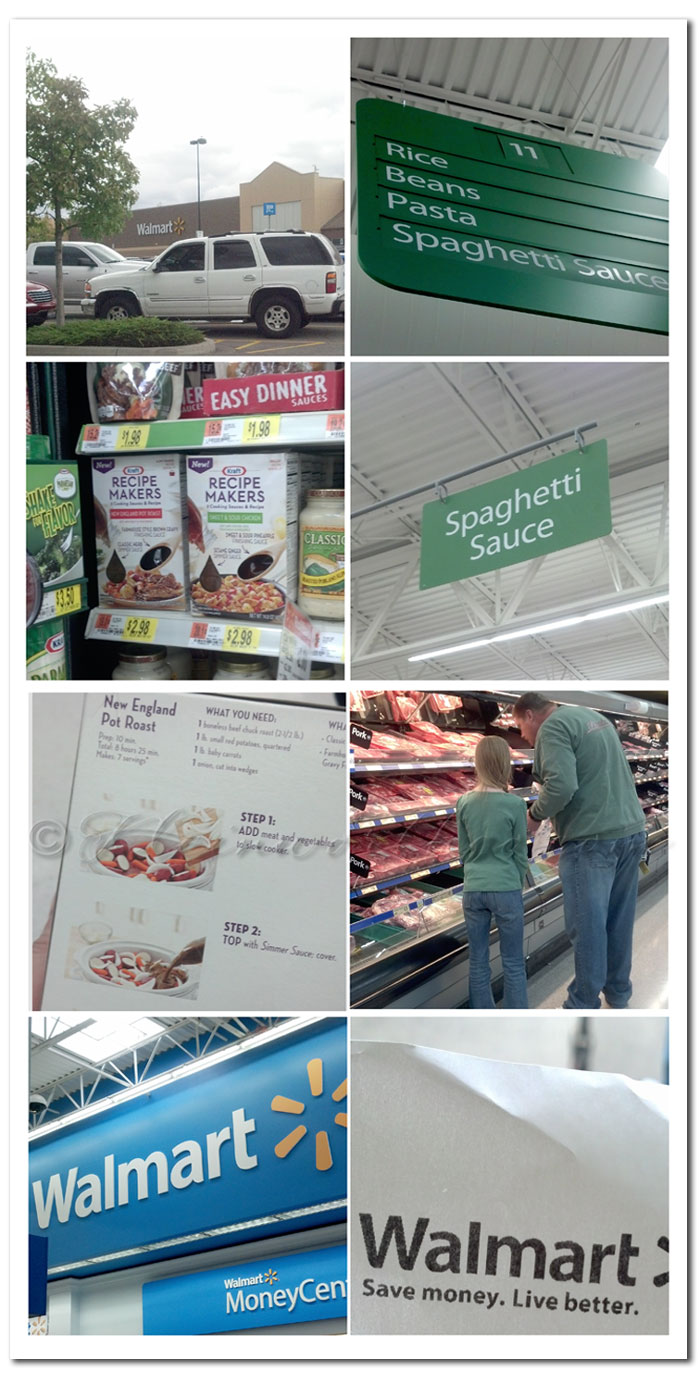 We shopped for it as a family – which was nice because we rarely do the market as a group.
 For the pot roast.


 Since I was using the dslr for the video so I could have it in HD I had to take pics with my phone during the process.


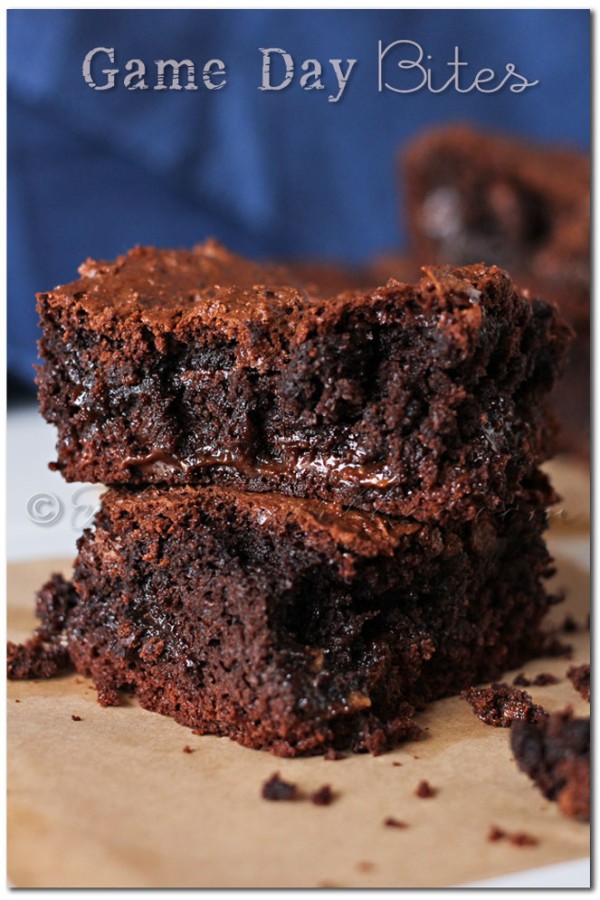
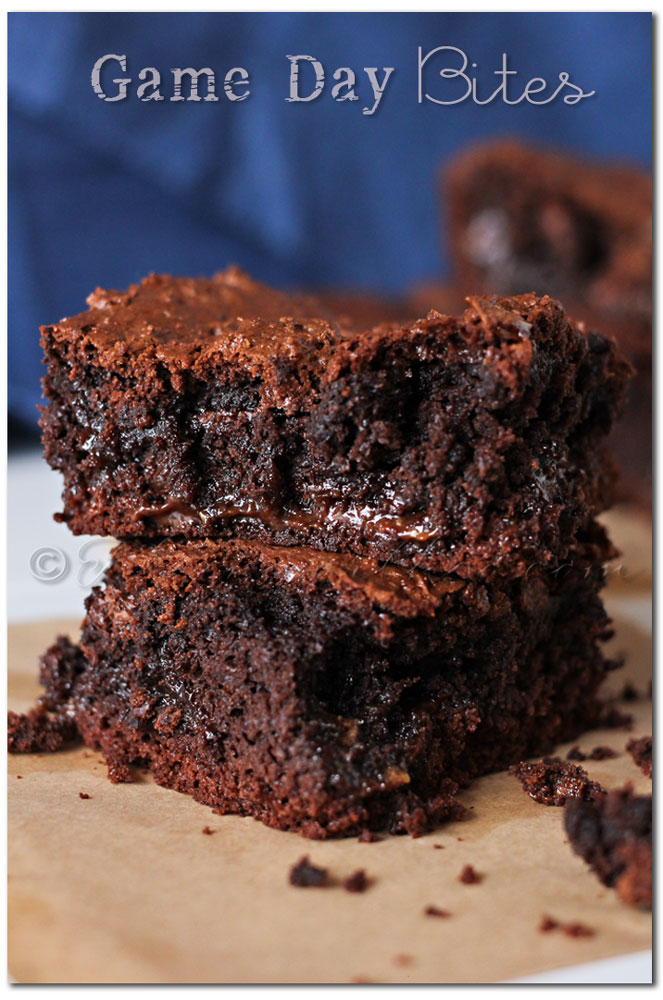
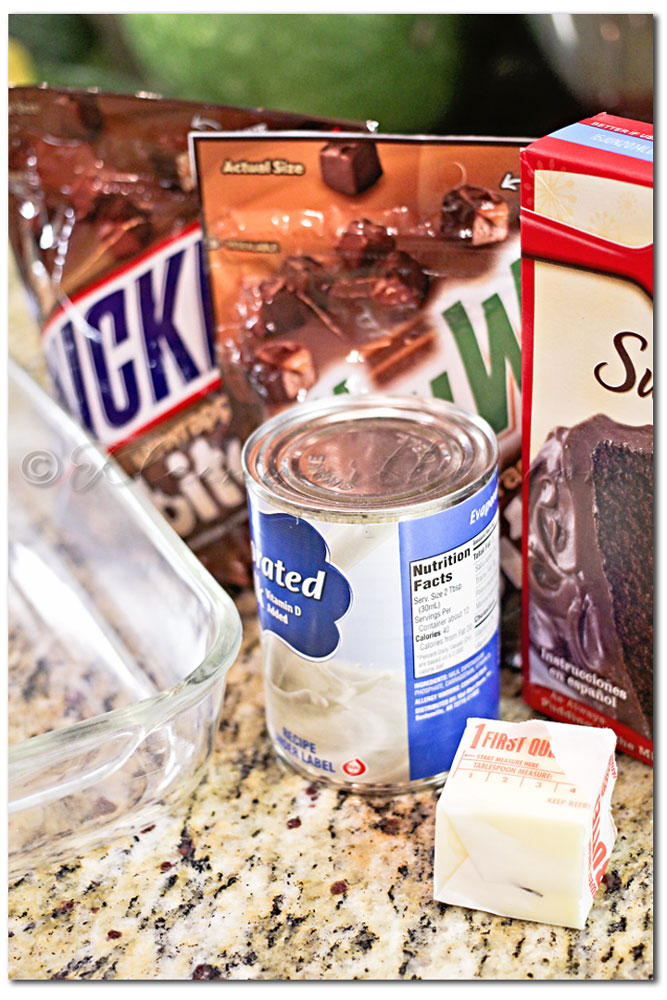
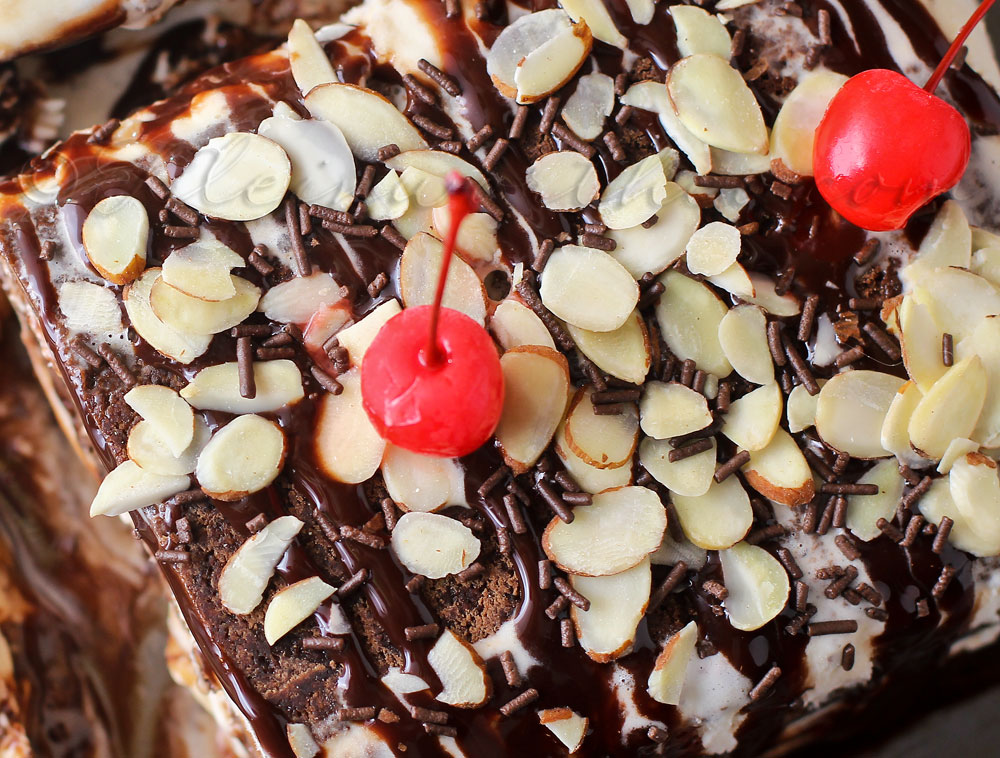
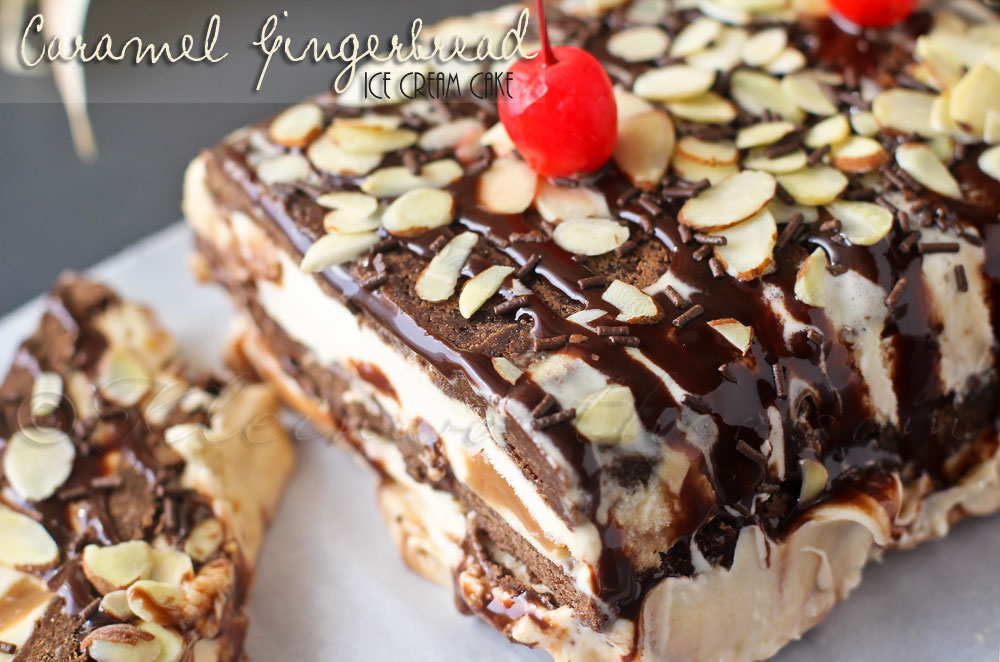
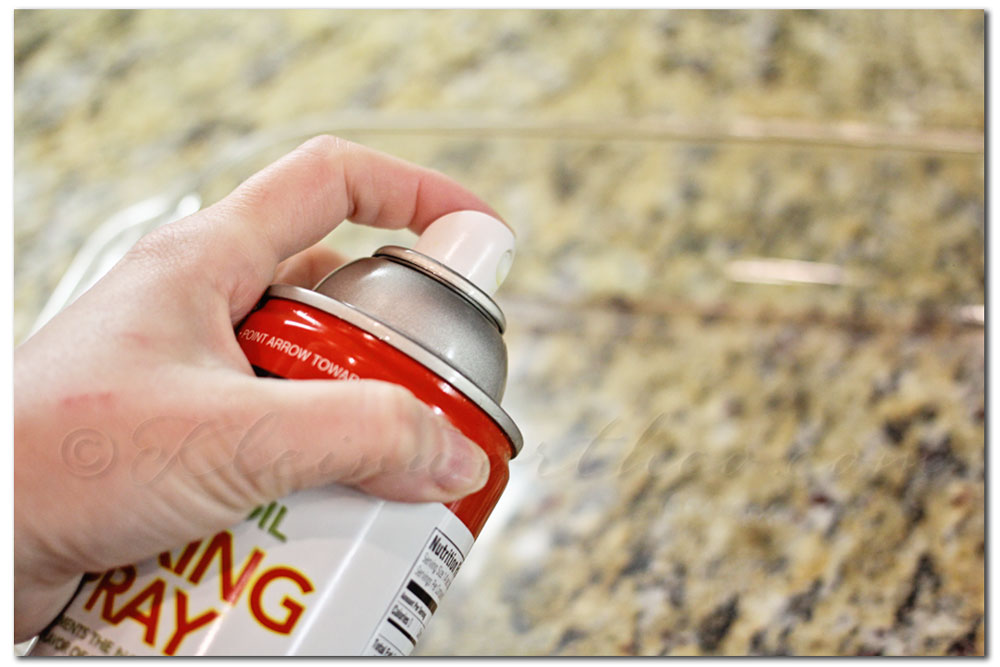 Preheat your oven to 350 degrees & coat your 9×13 glass pan with cooking spray.
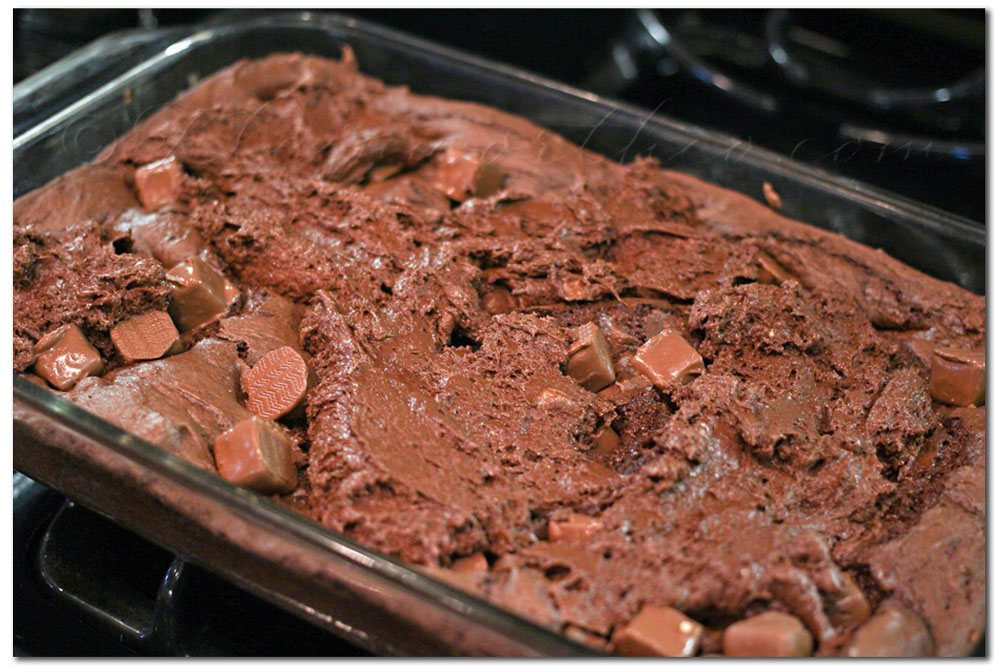
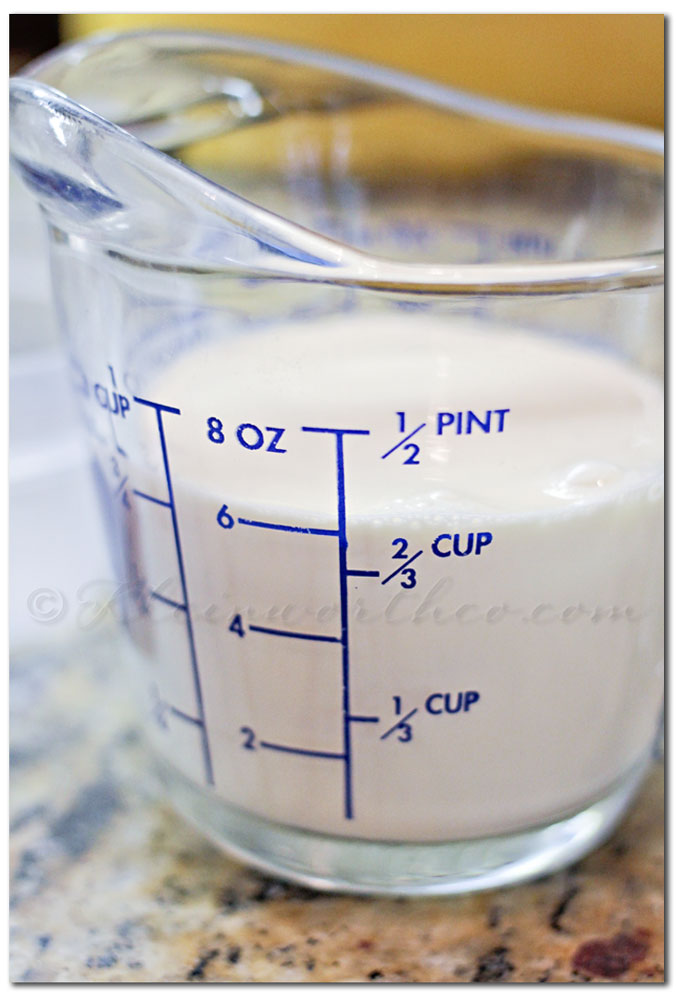 Put your cake mix, butter & evaporated milk in your mixer & beat well until it is thoroughly combined.Add in 1 cup of the Milky Ways bites & beat in on high.


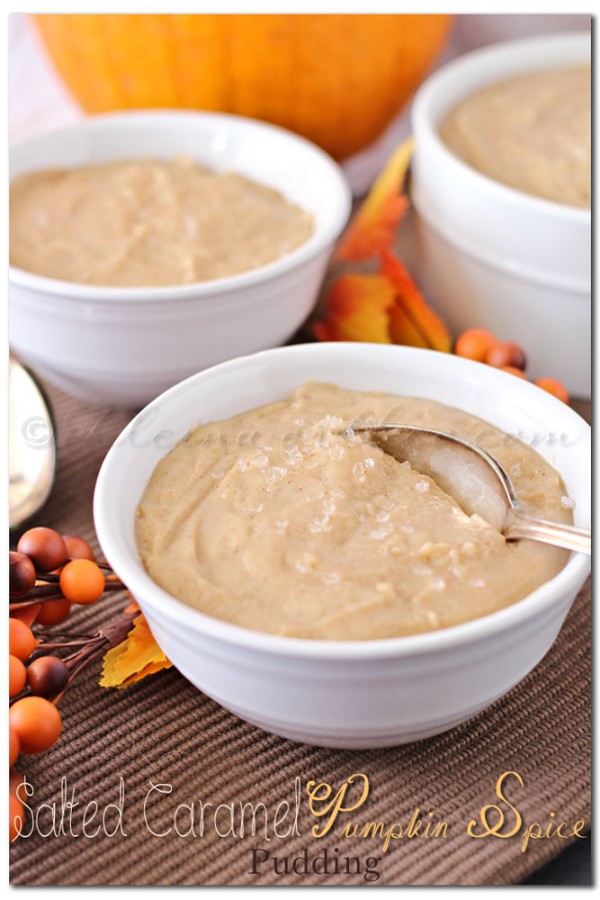
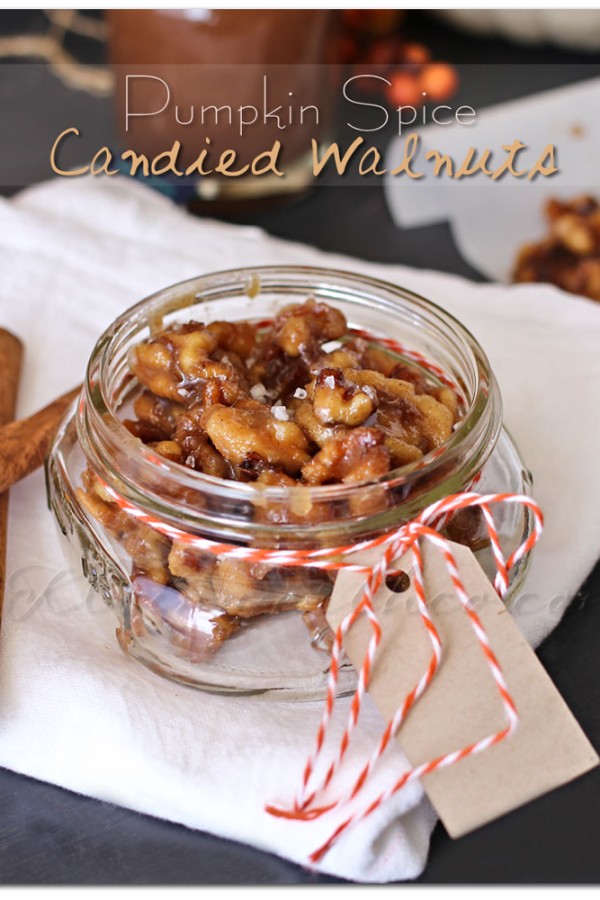
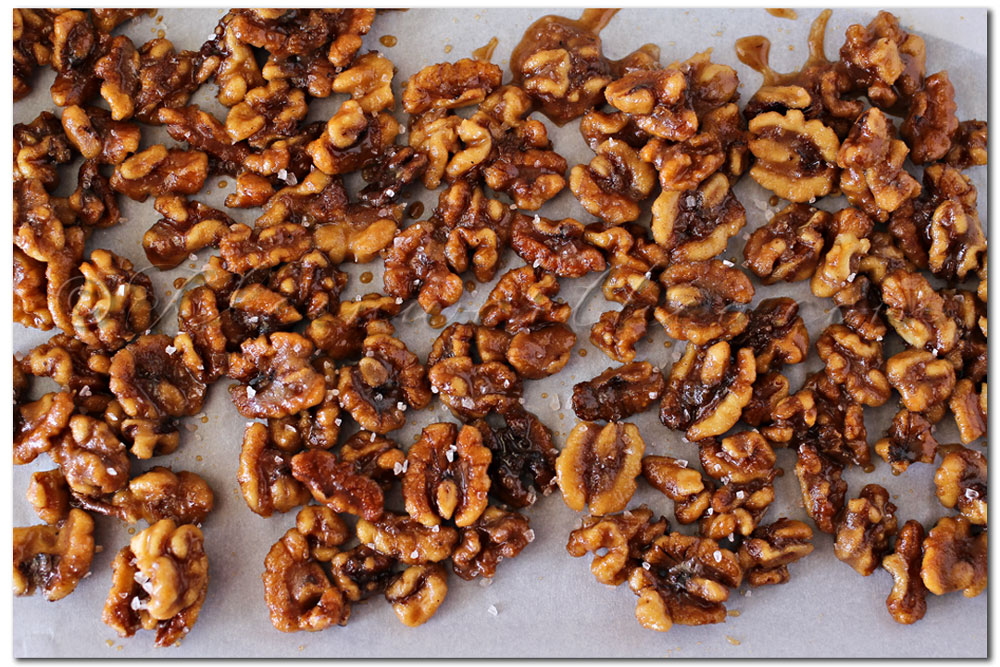
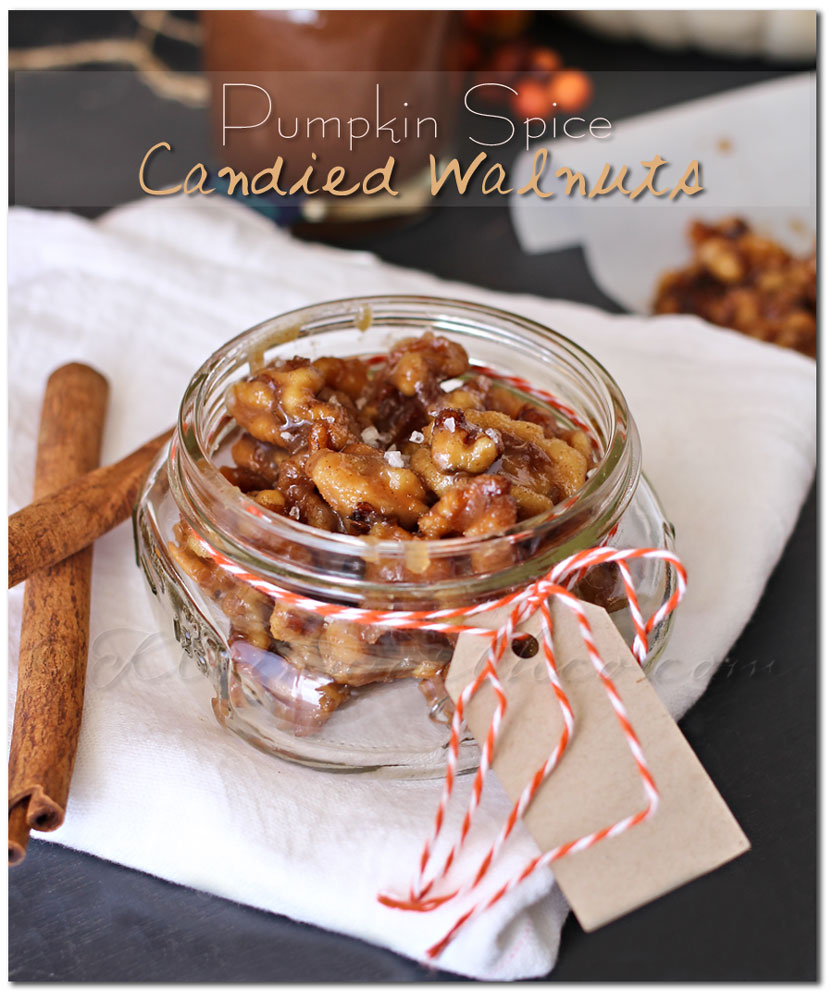
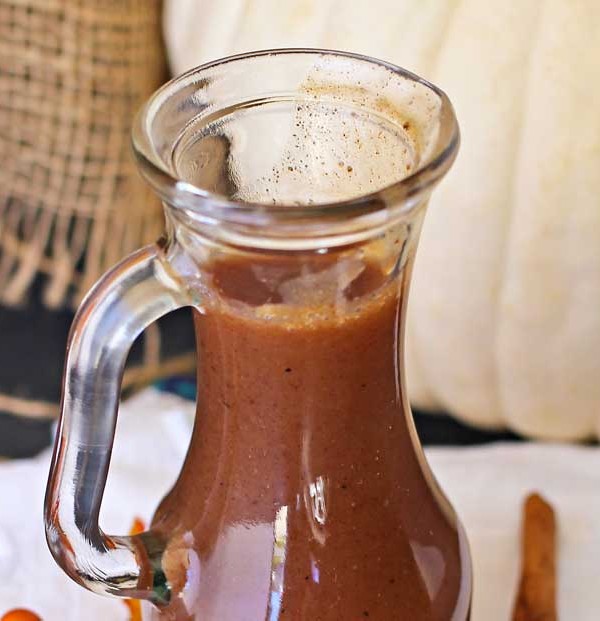
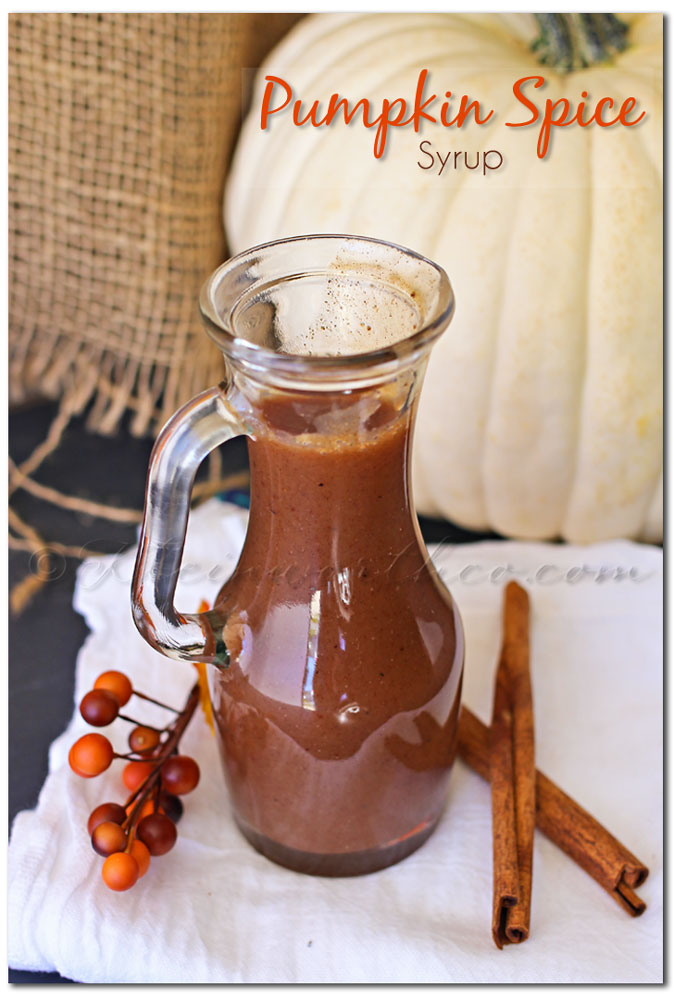
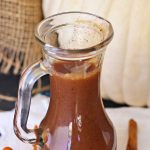
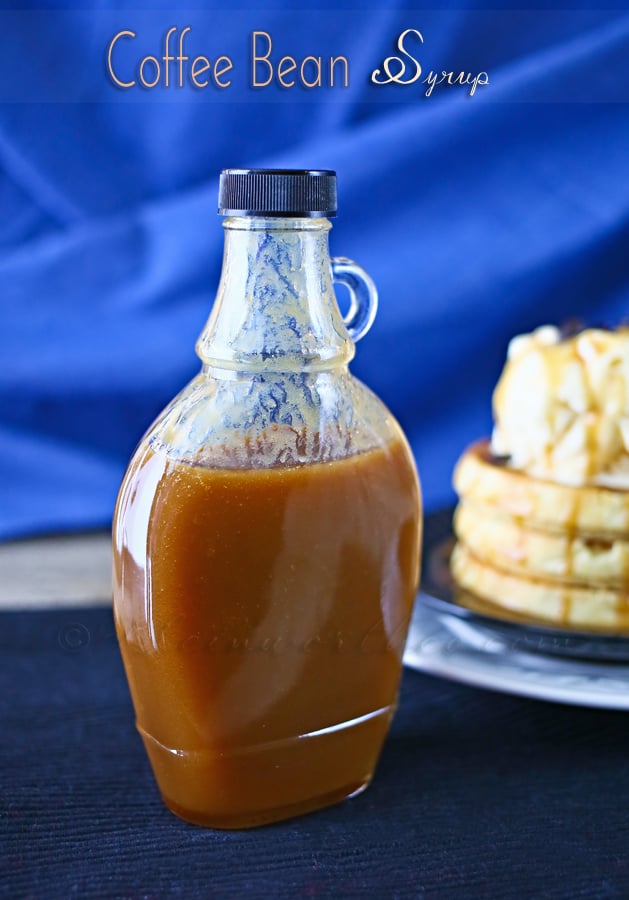
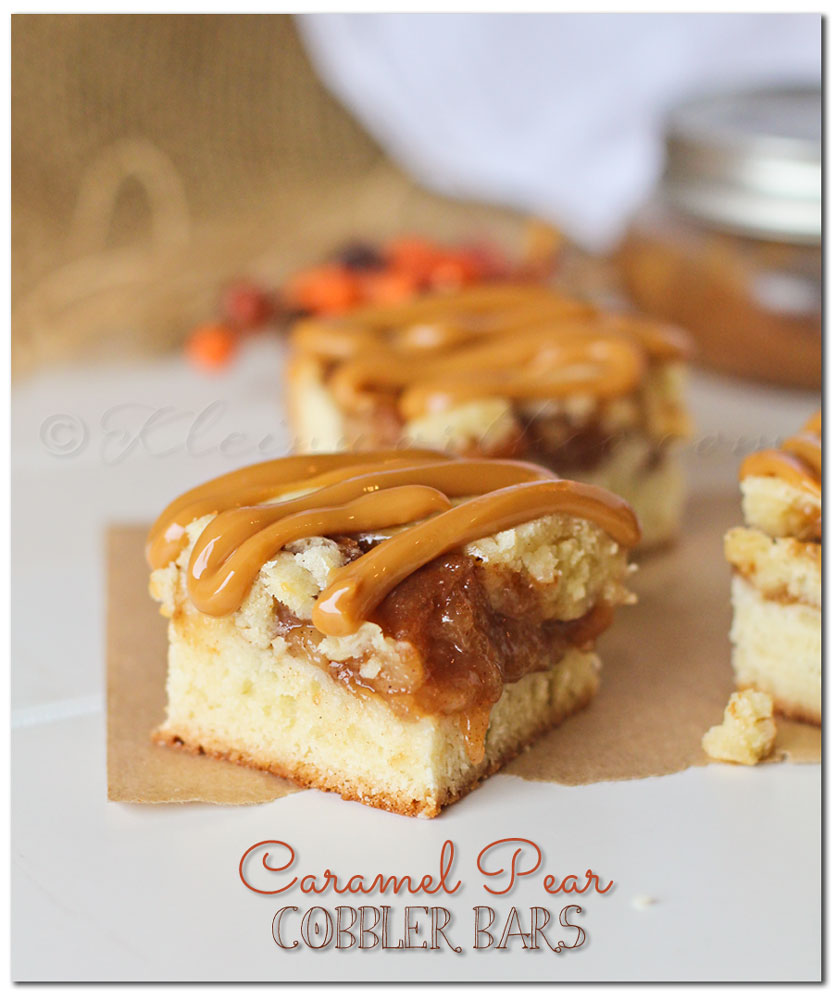
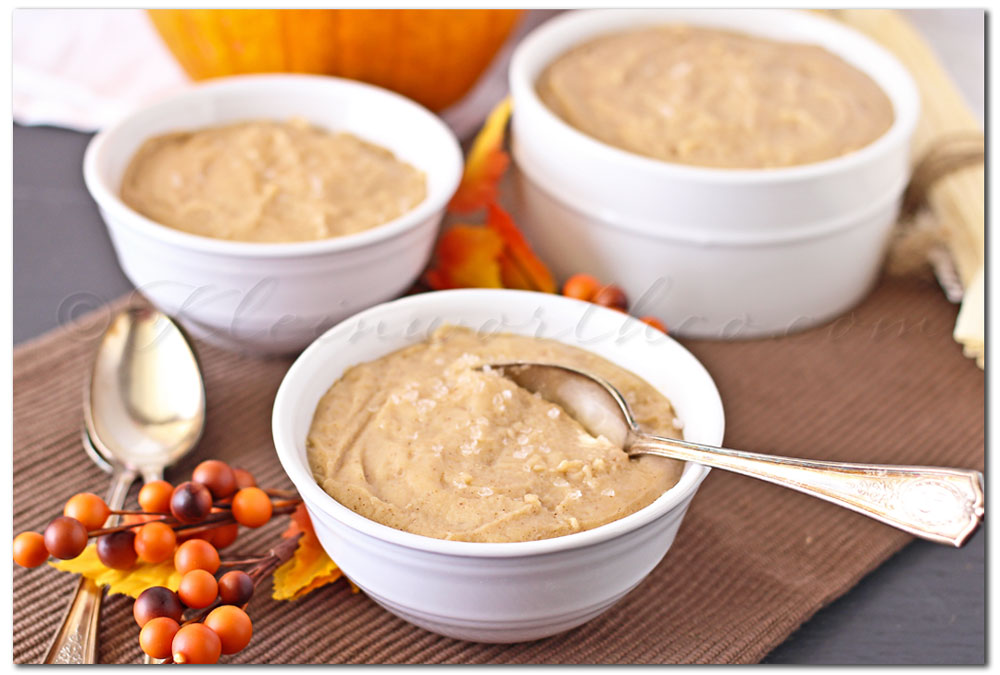 The salt mixed with the rich flavors of caramel & pumpkin spice is the perfect blend.


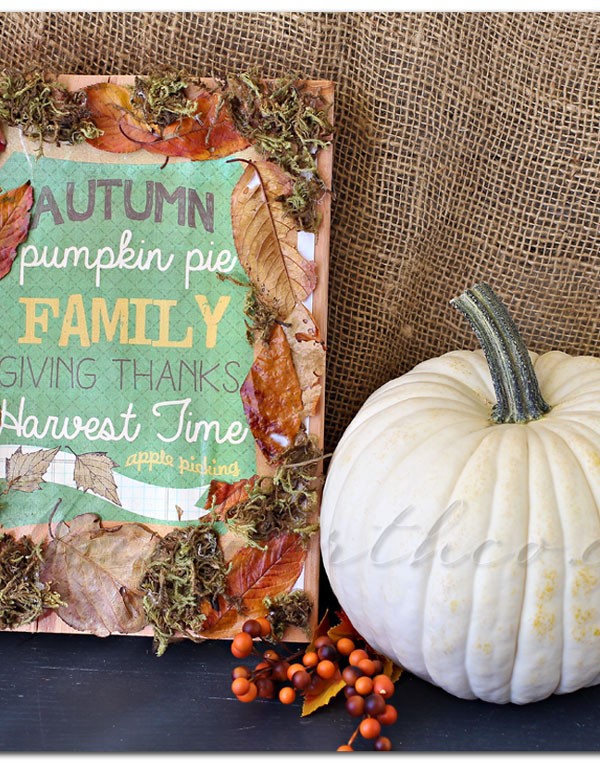
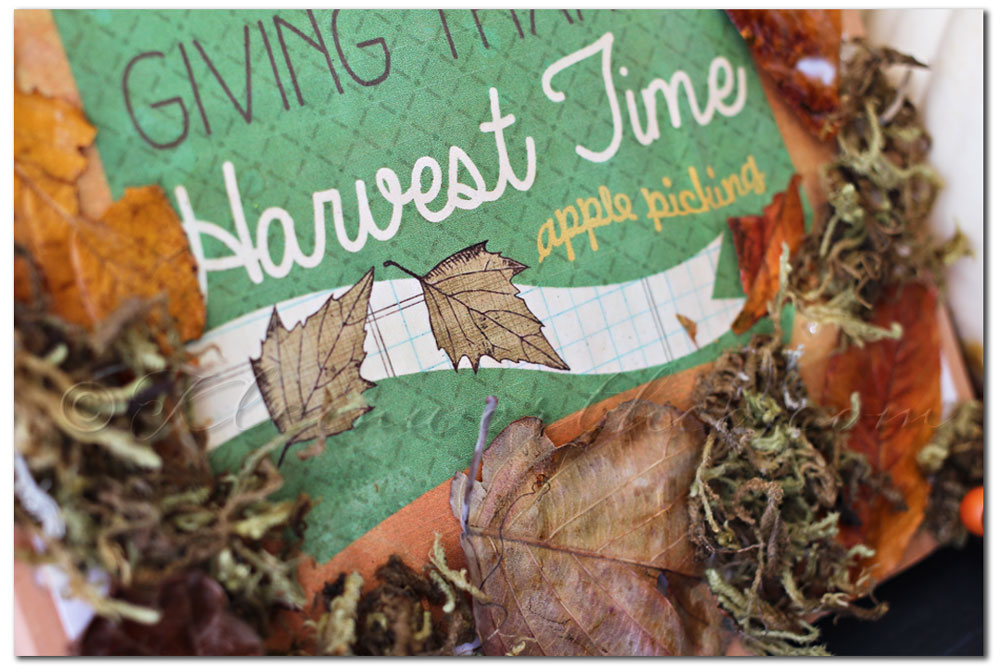
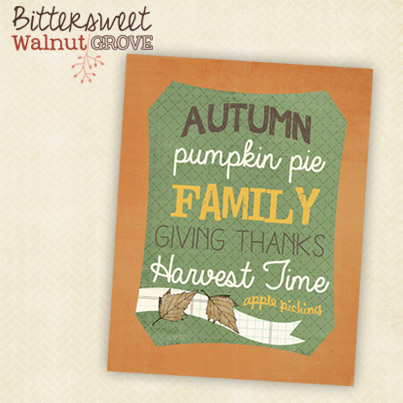
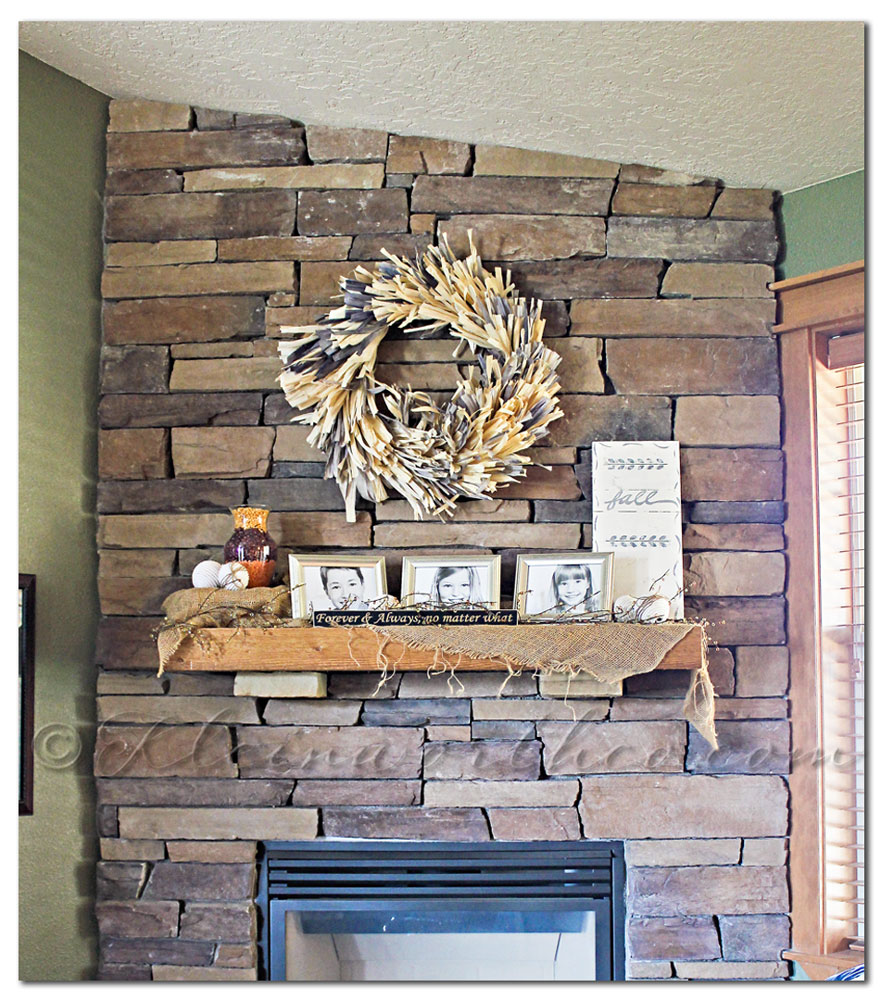
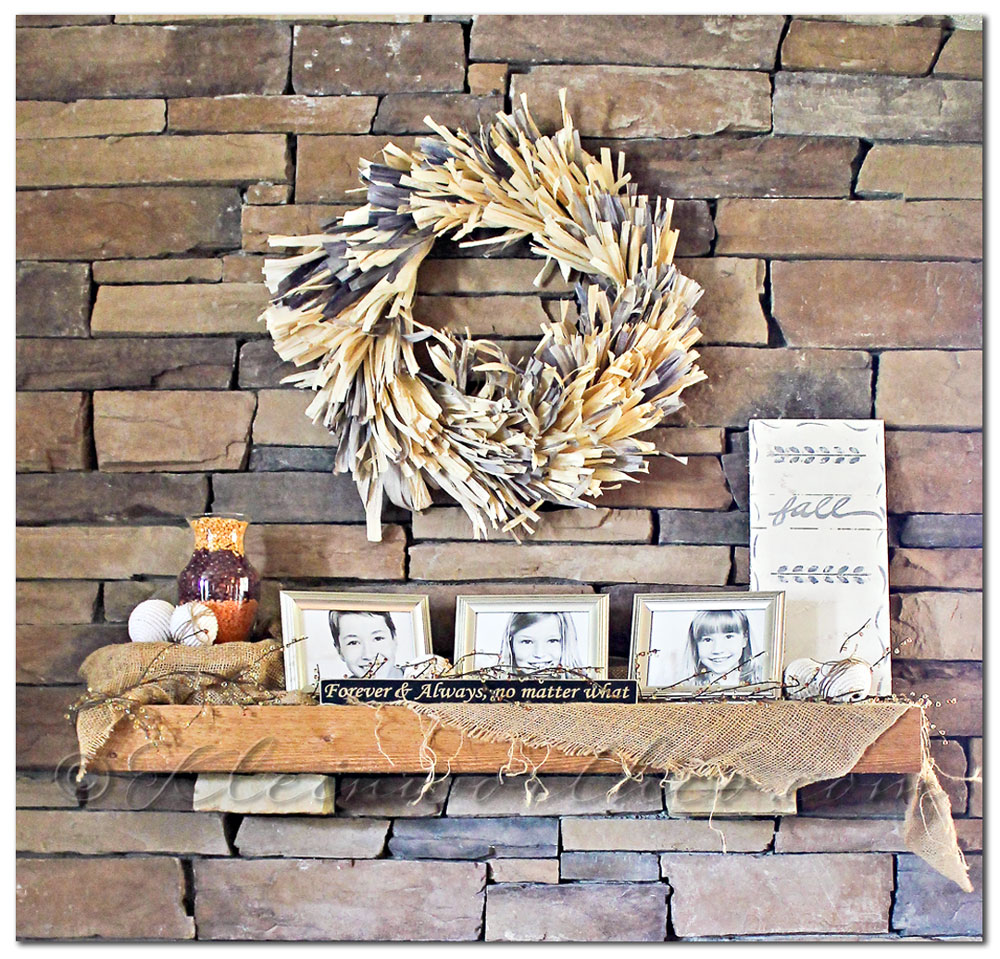
 I have this propped on the hearth- looks so cozy & brings in the feel of the season.
Kristy was so nice to give this printable free to you- my wonderful readers
I have this propped on the hearth- looks so cozy & brings in the feel of the season.
Kristy was so nice to give this printable free to you- my wonderful readers
 She is also giving you these free printable jar toppers
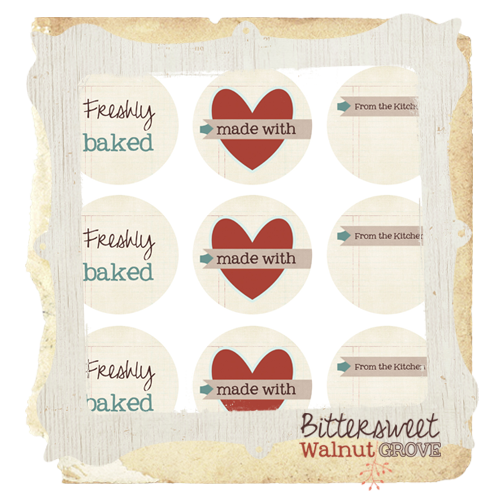 Download
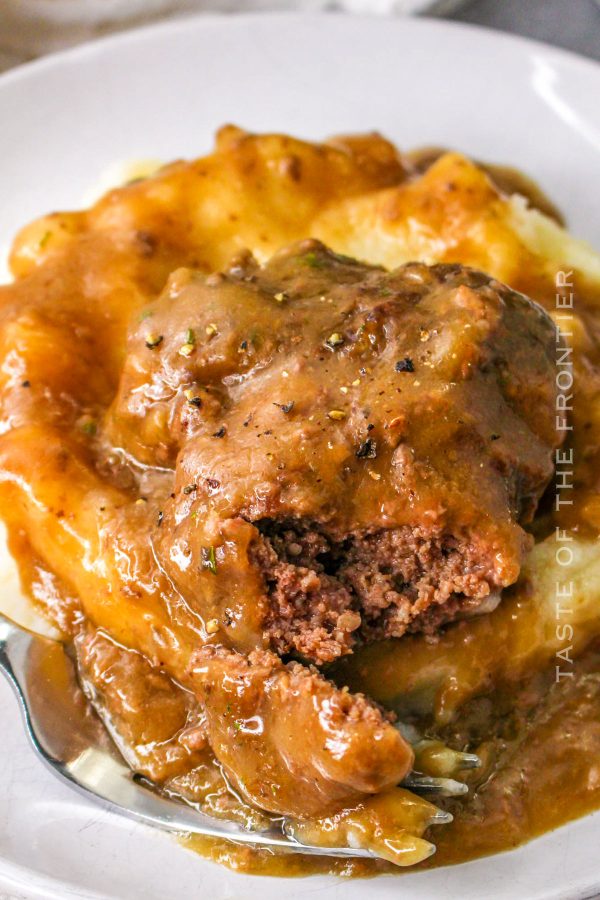
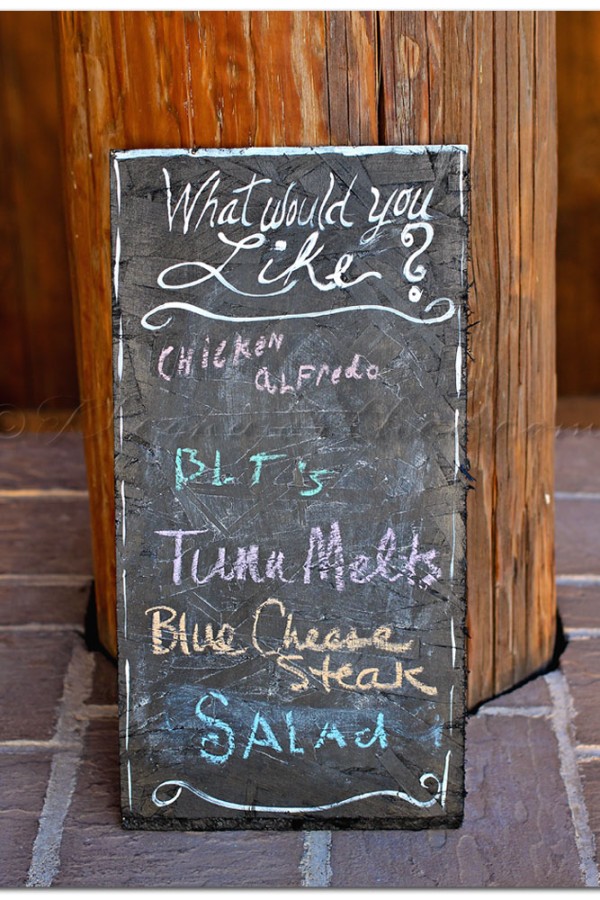
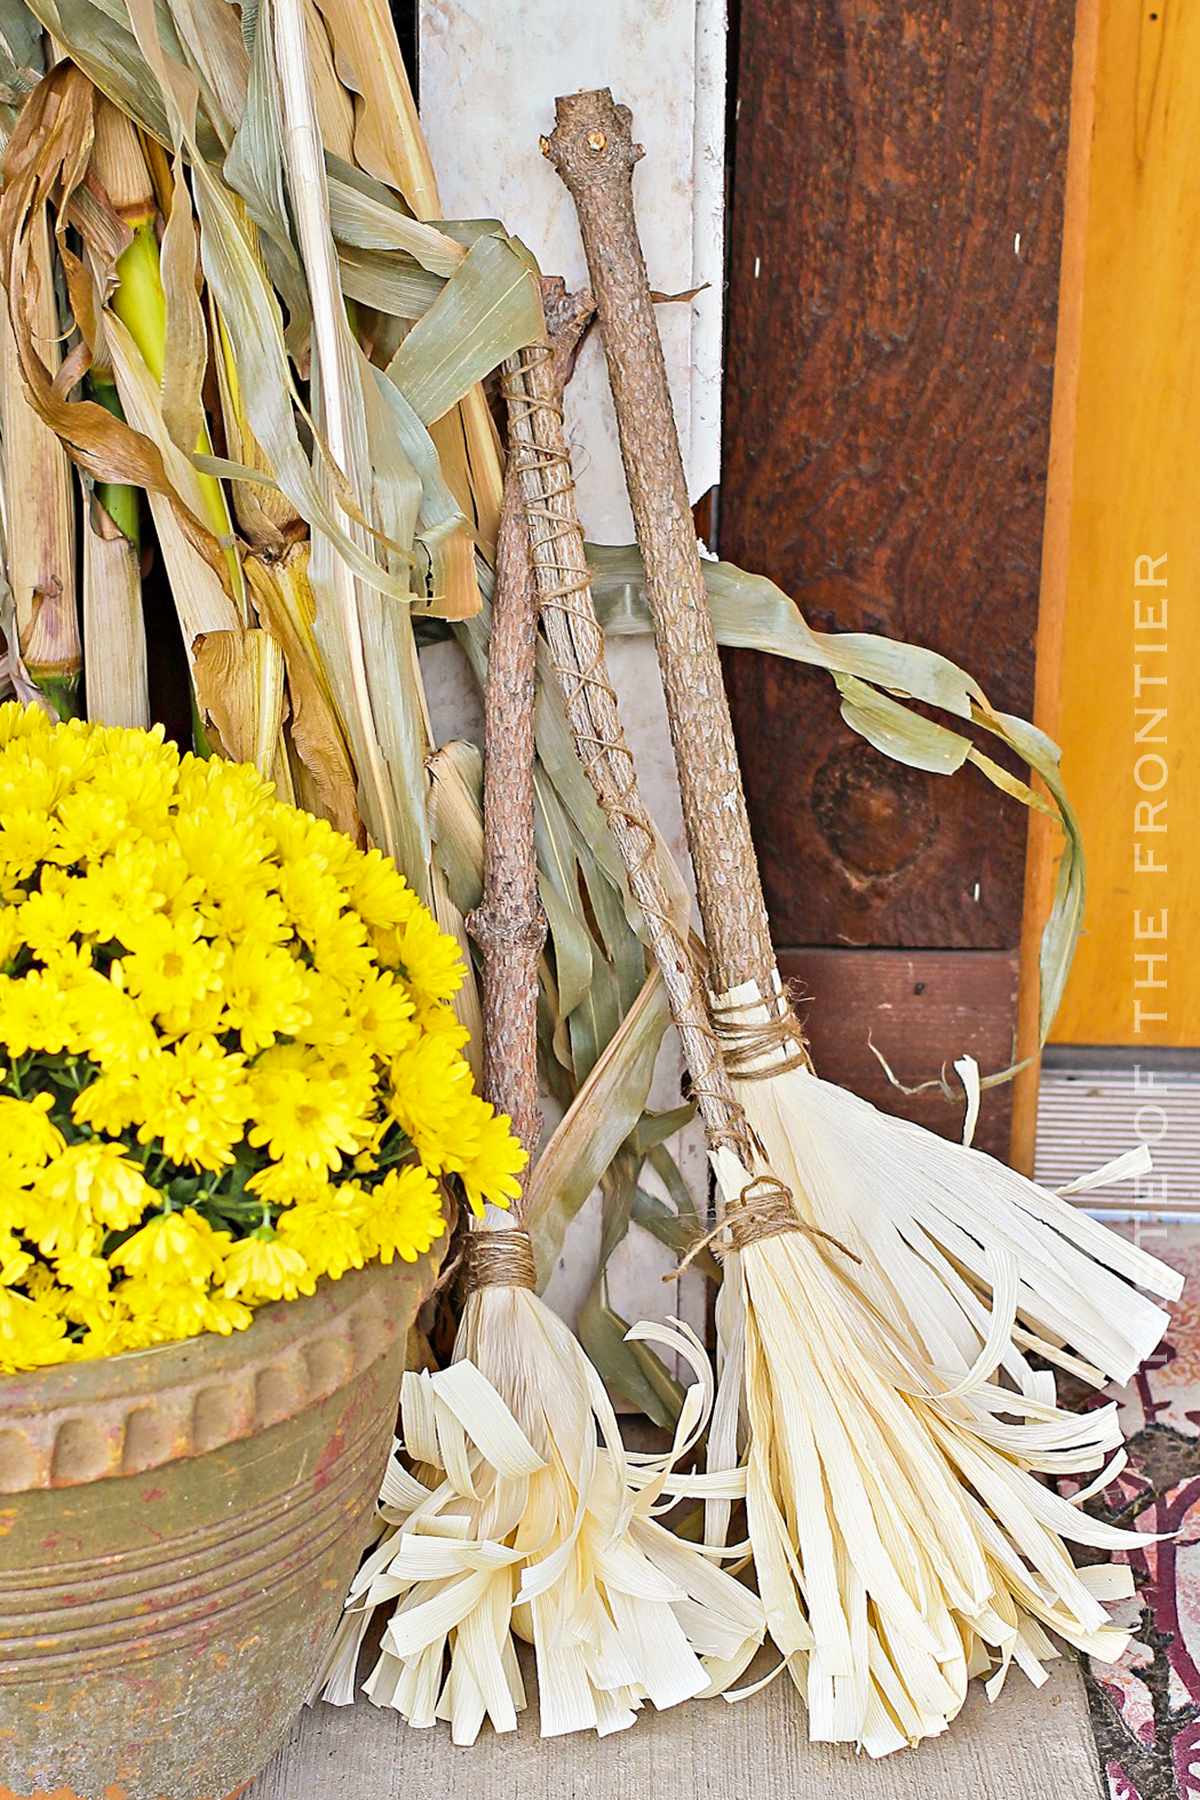
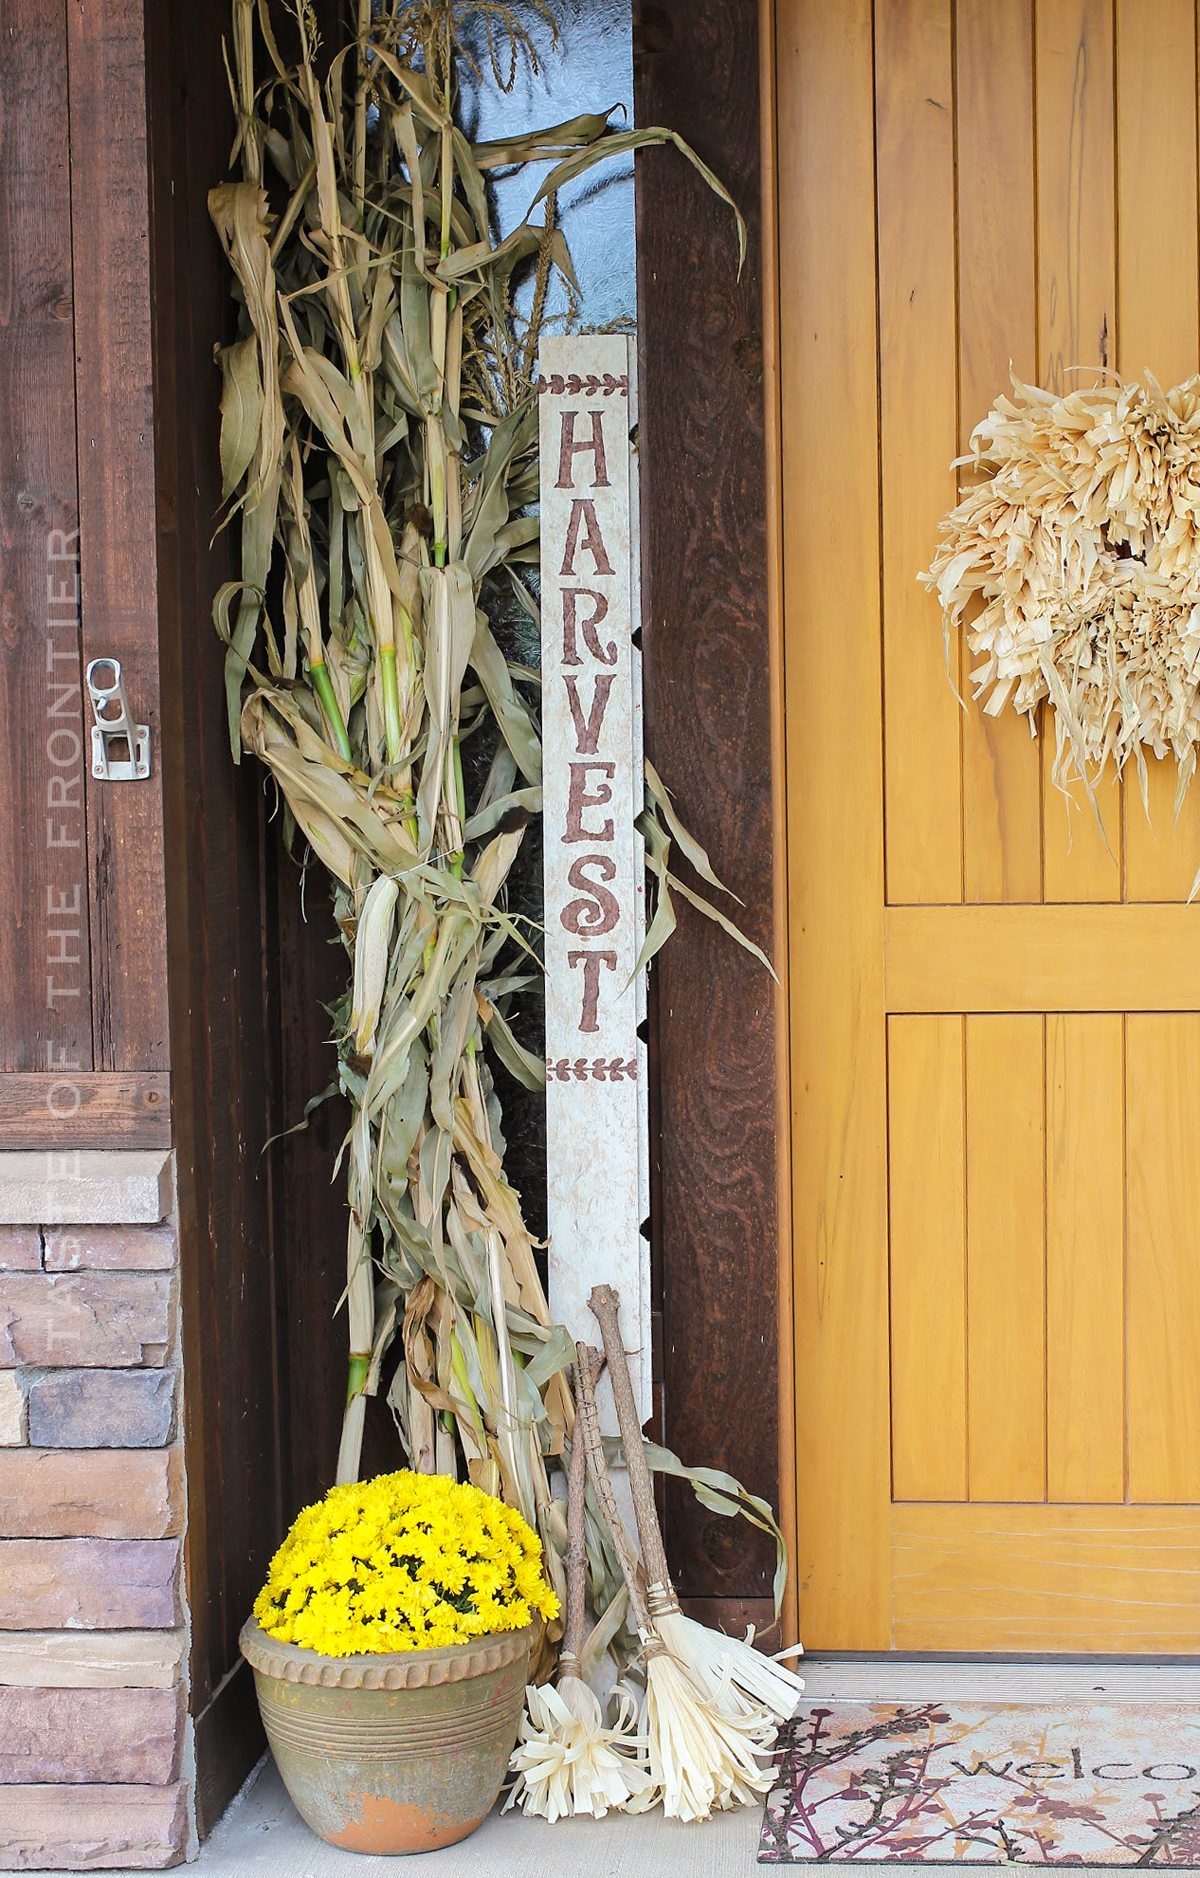
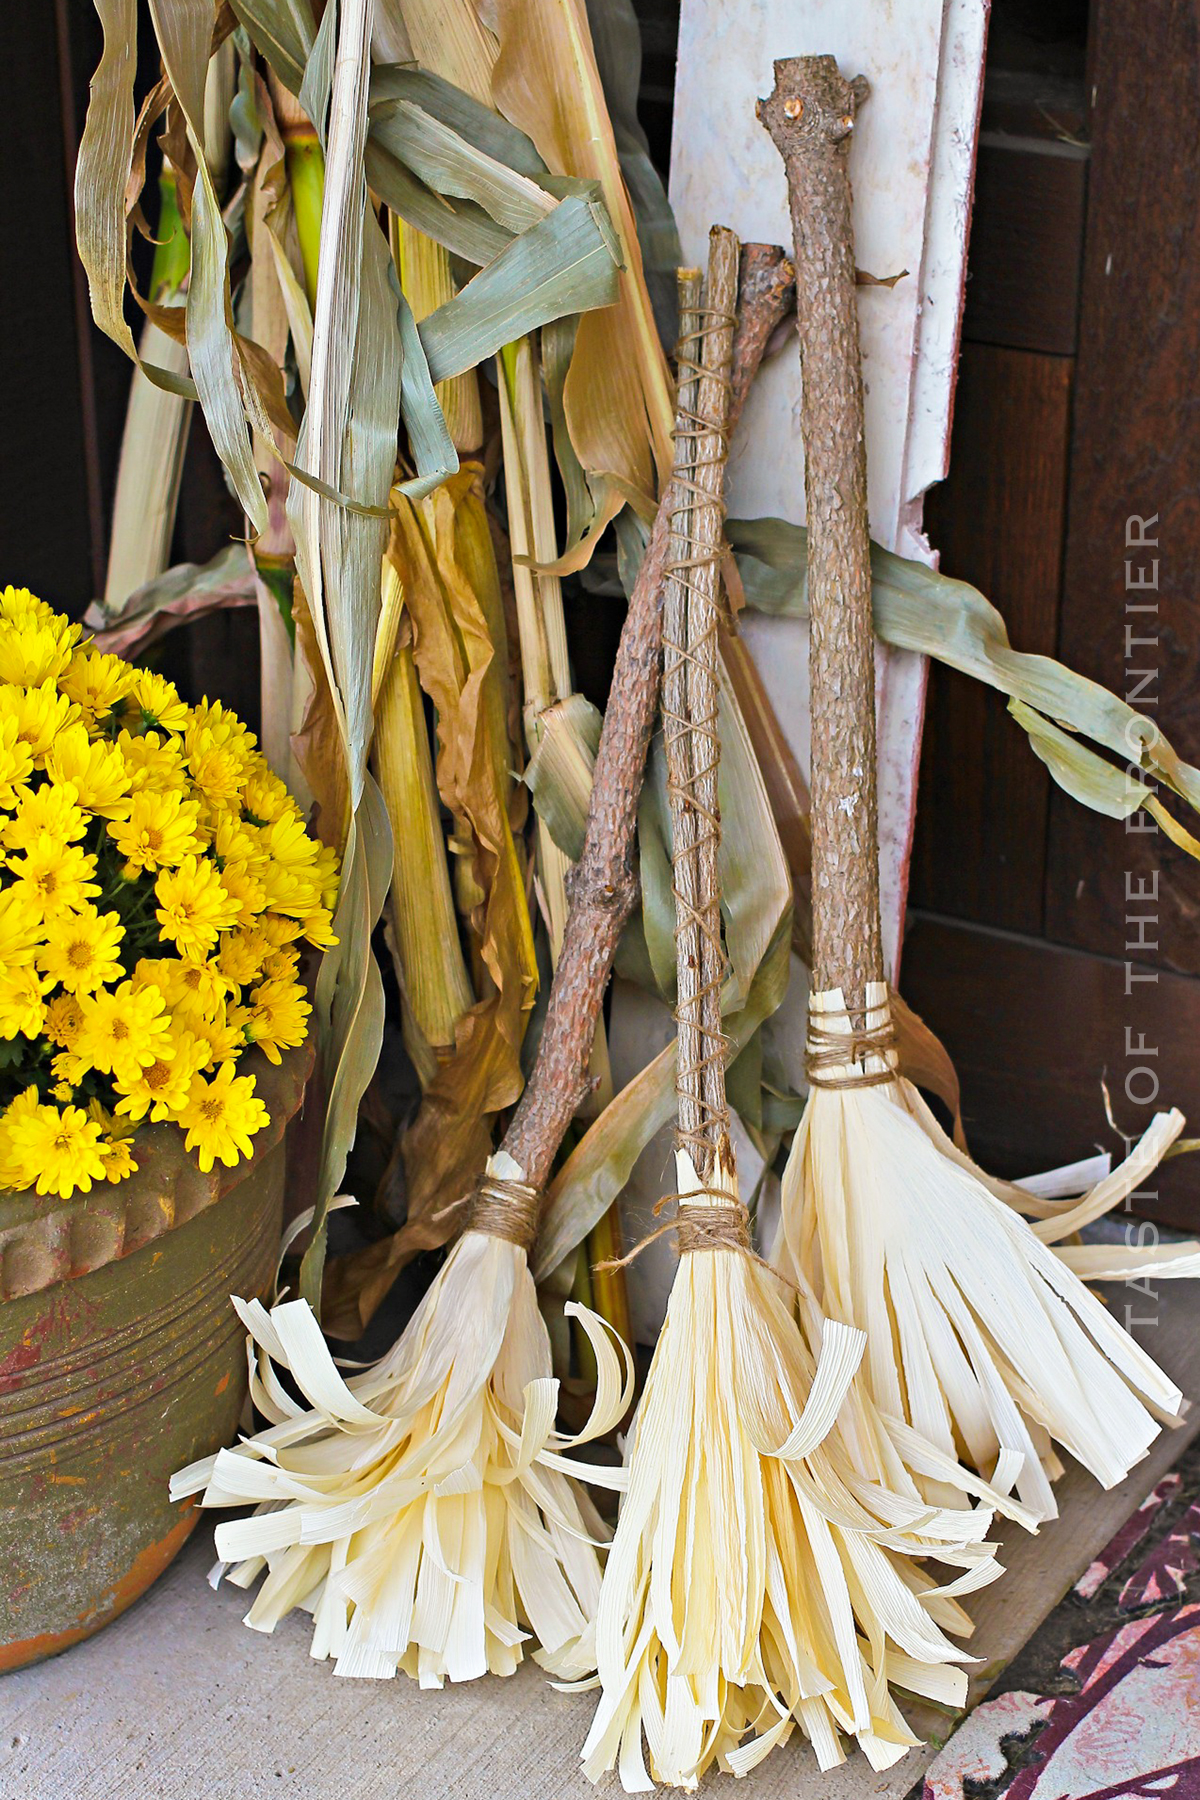
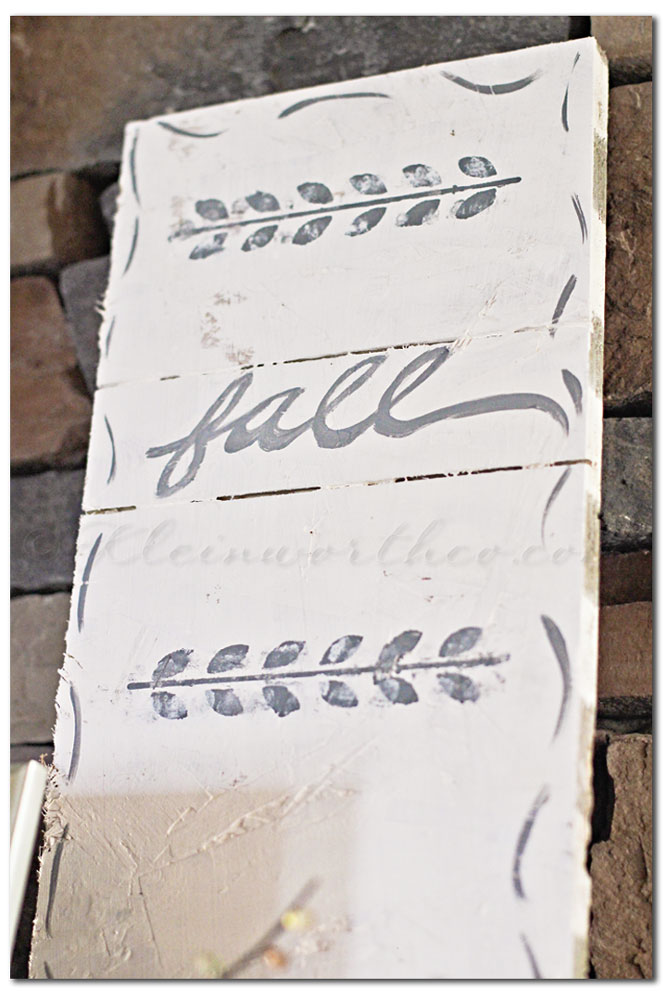
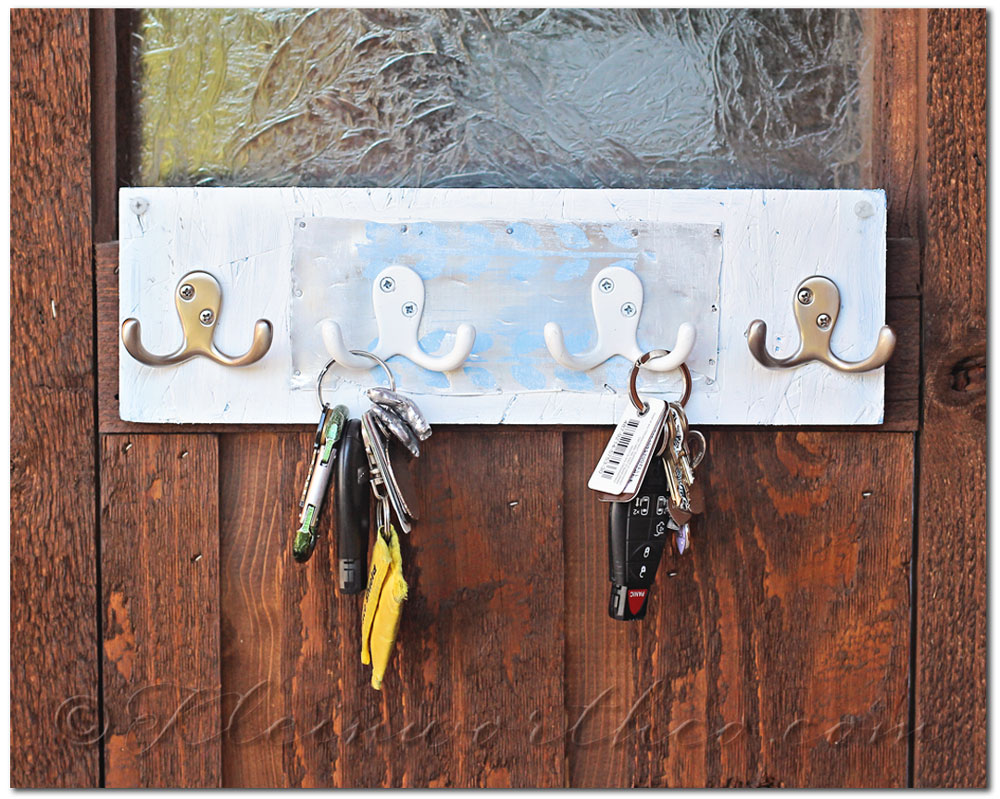
 Just a board from the scrap salvage down the street & some chalkboard paint. That’s all it took.

 The heat made a week long return after we had such fall like temps.
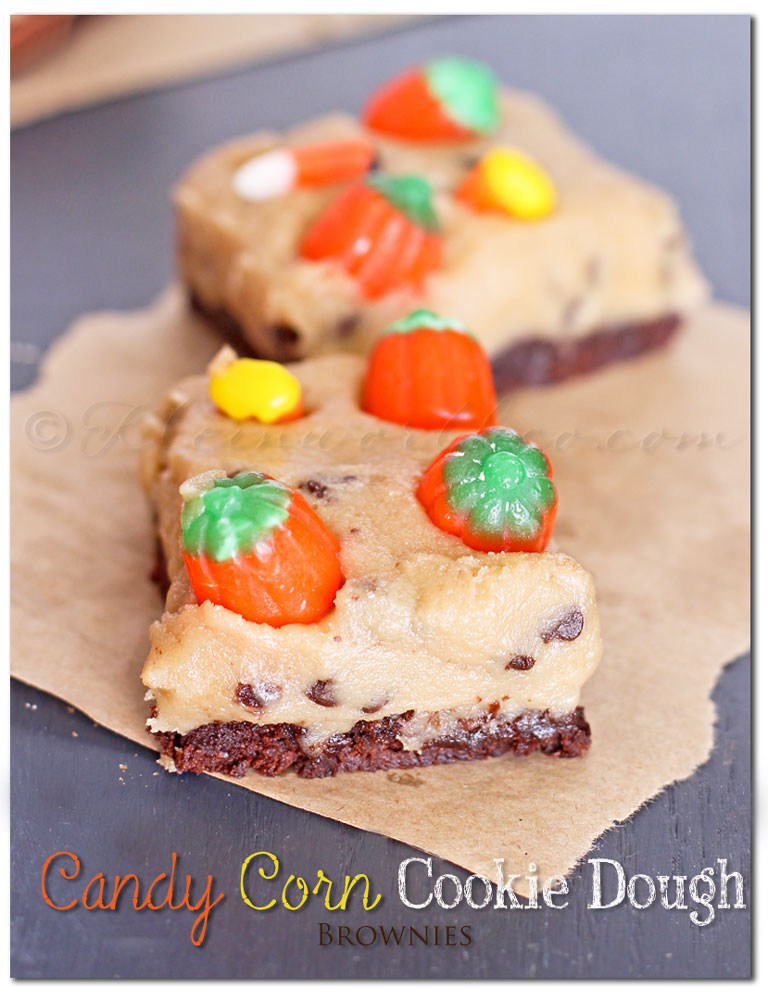


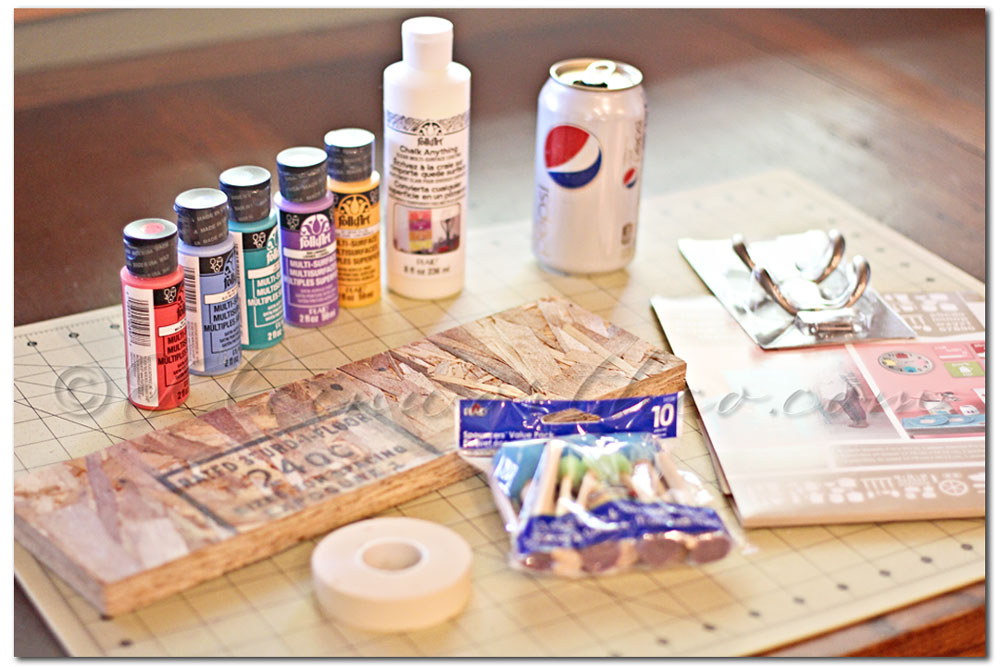
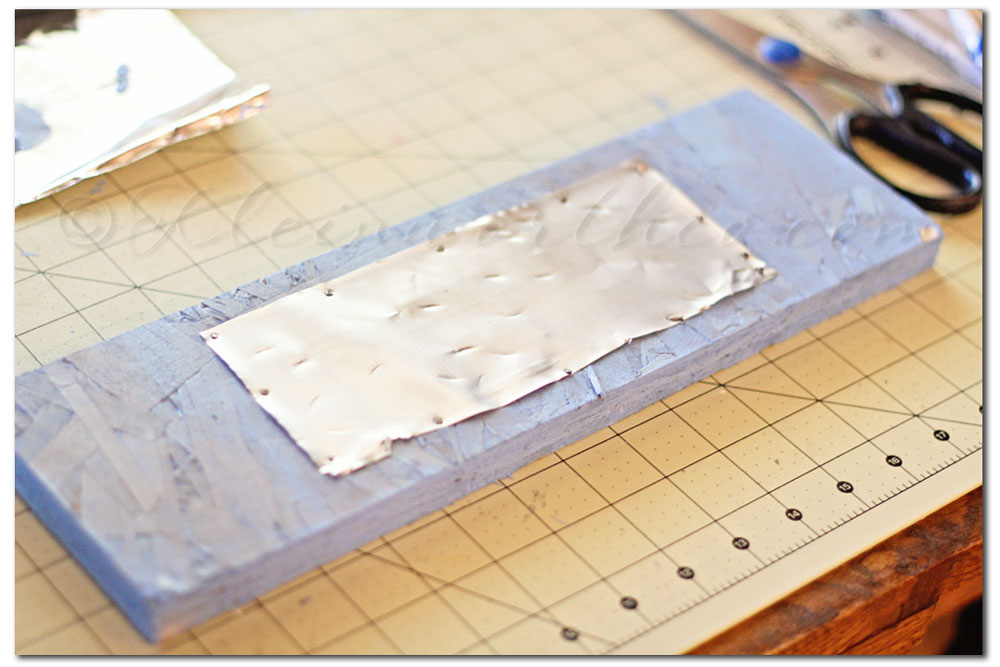 First I painted the whole thing in blue. Then I cut the can top & bottom off & then down the side.

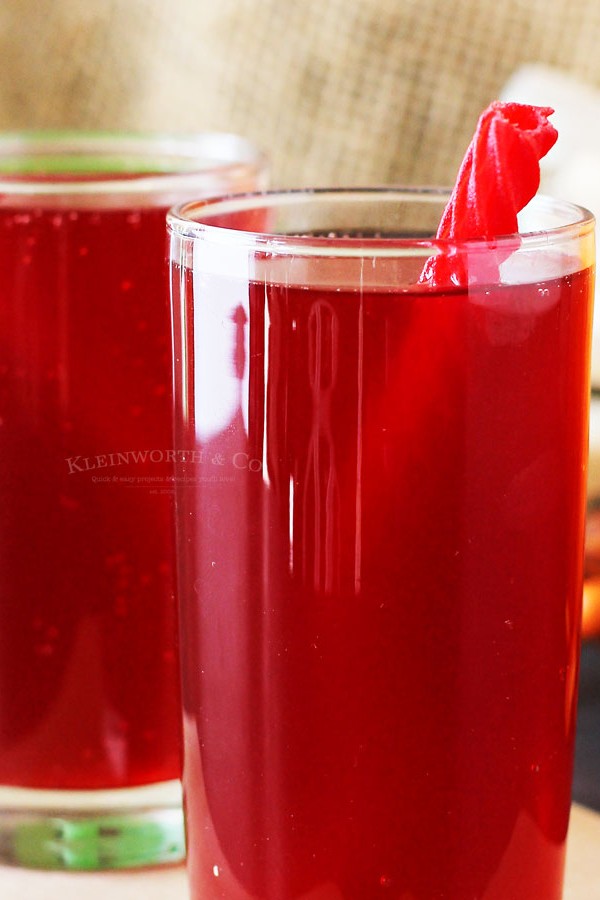
 So – like I said before, I’m not a fan of pumpkin anything. Plus I really only drink water or my morning coffee. I’m not a fan of calories from beverages so I keep it simple. But I had to do something for the prompt. So I’m sharing this shot from one of my client sets this past week- sort of reminded me of a pumpkin drink.
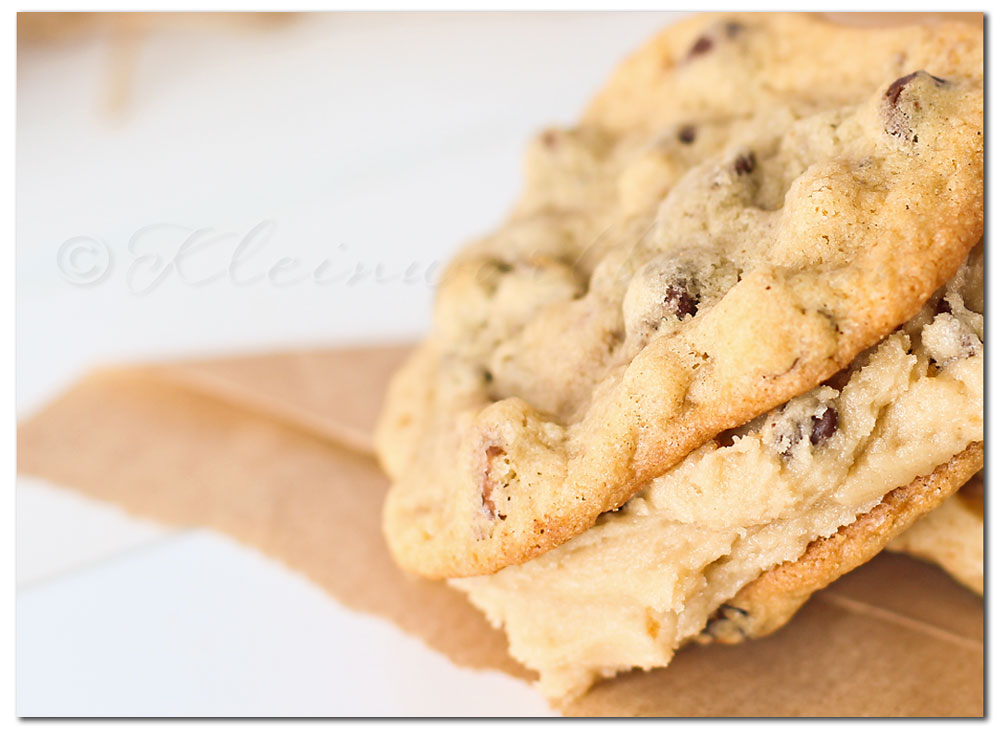


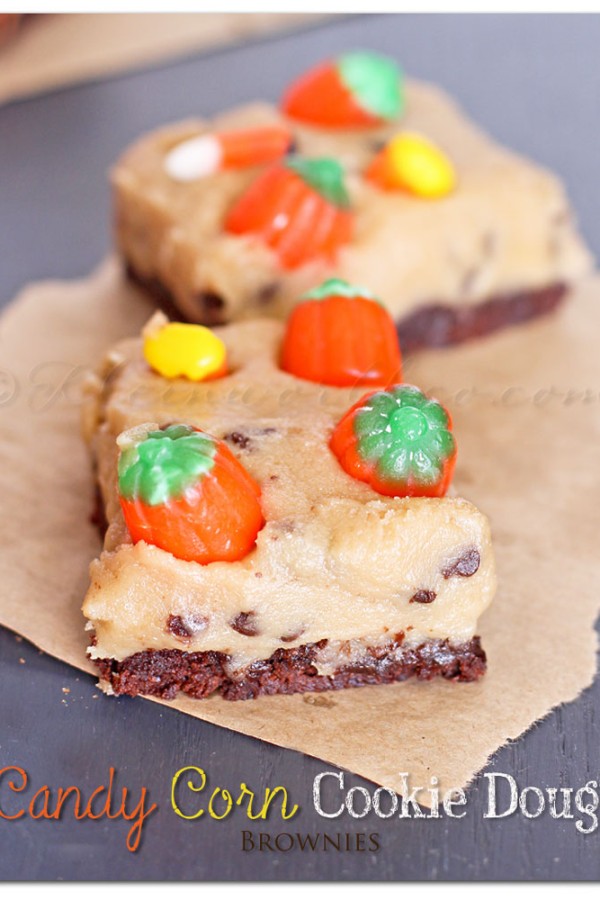
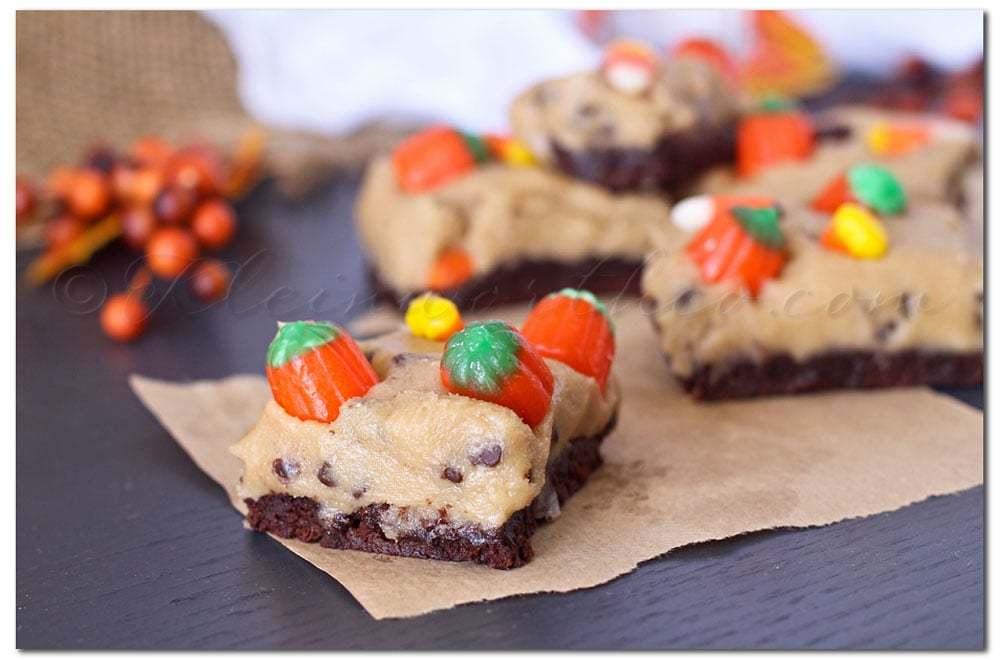
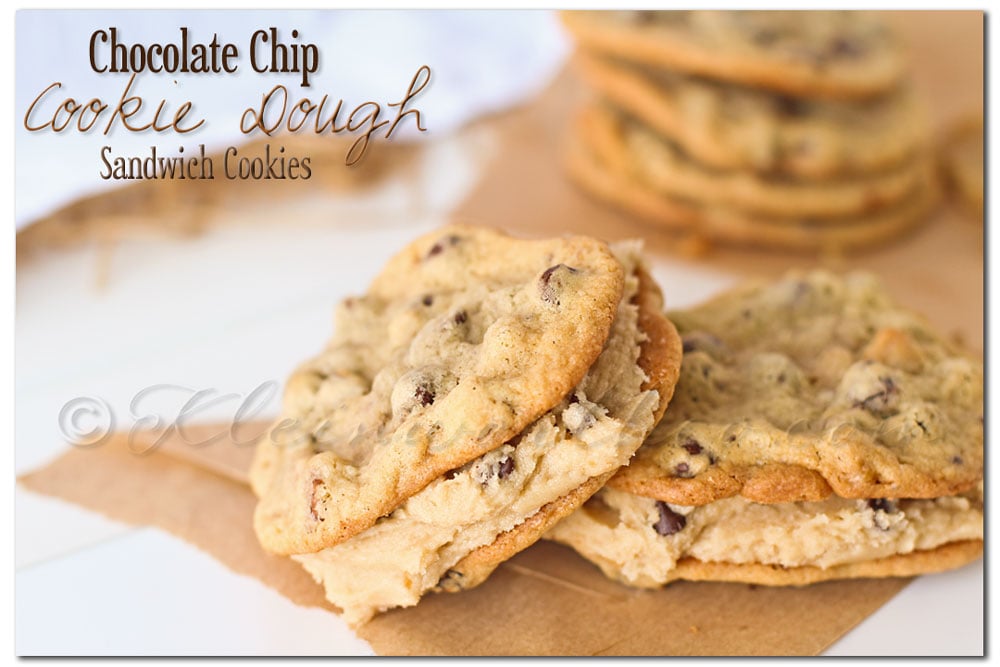
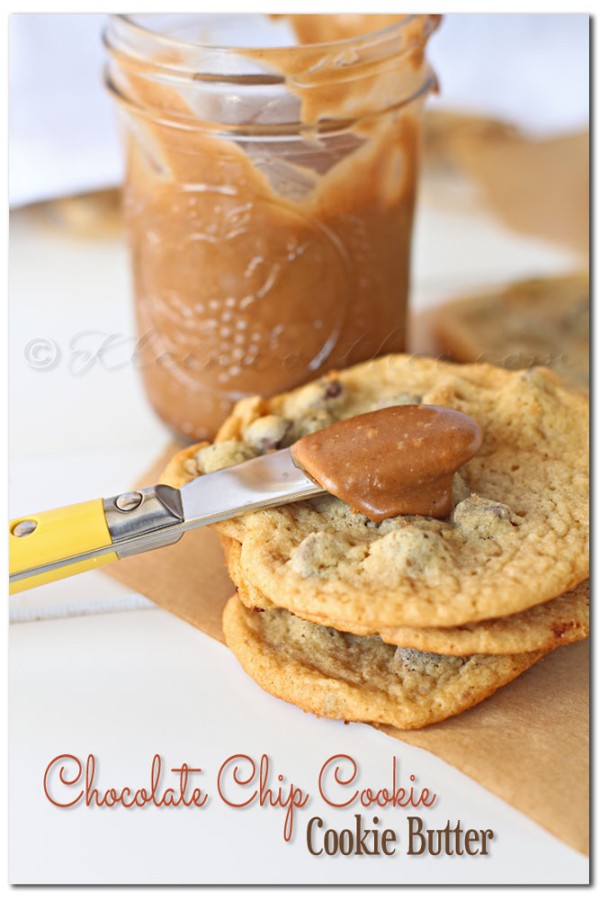
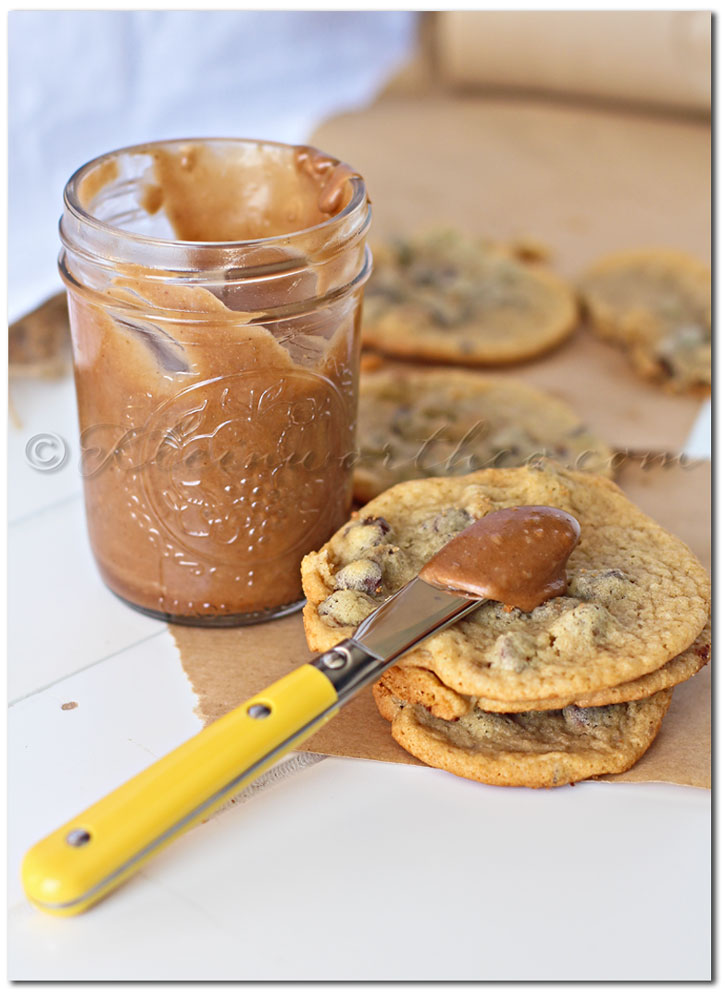
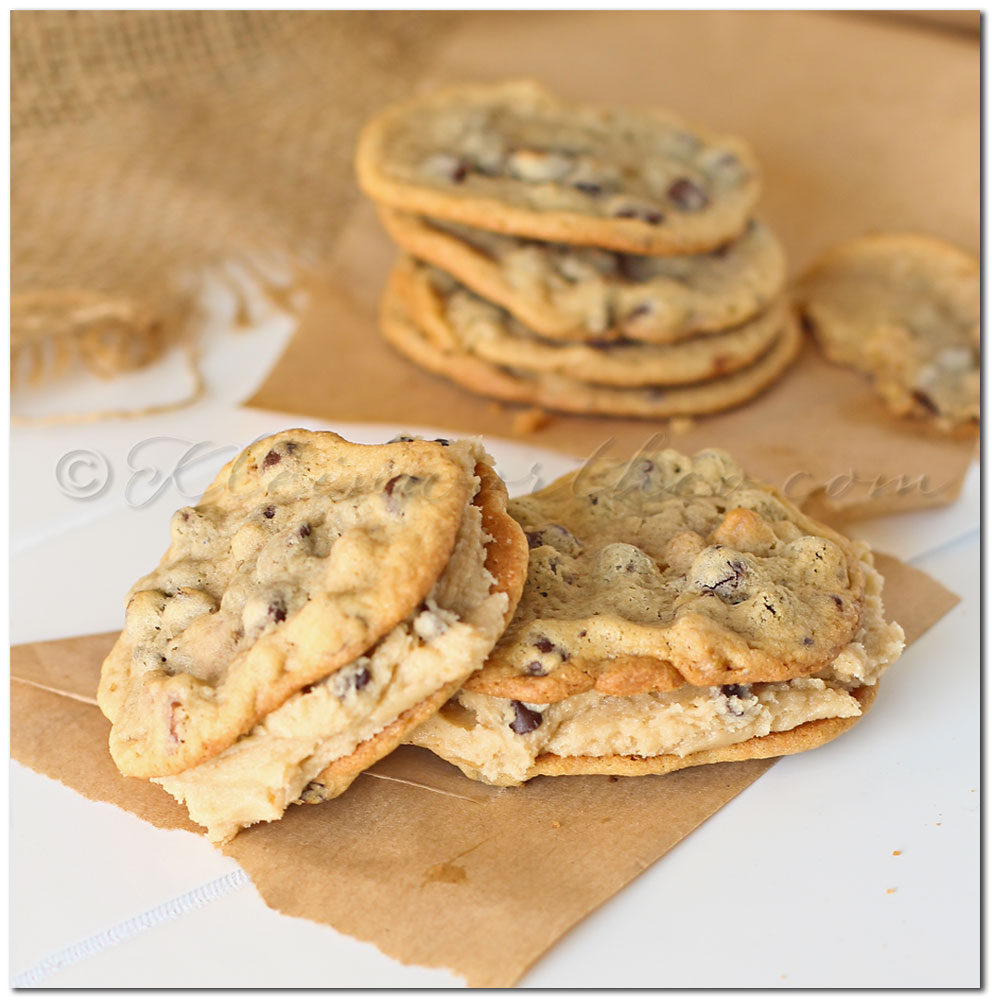 So I’m not sharing my actual cookie recipe. That one I have not even shared with my own mother.
I’m even debating if I will share it with my kids before they leave the house. I may take it with me to my grave. We will see.
Buuut- I am sharing the “safe” cookie dough for you to use with your own favorite chocolate chip cookies.
So I’m not sharing my actual cookie recipe. That one I have not even shared with my own mother.
I’m even debating if I will share it with my kids before they leave the house. I may take it with me to my grave. We will see.
Buuut- I am sharing the “safe” cookie dough for you to use with your own favorite chocolate chip cookies.


