Hello everyone!!! I appreciate you all being here each & every day. I truly value you being here with me & for understanding that with our impending move – life here is chaos. I could really use the days to be twice as long. I know that things on this little blog are not quite what you are used to & once life calms down- I’m sure I will be back to delivering that to you all again. But having said that, I also love to bring you all little bits of “other than food” creativity even when I’m in the kitchen all the time. Because I love to create just about everything- food, DIY & crafts too. All of that is taking a bit of a back seat to the move right now. So- today the FABULOUS Rachel from Sew Happily is here to share with you How to Sew~ Tips for Getting Started. Please give her a nice warm Kleinworth & Co. welcome.
Hey yall! I’m Rachel from Sew Happily – where I blog about my handmade life, especially modern (ish) quilting, womens garment sewing, and girls garment sewing! I’d love to see yall stop by, grab a cup of coffee and visit for a while. You can also find me on Instagram!

One conversation that I find myself having frequently with people goes a little something like this:
Friend: Rachel, I want to start sewing.
Me: YAY!!! (as I start bouncing up and down)
Friend: I have no idea how and where to start. Do you have any advice?
Yall – talk about a loaded question. I could talk about sewing for days and days and days.
So to help all yall who are aspiring sewists out there, I’ve put together my top 5 resources for you if you’re starting this journey into the sewing world! There’s a couple ‘categories’ that I’ve used to break things down for you: supplies, basic how to tutorials, great beginning project tutorials, fabric sources, and some blogs that I find to be very helpful. By all means, is there more out there? Absolutely! But – can you make it with just these? For the most part, yest! So, check it out and get to sewing! 🙂

Fabric.com, Hawthorne Threads, Fat Quarter Shop, Michael Levine Inc., Etsy
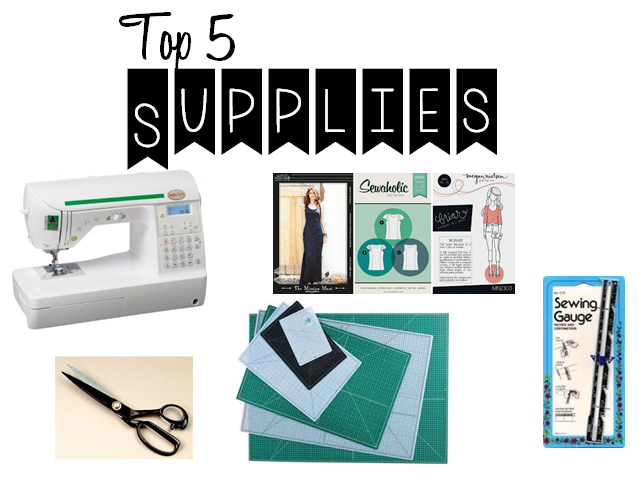
Sewing Machines (I sew on a Babylock A Line Elizabeth), fabric only scissors, rotary cutting mat (I prefer Olfa), patterns, and a sewing gauge.
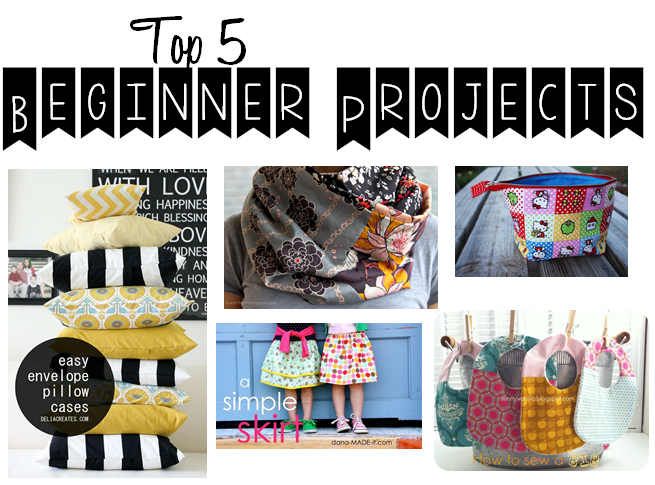
Easy Envelope Pillows at Delia Creates, Infinity Scarf / Cowl by Very Shannon, Open Wide Zipper Pouch by Noodlehead, Bibs by Sunny Vanilla, Simple Skirt by Dana Made It
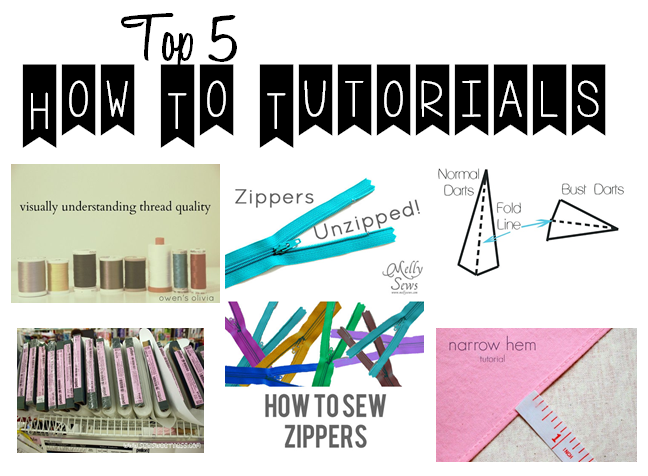
Understanding Thread Quality, Narrow Hem Tutorial by Four Square Walls, Zippers Unzipped by Melly Sews, , Schwin and Schwin Darts, Interfacing Tips with Sew Sweetness
p.s. if you’re more interested in learning how to quilt, check out this great series by Diary of a Quilter!
So there you have it, friends! If you’re looking for more sewing and quilting inspiration, follow me on Pinterest and be sure to check out Sew Happily!
Thanks again, Gina, for having me today! Looking forward to being back next month!
This is great for so many just getting started!!! Thank you Rachel!!!!
Want more creative inspiration?
To see where I am linking today- visit HERE
[include id=”1″ title=”Footer Ad”]
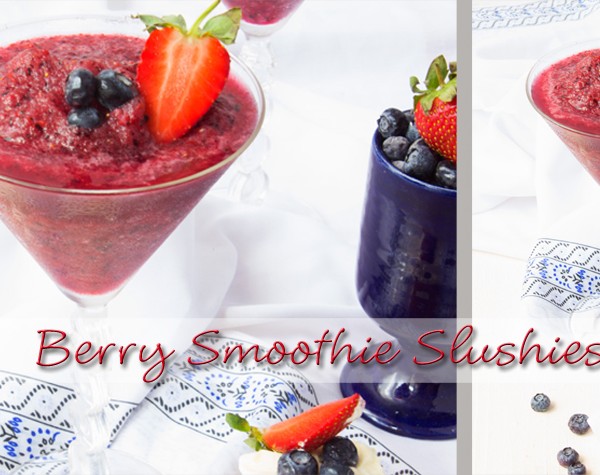
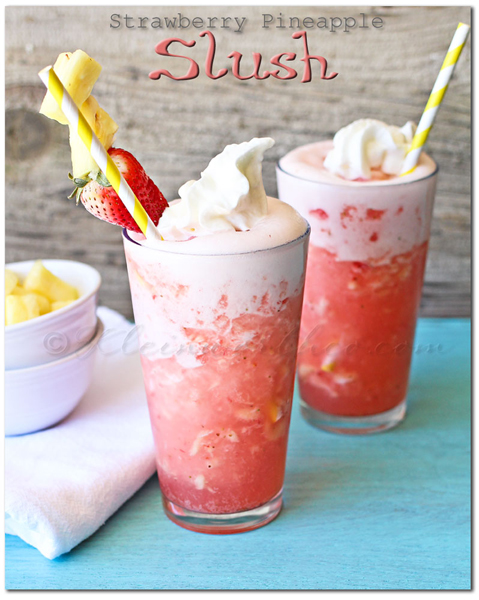
Berry Smoothie Slushie
I’m super excited you guys!! Today the FABULOUS Rochelle from Oh So Sweet Baker is here today (all the way from the UK) to share this Berry Smoothie Slushie with you all. Being that I have roots to Britain I am automatically drawn to Rochelle – not to mention that she makes SUPER YUMMY recipes & takes oh so pretty pictures of it all. So you can imagine how excited I was when she jumped on board the team for the summer. YAY! Check out this recipe today & then go on over & give her some love too.
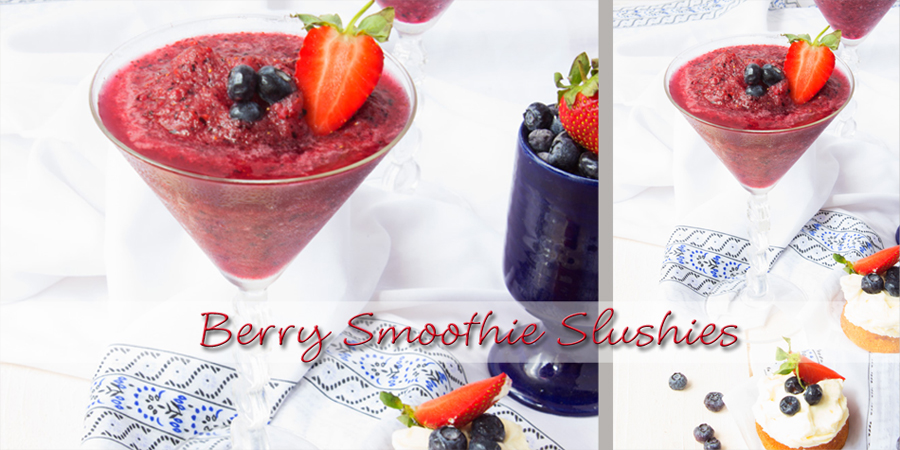
Hi everyone! I’m Rochelle and I blog at Oh So Sweet Baker. Today I will be hijacking Gina’s blog and bringing you these delicious berry smoothie slushies…
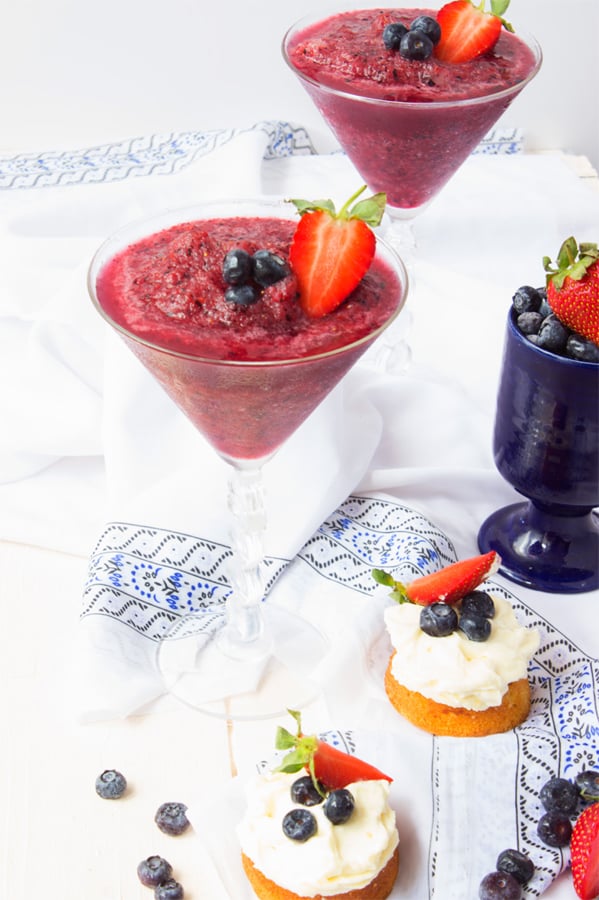
Sometimes I love to mix things up for breakfast when I manage to actually eat breakfast. I usually steer away from the runny eggs, cereal and those overnight chia/oats that everyone seem to be going crazy for these days. Me, I like the bacon sandwiches, croissant & viennoiseries and fruity things, like these berry smoothie slushies. I’m a sucker for smoothies and are my kind of quick on the go breakfasts. Chuck fruits in the blender with a liquid of your choice, blend and you are good to go. I have them at least everyday for breakfast or as a mid morning snack and love to vary the fruits and veggies that go into them.
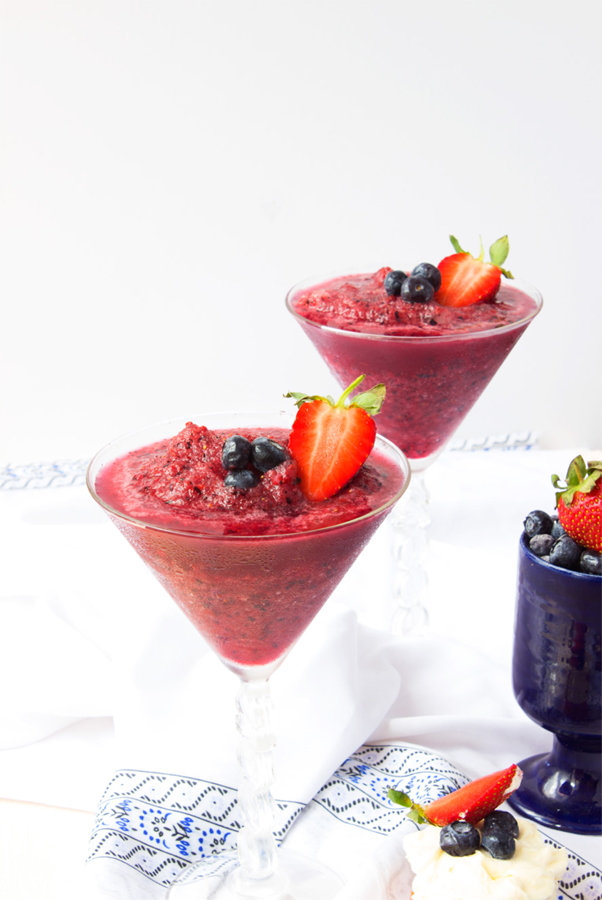
Can you imagine sipping these ice cold berry smoothie slushies in the warm weather on your way to work or on the weekends for something different to serve at brunch, along with all your other ‘brunchy’ items. They are perfect and much better than those sugar and colour loaded Mr slushies that you used to get as a kid. These smoothies are full of goodness. Now I usually don’t go on about how ‘healthy’ things are, because the whole these are healthy for you thing gets annoying but here are some fun healthy facts about berries for you.
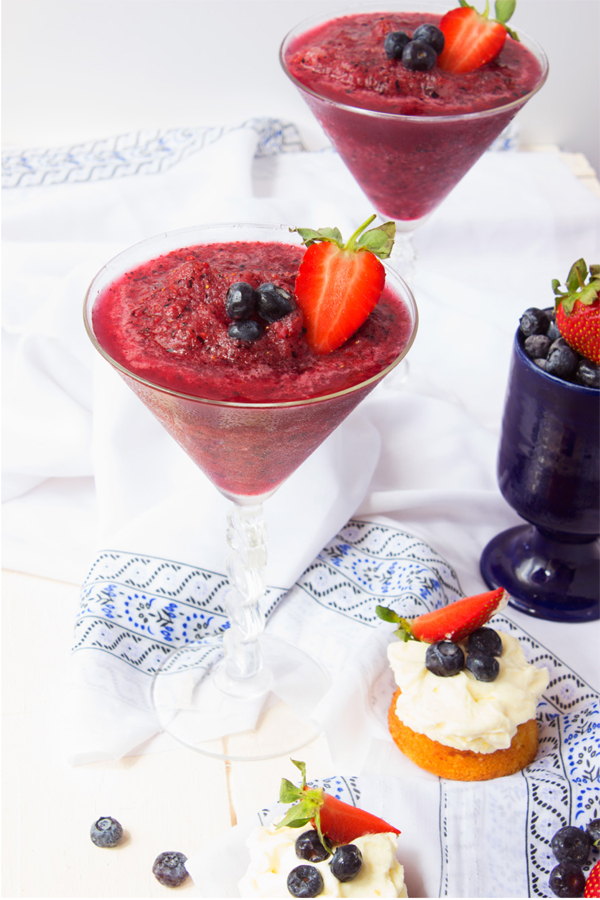
1. Blueberries are high in antioxidants, which can help protect you from heart disease and cancer. They are also good at strengthening the skeleton too!
2. Blackberries, like their blue cousin are high in antioxidants and have anti-inflammatory properties. They also help improve your memory, coordination and balance.
3. Raspberries also have anti-inflammatory properties, can reduce cartilage damage and help prevent arthritis.
4. Strawberries are high in vitamin C and are great for your bowels.
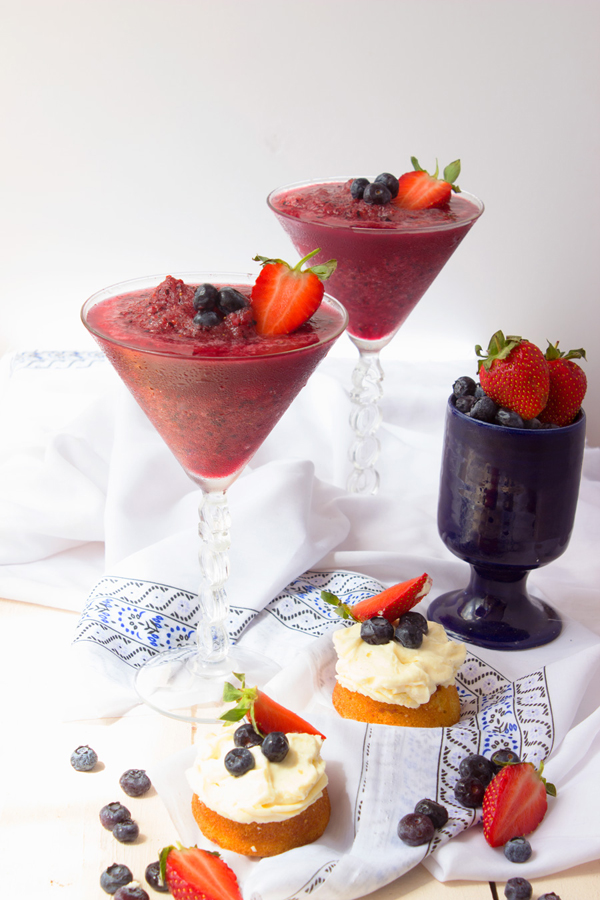
So really berries are power foods, so technically this is a power berry smoothie slushies. Now if you are serving these for brunch, then cake for breakfast isn’t a bad idea or frowned upon. The mini mixed berry shown on the photos are perfect to serve alongside the berry smoothie slushies and the recipe can be found here

Berry Smoothie Slushie
Ingredients
- 150 ml 2/3 cup blueberry juice
- 175 g 1-1.2 cups frozen mixed berries (blueberries, strawberries, blackberries, raspberries)
- 1 cup of crushed ice Berries for garnish optional
Instructions
- Add the blueberry juice, mixed berries and ice in that order into your blender.
- Blend for about 3 seconds.
- Pour into serving glasses and garnish with berries.
Notes:
Chill the glasses in the fridge or freezer to help keep the slushies cooler for longer
Fancy a creamy smoothie slushie, add 2-3 tbsp of plain greek yoghurt or use milk instead of the juice
Sub the blueberry juice for another berry juice or even pomegranate juice
For extra health power properties add some goji or acai berries
Looking for more berry drinks?
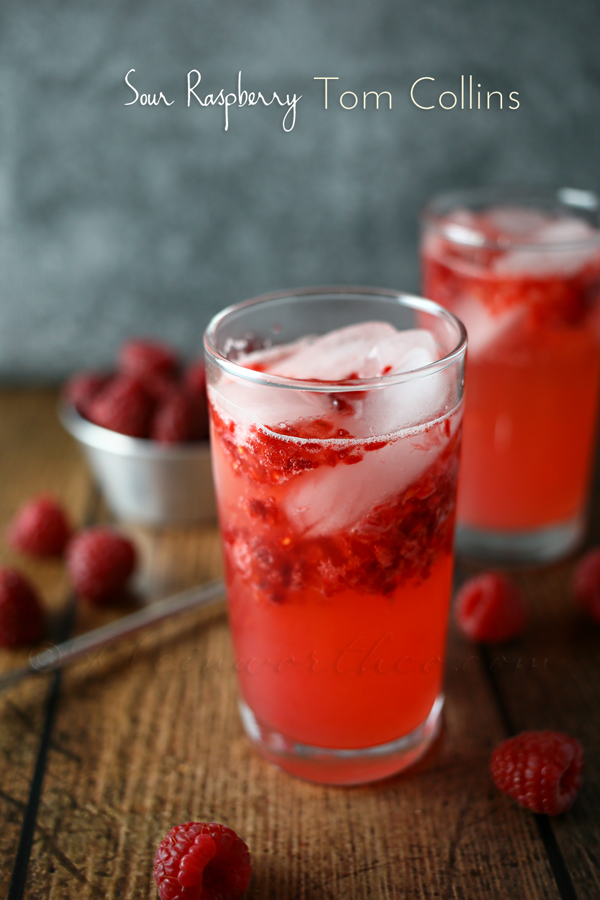
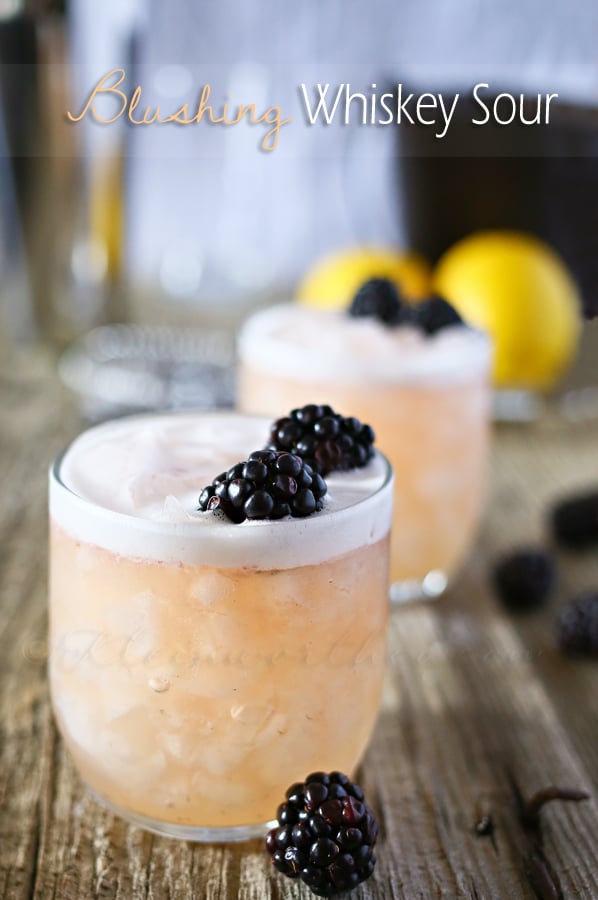
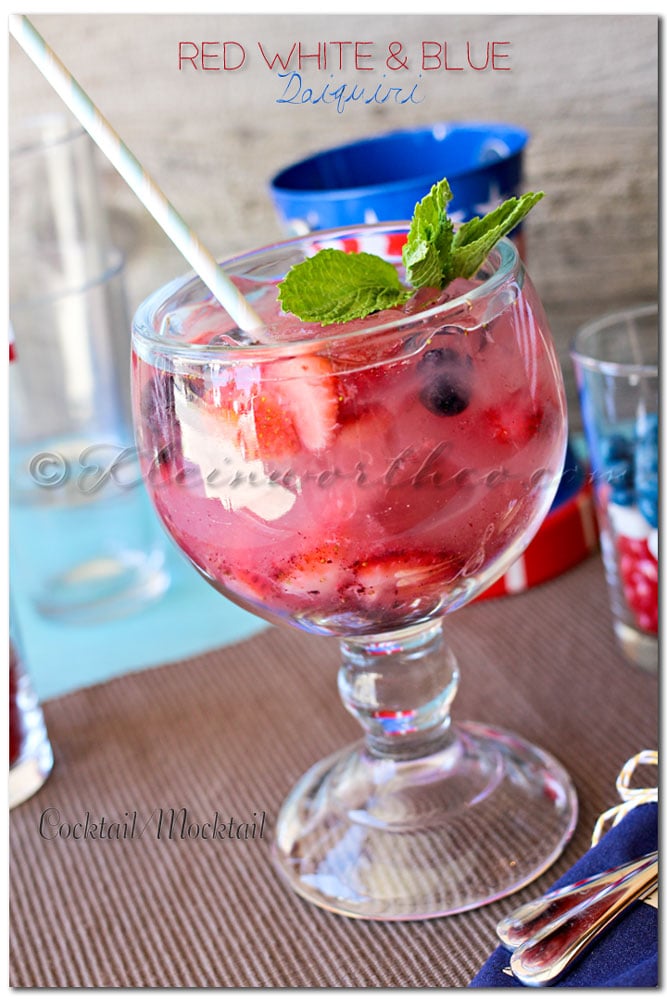
To see where I am linking today- visit HERE
[include id=”1″ title=”Footer Ad”]
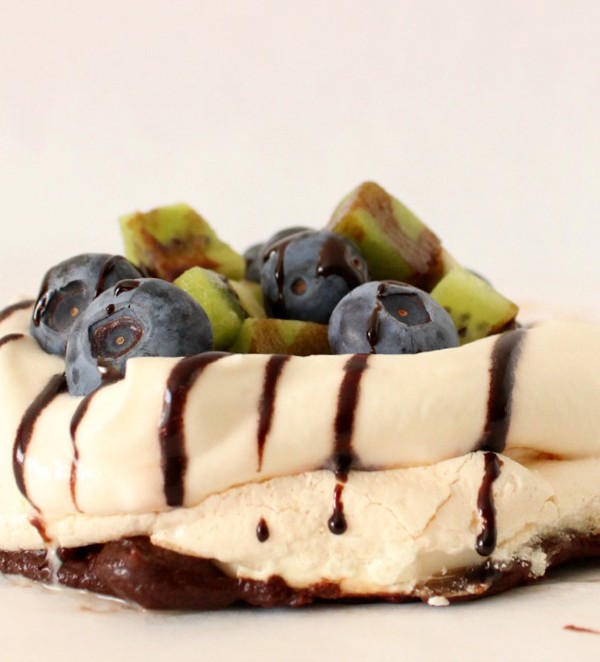
Chocolate Covered Pavlova
You all are going to love this GORGEOUS treat shared here today by the wonderful Clairellyn from The Simple, Sweet Life. I’m so very happy that she’s here with me on the team – helping me during these busy summer months. She created this AMAZING Chocolate Covered Pavlova for you all today. I can’t wait to try them myself. Thank you Clairellyn!
Hello everyone! My name’s Clairellyn from The Simple, Sweet Life, and I’m so excited to be posting here at Kleinworth & Co. this summer! Thank you to Gina for having me here!
Today I want to share a simple, yet elegant desert with you: chocolate covered pavlova! It’s a deliciously fresh dessert that can be made ahead (the pavlova can be made several days in advance and stored in airtight bags) or a few hours in advance.
Chocolate Covered Pavlova
Ingredients
- Makes 6 small 5" pavlovas
- 4 egg whites
- 1 cup granulated sugar + 1-2 tsp.
- 1 tsp. vanilla extract
- 2 bars 200 grams dark chocolate
- 1/2 tsp. corn starch
- 1 cup heavy whipping cream
- Fresh fruit cut and cubed
Instructions
- Start by preheating your oven to 250 degrees Fahrenheit (130 Celsius).
- I recommend creating some outlines for your pavlova by tracing some circles onto the underside of parchment paper (I used a small ramekin to do this). This will help keep all of you pavlova the same size so they'll look consistent and be less likely to burn.
- In a large glass bowl, whip your egg whites to a soft peak.
- Meringues can be a fickle beast, so make sure all of your equipment is completely grease free and dry before using it.
- Add the cup of sugar a little bit at a time, beating until you've added all of your sugar and the meringue is holding stiff peaks (you should also no longer be able to see bits of granulated sugar). Fold in your vanilla extract and corn starch, and pipe or spoon your meringue onto your parchment paper.
- Make sure your sides are slightly higher than the center of your palova so your whipped cream and fruit will have a place to sit.
- Bake your pavlova for 30-35 minutes, or until it's a light cream color.
- Turn off the oven and let the pavlova cool inside it with the door slightly ajar.
- Once your pavlova is completely cooled and firm enough to move, you can melt your chocolate in a shallow, microwave-safe bowl.
- Gently dip the bottom of each pavlova into the chocolate, and set it aside on parchment paper to harden.
- You can put it in the freezer or refrigerator for a few minutes if you're really in a hurry.
- Once the chocolate has hardened, you can whip up your whipped cream! In a medium-sized bowl, beat the heavy cream on high until soft peaks form.
- Add the 1-2 extra teaspoons of granulated sugar, and continue mixing until you begin to get stiff peaks.
- Spoon onto your pavlova, top with your fruit, and garnish with a little extra melted chocolate!
Recipe adapted from Joy of Baking
Thank you SO MUCH Clairellyn for sharing this beautiful dessert today!!!
I can see these at my next holiday party!!
Want beautiful fruit treats?
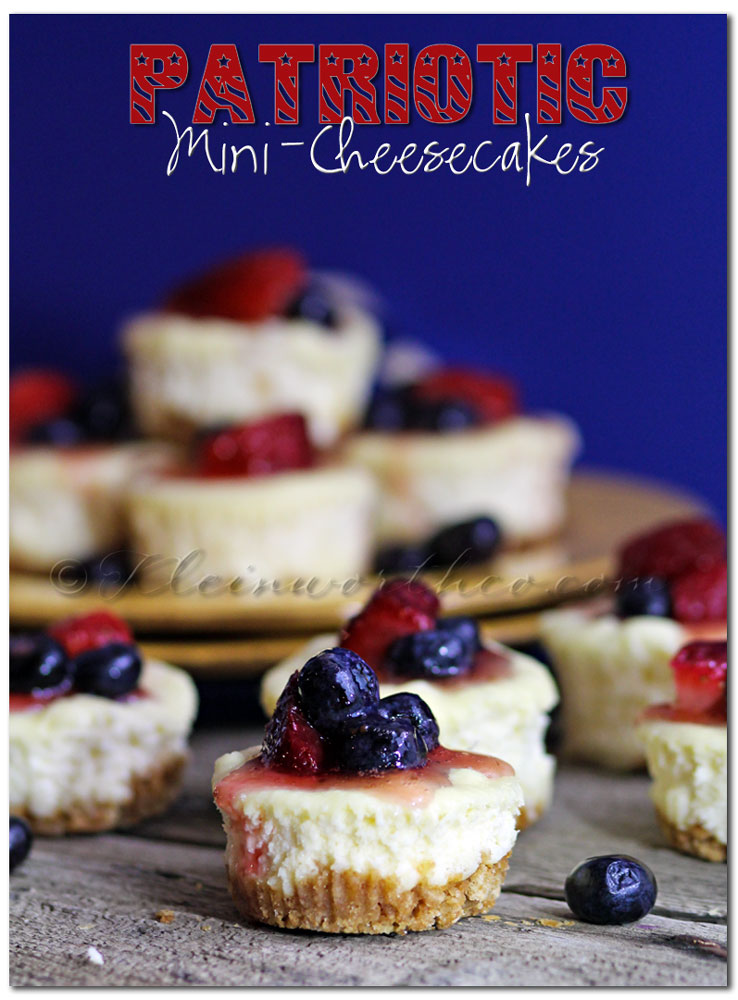
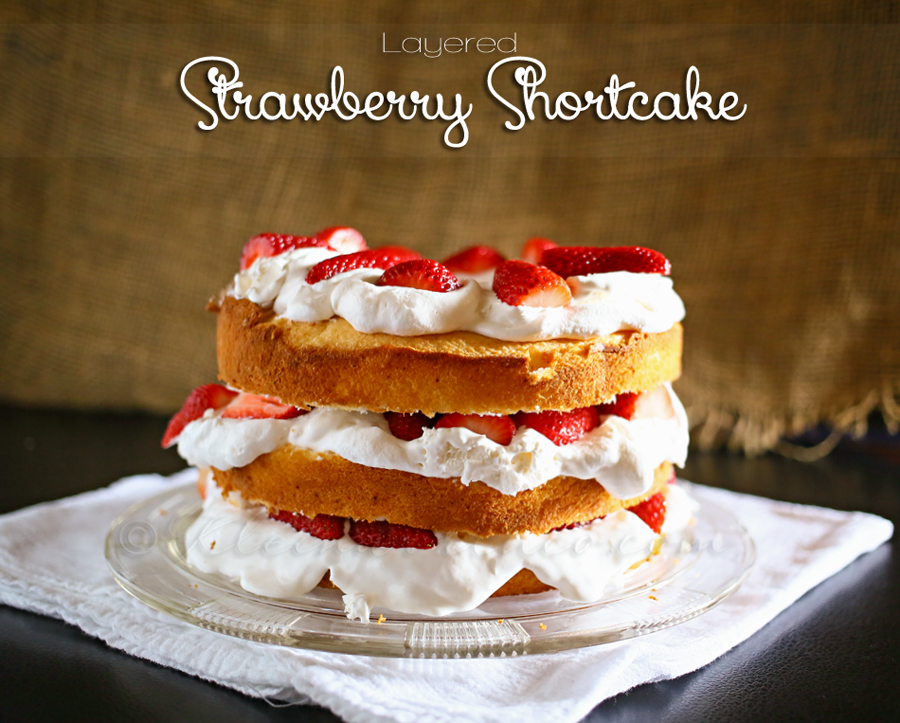
To see where I am linking today- visit HERE
[include id=”1″ title=”Footer Ad”]
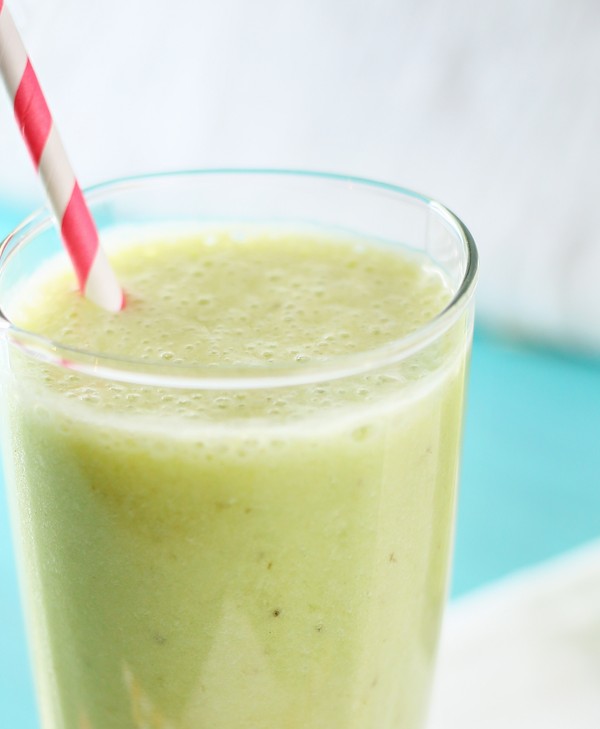
Green Tea Banana Smoothie
I am on such a smoothie kick these days!! I don’t know if it’s the warmer weather, the fact that I need something filling but fast or my incessant craving for fruity flavors. But we have been going a little nutty around here with the smoothies & this Green Tea Banana Smoothie tops my list for favorites. You know- when we get home from the gym & it’s already 8pm or later- the last thing any of us want to do is make a big huge dinner. So we bust out some healthy ingredients & the awesome Ninja blender & make some delicious bevies.
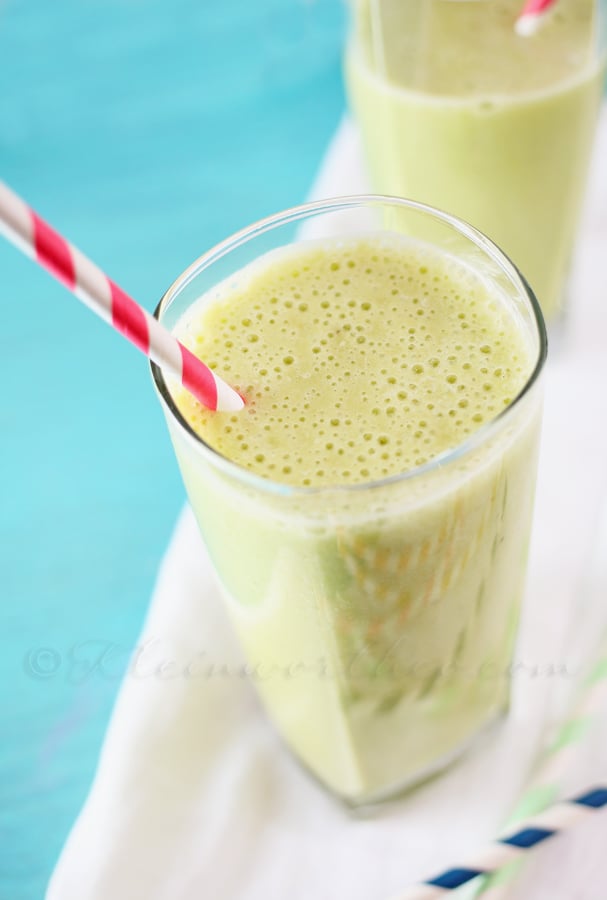
I love how thick & rich this is.
I feel like I’m having a milkshake – which is PERFECT after workout cravings.
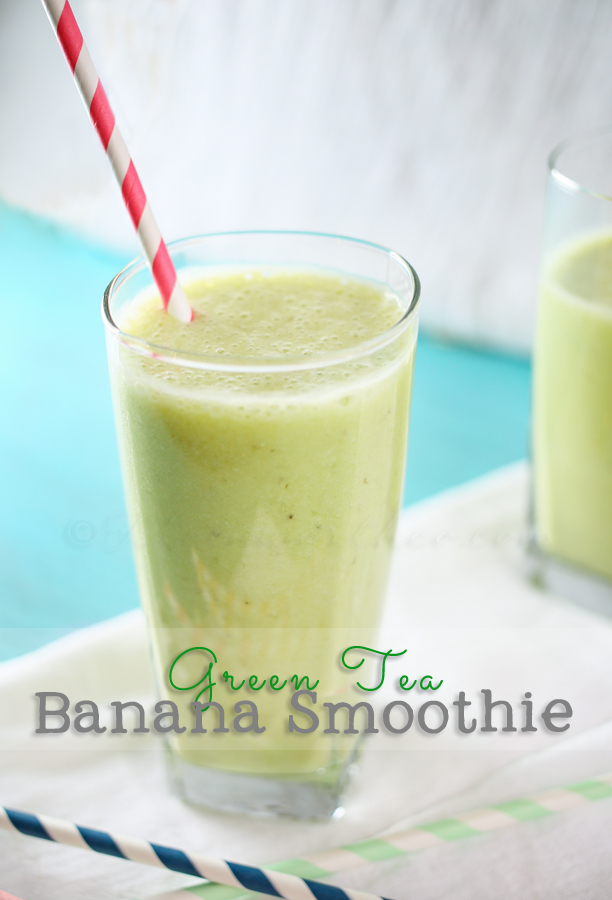
I love that I can get all these nutrients packed into one glass & the addition of this sweeet matcha – swoon!!
Green Tea Banana Smoothie
Ingredients
- 1 cup 1% or 2% cold milk
- 1/2 tbsp sweet matcha
- 2 ripe bananas
- 6-10 ice cubes
- 2 tbsp raw honey
- this made about 24 ounces
Instructions
- Add all ingredients to blender & blend on high for 1-2 minutes or until all ice is crushed & ingredients are smooth.
- Enjoy immediately
Want more easy beverages??
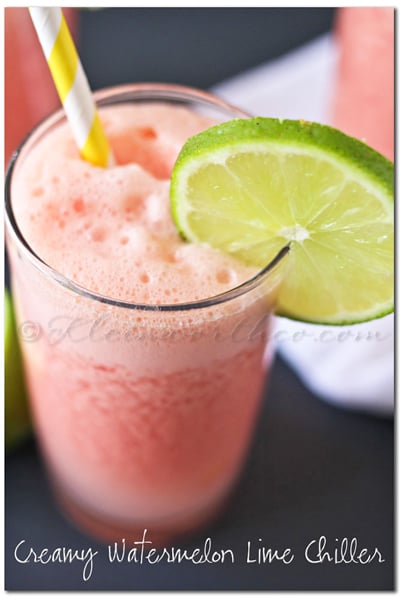
Creamy Watermelon Lime Chiller
To see where I am linking today- visit HERE
[include id=”1″ title=”Footer Ad”]
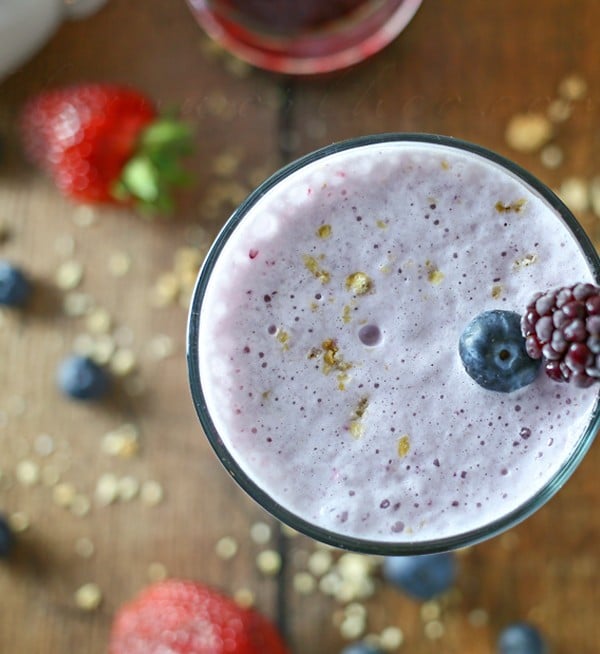
Vanilla Berry Smoothie
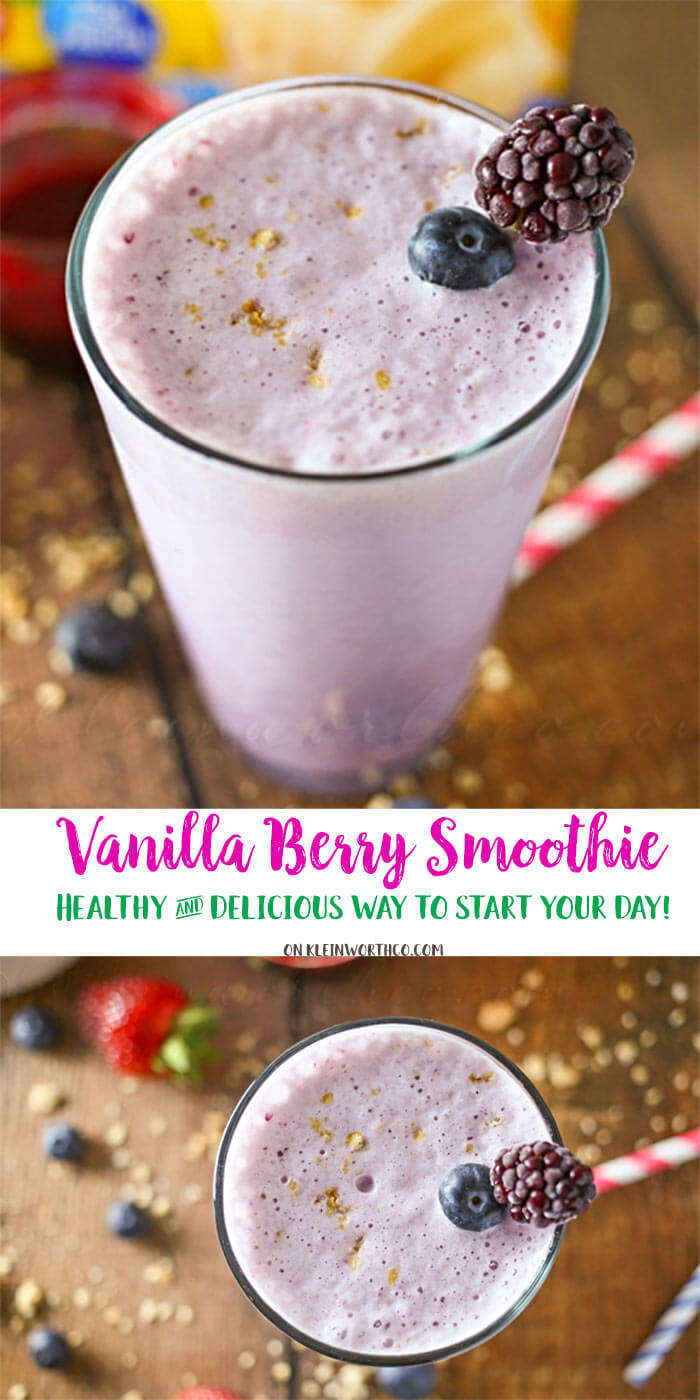
I mentioned the other day that we have really been enjoying smoothies lately. I have the most fun seeing what the kids decide to throw in there & blend to perfection. Their creativity never ceases to amaze me. While there are times when I will whip up something a little less healthy, for the most part I like to structure my recipes with breakfast in mind to kick my day off on the right foot. This Vanilla Berry Smoothie is sort of a mix between. All of the ingredients are healthy & packed with nutrients- with the exception of my little secret ingredient…the Triple Berry Sauce. It gives this smoothie the punch of berry flavor I am after & paired with Vanilla Carnation Breakfast Essentials Powder makes it soooo good.
This post contains some affiliate links. Click here to read my full disclosure policy.
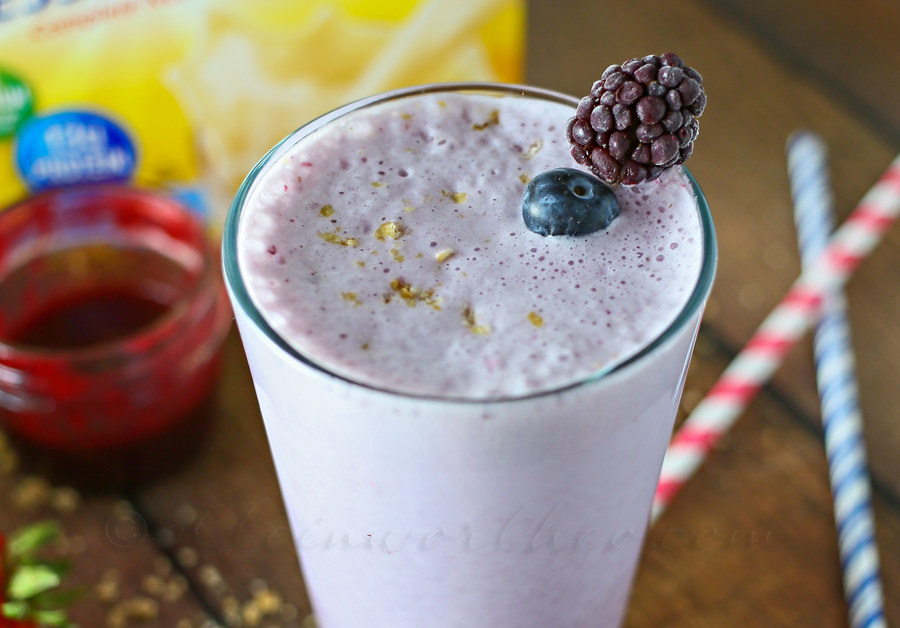
The key ingredient to this smoothie is the Vanilla Carnation Breakfast Essentials Powder. I love the AMAZING vanilla flavor it adds. It’s really easy for the kids to use too – no measuring or spilling. Added to that is the Triple Berry Sauce & then the granola. Keeps me full & satisfied well past lunch time.
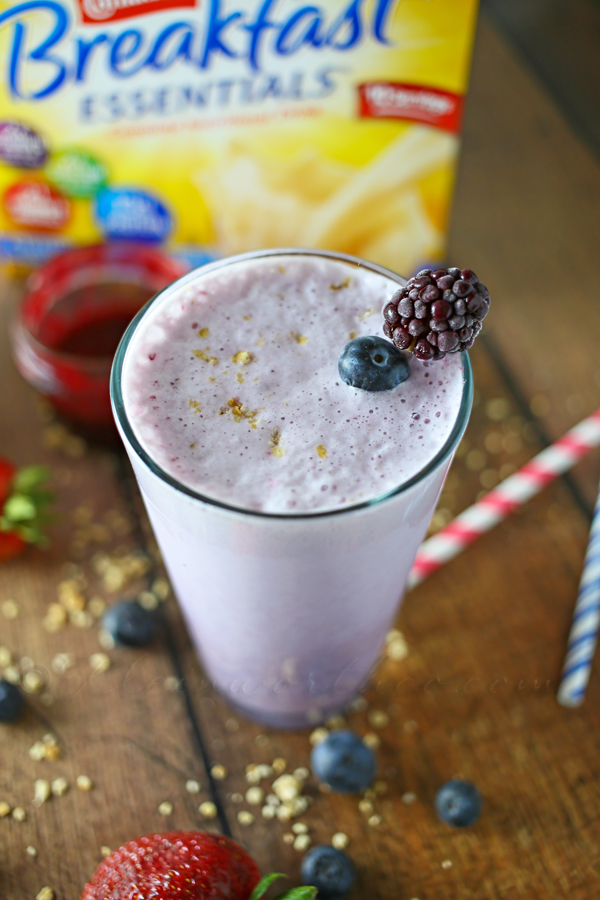
I love all the flavors packed into this smoothie. Vanilla, berry & then topped with granola – YUM!
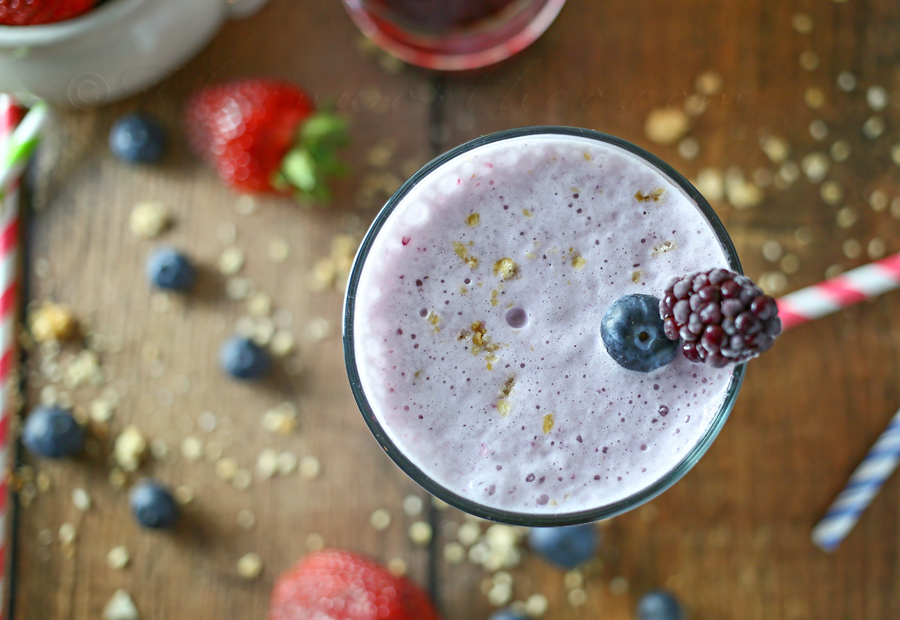
Carnation Breakfast Essentials® Powder is GREAT for making so many different kinds of smoothies. With flavors like chocolate, dark chocolate, chocolate malt, vanilla & strawberry – the kids & I are making a new recipe combo everyday.
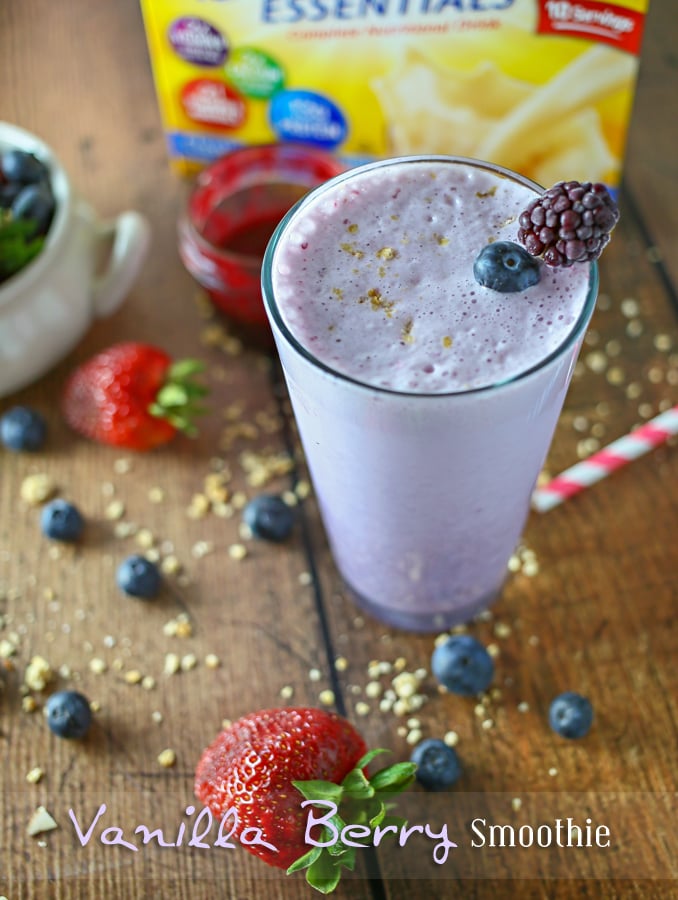

Vanilla Berry Smoothie
Ingredients
- 2 pkts Carnation Breakfast Essentials Vanilla
- 1 small banana
- 1-1/2 cup cold milk
- 1/2 cup ice
- 1/4 cup Triple Berry Sauce
- 1/2 cup blackberries
- Top with granola & extra berries
Instructions
- Combine all ingredients except granola in blender & blend for approx 30-60 seconds.
- Serve immediately & garnished with granola & extra berries
Want more great berry breakfast ideas?

This shop is part of a social shopper marketing insight campaign with Pollinate Media Group® and Nestle, but all my opinions are my own. #pmedia #BreakfastEssentials
To see where I am linking today- visit HERE
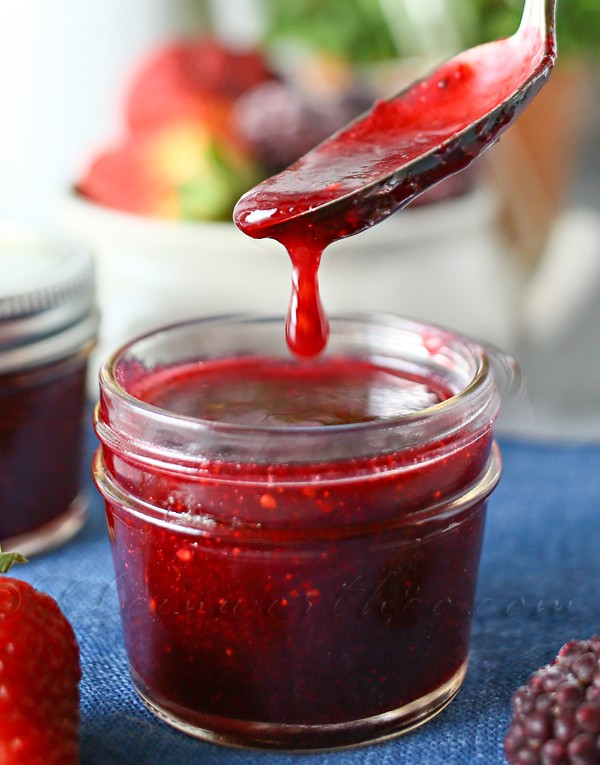
Triple Berry Sauce
Oh you guys…..you know how I’m all about the toppings & dips?! I have said it before & I’ll say it again- more is more for me when it comes to desserts, treats & all things yummy. I like creating a masterpiece when it comes to what I put on my plate or in my bowl. You should see me when I go to the frozen yogurt place – so many choices & my bowl is overflowing with all the toppings. I typically go for the standard hot fudge, marshmallow cream or caramel when it comes to what I’m going to drizzle. Buuuut – then I had this craving for something berry. I couldn’t decide which berry I really wanted – so I came up with this Triple Berry Sauce that hit the spot perfectly.
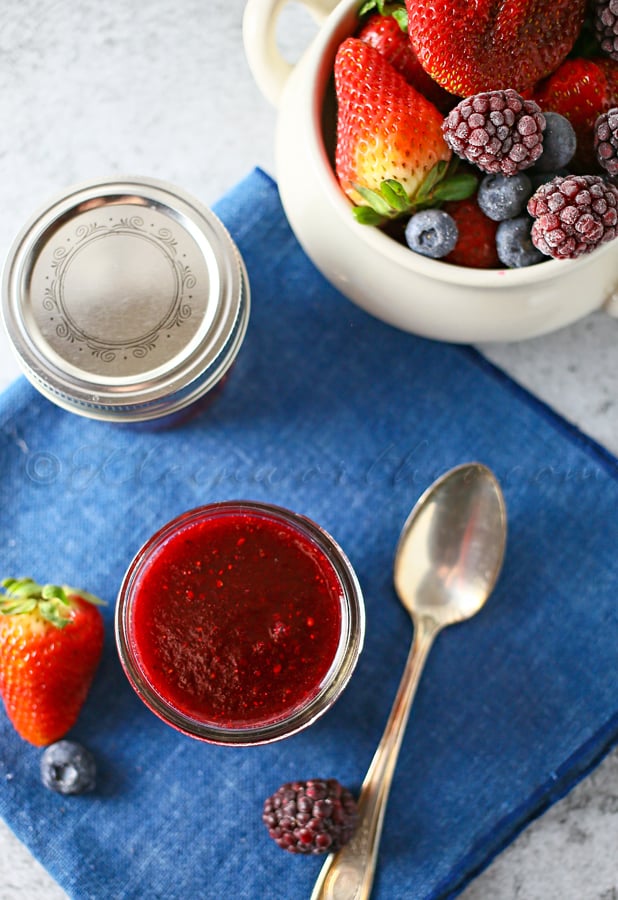
I put blueberries, blackberries & strawberries in there – YUM, YUM YUM!!
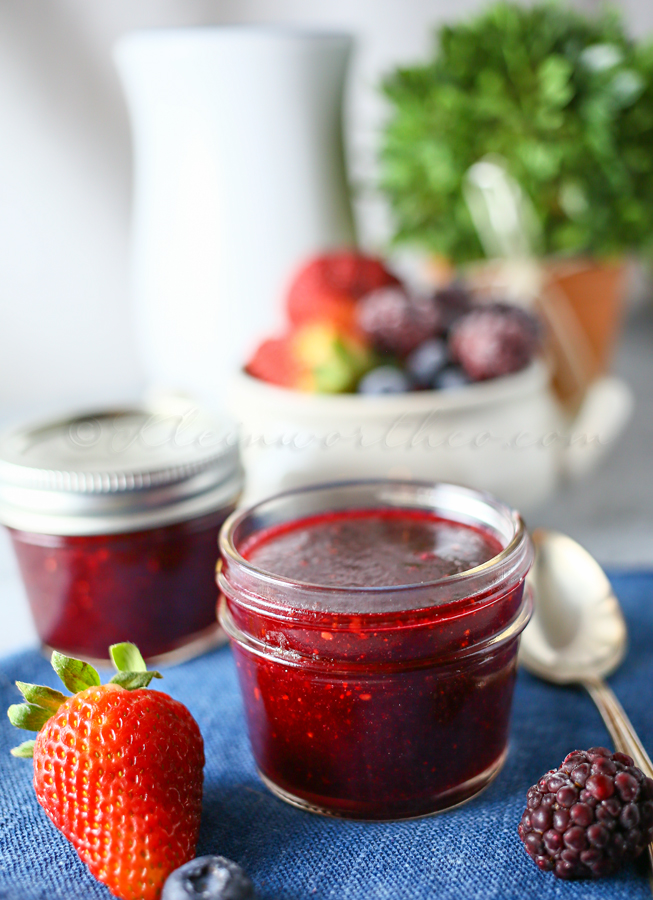
This works great for more than just a topping though. Add it to a smoothie, add it to your pancakes or waffles, dip something tasty in there. I’m telling ya’ – it’s all good.
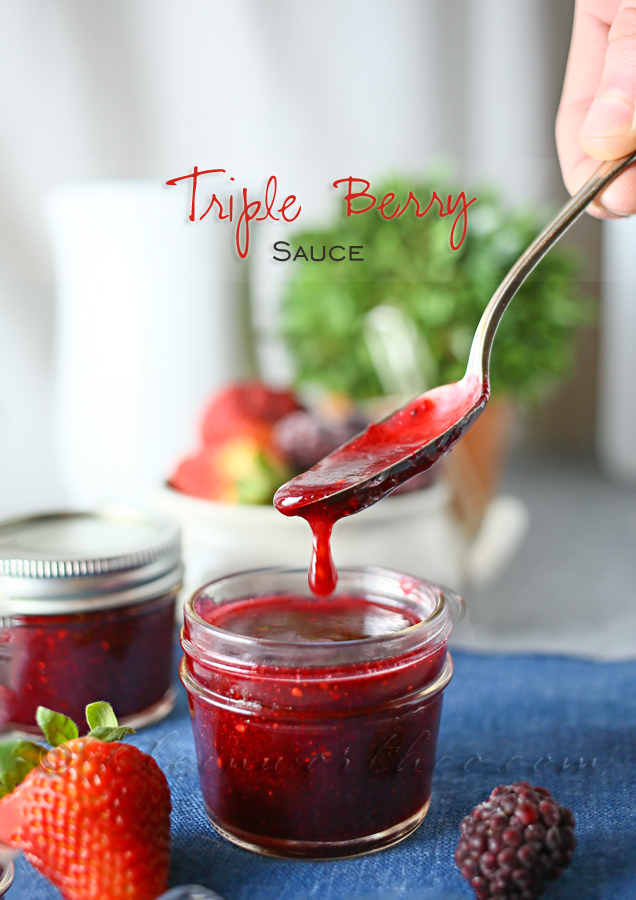
Triple Berry Sauce
Ingredients
- 1 cup chopped strawberries
- 1/2 cup blackberries
- 1/2 cup blueberries
- 1/2 cup granulated sugar
- 1 tsp freshly squeezed lime juice
Instructions
- Combine all the berries in a blender or food processor & puree
- Press through a fine sieve into a medium size saucepan - toss the seeds
- Stir in lime juice & sugar
- Heat over medium/high heat & bring to a boil
- Reduce heat to medium & cook about 5 minutes - stirring frequently
- Reduce heat to low & continue cooking about 8 minutes. Stir frequently through this process
- When done it will be reduced by about half & the color will be bright & vivid
- Cool to room temperature before transferring to jars.
- Store in refrigerator
Want some ideas for what to put it on? Try these!
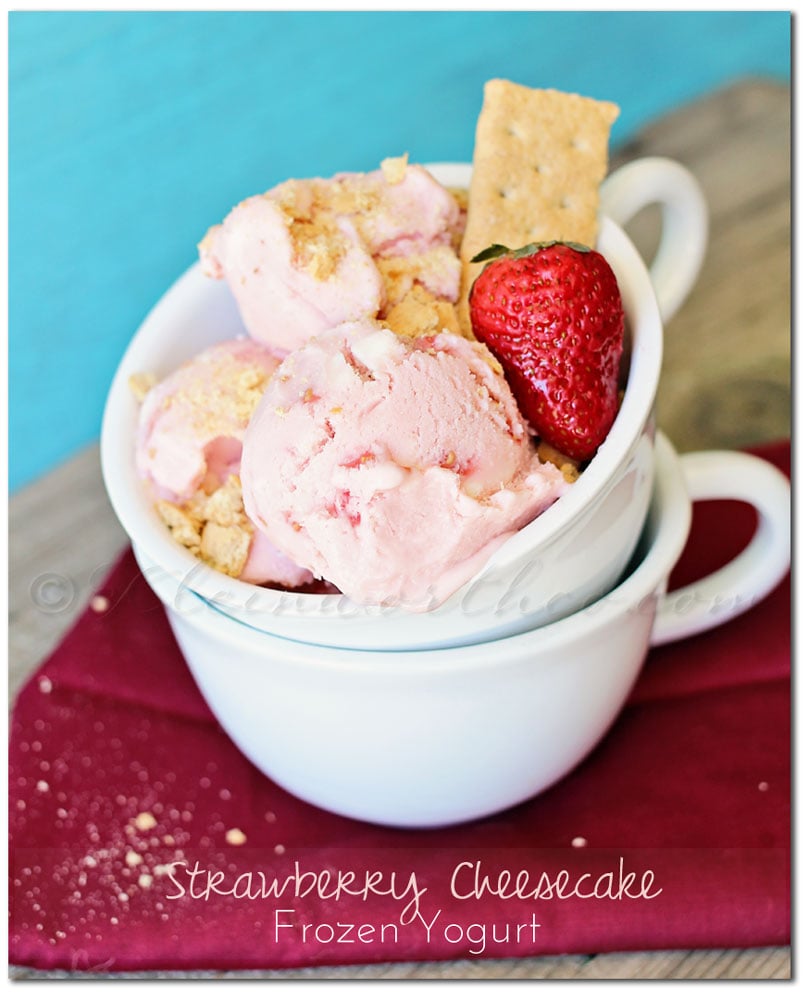
Strawberry Cheesecake Frozen Yogurt
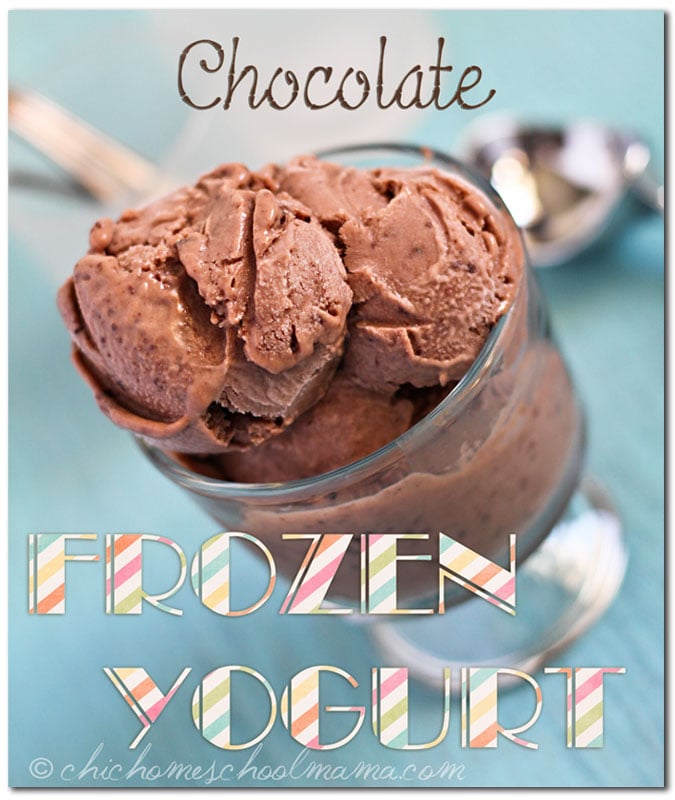

To see where I am linking today- visit HERE
[include id=”1″ title=”Footer Ad”]
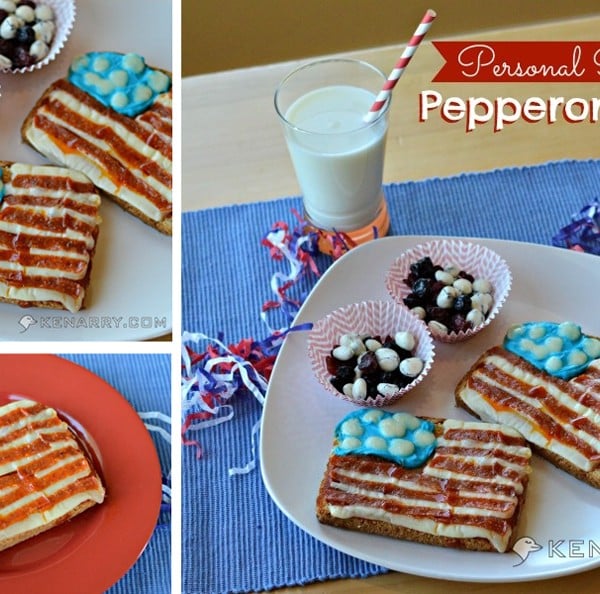
Personal Patriotic Pepperoni Pizza for An All-American Lunch
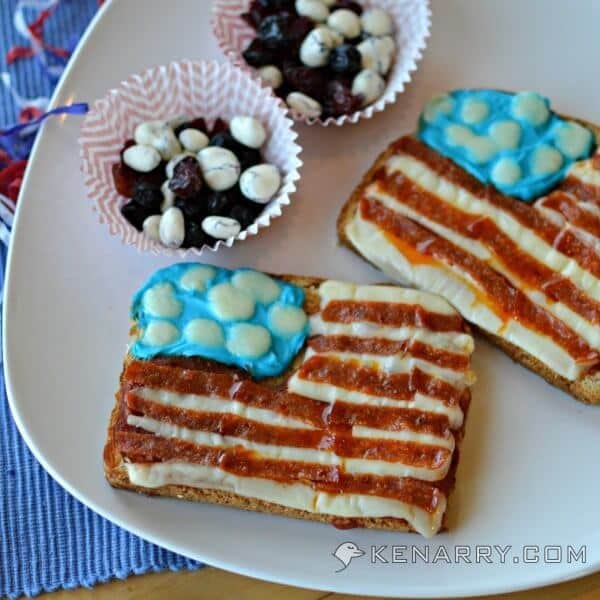
Hey there!! Do you have little ones at home who like to help in the kitchen? Looking for Easy Family Dinner Ideas? I know that for us it was super important to get the kids comfortable in the kitchen early on. Now that they are teens – they help immensely in the kitchen. I love having them in there with me through the whole prep, cooking & clean up too. So I was super happy when the wonderful Carrie from Kenarry: Ideas for the Home decided to share this awesome recipe for Personal Patriotic Pepperoni Pizza for An All-American Lunch & showed the process with her kids.
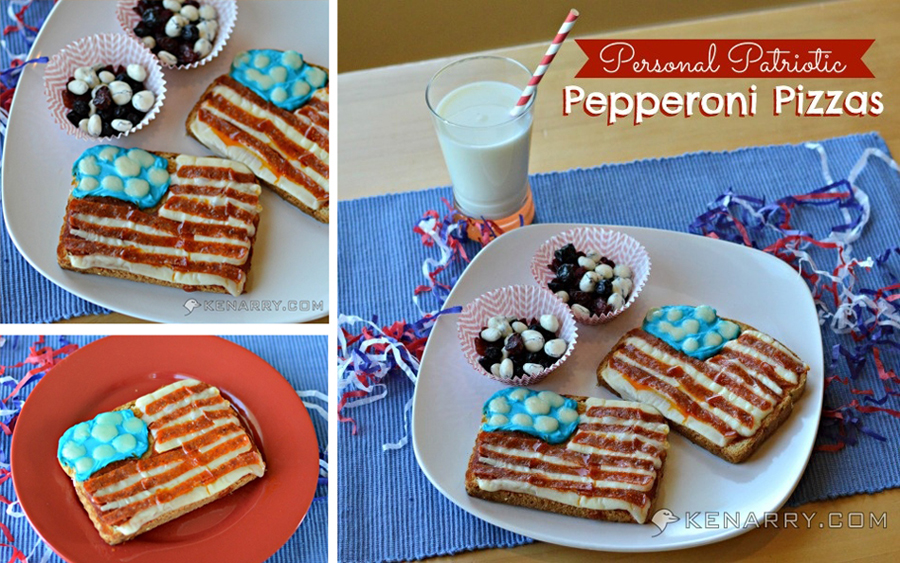
Hi, I’m Carrie from Kenarry: Ideas for the Home sharing a fun lunch idea for you and your kids to try this summer. As you know, Memorial Day is just around the corner, kicking off the summer holiday season full of American flags, apple pie, fireworks and backyard barbecues. What could be more festive to add to your celebrations than Personal Patriotic Pepperoni Pizza? Red, white and blue foods are a wonderfully fun way to celebrate Memorial Day, Independence Day and Labor Day. Personal Patriotic Pepperoni Pizza is so easy to make, even a three year old can do it!
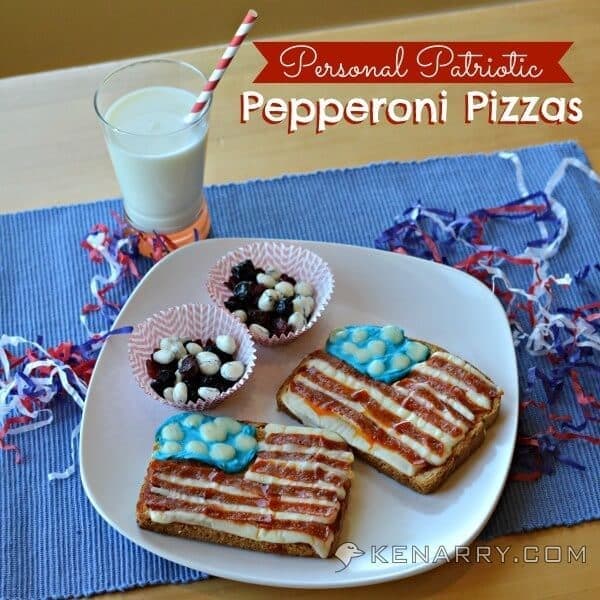
My sons and I love to get creative with our lunches. The boys are toddlers, so we usually only venture as far as using assorted cookie cutters on peanut, butter and jelly sandwiches. However, with all the summer flag holidays coming up, we decided it would be really fun to try making a red, white and blue lunch one day. We gave it some thought and came up with making our own pizzas into little American flags. With these simple instructions, your child will love making his or her own Personal Patriotic Pepperoni Pizza for lunch too!
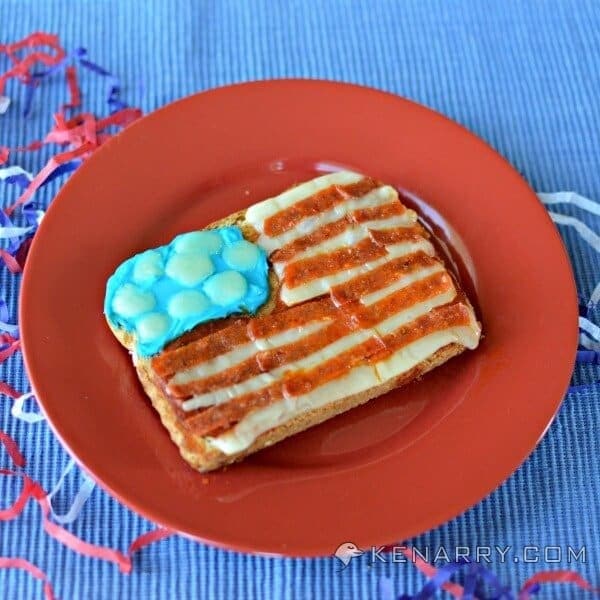
How to Make Personal Patriotic Pepperoni Pizza
What you need:
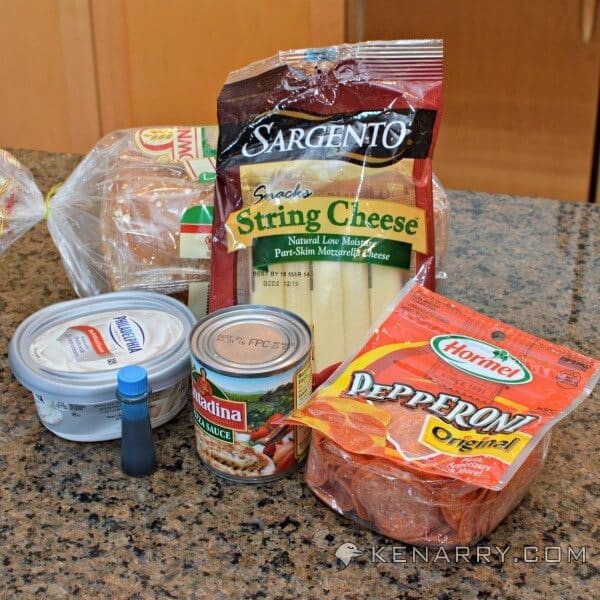
- Bread
- 1 small can of pizza sauce
- Mozzarella string cheese
- Pepperoni
- Cream cheese
- Blue food coloring
Instructions:
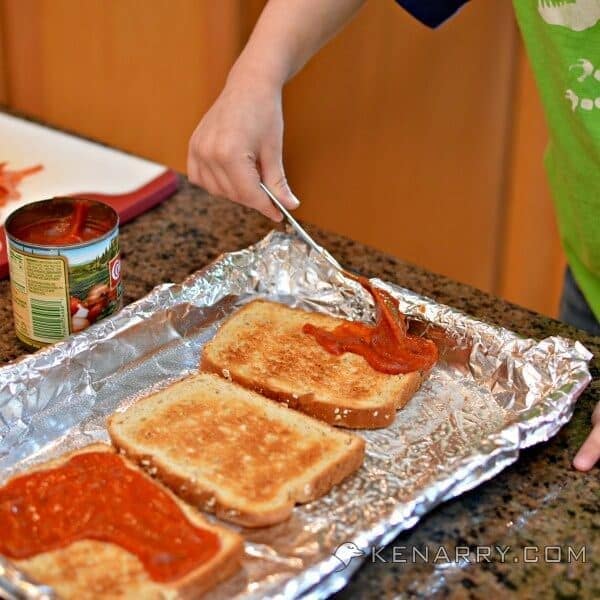
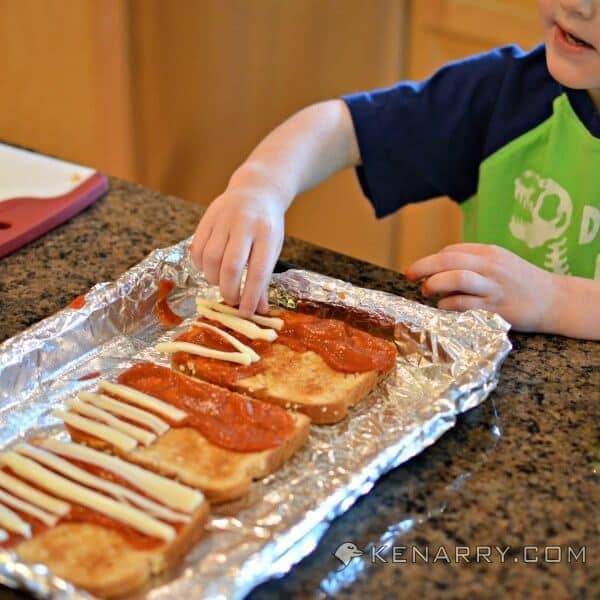
1. Preheat the oven to 375 degrees. Lightly grease a cookie sheet with cooking spray. 2. Put the bread in the toaster on a medium-low heat setting. You want the bread to just be lightly toasted to act as the crust for your Personal Patriotic Pepperoni Pizza. 3. Spread pizza sauce on 3/4 of each bread slice leaving the upper left quadrant empty.
4. Cut the string cheese in half. Tear each half into little strips, approximately 2 inches long. Place these shorter pieces horizontally on top of the pizza sauce on the upper right of the Personal Patriotic Pepperoni Pizza flag. Use full length strips of string cheese to be the longer white stripes at the bottom of the flag.
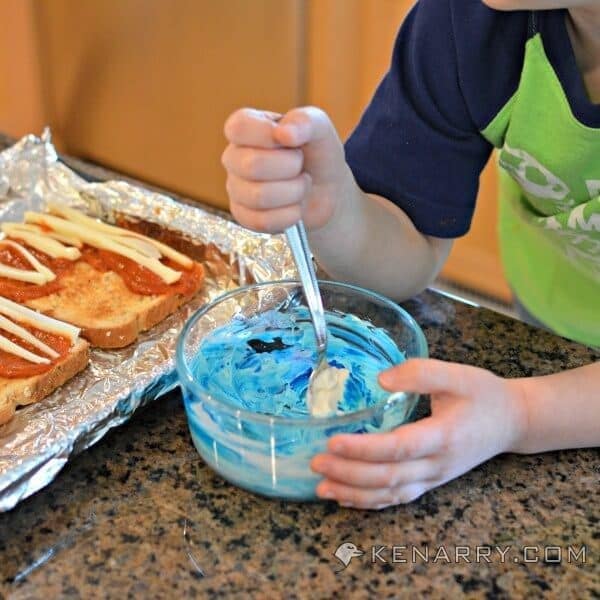
5. Combine 2-3 tablespoons of cream cheese with drops of blue food coloring in a small bowl. We used 7 drops of blue food coloring for our Personal Patriotic Pepperoni Pizzas. You could use more if you’d like a darker or more vibrant blue. Next time, I might try adding just a touch of red food coloring to create a darker blue that’s more like an actual American flag.
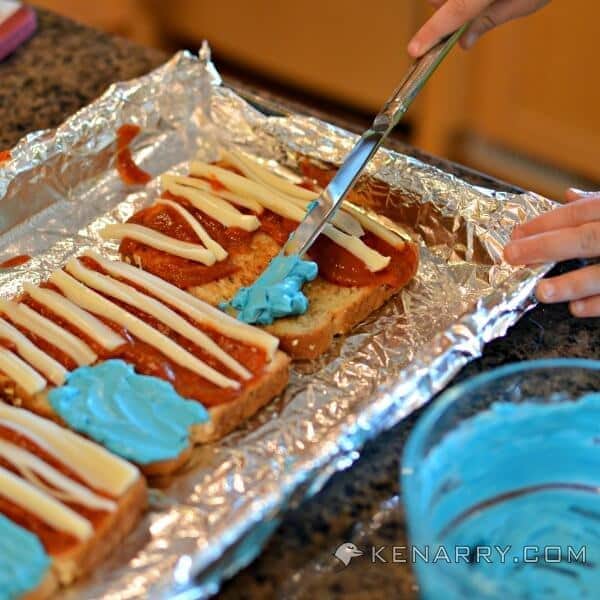
Carefully spread the cream cheese on the upper left quadrant of the bread. Try not to run your knife through the pizza sauce, like my son did!
6. Cut the pepperoni into long thin strips using a sharp knife or kitchen shears. Place them horizontally between the white string cheese pieces to act as the red stripes on the flag. If you’re a vegetarian, you can leave the pepperoni off completely and have the pizza sauce be the red stripes. You could also replace the pepperoni with long strips of red pepper.
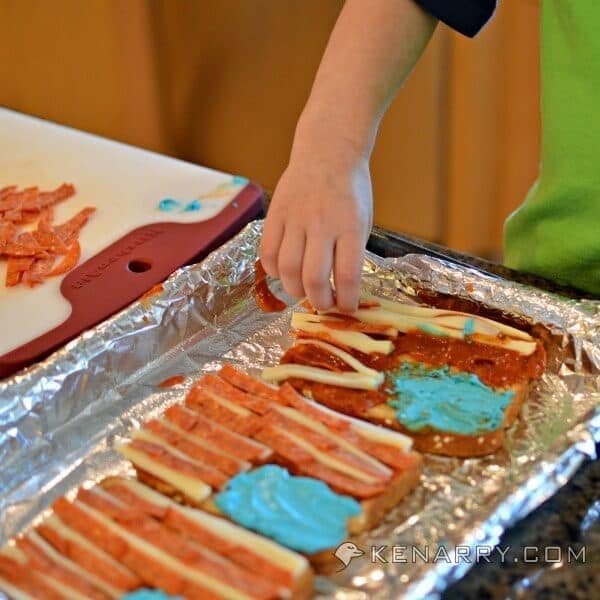
7. Tear any string cheese remaining from step 4 into small dots. Place them on top of the blue cream cheese corner to be the stars on your Personal Patriotic Pepperoni Pizza flag.
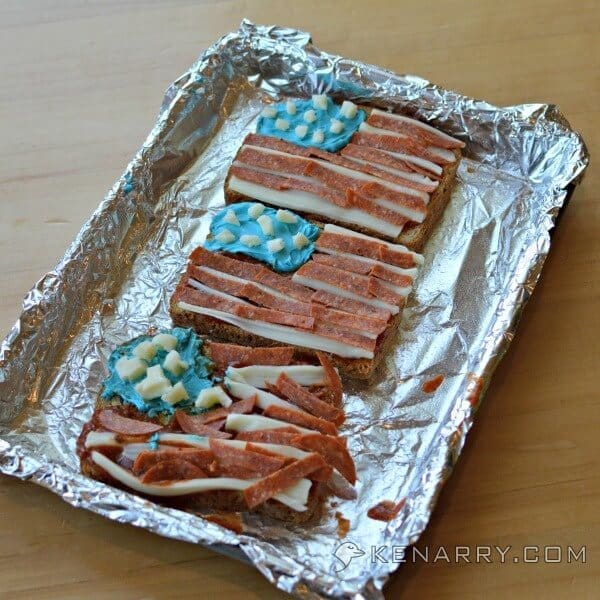
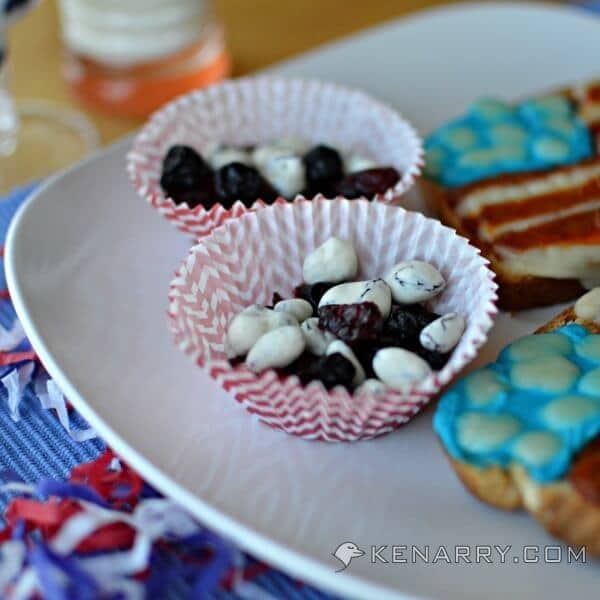
8. Bake the pizzas at 375 degrees for 10 minutes or until the cheese is melted. While the pizzas were baking, we created a little red, white and blue side dish by combining dried cranberries, dried blueberries and yogurt covered raisins in small cups.
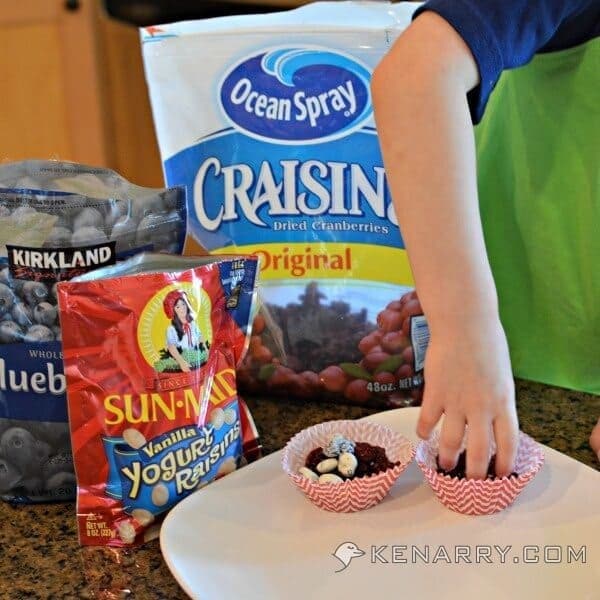
The dried fruit cups looked great alongside the Personal Patriotic Pepperoni Pizza, though I wish you could differentiate better between the cranberries and the blueberries.
Your children will enjoy making this lunch for the 4th of July, Memorial Day or Labor Day. I know my three year old son loved making his own Personal Patriotic Pepperoni Pizza for lunch. I’m not sure how pleased Betsy Ross would be with his American flag, but he certainly was!
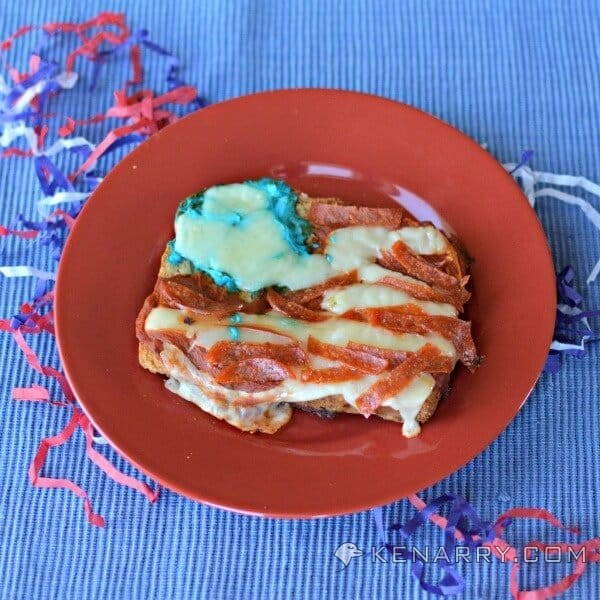
Enjoy this festive lunch — and have a wonderful Memorial Day remembering the men and women who’ve fought so hard to preserve the American flag and our freedom!
You can connect with Carrie via Blog, Google+, Pinterest, Facebook & Twitter.
Want some other ideas for red, white and blue treats your kids will love?

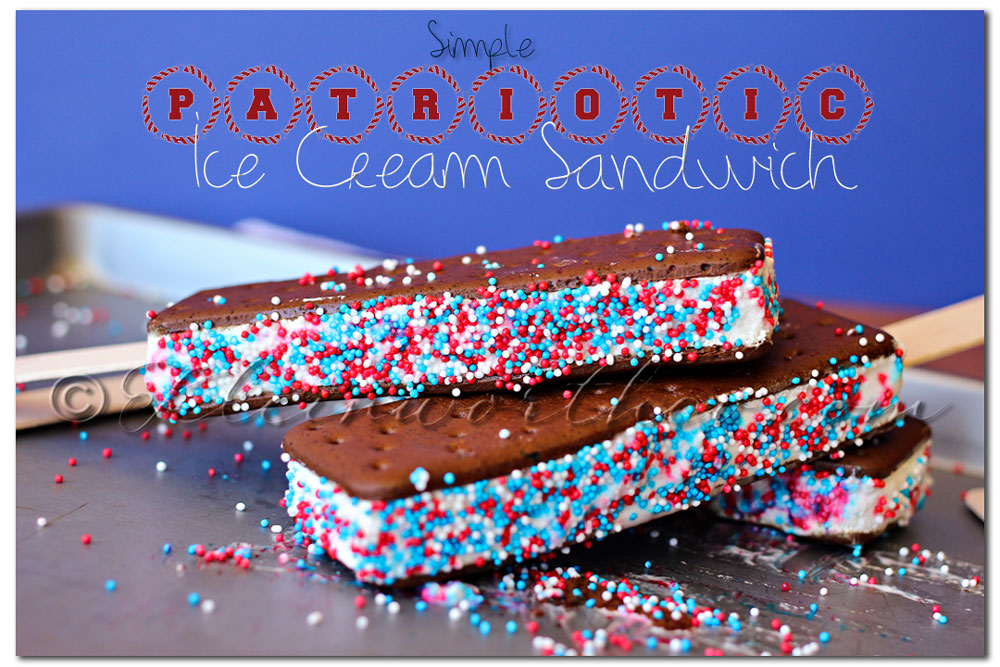
Simple Patriotic Ice Cream Sandwich
Thank you SO MUCH Carrie!! What a FUN recipe to make with the kids!!
Be sure to head on over & see all the other great ideas shared by Carrie on Kenarry: Ideas for the Home
To see where I am linking today- visit HERE
[include id=”1″ title=”Footer Ad”]
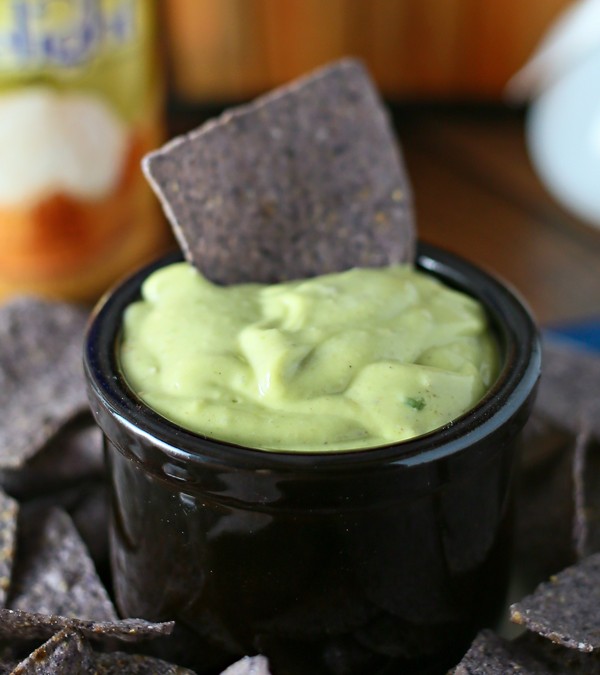
Sweet Garlic Avocado Dip
With the outdoor entertaining season here in full swing – I am channeling my inner Judy (my queen of all hostesses mother-in-law) & I’m whipping up some new easy recipes to add to the spread. You see- my mother-in-law was quite the recipe creator & when I get super creative in the kitchen I know that she’s right there along with me- giving me inspiration. She would have loved this Sweet Garlic Avocado Dip. It whips up so quickly that it makes for the perfect party side. Looking for Easy Family Dinner Ideas?
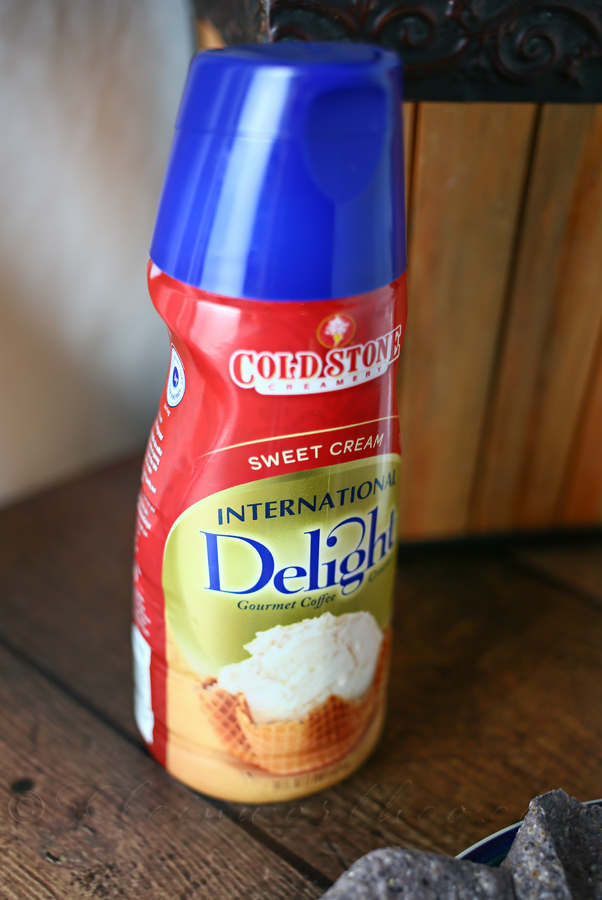
One key ingredient here is the International Delight Creamer in Sweet Cream. This is what gives it the sweet flavor to set it apart from your everyday avocado dip.
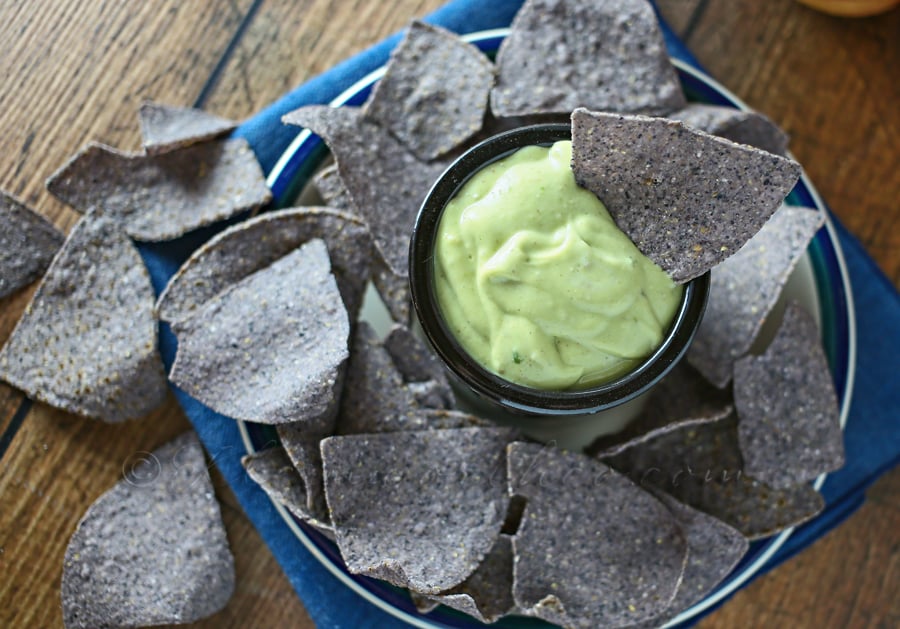
We first tested it with just some blue corn tortilla chips – since that is how we will most likely serve it when we are entertaining. But I will be sharing another great way we use this dip coming up soon.
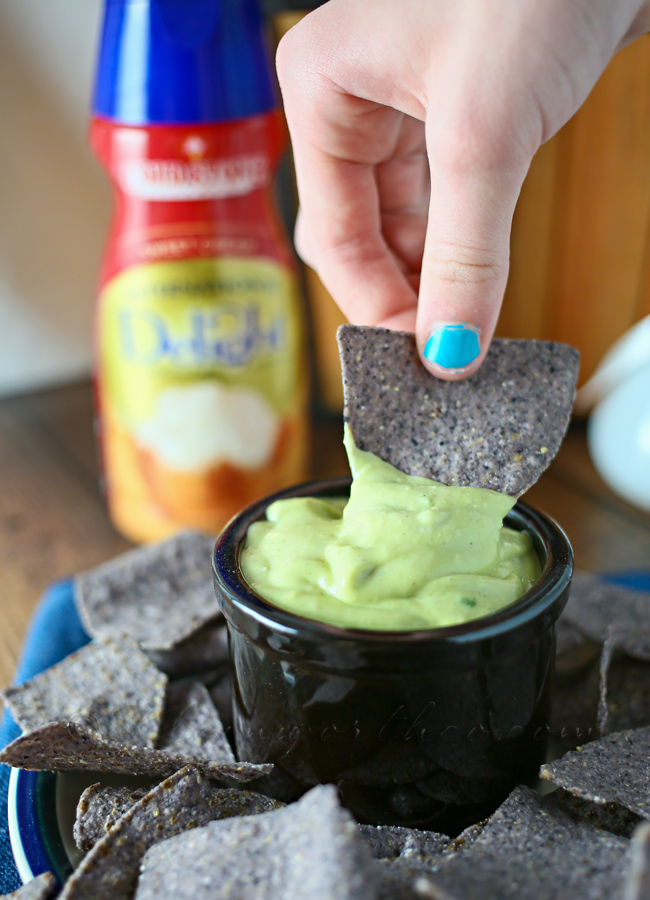
Aside from eating & gathering together- let’s not forget to reflect & remember our troops this coming Memorial Day. I know that I will be remembering my grandfather & other family members who fought for this amazing country. We will also be saying thank you to my brothers who are serving right now.
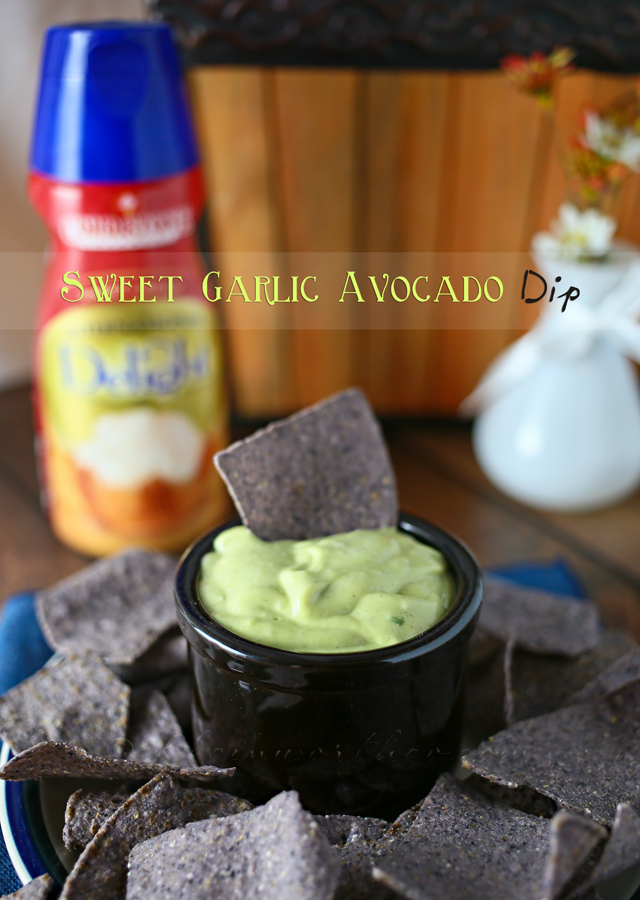
Sweet Garlic Avocado Dip
Ingredients
- 1/4 cup International Delight Creamer- Sweet Cream Flavor
- 2 tbsp vinegar
- 1/2 cup mayo
- 2-1/2 tbsp lemon juice
- 2 tbsp parmesan cheese
- 1/4 cup milk
- 1 ripe avocado
- 1 tbsp garlic paste
- 1/2 tsp salt
- 1/4 tsp black pepper
Instructions
- Add all ingredients to blender & blend on medium for approximately 30-60 seconds.
- Transfer to serving dish or airtight container for storage.
- Will keep about 7 days refrigerated - possibly longer depending on the age of your dairy products used
Be sure to look for the new International Delight Logo when picking up your own favorite flavors!

I didn’t see them yet when buying mine last week – but I’m sure it will be in my stores here in Coeur d’Alene soon.
I would love it if you would connect with International Delight!! It’s easy!
Join the International delight Community at internationaldelight.com
Follow on Twitter @indelight & use #IDelight & don’t forget to connect on Facebook too.
They’re on Google+ & Instagram too!!
Find more International Delight on PINTEREST
Want more party food ideas?
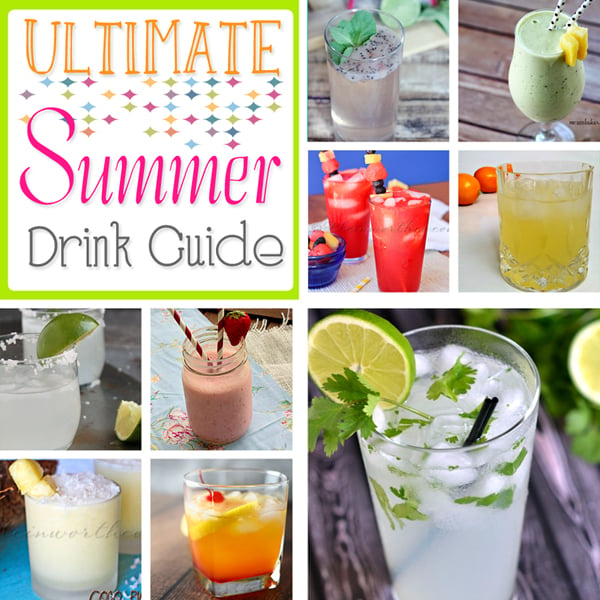
Ultimate Summer Drink Guide
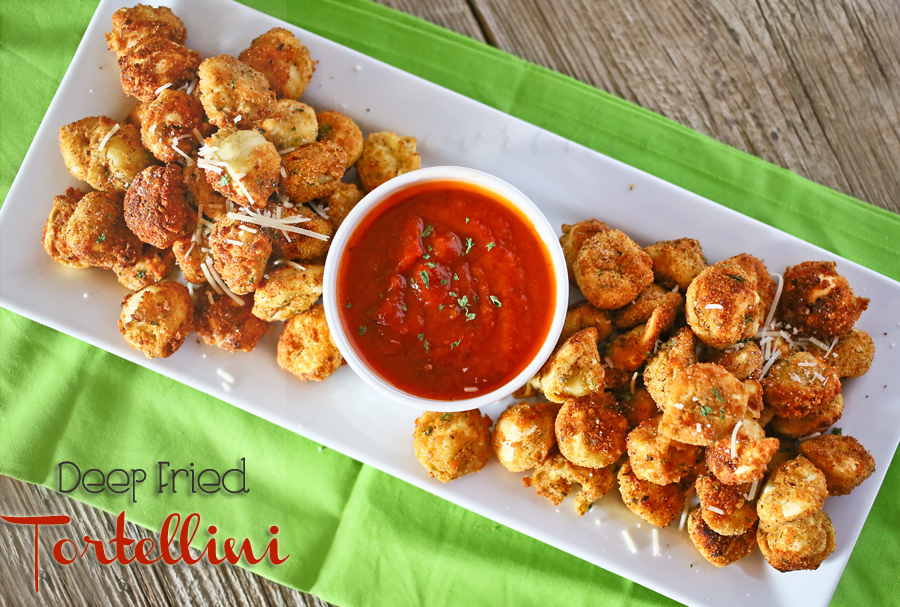
Deep Fried Tortellini
To see where I am linking today- visit HERE

[include id=”1″ title=”Footer Ad”]
This is a sponsored conversation written by me on behalf of International Delight. The opinions and text are all mine.
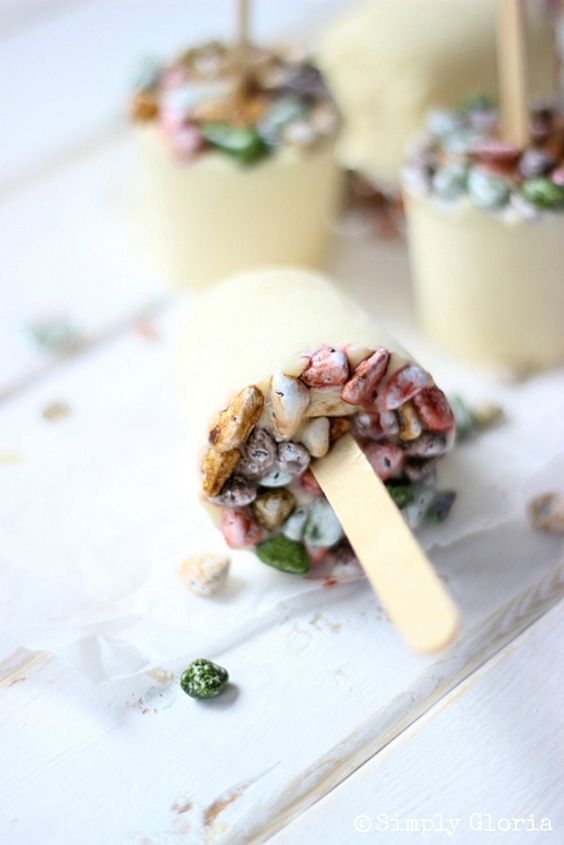
White Chocolate Custard Frozen Pops
White Chocolate Custard Frozen Pops are an easy summer dessert that is also a delicious no-bake treat. Friends & family will swoon for this creamy frozen custard treat.
Do I have a treat for you all today!! My dear friend Gloria (who I finally had the chance to hug in real life when I was in SLC in April) is here today to share with you a SUPER YUMMY treat.
Have I told you all just how much I adore Gloria?? I was so thrilled when we had the chance to sit & get to know each other in person.
View post
Photo Walk ~ Rock Your Camera Phone
Hi Everyone! I mentioned before that I wanted to bring you all more photography related posts to help you improve your photography. This means learning to ROCK THE CAMERA YOU HAVE. It doesn’t have to be a DSLR – it means taking what you have right there with you in your hand- most often times your cell phone & pushing it’s limits to create some great images. So today I have the wonderful Adrienne here to share her tips on taking Phone Photos so you can ROCK your camera phone.


[include id=”1″ title=”Footer Ad”]
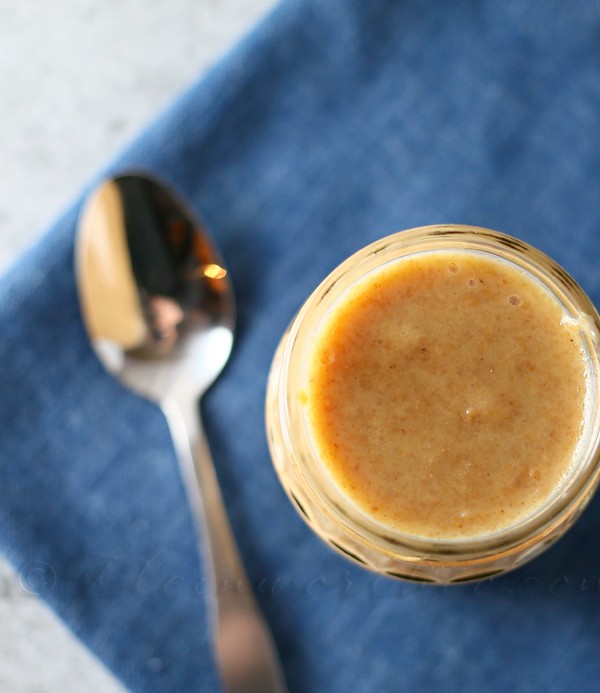
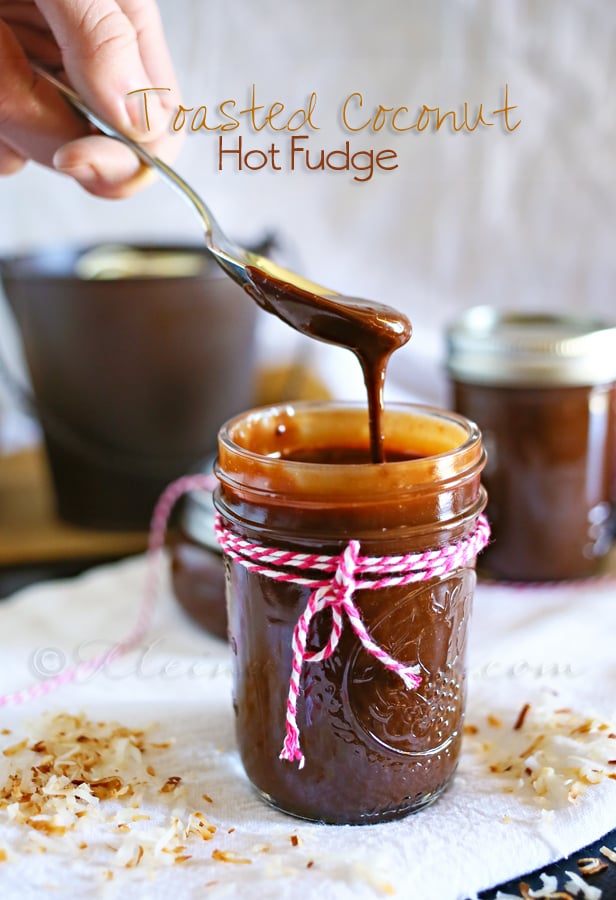
Peanut Butter Sauce
Okay – so while we were coming home from visiting our house over the weekend I convinced the hubs to stop at Dairy Queen. While I’m standing there choosing my sin of choice I notice this giant tub with the words “liquid peanut butter”. Oh – did you even know there was such a thing??!! It really got my gears turning. They wouldn’t tell me where they get it. I really don’t think they knew- it did have the Dairy Queen logo on it so it’s quite possible they create their own for their recipes. So I did what I usually do when I can’t find what I want- I made some. Yep – I made Peanut Butter Sauce which I would assume is as close to liquid peanut butter as I will get.
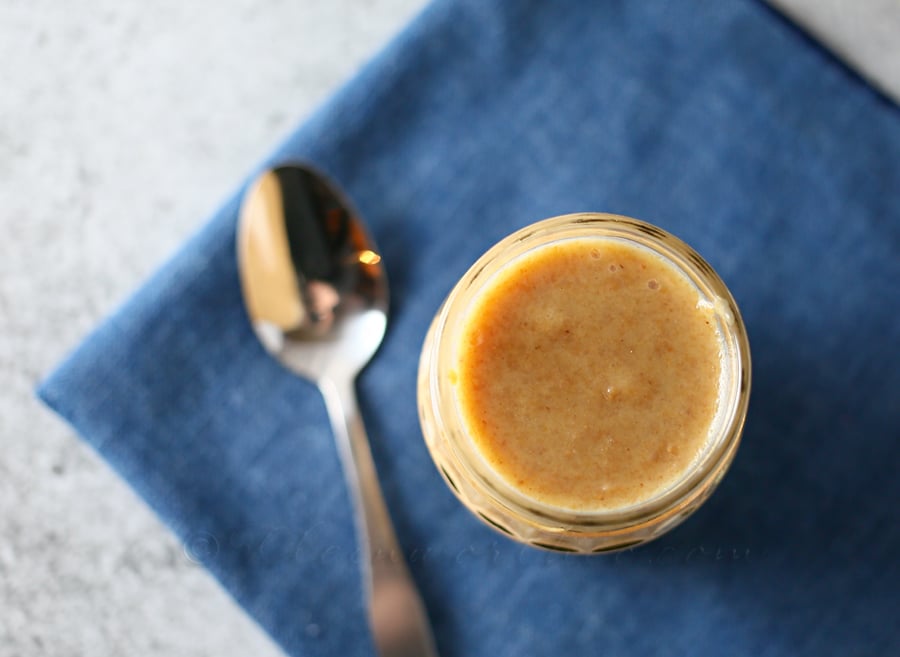
It’s SO GOOD on top of ice cream, in the morning oatmeal & so many other things.
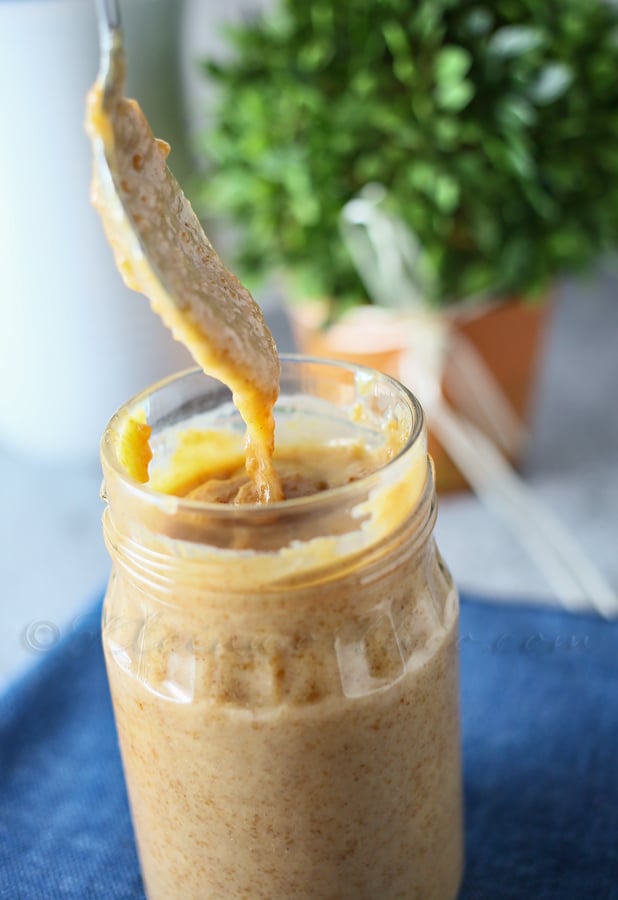
Imagine all the goodness of peanut butter all drizzled over your favorite treat.
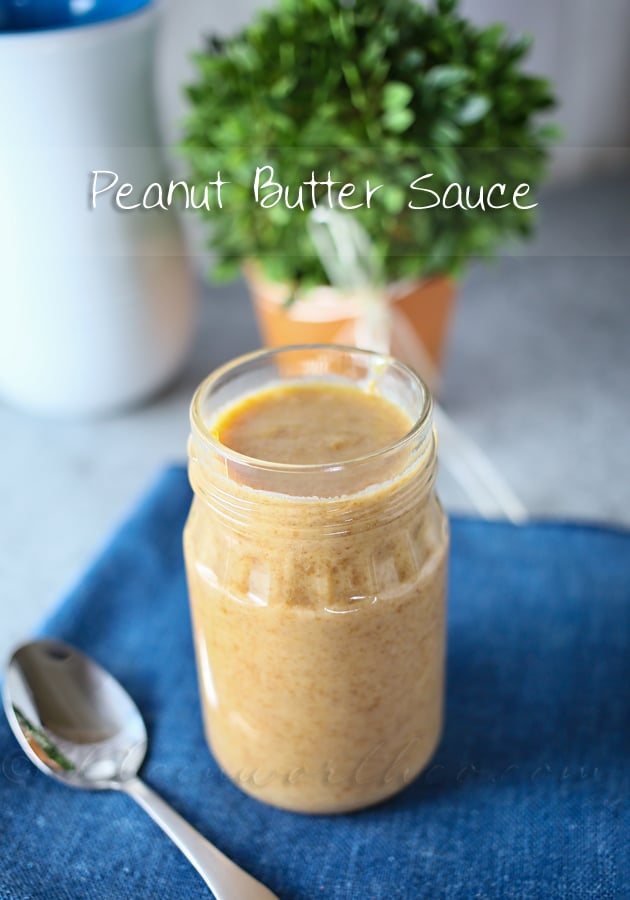

Peanut Butter Sauce
Ingredients
- 6 ounces sweetened condensed milk
- 1/2 cup unsweetened natural peanut butter
- 1/2 cup milk
- 1 tbsp salted butter
- 1/8 tsp salt
Instructions
- Combine all ingredients except salt in saucepan
- Heat over medium whisking to combine
- Bring to a simmer - remove from heat once smooth & thoroughly heated
- Whisk in salt
- Let cool to slightly warmer than room temperature before using
- Store in airtight container in refrigerator
- Microwave for a few seconds before using again
Want more toppings?
To see where I am linking today- visit HERE
[include id=”1″ title=”Footer Ad”]
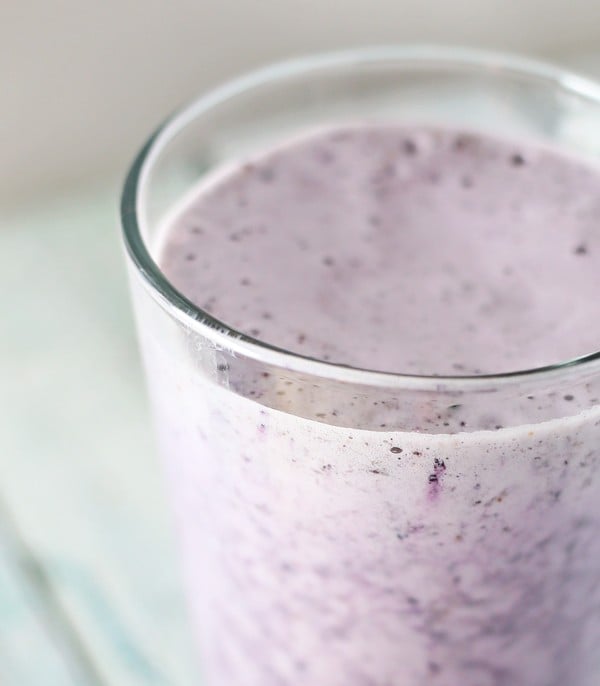
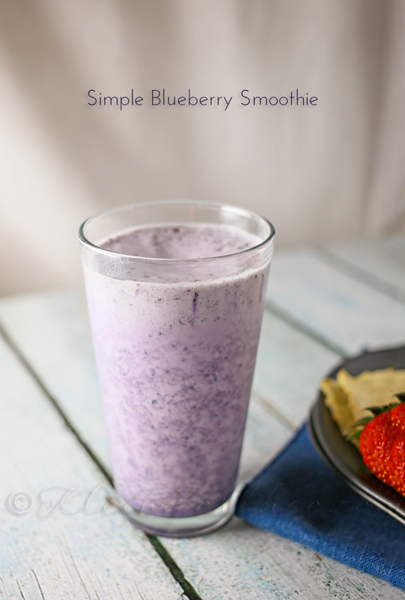
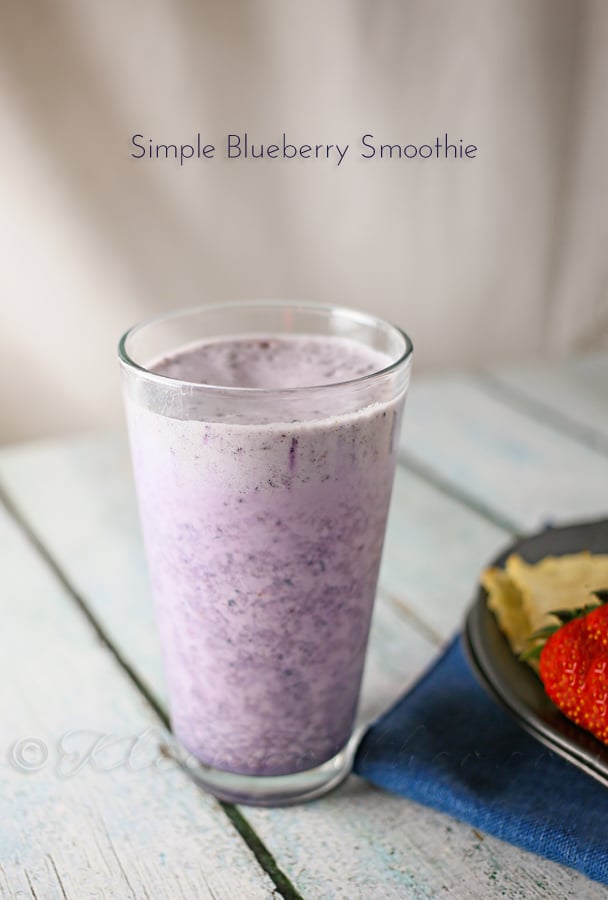
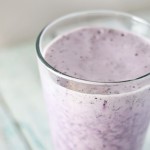
Simple Blueberry Smoothie
I have mentioned that since we are getting so close to moving & with so many things up in the air- we have drastically altered how we are doing things around here. I’m baking less (partially because our oven isn’t working properly) & with the warm temps here for the next few months, I’m really going to enjoy spending less time in the kitchen anyhow. I know I have possibly mentioned it before- but I have never really been a smoothie kind of person. That is until I whipped up one with some matcha (sharing that next week) & loved it. So then I started seeing what else I could come up with. I sort of had this “why haven’t I been doing this all my life?” sort of moment. One of my new favorites – this Simple Blueberry Smoothie. The name says it all & it’s great.
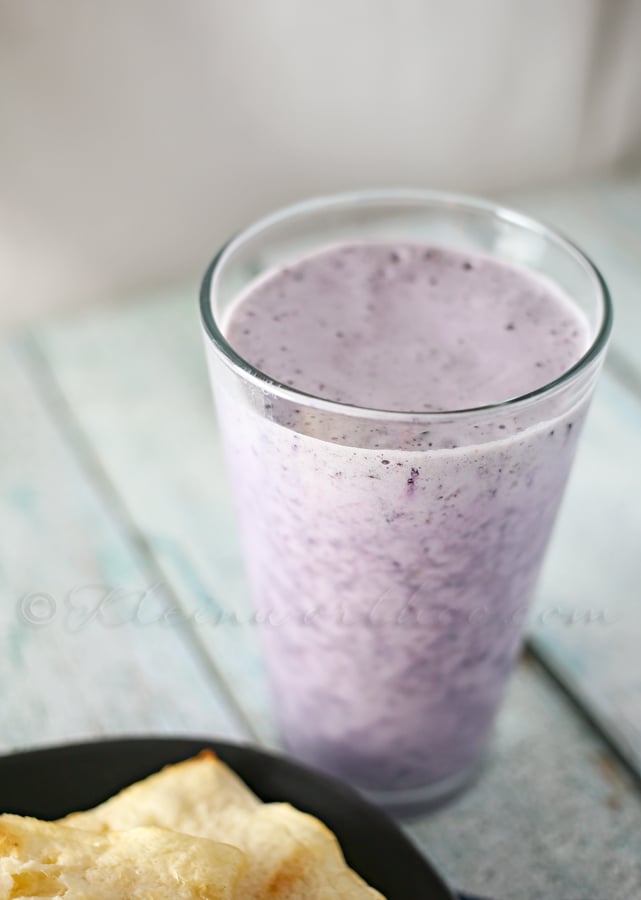
Just 4 ingredients & makes enough for the kids & I to all have enough to fill us up.
Simple Blueberry Smoothie
Ingredients
- 1 banana
- 2 cups fresh or frozen blueberries
- 1 cup milk whatever kind you prefer
- 1 tbsp raw honey or agave nectar
Instructions
- Add all ingredients together in your blender & blend on med-high for about 60-90 seconds.
- Enjoy immediately.
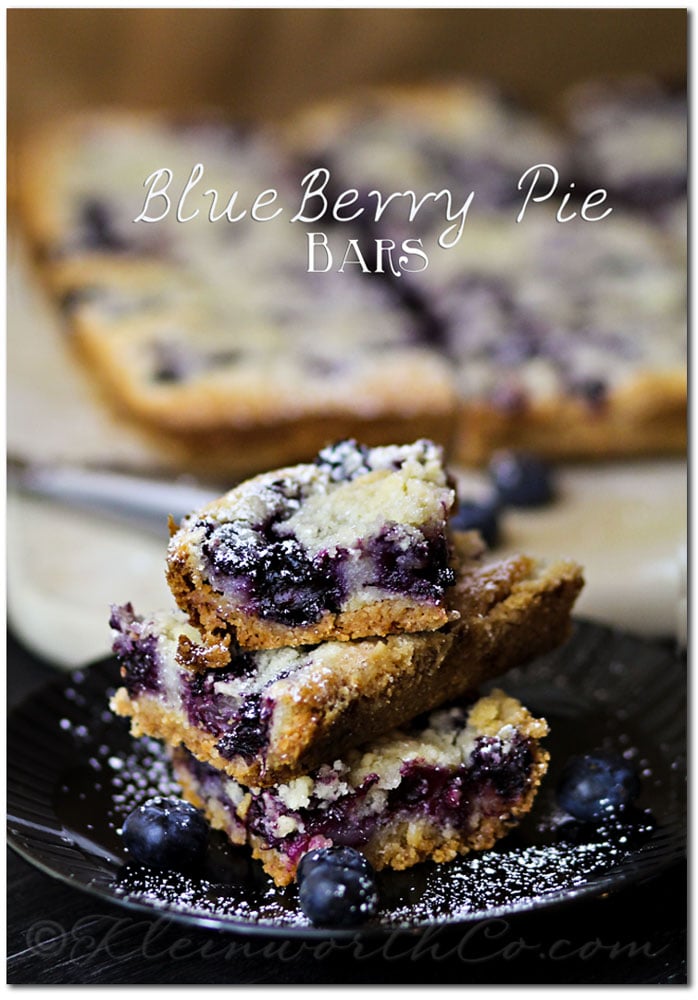
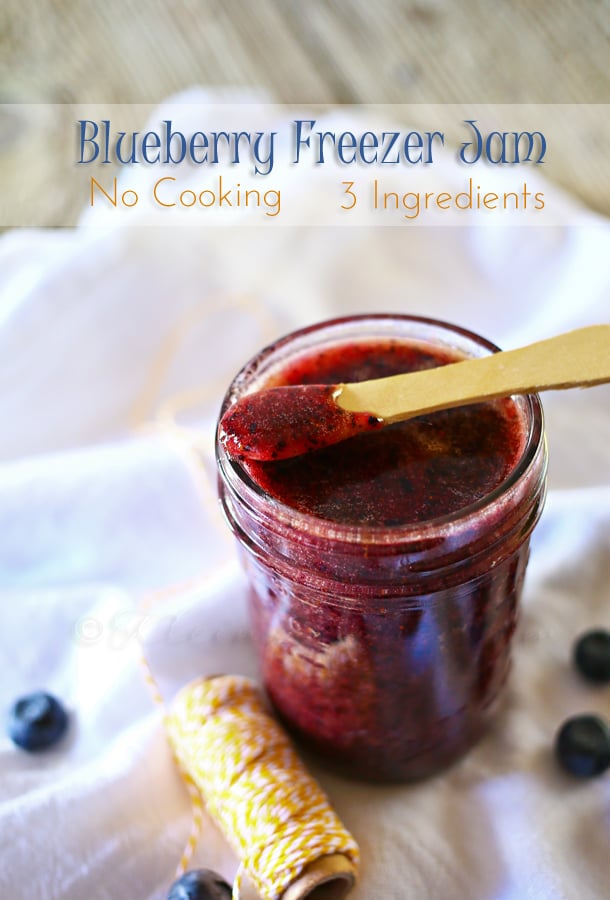
Want more BLUEBERRY RECIPES?

To see where I am linking today- visit HERE
[include id=”1″ title=”Footer Ad”]
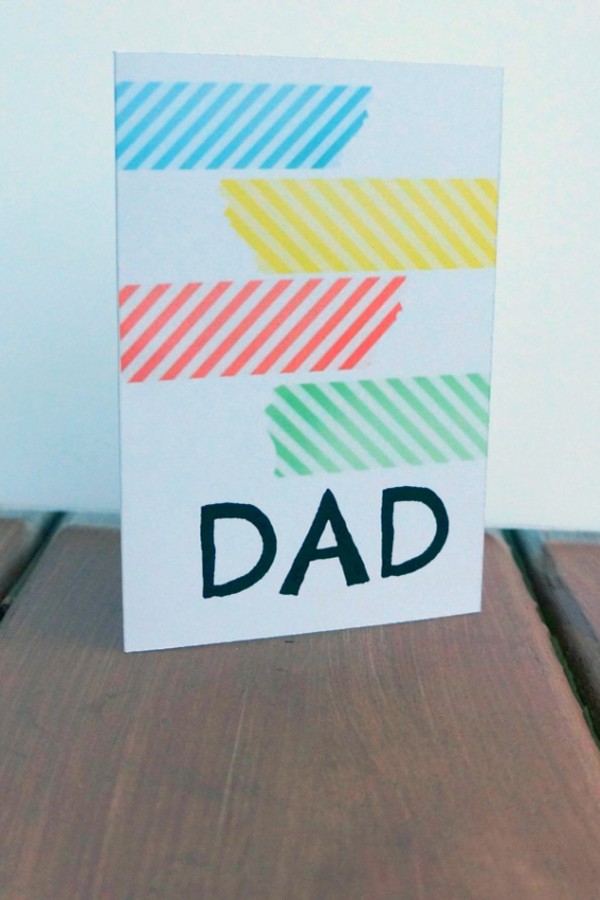
Printable Father’s Day Card
Hi ALL!!! You are going to love this today!!! Sarah from Creative Ramblings is here today to share with you this AWESOME Printable Father’s Day Card. Yep- I said it!! It’s right around the corner people! I know- but Sarah (God bless her) has us covered!! Check it out!
Hey all I’m Sarah I blog over at Creative Ramblings, I am so excited to be guest posting today. I’m sharing a printable Father’s Day card based on one of my favorite hand-made pieces.

I hope you all enjoyed your Mother’s Day this past weekend and were able to celebrate with the special Mom in your life. We had a big party not only for Moms but to celebrate my daughter’s dedication. With such a big weekend behind me I can now start looking toward the next celebration; Father’s Day.
I am a big fan of handmade cards, I even have a couple in my Etsy shop right now. I love spending time making something just right for the occasion. I have found, however, that my 3-year-old cannot be left out of the creative process. This usually results in a 3-year-old card and not the beautiful creation I had in mind. Not that there’s anything wrong with that, 3-year-old design is loved by parents and grandparents alike!
My solution lately has been to create a special card where my daughter can do her handy work while still looking like a pretty and grown up card.

This is a Father’s day card in my Etsy shop made with washi tape and a special place inside that reads “I love you because”, the perfect place for a little one to go to town. My Little Lady is learning to write letters and her name so we will be crafting a special message in this space.
Today I want to share with you a free printable version of this card using washi tape and that special place inside for a note.

You can download the file below, just follow the printing directions (super easy) and you will have a Father’s Day card that your little one can add a special touch to.
Download Father’s Day Card Here
For personal use only
Thanks for visiting!
Sarah


Thank you so much Sarah!!!!! LOVE IT!!!
Head on over & give her some love.
Want More Fathr’s Day Ideas?
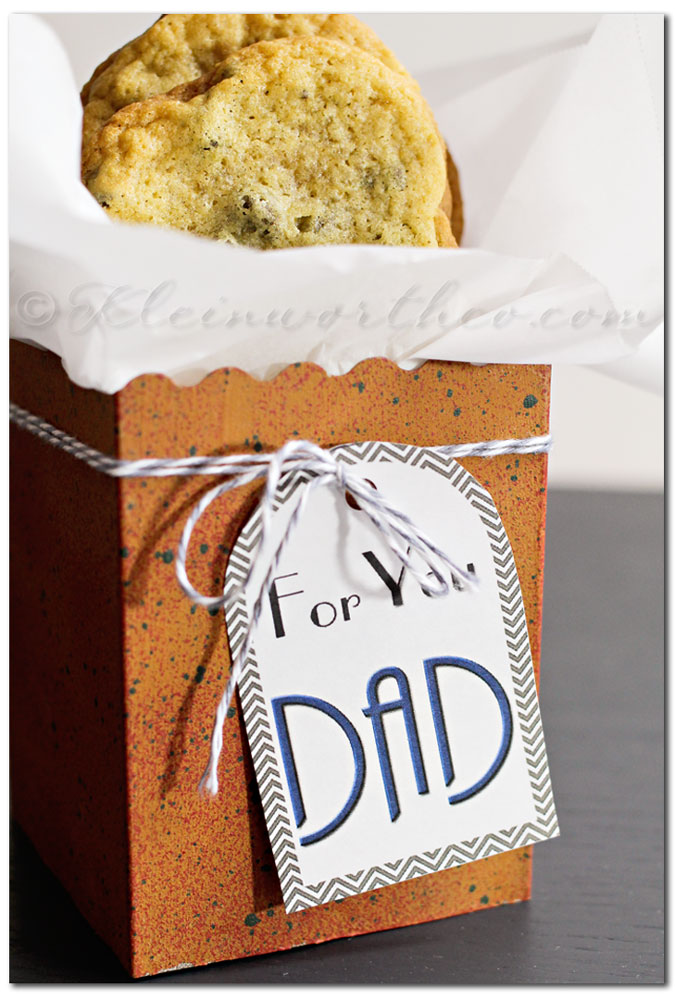
Homemade Father’s Day Gift & Free Printable Tags
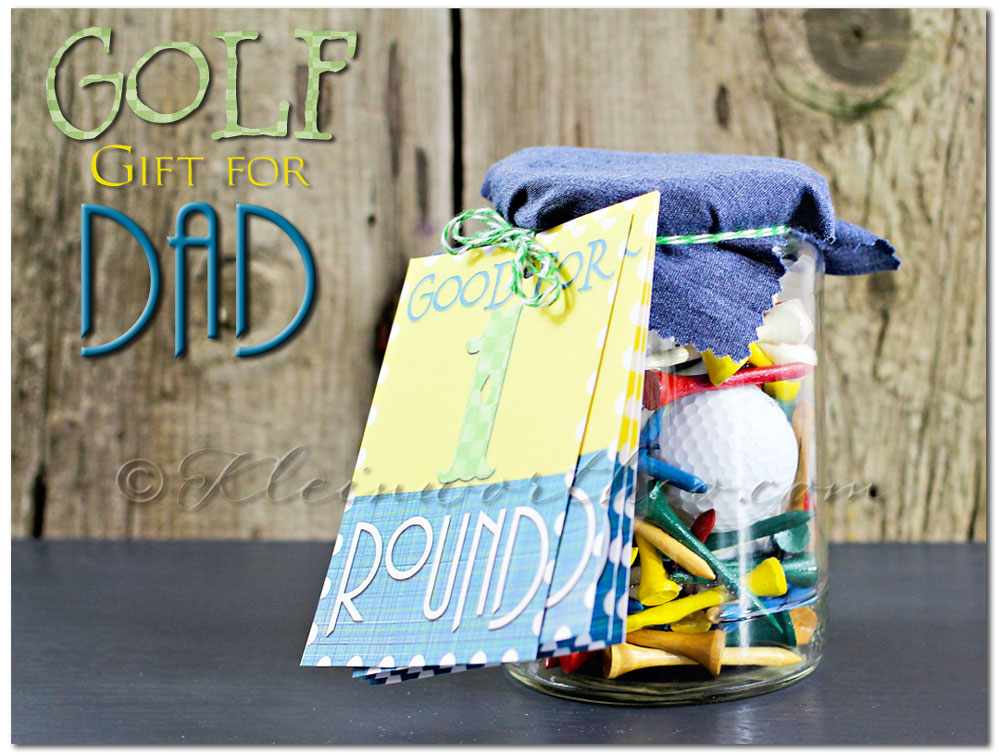
Golf Gifts for Dad – free printable tags
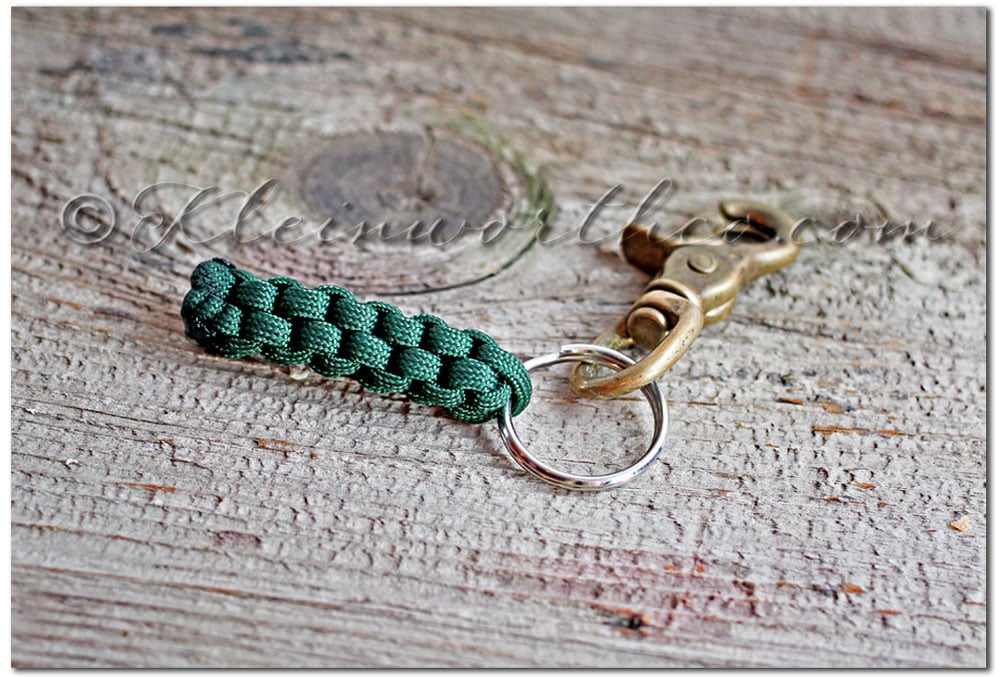
Paracord Survival Keychain – Full Tutorial
To see where I am linking today- visit HERE
[include id=”1″ title=”Footer Ad”]
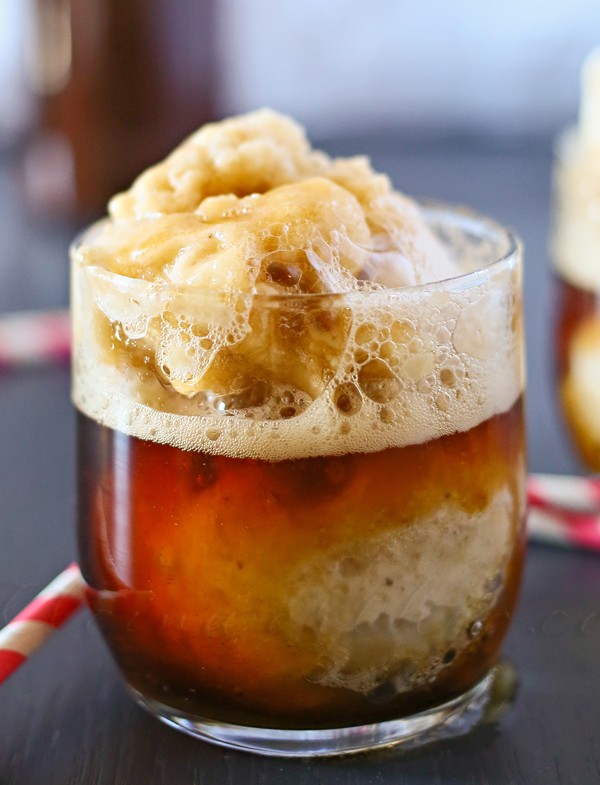
Banana Root Beer Float
This shop is part of a social shopper marketing insight campaign with Pollinate Media Group® and Dr. Pepper Snapple Group, but all my opinions are my own. #pmedia #FlavorforLess
So it’s been about 6 months since we joined the gym. We try to get there at least 3-4 times per week. Fortunately the kids swim team & rock climbing practice/classes happen about that often & it’s all in the same facility. It’s pretty cool that us parents can also get in a workout while the kids are busy working out in the pool or on the wall. We have been really good about limiting large heavy meals to just a couple times per week too. We have been trading them out for lighter versions, especially on gym nights. You have probably noticed that I am sharing far fewer treats here on the blog as well. That’s because I have revamped what I classify as a treat & making better choices on a more frequent basis. One thing I love to have is a root beer float. It’s something that conjures up fond childhood memories & I will never turn one down. So you can imagine how excited I was when I created this Banana Root Beer Float that is SUPER low calorie. It doesn’t bust the plan. Check out the recipe – you will LOVE it!

I swapped out the traditional vanilla ice cream for low cal Banana Ice Cream.
Then I swapped out regular A&W Root Beer for the NEW A&W Ten Root Beer.
It has only 10 calories per serving – YAY!
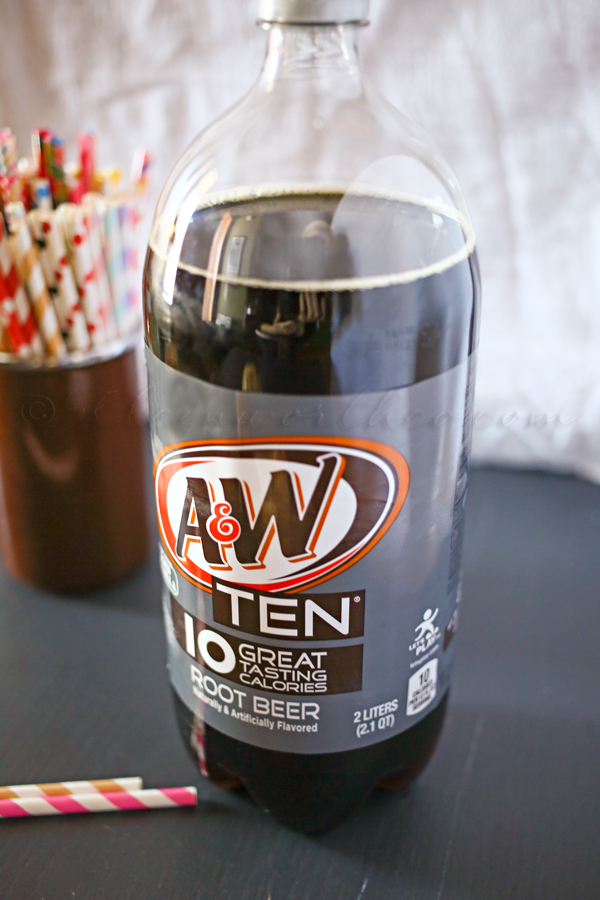
It tastes every bit as good as a traditional root beer float. I felt like I was having my usual treat so I was very satisfied.
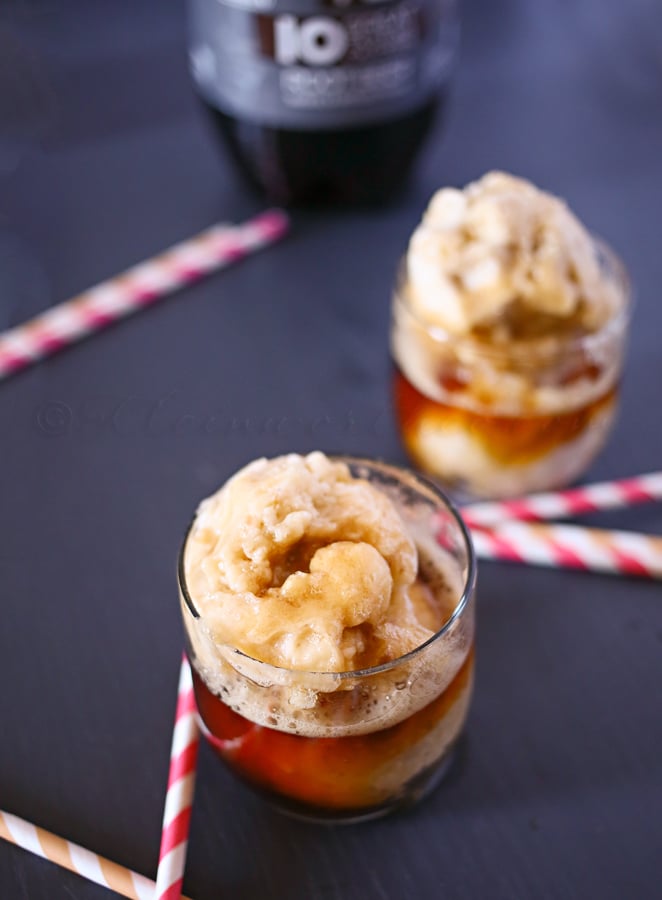
My family – LOVED these too. I can’t even express just how much.


Banana Root Beer Float
Ingredients
- 6 frozen bananas
- 1 - 2 Liter bottle A&W Ten Root Beer
Instructions
- Place frozen bananas in blender
- Pulse bananas until they are a smooth ice cream consistency
- Scoop out banana "ice cream" into serving glass
- Fill with A&W Ten Root Beer
- Enjoy!!
Visit the Just For U website for a COUPON for a free 2L of any flavor of the TEN calorie products (7UP Ten, Sunkist Ten, A&W Ten, Canada Dry Ten). Offer available from 5/12 – 5/19, while supplies last
Pick yours up at any Safeway Brand Store – I went to the Safeway here in Coeur d’Alene.
Connect with Dr.Pepper Snapple Group on Twitter & Facebook
Want More great low calorie recipes?
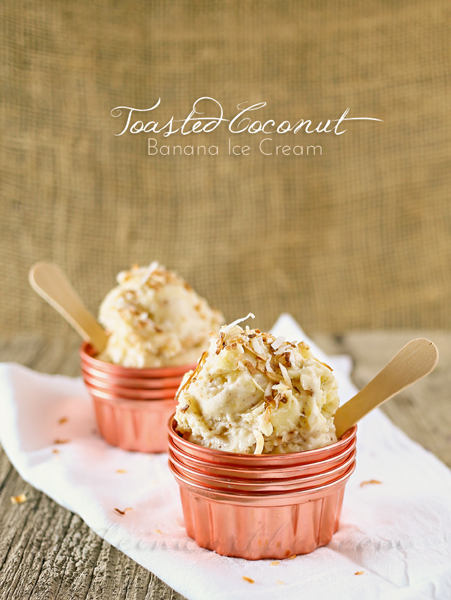
Toasted Coconut Banana Ice Cream
To see where I am linking today- visit HERE
[include id=”1″ title=”Footer Ad”]

Tips for Street Photography
Today for my behind the scenes photography tips I have my dear friend Tamar here to share with you her best advice on Street Photography. Tamar lives in the city & is always on the go, capturing life along the way. I have known Tamar for many years – I think probably as long as I have been honing my photography skills. We go way back. So I thought she would be the perfect person to share with you some great tips on capturing everyday life in a beautiful way. Please give her a nice, warm Kleinworth & Co. welcome.
Hello everyone! I am so excited to be blogging here for Gina.
I’m Tamar and live in Boston. By day, I am a third grade teacher, but when I am not teaching I’m out and about taking photos of this great city.
So, I thought today, I would share my tips for taking street photography, but specifically street photography with an iphone or phone camera.
Personally, I find street photography to be a wonderful way to explore my city and not just pass through rushing to where ever I need to be.
I try to be spontaneous in my street photography. I never go looking for a shot, but try to be aware of the beauty of Boston around me and capture those amazing photo opportunities when I see them. I often find myself captivated by cool statues, cityscapes, or areas of landscaping. Capturing them with my phone (or my dslr on occasion) let’s me fall in love with every nook and cranny of this fine city.
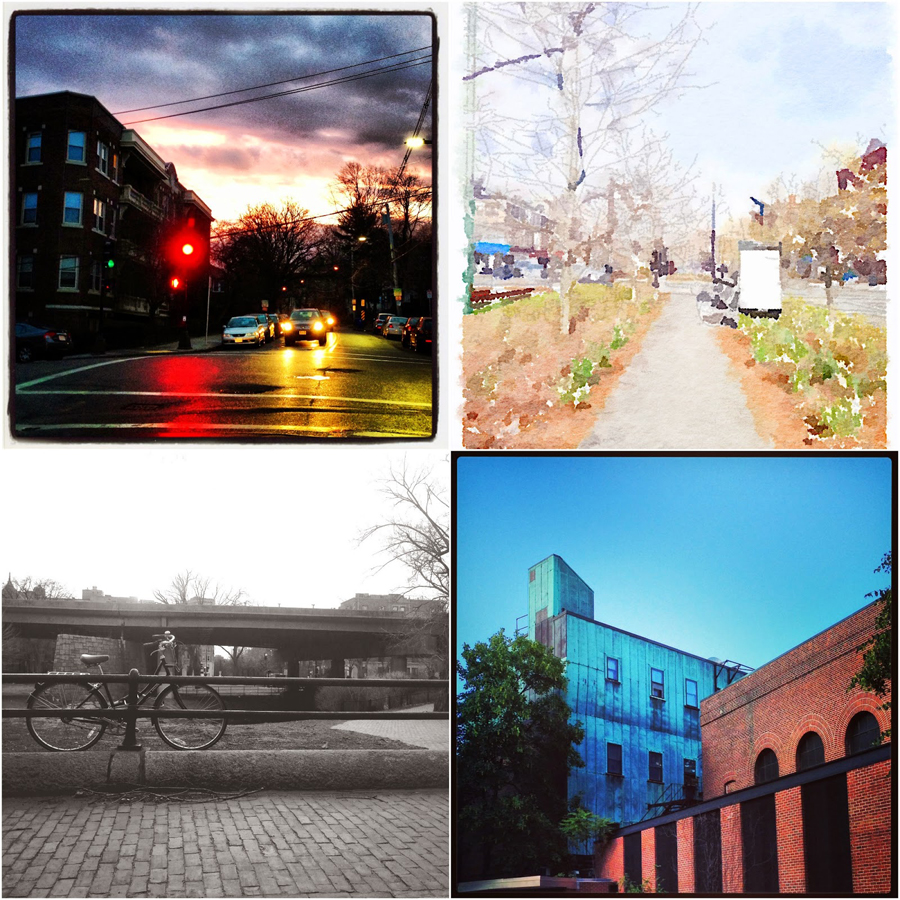
When I am taking pictures with my phone, I am not afraid to take “raw” pictures. Pictures that really capture the feel of the city for what it is. Personally, iPhone street photography is quite different than when shooting with my Nikon.
When I shoot with my phone, I tend to focus on the big picture of what I am seeing rather than small details. I also try hard to not compose my shots or take multiple shots until I get “the one” – for me it’s about capturing that instant – that exact moment I saw that caught my eye.

I also tend to edit my pictures through a variety of iPhone apps.
I most often use instagram (you can follow me there, my handle is tamarsb). This lets me crop shots and edit them. Sometimes I go for a “raw” edit that brings out the scene I captured, like the bike against the railing or the statue on the gray and dreary day. Others I love using the contrast editor to make the blue sky pop or the street art stand out even more.
I am now hooked on waterlogue &- it adds a lovely soft touch to photos and I have most enjoyed using it on photos of Boston’s architecture, a nice soft touch to the hardness of the city.
Also, squareready is great for taking a normal picture and shrinking it down so it doesn’t get cropped in instagram.
The beauty of this style of photography, is that I always have my phone on me (got to love living in 2014) and I never miss a scene or moment that I want to capture. There are, of course, those amazing sunrises or sunsets or skyline views that I see while driving, those I just have to take a mental image of!
Do you do any type of street photography? What are your tricks or tips for capturing your neck of the woods?

Thank you so much Tamar!!!
These are FANTASTIC tips that we all can put to use in our everyday life. I can’t wait to get started.
Be sure to visit Tamar & say hello!!
Want More Photography Tips?
Food Photography Behind the Scenes

To see where I am linking today- visit HERE
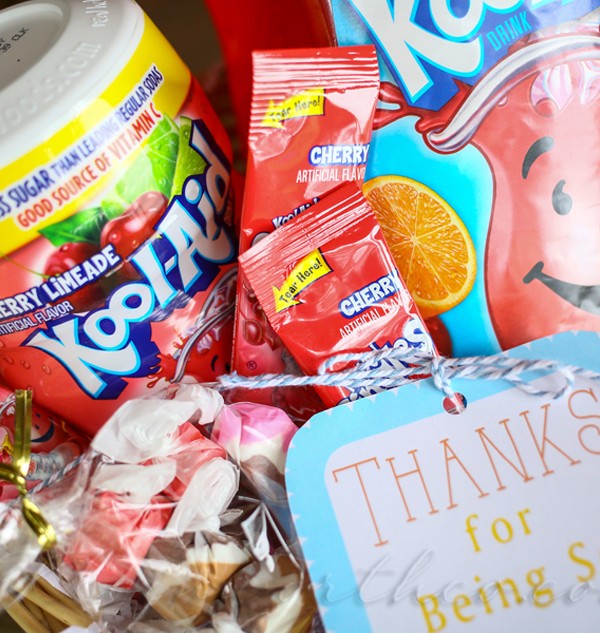
Going Away Gift {Free Printable}
I can’t believe we will be moving in just over a month. It’s incredible just how fast this whole house building has gone. We will soon be saying goodbye to all our wonderful friends & neighbors we have met here. Everyone was so amazing when we arrived 18 months ago. From my neighbor across the street that not only brought us cookies within days of us moving in & also got up at 4 AM to drive the hubs to the airport & back when we were in CA for my mom’s funeral. She has watched over our house countless times. My son has made friends with all the elderly on our loop & has earned a decent wage shoveling driveways & doing yard work while we have been here. We were fortunate enough that the house behind us has 3 little girls living in it- instant friends with my girls. There are plenty of boys in close proximity too which has kept my son busy playing football in the front yard for forever. We have spent holidays with these people, had them with us for special events & we are so grateful for the sense of community they have given us. We are sad to be leaving them. So I decided to create this Going Away Gift & Free Printable to show just how much we have loved being neighbors.
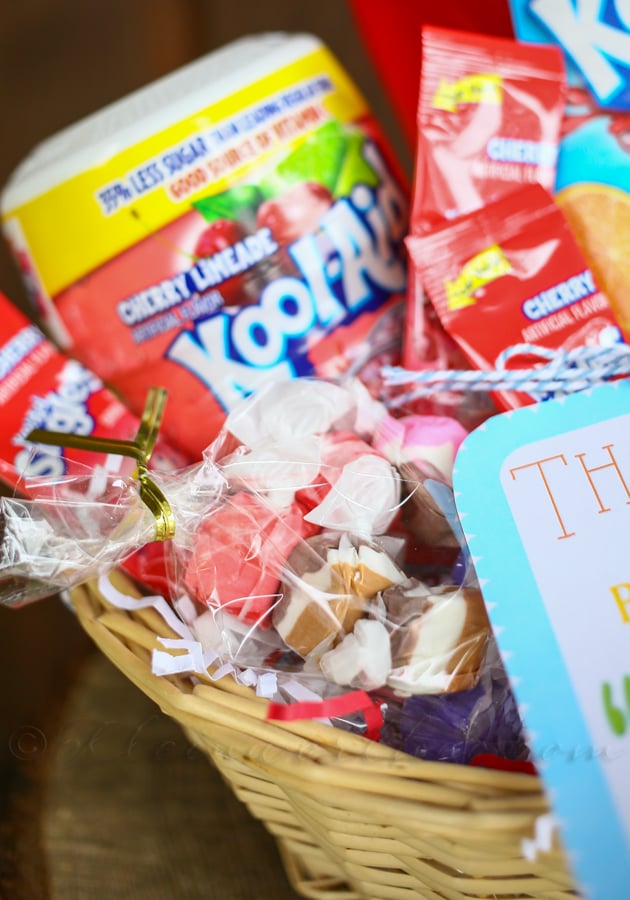
I can’t tell you just how nice it was to be welcomed so warmly when we arrived here.
I sure hope that we have the same relationships & forge great friendships with our new neighbors. We have already met one family who we really like. I have heard that there are more families buying up lots all up & down our street.
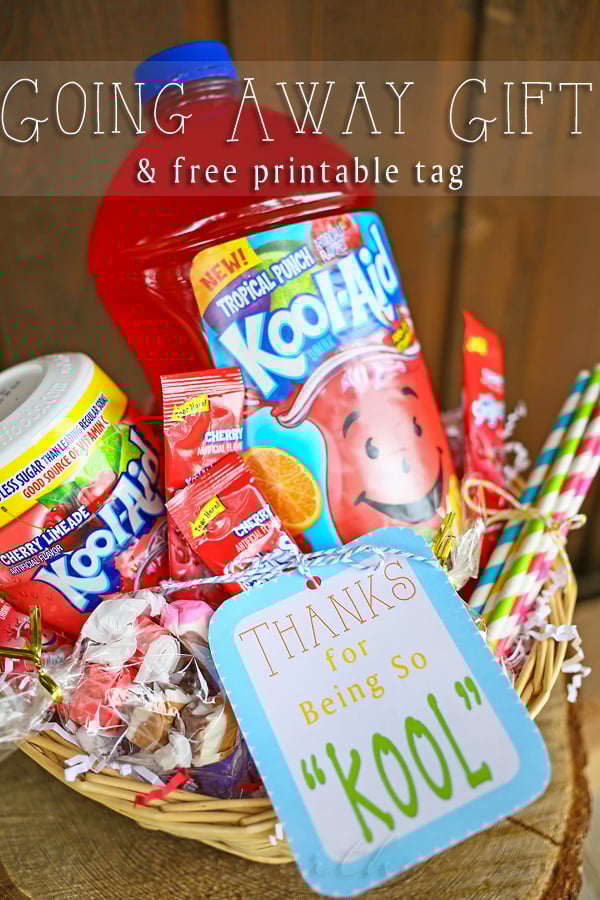
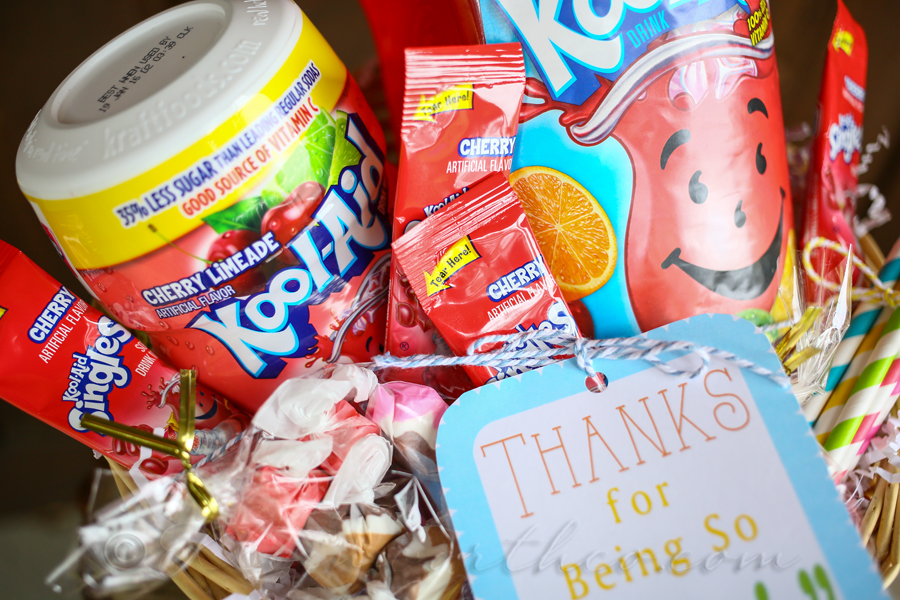
I stocked this one full of Kool-Aid products because it’s a great thing to have all summer long. This gift basket doesn’t have to be just for moving away- you could make the same thing for teacher appreciation gifts, end of school gifts for classmates or end of season sports parties.
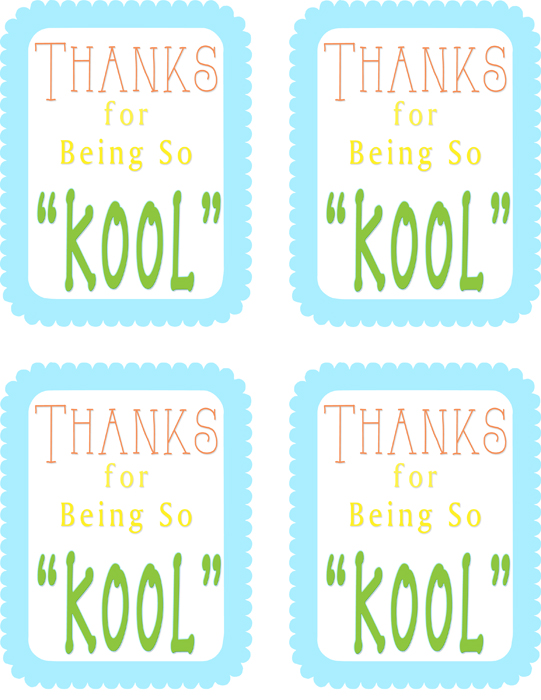
You can download this free printable tag to create your own gift basket.
Want More gift ideas?
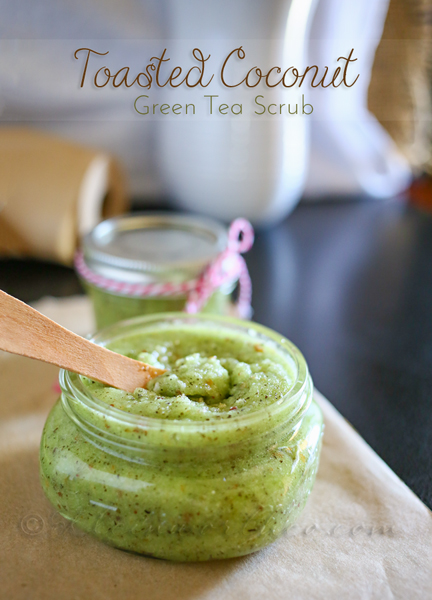
Toasted Coconut Green tea Scrub
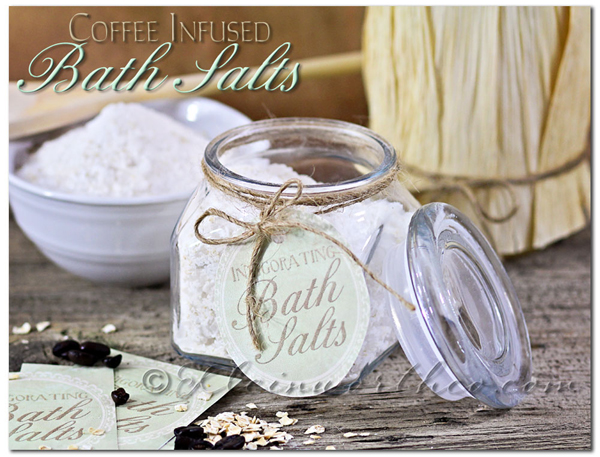
To see where I am linking today- visit HERE

But First…Coffee T-Shirt ~ Printable Decal
I’m so excited – my dear friend Ariean from One Krieger Chick is now a contributor here on Kleinworth & Co. Whooo!! If you don’t know Ariean – now is your chance to see why I adore her so much. She is sweet, kind & amazingly talented & creative in so many ways. I’m so thrilled to have her here. Please give her a nice warm welcome.
Hello New Friends! I’m Ariean from One Krieger Chick and I am super excited to be here! Gina and I happen to have a lot in common, especially when it comes to our love for Coffee.
Most morning coffee drinkers will appreciate this shirt…just a subtle warning…or a hint to start our day off on the right foot…
Here’s how you can make your own But First…Coffee T-Shirt…
You’ll need the following supplies: T-shirt of choice, iron-on T-shirt transfer paper for (purchase according to the color of shirt you’re using), template for graphic image, scissors, iron
Start by washing, drying, and ironing the shirt to remove any wrinkles.
Print off the free printable
But First COFFEE T-shirt decal onto the transfer paper according to the package directions.
Trim around the image approximately 1/4 inch.
Lay image out on the shirt, making sure the image is facing down toward the shirt.
Paper side will be up. Iron the image onto the shirt according to the package directions.
Hint: Keep the iron moving at all times. If you let it sit too long in one place, it may burn.
Allow image to completely cool before removing paper backing. Carefully remove backing and enjoy your Awesome new shirt!
For washing instructions, refer to the package. I wash mine inside out using cold water and hang to dry.
My day is off to a great start…Hope yours is too!
Seriously!!! I want this shirt!! I love it Ariean!!
See you guys!!! I told you she was pretty AWESOME!!
Head on over & check out all the other fabulous things Ariean has done.
Want more projects?
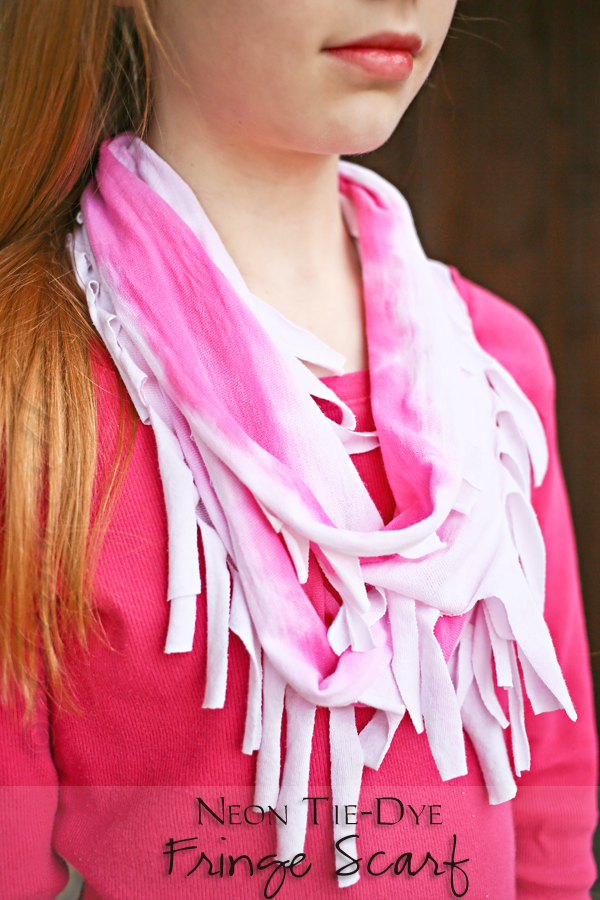
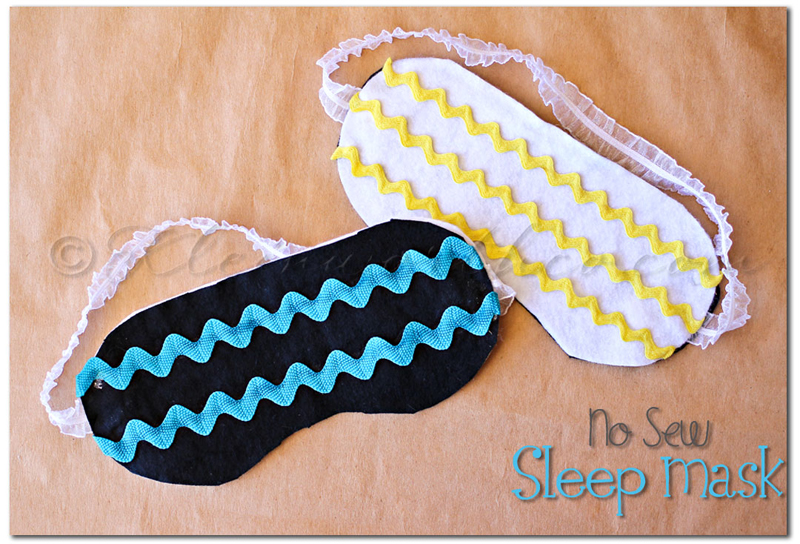
To see where I am linking today- visit HERE
[include id=”1″ title=”Footer Ad”]
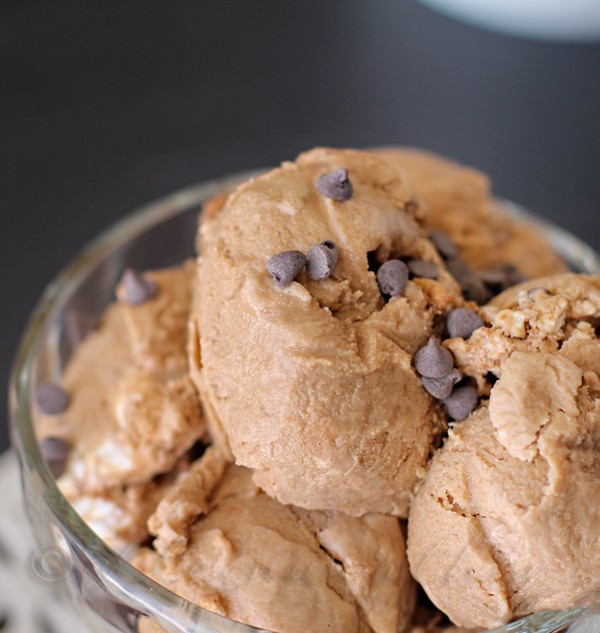
Mocha Java Ice Cream
Mother’s Day is this weekend. Honestly I have been trying to avoid it as much as I possibly can. I’m not even telling my kids that it’s happening. With this being the first one since my mom passed away – I frankly have just lost my enthusiasm for it. I don’t want to think about it. But then it came up. My contributor post for SNAP! Creativity. The theme- Mother’s Day. So now what? I was forced to deal with it & get over myself. Instead of staying sad – I decided to use the moment to create a recipe that my mom & I shared ALL THE TIME together, Mocha Java Ice Cream. She loved it so much & because of that- we had it all the time. In fact, it wasn’t unusual to have it for dinner when it was just her & I all those years. Yep- I know…totally not something we should have had for a meal. But you know- I look back & think- what harm did it do? So anyhow- after many attempts at trying to get this perfect- I finally did it & now it’s time to share.
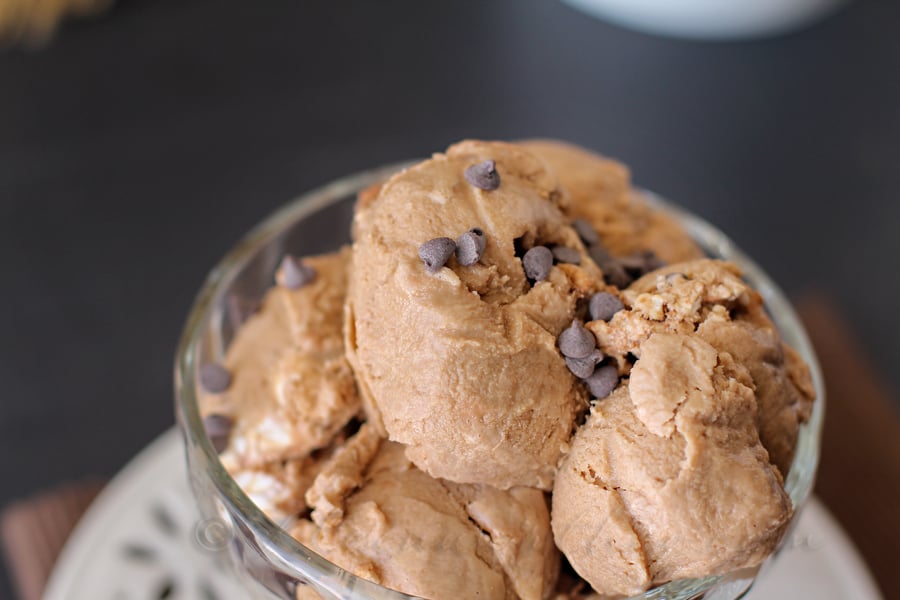
It really has the perfect blend of mocha & coffee.
For those that love coffee ice cream – this is like that- but better.
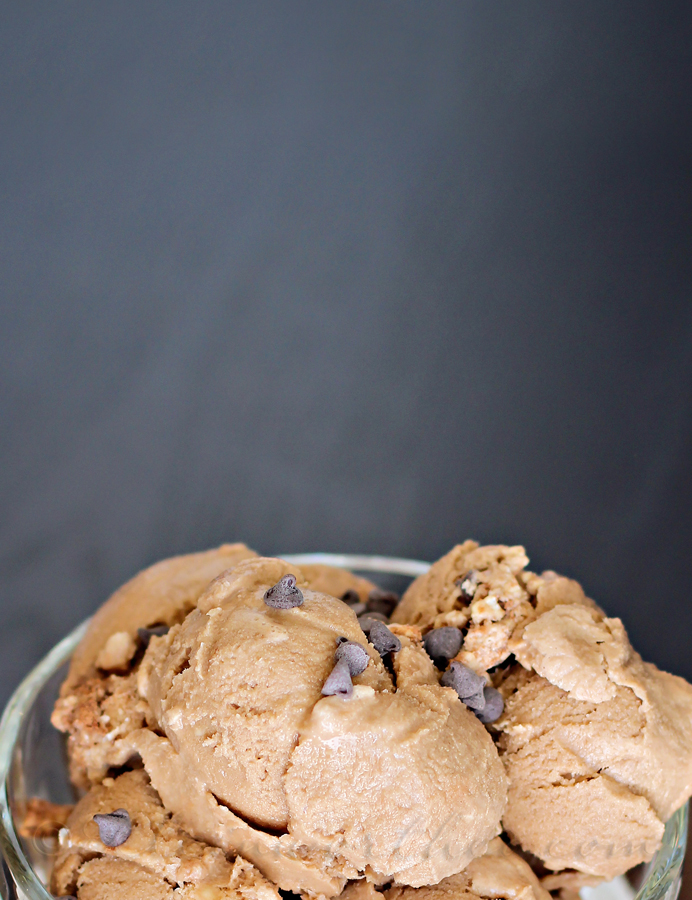
It’s really close to my mocha from Starbucks – only frozen so I can have it all summer.
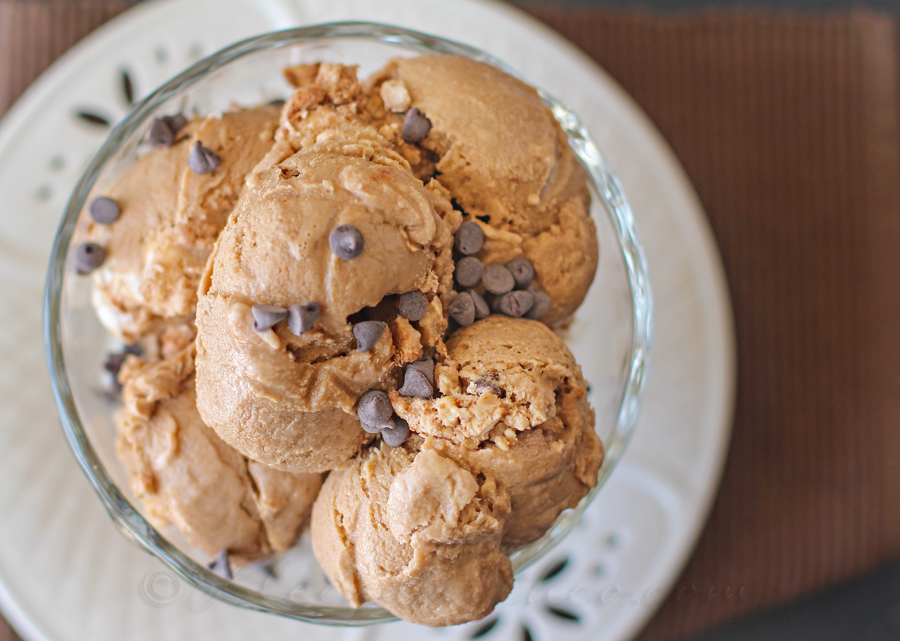
Then there are the mini chocolate chips.
I love them & I think they add just enough of that little something extra I like with each bite.
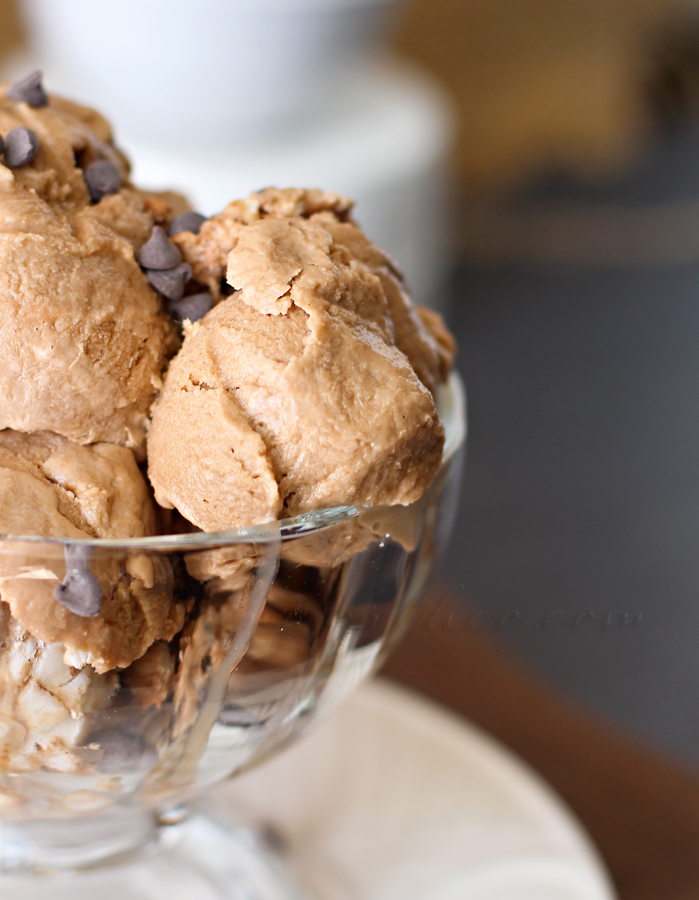
My mom would be so happy that I finally perfected this recipe.
We would have been sharing some with a piece of cake this weekend. 🙂
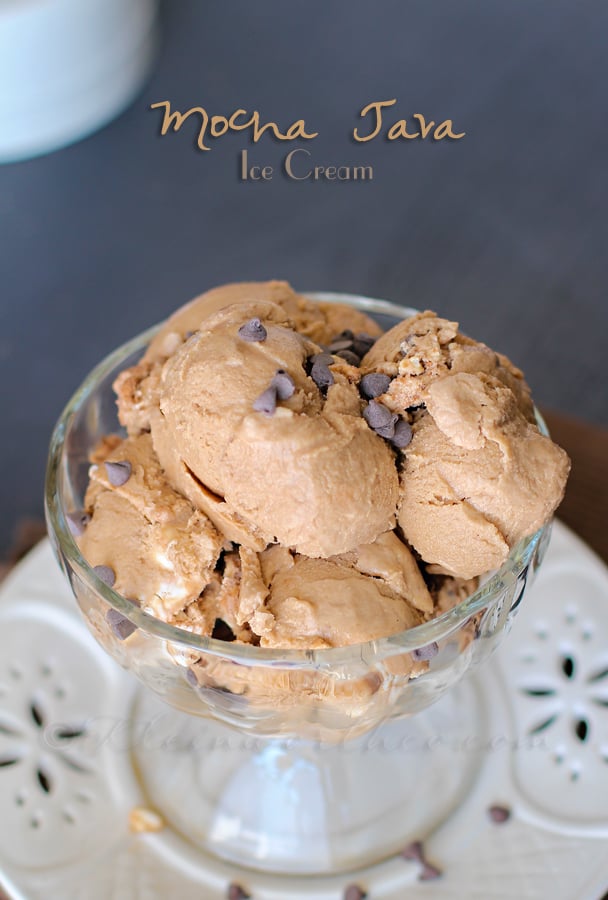

Mocha Java Ice Cream
Ingredients
- 2 cups 2% milk
- 1 cup half & half
- 4 ounces cream cheese
- 3 tbsp instant espresso
- 1 tbsp Dutch process cocoa powder
- 1-1/2 cups granulated sugar
- 1 tsp vanilla extract
- 1/2 cup mini chocolate chips
Instructions
- Mix together milk, half & half and cream cheese until well-combined.
- Add in espresso, cocoa powder, sugar, and vanilla.
- Pour into the container of ice cream maker and make according to directions.
- Midway through freezing, add in mini chocolate chips.
- Churn in ice cream maker approx 20 minutes
- Serve immediately for soft serve or transfer in an airtight container
Want More frozen treats?
To see where I am linking today- visit HERE
[include id=”1″ title=”Footer Ad”]
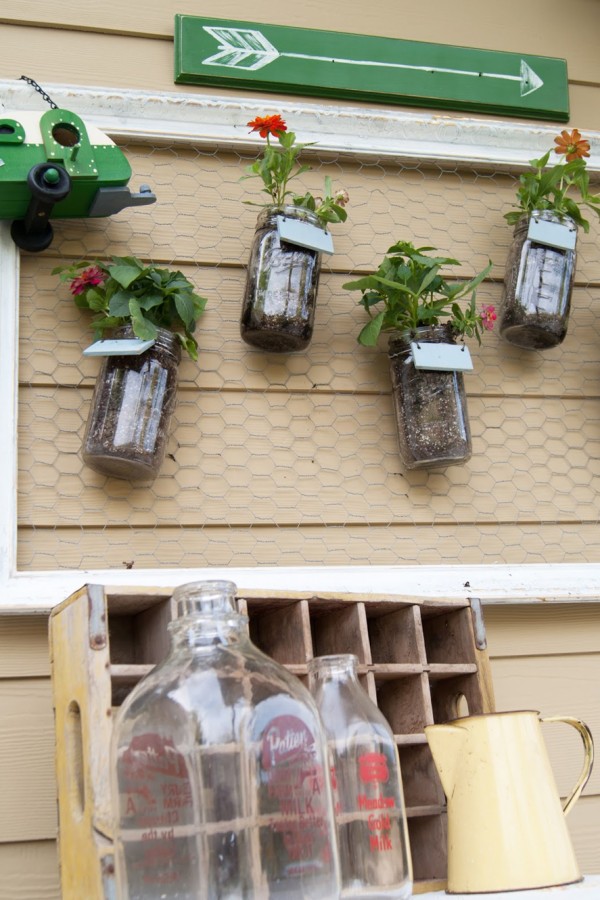
Mason Jar Wall Garden
Hey!! I’m to excited!! The wonderful Amber from Averie Lane is joining our team here at Kleinworth & Co. She creates the most inspiring projects & I am so happy that she is here today to share one of them. This Mason Jar Wall Garden is fantastic. I can’t wait to make one myself. Please give Amber a warm welcome & check out this awesome idea.
Hi! I’m Amber and I blog over at Averie Lane !
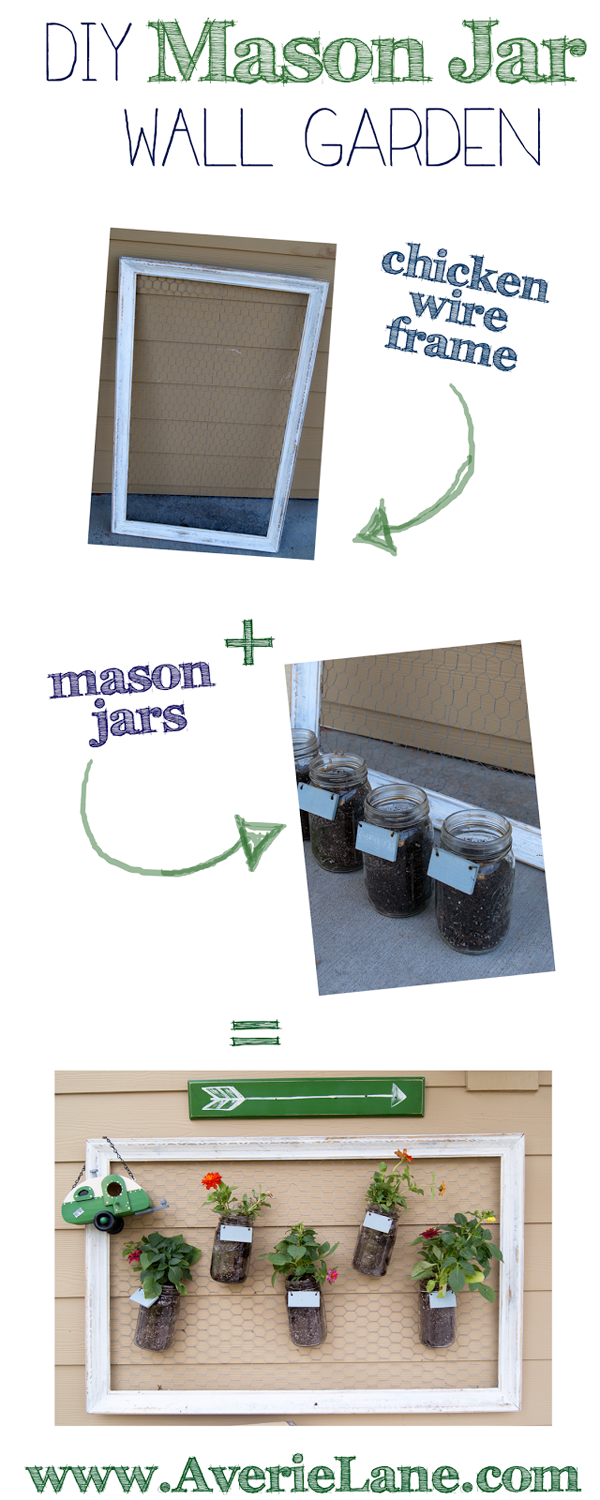
Today I am sharing my super simple – totally fun- easy peasy Mason Jar Wall Garden with you!!
Here’s the story…
I had a boring blank wall on my back patio that needed SOMETHING.
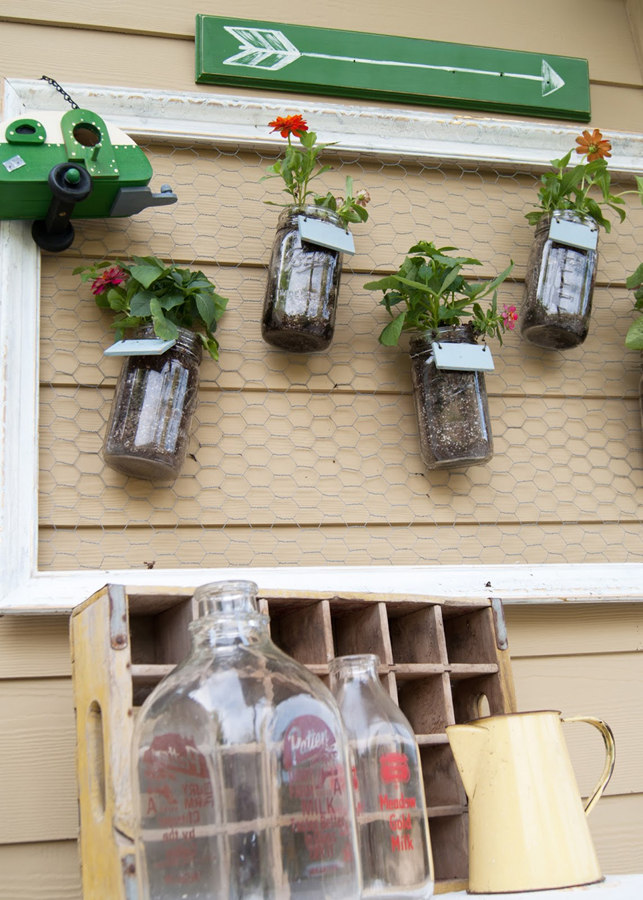
I looked around my house to see what I could up-cycle into a planter. That’s when I found a picture frame with chicken wire mounted in it and a few mason jars that use to house my herb garden (FYI: if you have to live in your cousin’s basement due to a move, its not likely your herbs are going to survive.)
All you need are a few supplies:
Picture Frame with Chicken Wire (just staple chicken wire to an empty frame if you don’t have one laying around like I did…)
Wire*
Mason Jars
Soil
Flowers
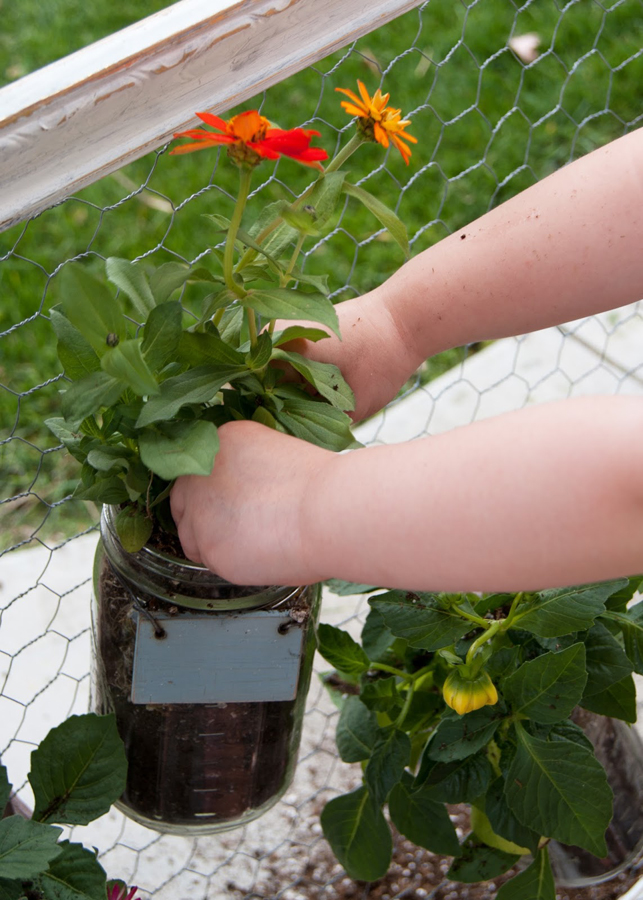
(a little helper or two won’t hurt either…)
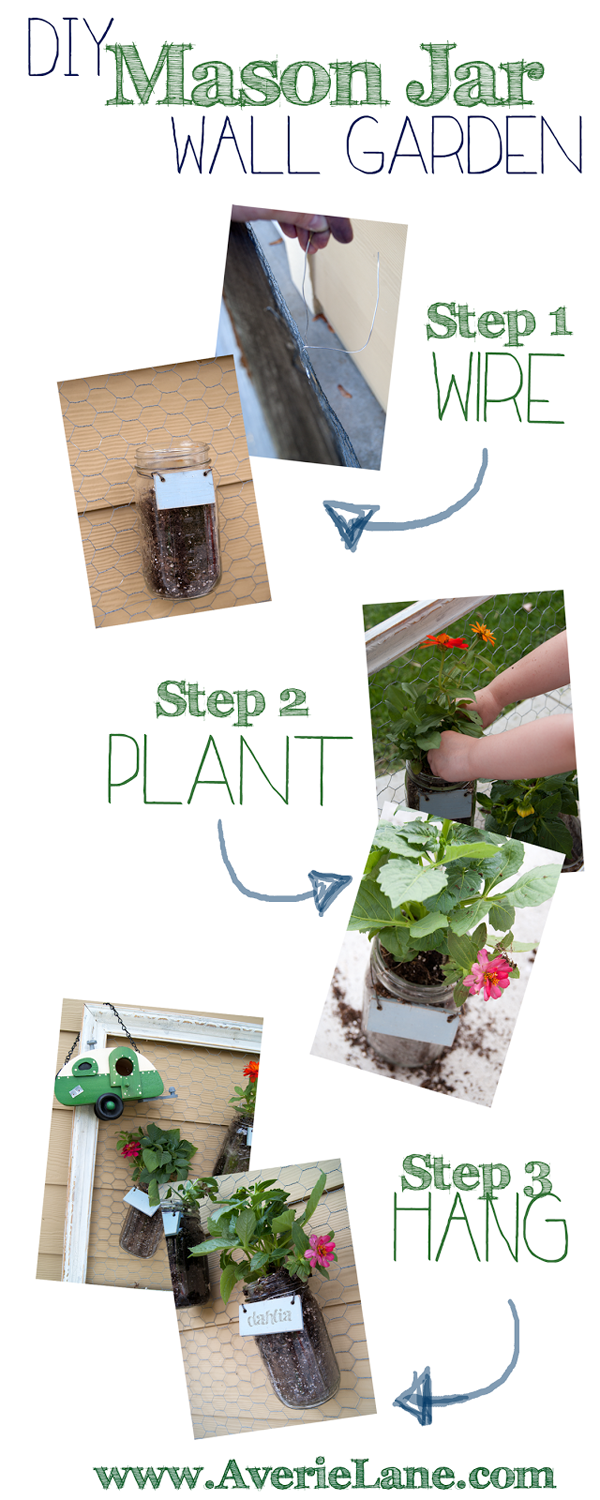
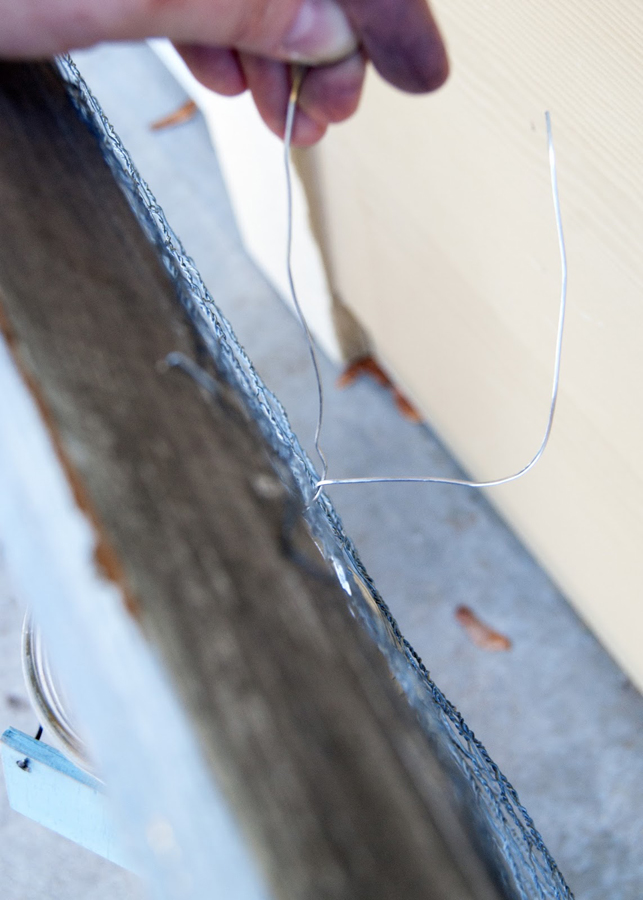
Just wire* your jars right to the chicken wire part of the frame.
*I recommend a heavy gauge wire if this will be outside
Then before you hang it up, add soil and flowers. Use a couple screws to hang it on the wall!
Now a couple tips for you!
- Don’t over water because your mason jar can’t drain. I repeat – DON’T OVER WATER
- When the soil starts to feel dry then its time to water. You can also see how wet the soil is so only add enough water to moisten it. You don’t want it to puddle in the bottom.
- You can add rocks for better drainage it you like.
Now style up your Mason Jar Wall Garden with some vintage finds and a cute arrow sign!
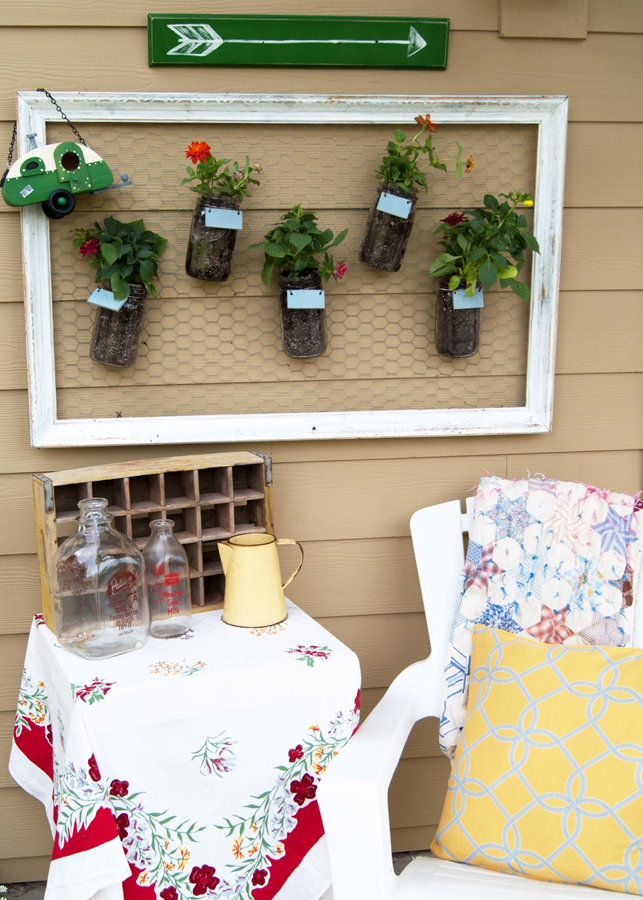
I am obsessed!!
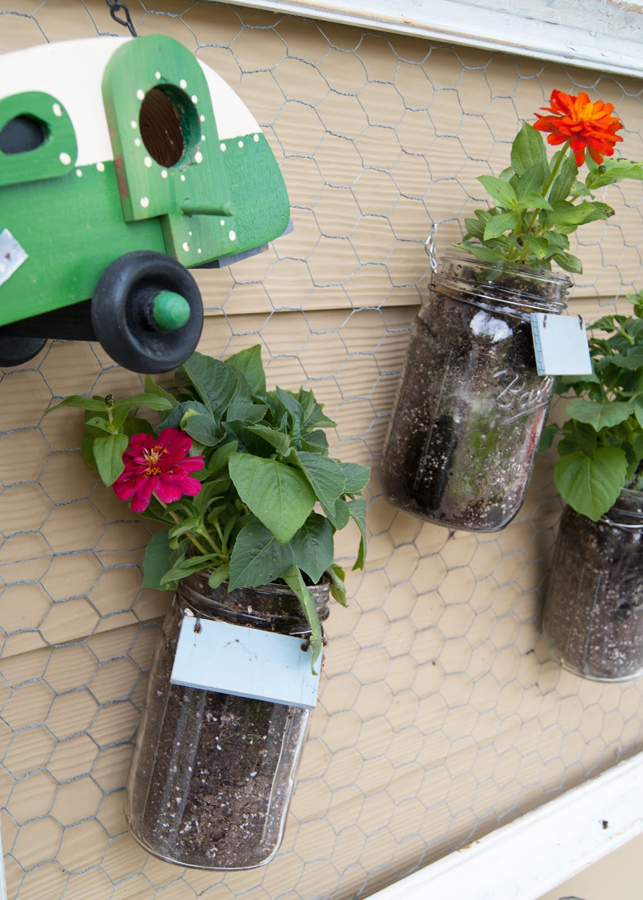
Wouldn’t this be a fun Mother’s Day gift!?
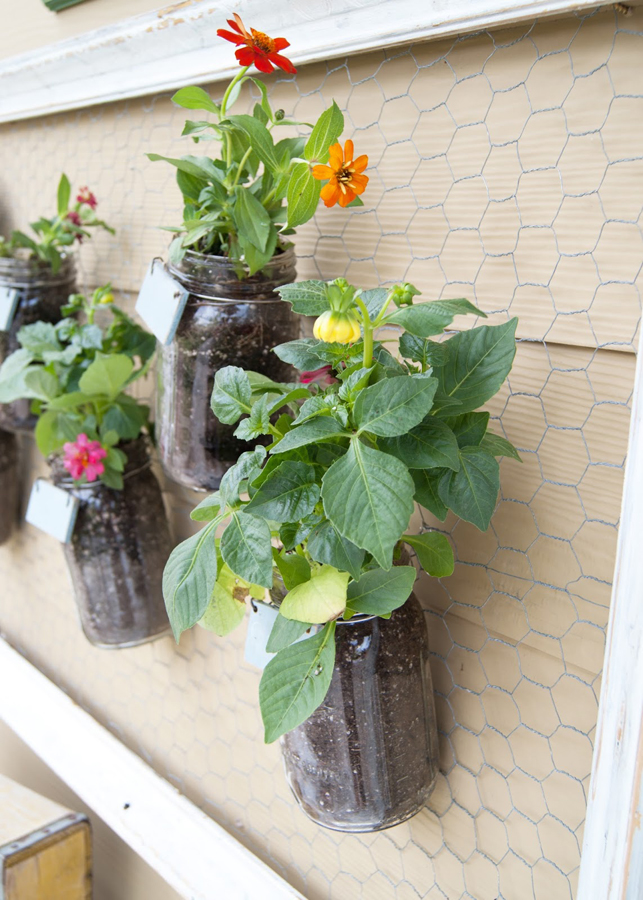
I want to thank Gina for having me here today and I hope you enjoyed my easy DIY Mason Jar Wall Garden!
If you like this project be sure to follow me!

Thank you SO MUCH Amber for inspiring us all & sharing this here today. Isn’t she AWESOME????!!!!!
I can’t wait to make this for our new backyard in the coming months.
Want more home projects?
To see where I am linking today- visit HERE
SNAP! Conference Recap
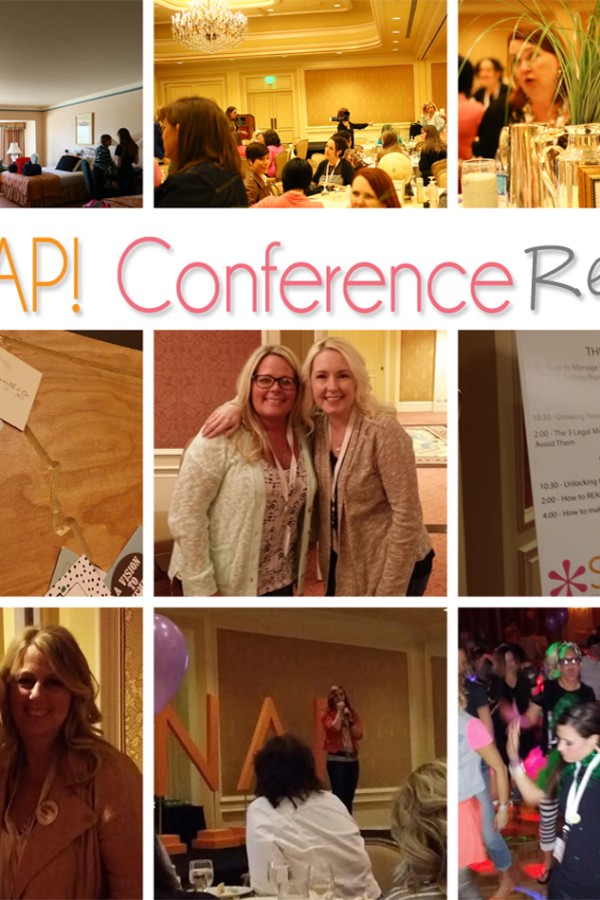
I have been promising you all that I would share what an amazing time I had at SNAP! Conference for about a week now. I have to tell you- if you can ever swing it to go- it’s TOTALLY WORTH IT!!! I had so much fun, learned a whole bunch – not just from the classes but from the one on one talks with some really AWESOME bloggers too. I feel so very blessed that I had the opportunity to do it & even more blessed that I was able to take my family along with me for the adventure.
So here’s a little of what I was able to capture of the 3 day event.
I didn’t listen to those that said I wouldn’t really use the DSLR – so I lugged around the MarkIII almost the whole time.
I may leave it at home next year. These are almost all taken with my phone.

So – here I was- all ready to go. Jeans & flip flops. Walk out to get in the truck- it’s snowing…and it continued to snow for the better part of the trip. Strange weather. But we saw some remarkable things along the way. BISON- we saw a heard of bison on the side of the road in Montana. Can I just tell you – I love western Montana. (I say western because I have not had the chance to see the rest of the state) It is AMAZING – I can’t even express just how STUNNING that part of the country is & I live in a pretty gorgeous location to compare it to.

Did you know UT has 80mph speed limits?? That was nice because by the time we got to that point I was ready for the 10 hour drive to be over. We dumped our stuff in our room & headed to the brewery for some fried food. It was good but insanely busy. Not as peaceful as I had hoped after a long drive.

That night I ran into my sweet friend Desiree from The 36th Avenue in the lobby. Can I just tell you – she is every bit as nice in person (not that I was surprised). I think Desiree & I will be life long friends. She is a PHENOMENAL person & a good portion of the credit for where I am today is owed to her. I love her dearly – I so wish we had been on a weekend retreat so we could have chatted more. I could spend some serious time with her.
The next morning I joined a busload of ladies for a #ThriftStorePartyBus hosted by Brooke from All Things Thrifty. She ROCKS people!!! I adore her!!!! We went to a pickers dream & did some antique shopping. We also did a little prop shopping. Perfect way for me to kick off this adventure with prop shopping. The hubs was happy that we drove so we had room for my purchases. It was great.
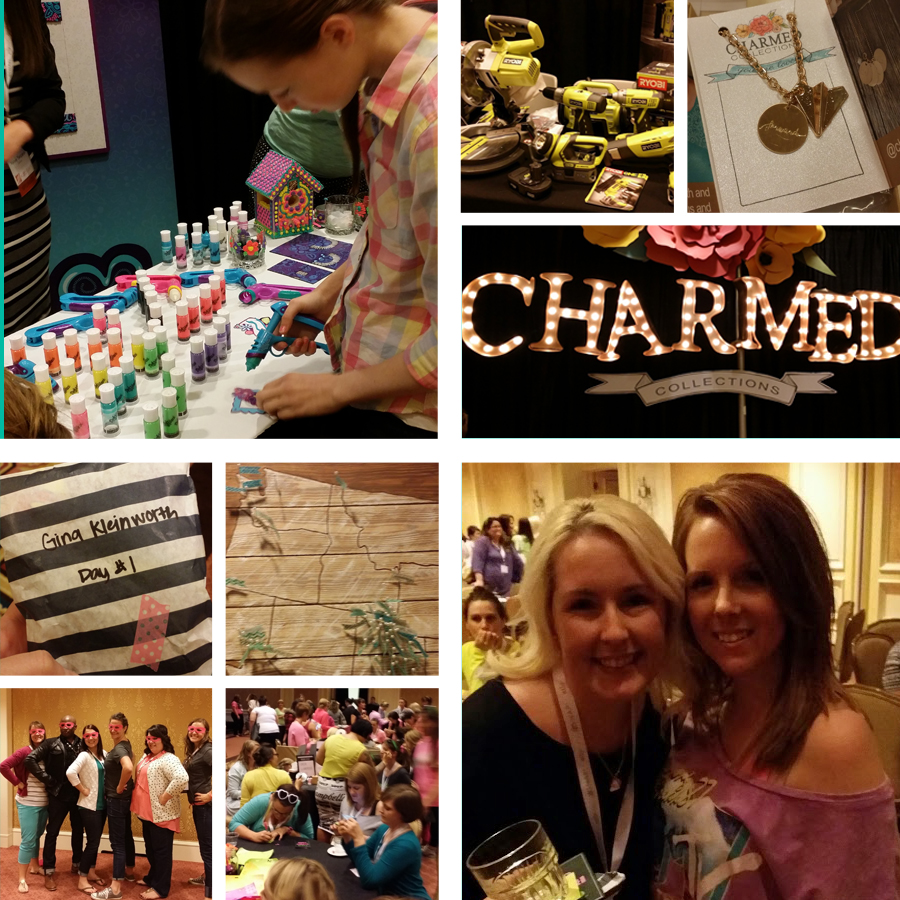
Each day I received a gift from my secret sister full of goodies & little things I love. That was SO NICE. We also had an 80’s themed pajama party. I had the chance to spend some serious time with the fabulous Liz from Love Grows Wild & Samantha from Five Heart Home. We had some fun. We spent a lot of time together & it was great.
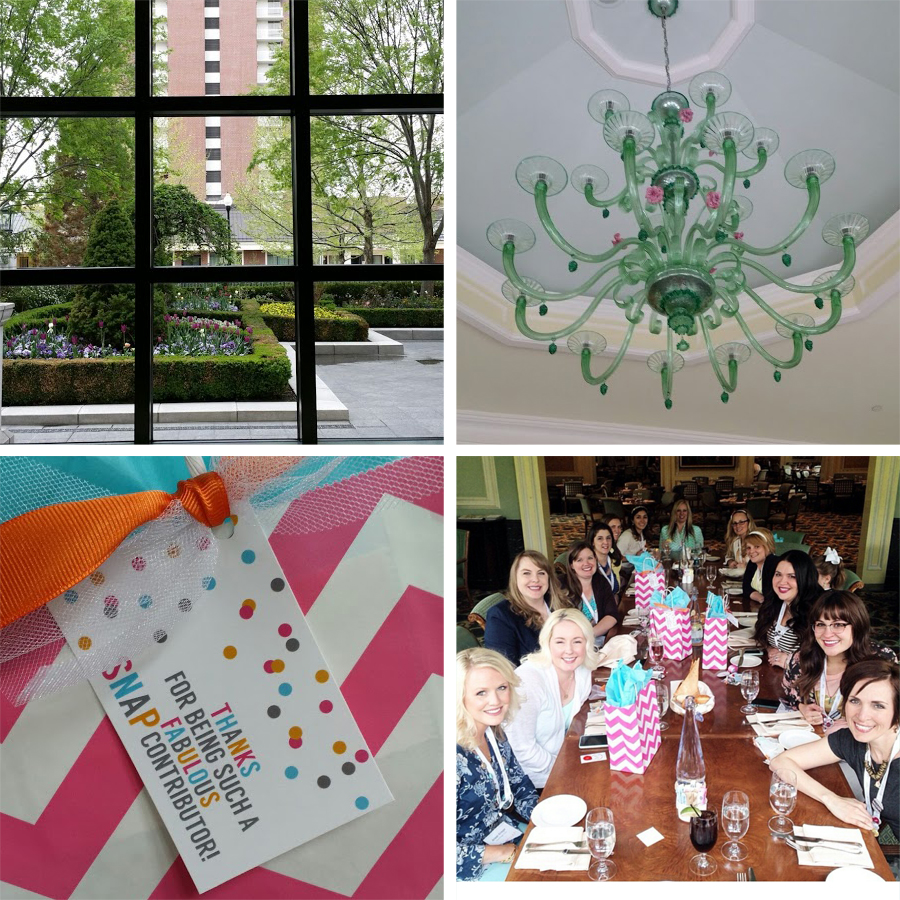
The second day all of us SNAP! contributors had the chance to break away from the hustle & bustle & have a nice quite & relaxing lunch with each other. It was great to meet them all one on one. Can I just say – Tauni is so incredibly sweet. She is also INCREDIBLY INSPIRATIONAL. She has had some pretty awesome experiences in her life & some pretty hard struggles too. I am so inspired by how she is able to do all she does. Thank you Tauni for everything- truly everything.

While I was busy with the conference – the family set out on some adventures.
The first day they got a HUGE piece of metal in our tire & spent half the day getting it replaced. Thanks Salt Lake City for the adventure.
They also visited the Planetarium, the State Capital building, saw a movie & visited the outdoor mall. They had some great food, they stopped at my favorite store- Tiffany’s & swam in the hotel pool a whole lot. They somehow had time to visit some of the vendors with me while at the conference too. They had a great time.
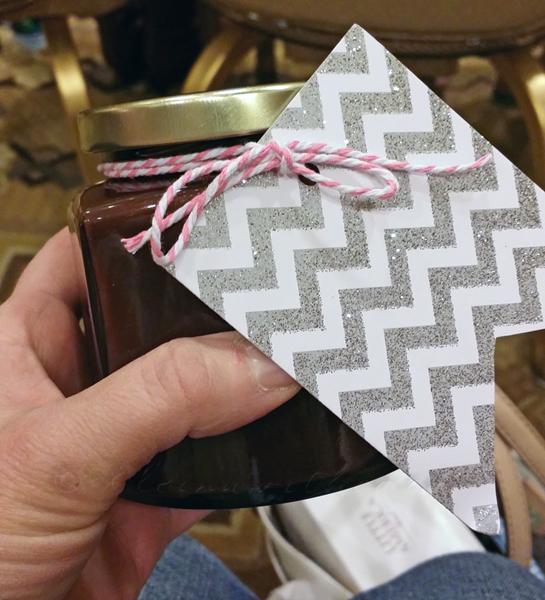
Amongst all the things on the schedule- my friend & contributor here – Gloria from Simply Gloria (who wasn’t attending the conference) stopped by the hotel to meet with me. We grabbed some water, sat in a little corner & learned all about each other. We have so much in common & I loved getting to know her. We could be dangerous if we lived closer to each other- I think we would be together all the time. LOVE HER!! She brought me this homemade hot fudge- she really knows me I tell ya!!
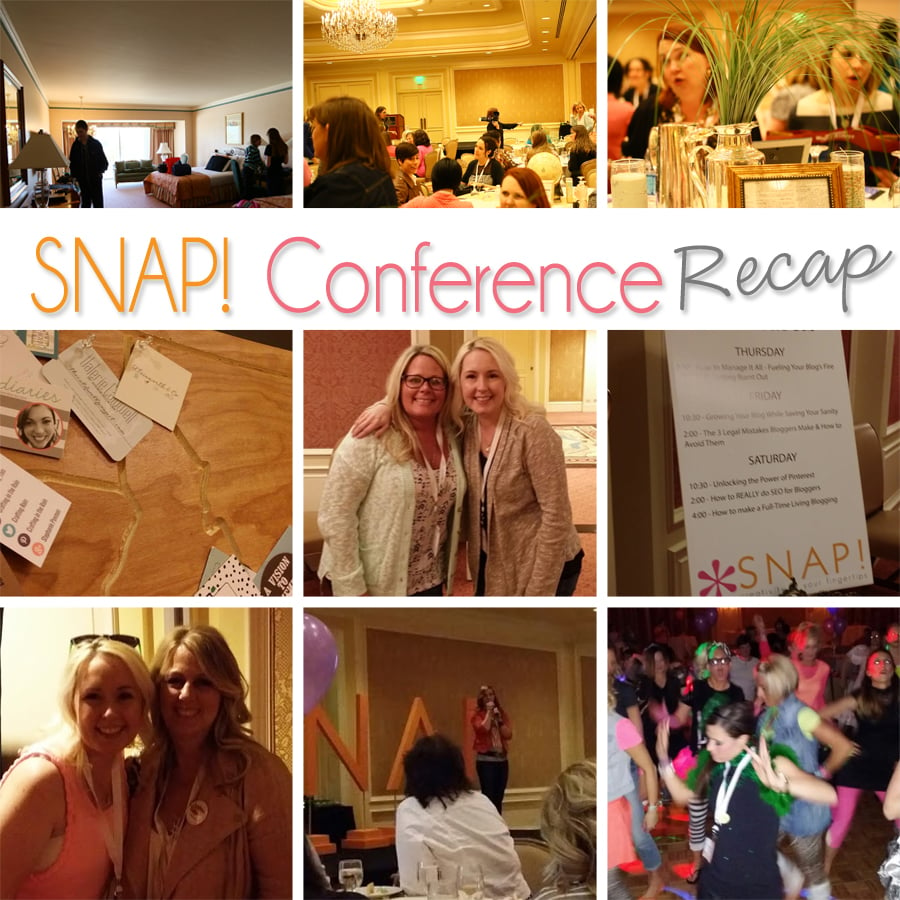
We had an 80’s dance party – which we all sang & danced our hearts out. It was great. We had amazing speakers who were so inspiring. I had the chance to chat with the AMAZING Cheryl from Tidy Mom. We talked about everything under the sun for probably close to an hour. It was so nice to get some one on one time with her. I finally had the chance to meet my friend Kelly from Live Laugh Rowe in person. I also had some great moments with Kristi from I Should be Mopping the Floor & Claire from A Little CLAIREification. I didn’t capture it- but Liz & Samantha & I had the chance to have a little wind down chat time with some of the greatest bloggers around- Jamielyn from I Heart Naptime, Kristyn from Lil’Luna & Becky from Infarrantly Creative were all so open & kind & giving with their time. I hope to get to know them all better in the future- it’s truly inspiring to see what they have been able to accomplish. LOVE THEM ALL!!!! It was like a giant reunion – but for many of us we had never met in person. I can’t wait to see these ladies again & again at as many places we can find a chance to get to at the same time. I did get a few moments with Jen from Tatertots & Jello- but she is in high demand. Hoping for another opportunity to get to know her better in person- she has been so wonderful to me over this past year.
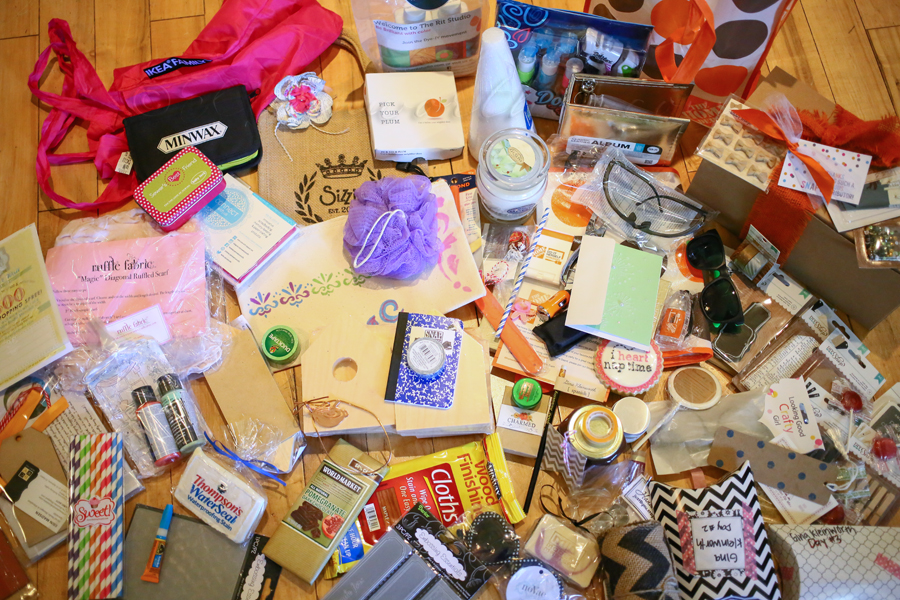
Did I mention the SWAG??? It was OFF THE HOOK!!!! Seriously – I knew I would get a bag of goodies at the beginning just because I had seen other recaps before. But the gifts just kept on coming. Every event, every class, every morning, every evening, every time we all got together as a group, gifts delivered to our rooms, gifts from the vendors, gifts from some of the bloggers I contribute for – like Mariel from Or So She Says – who gave me a candle in my favorite scent….Pina Colada. 🙂 Plus a bunch of goodies too. I was so touched & GRATEFUL for the generosity of all those involved & those I came in contact with. I can’t express just how much it all means to me.
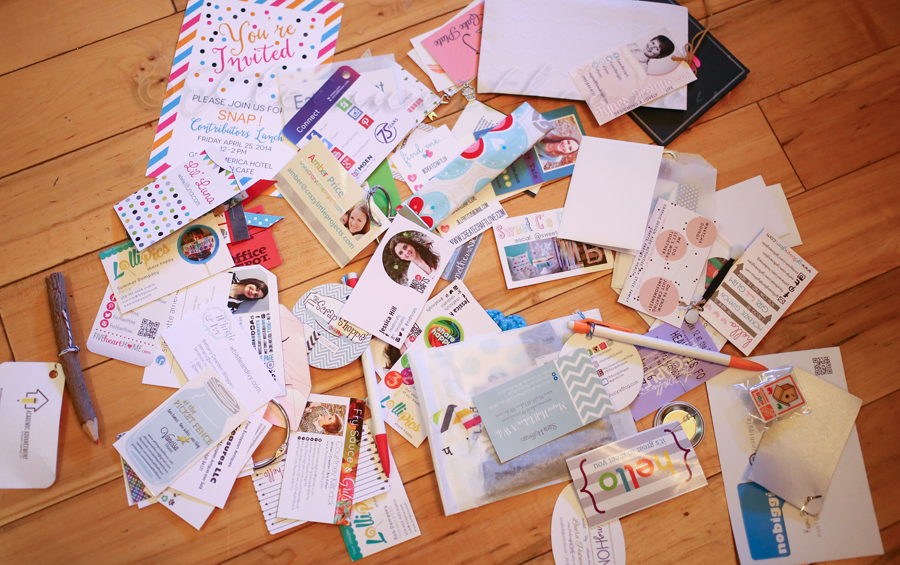
Finally – the business cards. I felt like I was passing out a ton. Looks like I only exchanged about 60. Which is a lot & doesn’t count the vendors. But I guess I probably should have passed out more since there were 527 of us there to connect. I failed on that front. But there is always next year.
So there you have it- it was AMAZING!!!!!!!!!!! I can’t express that enough.
If you can go- DO IT!! Hope to see you next year.
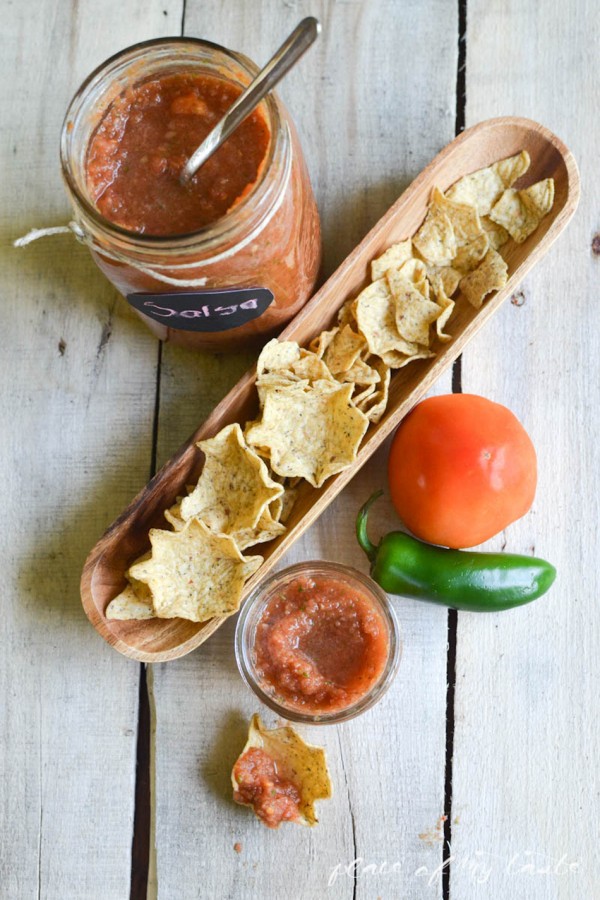
Homemade Salsa
I’m so excited today to welcome one of my new contributors – Aniko from Place of My Taste. I “met” Aniko through our both being contributors for the amazing Desiree at The 36th Avenue. I was instantly floored by her incredible talent in the kitchen, creativity & rockin’ photo skills. So you can imagine just how excited I was when she raised her hand when I called for contributors here on Kleinworth & Co. So please give her a warm welcome here & enjoy this FABULOUS recipe for Homemade Salsa.
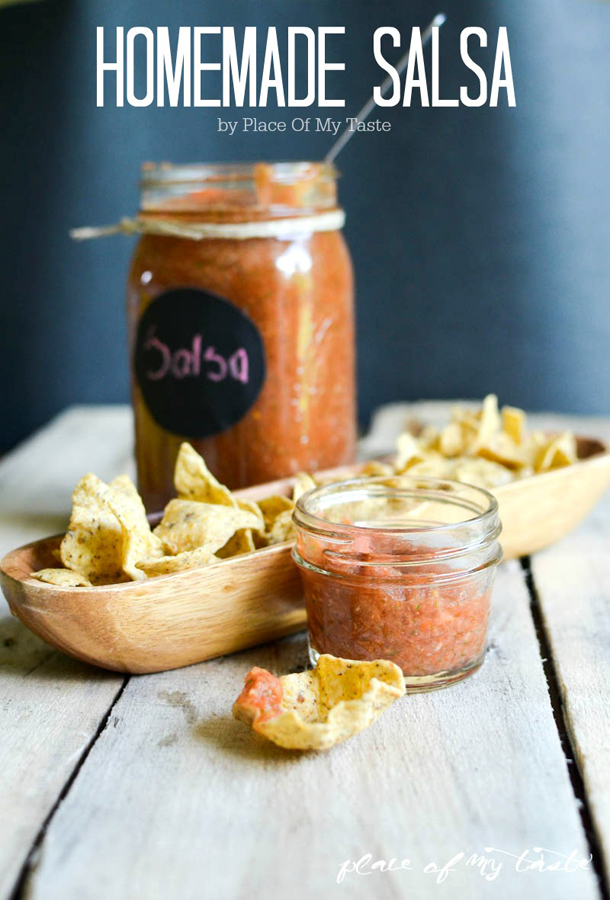
Happy Cinco De Mayo Everyone! My name is Aniko and I blog over at Place Of My Taste. I am so happy to be here and share something super easy yet delicious with you all! Since today is a Mexican holiday, I brought my favorite homemade salsa recipe to share with you! We have a favorite Mexican restaurant about 5 minutes drive from us and they serve the best salsa ever. We only visit that restaurant maybe once a month though, so I had to learn how to make the perfect salsa dip at home.
I love salsa…in every way…
I LOVE to dance it and I LOVE to eat it:-)
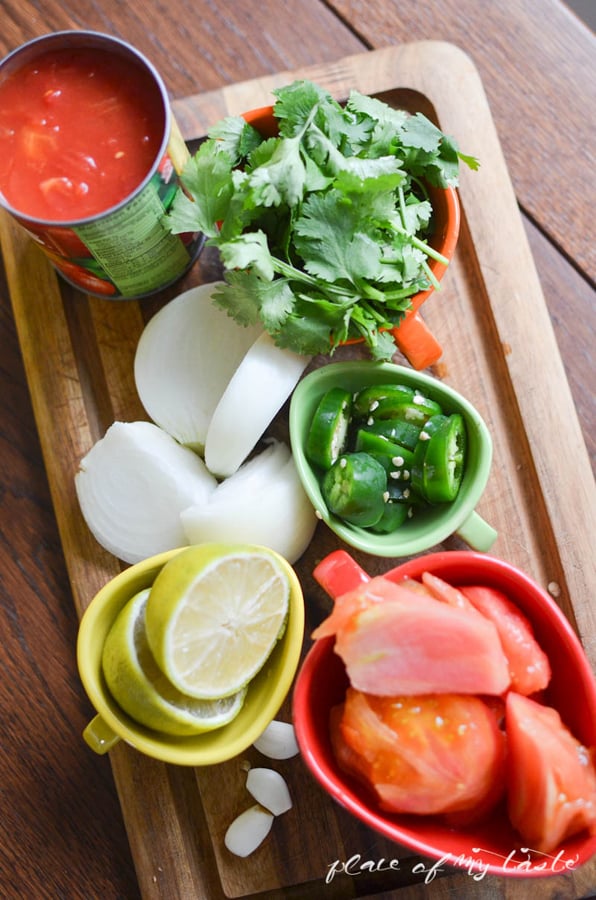
Few fresh ingredients and a food processor is all you need to make a very authentic fresh salsa dip.

Homemade Salsa
Ingredients
- 1 can 28oz tomatoes (whole or diced )
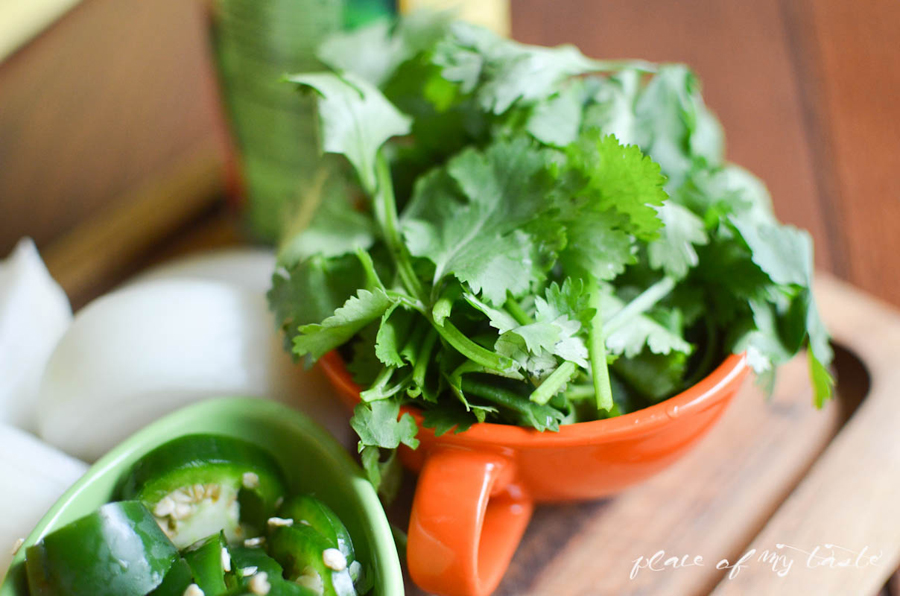
- handful fresh cilantro
- 3 garlic cloves
- 1 lime juiced
- 1/2 onion diced
- 1/2 cup jalapeno pepper
- 1 tbs salt
Instructions
- Put the can of tomatoes into your food processor and place all the other ingredients on the top. Turn on your food processor for a few minutes. Chill your salsa if desired.
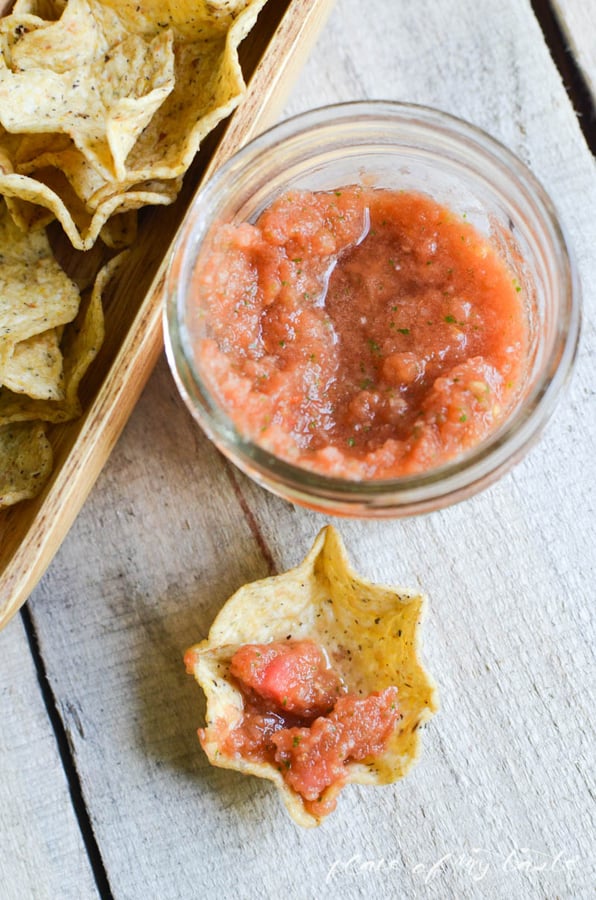
Serve your salsa dip with tortilla chips and make your friends lick their fingers on your next party!
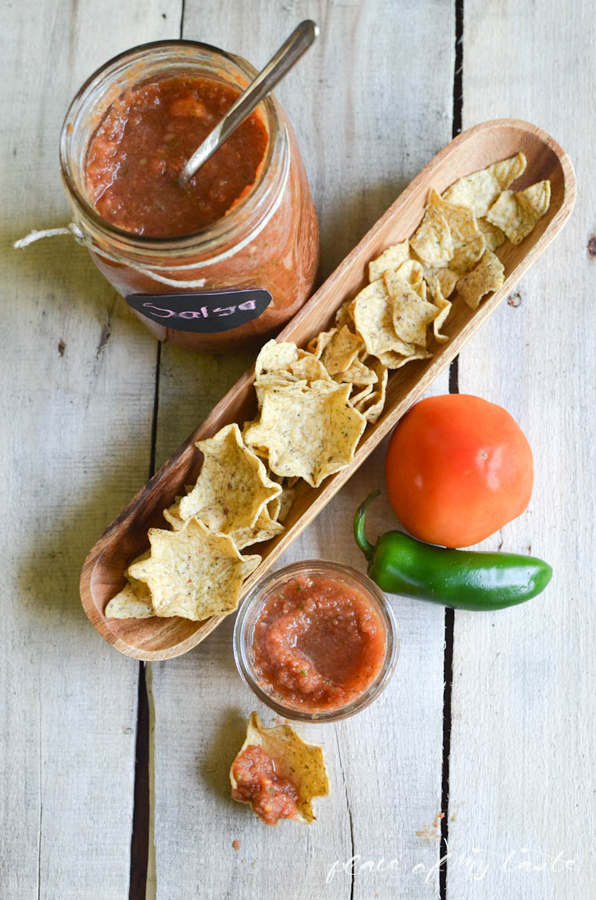
You can store your salsa ( if there is a leftover ) for days in your refrigerator.
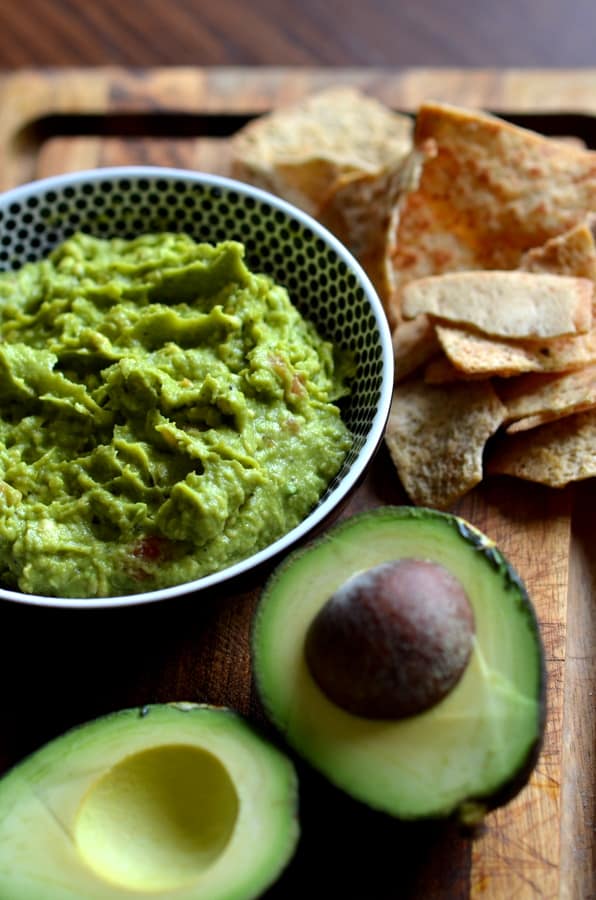
If you are looking for more dips perhaps, check out my favorite Easy Guacamole
or this very flavorful Spinach & Artichoke dip
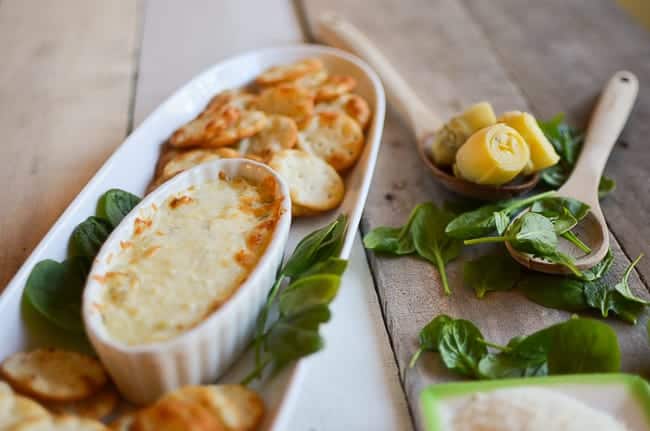
I hope you will love these dips as much as we do!
Have a great week!
If you like what you see come check out my DIY project gallery or Recipe Gallery to see more mouthwatering recipes!
Xoxo~
Aniko
Thank you SO MUCH Aniko- it’s an honor & pleasure to have you here today & in the coming months.
I can’t wait to try this recipe
Want More to go with your festive party food tonight?
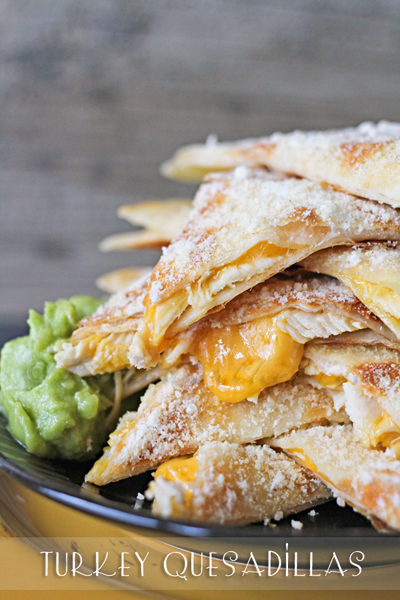

To see where I am linking today- visit HERE
[include id=”1″ title=”Footer Ad”]
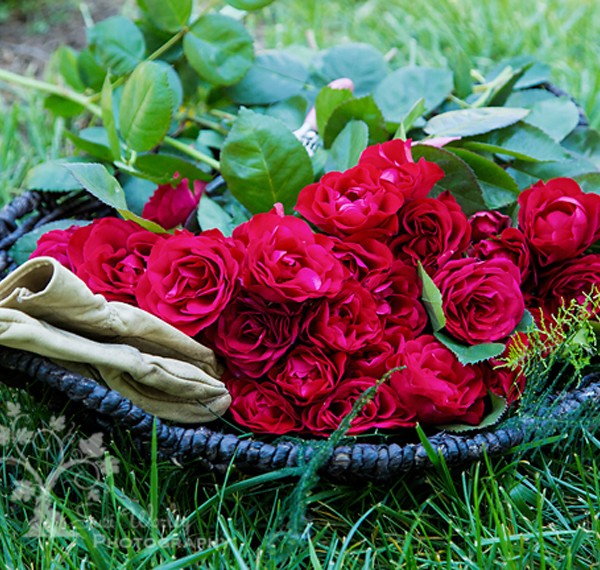
Cutting Roses
I’m so excited!!! Remember my friend Suzi?? She shared the fantastic tips on planting potatoes. I’m so honored to tell you that she’s now a contributor HERE on Kleinworth & Co. YAY!!! So she’s back again today to share with you all some great tips for Cutting Roses. I can personally vouch for her serious expertise. I have seen so many images of her gorgeous garden & all she grows over the years – she knows her stuff!! I’m so thrilled that she’s here to share it all with us today.
Happy May! I hope you enjoyed my guest post last week about planting potatoes, ours aren’t up yet, but there’s still time. With Mother’s Day coming up I thought I’d take a moment to talk about roses. Growing roses can take a bit of work, but can be oh so rewarding when they’re blooming!
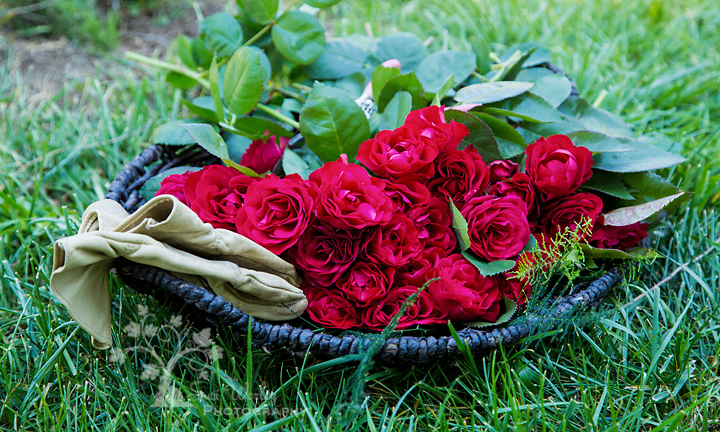
There are so many types of roses, that it’s best to read up on the one you wish to plant, some flower continuously all through summer, while others only flower once, but are so spectacular it’s completely worth it. The key is to find a good space with plenty of sun. While they can tolerate some shade, the bushes won’t be as robust without ample sunlight, plus too much shade can encourage mildew and other diseases. That said roses need protection from winds and frost, so along a fence or building is often best, just make sure if you’re planting it, and leave enough room for it to grow to its full potential. Since planting roses depends on the type you get, I thought I’d focus on making the most of their blooms!
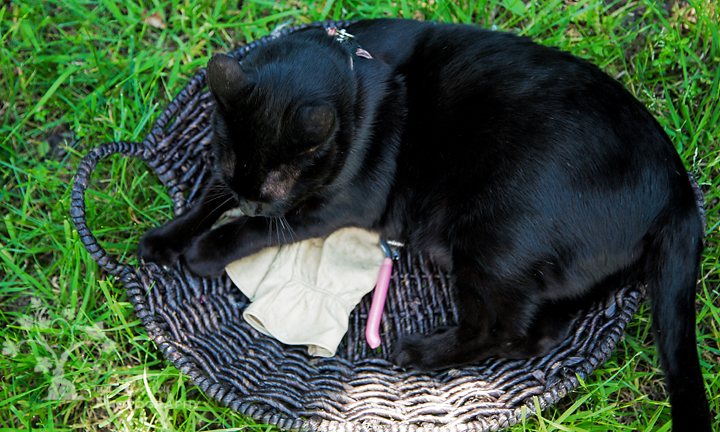
I tried to get a picture of the gloves and pruning shears I use, but my “helper” insisted he needed the basket more than I did. I find that “gardening gloves” often have cloth or are too narrow and they don’t last a season of gardening for me. So I use men’s leather work gloves instead.
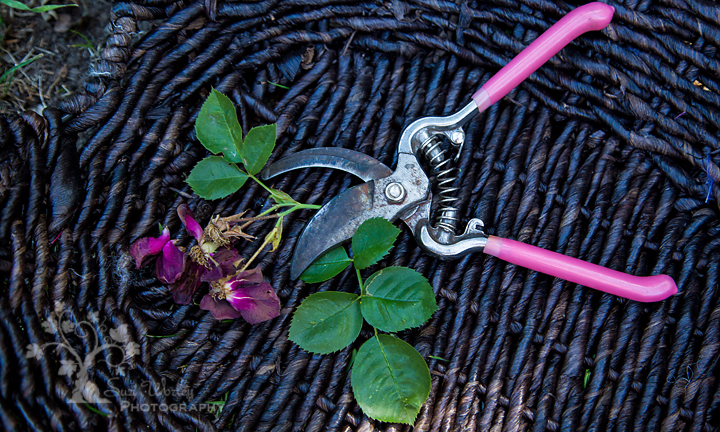
I also use Pink pruning shears as they’re easier to find in the garden, and they don’t tend to wander away!

To ensure your repeating roses bloom throughout the summer, you’ll need to make sure to “deadhead” your rose. This essentially means you need to trim off the ugly spent blooms to make way for the new. The key is to cut right above the first or second cluster of 5-leaves just below the dried bloom or rose hip. If you trim too short, it won’t re-bloom, if you trim too long, the rose will take longer between bloom cycles. (Note that some climbers it takes two to three years for it to bloom, and then care needs to be taken with the canes as it needs “old growth” to flower, and so they should be treated a bit differently.)
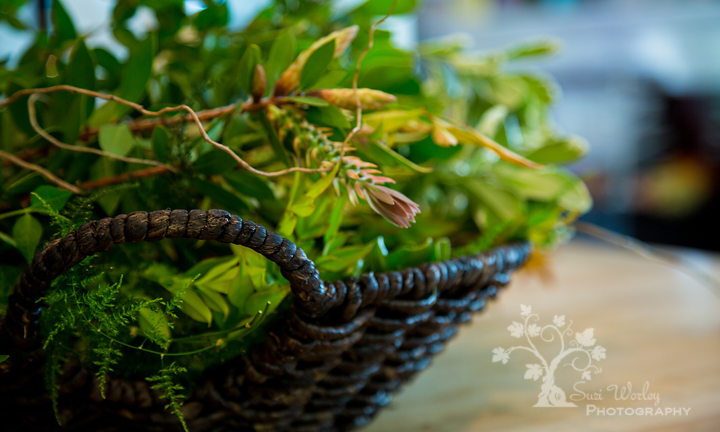
You’ll need to cut longer stems when cutting a rose for an arrangement. Always select blooms that are just starting to open, as if the bud’s too tight it may not bloom. (Open roses are fine too; they just won’t last as long.) Always cut your roses and plants at a 45-degree angle. This allows any rainwater to run off and prevents the stem from rotting, and when in an arrangement it helps create a larger surface area for the plant to absorb the water. I usually put my roses in water and then go back out to pick some pretty greenery for the base filler.
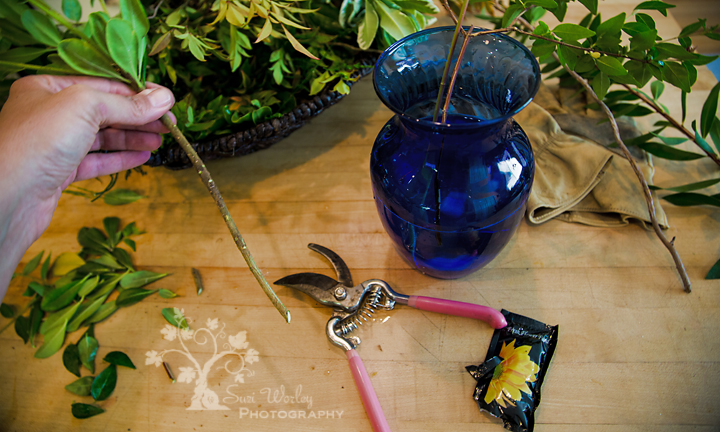
Once indoors fill a vase with cold water (and preservative if you have it). Remove any lower leaves on your roses and filler plants so they won’t be under the water line. (Also remove any diseased petals and leaves.) The greenery and “base flowers” should go into your vase first, so you have a nice foundation to work with.
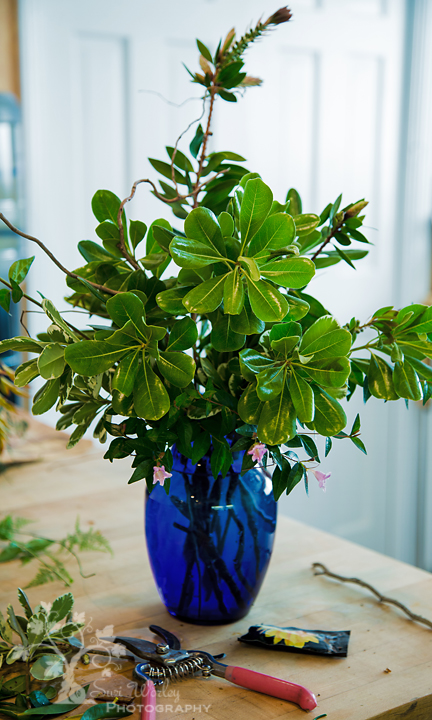
This is a good start for filler if you have larger roses. Since I was using cluster roses (with multiple heads on the stems) and I didn’t want to try and stiffen them with florist’s wire, I added a bit more filler for support. You can be as creative as you want with filler, and even use “sticks” such as the curly willow shown here. However keep in mind that some plants (and flowers) are poisonous to pets and children, while others (such as this bottle brush at the top) can cause allergies or pollen. If in doubt, don’t use it.
We are now ready to add the roses! Fill your sink or a bowl with cold water and re-cut your stem under water using a sharp knife or pruning shear, and then immediately place it in the vase you’re arranging in. This protects the cut stem from the air, and helps it last longer.
Whenever you place the flowers think of them as a “plant” so that they all appear to be growing from the center of the arrangement out, this helps keep it looking organized, and balanced. Since these flowers needed more support and are already in full bloom, I made the arrangement tighter. If I were arranging flowers that were only half open, I would leave more room to accommodate for their growth. (This is especially important when working with larger flowers such as lilies and single long-stem roses.)

Keep your arrangement fresh by removing any faded or spent blooms. You can often extend the life of a bouquet by making smaller arrangements as some of the larger flowers start to fade. I’ve even been known to amend the base filler with new flowers from the yard. If the water gets bad, remove the flowers and re-fresh it, making sure to re-cut the flowers before adding them to the new water.
Companion Planting: Alliums (Black spot/Aphids), Garlic (Black spot/Aphids), Geraniums, Lavender, Marigolds, Nasturtium, Onions (Black spot/Aphids), Parsley, Thyme, Yarrow, and many more
Avoid: Trees and plants that have invasive roots. Ivy, vines, and invasive ground cover can also be an issue.
Have fun!
~ Suzi
Thanks so much Suzi – I can’t wait to make some beautiful arrangements.
Want More gardening tips?
Be sure to check out my post on How to Plant Potatoes
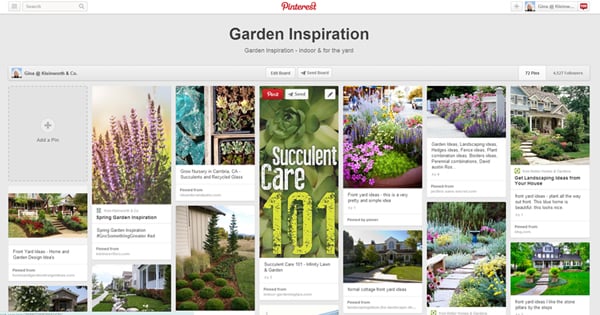
& my Spring Garden Inspiration
To see where I am linking today- visit HERE
[include id=”1″ title=”Footer Ad”]

Millionaire Sour
Seems this warmer weather has me on a sour kick & I don’t mean my mood. Hehehe 🙂 I told you when I made that Lemon Simple Syrup that I would be making all sorts of things with it. The cool part is that not only did I give you some ideas of what you could use it for- but I’m making more recipes than I ever thought I would with it. Way beyond my normal uses of Lemon Simple Syrup. I love that I can share them all here with you & you can enjoy them too. This is one sour beverage recipe that you will love all through the warmer months. It’s a crisp & refreshing Millionaire Sour AND I am also giving you an option for making it non-alcoholic too. It’s a win for everyone.
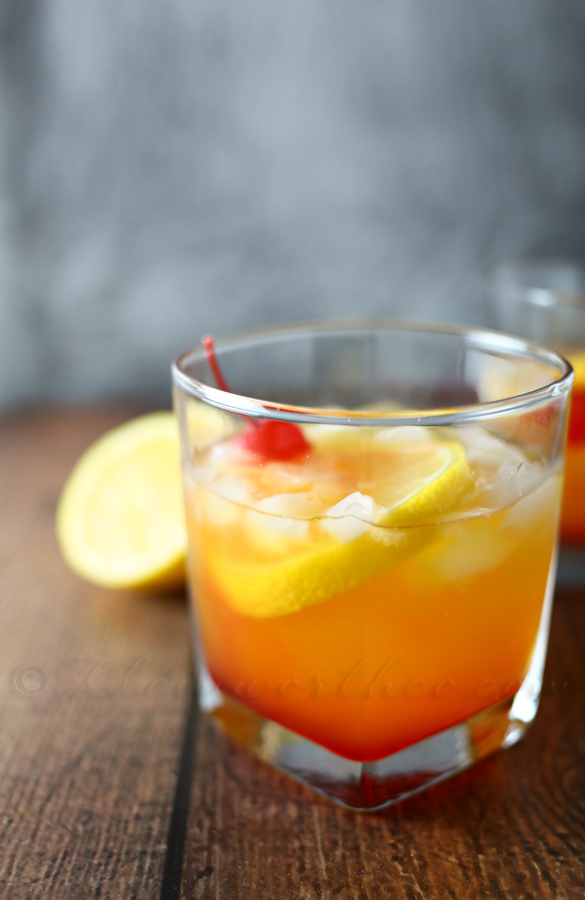
Just look at those gorgeous colors together – reds, oranges & yellows!! LOVE IT!

Picture serving this at all those BBQ’s – Memorial Day, 4th of July & Labor Day!


Millionaire Sour
Ingredients
- **PER GLASS
- 2 ounces Lemon Simple Syrup
- 1 ounce Bushmills Irish Whiskey
- OR 2 ounces ginger ale if you wish to go non-alcoholic
- 1/4 cup crushed ice
- 1/4 shot grenadine
- lemon slice & cherry for garnish
Instructions
- Add your lemon simple syrup & whiskey to shaker with 1/4 filled with ice. Shake
- Strain into ice filled glass
- Add 1/4 shot grenadine
- Garnish with lemon & cherry
Note - if using ginger ale for non-alcoholic version - just pour ingredients into ice filled glass- do not shake.
Want more warm weather recipes?
To see where I am linking today- visit HERE
Toasted Coconut Banana Ice Cream
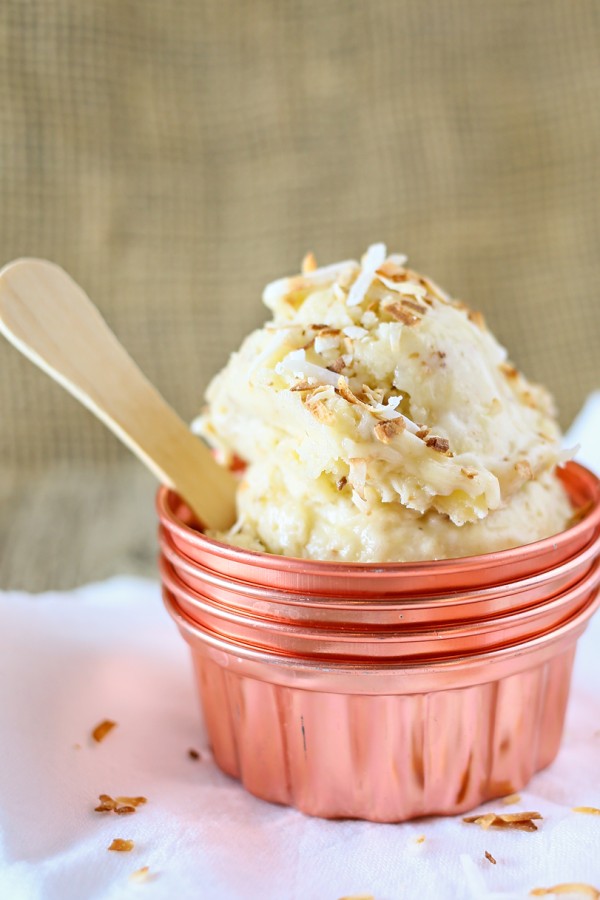
Hi everyone! Can you believe it’s almost MAY???!! I am just shocked by that! That means it’s almost summer. Hope you all are enjoying the glorious sunshine! As you know, with everything I have happening around here, I’m definitely feeling like spending less time in the kitchen & lightening up the menu a little bit. How about you?? But my sweet tooth is always tempting me to find new ways to still feel like I’m getting my little treats when I need them. I’m sure you all have seen the fabulous idea of making ice cream out of frozen bananas. Genius! Because it really does taste like ice cream, right?! But sometimes I want other flavors too – which means I start throwing other things in the blender with the bananas. When that happens- sometimes I come up with something I can’t live without. This Toasted Coconut Banana Ice Cream is one of those things.
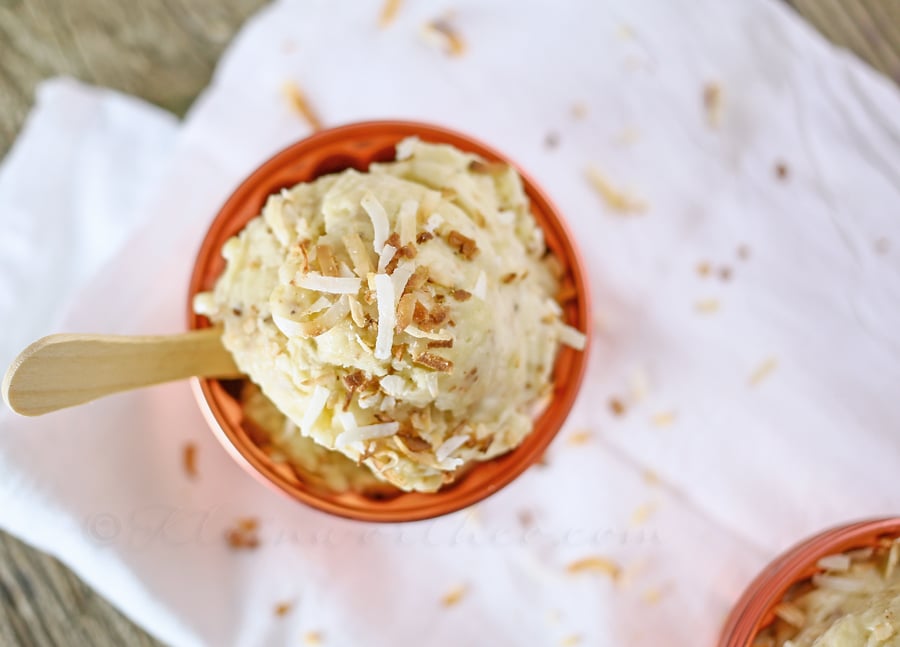
The combo of banana & toasted coconut is just heaven for me.
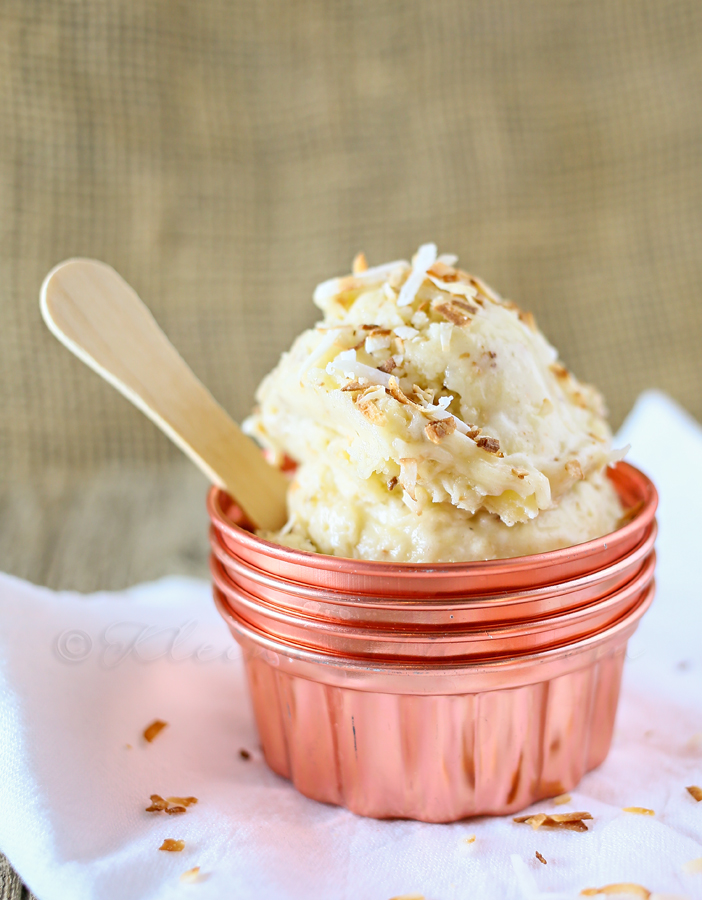
It’s light, fresh & creamy. Perfect for these warmer days. I know that we will be having this all through summer. No guilt- I’m still getting a refreshing treat but with things that are good for me.
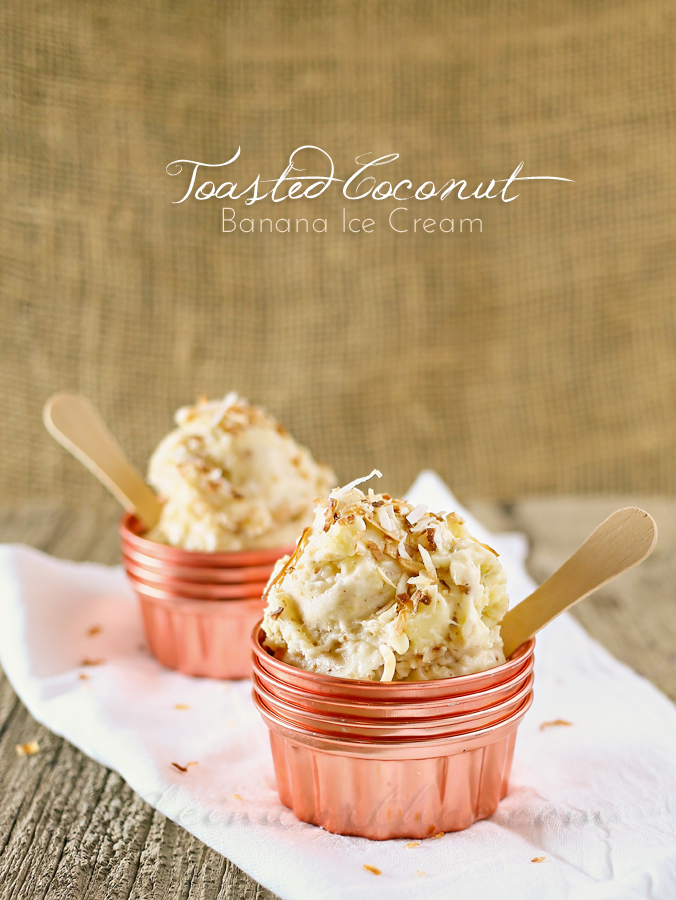

Toasted Coconut Banana Ice Cream
Ingredients
- 3 large bananas - frozen
- 1/2 cup toasted coconut + more for topping
- 1/2 cup cream of coconut
Instructions
- Place all ingredients in a high powered blender
- Blend on high for several minutes until all ingredients are combined to a thick & creamy mixture.
- You may need to scrape down the sides several times throughout the process.
- Serve immediately or transfer to an airtight container & store in freezer for 1-2 weeks.
For toasting the coconut – start here…
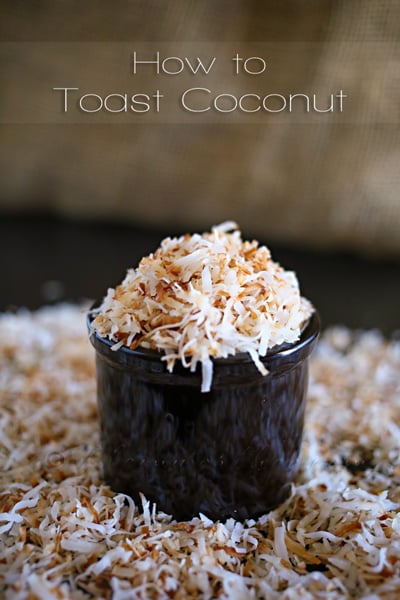
How to toast coconut – It’s so incredibly simple & keeps well.
So there you have it – a simple dessert you can whip up in just a few minutes.
Want More Frozen Banana Recipes?
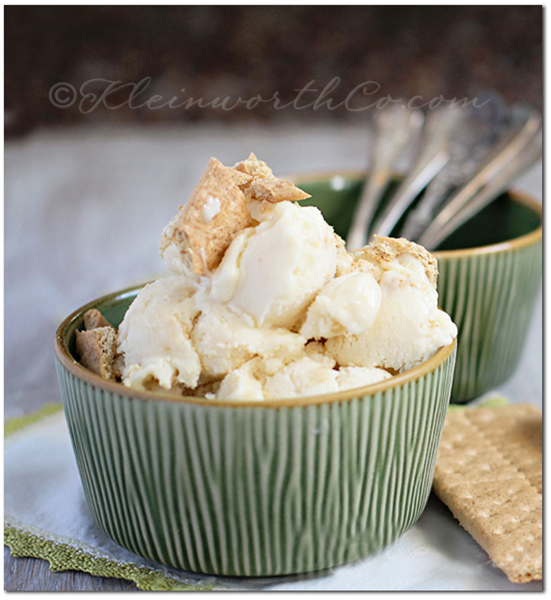
Banana Cream Pie Frozen Yogurt
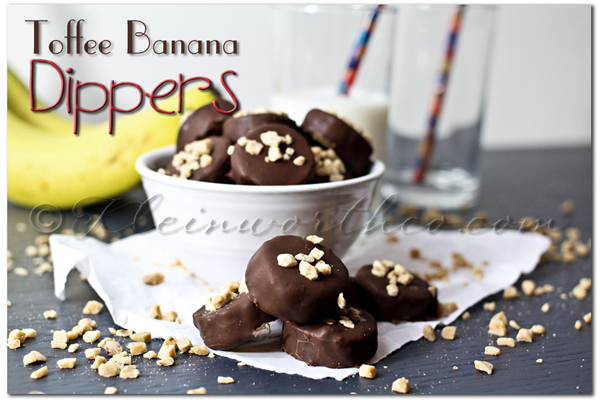
To see where I am linking today- visit HERE
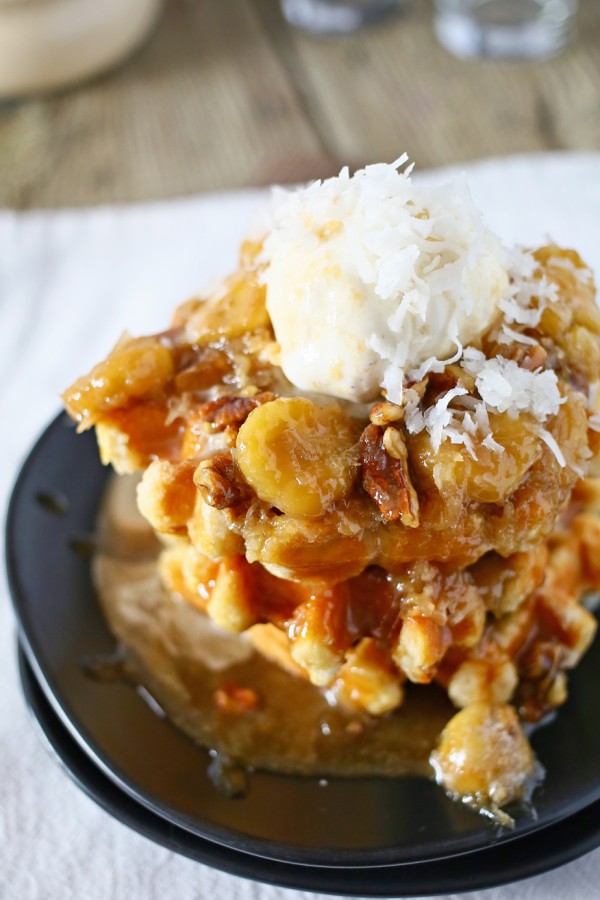
Coconut Bananas Foster
I’m sort of feeling like I’m back in the saddle today after a great trip with some AMAZINGLY INSPIRING women. I will be sharing all about it as soon as I can get my head wrapped around everything here. But I do have a YUMMY recipe to share with you that I know you will LOVE!!! Ever since I posted my Coffee Bean Syrup & used it on a stack of waffles with a giant scoop of vanilla ice cream, I have been wanting to create more things to put on top of waffles & ice cream. You know me- more is more when it comes to treats!! Certain flavors paried together just make me swoon- bananas & caramel, bananas & coconut, caramel & pecans, bananas & pecans. So I figured why not put it altogether for one decadent & absolutely delightful treat. Coconut Bananas Foster.
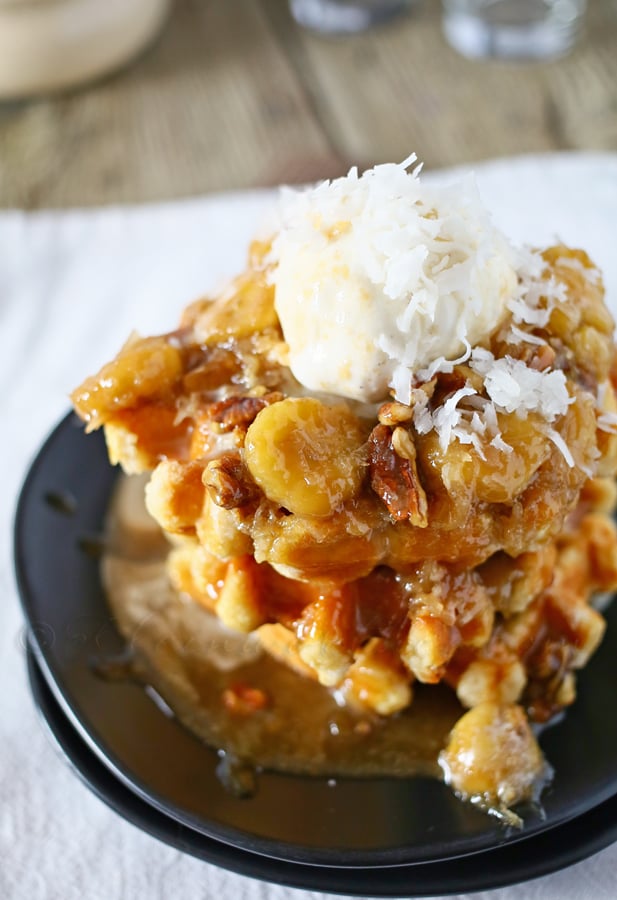
Now bananas foster is typically made with rum.
Yes the alcohol is cooked out – but I opted to use that Coffee Bean Syrup that I mentioned earlier in it’s place.
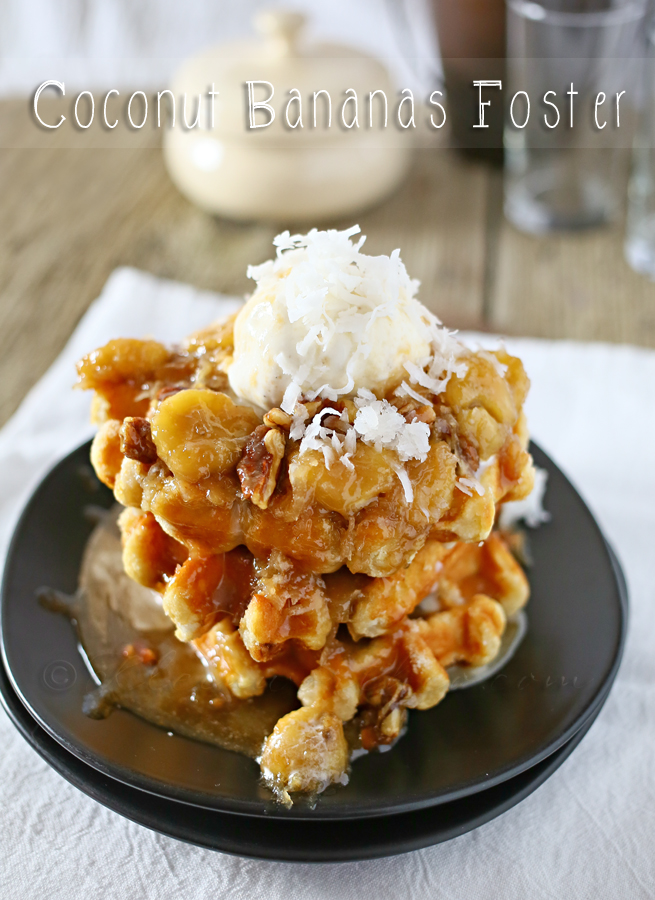
I used these giant Belgian Waffles stacked 3 high, topped with vanilla ice cream & then added my foster.
Heaven!! Absolute Heaven!

Coconut Bananas Foster
Ingredients
- 1 stick butter
- 1 cup dark brown sugar
- 1/2 cup heavy cream
- 1/2 cup Coffee Bean Syrup
- 2 bananas - sliced
- 1/2 cup chopped pecans
- 1-1/2 cups sweetened coconut - divided
Instructions
- Melt a stick of butter in a pan on medium-high heat.
- Add a cup of brown sugar.
- Stir it up with heavy cream.
- Stir in bananas
- Add chopped nuts.
- The mixture should be good and bubbly.
- Pour in syrup
- Remove from the burner and stir in 1 cup of the coconut.
- Serve over waffles & vanilla ice cream & top with remaining coconut
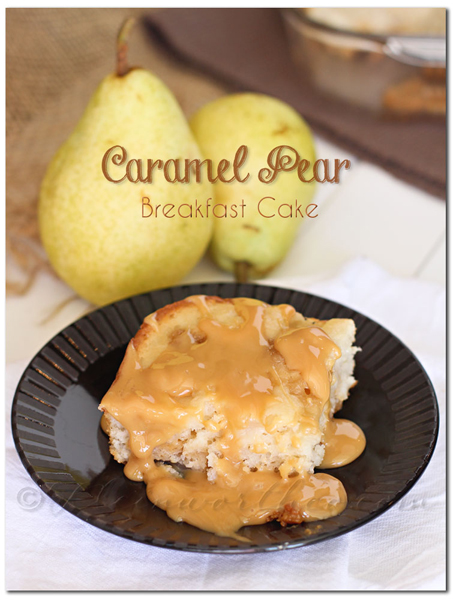
Want more Caramel or Coconut?

To see where I am linking today- visit HERE
Vanilla Coffee Creamer
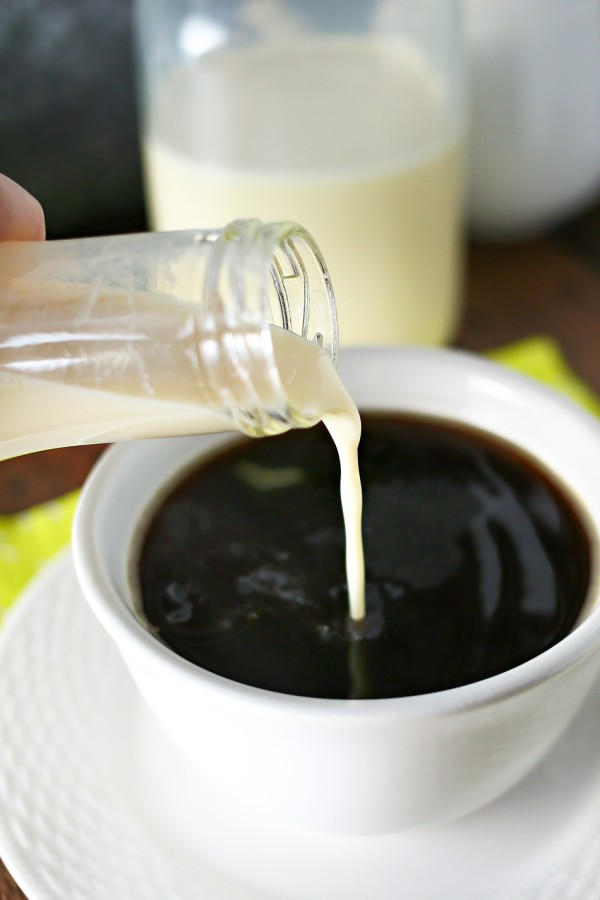
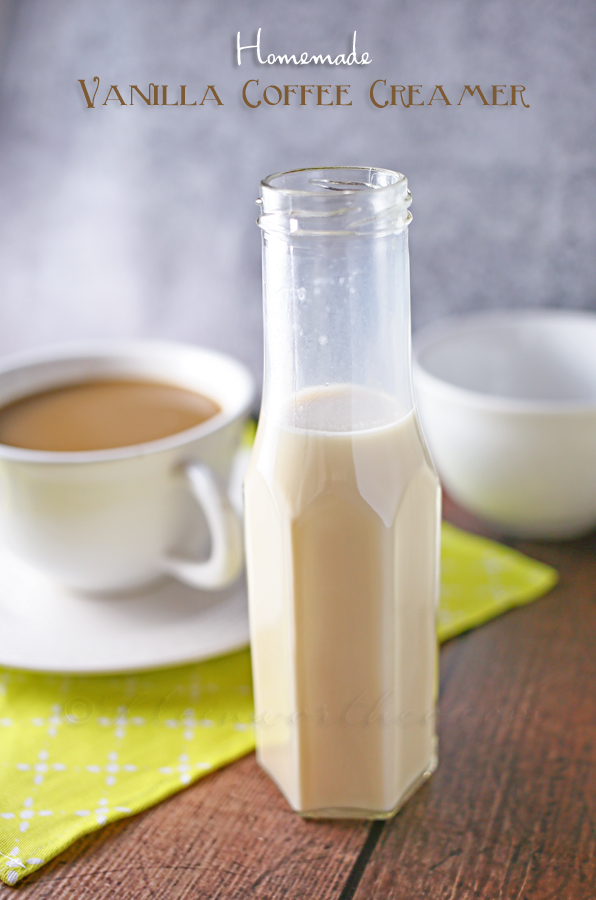
I mentioned a couple days ago that I am doing an experiment with my coffee. I want to see if replacing the things I normally add to my cup with homemade versions changes how I generally feel. I have already created Homemade Vanilla Coffee Syrup that I like to put in my coffee with a little half & half. But I also tried my hand at making Homemade Vanilla Coffee Creamer because the hubs really likes to have the flavored creamers. The cool thing is that I can make this as needed – no more buying in bulk & I think it tastes better than what we were originally using too.
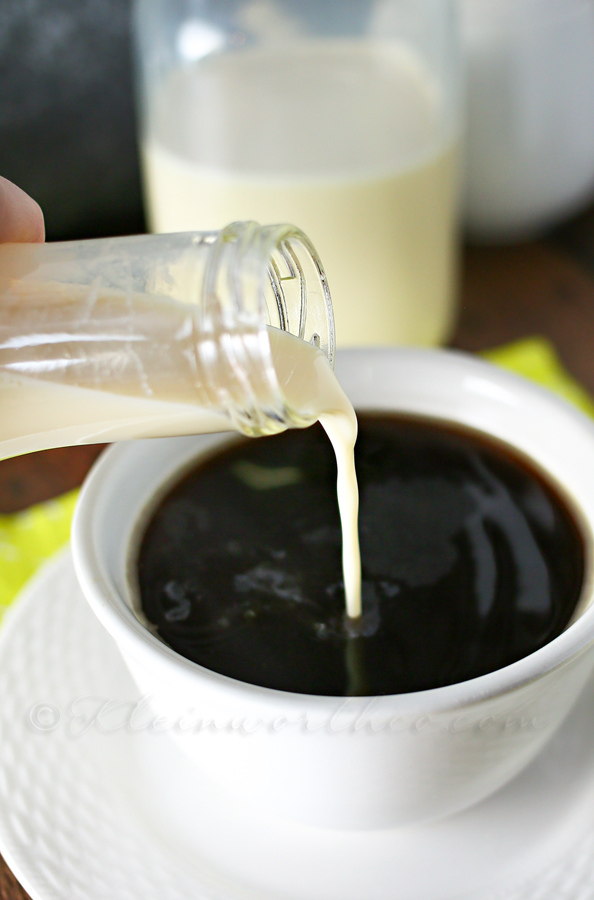
It’s so simple to make. Just add the ingredients to a mason jar- give it a good shake & done. I think it’s easier to pour from a smaller bottle, so I transferred a portion to these sauce bottles.
Vanilla Coffee Creamer
Ingredients
- 1 can sweetened condensed milk
- 2 cups milk - I used 2%
- 1/3 cup vanilla coffee syrup
Instructions
- Add all ingredients to a large mason jar & tighten the lid
- Shake well - done
- Store in refrigerator for up to 1 week (depending on how fresh your milk is that you used)
- Give it a little shake before each use.
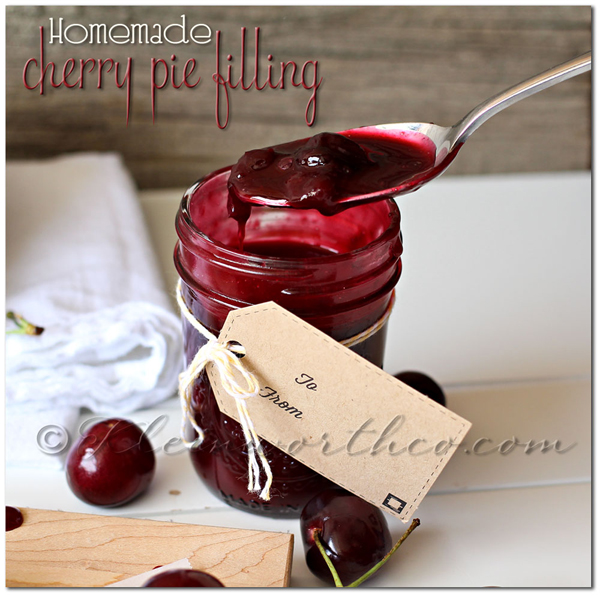
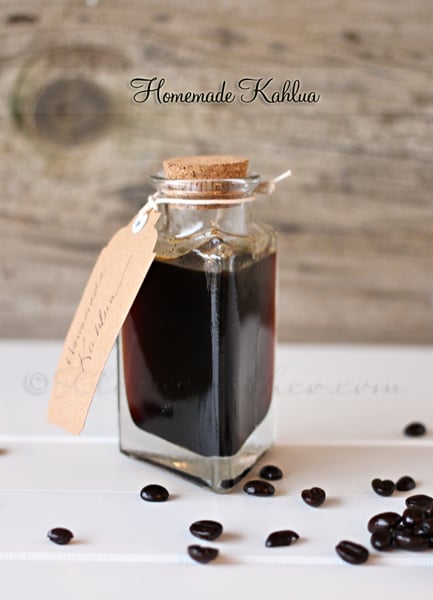
Want more HOMEMADE versions of your favorites?
To see where I am linking today- visit HERE
[include id=”1″ title=”Footer Ad”]
Planting Potatoes
While I’m still away at SNAP! Conference today I am so honored to have the wonderfully talented Suzi Worley here today to share some gardening tips with you all. I have known Suzi since we were both first learning our cameras & photography – long before we both started our businesses. She lives in CA – which as most of you know- is home for me, so I love seeing what she shares because it’s all so familiar. I get little glimpses of home with each & every post she creates. With the warmer weather I know that I am really excited to get started with planting once we get moved to our new home. Today Suzi is going to share some of her gardening tips. She is extremely knowledgeable on this topic with a thriving garden each & every year. So please give Suzi a warm welcome & enjoy!!
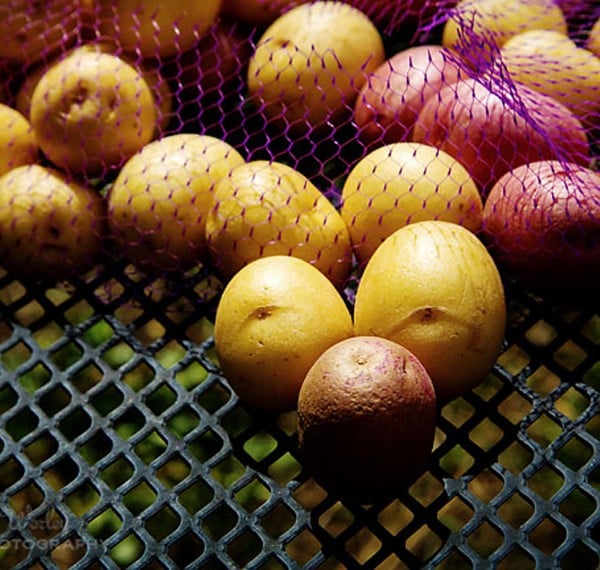
I’m so honored to be one of the featured bloggers on Kleinworth & Co! Gina’s asked me to talk about Gardening, and the timing couldn’t be more perfect, as its planting season in Northern California! As a former Iowa farm girl I come from a long line of gardeners, and a trip to anyone’s home was often met with “Come see what’s growing in my garden”. If you saw someone digging holes in their garden on Good Friday, they were likely planting potatoes. This tradition was pretty steadfast in Iowa. We’d also check the “Almanac” and plant potatoes about 4-6 weeks before the last frost date , but for luck, our family of gardeners would always plant some potatoes on Good Friday. (Even if it was a pot on a windowsill because of the snow.)
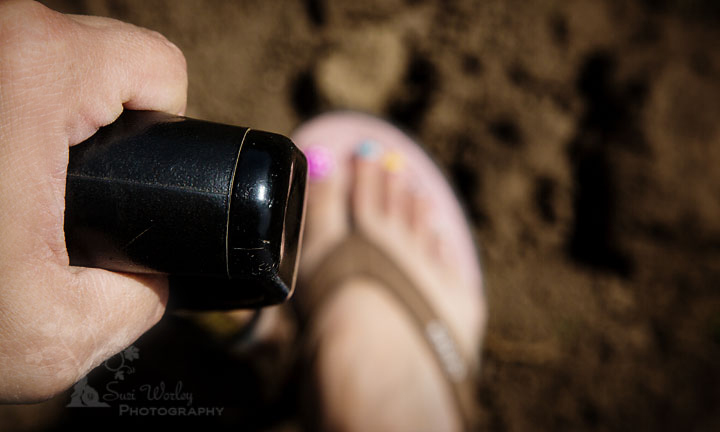
While most gardening catalogs sell “Seed potatoes” (Which are really potatoes you can grow, and not a package of seeds.) I’ve had luck with organic potatoes from the store, as well as leftover potatoes from last year’s harvest, but they could house diseases or nematodes, so to be safe feel free to get seed potatoes instead. (Do note that some store potatoes have been treated not to grow, so be sure to choose organic or something from the Farmers Market.)
The best growing potatoes are slightly “dry”, but not wrinkled, cracked, or spotty. If they’re too fresh the potatoes will end up rotting in the ground instead of growing. (If the potatoes seem too moist when you cut them, let them “cure” in a warm room for a day so a protective “skin forms” to help protect them from rotting.)
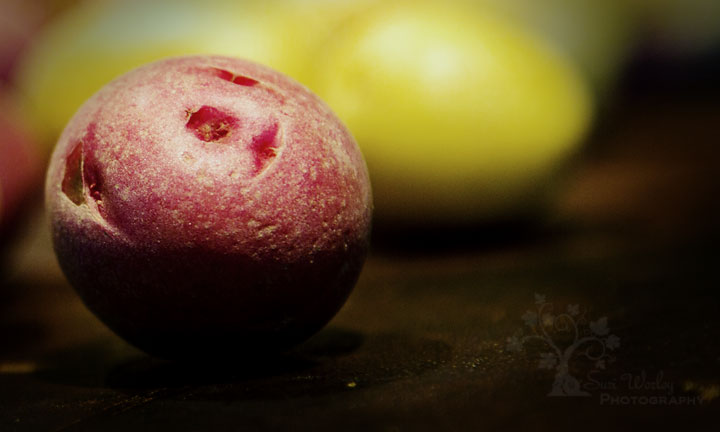
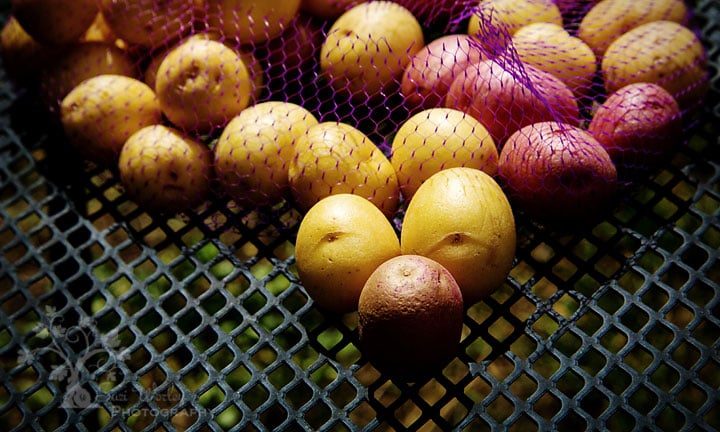
The key to potatoes is to find a part of the garden that gets plenty of sun and good drainage! Potatoes like having the soil moist, but not overly wet or too dry. We usually spend the week before gardening digging the soil about 2 feet down to ensure it has good drainage and isn’t compacted by the tiller. We then till the ground about 12 inches deep so the top layer is clump free. To plant, slice your potatoes into pieces (½” or larger) making sure there was at least one “eye” per piece, (Can you see the eyes in this picture?) and then plant them on the dry ground in holes spaced about 1 foot apart and about 3 inches deep, with the cut side down and the “eyes” up. As the potatoes grow to about 8-12” in height, we mound more dirt around the stems to encourage more potatoes. If a potato peeks through and gets a green sunburn, they become bitter, so be sure to add dirt as needed to prevent this from happening.
NOTE: You can plant an entire seed potato, as the more eyes on potato the more potatoes you’ll get.(But they’ll be smaller.) These new potatoes didn’t have many eyes, so were planted whole. If you want larger potatoes, make sure you plant pieces with 1-2 eyes. (I’m going to experiment with these and plant them in containers this year.)
Companion Plants:
Whenever possible I try and implement companion planting. By selecting companion plants you can help deter pests known to damage the plant, as well as encourage growth, and prevent damage from diseases or incompatibility that can cause the plant to struggle or die. It’s a great way to encourage healthy organic. While all of the following plants either help potatoes or are benefited by the plant’s proximity; the items in bold are powerhouses as far as potatoes are concerned helping with disease resistance and blight, as well as repelling the evil tomato bug and beetles.
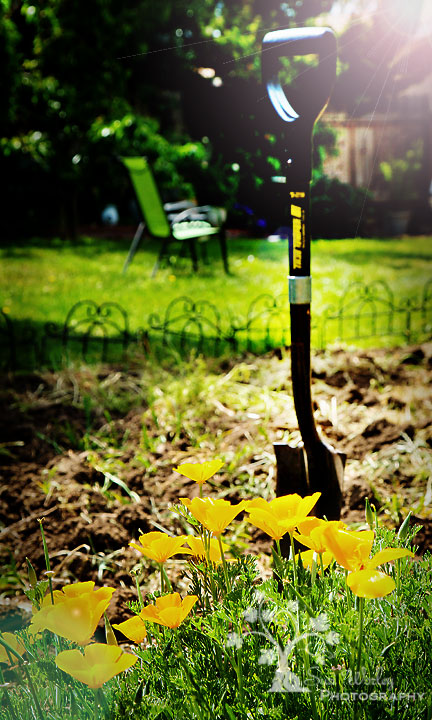
Companion Planting: Beans, Broccoli, Cabbage, Chives,Corn, Coriander/Dill (Potato Beetle), Garlic (Potato blight), Horseradish (Potato Bug), Leeks, Lettuce, Nasturtium (Potato Beetle), Onions, Peas (Potato Beetle), Radish, Spinach, Turnip
Avoid: Asparagus, Carrot, Cucumbers, Eggplant, Tomatoes, Peppers, Pumpkins, Raspberries, Squash, and Sunflowers
Do you plant a garden? If so what is your favorite thing to grow? If you didn’t happen to get your potatoes in on Good Friday, no worries, there’s likely still time in most parts of the country, and there are plenty of other wonderful things you can plant in your garden or on your windowsill. I’ll be featuring some of my favorite combinations when I return in May, and look forward hearing about what’s growing in your gardens as well!
~ Suzi
Thank you so much Suzi for sharing all these wonderful tips.
I learned SO MUCH & I can’t wait to use all my new gardening knowledge.
Be sure to visit Suzi & check out her work at
Want More Gardening Inspiration?
To see where I am linking today- visit HERE
[include id=”1″ title=”Footer Ad”]
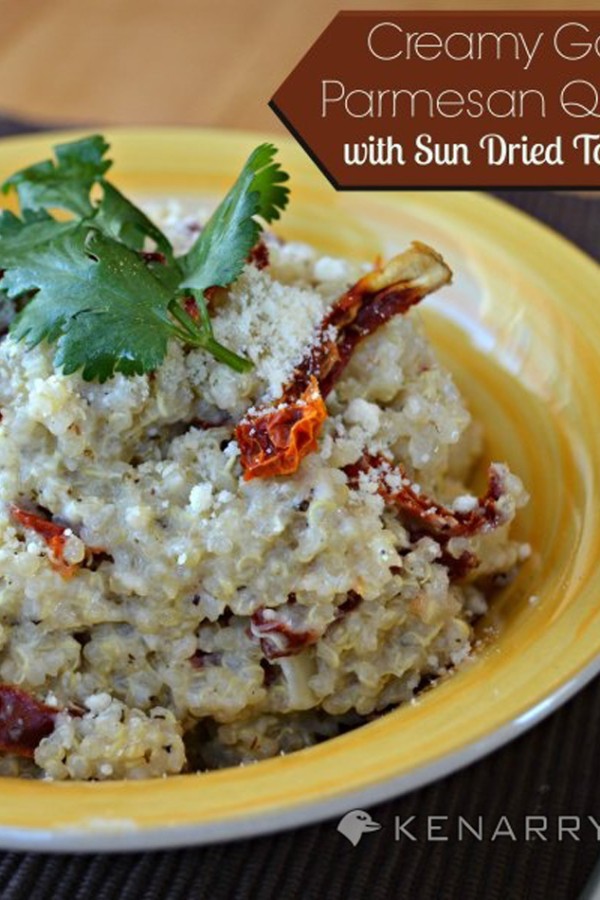
Creamy Garlic Parmesan Quinoa with Sun Dried Tomatoes
Happy Wednesday!!! I’m off to Salt Lake City today for SNAP! Conference! But that doesn’t mean there isn’t something FABULOUS here for you today. The wonderfully talented Carrie from Kenarry: Ideas for the Home is here today to share with you all Easy Family Dinner Ideas! So please give Carrie a nice warm welcome. When you are done grabbing this recipe, head over to her place & say hello.
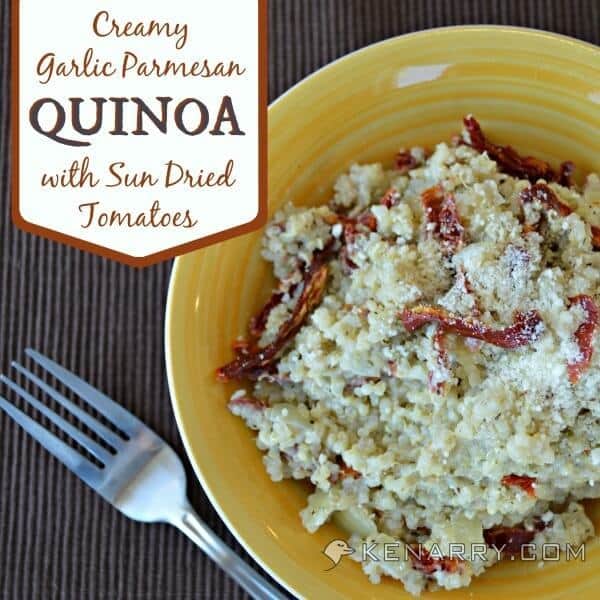
Hi, I’m Carrie from Kenarry: Ideas for the Home filling in today while Gina’s away at the SNAP Conference. I’m excited to share a recipe with you for Creamy Garlic Parmesan Quinoa with Sun Dried Tomatoes. Nowadays a quick search on the internet for “quinoa recipes” will give you millions of results. Nevertheless, it’s always fun to experiment with this super grain. I enjoy combining it with different vegetables, sauces and flavors to see what new tasty concoctions result. I recently made a big batch of quinoa in my rice cooker, then added onion, garlic, parmesan and spices. I threw in some sun dried tomatoes to create a new delicious recipe you can enjoy as your main course or as a side dish — Creamy Garlic Parmesan Quinoa with Sun Dried Tomatoes!

Whether you’re keen on quinoa or trying it for the first time, you can hardly believe how many health benefits there are in such a tiny little grain. In the Forbes article, 7 Benefits of Quinoa: The Supergrain of the Future, Julie Wilcox shares how quinoa includes all nine essential amino acids, is high in protein and contains almost twice as much fiber as other grains. She also mentions quinoa has iron, lysine, magnesium and anti-oxidants. If you haven’t tried quinoa yet, you really ought to add this nutrient rich grain into your diet. For more about the health benefits of this super food, you can also check out the World’s Healthiest Foods website.
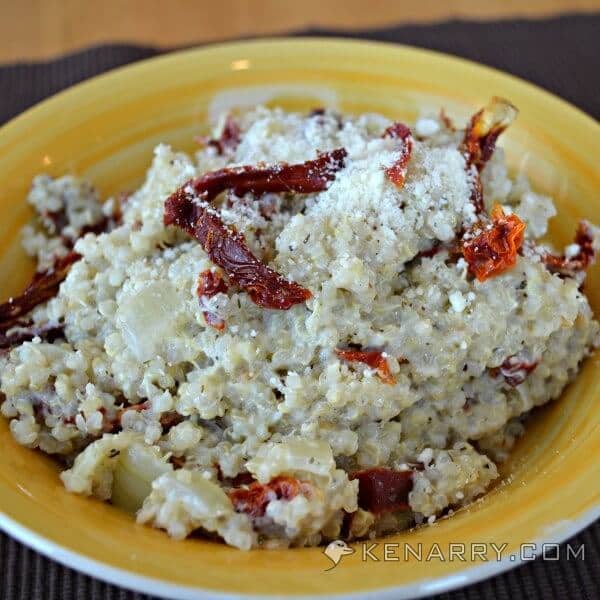

Creamy Garlic Parmesan Quinoa with Sun Dried Tomatoes
Ingredients
- 4 cups cooked quinoa
- 3/4 cup of grated parmesan
- 1 medium onion chopped
- 3.5 oz packet of sun dried tomatoes cut into julienne strips approximately 1 cup
- 3 teaspoons minced garlic
- 1/2 teaspoon salt
- 1/2 teaspoon pepper
- 2 teaspoons Italian seasoning
- 1 tablespoon flour
- 2 tablespoons butter or margarine
- 1 1/2 cups of milk
Instructions
- In a large skillet, melt butter over medium heat.
- Add onion and garlic. Sauté for 5-7 minutes until the onion starts to turn clear.
- Stir in flour.
- Slowly add milk and parmesan.
- Lower the heat and stir continuously until the sauce starts to thicken.
- Mix in salt, pepper and italian seasoning.
- Add the pre-cooked quinoa and stir until it's well coated. Heat thoroughly for 10 to 15 minutes.
- Last add the sun dried tomatoes and continue to cook for a few more minutes.
- Serve and enjoy.
- PREP TIME: 10 minutes
- COOK TIME: 30 minutes
- TOTAL TIME: 40 minutes
NOTES: To make 4 cups of cooked quinoa in a rice cooker, use 1 1/3 cups of rinsed uncooked quinoa and 2 2/3 cups of water.
Serving Suggestions for Creamy Garlic Parmesan Quinoa with Sun Dried Tomatoes
Creamy Garlic Parmesan Quinoa with Sun Dried Tomatoes has enough protein and essential nutrients it can be enjoyed as your main course. A friend of mine added julienned spinach to pack in even more goodness. You could throw in slow cooker shredded chicken for a high protein dinner. We served it as a side dish with dill tilapia. (Sprinkle the tilapia with salt, pepper, garlic and dill. Bake at 400 degrees for 20 minutes.) You could also serve it alongside grilled steak or chicken and your favorite steamed vegetable or salad.
You can connect with Carrie via Blog, Google+, Pinterest, Facebook & Twitter.
Love garlic? Here are some other great side dish recipes for you!
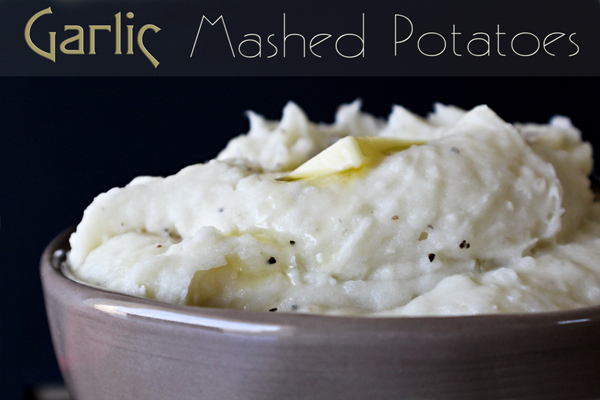
Garlic Mashed Potatoes
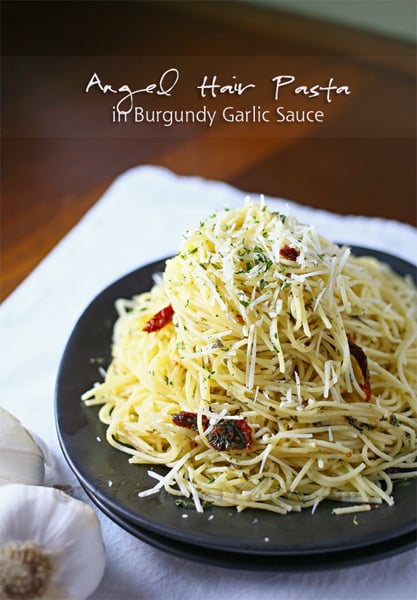
Angel Hair Pasta in Burgundy Garlic Sauce
To see where I am linking today- visit HERE
[include id=”1″ title=”Footer Ad”]
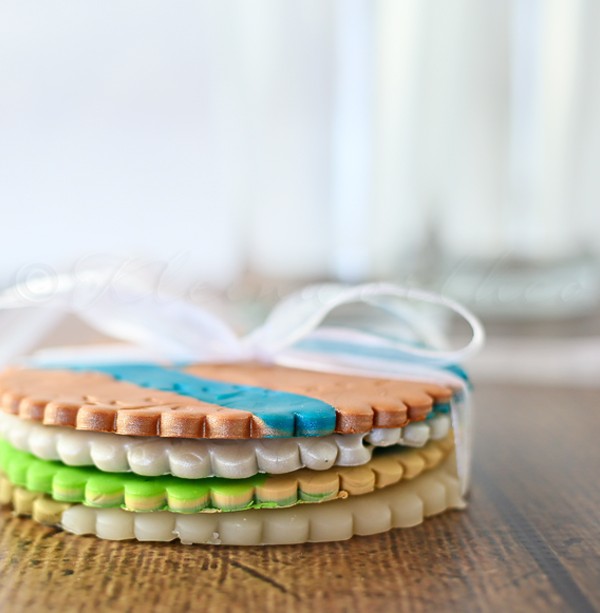
DIY Clay Coasters
*Disclosure: Sponsored Post- I have been compensated for this post either monetarily or with product. All opinions are truthful & my own.
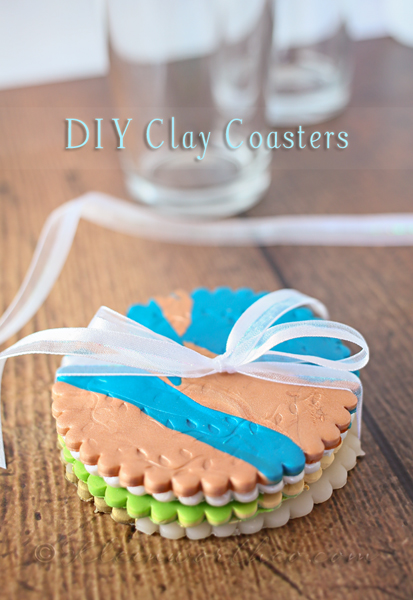
Among all the big things I am searching for while preparing for this house (additional dresser for the munchkin since she will finally have her own room, new dining room table, beds, etc.) I am feeling the need to remove the same old tired things we have had around the house for years. You know- those things that you move around from house to house & you put them out just because it’s what you have always put out. Well – it’s time for a change. The family pieces will be packed away, marked & put into the storage area. The remaining random junk- well, it’s going away. We are replacing as much as we can by either buying or making ourselves. One of the little things is the coasters in the media room. They have got to be 10 years old. Seriously – why have I not updated these before? Who knows- but the time was right. I couldn’t really find any that fit with our new decor. So I did what I always do when I can’t find what I want- make my own with Premo Clay. So I did & I replaced the old coasters with these DIY Clay Coasters. They are so easy!!
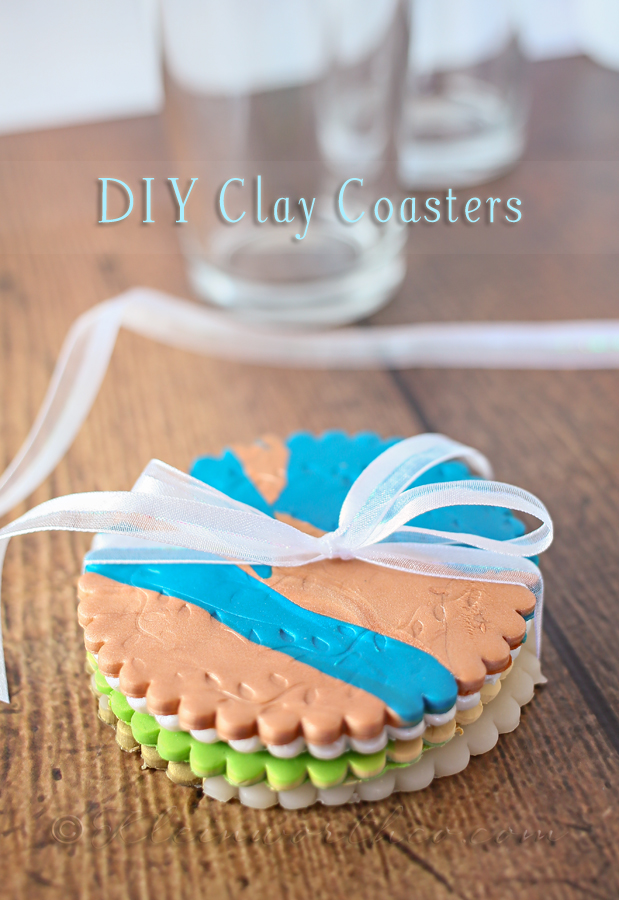
Let me show you how I did it so you can make some too.
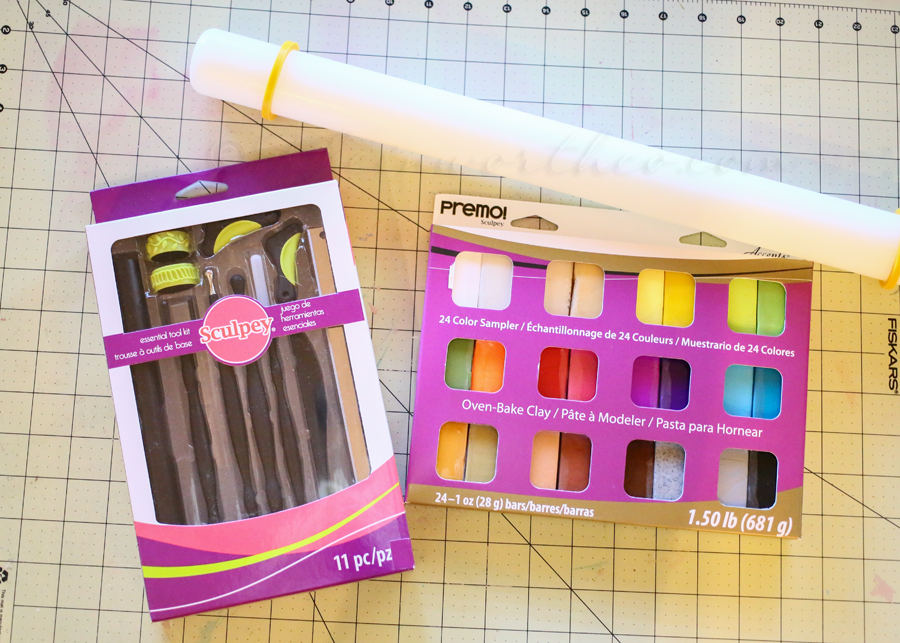
I laid out my cutting mat & started with this Premo Clay set, Sculpey Essential Tool Kit & fondant cutters.
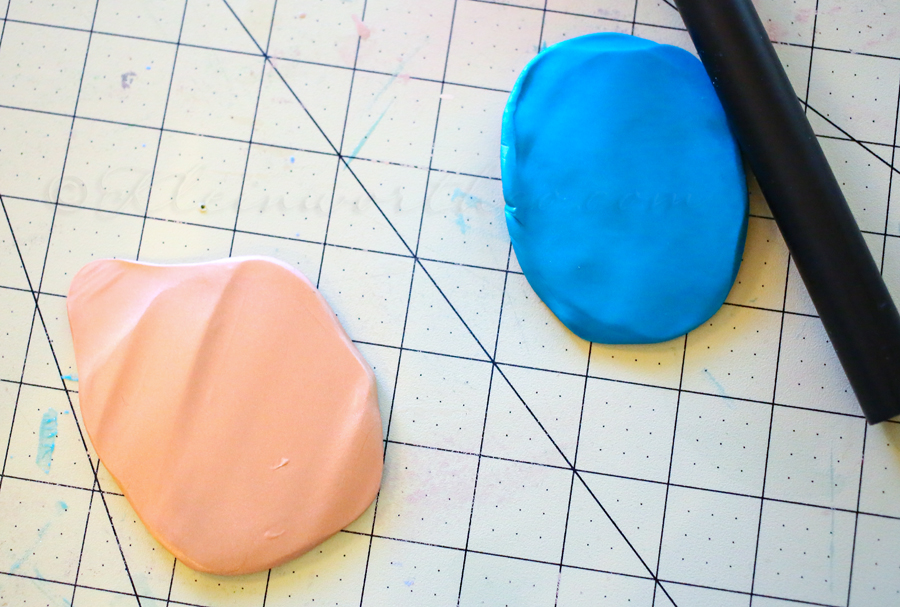
I chose my color pairings.
For this I did Copper/Peacock Pearl, Translucent/ Antique Gold, Ecru/ Bright Green Pearl, Pearl/Turquoise.
I rolled them semi flat before blending them together in random patterns.
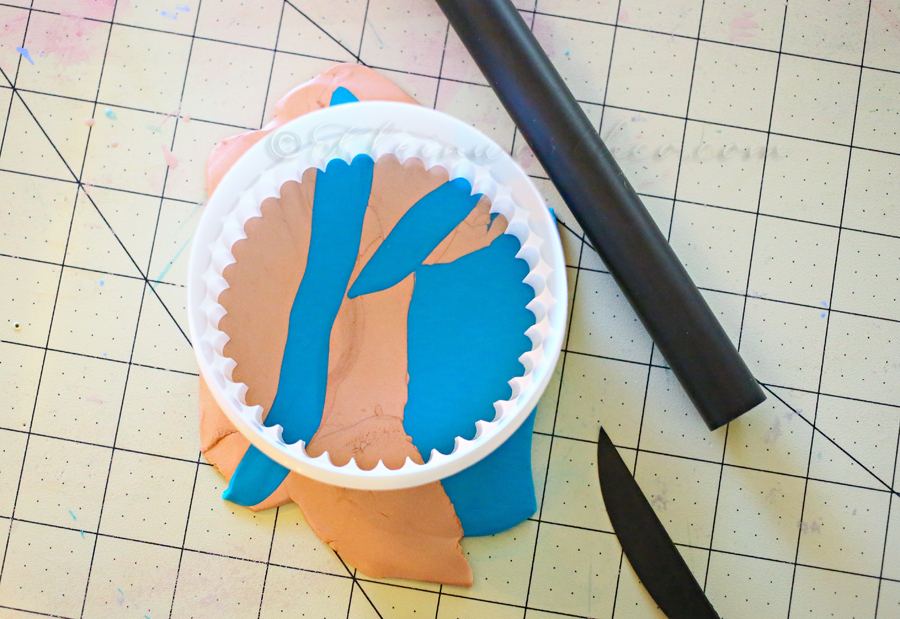
I used my fondant cutter to cut the shape of the coaster.
I also used the texture wheel with the vine design wheel to make the pattern in the clay.
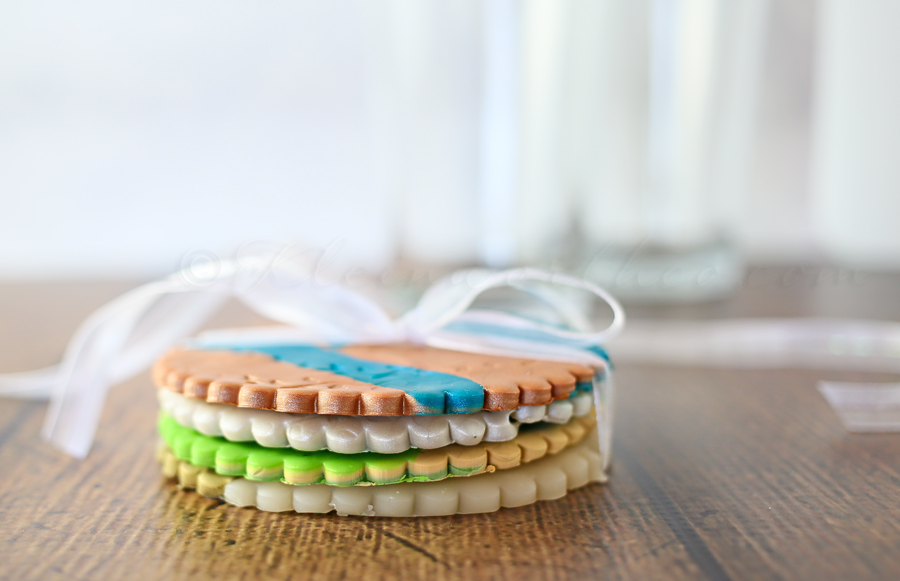
I then placed them on a parchment lined baking sheet & baked in a 275 degree oven for 30 minutes.
I removed them & allowed them to cool completely on the baking sheet before removing.
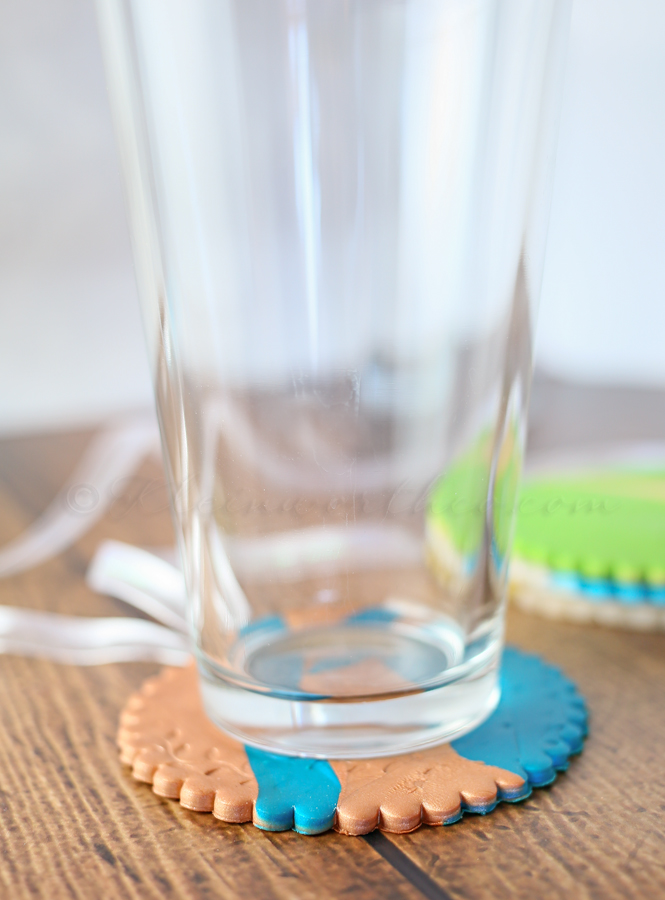
I glued some felt to the backs to make sure any rough spots don’t scratch the tables.
That’s it! It was so incredibly easy. Clean up was quick.
I LOVED working on this project & I will probably be making these as gifts for the family coming up.
They add the perfect pop of color & touch of whimsey I was looking to bring to the new house.
Find more Info & Connect Here
Facebook | Twitter | Blog | Pinterest
More Projects with Premo Clay
Want More Home Decor Ideas?
To see where I am linking today- visit HERE
[include id=”1″ title=”Footer Ad”]
Easy Popsicles
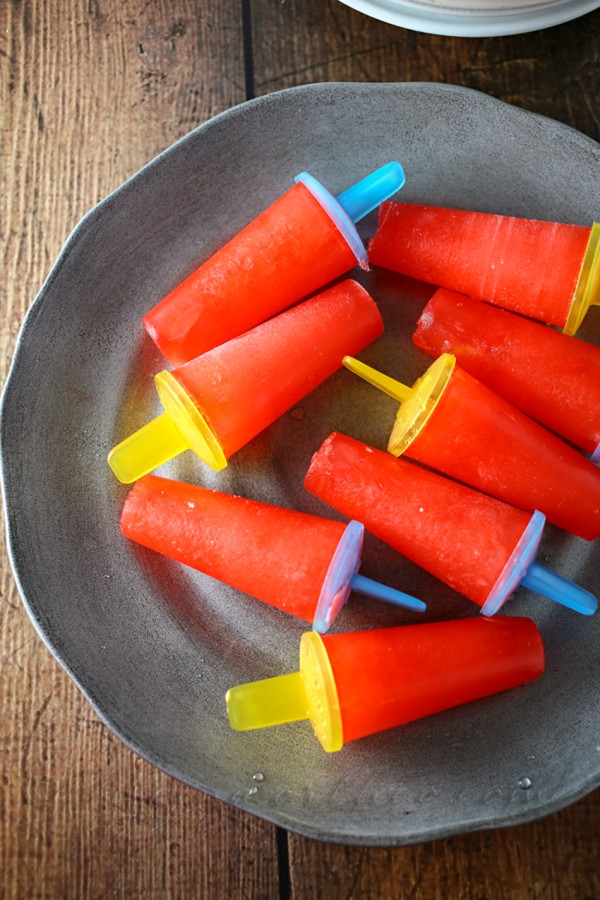
It’s warming up & all the outdoor festivities are starting!! This means that I am looking for refreshing ways to #KoolOff during these gatherings. Along with great food during these fun gatherings with friends, I also love to have drinks & cool treats available when we all get together. One thing I love to have for my guests is popsicles. They don’t have to take a lot of time to make either. This recipe for Easy Popsicles is one you will use again & again.
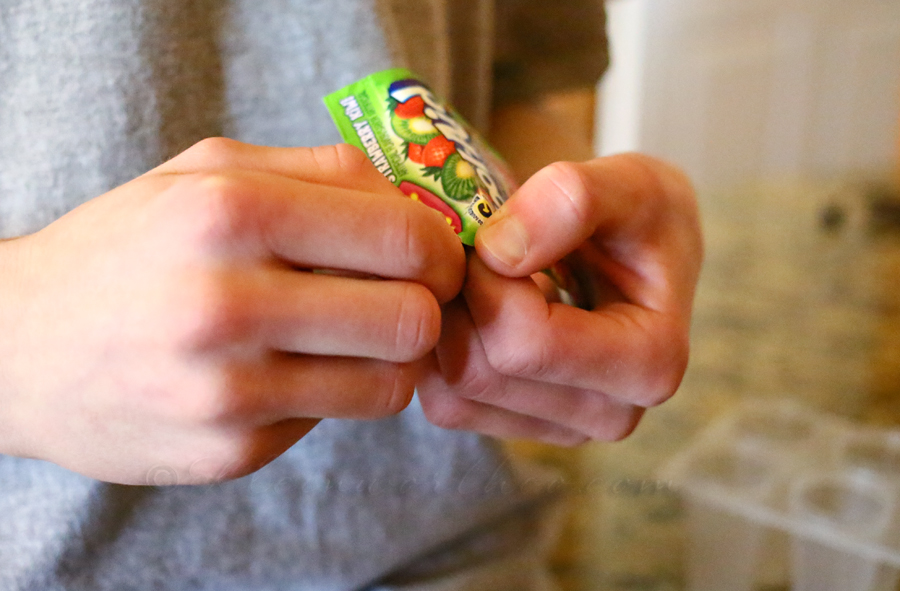
I started with Strawberry Kiwi Kool-Aid powder (my son’s favorite flavor).
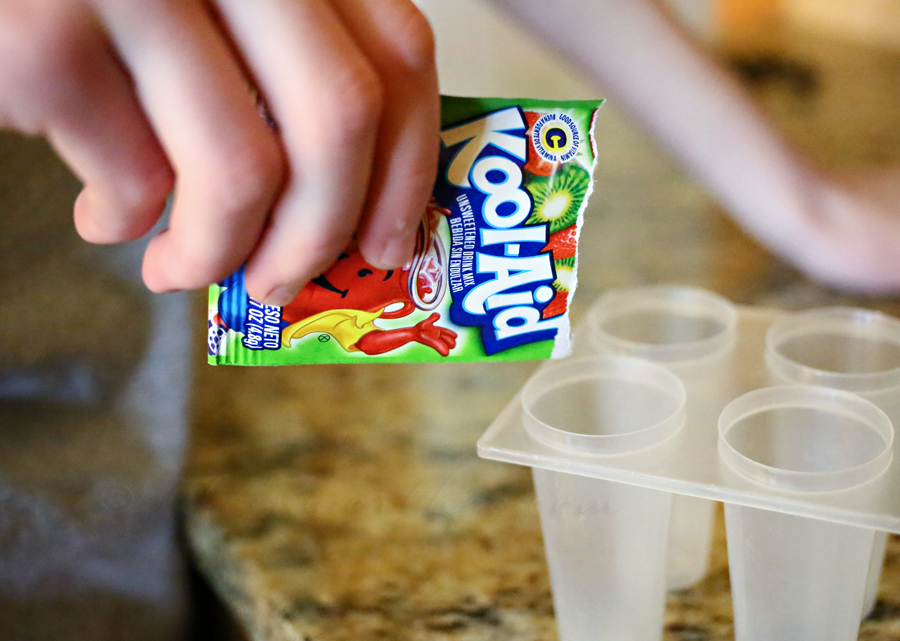
I sprinkled a little in the bottom of each popsicle mold.
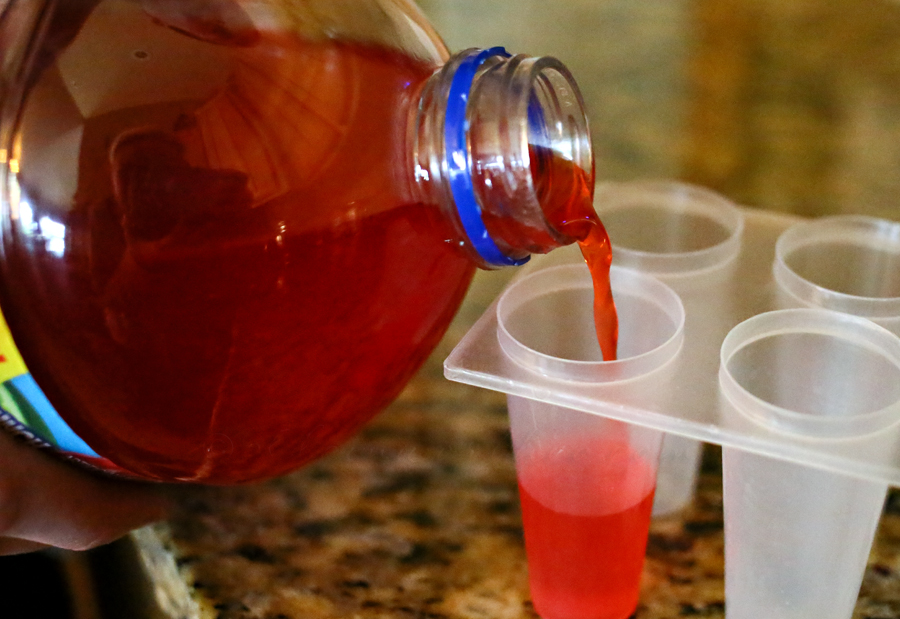
I then added the Kool-Aid Ready-To-Drink in Tropical Punch flavor but you could also use grape.
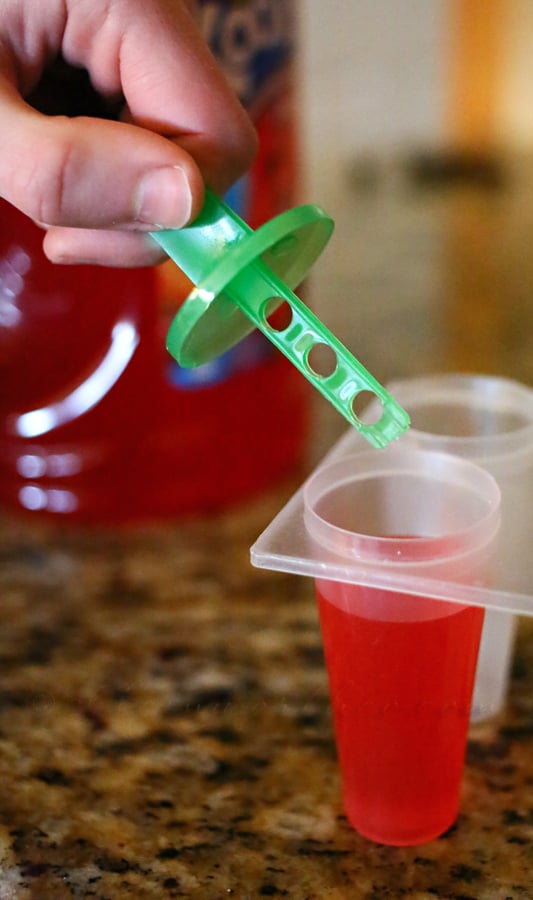
Insert the stick & place in freezer. I like to leave mine overnight for maximum chill.
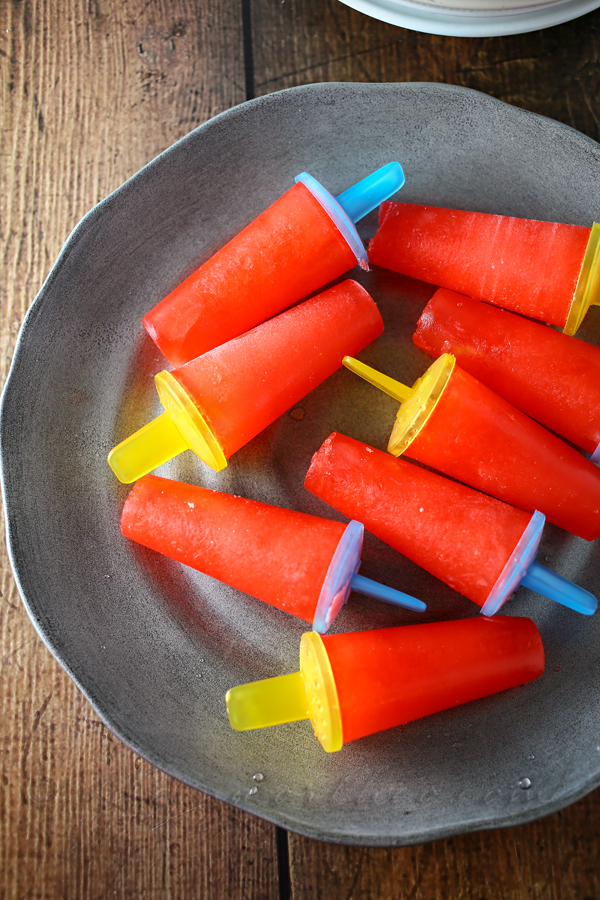
That’s it! See- I told you it was simple.
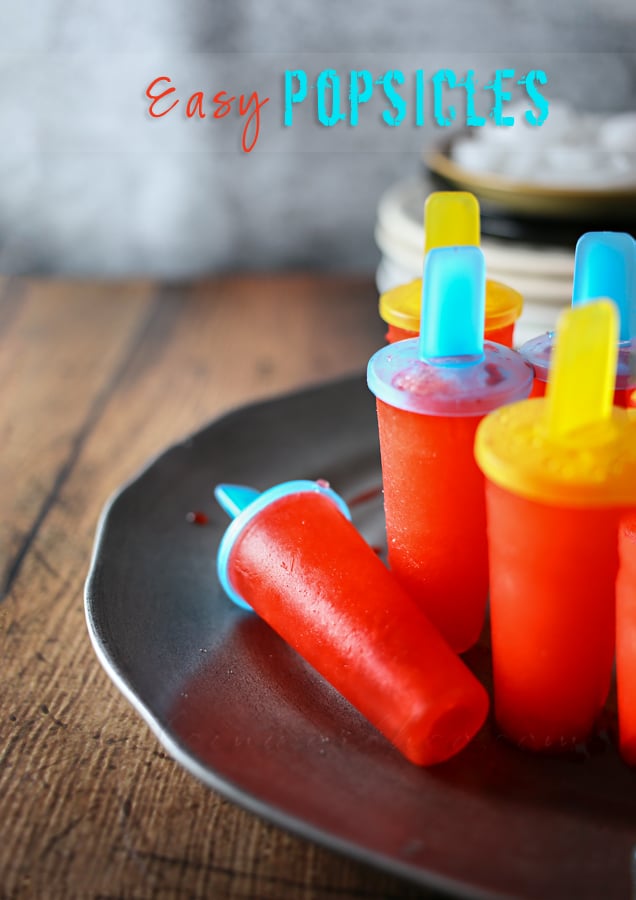
Easy Popsicles
Ingredients
- 1 packet Strawberry Kiwi Kool-Aid powder or any flavor you like
- 1 96 oz bottle Ready-To-Drink Kool-Aid in Tropical Punch - Grape
Instructions
- Sprinkle a little bit of the Kool-Aid powder in the bottom of each popsicle mold
- Fill each mold to the top with the Ready-To-Drink Kool-Aid
- Place sticks in molds & freeze overnight
- Enjoy! Quick & Simple.
These will definitely be a crowd pleaser at your next outdoor gathering during these warmer months.
I am a member of the Collective Bias® Social Fabric® Community. This shop has been compensated as part of a social shopper amplification for Collective Bias and its advertiser. #CollectiveBias
To see where I am linking today- visit HERE
Illusions Photoshop Textures
When I get the time to play with images in photoshop I like to use textures & overlays. It’s probably because when working with images of food, artistic edits usually are not the most appealing way to showcase the dish. Food should be left as clean & untouched as possible when processing. However- when I am processing things like portraits or scenery, I think textures are a great way to change the mood of the image or help to highlight certain parts of the shot.
[include id=”1″ title=”Footer Ad”]
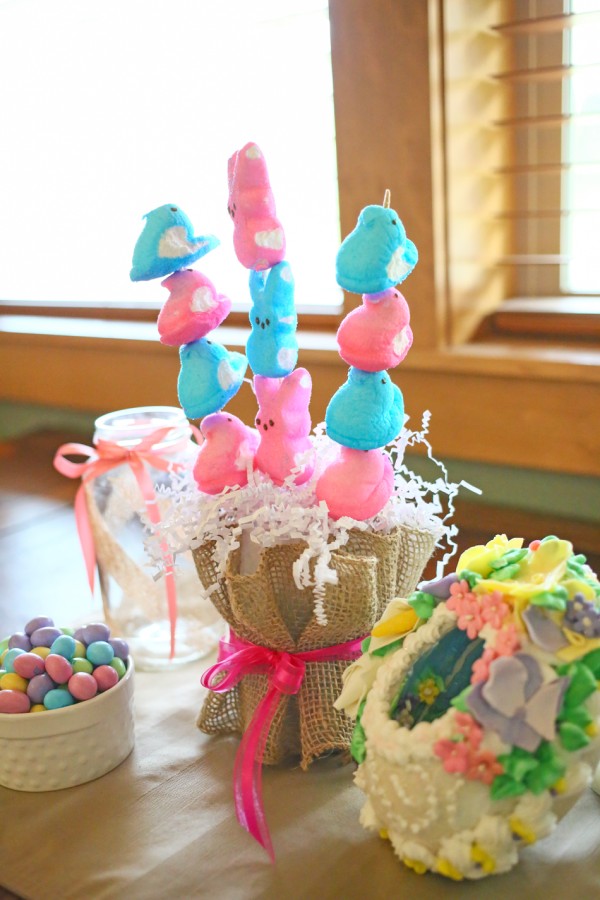
Easter Centerpiece
Easter is almost here! I can’t believe it! I am feverishly working behind the scenes here to get things prepared & festive around the house to make this place look it’s best for Easter Sunday. One thing I really needed was a cute little centerpiece for the table. You know- something adorable to spruce up the spread of amazing food. So I started brainstorming & going through the craft cabinet to see what I could put together. Fortunately, with just a few supplies I had on hand & approximately 20 minutes – this Easter Centerpiece was complete.
Let me show you how you can make one of your own.
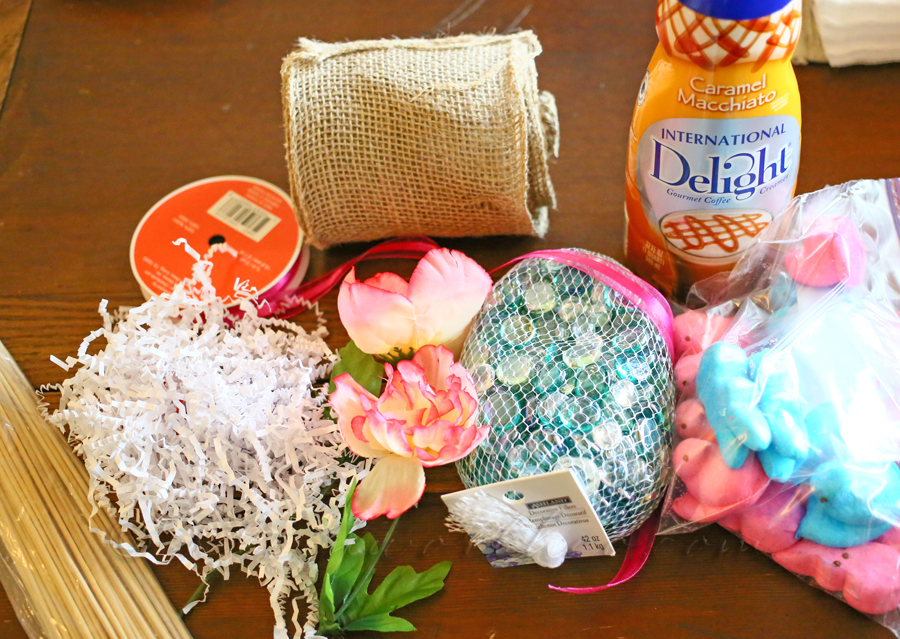
Here is what I started out with.
Empty International Delight creamer bottle, hot glue gun, burlap, ribbon, decorative stones, Peeps, skewers, paper Easter grass.
I had grabbed some flowers there too but ended up not using them.
I started by cutting off the wrapper of the creamer bottle.
Then I cut the top off where it starts to narrow so I had a vase like container.
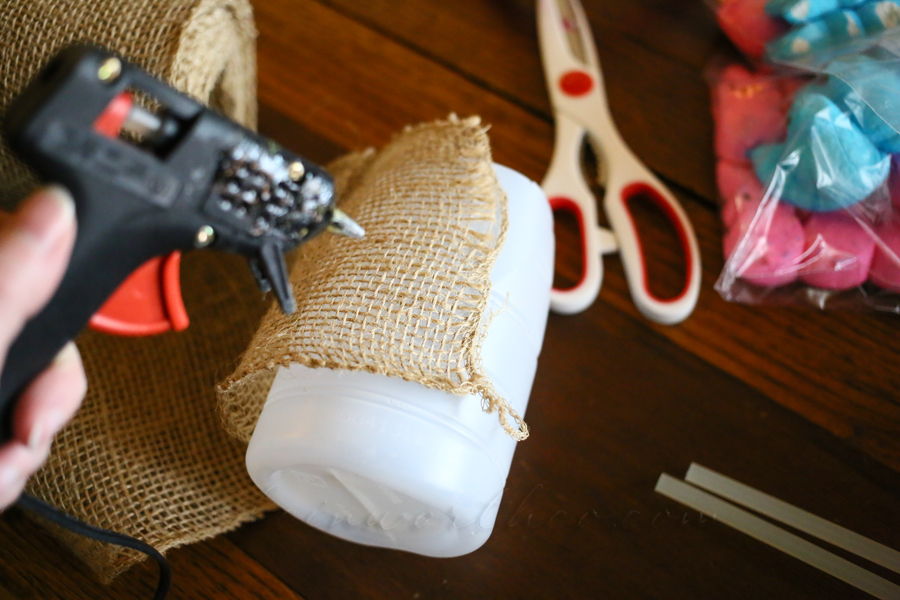
I then hot glued the burlap around the bottle – leaving gaps in the burlap to create a ruffled look. To keep it in place I added a strip of hot glue every 3/4 inch or so around the bottle to tack down the burlap.
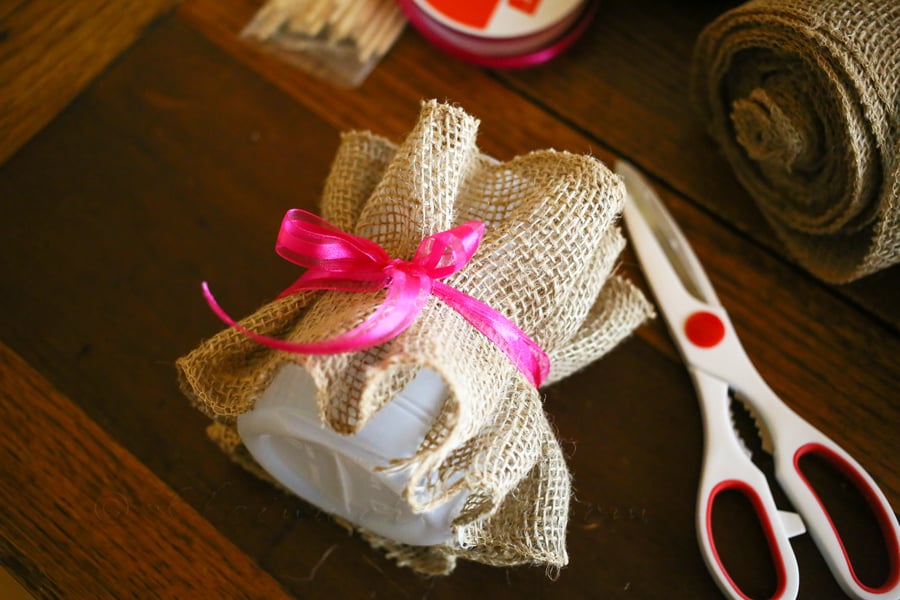
I tied this bright ribbon around to help cinch in the center of the ruffled burlap.
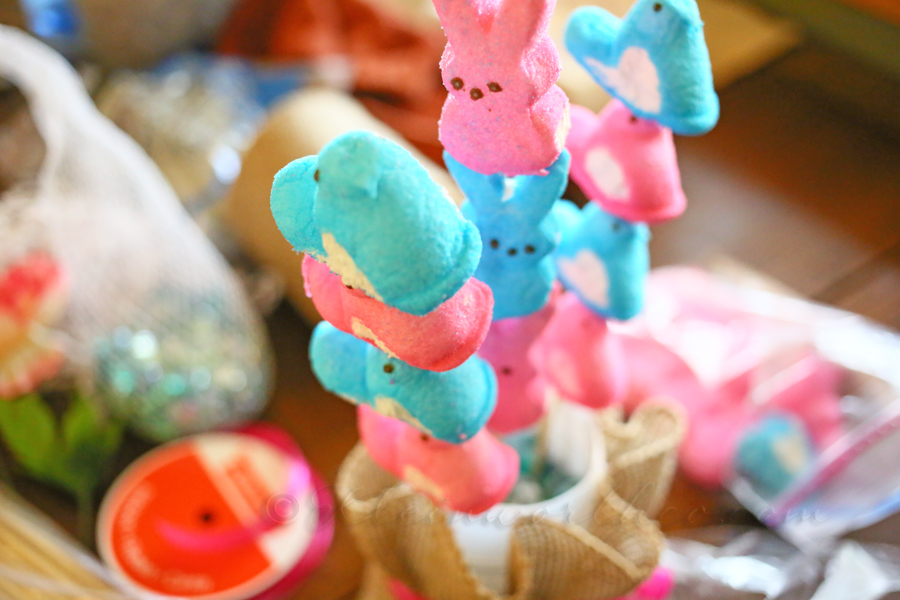
I added the decorative stones inside. They can’t really be seen- however they add a good weight to keep the whole thing from tipping over AND they help anchor the skewers in there too. Then I started skewering the Peeps & arranging them like flower stems in the container.
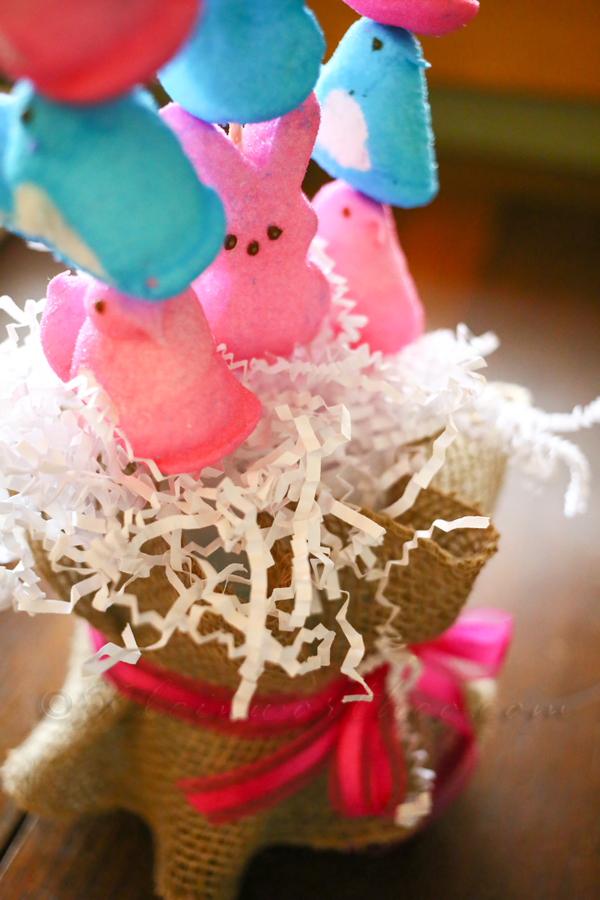
I added a little paper Easter grass at the top just to fill it all in & make it look all the more Easter festive.
That’s it- so simple & absolutely adorable!
I told you it was easy & you can make it with things you have already in the house.
Want more Easter Inspiration?? Visit the Easter IDeas Pinterest Board – you will LOVE it!
Visit International Delight
Facebook | Pinterest | Twitter @indelight | Instagram @indelight | YouTube
Want More Easter Decor?
To see where I am linking today- visit HERE
This is a sponsored conversation written by me on behalf of International Delight. The opinions and text are all mine.