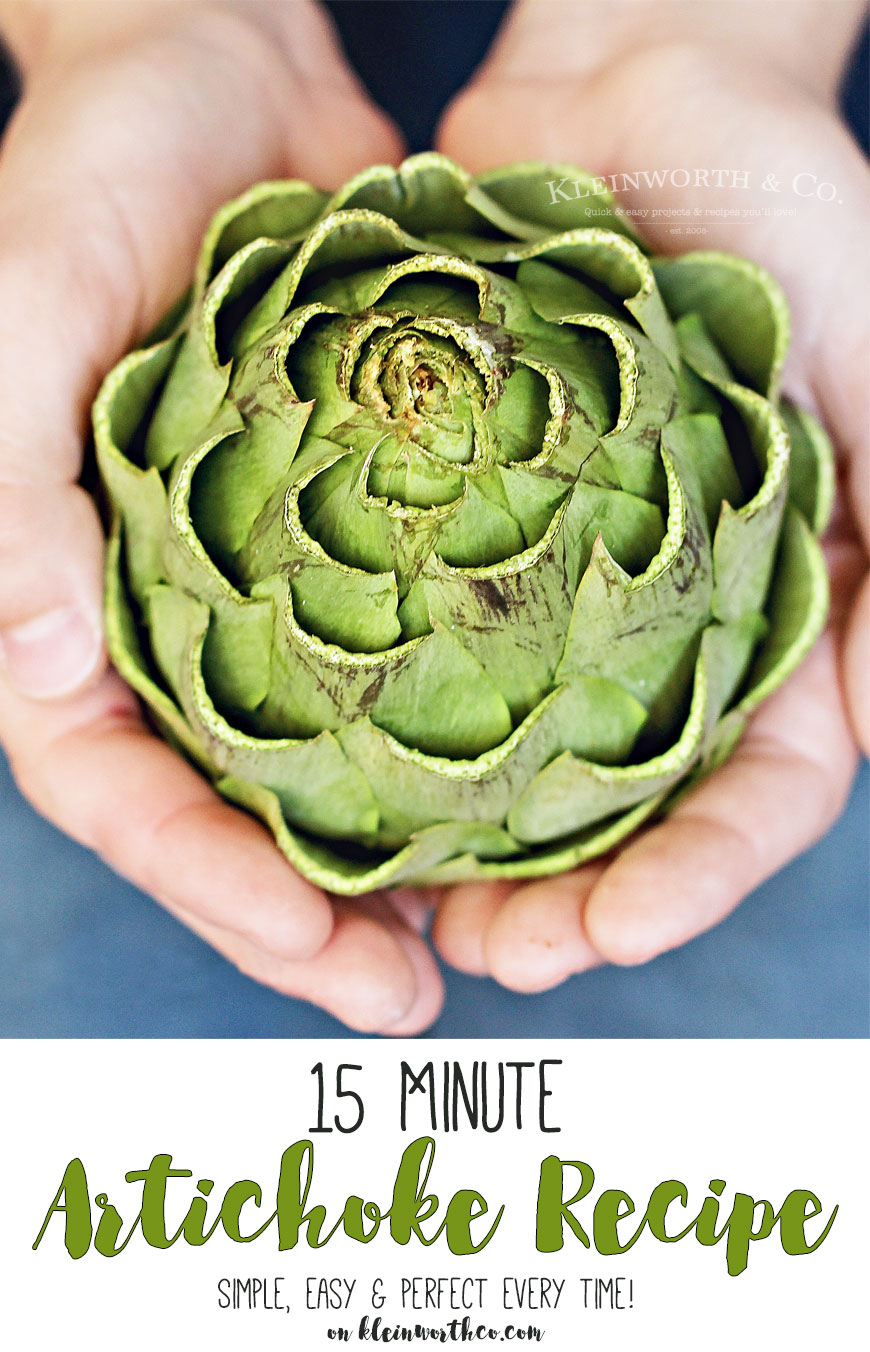
15 Minute Artichoke Recipe makes it simple & quick to prepare your favorite veggie for dinner. No more waiting for 30-40 minutes, these are ready in a flash.

Deliciously Easy Recipes
15 Minute Artichoke Recipe makes it simple & quick to prepare your favorite veggie for dinner. No more waiting for 30-40 minutes, these are ready in a flash.
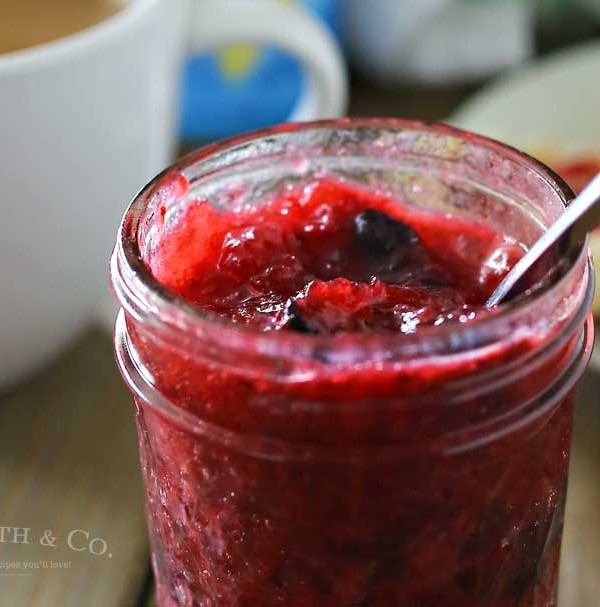
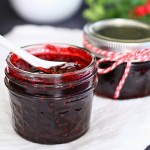
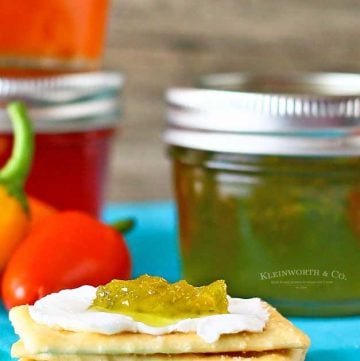
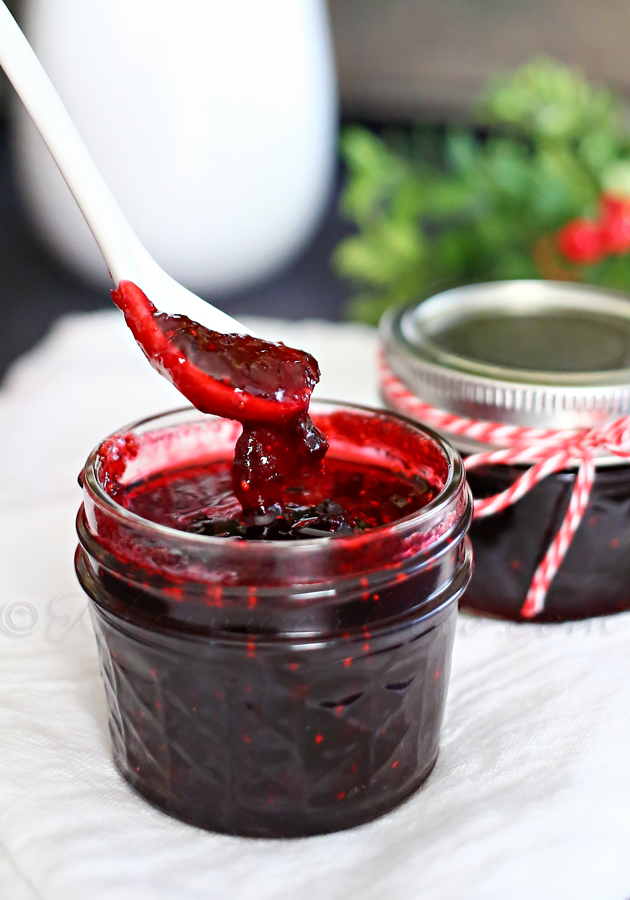
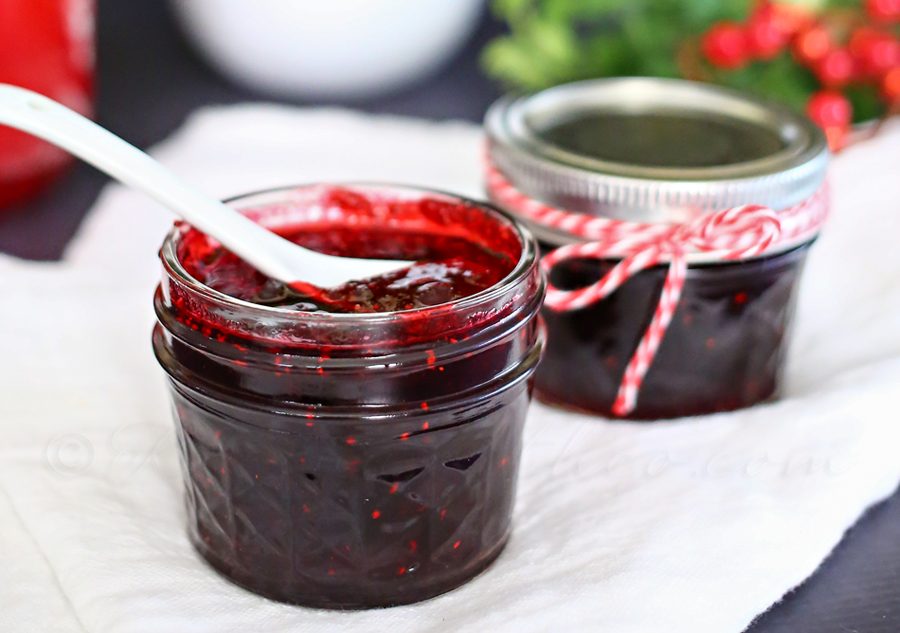
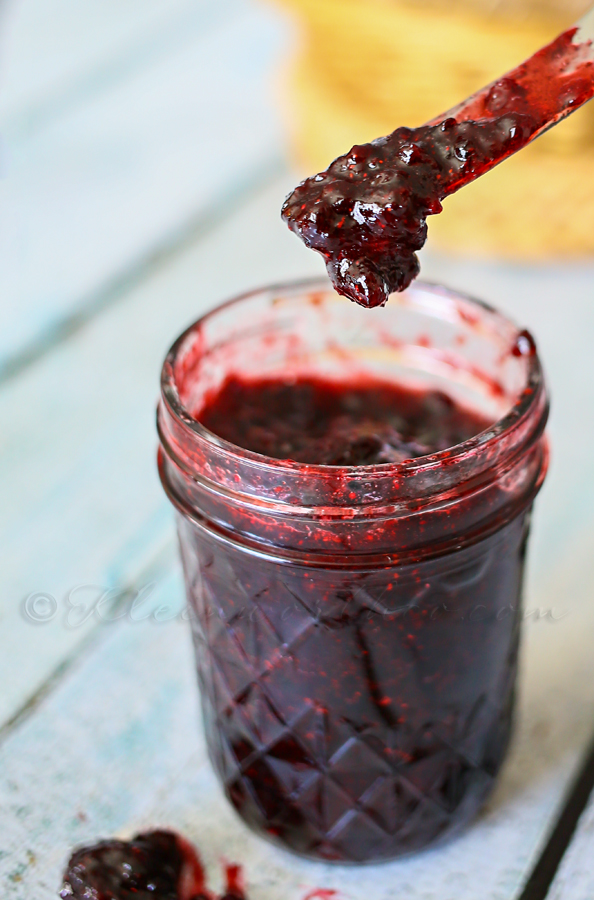
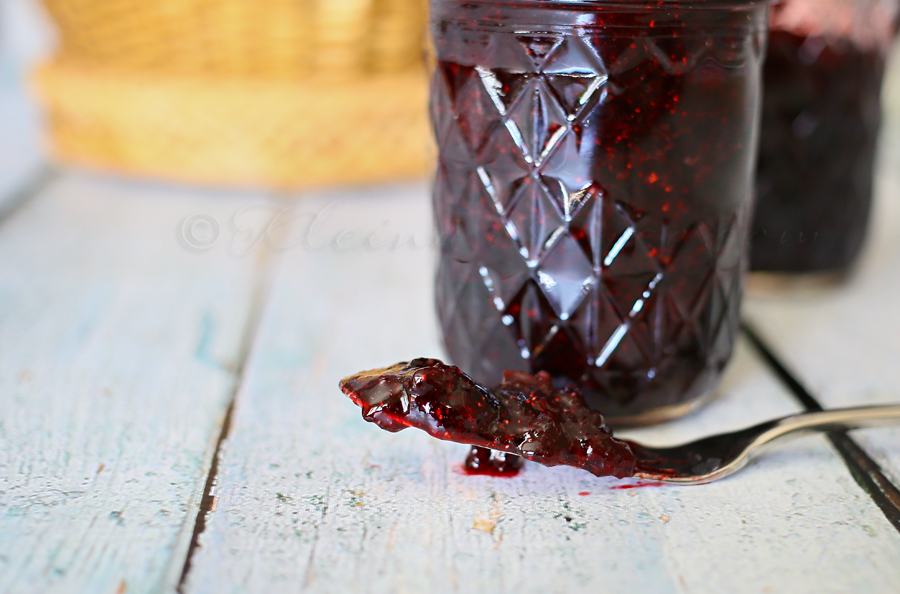
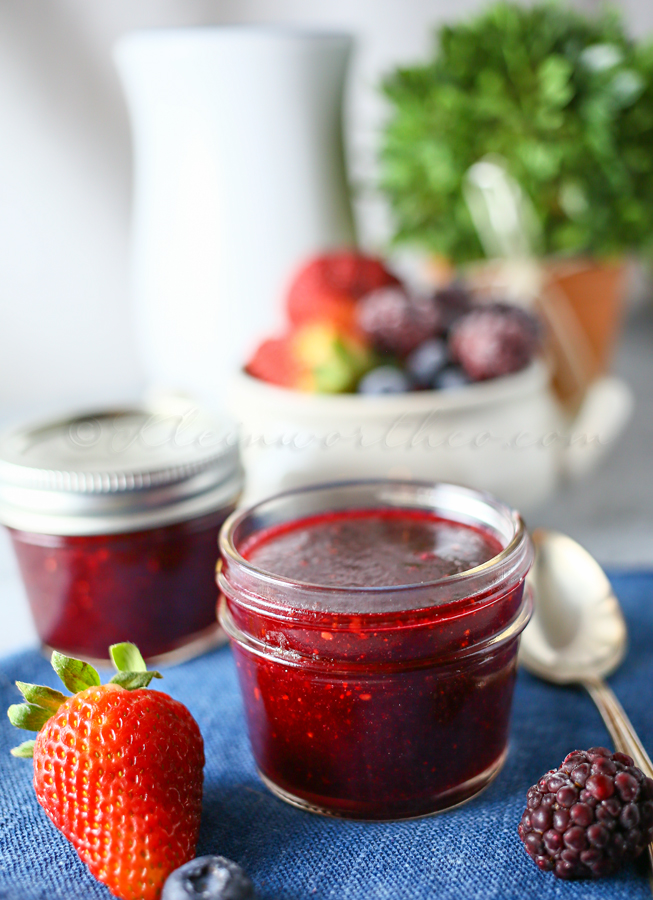
Double Berry Freezer Jam is a simple homemade preserves recipe that takes just about 10 minutes. Perfect for all that summer fruit from the garden! It’s great with breakfast or paired with your peanut butter. I even like to add some to my ice cream!

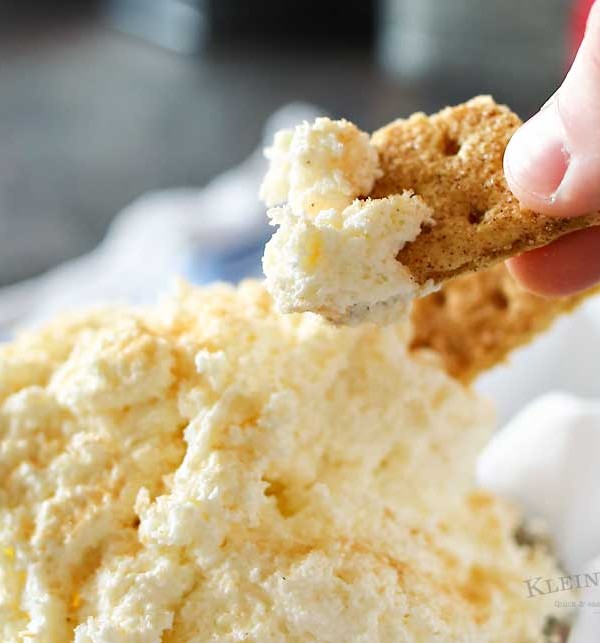
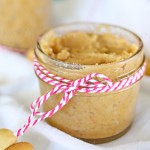
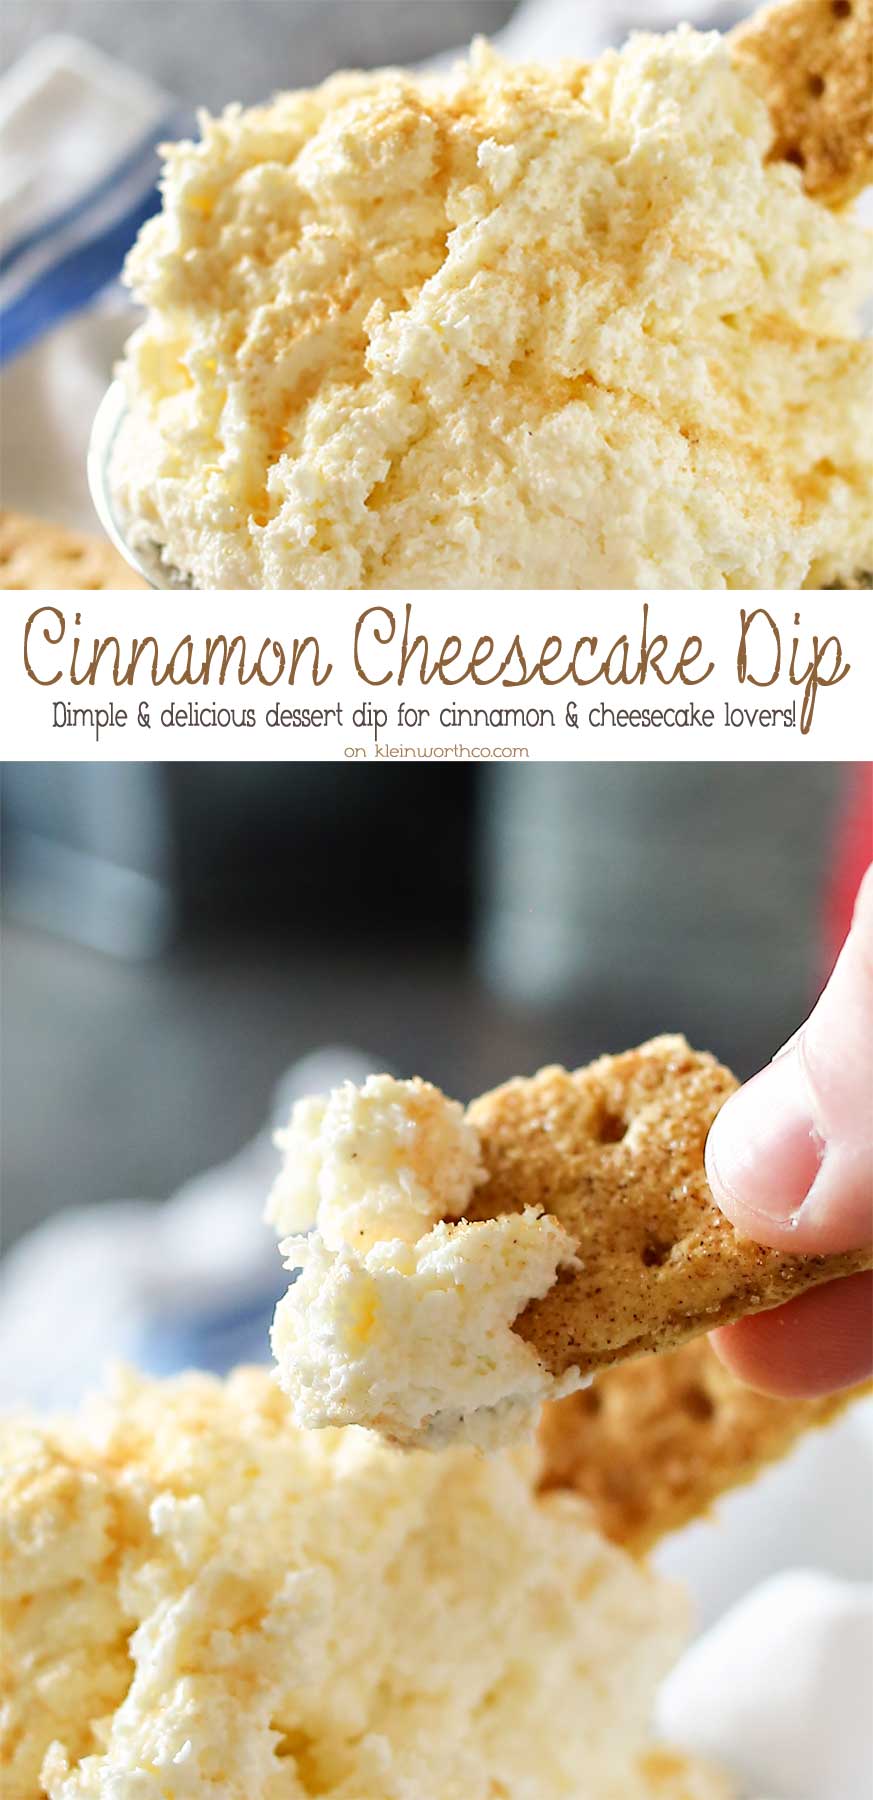
Cinnamon Cheesecake Dip is a great no-bake dessert dip recipe that is ready in less than 5 minutes. Just another great recipe using creamer & pudding mix to add to your parties or just a light after dinner treat.
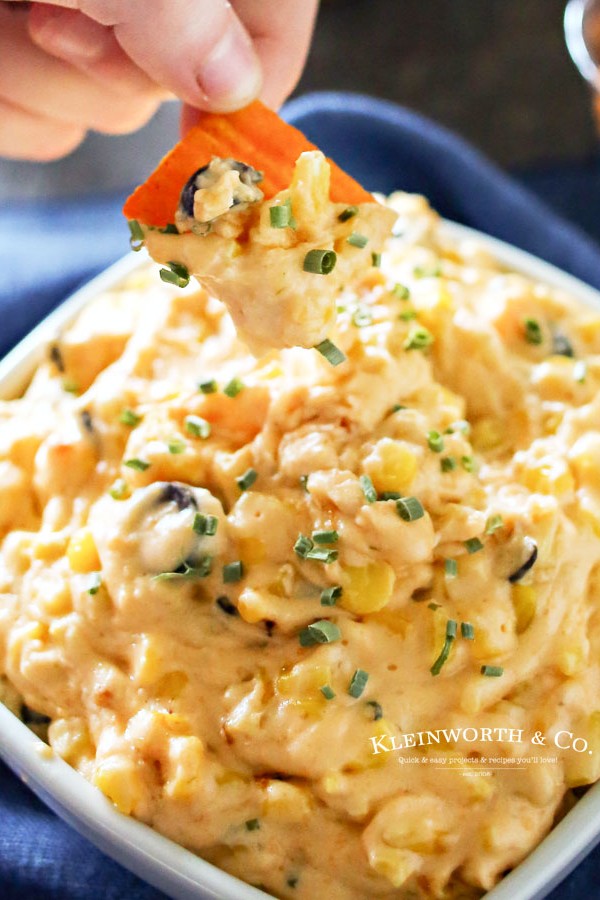
If you love great snacks to enjoy on game day, then you will swoon over this zesty Cheesy Corn Dip. Just a handful of ingredients and a crockpot is all you need to make this dip that had my family begging for more. It’s really THE ABSOLUTE game day favorite! A must make during college basketball games.
Oh my goodness- it’s time for college basketball games! Are you basketball fans? We actually weren’t until we moved up here. This place is CRAZY in love with the local team and it’s all anyone ever talks about.
So we have grown to really enjoy watching the games and seeing the team do well every year. We were already big sports fans and always made game-day a big event. Adding basketball to the mix was just natural for us and a great excuse to continue making all our favorite appetizers year-round.
Don’t miss our Slow Cooker Buffalo Chicken Dip too!
Making Creamed Honey is a simple process that requires just one simple & delicious ingredient, honey. It’s smooth, spreadable & over the top amazing!
So, honey lovers, you need to take your honey to a whole new level & try it! It’s easy & sooooooo good! It’s great for saving all that crystallized honey too.
Do you love honey? I sure do. My favorite is picking up local honey either at the farmers market or the Bee store here in town.
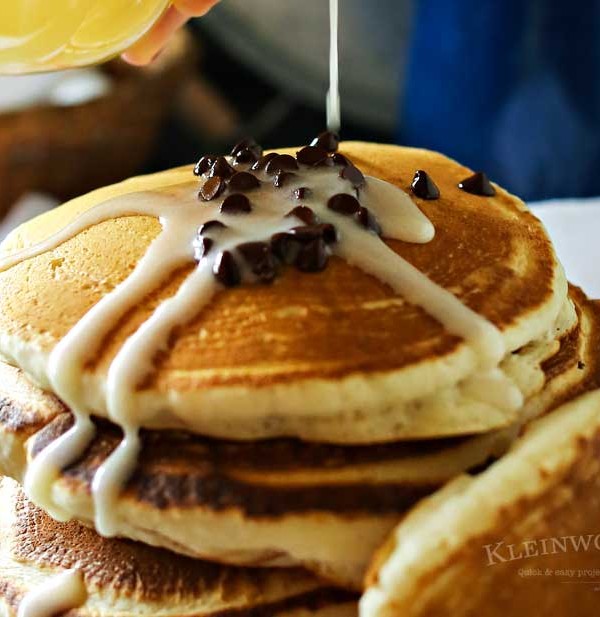
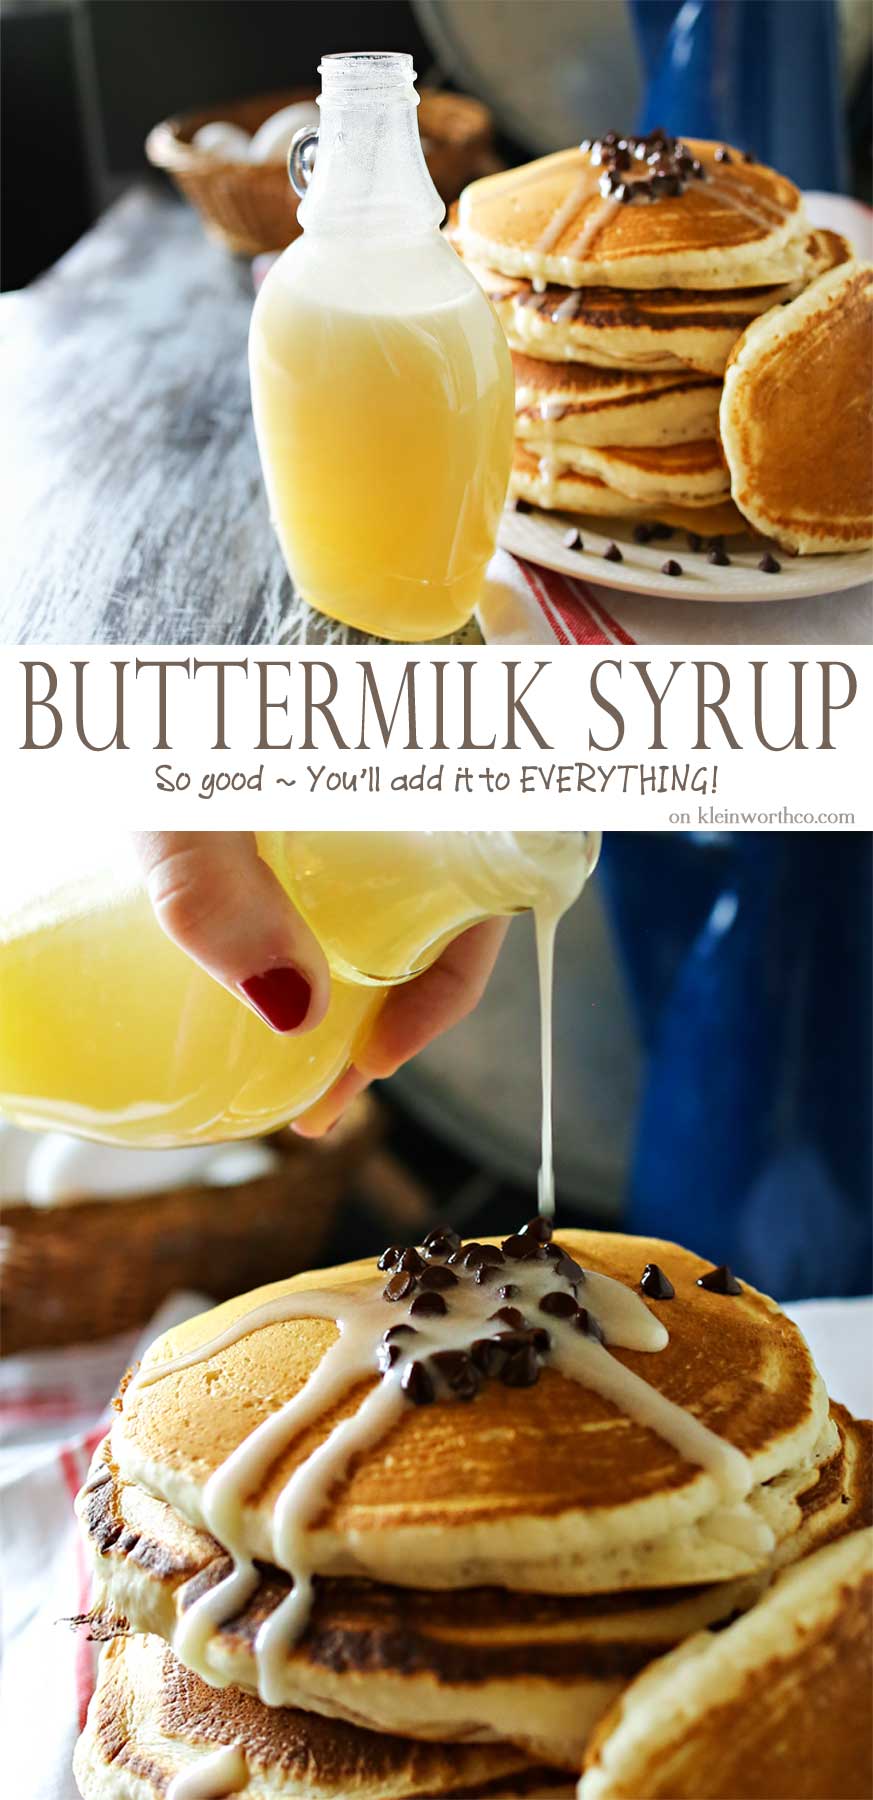
View postHomemade Buttermilk Syrup is a perfect topping for more than just pancakes. With 5 ingredients & a few minutes you can create this favorite classic recipe. I love to add it to ice cream or even in my morning coffee to add depth & richness. You don’t need to buy the prepackaged version anymore. This is so much better! Try some this weekend!
This shop has been compensated by Collective Bias, Inc. and its advertiser. All opinions are mine alone. #HolidayWithChobani #CollectiveBias
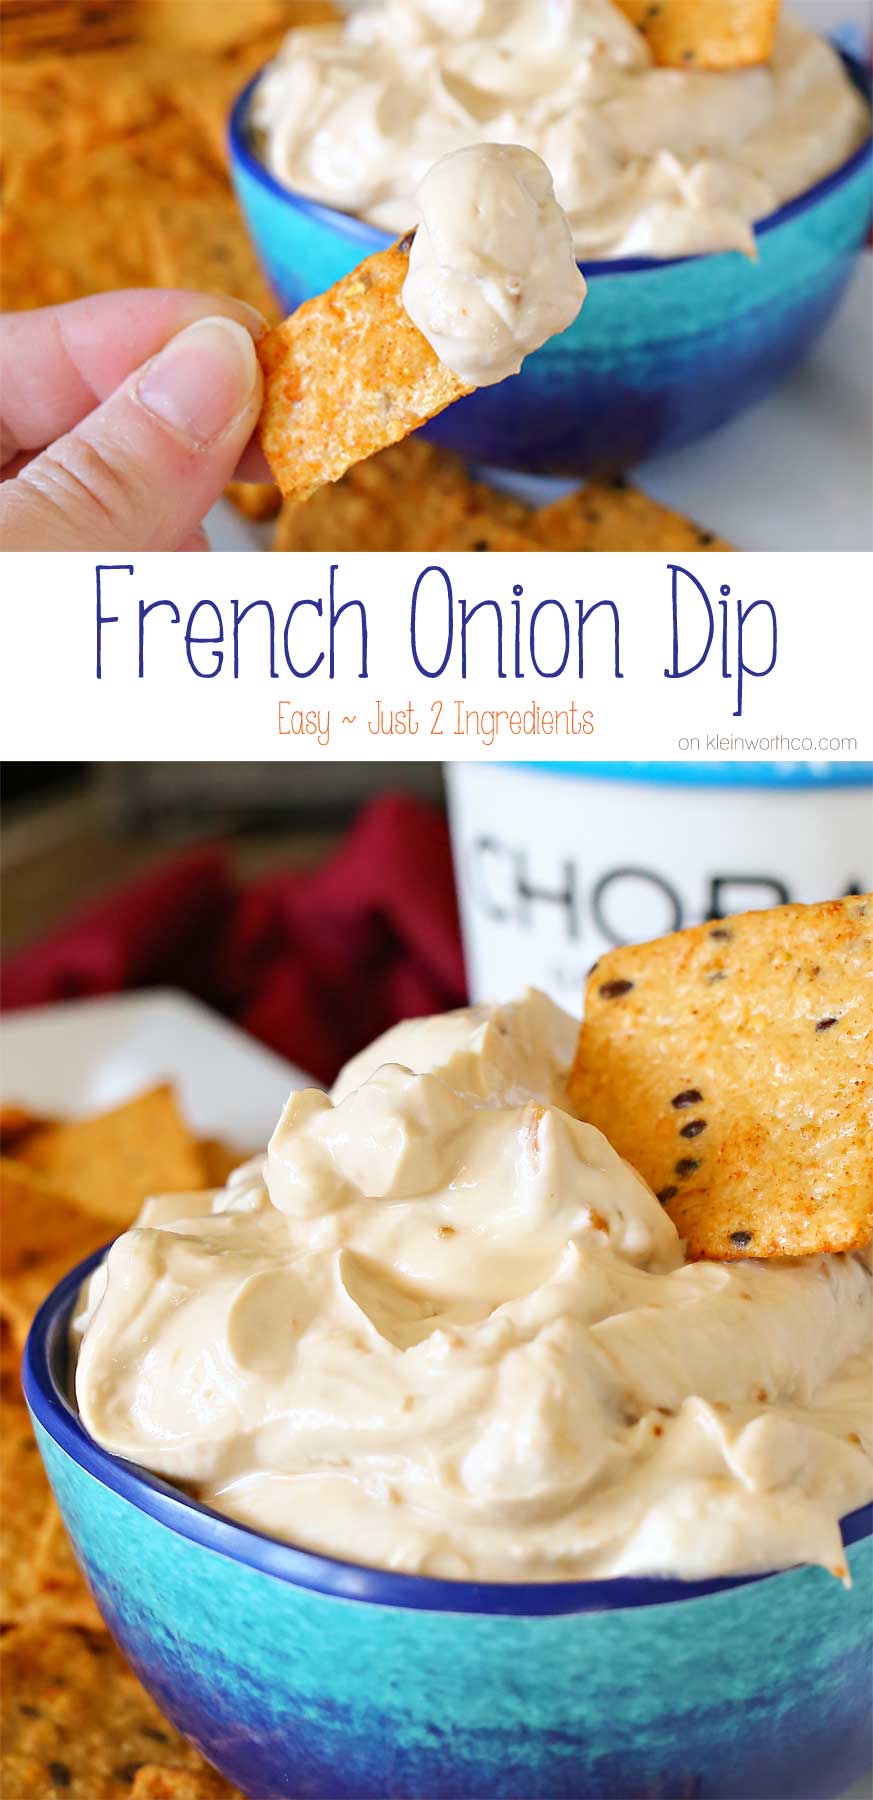
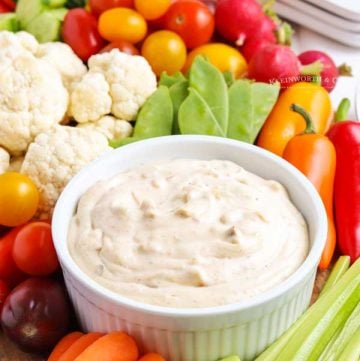
Simple 2-ingredient Easy French Onion Dip is a delicious snack to serve at parties, holidays, game day & tailgating. It’s a favorite & disappears quick!
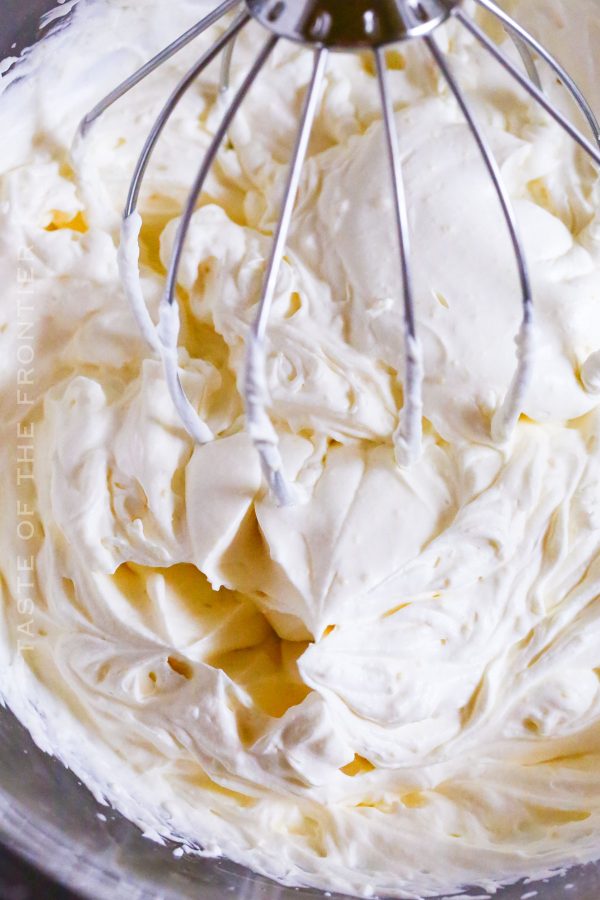
This Whipped Cream Frosting holds its shape, making it the perfect frosting for dipping, spreading, or piping onto all your favorite desserts. It is stabilized whipped cream that has the perfect amount of sweetness and it won’t deflate.
I love making my own homemade frosting. To me, it tastes so much better than any store-bought version I could find. So, whenever I can, I take the time to whip up a batch and save it for when I need it.
There is a certain kind, though, that I love the most. My favorite – a dollop of light frosting that melts in your mouth with just the right amount of sweetness, like a fluffy cloud from dessert heaven. That’s Whipped Cream Frosting for you!
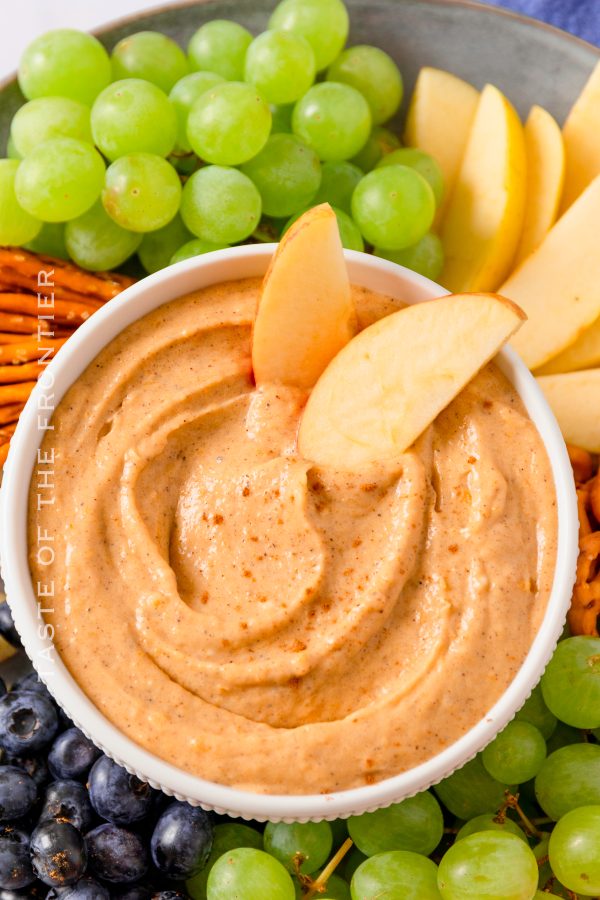
View postThis Pumpkin Dessert Dip is a delicious treat for dipping all those wonderful fall-flavored cookies. Quick and easy desserts on the go.
It’s no secret that we love our football. Good games, friends & delicious food is where it’s at for us! So, of course, I’m always creating delicious recipes to enjoy during game time.
While I tend to do a good portion of savory & snacky type foods, I also love to offer a little dessert too. So something like this pumpkin dip is perfect.
This post has been updated in 2022 to include new images and additional FAQs.
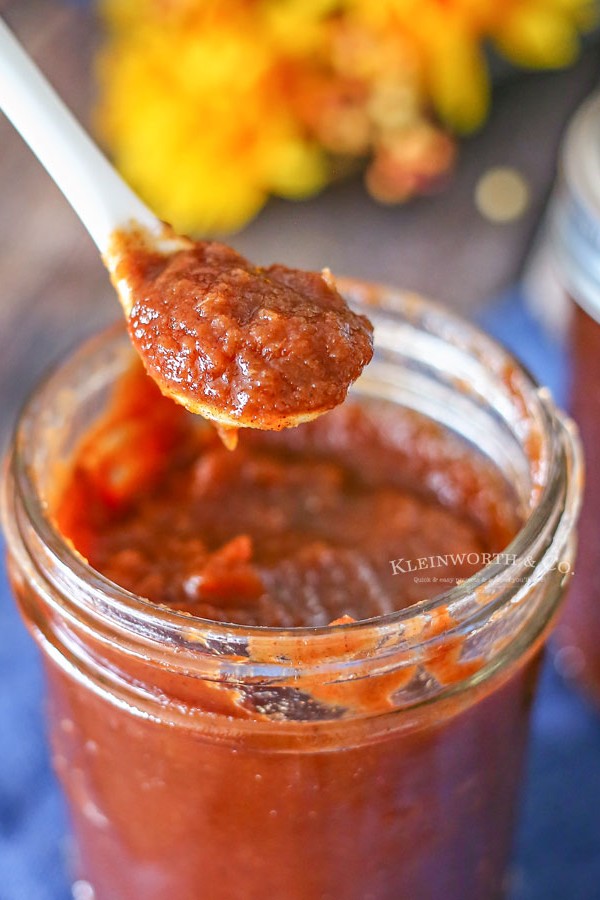
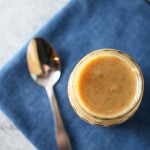
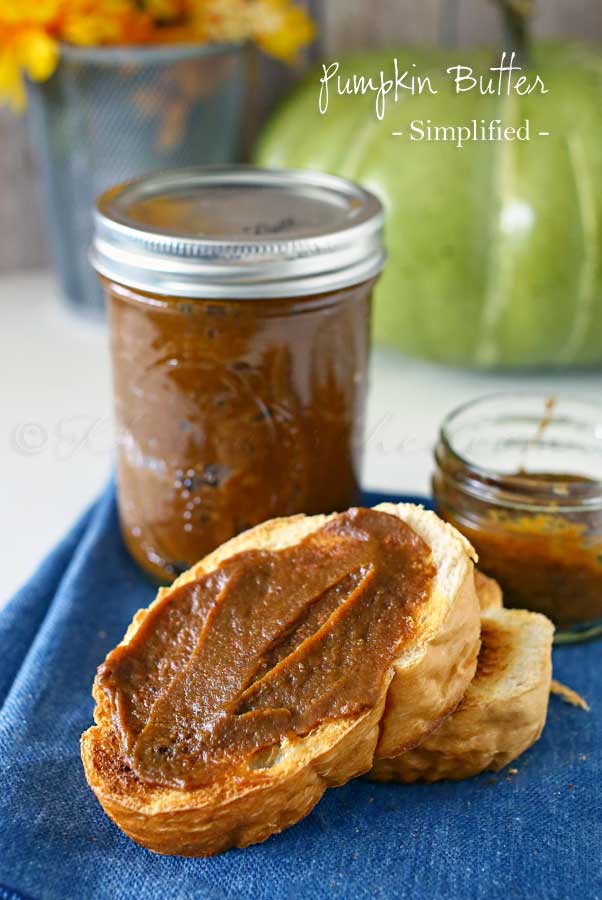
If you have ever wanted a super simple & easy recipe for homemade pumpkin butter, this is your lucky day! This is Pumpkin Butter Simplified & it’s amazing!
This Crock Pot Apple Butter is the perfect apple recipe to use all those fall apples. Loaded with all that great apple cinnamon flavor, it’s fall in a jar.
What’s your favorite thing about fall? Mine has to be the colors, followed by the flavors. Being a photographer and a person that grew up in a place with little change in seasons – I absolutely love the fall colors.
But second to that is all the wonderful fall smells and flavors. Things like this apple butter added to so many things just make the season so special.
Try our Instant Pot Apple Butter!
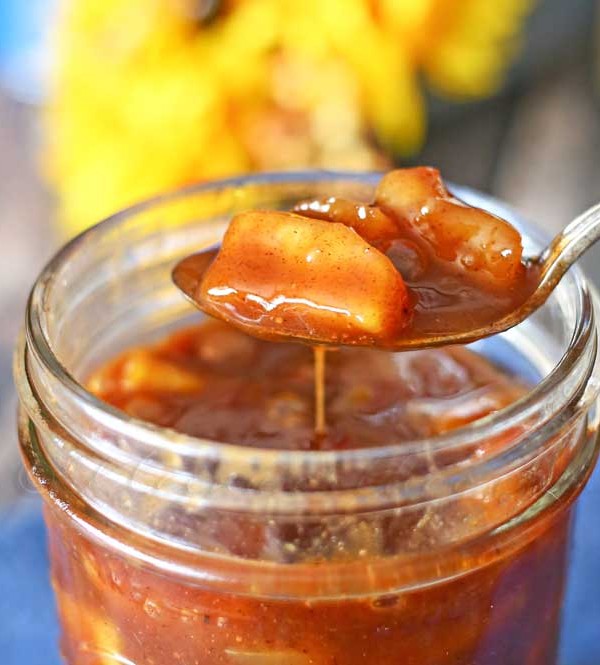
Apple pie, is America’s favorite. Packed full of cinnamon-coated apples in a thick caramel glaze makes it positively delicious. This homemade Caramel Apple Pie Filling makes it so easy to make your own.
If you love apple pie – this caramel apple pie filling will be your new favorite fall recipe. It’s simple, easy and so delicious. Definitely the perfect way to use up all those apples from the orchard.
View postThis is a sponsored conversation written by me on behalf of Tyson. The opinions and text are all mine.
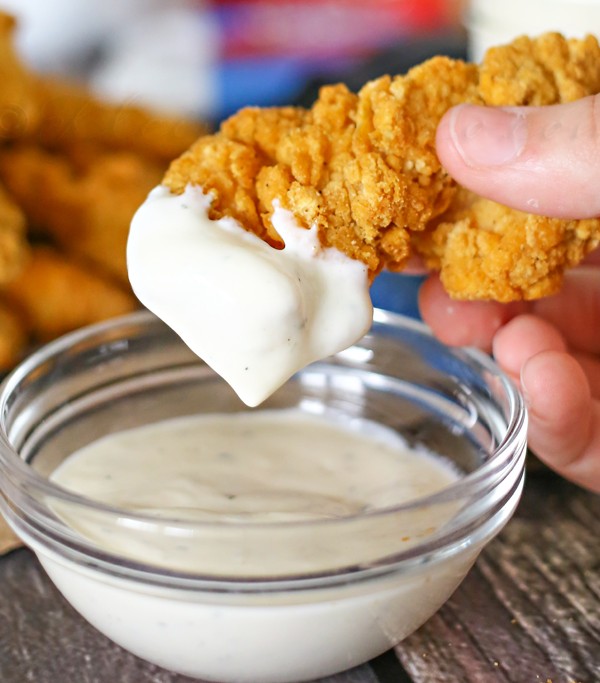
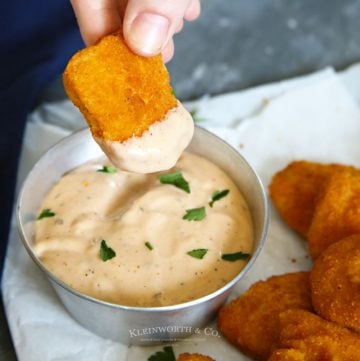
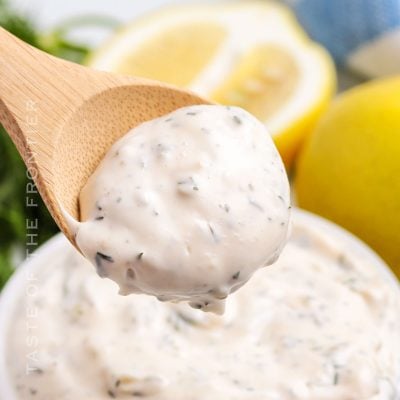
This Buttermilk Ranch Dip is the perfect compliment to your crispy fried chicken or tasty summer salad. It’s so easy to make your own homemade dressing.
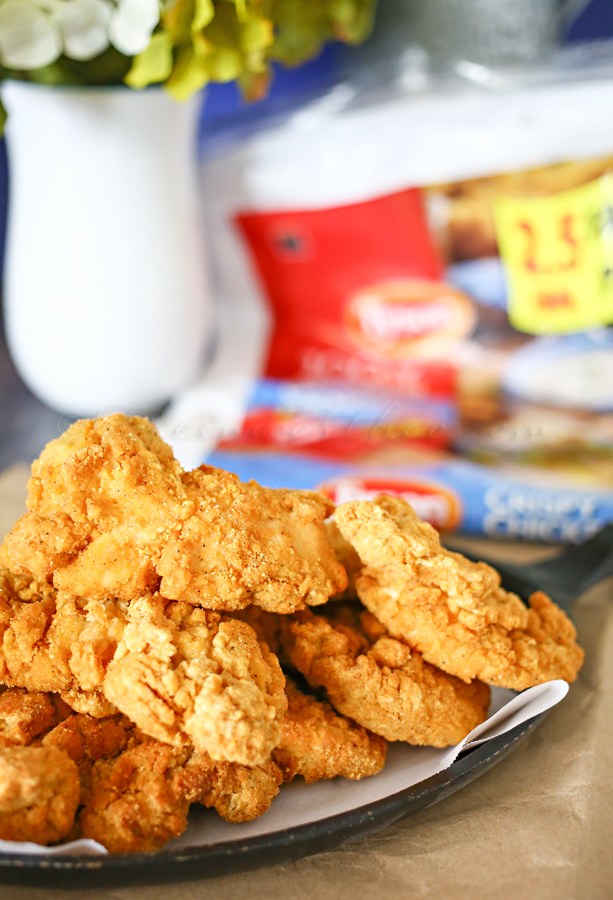
As much as love to be in the kitchen, there are times when life takes over & I need to make something quick – but delicious. I certainly don’t want to resort to costly fast food. So I have a handful of “go-to” easy family dinner ideas that come in handy for those crazy schedule evenings.

When making a quick stop into Walmart, I pick up some Tyson® Crispy Chicken Strips.
The family loves them & they make dinner so quick & easy.
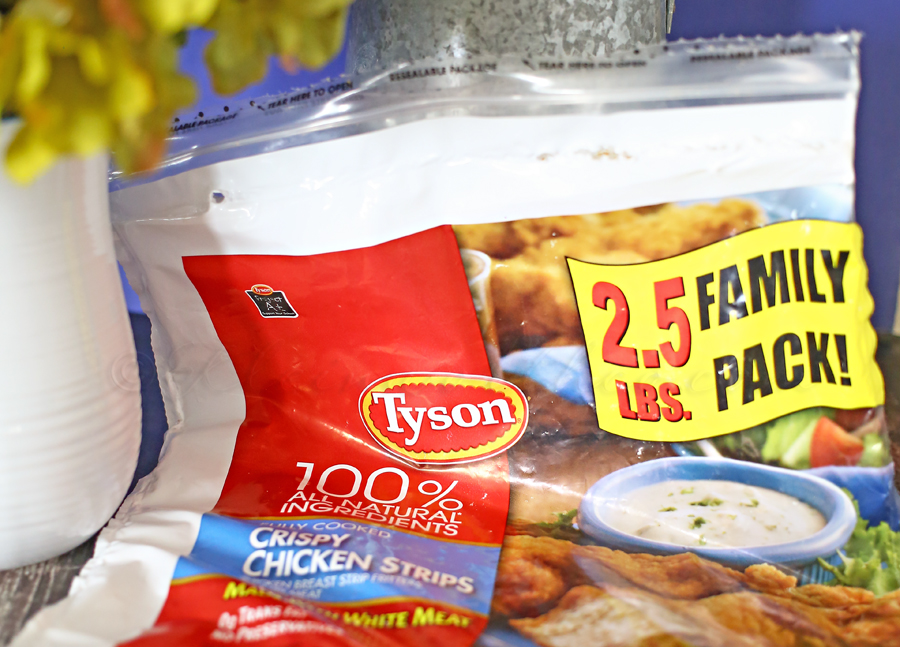
I love it for its convenience, 100% all-white meat, 100% natural ingredients & ease of preparation. But I also love it because it is part of the Tyson Project A+™ program along with other Tyson products like Tyson® Fun Nuggets, Tyson® Chicken Nuggets & Tyson® Crispy Chicken Strips. Have you heard about it before? It’s a program where you can nominate your school of choice. It’s one of the simplest ways to support your school. Just clip and collect Tyson Project A+™ labels from Tyson® participating packages. For every label submitted, Tyson will give the school cash and the school can use the money for whatever it needs. Visit Tyson Project A+™ for a chance to win a packet of labels worth $1000 to help the school get a head start on collecting.
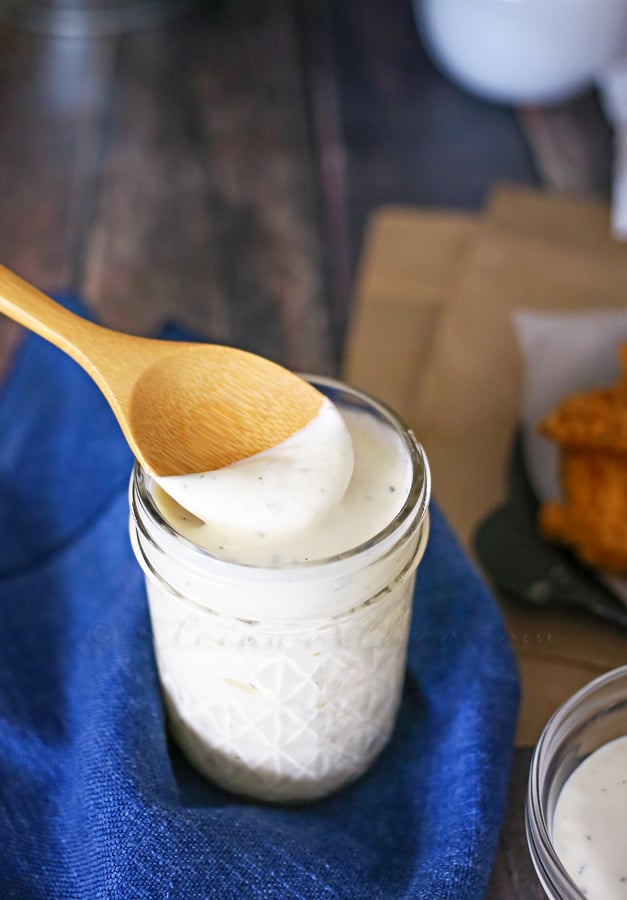
Our favorite thing to do with the chicken is whip up a batch of our homemade buttermilk ranch dip. It’s the perfect compliment that the whole family enjoys. Plus it’s so incredibly simple to make. You probably already keep these ingredients in your kitchen.
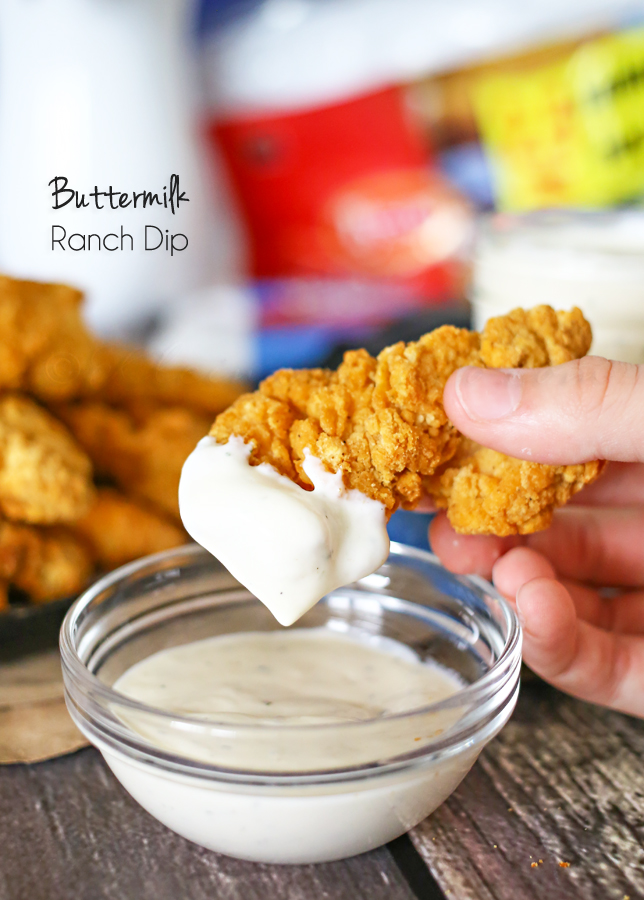
So what’s your favorite pairing with Tyson® Crispy Chicken Strips?
Be sure to visit walmart.com/TysonProjectAPlus for more info on how you can nominate your school!
Looking for more great dips for your chicken?
Comments submitted may be displayed on other websites owned by the sponsoring brand.
This is a sponsored conversation written by me on behalf of Tyson. The opinions and text are all mine.
To see where I am linking today- visit HERE
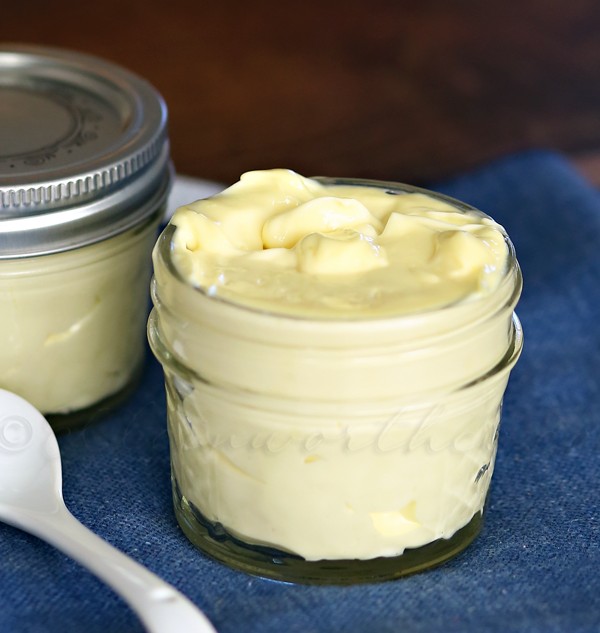
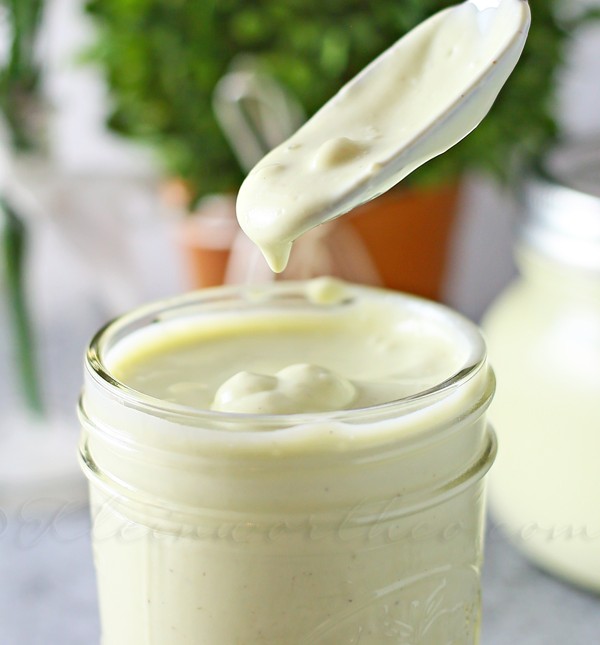
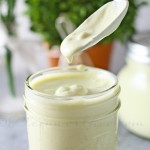
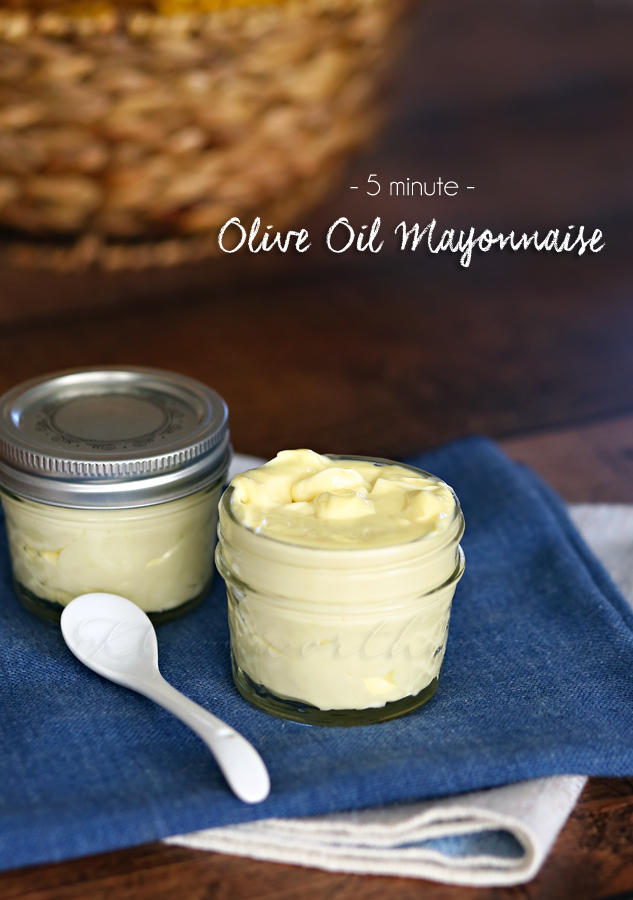
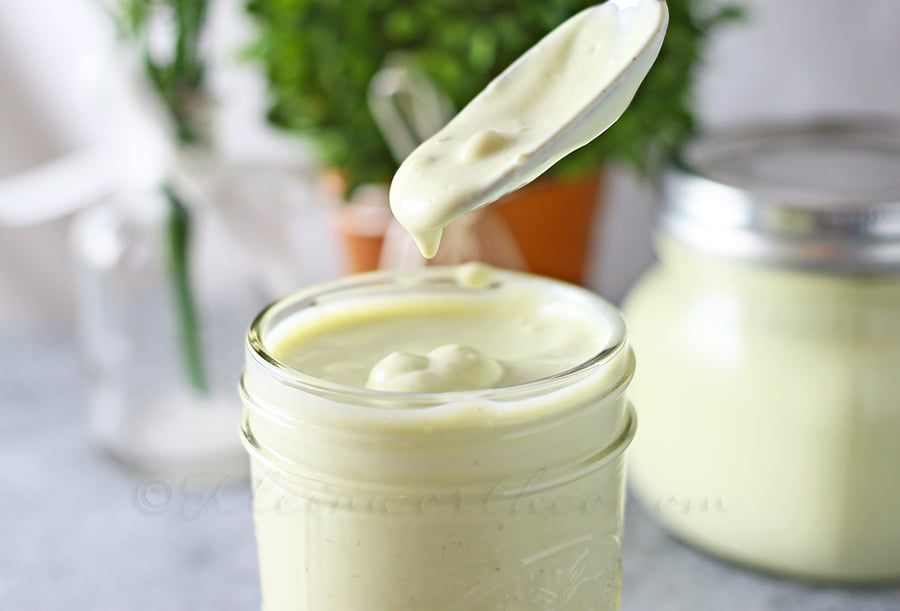
Did you know that you can make your own homemade mayonnaise in about 5 minutes or less? Last summer several of my friends posted their recipes for mayo. I was quick to jump on not only making their versions but also at coming up with my own. You know how I love to eliminate pre-packaged, preservative filled foods whenever I can & making my own mayo was a great way to do it. You see- we don’t use that much mayo to begin with. So making a fresh batch every couple weeks makes perfect sense. It’s healthier & I can create it just the way we like it. One of my favorite recipes is this one for Olive Oil Mayonnaise.
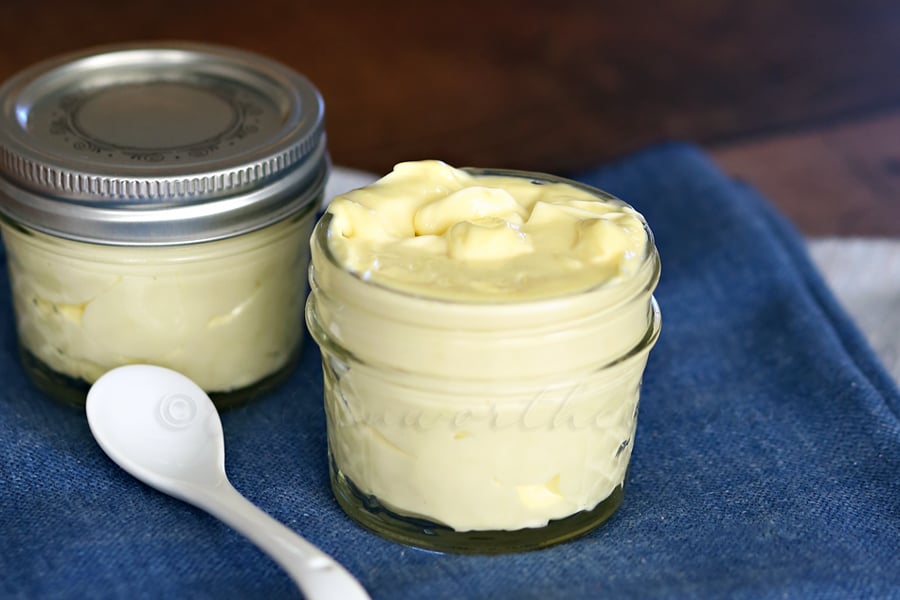
I love that I can control things like the amount of salt in the everyday things we add to our food by just making a homemade version. It’s amazing how many things have hidden salt & sugar that are really unnecessary. Hello- sugar in milk…. Really? My kids are to the point where they want to switch to almond milk or raw milk from the farmer down the street just because they can taste that milk doesn’t really taste like milk anymore. Same goes for these things like mayo. So the whole family is really happy that we make our own.
To see where I am linking today- visit HERE
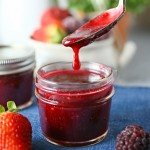
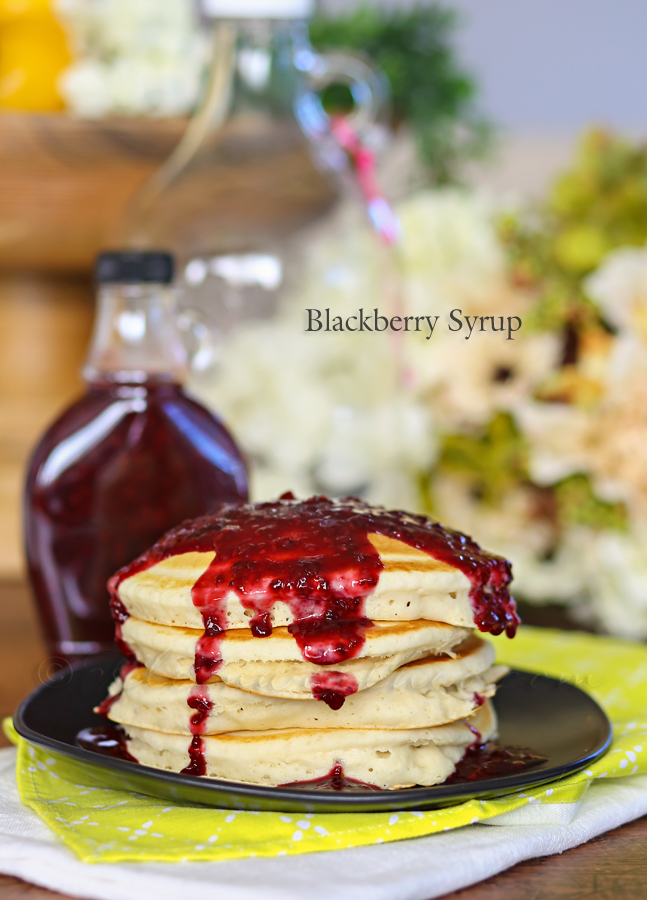
WOW – it’s been a while since I have shared with you all a recipe for homemade syrup. It’s one of those things I make frequently as it’s so good on more than just pancakes. Unfortunately I have not been sharing them here. Is that something you would like to see? More homemade syrup recipes? This one is Blackberry Syrup & just makes me want to head downstairs & whip up more fresh buttermilk pancakes just to have an excuse to crack open that bottle. Oh how I love an Easy Breakfast Recipe & blackberries usually top my list for Breakfast Ideas. It’s sweet & wonderful. Oh how I love blackberries. I hope to start a berry patch this summer – so fingers crossed I will have a bountiful harvest of berries.
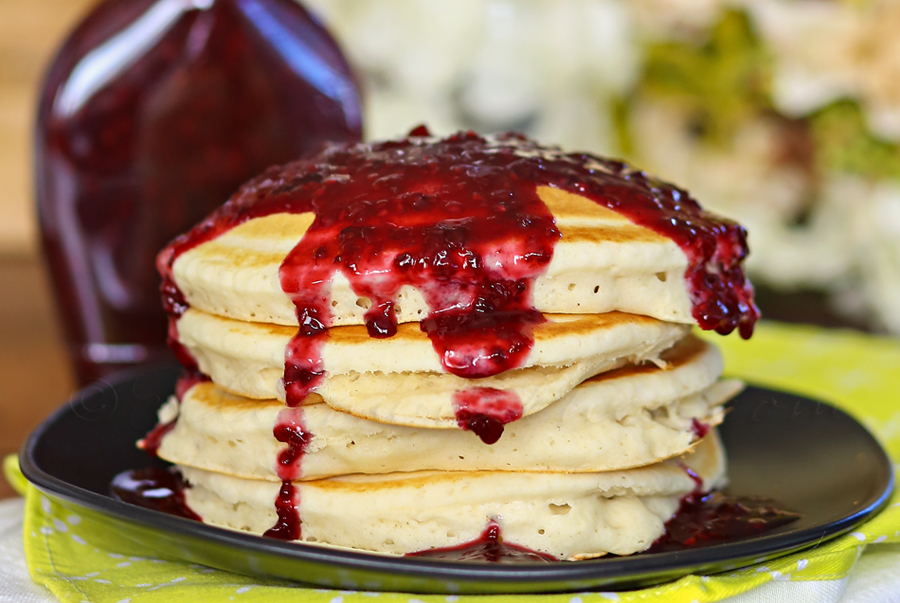
When my son was little we were having a shopping day on Rodeo Drive with my friend & her mother. We stopped in to this wonderful restaurant for lunch. He was probably just over a year old so we ordered him a plate full of fruit. He immediately went for the blackberries & packed his mouth full of them until the juice was squeezing down his face & all over his pristine white shirt. Probably one of the more embarrassing meals out in those early years of parenting. But that was when I learned that he really LOVES blackberries.
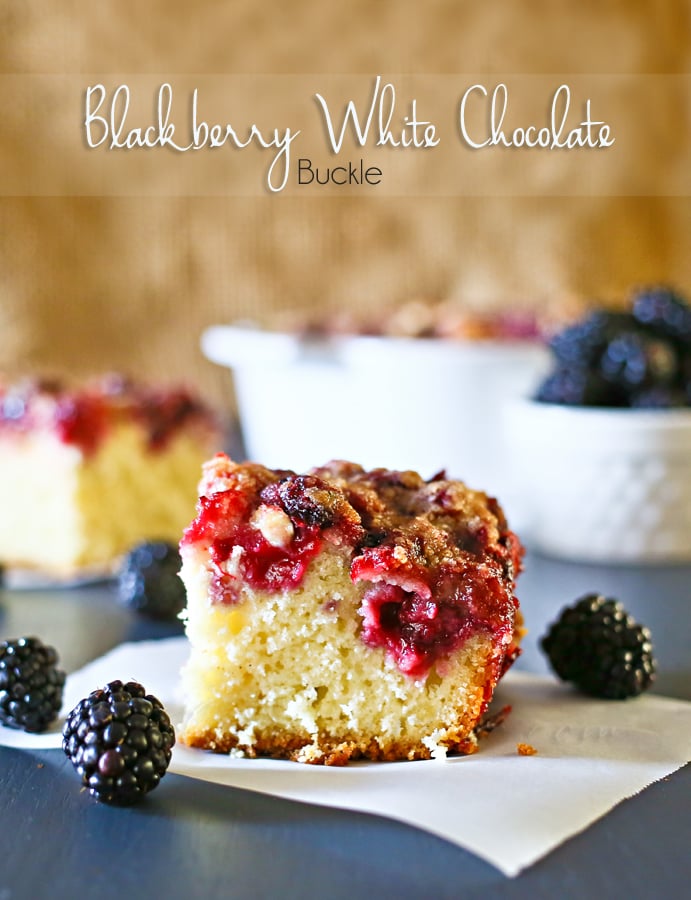
Blackberry White Chocolate Buckle
To see where I am linking today- visit HERE
I love appetizers & snacks. Those of you who have been with me for a long time know that I’m all about the game time dishes. I especially love it when the things I’m making can actually work as a meal as well.
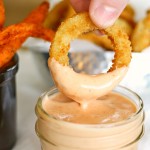
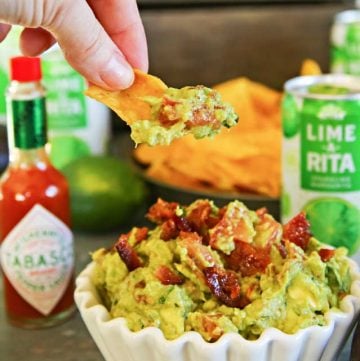
I definitely love to put out a spread when we are watching the game or on race day. One thing that is a family favorite – José Olé® snacks & this Chipotle Mayo dipping sauce I made to go along. Looking for Easy Family Dinner Ideas?

The kids & I really love these Taquitos. They are available in both chicken & beef. I always make both. I like that they are made with real meat & cheese & the tortillas are crunchy. To me that’s the perfect taquito. What an easy way to feed a crowd.

The chipotle mayo– my son’s new favorite spread. He fell in love with spicy food when he was less than a year old.
He was so thrilled to try this on more than just his taquitos. It is simple, versatile & not too spicy. It’s a mild initial flavor with a little afterburn.
Black Bean Jalapeno Pepper Queso


How about these Soft Pretzel Bites?
This is a sponsored conversation written by me on behalf of Jose Ole. The opinions and text are all mine.
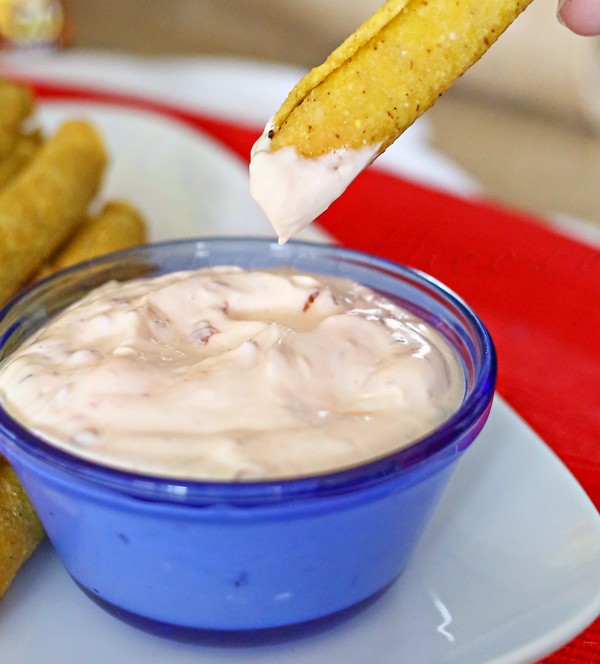
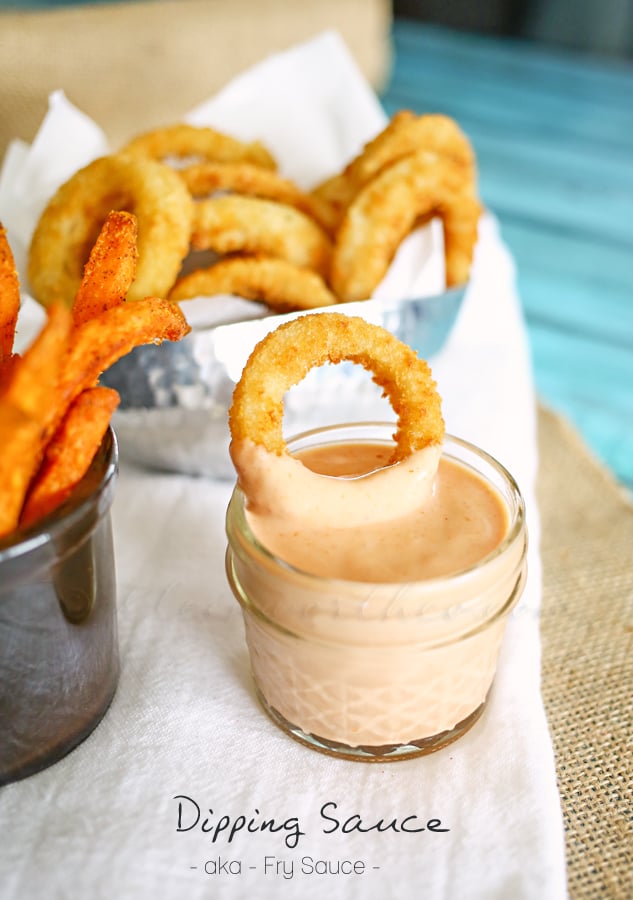
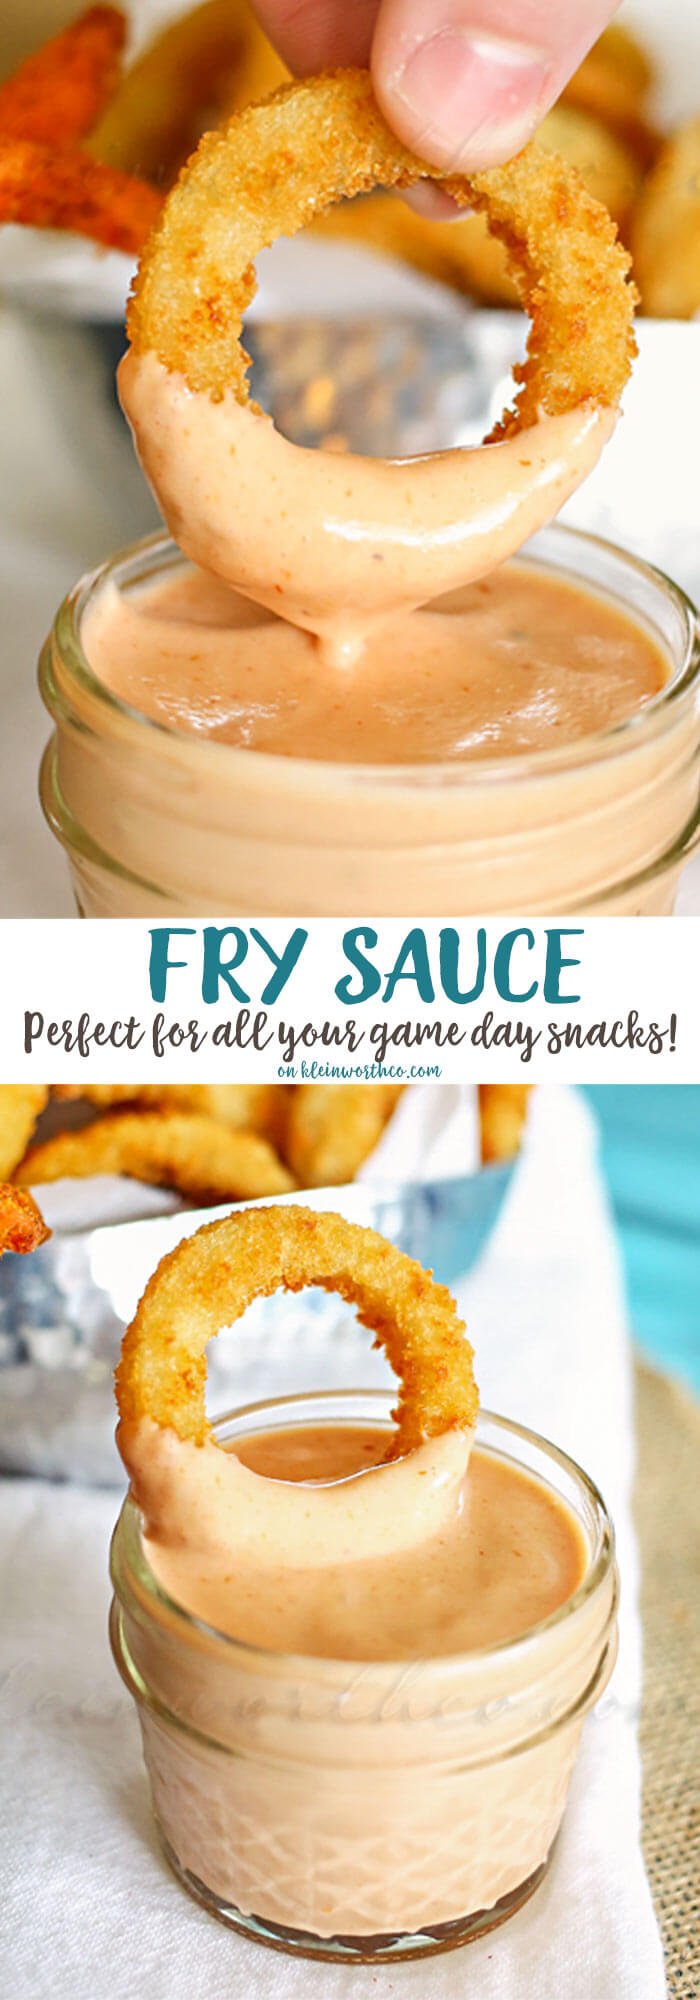
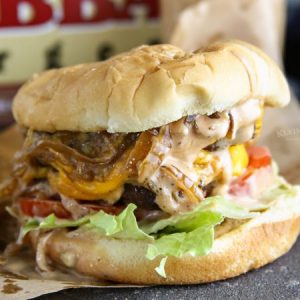
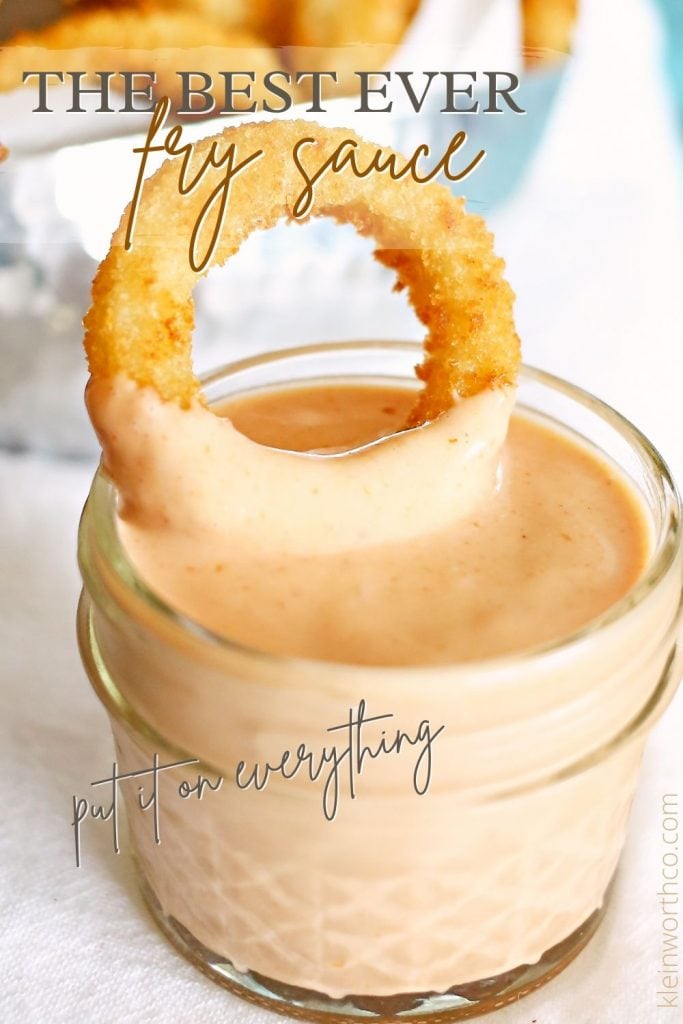
Fry Sauce is a simple dipping sauce blending the tangy flavors of ketchup and mayo. Commonly found in Utah, southern Idaho & rural Oregon- it’s a favorite!
It’s no secret that we love our Game Time Grub in this house. Homegating is a weekly occurrence & it almost always includes Fry Sauce.
Now- being that I grew up in So Cal – fry sauce wasn’t something that I grew up with. If it didn’t come from In & Out Burger – I didn’t really know it existed.
Then we moved here to North Idaho & we had a little place specific to the North West literally smell distance from our little rental at the time. The hubs picked up burgers, several tubs of fries & this stuff called fry sauce to feed our hungry crew while we unloaded the moving truck.
I reluctantly tried some- I’m just like that about new things. We all were absolutely amazed & it has become my “can’t live without” condiment. I used to be able to run on over & pick up a few tubs for our homegating events because it was literally so close to our house.
But now that we have bought this house & moved to a new town – the closest location is quite a little jaunt.

So – being that I love to find ways to make it myself, I decided to try my hand at it. 5 recipes later – THIS IS THE ONE! Looking for Easy Family Dinner Ideas?
I love it even more than the original. I have to admit- I add this stuff to everything- it’s not just for fries. It was great on these onion rings. I also love it on chicken tenders, hash browns, home fries, burgers, hot dogs & so much more.

If you have never had fry sauce before- you HAVE TO give it a try. I think there is something similar in the South called comeback sauce. I can see why it’s called that. It’s definitely a regional thing.
I know that Utah is known for it. The family was happy about that during our trip to SLC last April. They didn’t have to go without their favorite dipping sauce while we traveled.

Because of the mayo this won’t freeze well. But the portion that this makes is small enough that you could reasonably get through all of it within the 7 days that it should stay good for in the fridge. You can always cut the recipe in half if needed instead.
You can, and we do it often. In fact, a double or triple amount is perfect for a large family.
Just keep it refrigerated for up to 7 days. As long as you don’t let it sit out at room temperature for too long, this should keep well when chilled.
We love this fry sauce so much that we like to use it on just about everything. Here is a list of our favorites
If you love this Easy Fry Sauce recipe, you’re going to love these other recipes too. Please click each link below to find the easy, printable recipe!


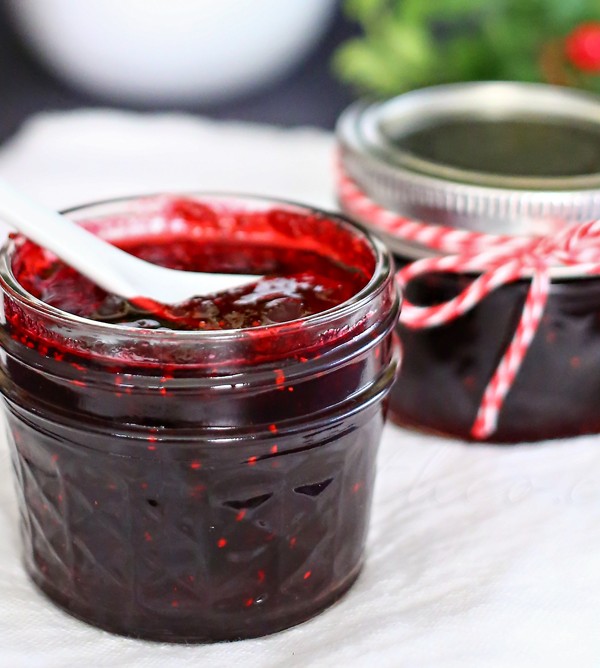
You know what I love most about blogging? That just because I do it from my home office doesn’t mean that I’m blogging in a bubble. I love that I can join up with, work together & even meet in person & grow true relationships with others out there doing what I do. I love that I have this group of friends that know what a blogger life is like & they are TRUE friends. I can’t even express just how grateful I am for all of you in my life – making me smile each & every day with your cheers & encouragement & support. I love you all! A perfect example of that friendship- a group of us have joined together today to bring you a Merry Berry Holiday Hop. That’s right – berry themed recipes to keep you busy in the kitchen this holiday. I created this delicious Cranberry Butter to join in the fun. It’s something fun for us all & pushes my creativity each & every time.
I love making butters & jams & jellies. I can’t figure out why (& I know I say this every time I share a new jam recipe) but there is something so gratifying about making your own spread. I also think that receiving a jar of some homemade version just tastes SO MUCH BETTER than anything else out there. It’s like a little jar of love.
I have a lot of berries stockpiled away in the freezer from summer. Since I haven’t bought jam for the kids in several years – I always make sure I have enough on hand to last through the cold months when I can’t use fresh. But this time I couldn’t resist the urge to make some cranberry butter. I don’t often play with cranberries when in the kitchen so I am super excited about this recipe. It makes such a nice holiday gift too.

Don’t miss all the other FABULOUS berry recipes being shared by all my bloggy friends!

[inlinkz_linkup id=474568 mode=1]
Want more great food gift ideas?
To see where I am linking today- visit HERE
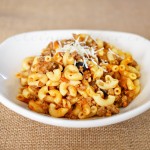
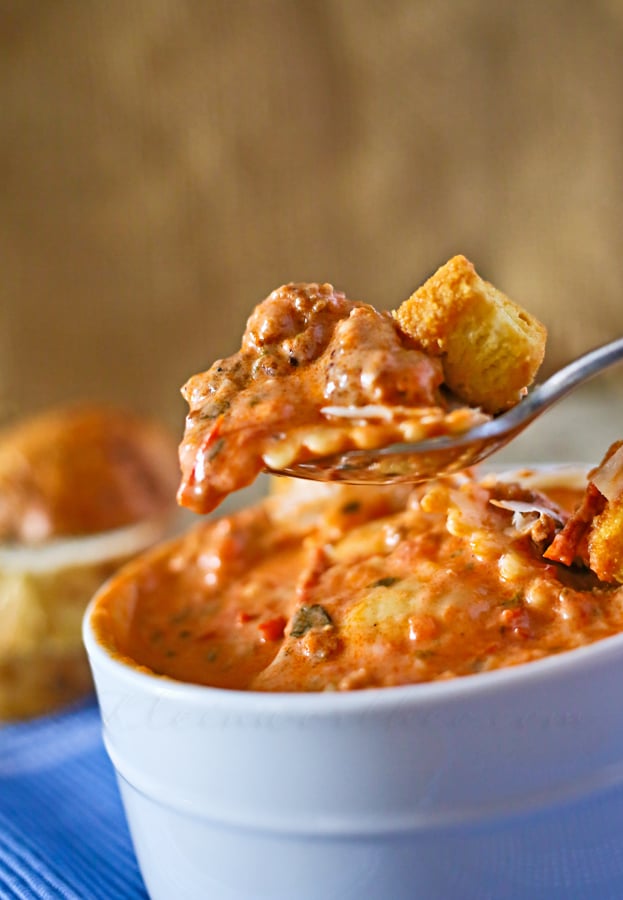
Before the hubs had left on his trip I stopped at the store & picked up a huge bag of tomatoes. For some reason I had it in my head that I was going to make enchilada sauce. Well… those of you who already know that you don’t use tomatoes in enchilada sauce are laughing at me right now. I know – but at least I didn’t try to make it work using them. I ditched my not so great idea & went back to my Easy Family Dinner Ideas. One thing I have always wanted to do was make my own pasta sauce. I have seen many different marinara recipes floating around & I thought about trying one of those. But what I really love is Vodka Sauce. It’s so amazing & I love that you get the flavor enhancement from the vodka – but all the alcohol cooks out so everyone can enjoy it. So that’s what I set out to make.
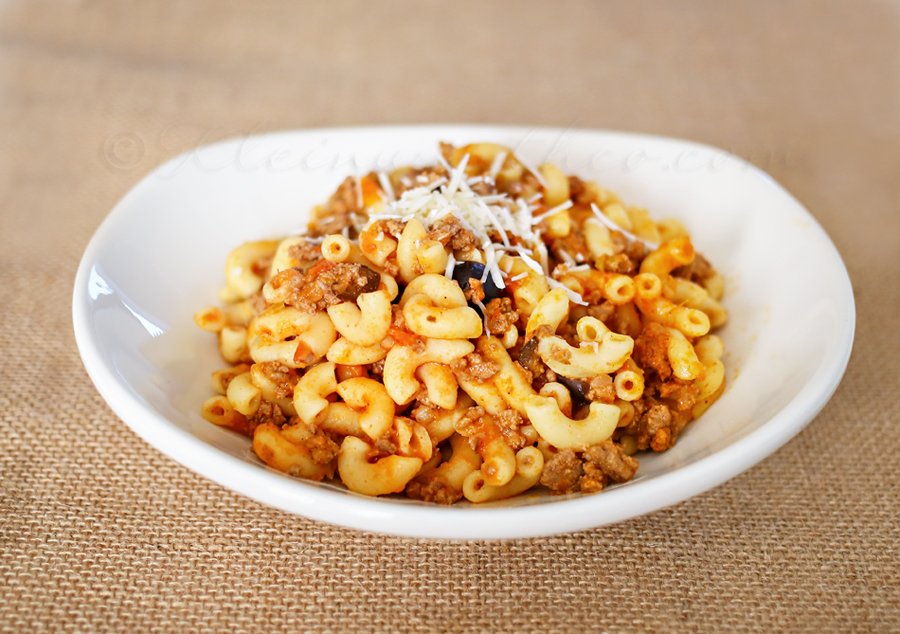
So I just started pulling ingredients out that I thought would work well. I didn’t really have a plan – it was sort of throw this in & “oh, this would be great” sort of recipe day. I had the basics in my head & the rest was just R&D. Which I am happy to say, worked out great this time. While that isn’t always the case & there have been plenty of recipes as of late that didn’t make it here for one reason or another – this one I had to give you.
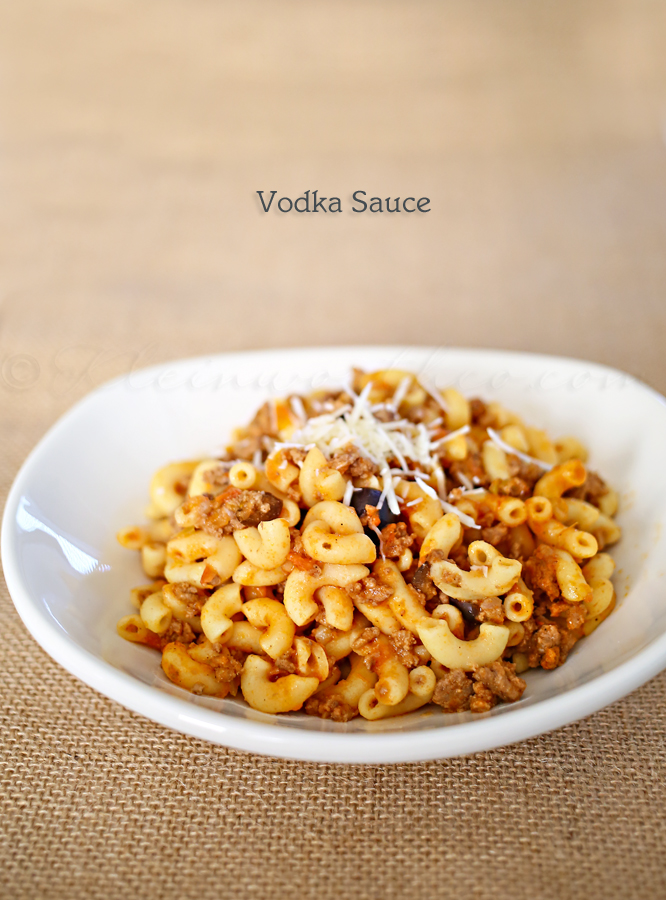
Something so satisfying about making your own sauce. I then used it with some ground beef & elbow macaroni & a few olives. YUM!
Looking for more great pasta ideas?

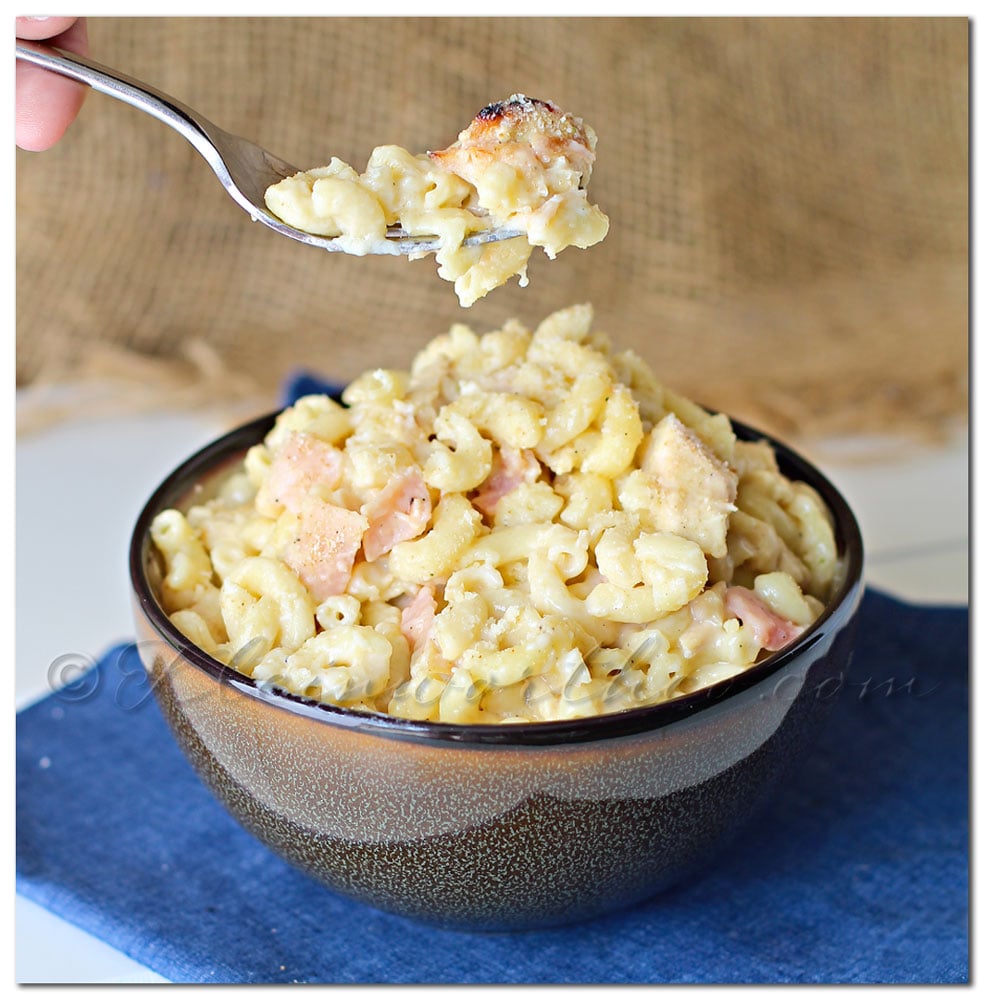
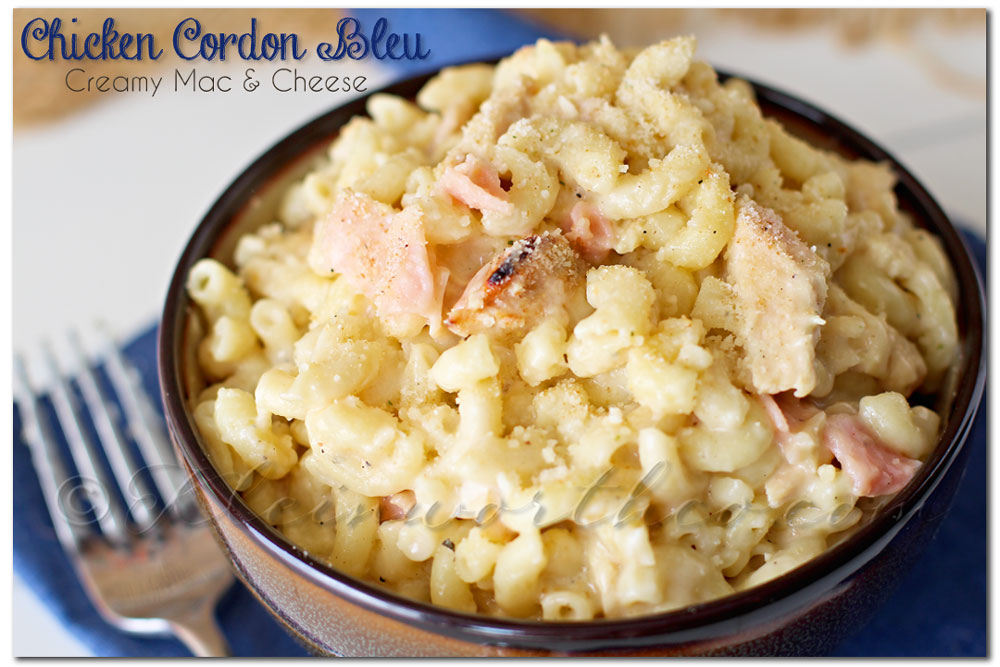
Chicken Cordon Bleu Creamy Mac & Cheese
To see where I am linking today- visit HERE
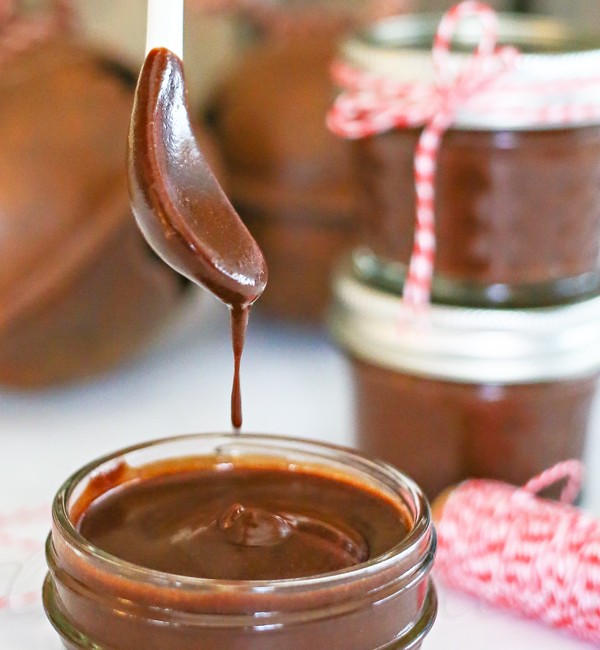
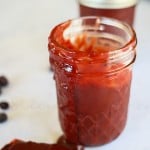
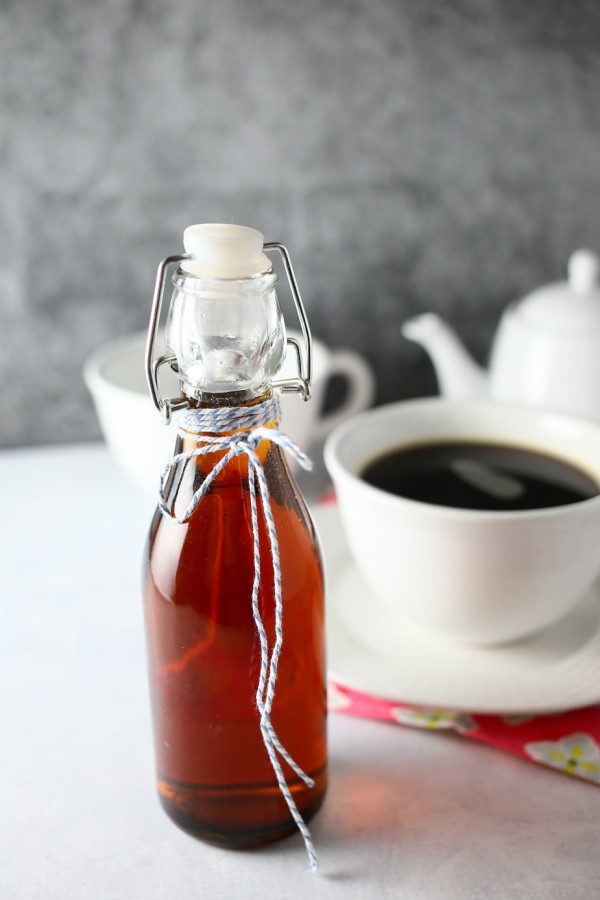
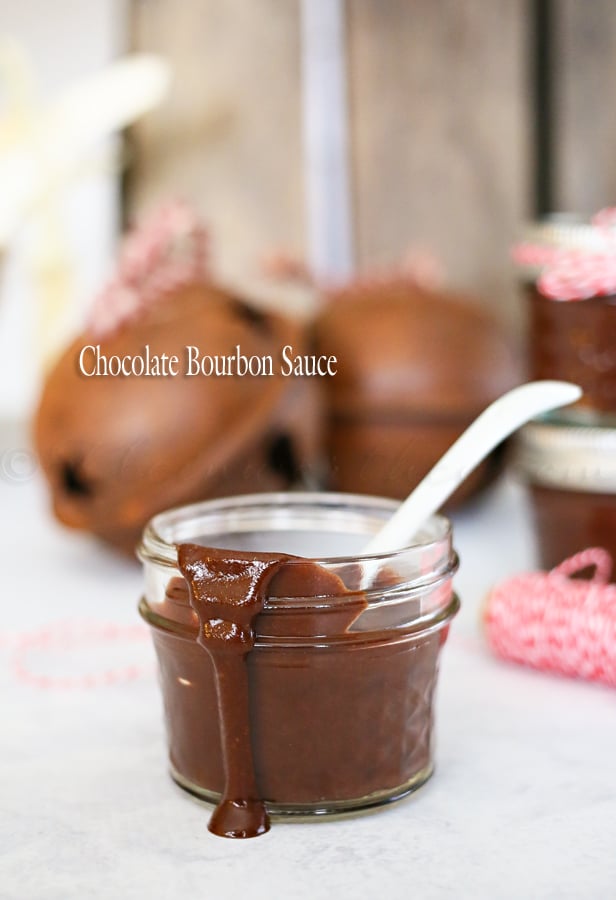
It’s the final day of bourbon week!!! Hope you have enjoyed all the bourbon recipes I have shared & that you can use them through the holidays & beyond. I thought that since the day usually ends in dessert of some sort – bourbon week should also end in dessert. Or at least a topping for your dessert. So I created this Chocolate Bourbon Sauce that you will love to use in all your party dessert recipes. It’s simple & delicious.
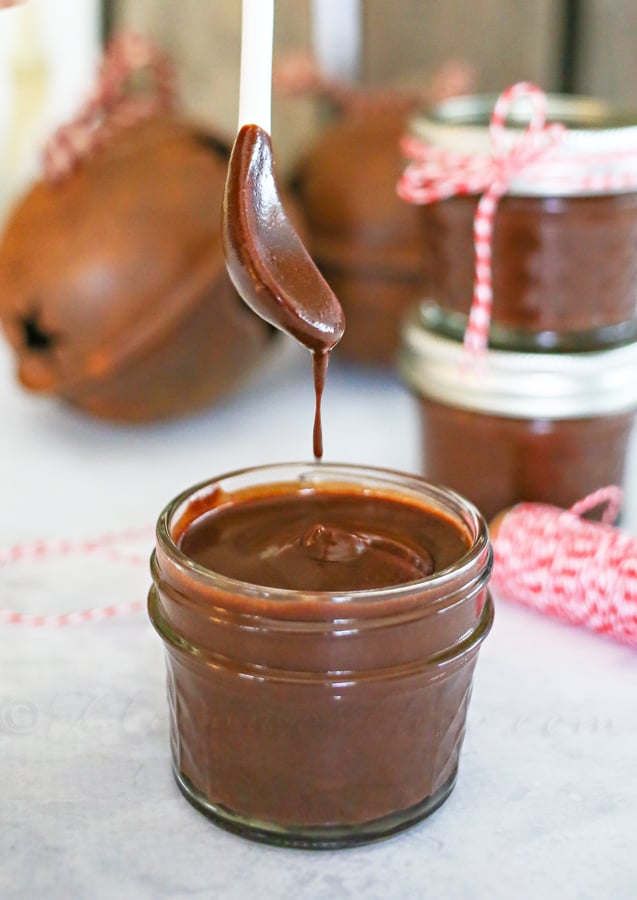
I love the ease of this recipe. I made this batch for us adults. Then since the bourbon is added at the end (like most of the recipes I have shared this week) it’s easily adaptable to make it kid-friendly if you so choose.
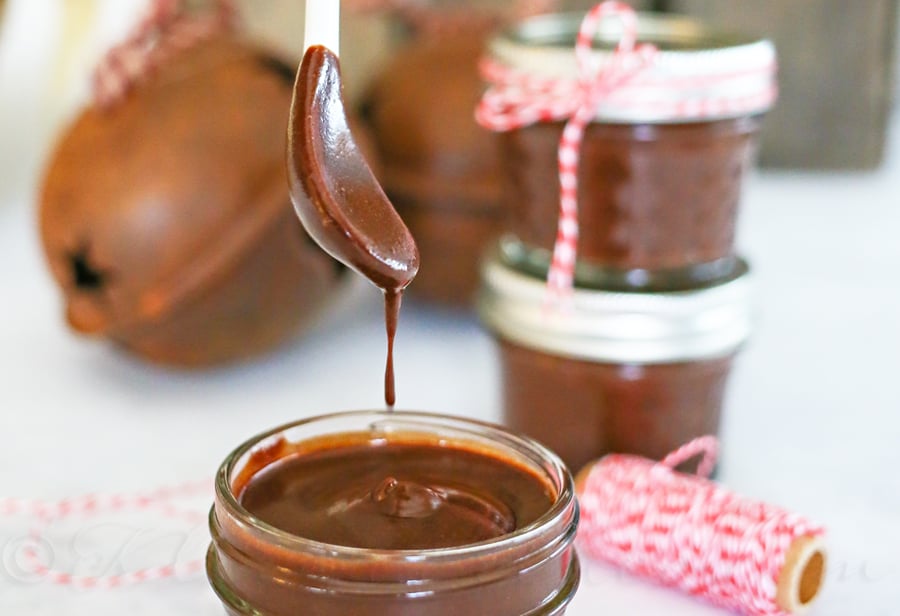
You know- this makes a great gift for neighbors too!
Be sure to check out our Bourbon Cake too!
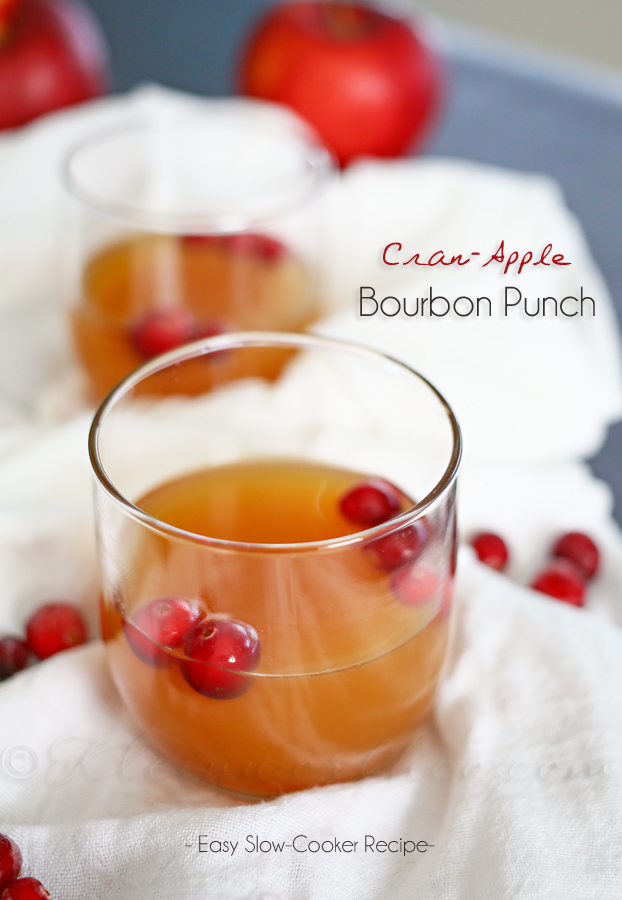
Don’t miss yesterday’s bourbon post – Cran-Apple Bourbon Punch!
Want more gift recipes?

To see where I am linking today- visit HERE
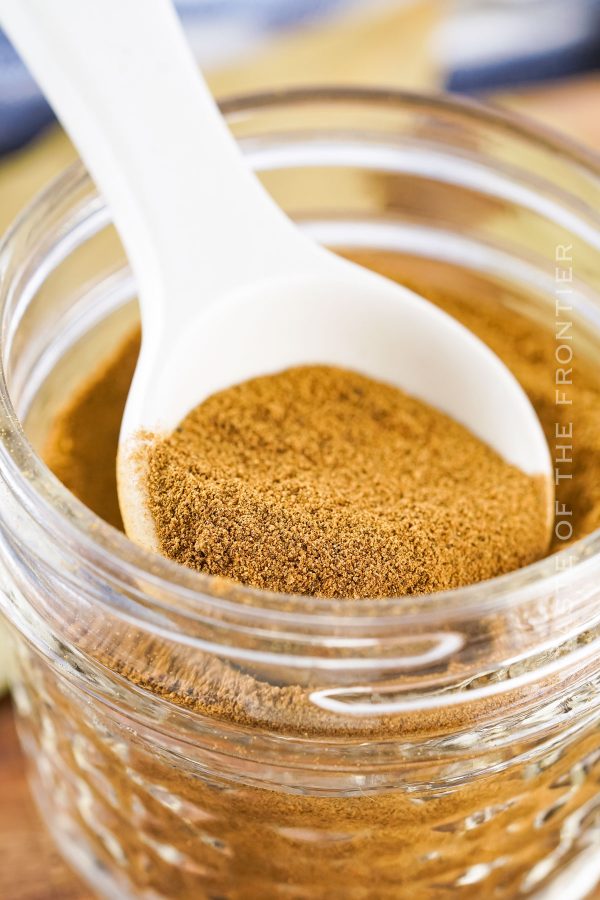
This homemade Apple Pie Spice is the perfect seasoning mix for all your fall recipes. Add it to pies, warm drinks and so much more.
Have you ever taken a whiff of something and been instantly transported to a world of warm sweaters, falling leaves, and the joy of the holiday season? Well, I’m about to introduce you to just the thing – Apple Pie Spice!
This aromatic blend of spices not only fills your kitchen with the coziest fall flavors but also elevates every apple dessert you whip up. It’s one of my favorite parts of fall.
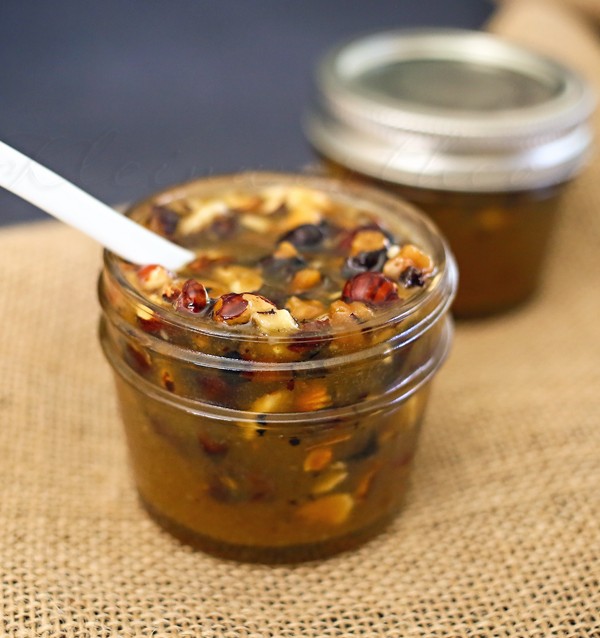
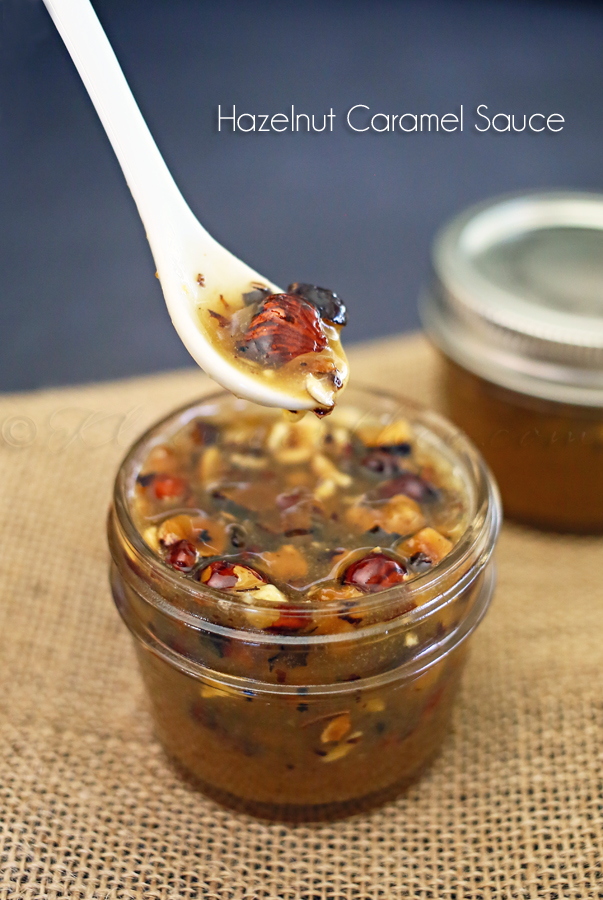
View postIf you are like me – this time of year is all about caramel. I love drizzling caramel on top of so many wonderful fall recipes. But if you are a regular reader here then you know that because I have given you a fairly healthy amount of recipes all oozing with caramel. I can’t help it. Something about seeing the dribble making it’s way down something decadent just makes me want to dive in. So it’s no surprise that I created this Hazelnut Caramel Sauce to share with you all today. You see, I was actually working on another AMAZING recipe that I will be sharing with you all tomorrow. I was ready to plate it & get it ready to photograph when I realized that it really needed a little somethin’somethin’ drizzled all over it. So I quickly whipped this up. I planned on just including it as part of the recipe tomorrow. But then I realized just how great this is as an ice cream topping or poured over a breakfast cake. It truly deserves it’s own post – it’s so GOOD!
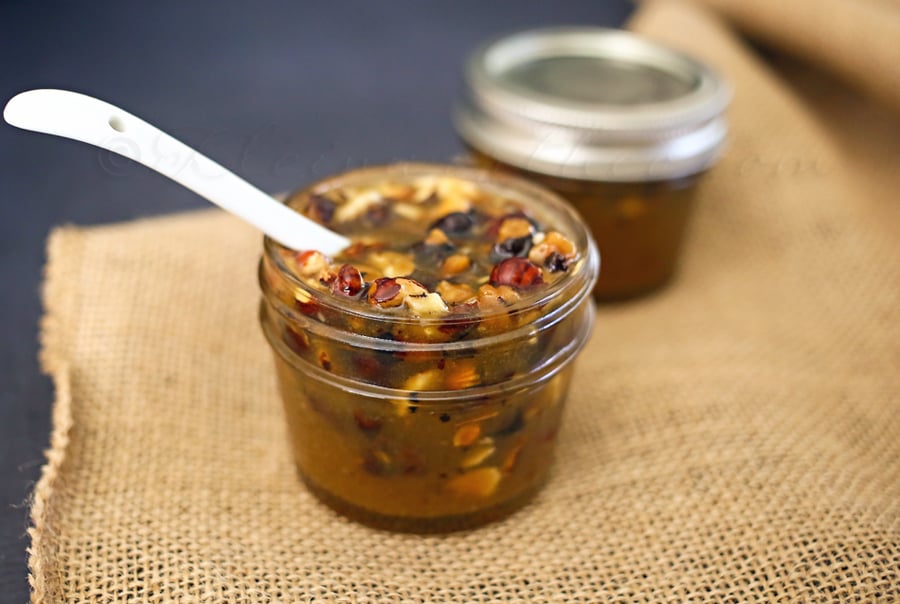
You see – typically I would have grabbed the pecans first for a recipe like this. But then I saw this huge bag of hazelnuts staring at me from the pantry – just begging me to use them in something wonderful.
Want more great caramel recipes?

To see where I am linking today- visit HERE
Remember back in April when I attended the SNAP! Conference? Well – the first night of the conference they fed us this INCREDIBLE chicken smothered with this sauce. It was so good. It was all I could do to not ask for another plate of it…..or 4 or 5 more plates. I could have eaten it until I was sick. It was amazing. So literally ever since then I have been craving it. Clearly I didn’t get enough. So I started experimenting in the kitchen with different sauces for my chicken. I came up with this French Onion Cheese Sauce that is really quite tasty. It isn’t quite like the one I mentioned before- I’m still working on recreating that one. But this was still tasty & share worthy. Looking for Easy Family Dinner Ideas? Top it on your chicken, add it to some noodles- whatever. It’s YUM-O!
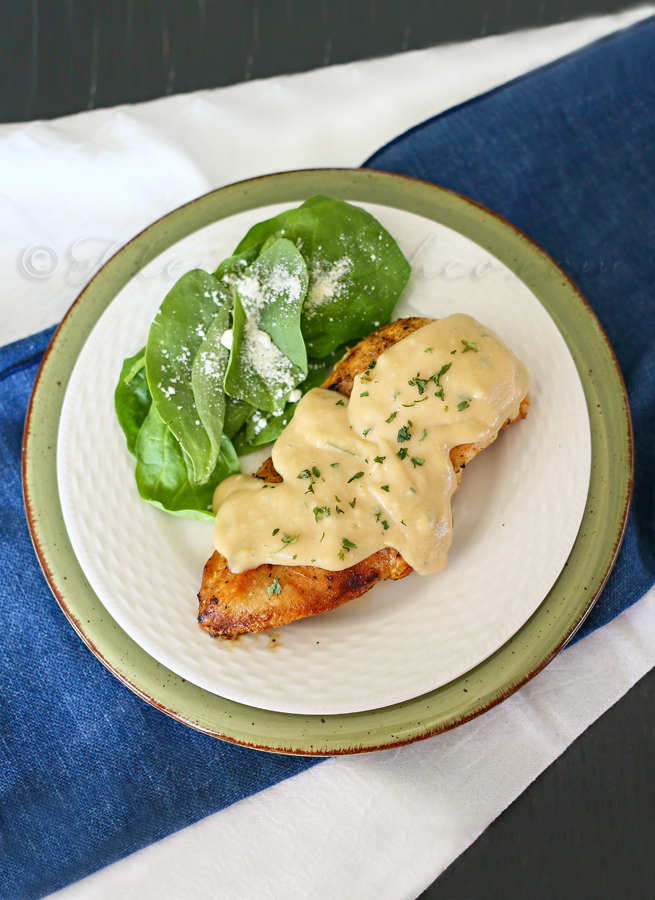
We just grilled some boneless, skinless chicken breasts on the BBQ with just seasonings.
Then added the sauce just as we plated it.
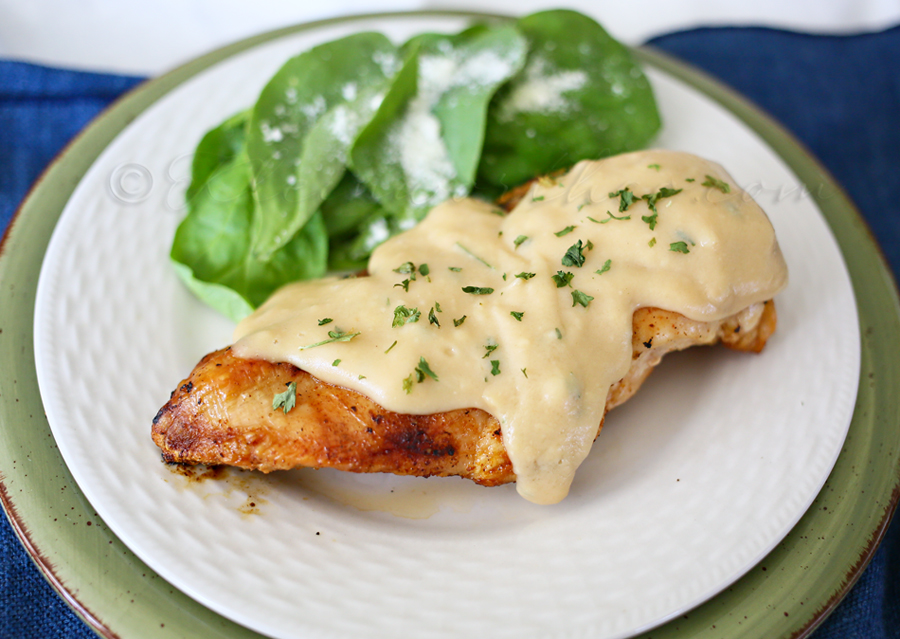
Add a little additional parsley to the top to make it look pretty!
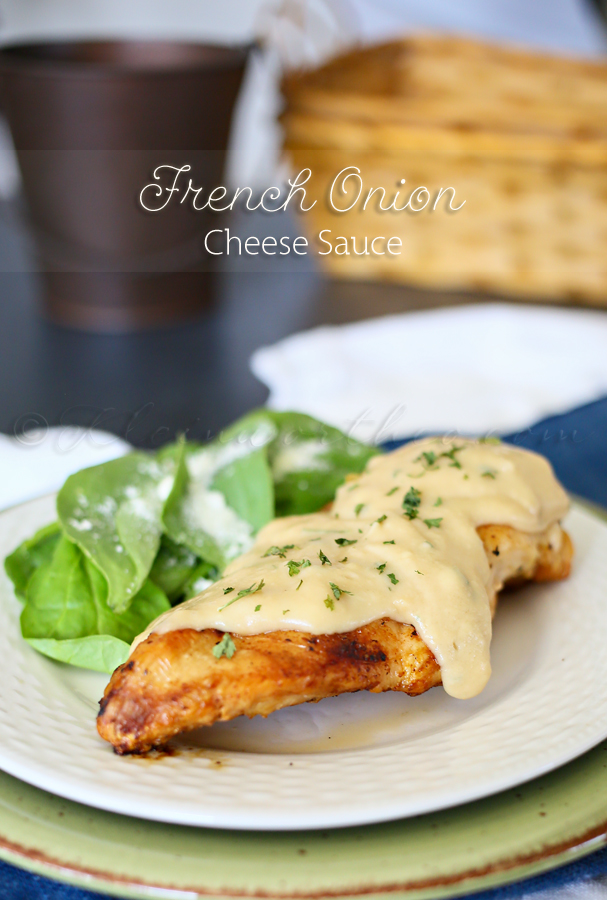
Makes for a scrumptious dinner with a side of baby spinach.
Want more dinner ideas?
Chicken Cordon Bleu Creamy Mac & Cheese
To see where I am linking today- visit HERE
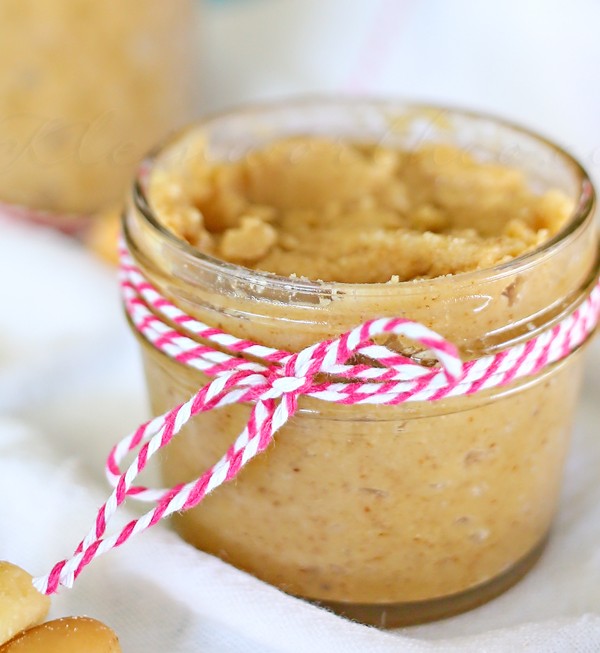
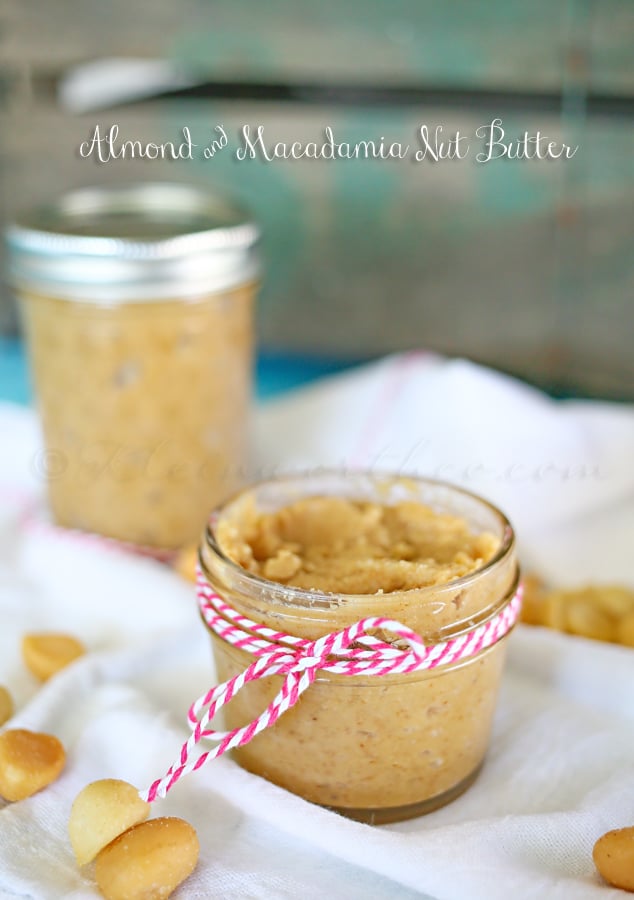
Do you ever have those things on a so-called “recipe bucket list” that you keep meaning to make? Those things that you have been hearing about for a while & you keep telling yourself that you will do it & then days, weeks, months – maybe even years go by & you still haven’t done it yet? Yeah – for me – it was nut butter. In our effort to eliminate as many processed foods as we can from our diet- without taking away the wonderful conveniences of living in today – I finally tried my first attempt at making nut butter. Since macadamia nuts are my favorite nut – I already had a bunch on hand. So I started there…with a little mix of almonds for a twist to create this Almond & Macadamia Nut Butter. I’m happy with my first attempt. Excited to try some different varieties in the future.
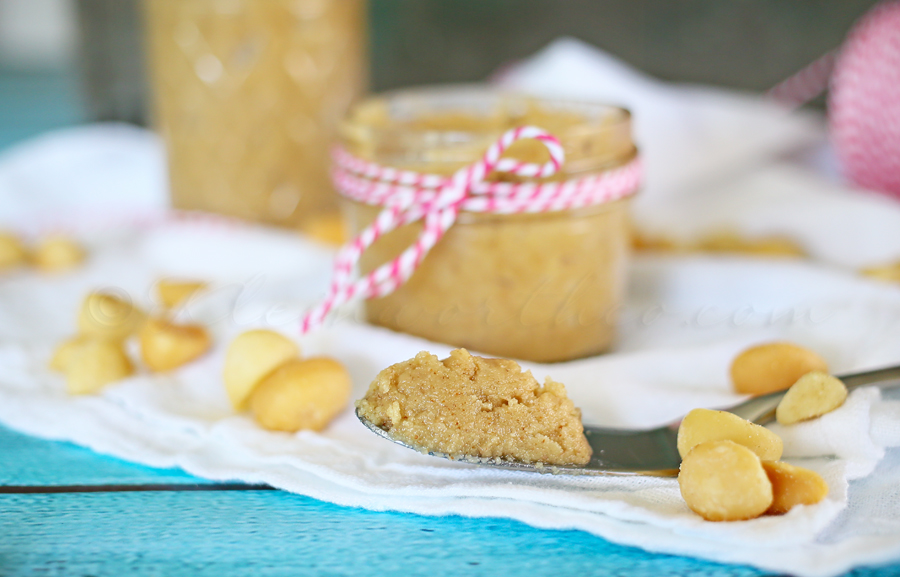
It wasn’t hard to do. However- pack your patience. This did take far longer than I expected. Far longer than others mentioned in their recipes. Maybe it was me – maybe just how I was doing it. I did find that I had better success with my blender than with my food processor. I think there was too much space with the food processor & the nuts were not getting enough of the blades – which is probably what contributed to the additional time. I ended up transferring to my blender & things went a lot quicker after that. Sooooooo- my next batch I will start with the blender. I’m sure I will be sharing future recipes with you – so I will be sure to share my thoughts on the process change as well.
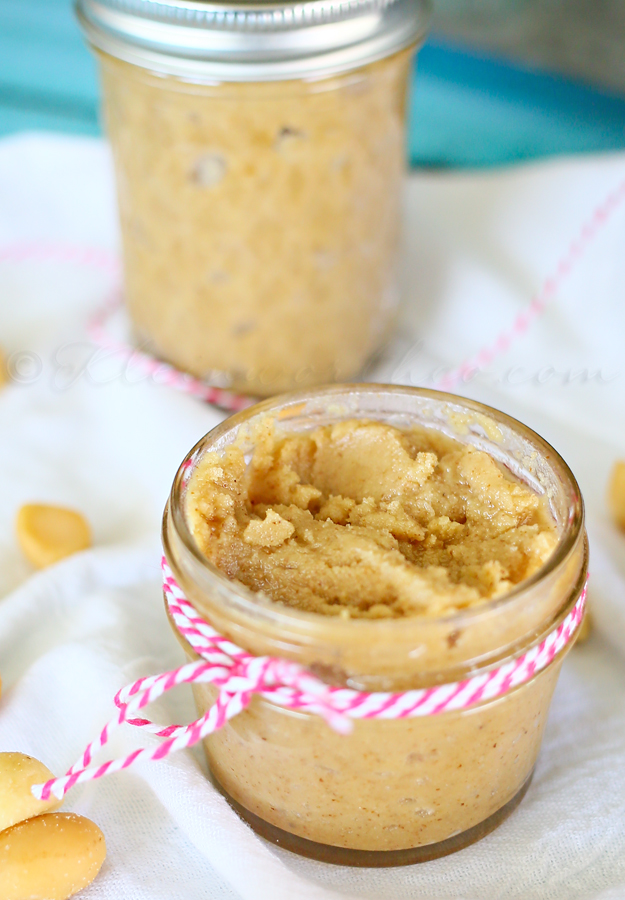
This turned out pretty tasty. I love that I made it myself.
I can’t wait to enjoy it with some of the jams I have been making lately.
So what will I pair it with?

Definitely this Huckleberry Jam for a great sandwich.
Want to try another SUPER YUMMY spread?
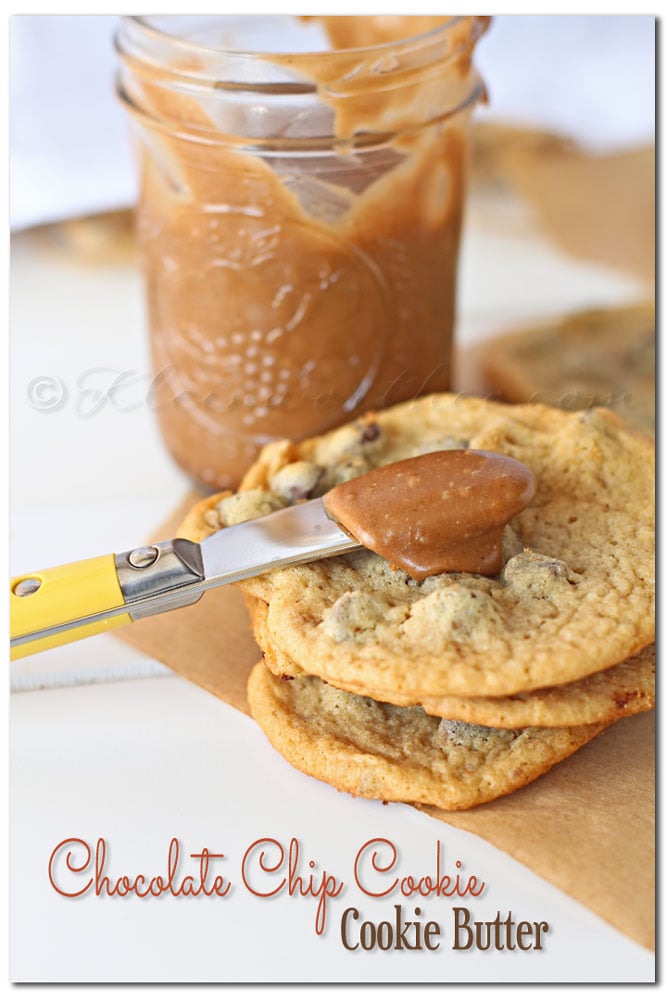
How about this Chocolate Chip Cookie – Cookie Butter?
For me, traditional Back to School time means good old fashioned Peanut Butter & Jelly! But many kids can’t bring peanut butter to school anymore. So I thought this would be a great Back to School alternative for those that need a substitute.
I have teamed up with an awesome group of bloggers (you know them all) & I’m sharing this recipe as part of our
Back to School Extravaganza & Giveaway!

Don’t forget to enter the GIVEAWAY!!
[inlinkz_linkup id=436895 mode=1]
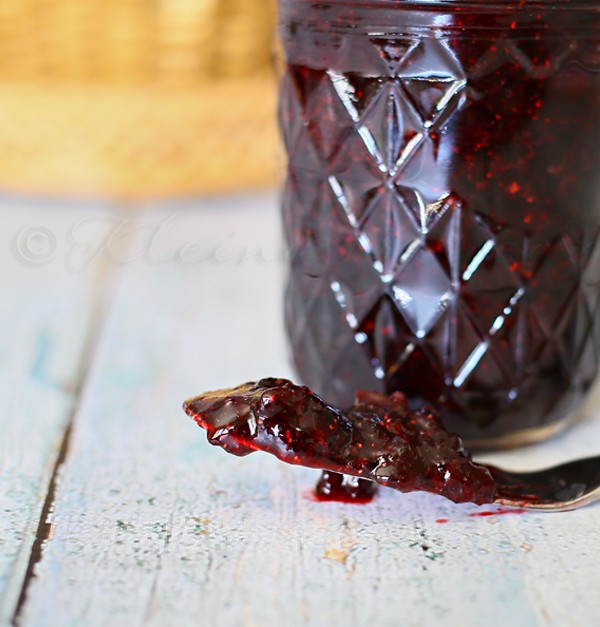
Have I mentioned how much I love huckleberries? It was such a treat when we moved here. Being a So Cal native I had never had one before our transplant here to North Idaho. Oh man- no wonder everyone here won’t share their picking spots. They are so amazing. I decided that before the big bag I picked up was gone I had to try making some into jam. Homemade jam is something I truly enjoy having in the house. I can’t remember the last time we bought jam from the store. It must be years now. I love the whole process from start to finish. It’s one of those things – I can’t explain it. But you know what?? This Huckleberry Jam is probably my most favorite flavor to date.
If you have the opportunity to get your hands on some huckleberries – this is THE recipe to use them in. YUUUUMMM!
Now to make some crusty bread to have it on some toast.
Want more spreads & syrups?
Chocolate Chip Cookie Cookie Butter
To see where I am linking today- visit HERE
[include id=”1″ title=”Footer Ad”]
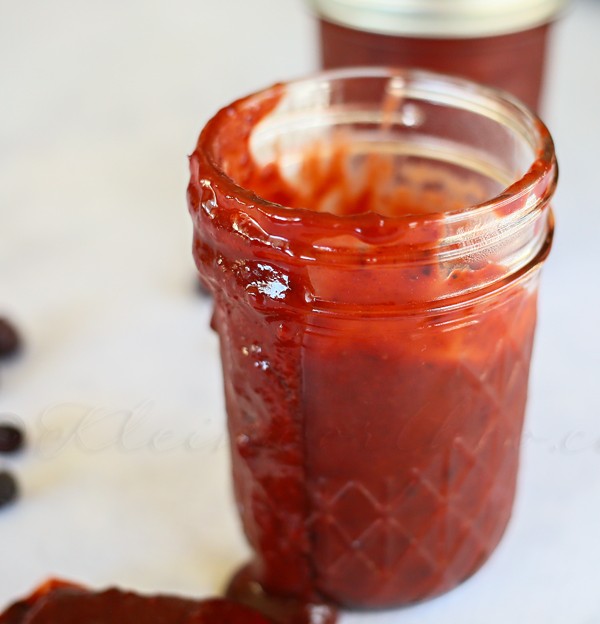
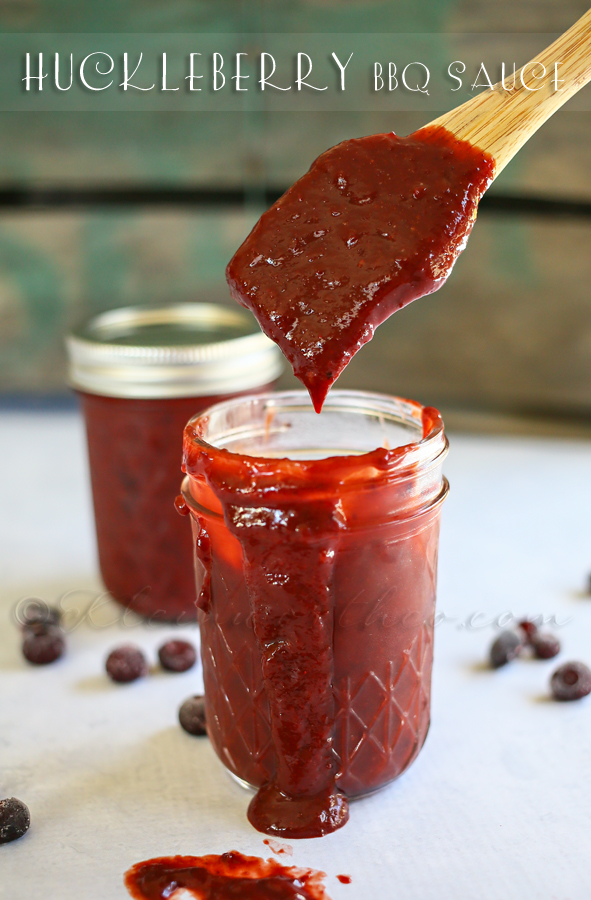
You know- this time of year we are grilling quite a bit. That means that we are going through quite a bit of sauces & dips for all that charbroiled goodness. Living here in North Idaho one of the things that you find a lot is huckleberry flavored things. They grow in abundance around these parts – however most people who pick them are very tight lipped about where they go. They have their favorite places & they don’t share that spot with anyone – except the bears. So I decided just to buy some- even though they are crazy expensive. One of the first things I decided to make with them was this Huckleberry BBQ Sauce. You see- homemade bbq sauce is just perfect for people like us who are grilling so often. I think I need to make this particular recipe in abundance & sock pile it in the freezer so we can have it all year long.
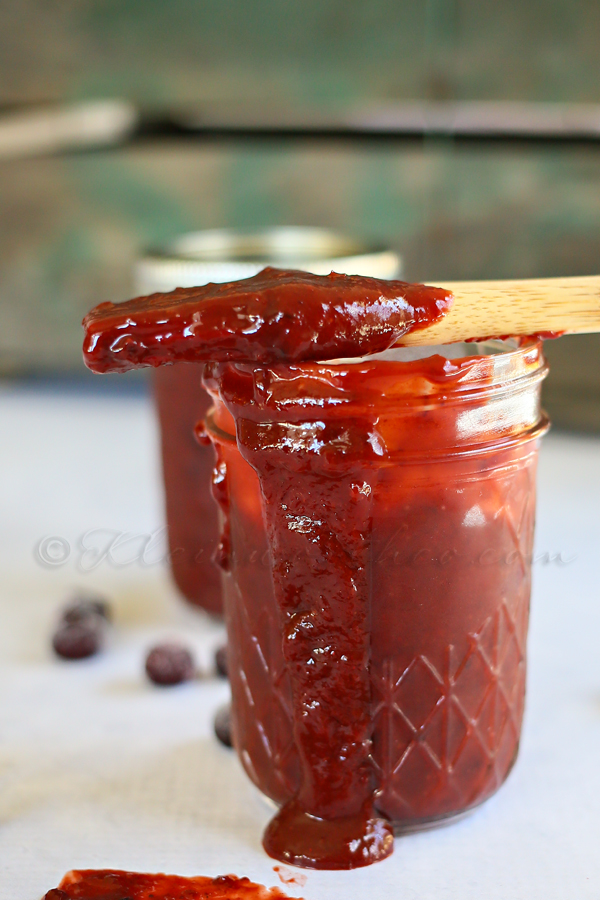
A little sweet with a tangy kick makes the perfect sauce for us. This batch won’t last long.
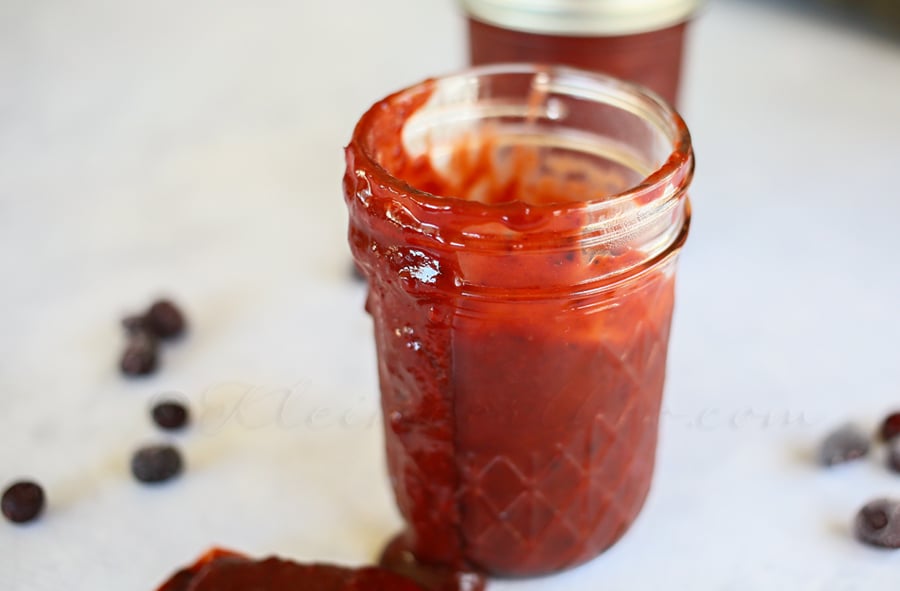
The best part is that it is so quick & easy to make- I may never buy sauce again.
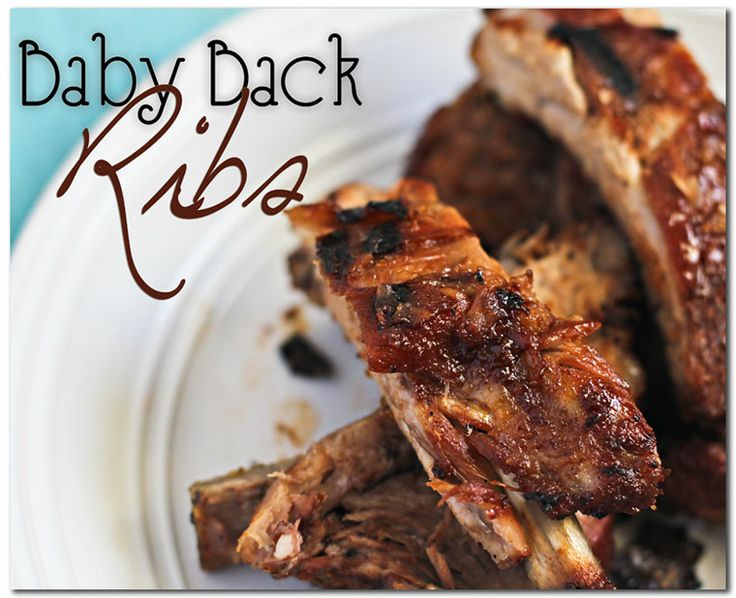
Try this sauce on these Baby Back Ribs!
Want more sauces, dips & spreads?
To see where I am linking today- visit HERE
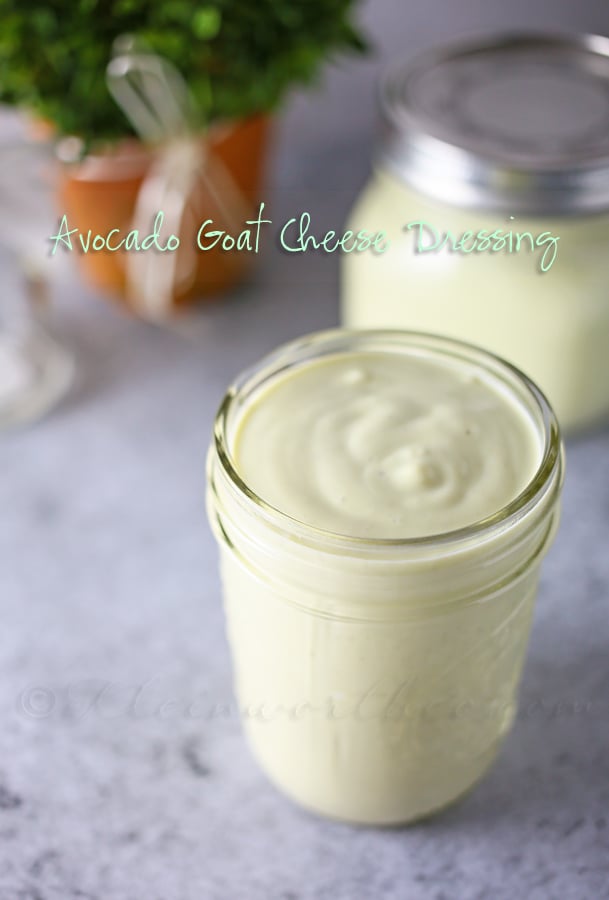
Do you like a little yumminess to drizzle on things? I like to keep it light & refreshing in the summer – which is why I came up with this Avocado Goat Cheese Dressing that I’m sure you will love. I originally shared this post on Or So She Says a while back & I have been so excited to finally share it with you here. This creamy avocado flavor with the crumbles of goat cheese makes this the perfect topping to so many things during the warm summer months.
What is it about summer that says AVOCADO?
I don’t know – but growing up in So Cal – they were always around & they remind me of home.
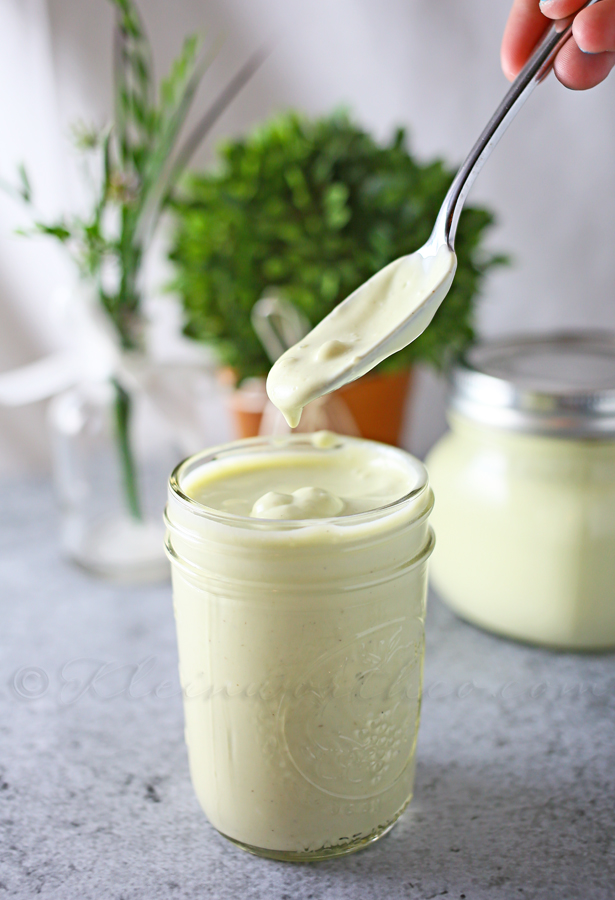
My older daughter can’t get enough salad & she sure loves having this to drizzle on top.
Want more great summer dips & spreads?

To see where I am linking today- visit HERE
[include id=”1″ title=”Footer Ad”]
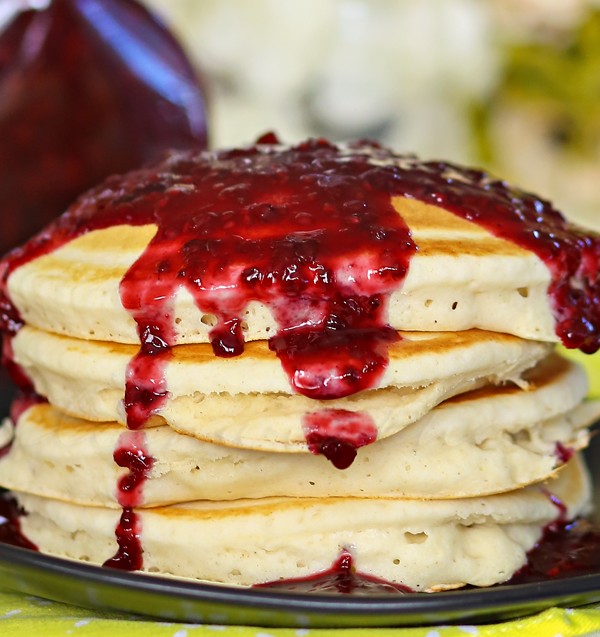
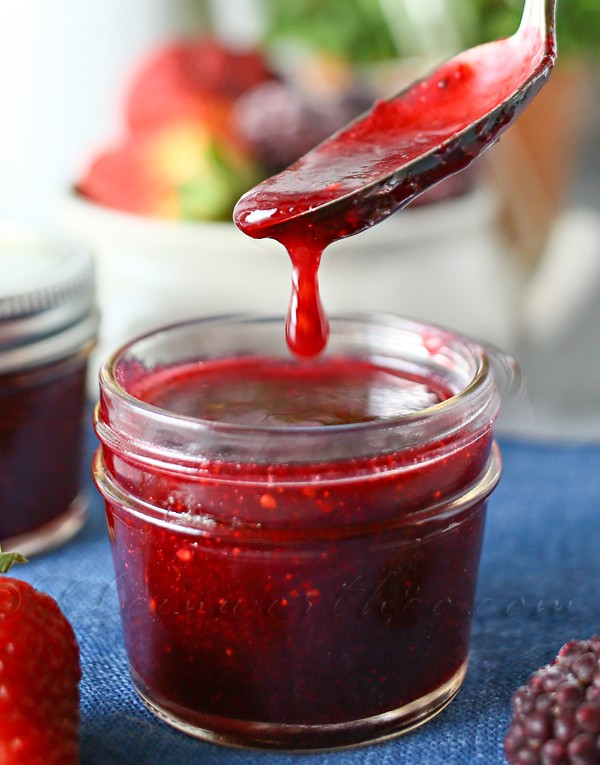
Oh you guys…..you know how I’m all about the toppings & dips?! I have said it before & I’ll say it again- more is more for me when it comes to desserts, treats & all things yummy. I like creating a masterpiece when it comes to what I put on my plate or in my bowl. You should see me when I go to the frozen yogurt place – so many choices & my bowl is overflowing with all the toppings. I typically go for the standard hot fudge, marshmallow cream or caramel when it comes to what I’m going to drizzle. Buuuut – then I had this craving for something berry. I couldn’t decide which berry I really wanted – so I came up with this Triple Berry Sauce that hit the spot perfectly.
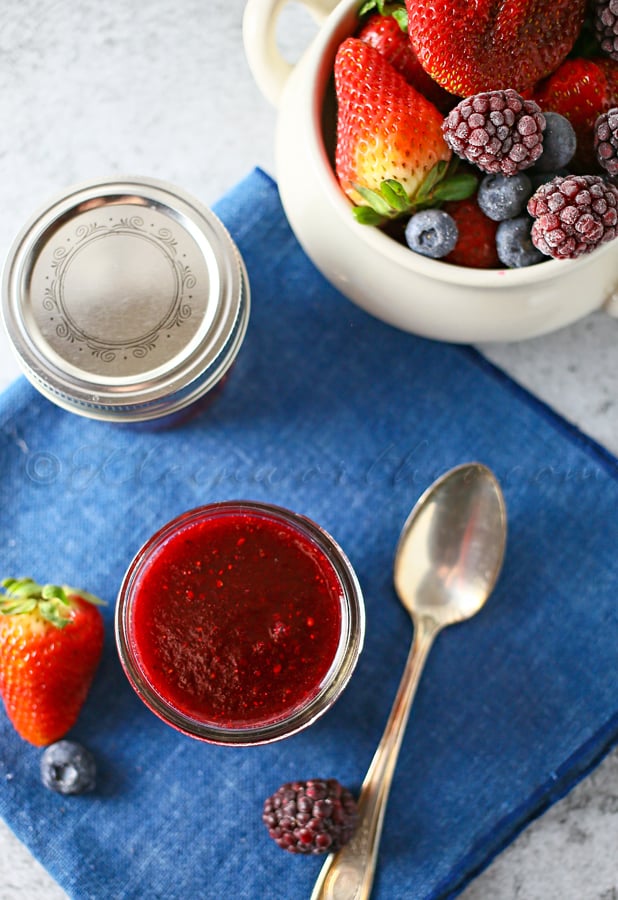
I put blueberries, blackberries & strawberries in there – YUM, YUM YUM!!
This works great for more than just a topping though. Add it to a smoothie, add it to your pancakes or waffles, dip something tasty in there. I’m telling ya’ – it’s all good.

Want some ideas for what to put it on? Try these!
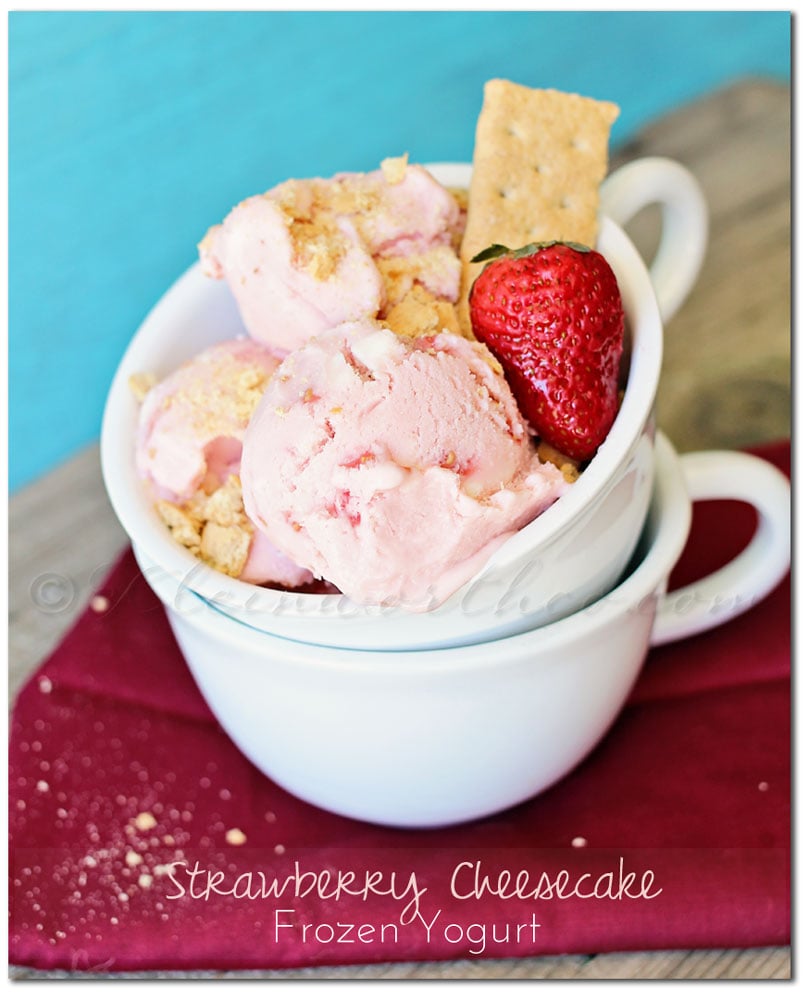
Strawberry Cheesecake Frozen Yogurt
To see where I am linking today- visit HERE
[include id=”1″ title=”Footer Ad”]
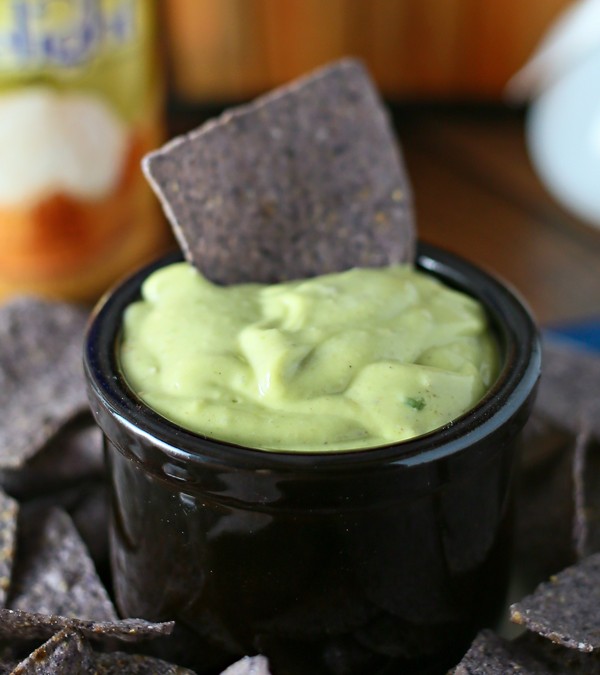
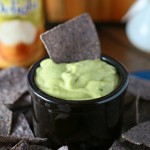
With the outdoor entertaining season here in full swing – I am channeling my inner Judy (my queen of all hostesses mother-in-law) & I’m whipping up some new easy recipes to add to the spread. You see- my mother-in-law was quite the recipe creator & when I get super creative in the kitchen I know that she’s right there along with me- giving me inspiration. She would have loved this Sweet Garlic Avocado Dip. It whips up so quickly that it makes for the perfect party side. Looking for Easy Family Dinner Ideas?
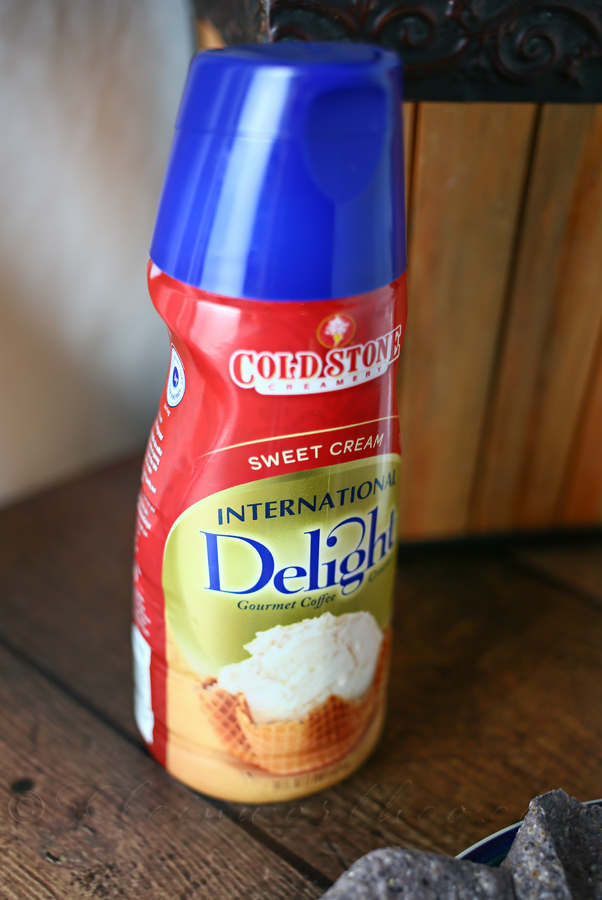
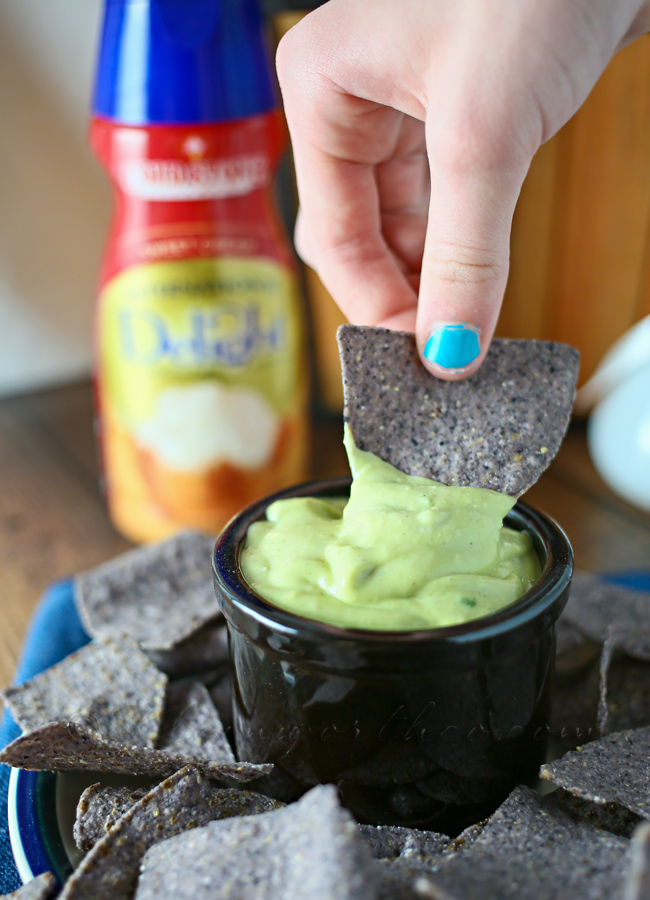
One key ingredient here is the International Delight Creamer in Sweet Cream. This is what gives it the sweet flavor to set it apart from your everyday avocado dip.
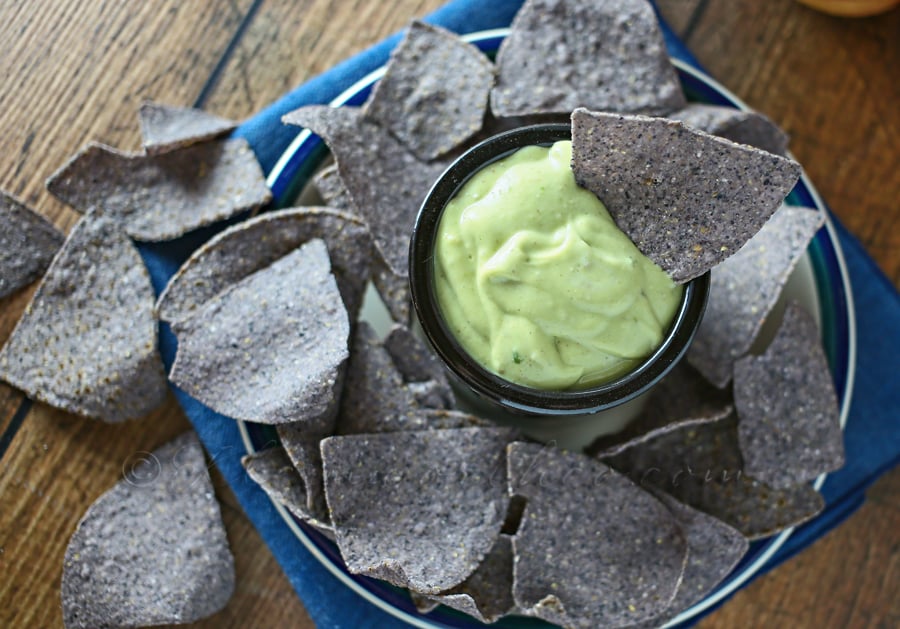
We first tested it with just some blue corn tortilla chips – since that is how we will most likely serve it when we are entertaining. But I will be sharing another great way we use this dip coming up soon.
Aside from eating & gathering together- let’s not forget to reflect & remember our troops this coming Memorial Day. I know that I will be remembering my grandfather & other family members who fought for this amazing country. We will also be saying thank you to my brothers who are serving right now.
Be sure to look for the new International Delight Logo when picking up your own favorite flavors!

I didn’t see them yet when buying mine last week – but I’m sure it will be in my stores here in Coeur d’Alene soon.
I would love it if you would connect with International Delight!! It’s easy!
Join the International delight Community at internationaldelight.com
Follow on Twitter @indelight & use #IDelight & don’t forget to connect on Facebook too.
They’re on Google+ & Instagram too!!
Find more International Delight on PINTEREST
Want more party food ideas?
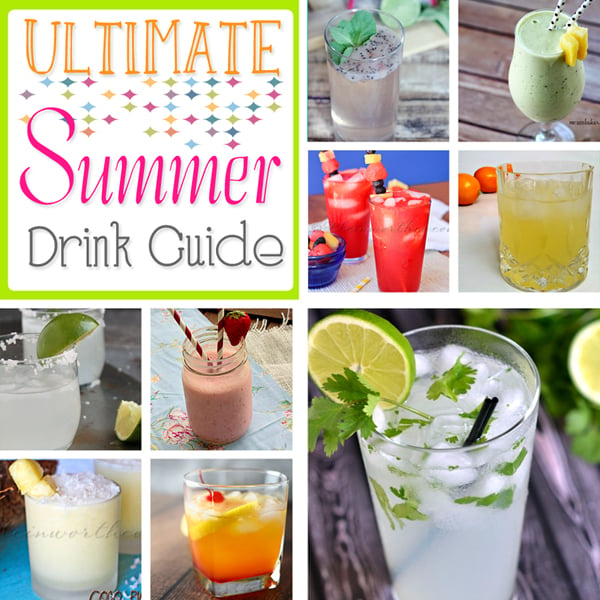
Ultimate Summer Drink Guide
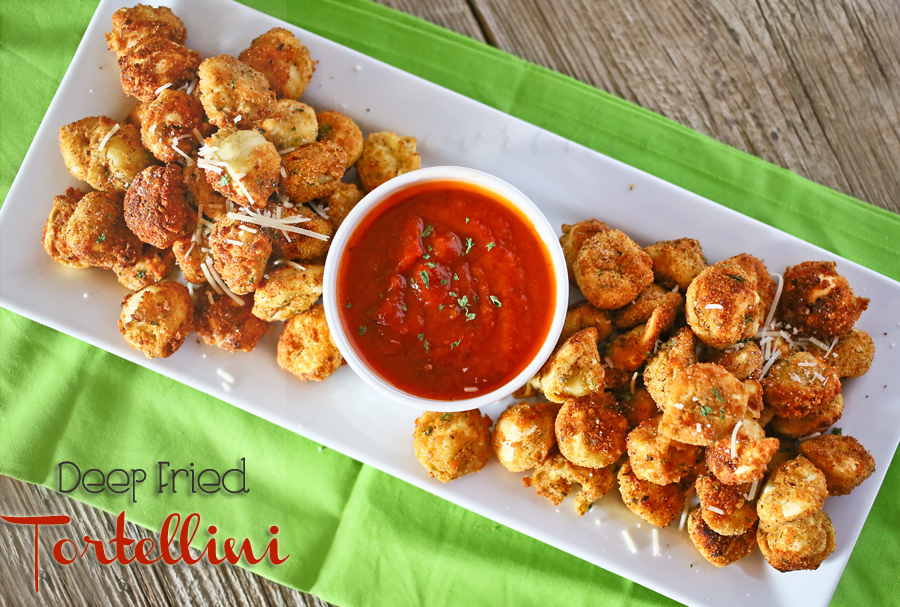
Deep Fried Tortellini
To see where I am linking today- visit HERE

[include id=”1″ title=”Footer Ad”]
This is a sponsored conversation written by me on behalf of International Delight. The opinions and text are all mine.
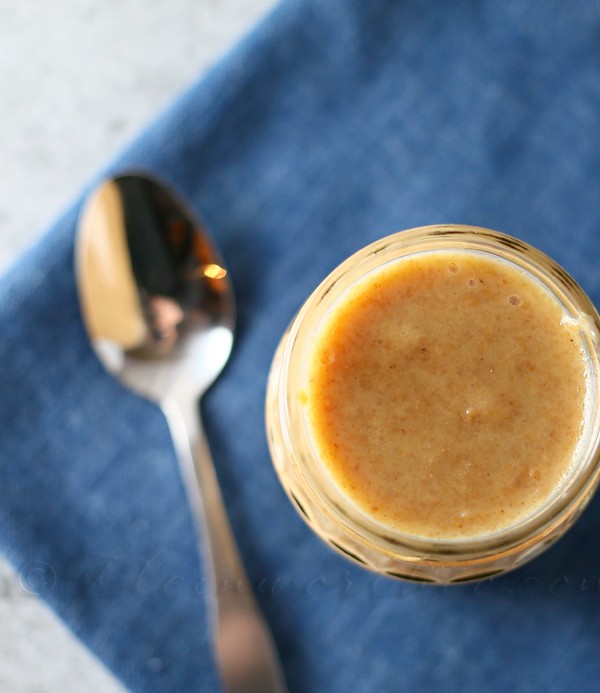
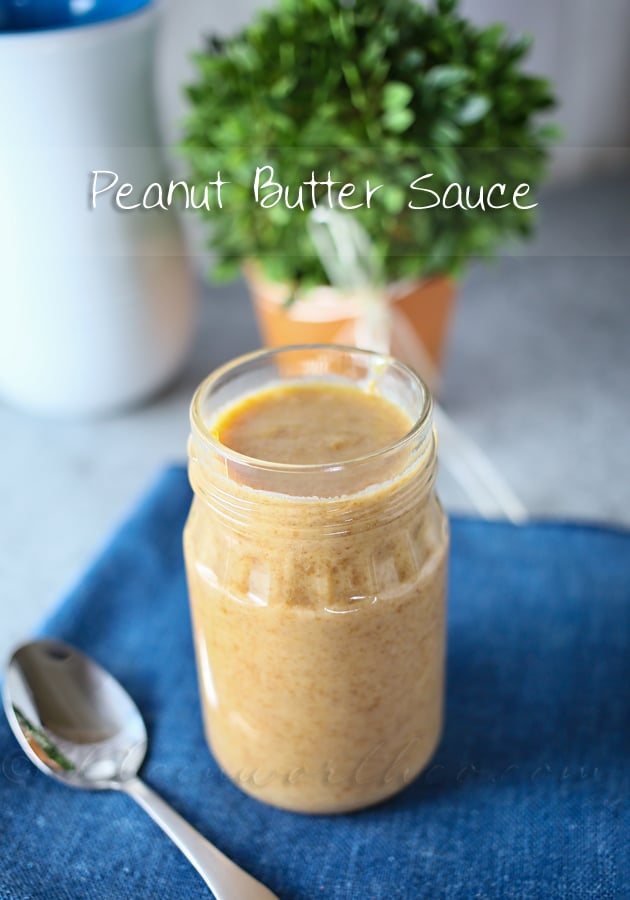
Okay – so while we were coming home from visiting our house over the weekend I convinced the hubs to stop at Dairy Queen. While I’m standing there choosing my sin of choice I notice this giant tub with the words “liquid peanut butter”. Oh – did you even know there was such a thing??!! It really got my gears turning. They wouldn’t tell me where they get it. I really don’t think they knew- it did have the Dairy Queen logo on it so it’s quite possible they create their own for their recipes. So I did what I usually do when I can’t find what I want- I made some. Yep – I made Peanut Butter Sauce which I would assume is as close to liquid peanut butter as I will get.
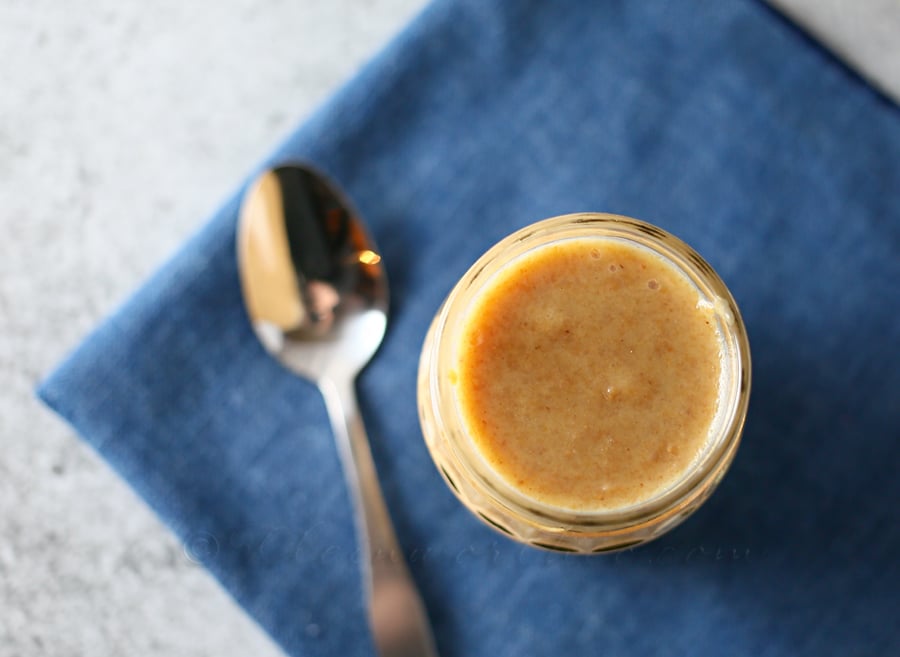
It’s SO GOOD on top of ice cream, in the morning oatmeal & so many other things.
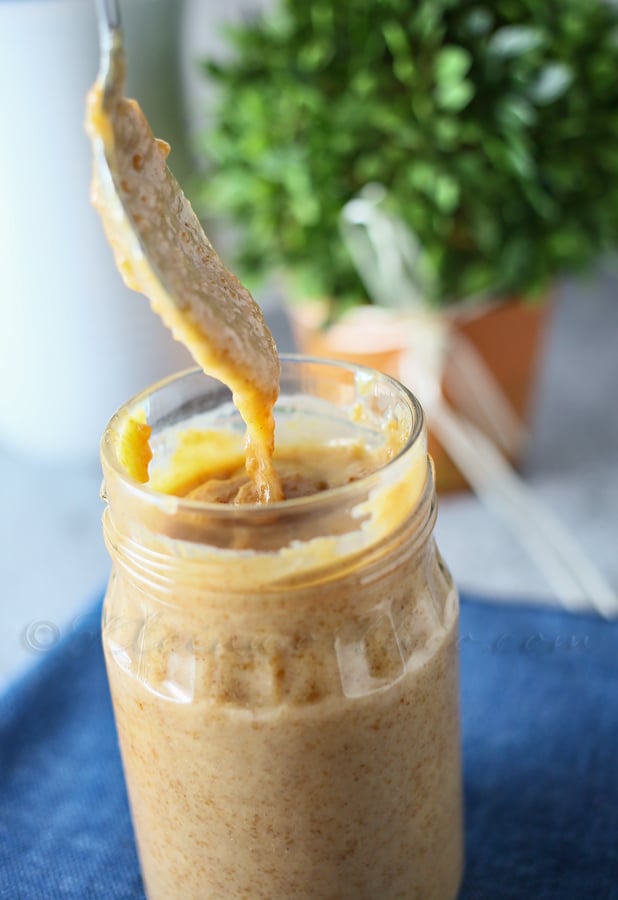
Imagine all the goodness of peanut butter all drizzled over your favorite treat.
Want more toppings?
To see where I am linking today- visit HERE
[include id=”1″ title=”Footer Ad”]
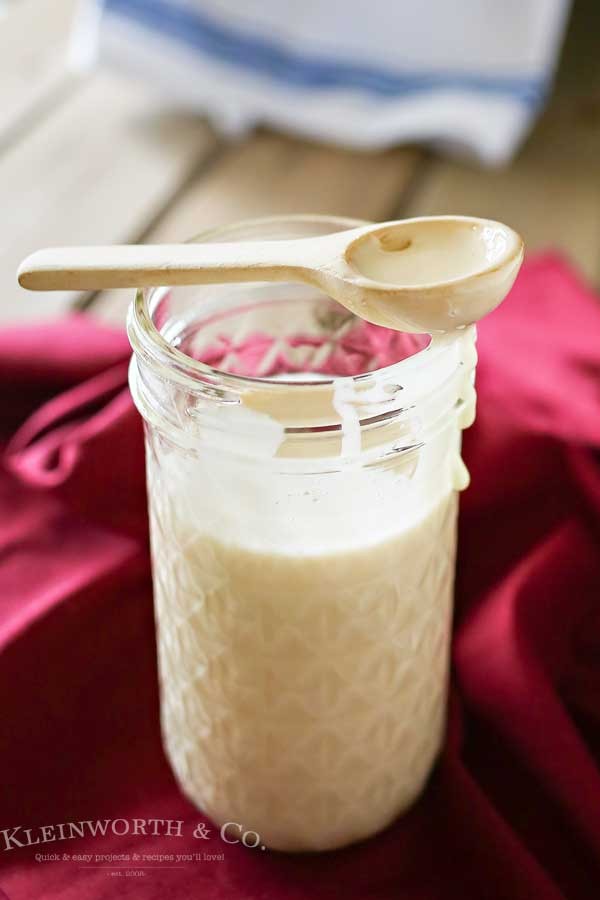
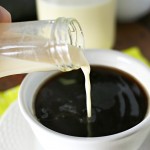
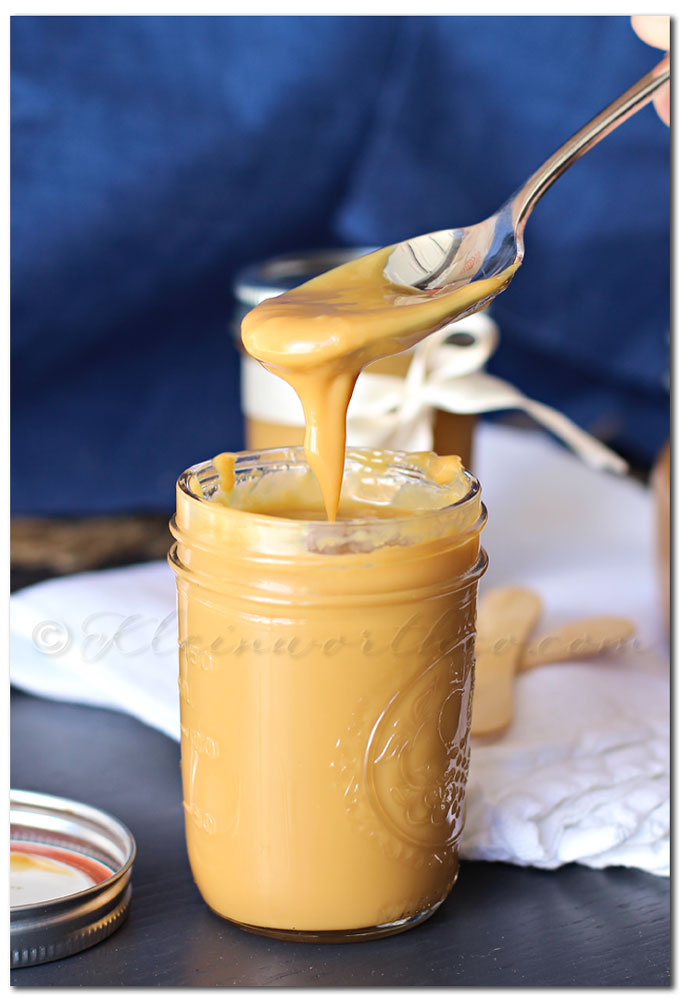
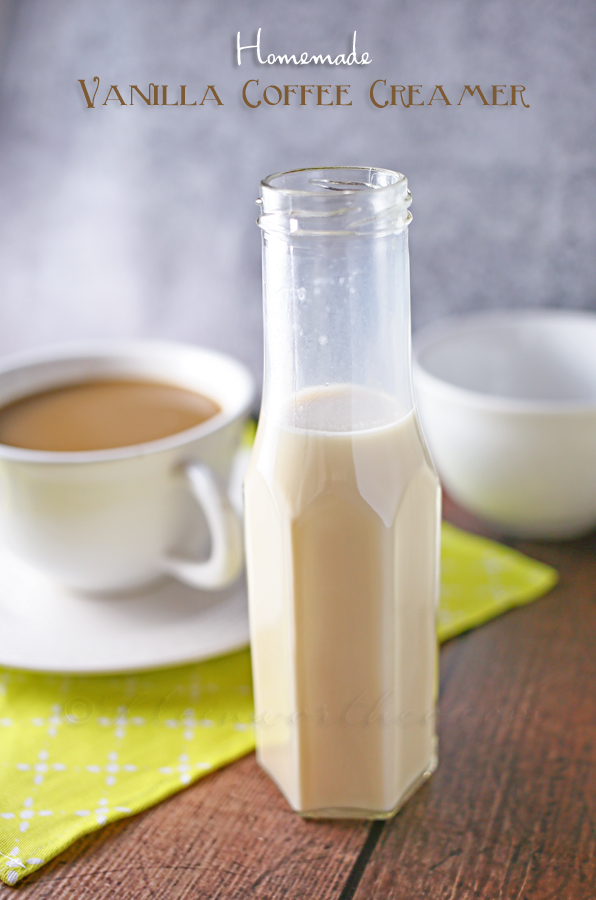
I mentioned a couple days ago that I am doing an experiment with my coffee. I want to see if replacing the things I normally add to my cup with homemade versions changes how I generally feel. I have already created Homemade Vanilla Coffee Syrup that I like to put in my coffee with a little half & half. But I also tried my hand at making Homemade Vanilla Coffee Creamer because the hubs really likes to have the flavored creamers. The cool thing is that I can make this as needed – no more buying in bulk & I think it tastes better than what we were originally using too.

It’s so simple to make. Just add the ingredients to a mason jar- give it a good shake & done. I think it’s easier to pour from a smaller bottle, so I transferred a portion to these sauce bottles.
Want more HOMEMADE versions of your favorites?
To see where I am linking today- visit HERE
[include id=”1″ title=”Footer Ad”]
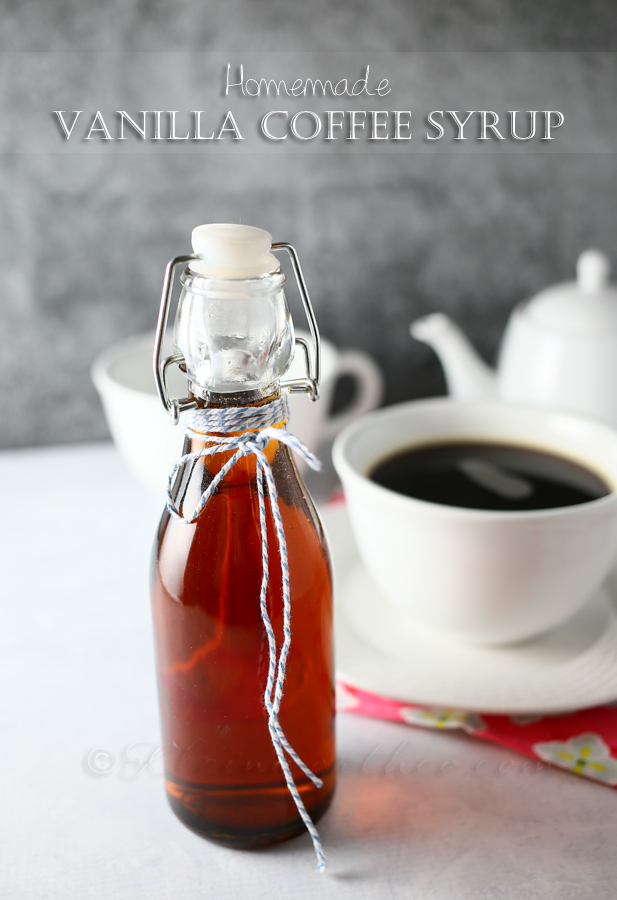
I think it’s fair to say that I have a pretty strong love affair with my coffee. I start my day with my 28 ounce mug filled to the brim. Everyone in the house knows that it’s best to talk to me after I have made it at least half way through that mug of jo. I love my morning coffee so much that when I am planning a trip- one of the things I research is how close the nearest coffee shop is to where I’m staying. Yep – it has to be a good STRONG cup with rich, bold flavor. I can’t live without my coffee. So you can imagine how bummed out I was when I started researching the ingredients in the things I add to my coffee. Yeah- a whole lot of things I can’t pronounce. That can’t be good. Plus I think those additives are making me feel not quite right. I don’t know for sure though & there was only one way to find out – but I wasn’t going to give up my coffee to do it. So I decided to do a little experiment & change what I’m adding to my cup. I started with this Homemade Vanilla Coffee Syrup.
It adds just what I like- along with a little splash of half & half. YUM! I’m going to give it about a month & see how I feel. See if I notice any changes in my skin or weight or just overall energy. I’ll keep you posted. In the meantime – I’m just enjoying the flavor of this in my cup. I think you will too.
Want more coffee recipes?
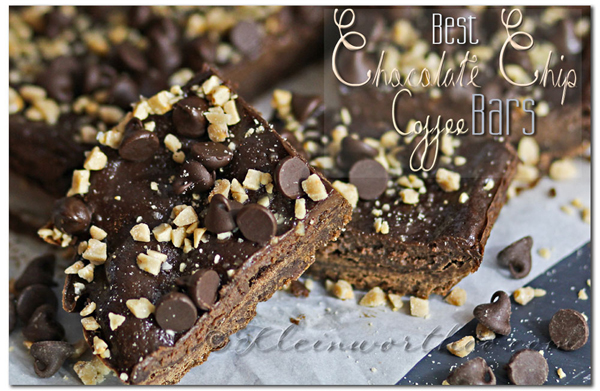
Best Chocolate Chip Coffee Bars
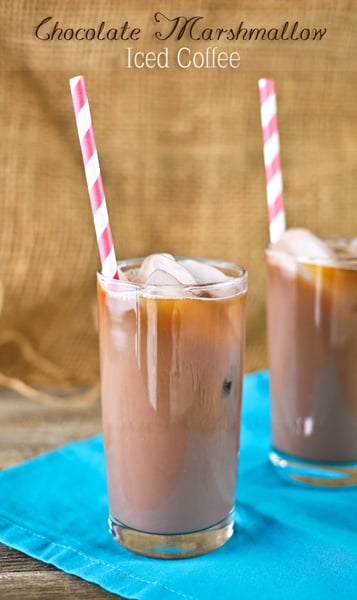
Chocolate Marshmallow Iced Coffee
To see where I am linking today- visit HERE
[include id=”1″ title=”Footer Ad”]