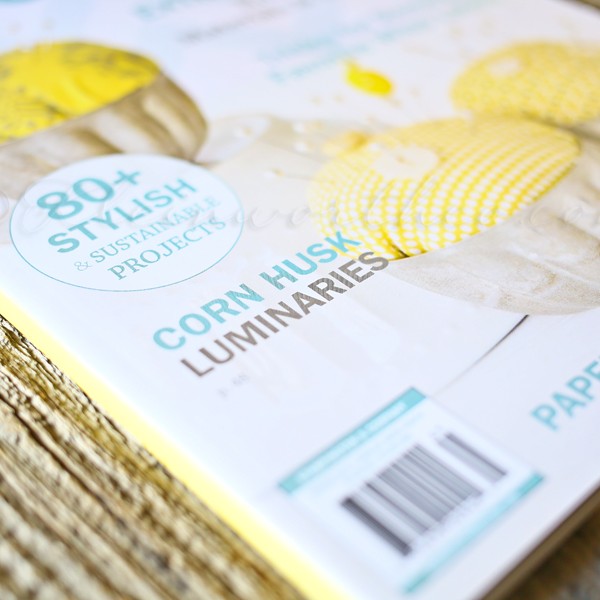
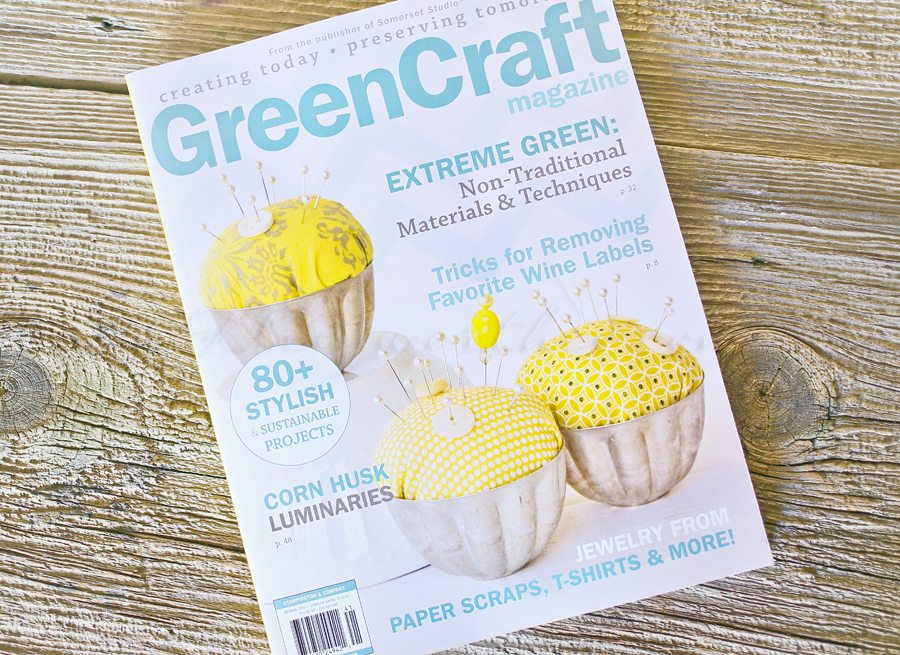
This is a beautifully handmade Frayed Corn Husk Wreath that is the perfect addition to your home this fall. It will last for years to come.
Wreaths are a great way to add some extra warmth and charm to your front porch for the fall. This tutorial will show you how to make a wreath out of frayed corn husks, which is a fun, rustic alternative to traditional wreaths.
You’ll need just a few materials, and it’s easy enough that even beginners can do it! So go ahead and give it a try. Your friends and neighbors will be impressed.
PIN THIS TO SAVE FOR LATER

I seriously LOVE THE FALL. I love the weather, the colors & decorating for fall. One thing I try to do every year is make a new Corn Husk Wreath.
Something about the warm, earthy tones of the husks just screams fall decorating to me. This time I decided to play with the colors just a little & soak some in some navy blue fabric dye. It tinted them quite nicely & did exactly what I was hoping. I love the faded blue with the wheat-like tones.
Wreaths for Fall

Now for the moment, I’m showing this to you decorated on the front door. I think with its size I will actually be hanging it above the mantle.
But I wasn’t quite ready to completely decorate the mantle for fall. I’m still working on several things before that can happen. Soooooo- I hung it on the front door for photo purposes. I have some playing yet to do- so we will see where this ends up for the season.
This post contains some affiliate links. Click here to read my full disclosure policy.

I used a large wire wreath form I picked up at Michael’s. I won $100 gift card for them. You may remember me posting an image on Instagram of the creepy witch.
That was the day I went to spend my gift card. I have to say, I was so good. I actually- with tax came in at $100.19. Pretty good huh??!!!
I was very mindful about what I put in my cart & thought about just how I would use each thing. I had so much fun & really stocked my craft cabinet with all sorts of project staples that will last me through the season.

Here are some commonly asked questions
Where can I find corn husks?
Corn husks can be found in the international food section of the grocery store. I haven’t bought any in a while, but I used to be able to get a decently large bag for around $2-5. Now they run about $8 a bag – but you might be able to find them at the dollar store for so much less. You will need at least 2-3 bags to make this wreath, depending on how full you want the end result to be.
NOTE: TIE THE HUSKS AS TIGHT AS YOU CAN – THEY WILL SHRINK AS THEY DRY. If they are not secured really tightly they will eventually fall out of the twine.

SUPPLY LIST
How to hang the wreath
If you are using the wire form linked here, it should slide right onto a hook or nail to hang it up. If you choose another wreath form that doesn’t fit nicely onto a hook or nail – you can use the twine to tie a loop onto the back of the form to make it easier to hang the wreath.

How to Prepare the Corn Husks for Crafting
- Start with a large bowl and fill it with water.
- Add a few drops of the dye to the water and stir to disburse throughout.
- Place 1/3 of the husks in the tinted water and place something heavy on top of them to weigh them down. They will want to float.
- Let them sit in the dye for several hours, possibly overnight, or until they reach the desired color you are after.
- Once they have absorbed the dye, remove them and pat them dry with paper towels – taking care to not let any of the dye drip onto other things or your clothes.
- Then soak the natural husks in a fresh bowl of clean water following the same procedure you did to keep them weighted down. The water will soften the husks and make them pliable and easier to work with.
- Once soft, remove from the water and pat any excess moisture off with paper towels.
How to Make a Corn Husk Wreath
- Working with 3 at a time- (1 blue in-between 2 natural husks) bunch them at one end.
- Then take a piece of twine & tie them to the inside wires of the 4 wire wreath form.
- Then repeat the process but attach the bundle to the outer wires.
- Once tied on- gently tear the ends of the husks into strips to fray them.
- Repeat steps 8-11 making sure to overlap the bundles of husks to make the wreath as thin or full as you desire.
- Once you have assembled the entire wreath, place it in a warm spot to allow the husks to dry completely. Be sure to lay it flat to dry as they tend to sag as they dry if you try to dry it while hanging. The ends will curl a bit as they dry too – which is really pretty!
If you love this easy-to-make wreath, youโre going to love these other crafts too. Check out the other fun ideas below!


Metallic Glam Halloween Porch Decor


CONNECT WITH YUMMI HAUS!
Be sure to follow me on my social media, so you never miss a post!


What’s on the menu this coming Game Day??


The crust was so buttery & flavorful.
Oh yes- it was ooooey, gooey goodness all over the place.


Even though we decorated our book covers- I would have loved having the ability to print off some cute little labels to make my covers more personal yet stylish. If my kids were going back to school they would definitely be using these.


This was 3 tbsp Mod Podge Extreme Glitter & a couple drops of green & blue gloss paint.


I will be sharing my recipe for this mocha ice cream soon- stay tuned.


The kids are loving it & asking when I will make more.


There is this banner- I think I will be using this on her cake.


Settings for a DSLR should be set to Manual ISO 100 f/3.5-5 depending on how many people you have in your shot. SS 10-30 seconds.
I found that using a flashlight with a click button on/off worked well. That way we could control when the light was on. You could use glow sticks if you like- but you will have to have the kids move them to behind their back’s when they are done drawing.
I had my son stand in front of me with the lights on- I took a single test shot to make sure I was in focus- you will need to manually focus. You may need a couple test shots for this. Once you get your focus- don’t move your tripod & try to have the kids keep their feet in one place even though their arms will be moving . This is part of the fun to see who can do all these crazy things with their hands while keeping their feet in one place.
It’s super fun to see how creative they get with the things they want to draw. We had shapes & then he tried to write messages.
Have fun- as far as processing, not much needs to be done to images like these.


Then I just painted the edges, added some lace around the edge of the image & nailed in some more lace on the back for the hanger.