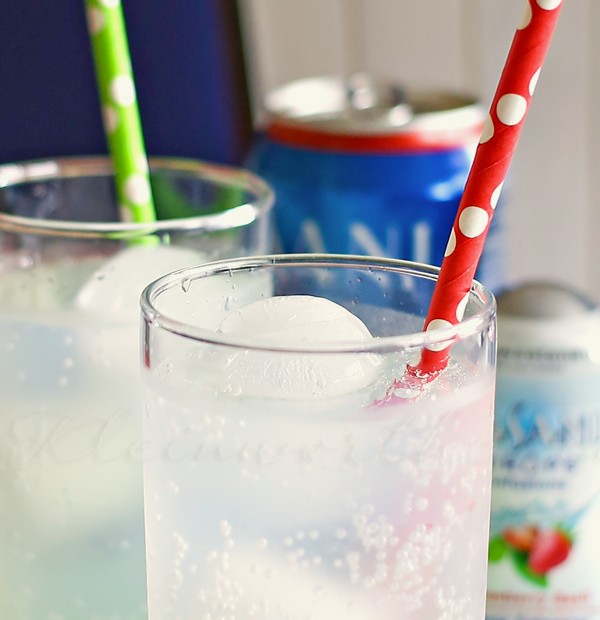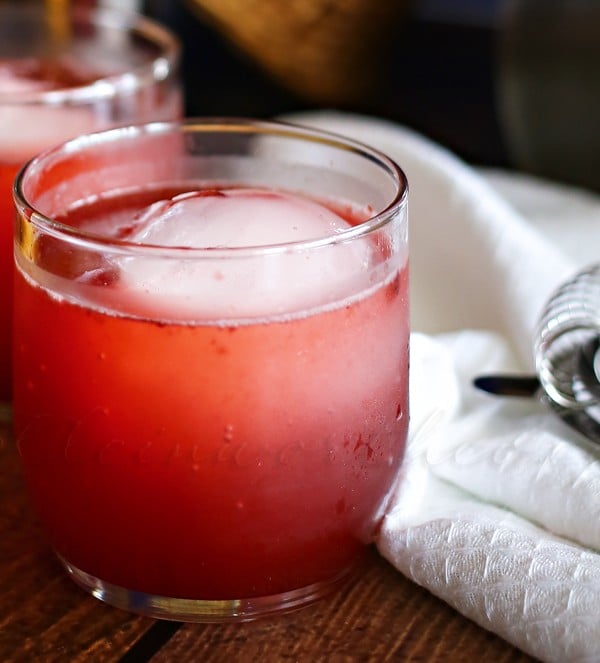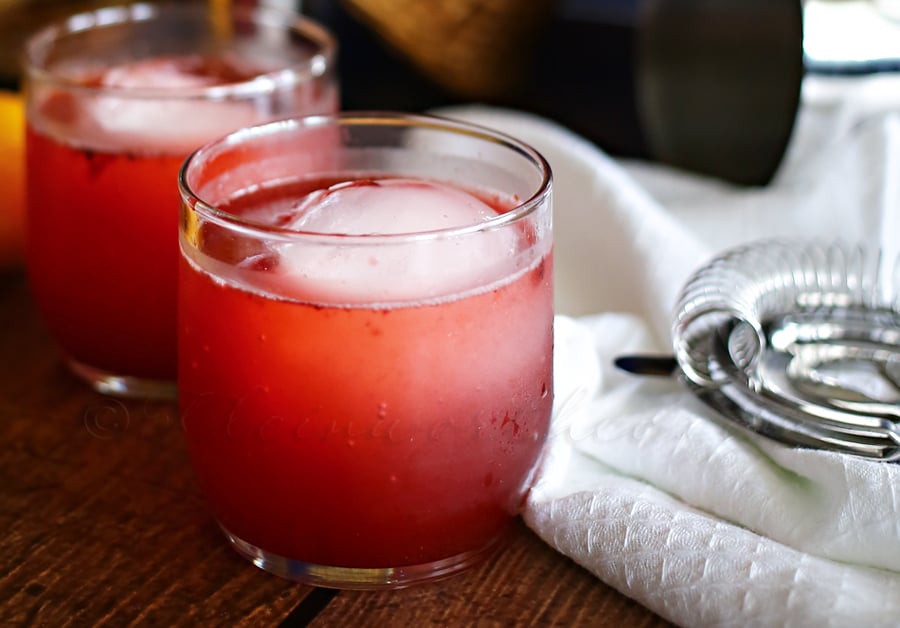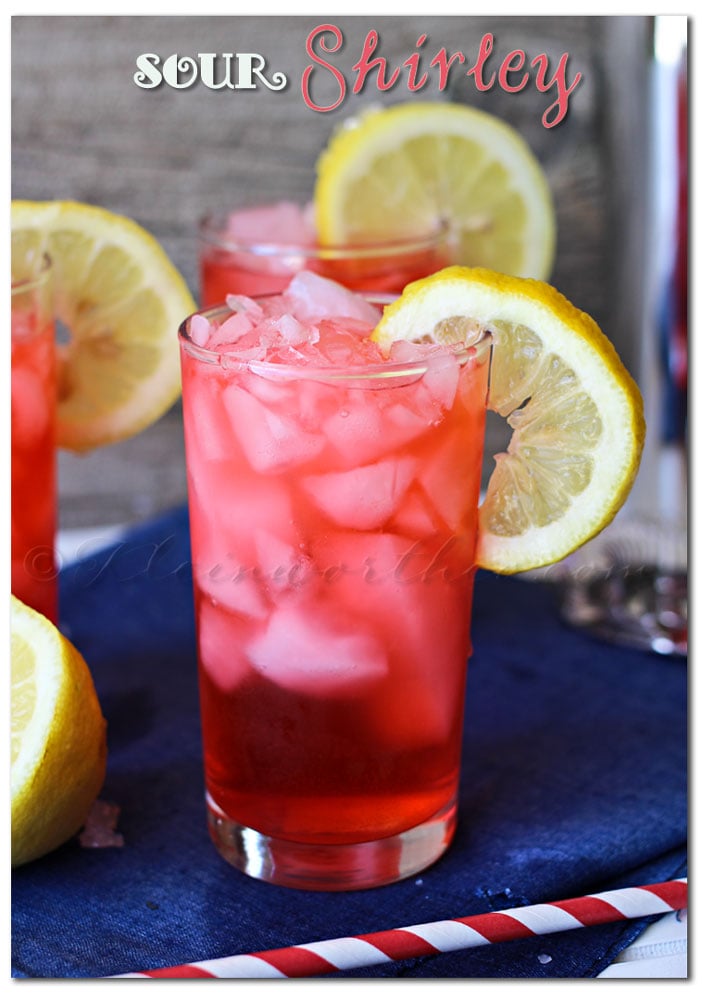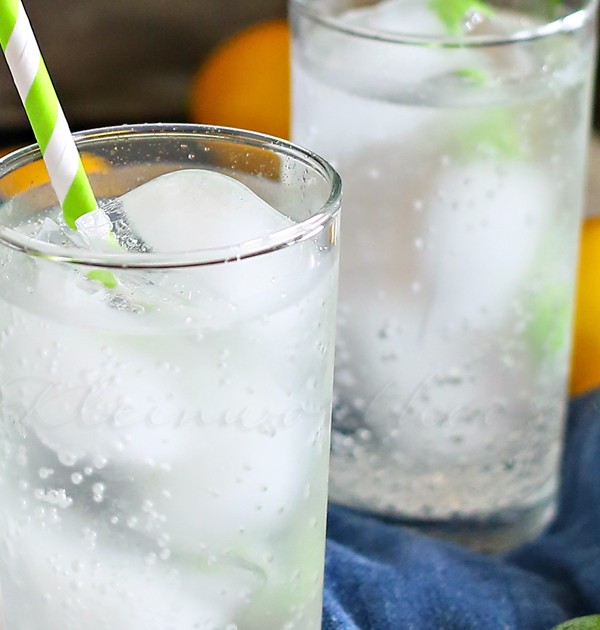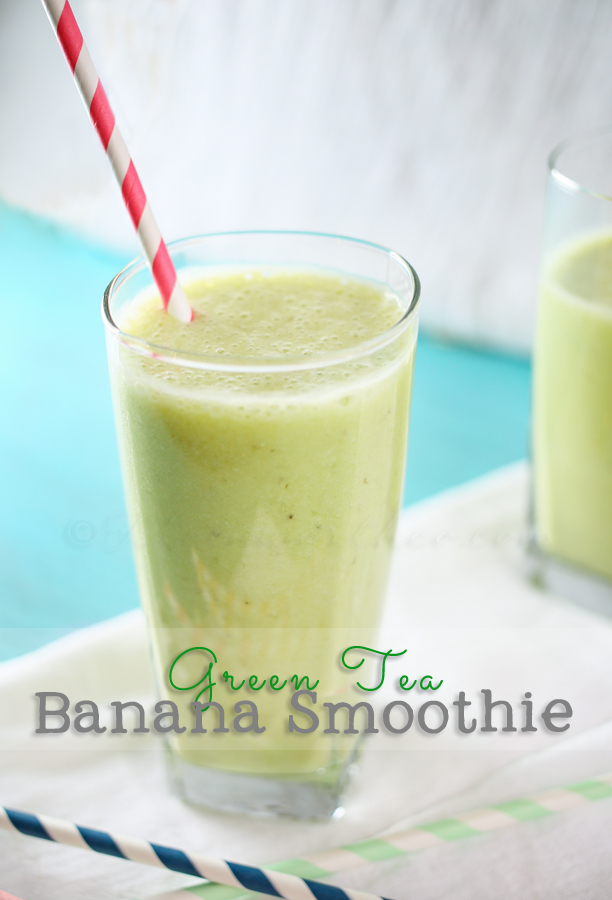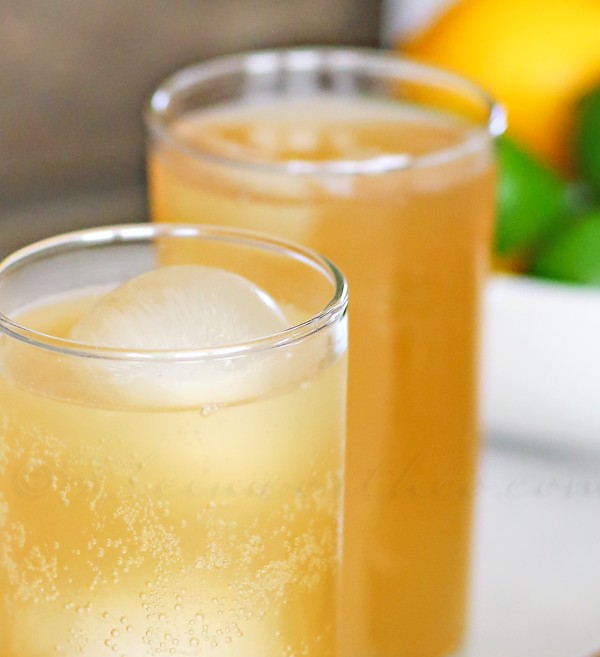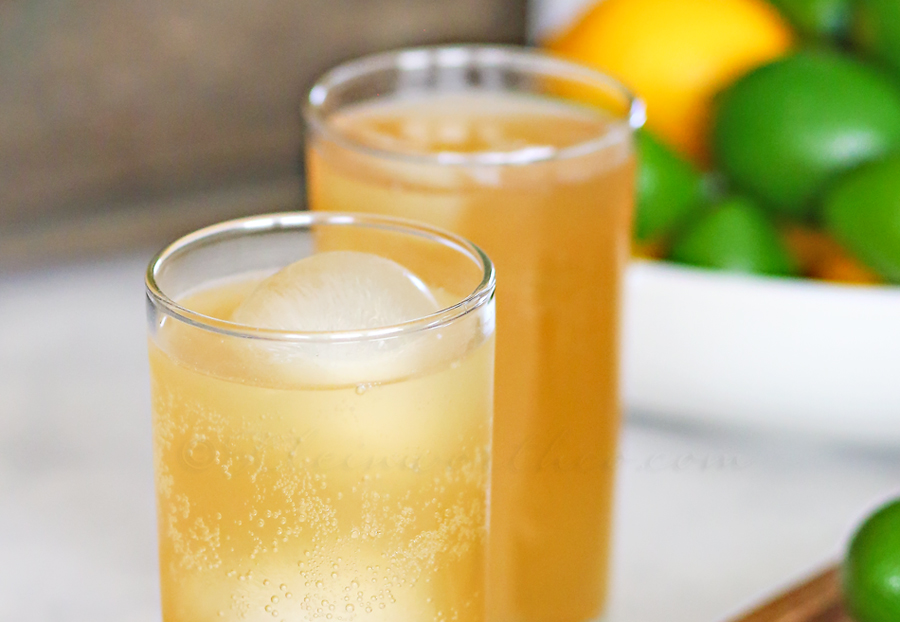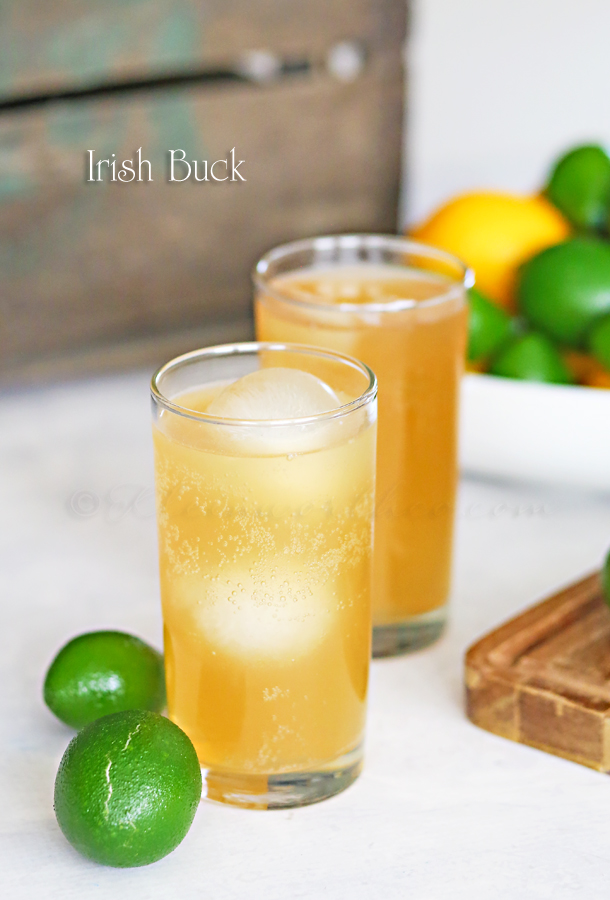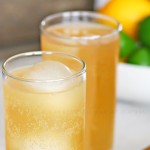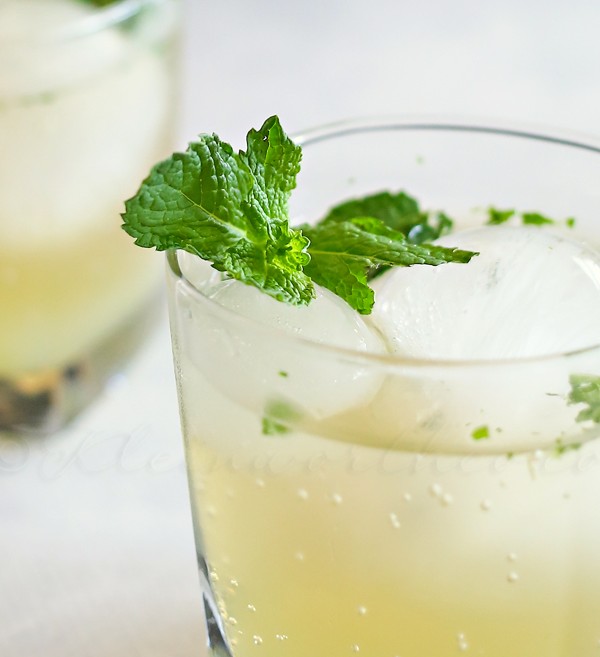
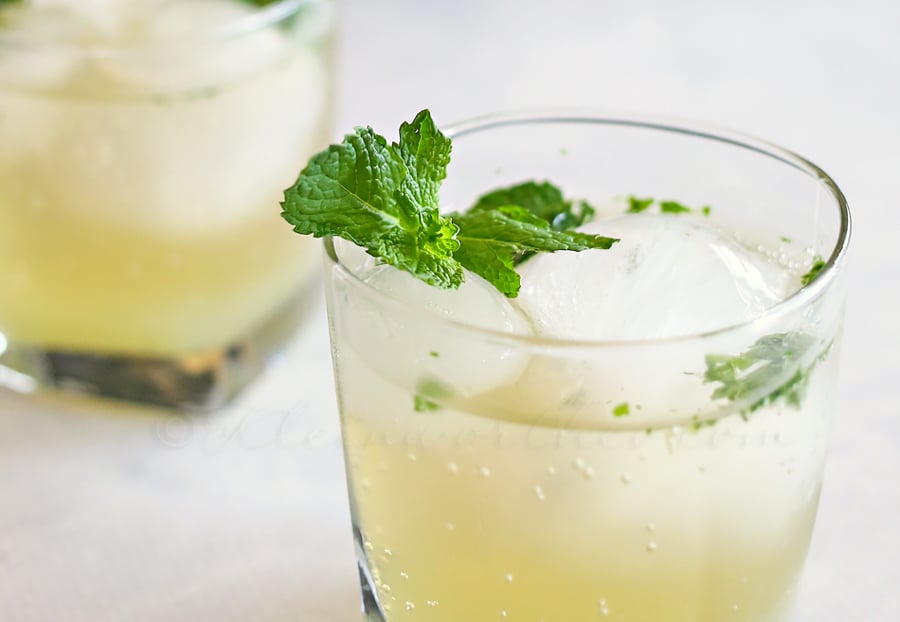
Today Mocktail Monday brings you this easy non-alcoholic version of your favorite Mint Julep cocktail. I’m doing my best to whittle down all the fabulous cocktail recipes out there & working on mocktail versions of them to share here. The hub’s old bartender recipe box is enough to keep me busy that’s for sure. But given the spring like temps & my mind is already in summer mode – I had to make this Mint Julep Mocktail for you all. It will certainly keep you cool & refreshed through the hot months. I’m so drawn to that gorgeous color, the crisp hint of mint & the fact that it’s a mocktail means I can not only have it any time of day – but I can also share with the kiddos if I so choose. Let me show you just how easy it is to make.
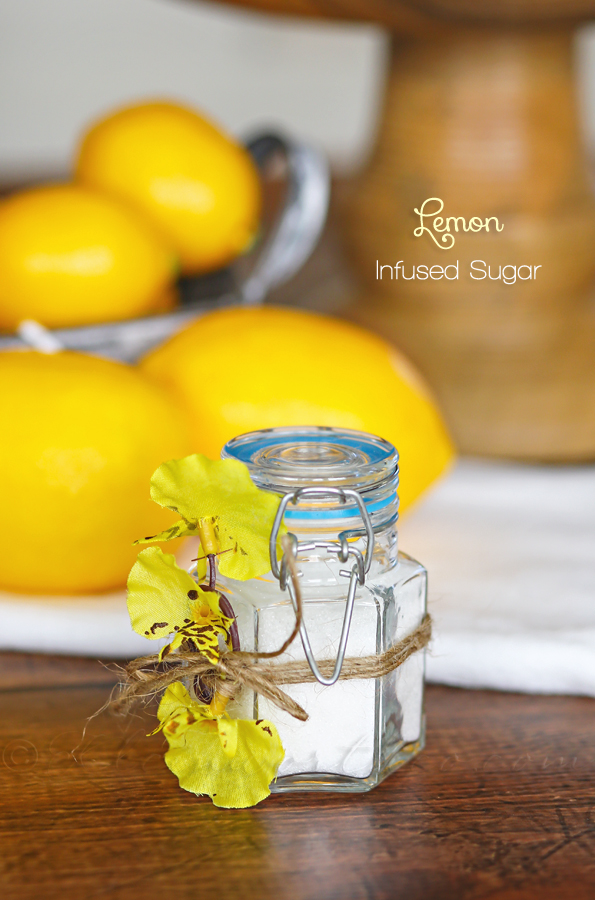
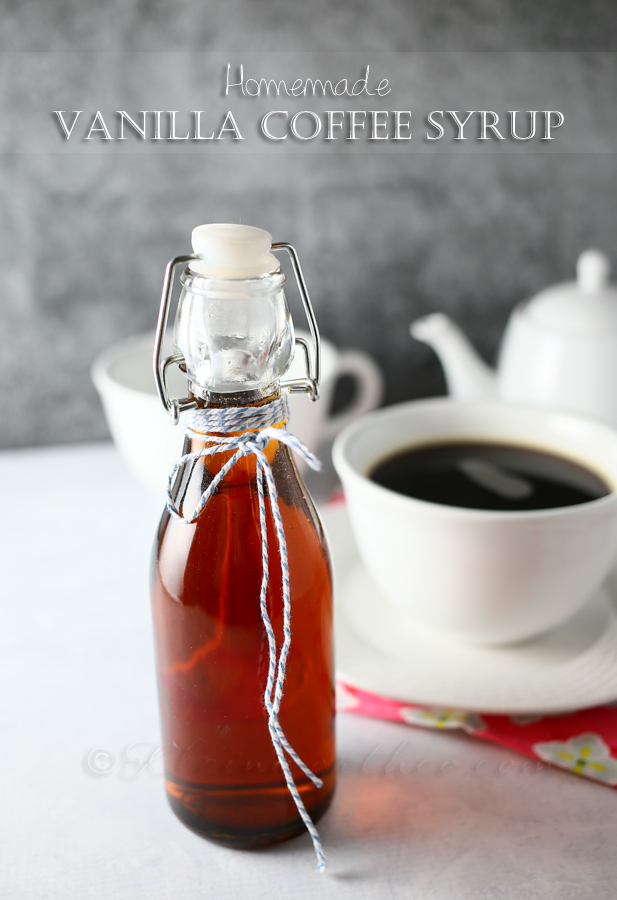
Now – I always keep a jar of my simple lemon syrup on hand in the fridge for those moments when I just need a hint of sweet lemon flavor added to my recipes. I strongly encourage you to do the same. It’s great with so many things.
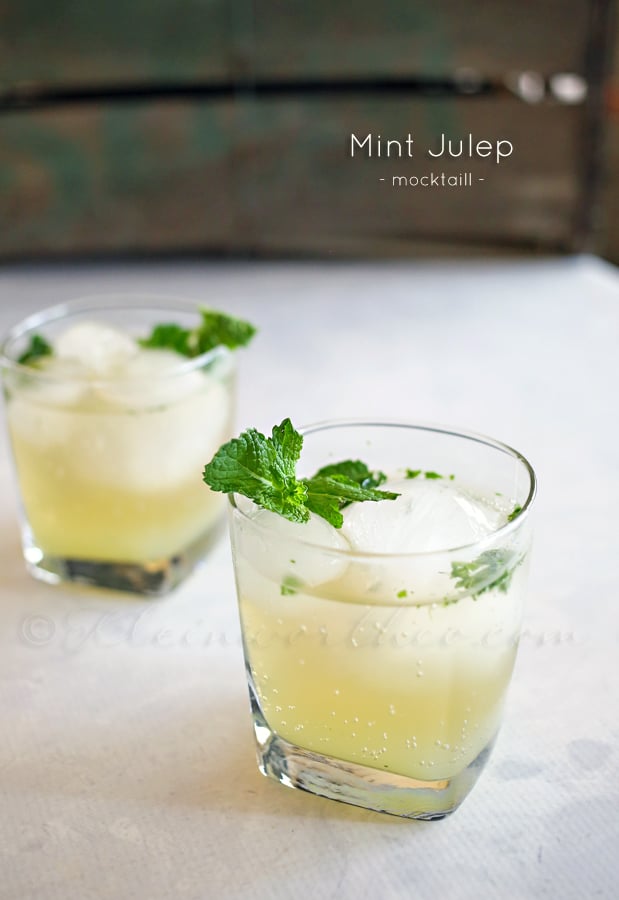
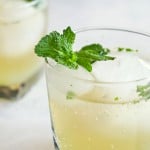
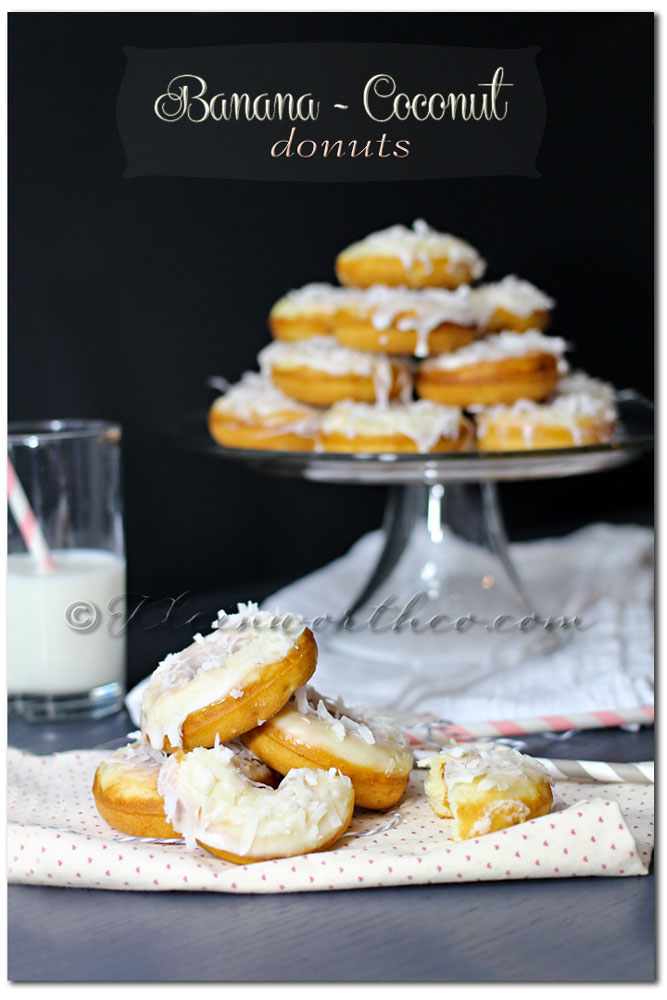
Mint Julep Mocktail : Mocktail Monday
Ingredients
- *Makes 2 low ball glasses
- 2 ounces simple syrup
- 1 ounce lemon juice (or you can make my Simple Lemon Syrup
- 2 sprigs fresh mint + more for garnish
- 8 ounces ginger ale
Instructions
- Pour lemon simple syrup (or lemon juice & simple syrup) in a small glass with the mint sprigs & muddle well
- Refrigerate this muddled mint mixture for 30-60 minutes to infuse the mint flavor into the syrup
- Fill low ball glass with ice
- Pour 1.5 ounces of your mint/lemon mixture into each glass
- Top with ginger ale to fill
- Garnish with additional mint
- *Note- you can strain out the larger pieces of mint when pouring into your glasses - I liked the tiny pieces of green color in my drink - so I wasn't too careful about getting it all out.
You will want this by your side as the temps climb!
What’s your favorite way to cool off?
Did you catch some of the other moctail recipes we are doing here for Mocktail Monday?
To see where I am linking today- visit HERE