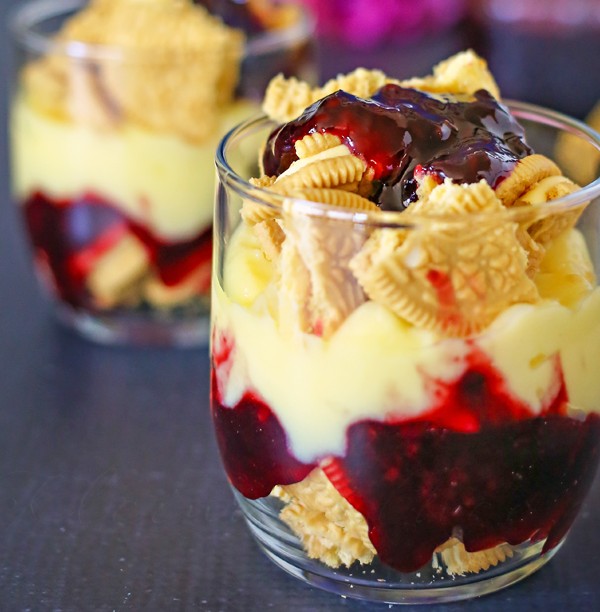
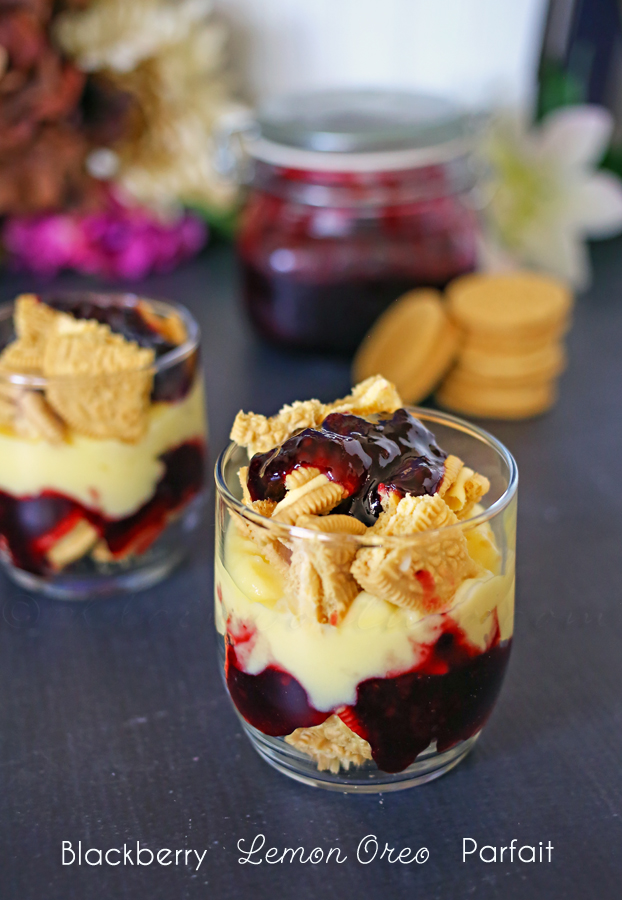
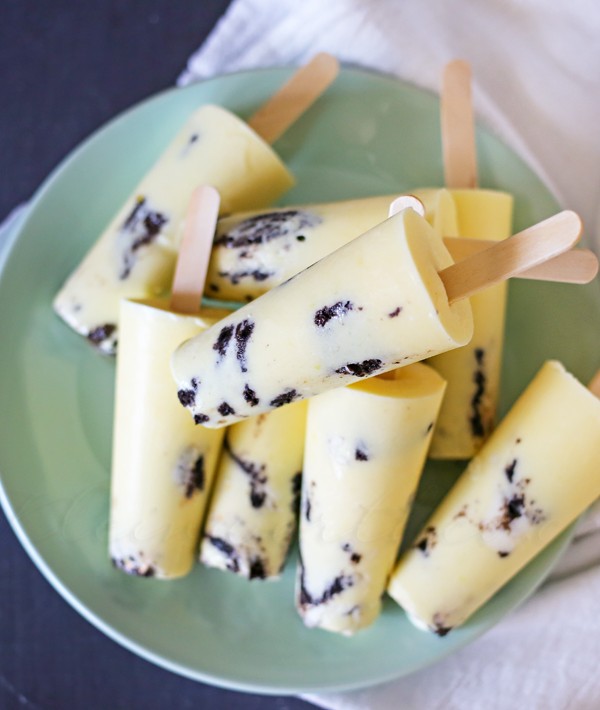
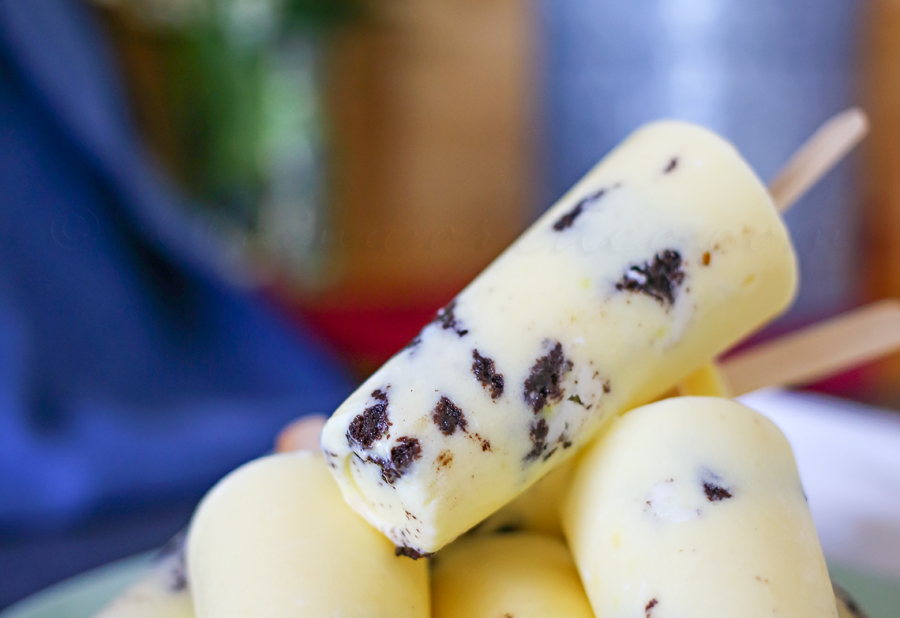
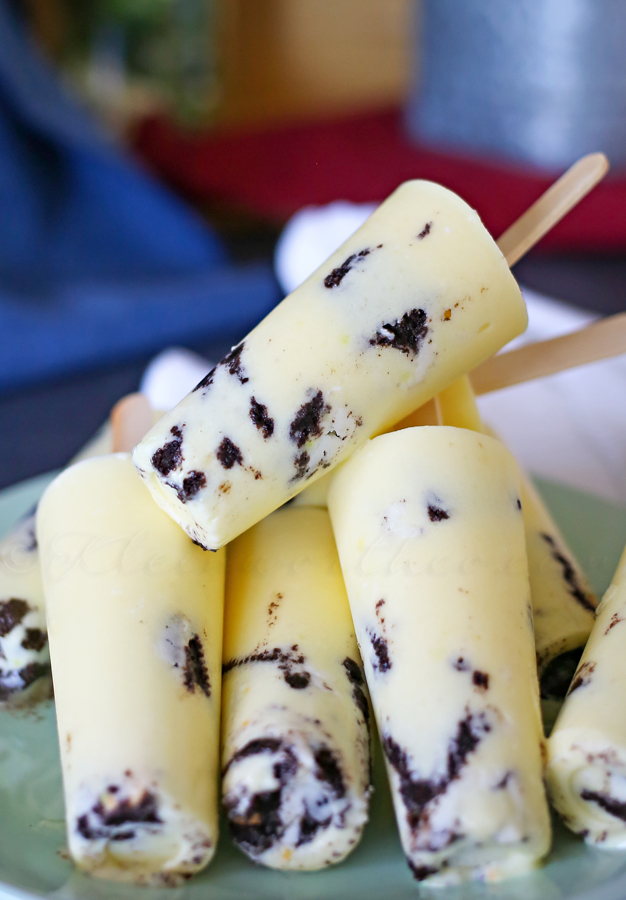
I love a simple dessert recipe! This Blackberry Lemon Oreo Parfait – is the perfect easy dessert recipe to brings the big smiles. Just 3 ingredients & a couple minutes is all it takes.
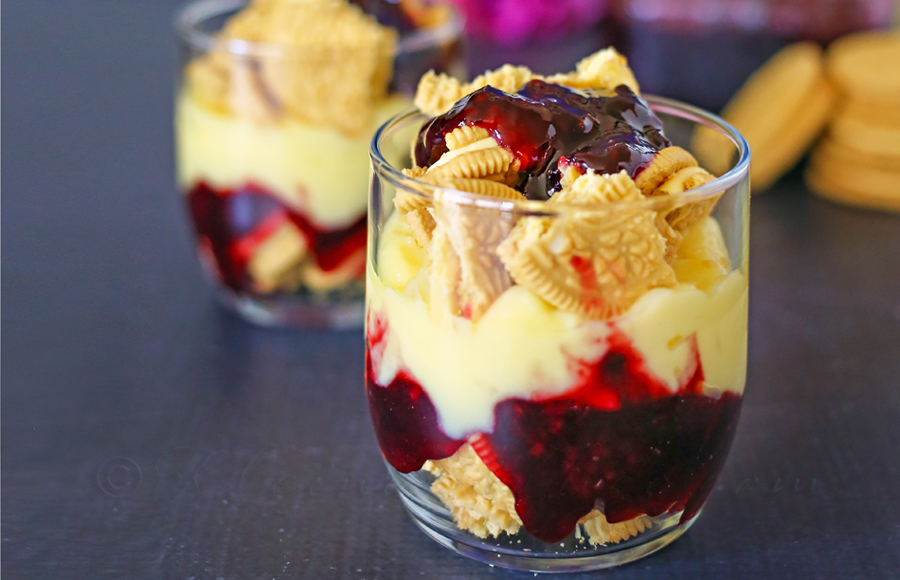
My family loves blackberry jam. Like- can’t get enough LOVE it! So I’m always getting ideas from them on what we should use it on. It’s not good enough with breakfast. They want it at lunch & dessert too. If they could find a way to add it to dinner, I’m sure that would be happening. So when they came up with this idea to use it in a parfait with lemon flavored Oreo cookies I knew we were in for something yummy.
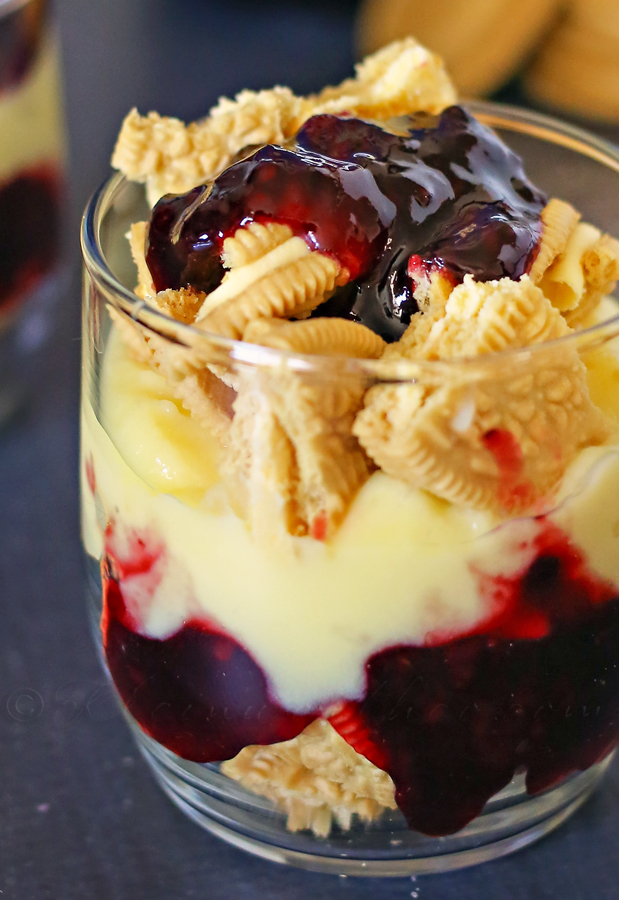
Lemon & blackberry are so great together! Add to that a recipe as simple & easy as this & I’m all in. You know how I love things that the kids can make on their own. It’s great to find them in the kitchen making some sort of tasty treat that I can enjoy. They can be so imaginative & I love seeing their kitchen creativity come out.
So if you are looking for a quick & easy dessert idea, you definitely have to give these a try. It’s effortless, quick & delicious.

Blackberry Lemon Oreo Parfait
Ingredients
- per 8oz glass
- 4 Lemon filled Oreo cookies
- 4 ounces vanilla pudding
- you can either make your own with the mix & milk or use the ready made packs
- 4 tbsp homemade blackberry jam
Instructions
- Crumble 2 Oreo cookies in the bottom of the glass
- Add 2 tbsp jam on top of the cookies
- Top with all 4 ounces of pudding
- Crumble 2 more cookies
- Spoon on remaining jam
- Enjoy
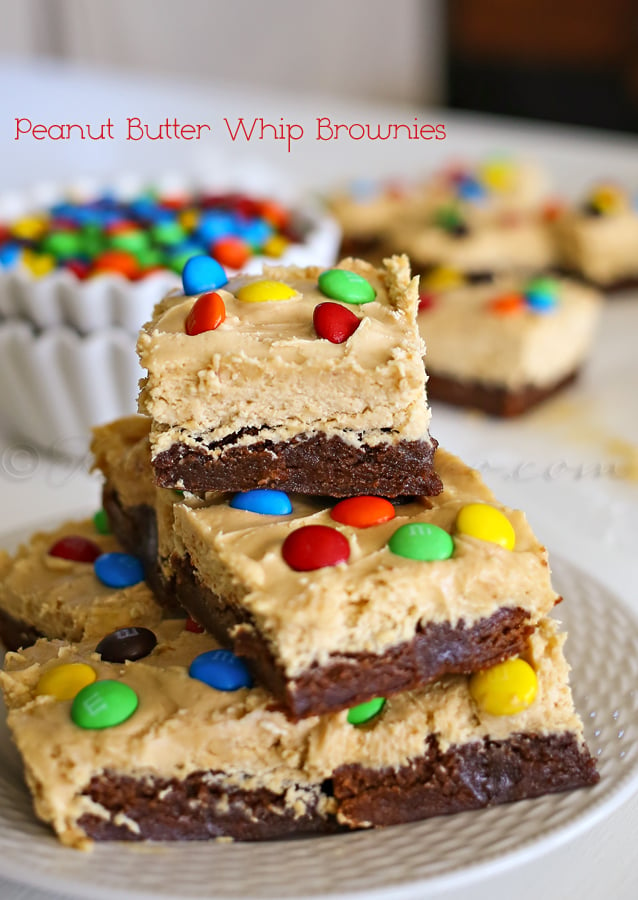
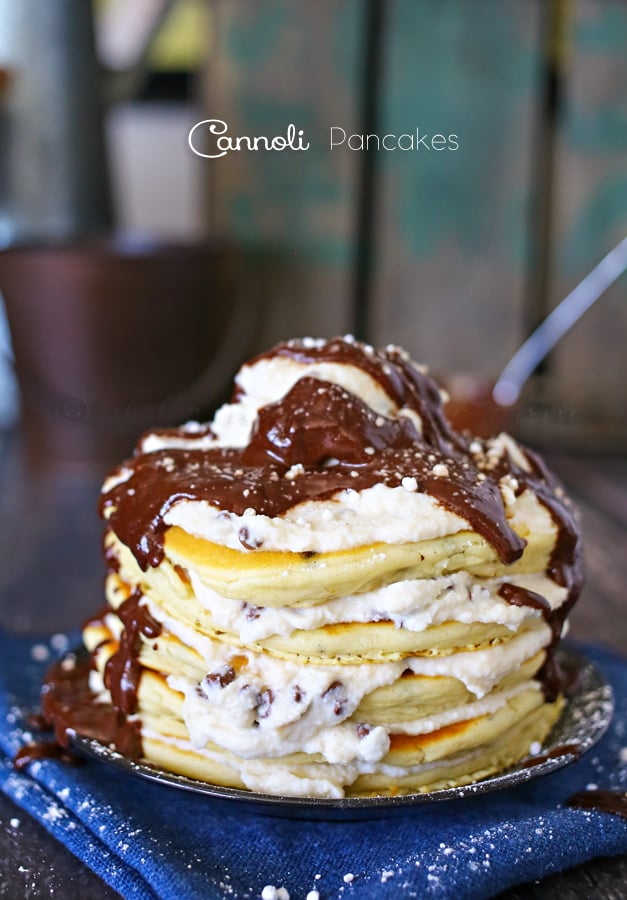
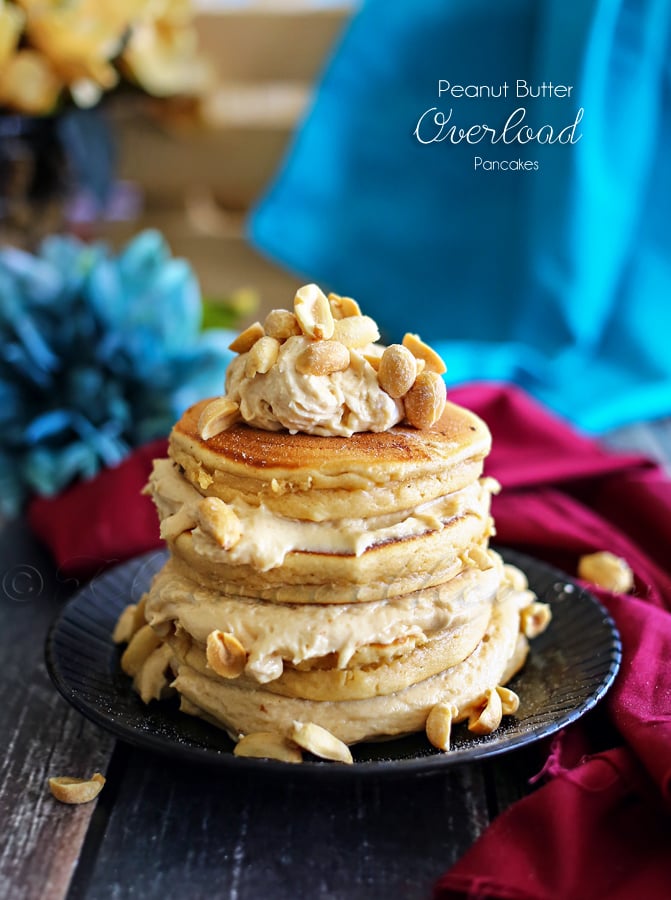
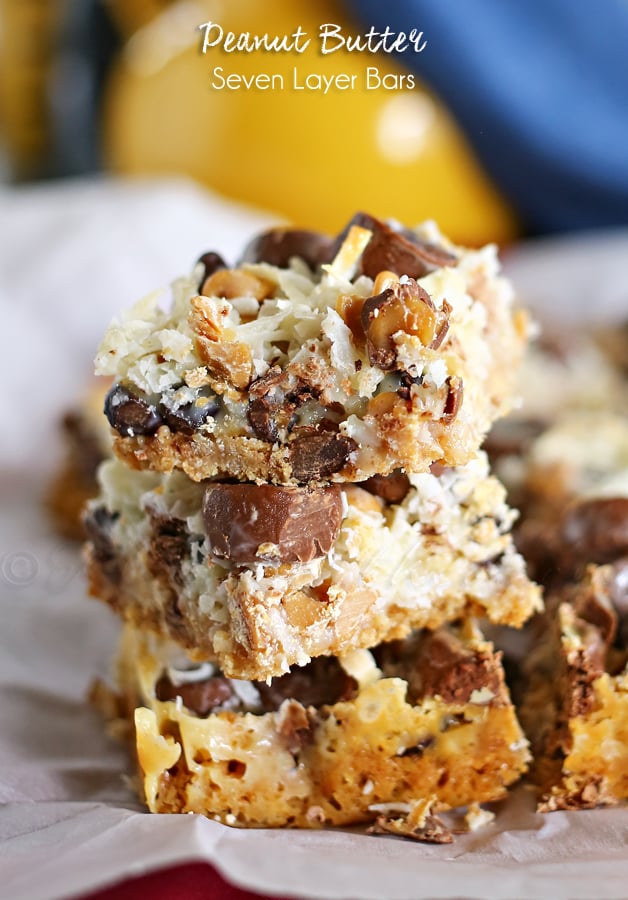
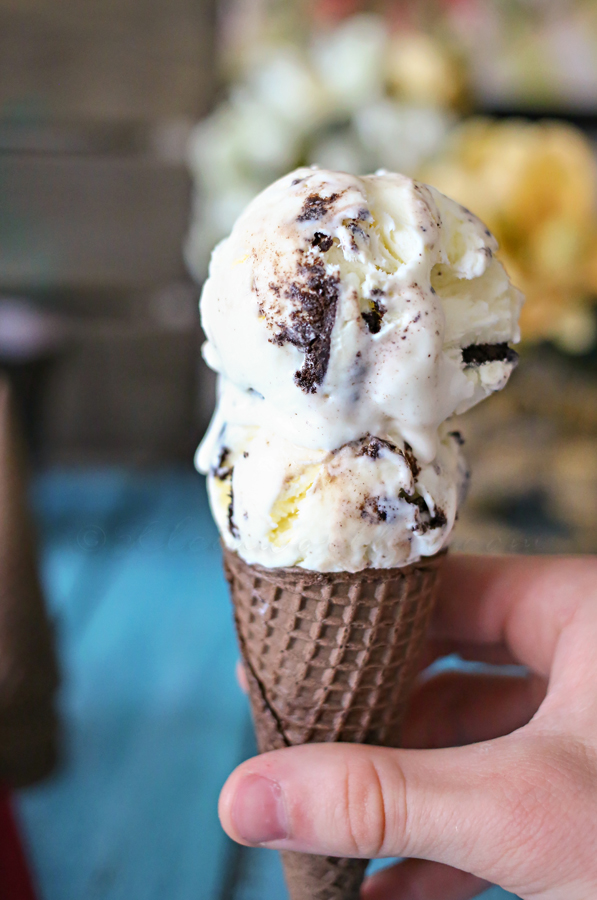
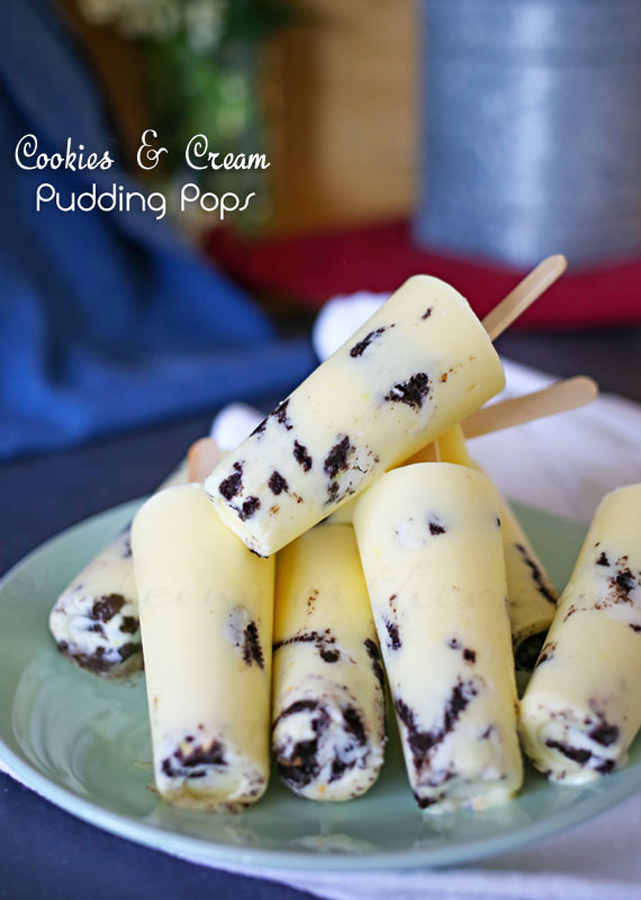
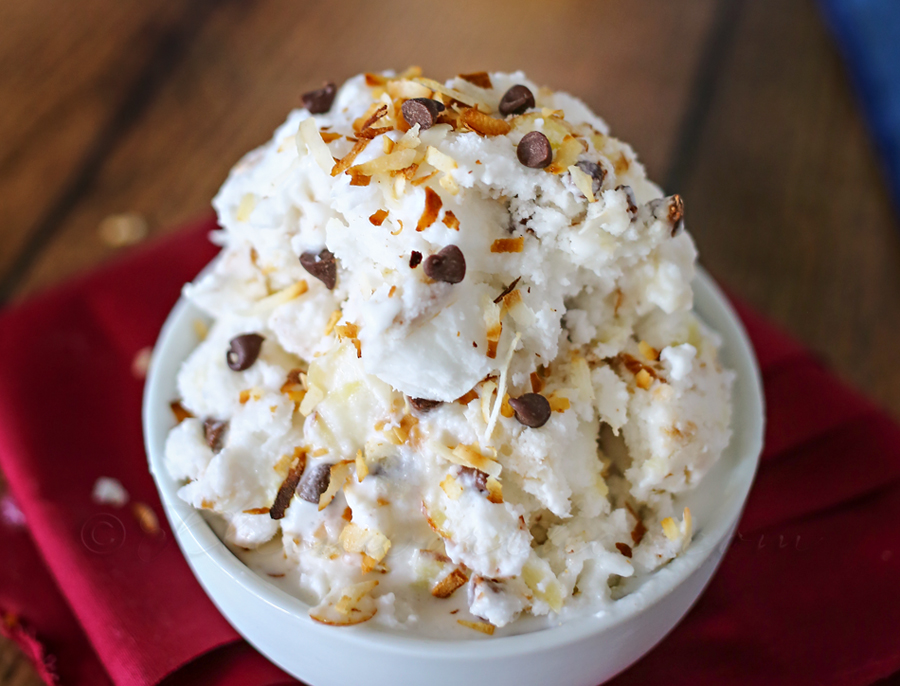
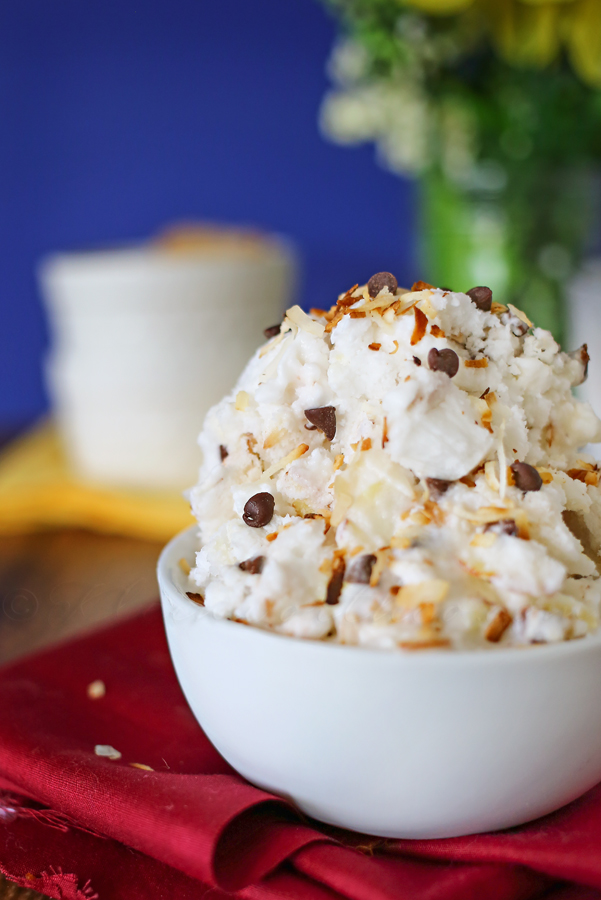
Looking for more great dessert recipes?
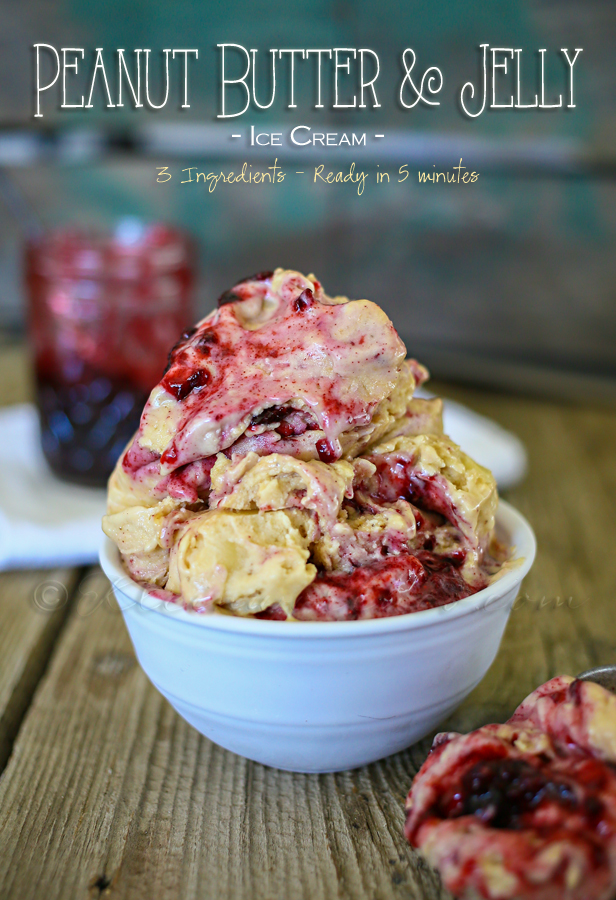
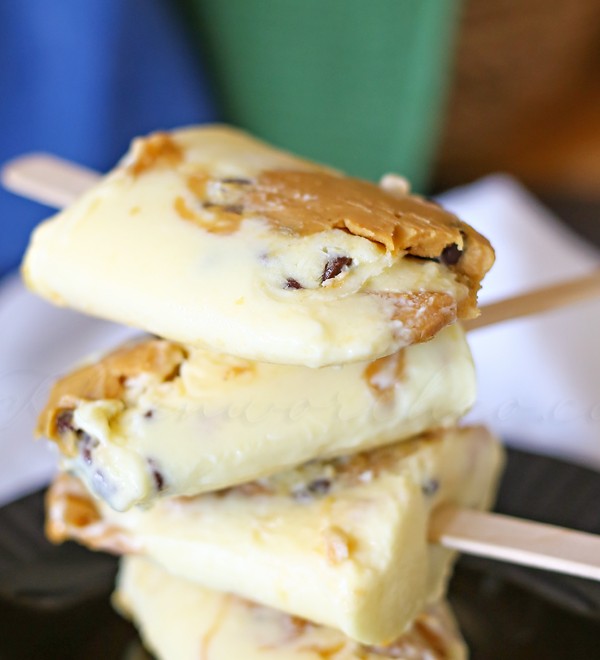
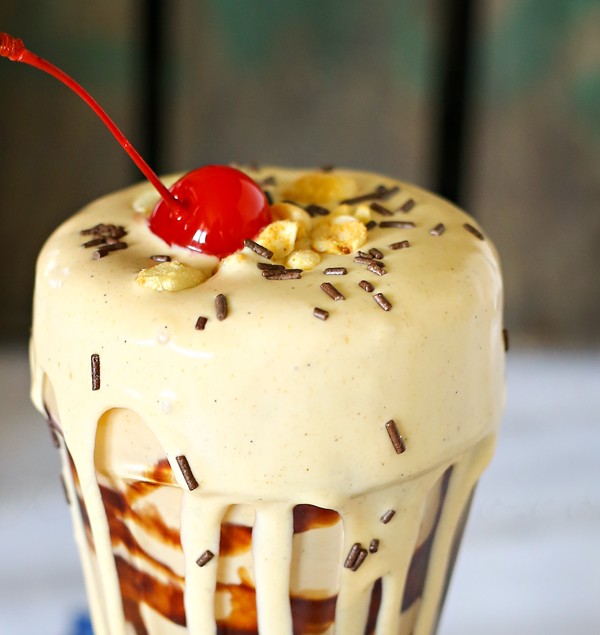
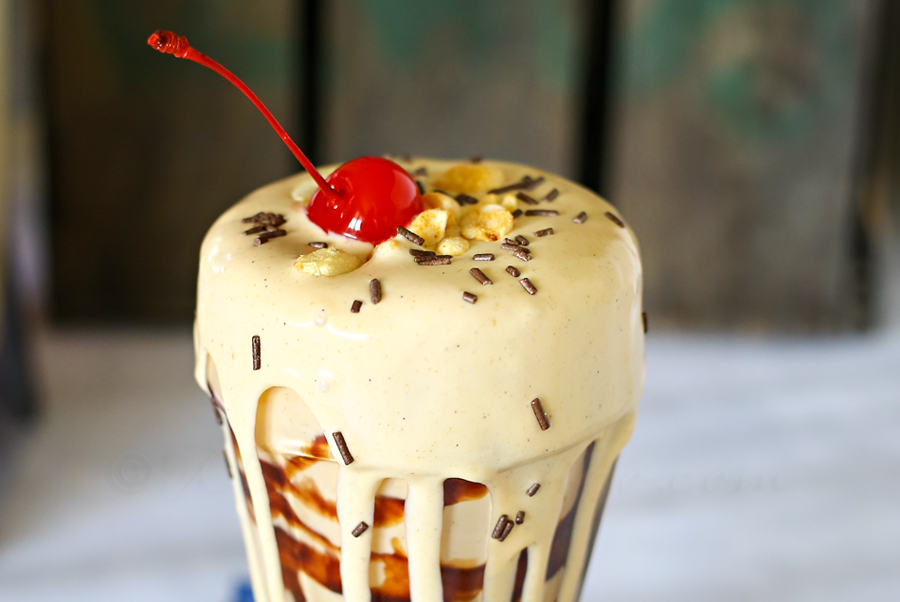
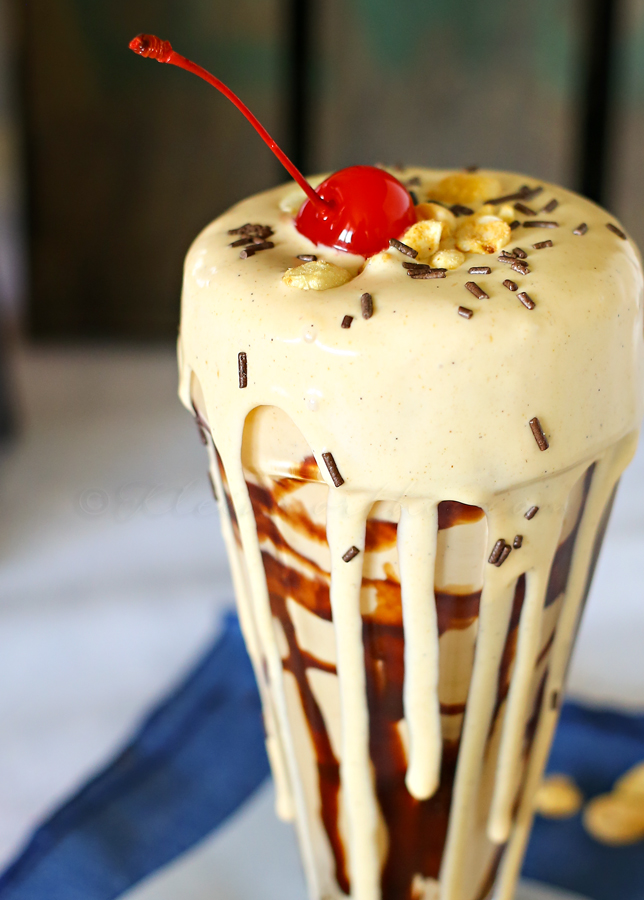
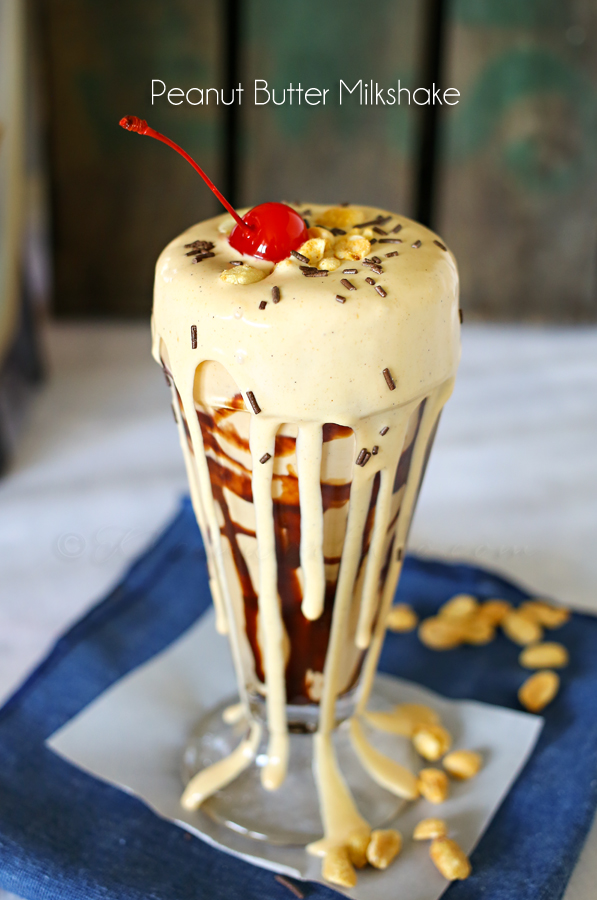
Peanut Butter & Jelly Ice Cream

To see where I am linking today- visit HERE


")