
Hey!! I’m to excited!! The wonderful Amber from Averie Lane is joining our team here at Kleinworth & Co. She creates the most inspiring projects & I am so happy that she is here today to share one of them. This Mason Jar Wall Garden is fantastic. I can’t wait to make one myself. Please give Amber a warm welcome & check out this awesome idea.
Hi! I’m Amber and I blog over at Averie Lane !
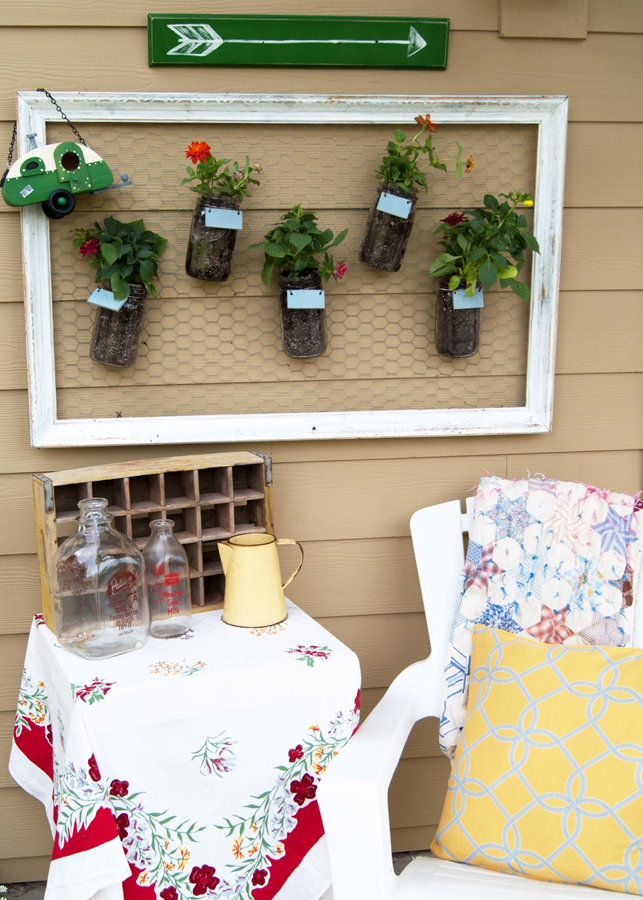
Today I am sharing my super simple – totally fun- easy peasy Mason Jar Wall Garden with you!!
Here’s the story…
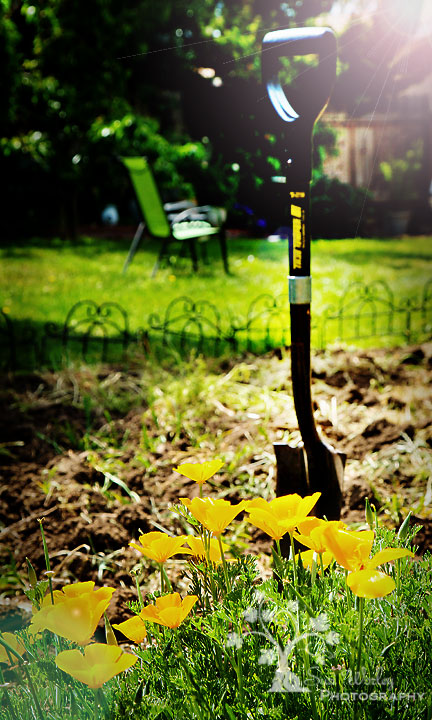
I had a boring blank wall on my back patio that needed SOMETHING.
I looked around my house to see what I could up-cycle into a planter. That’s when I found a picture frame with chicken wire mounted in it and a few mason jars that use to house my herb garden (FYI: if you have to live in your cousin’s basement due to a move, its not likely your herbs are going to survive.)
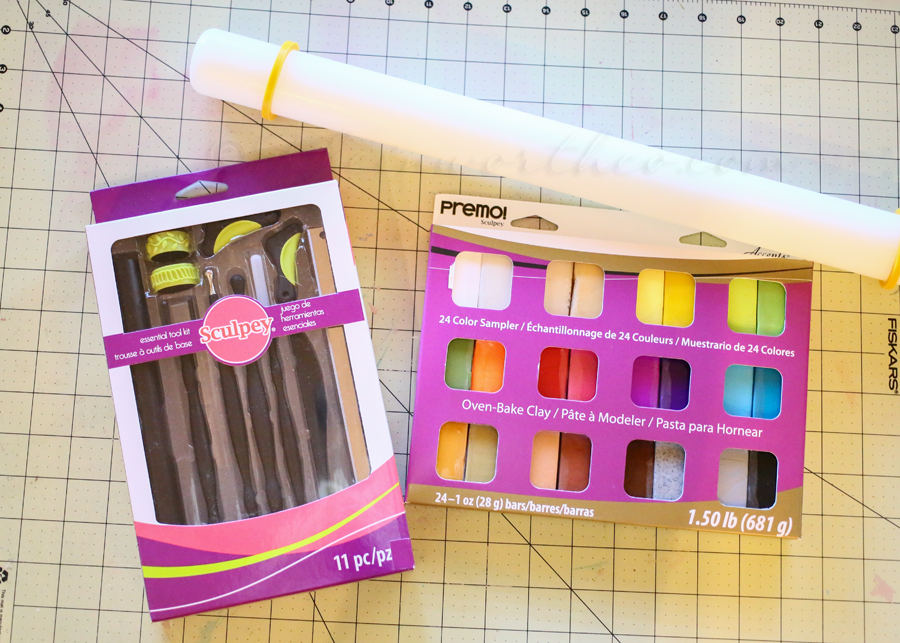
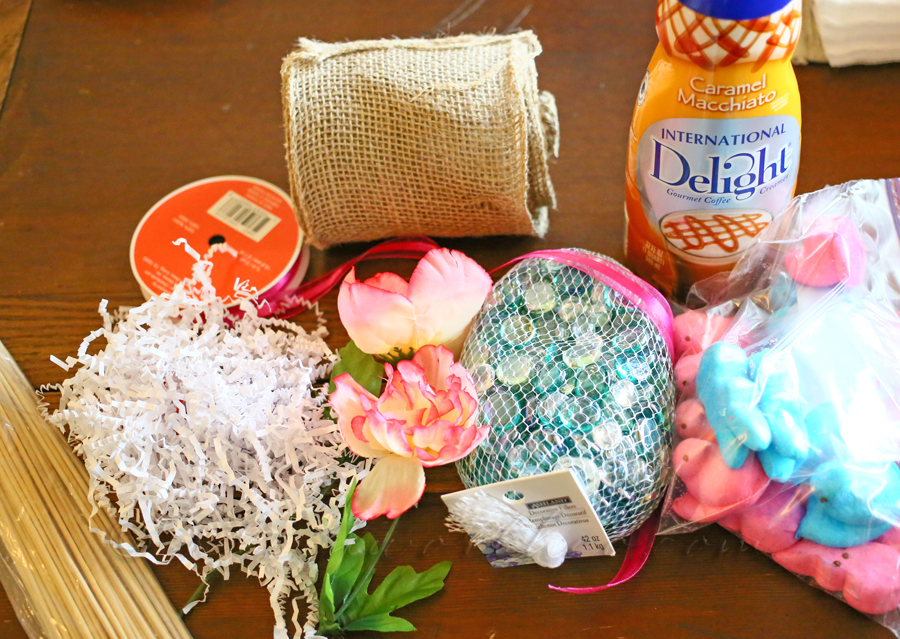
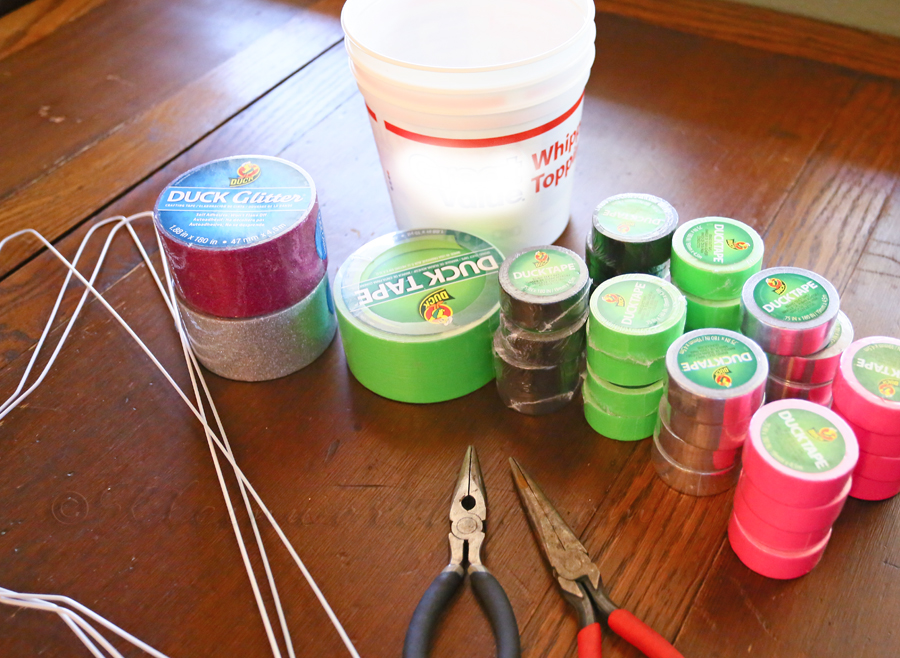
All you need are a few supplies:
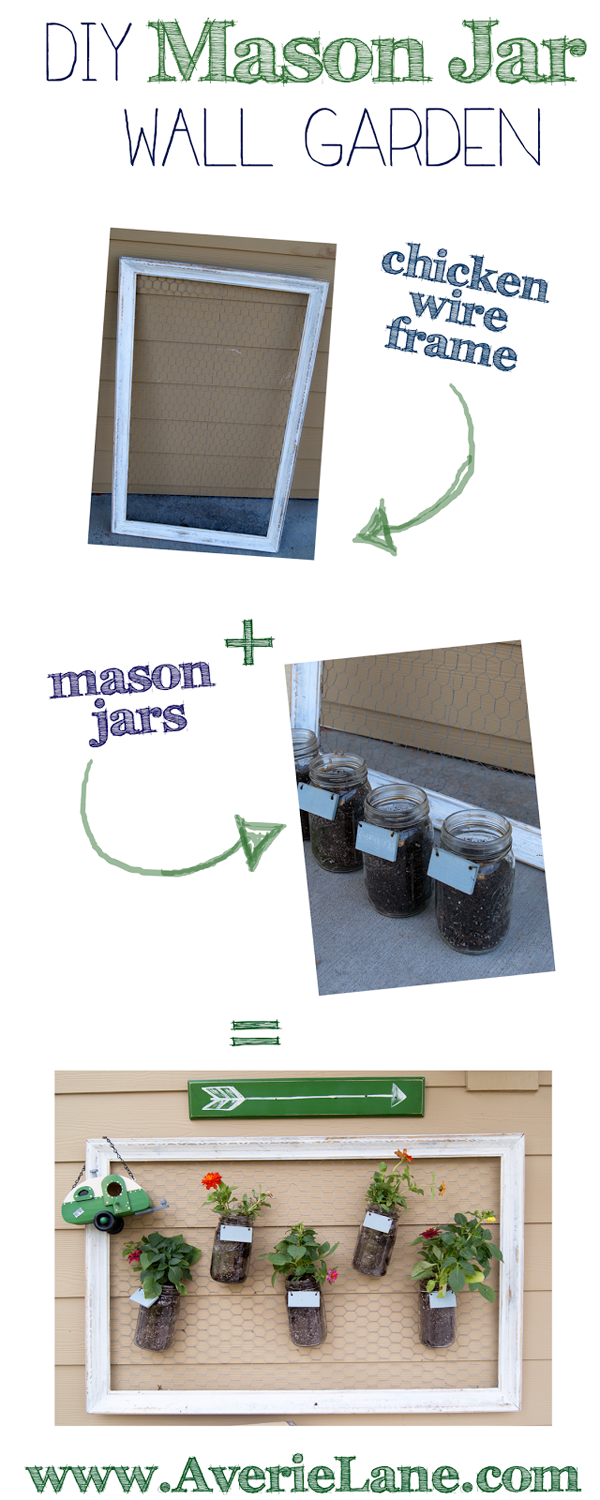
Picture Frame with Chicken Wire (just staple chicken wire to an empty frame if you don’t have one laying around like I did…)
Wire*
Mason Jars
Soil
Flowers
(a little helper or two won’t hurt either…)
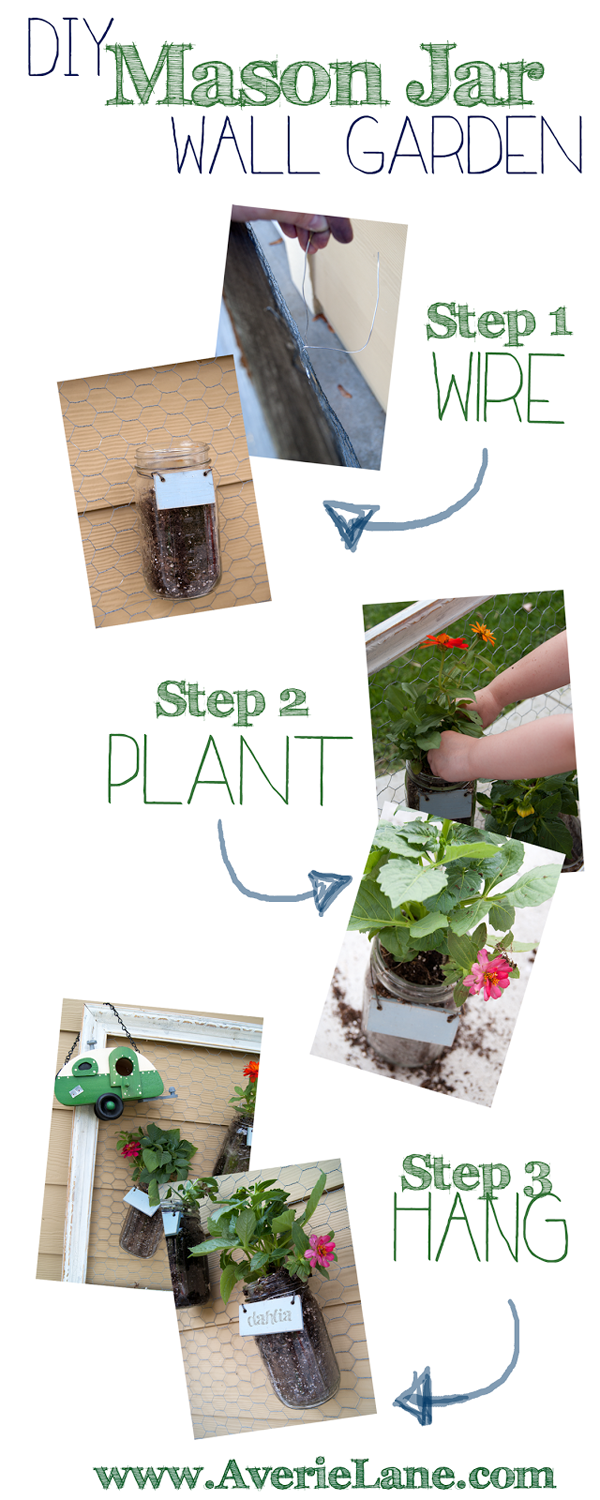
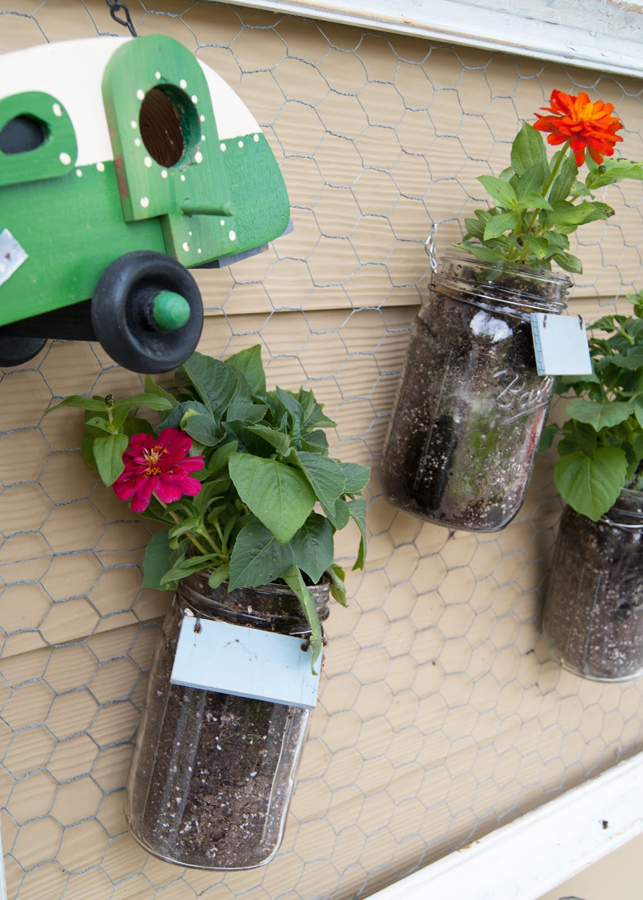
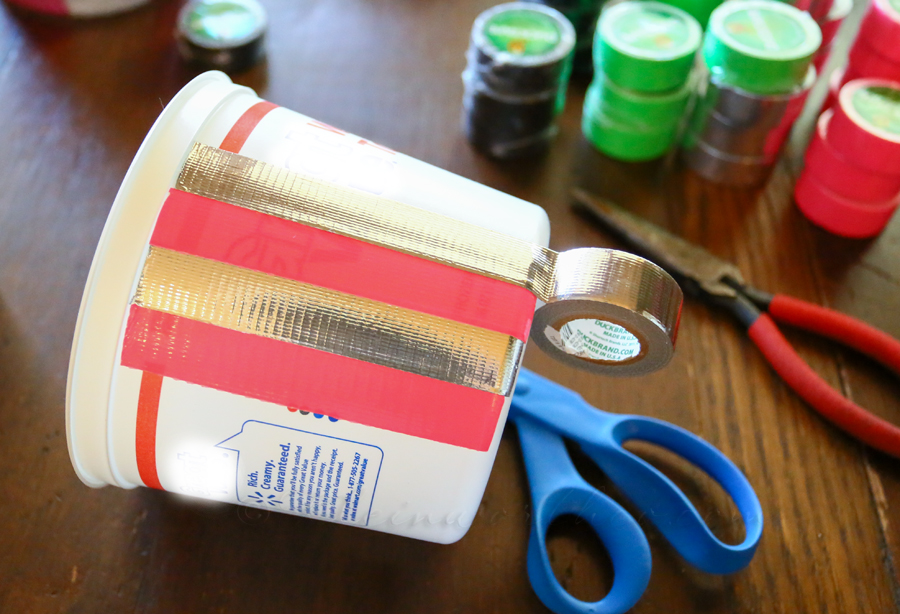
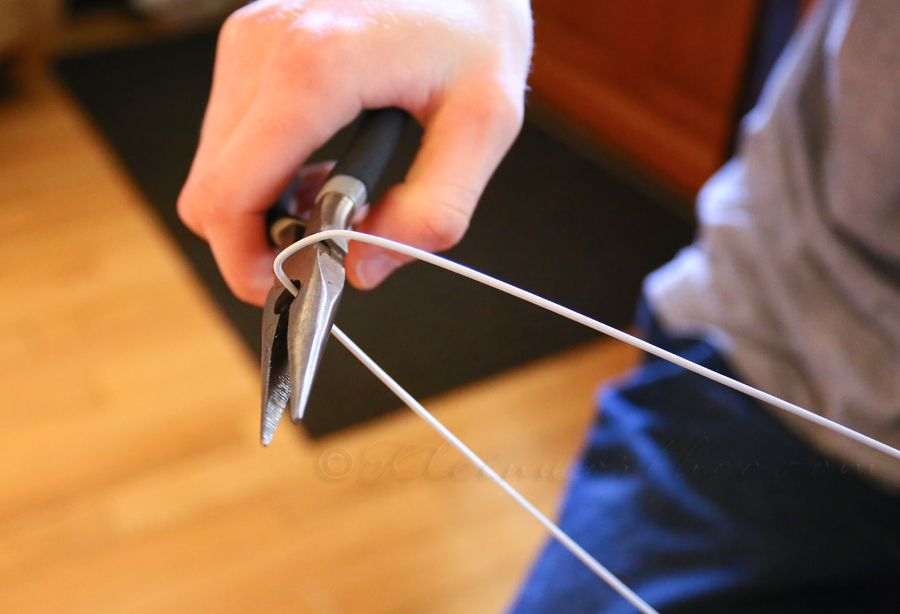
Just wire* your jars right to the chicken wire part of the frame.
*I recommend a heavy gauge wire if this will be outside

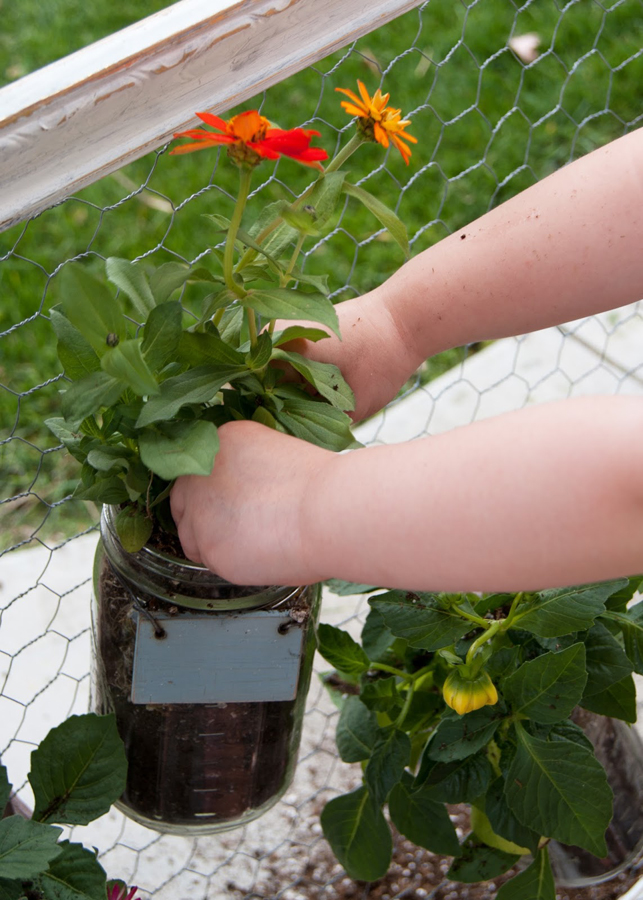
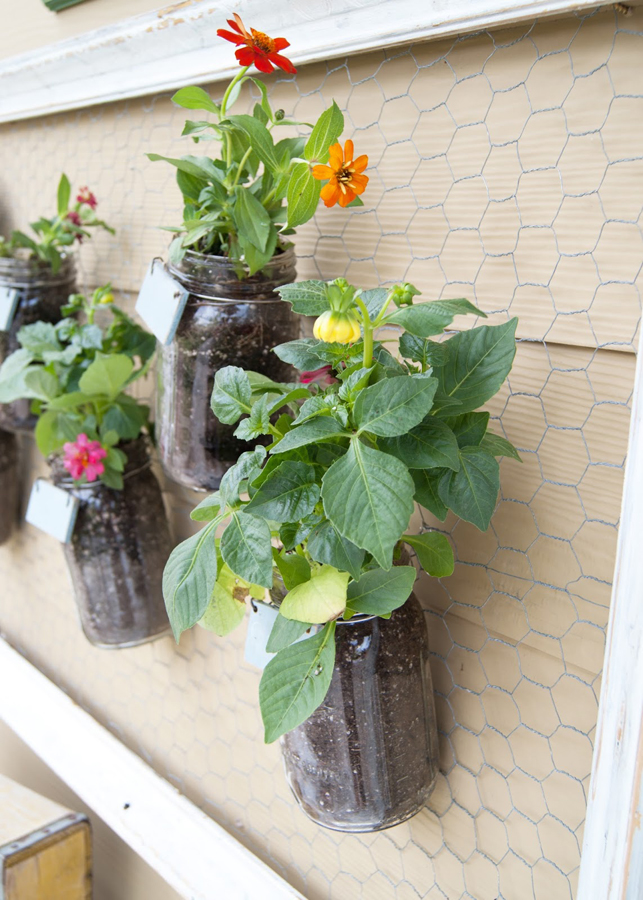
Then before you hang it up, add soil and flowers. Use a couple screws to hang it on the wall!
Now a couple tips for you!
- Don’t over water because your mason jar can’t drain. I repeat – DON’T OVER WATER
- When the soil starts to feel dry then its time to water. You can also see how wet the soil is so only add enough water to moisten it. You don’t want it to puddle in the bottom.
- You can add rocks for better drainage it you like.
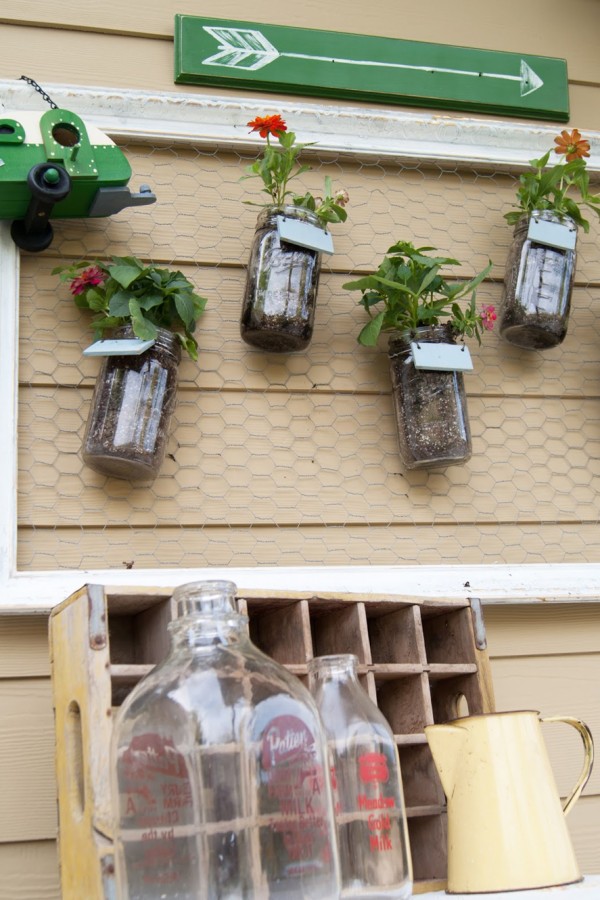
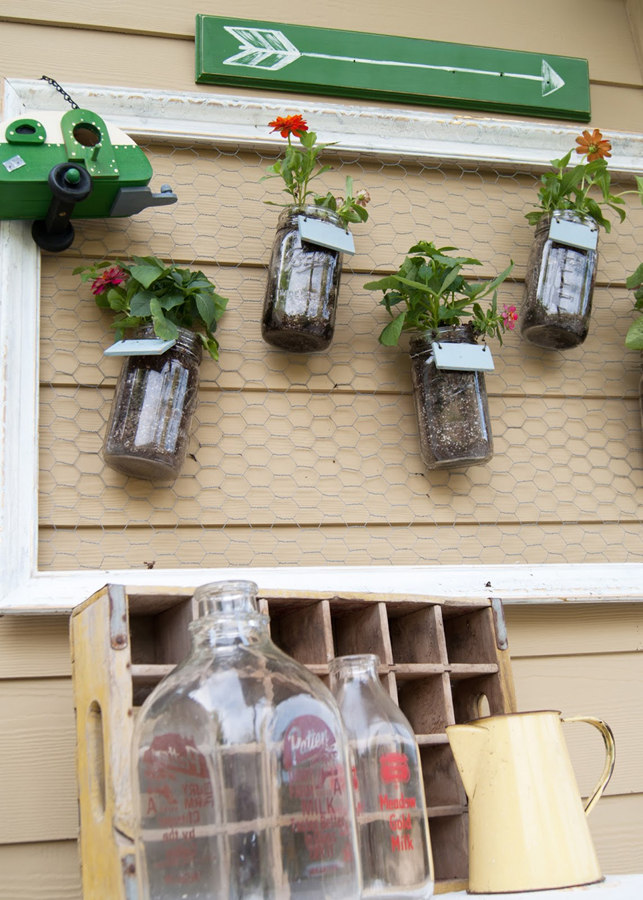
Now style up your Mason Jar Wall Garden with some vintage finds and a cute arrow sign!
I am obsessed!!
Wouldn’t this be a fun Mother’s Day gift!?
I want to thank Gina for having me here today and I hope you enjoyed my easy DIY Mason Jar Wall Garden!
If you like this project be sure to follow me!

Thank you SO MUCH Amber for inspiring us all & sharing this here today. Isn’t she AWESOME????!!!!!
I can’t wait to make this for our new backyard in the coming months.
Want more home projects?

To see where I am linking today- visit HERE


