*Disclosure: This post is sponsored by Pillsbury & Linqia. All opinions are truthful & my own.
I have been meaning to do more recipes with blueberries all season. I love Yummy Bar Recipes!
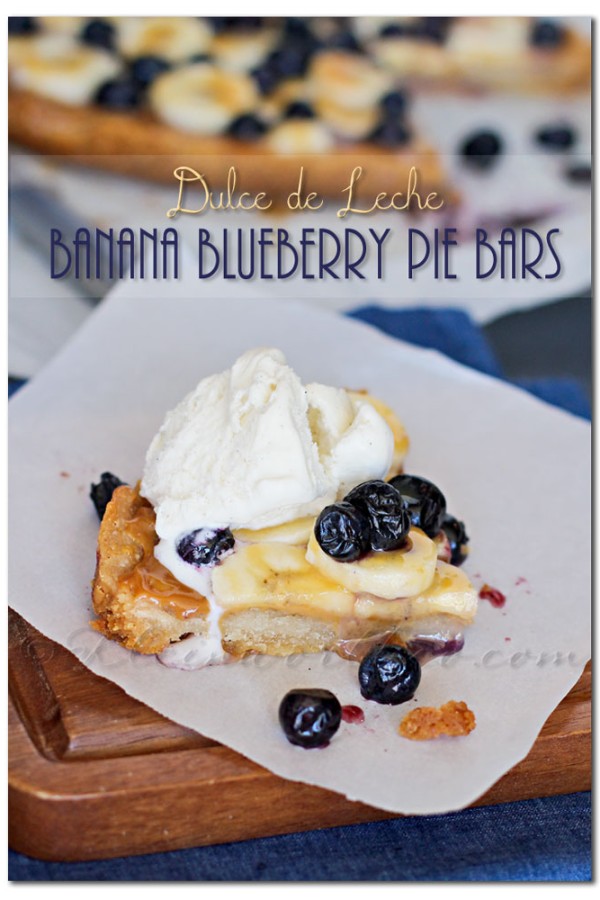
I had one more Pillsbury product to try out – the pie crust. But you know the problem- I’m trying to not run the oven while it’s hot outside. Sooooo- I decided to see how this Pillsbury Gluten Free pie crust would do in the slow cooker. You know- for not having a recipe to follow- I was actually really happy by how great it turned out. Good thing I wrote down what I did so I can do it again- because the family loved these Dulce de Leche Banana Blueberry Pie bars.

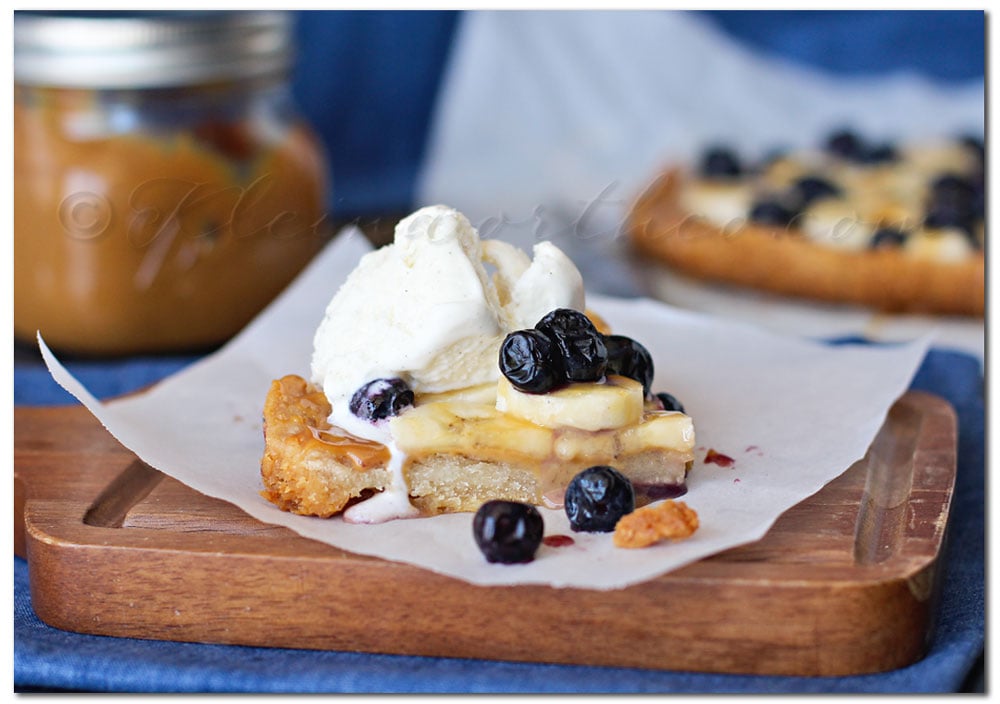 The crust was so buttery & flavorful.
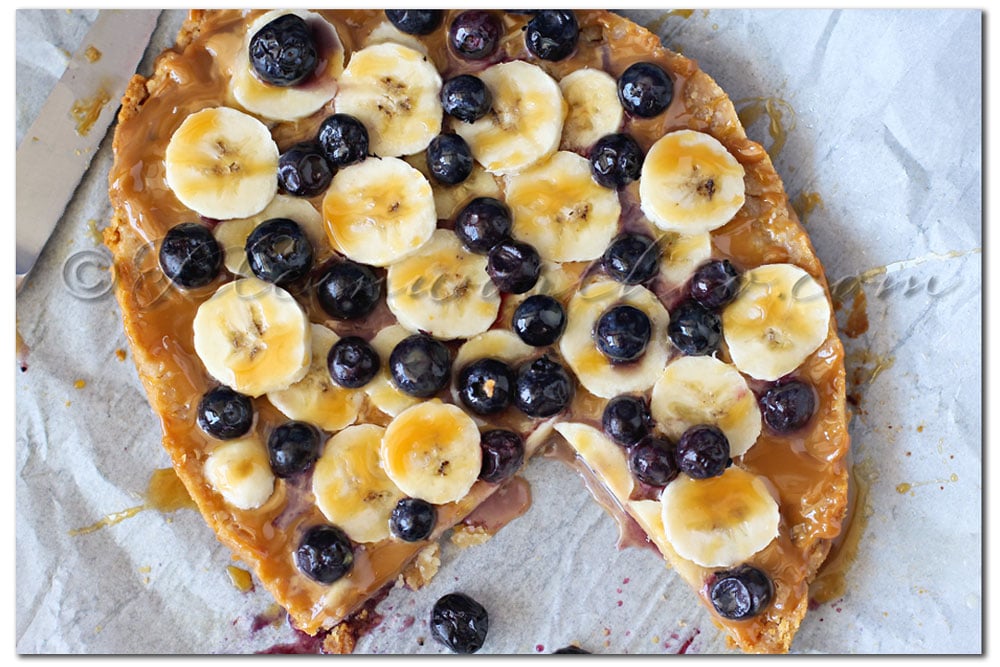 Oh yes- it was ooooey, gooey goodness all over the place.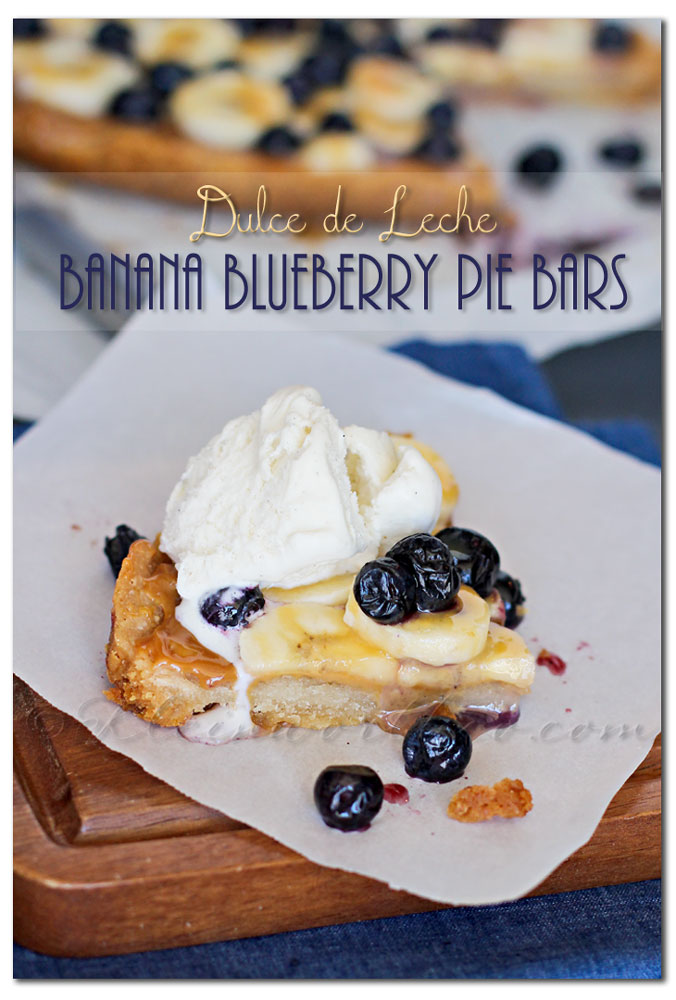

Dulce de Leche - Slow Cooker Method
Ingredients
- 1 can Sweetened Condensed Milk
- Canning Jar
Instructions
- Transfer your sweetened condensed milk into whatever size canning jar you desire-
- (1 can + 1 mid-sized jar or 1 can + 2 small jam jars)
- Place lids on tight!
- Place in slow cooker & cover with water.
- Cook on high 4-6 hours or until it becomes the desired color you are after.
- Remove carefully & Allow to cool on wire rack 1 hour.
- Serve hot or store in refrigerator for 2 weeks.
Don’t forget I’m giving away a premium baking set from Pillsbury.

Click on this image for more Pillsbury Info
Use this to try my SUPER SIMPLE gluten free recipe using this Pillsbury Pie Crust

Click on Image for more info on this pie crust.
Excited to start baking, but need a few recipes to get going??
Check out the Pillsbury Gluten Free Dough site for delicious & easy recipes to make with all three varieties of gluten free dough.
TO ENTER: Visit Pillsbury for gluten free recipe inspiration.
Then come back & leave a comment below or on one of my upcoming Pillsbury posts to be entered to win.
Just answer the question: What exciting possibilities will Pillsbury Gluten Free Dough bring to your life?
We want to hear your stories & recipe ideas!!
Good Luck!
Don’t miss my guest posts today
I’m sharing at Life n’ Reflection
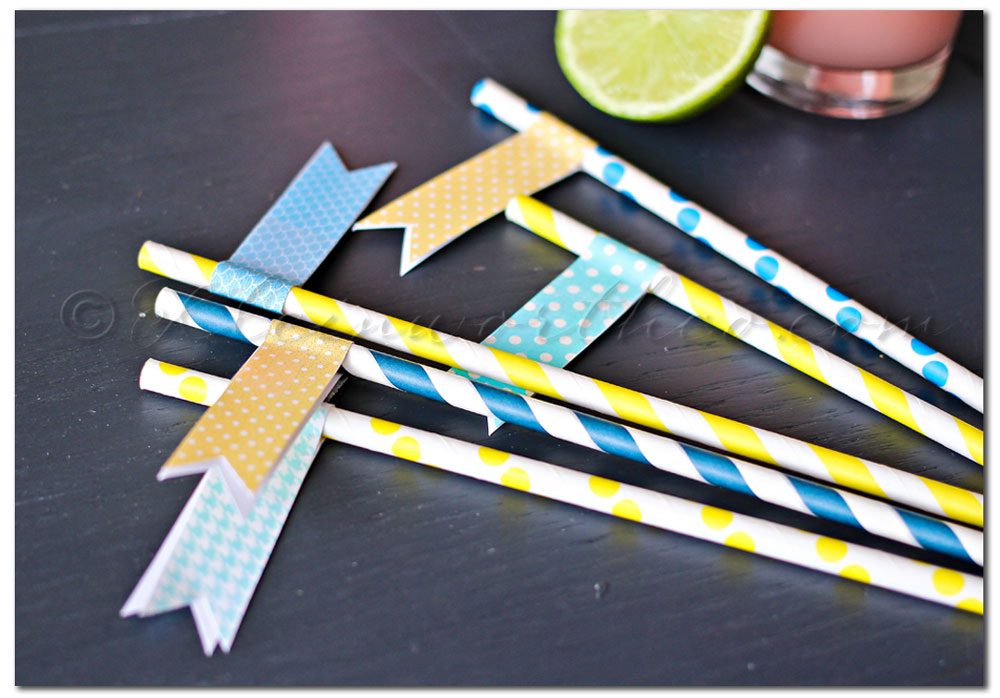
and I’m also sharing these Watermelon Lime Sorbet Pops at Just us Four
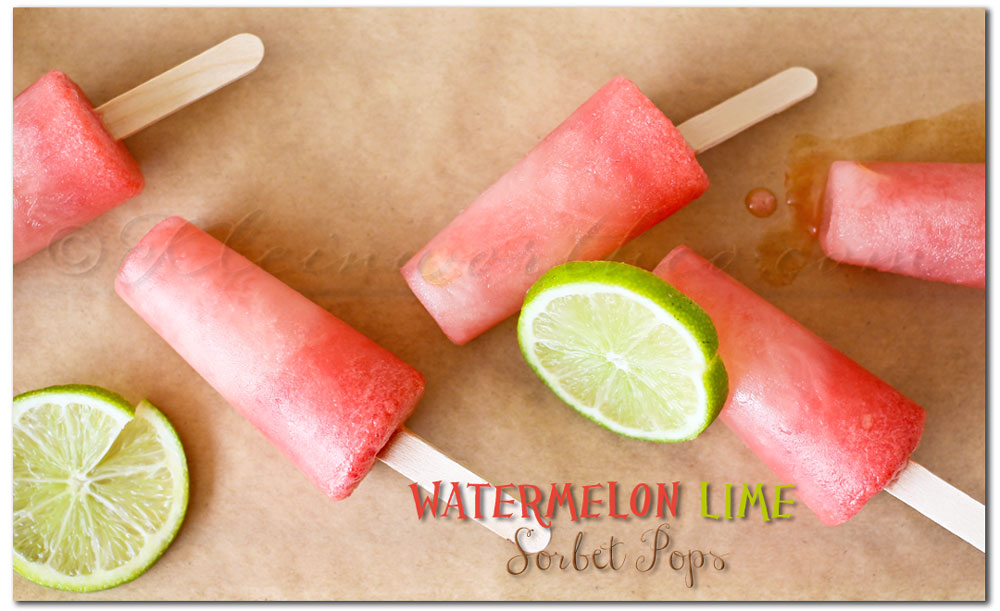
Don’t forget to come back & join me on Mondays for Project 52
To see where I am linking today- visit HERE

[jetpack_subscription_form]
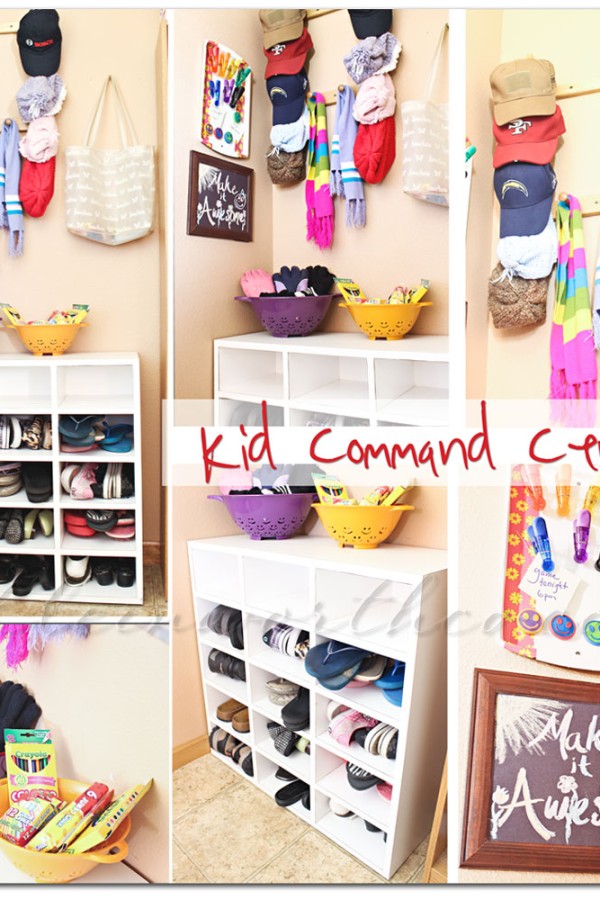


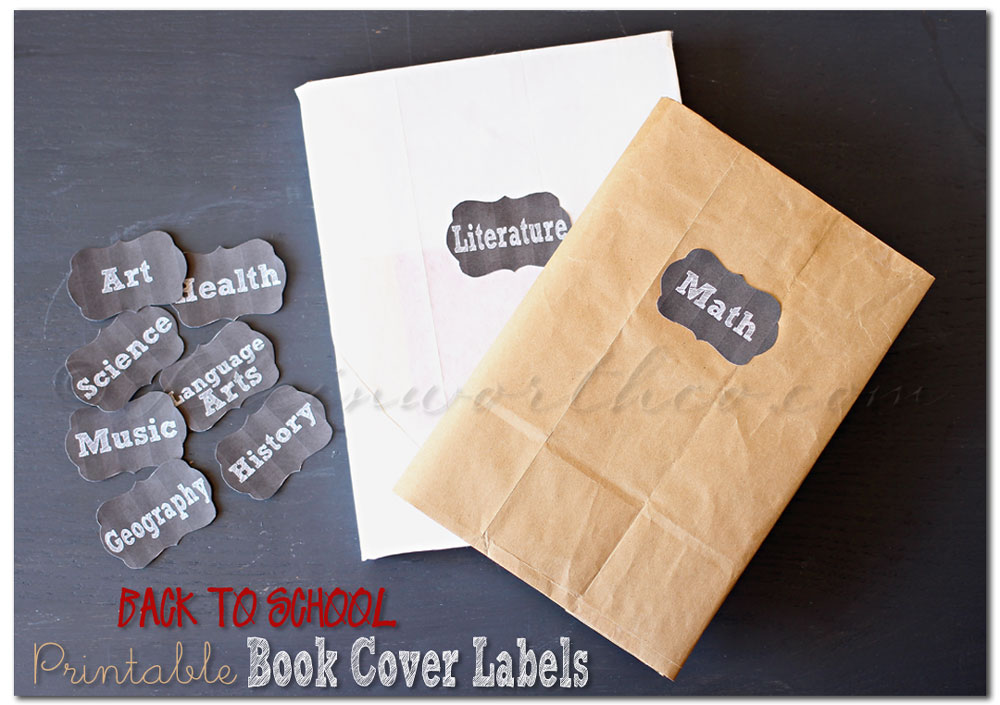 Even though we decorated our book covers- I would have loved having the ability to print off some cute little labels to make my covers more personal yet stylish. If my kids were going back to school they would definitely be using these.

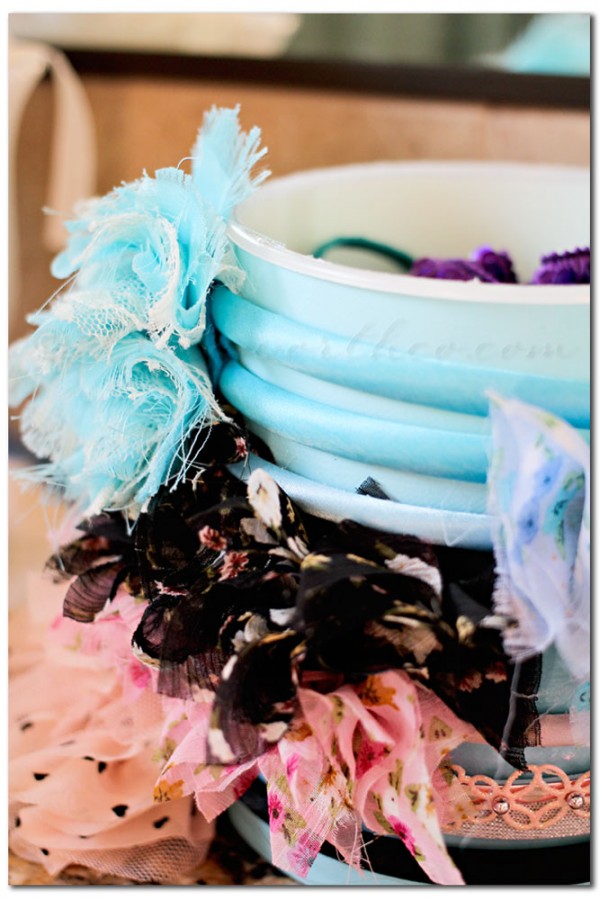
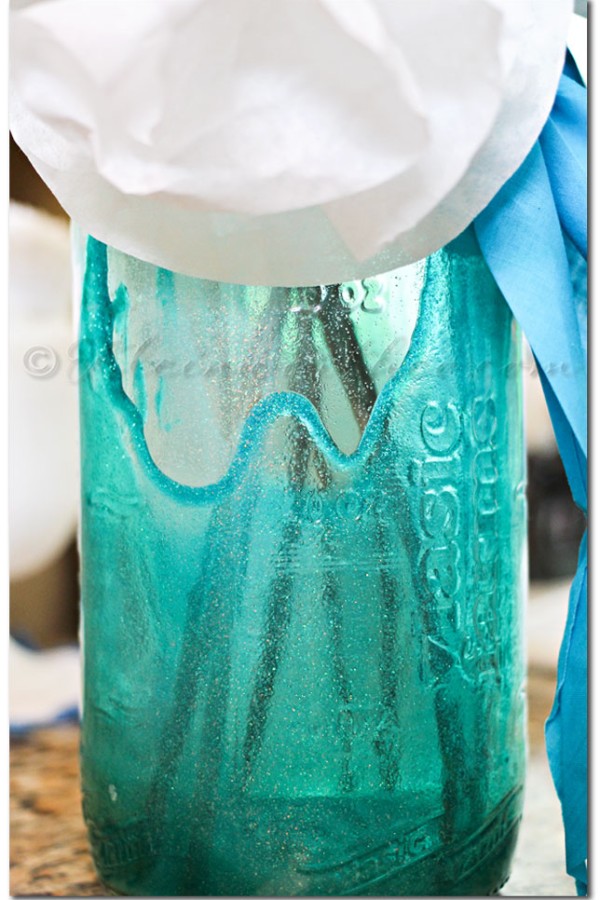
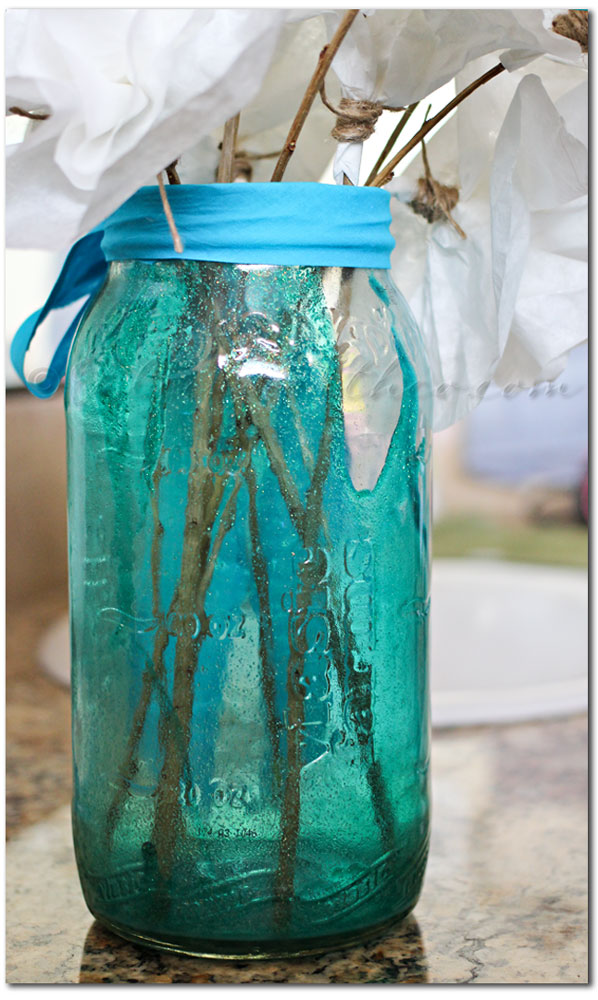
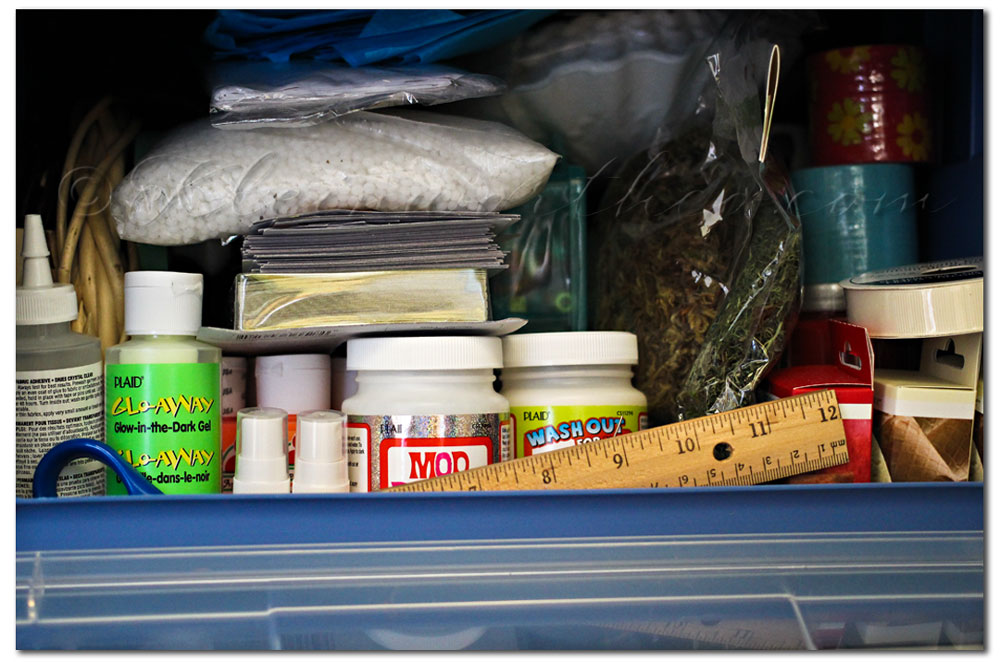
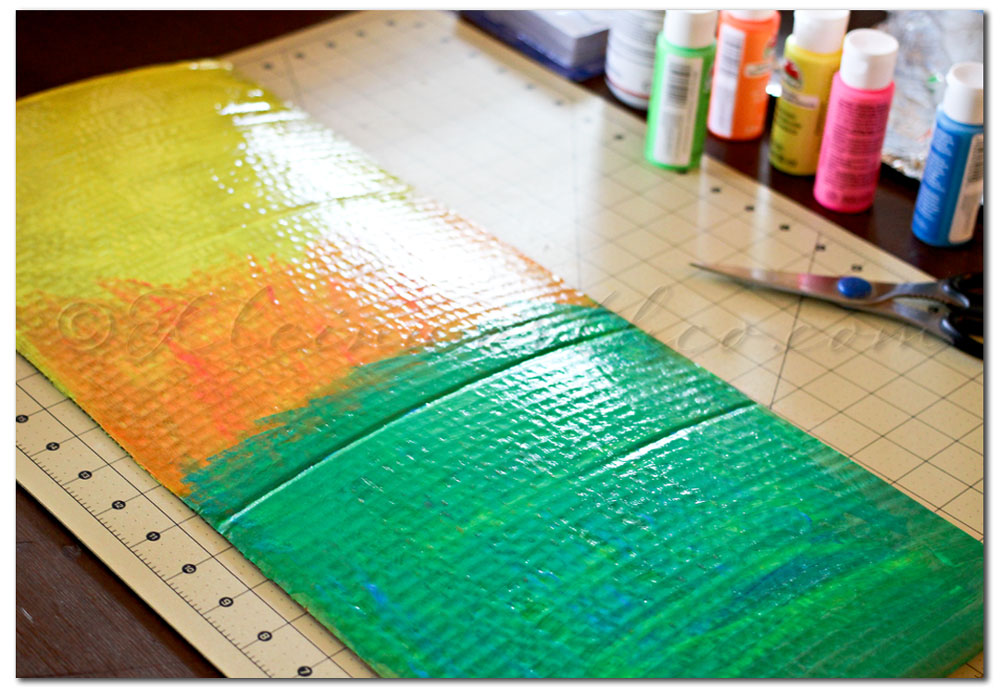
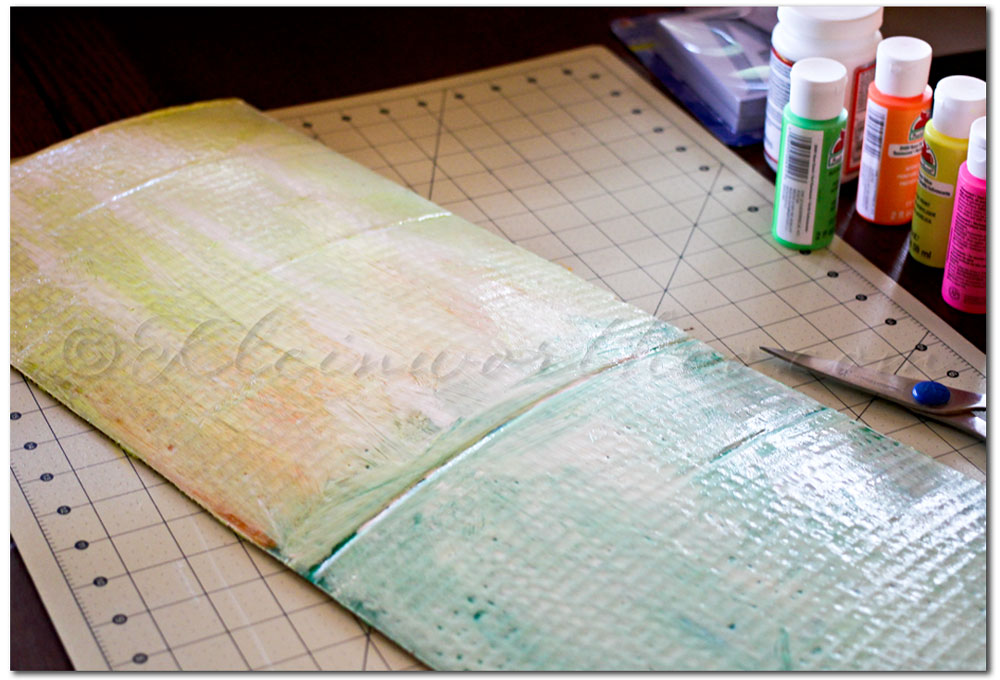
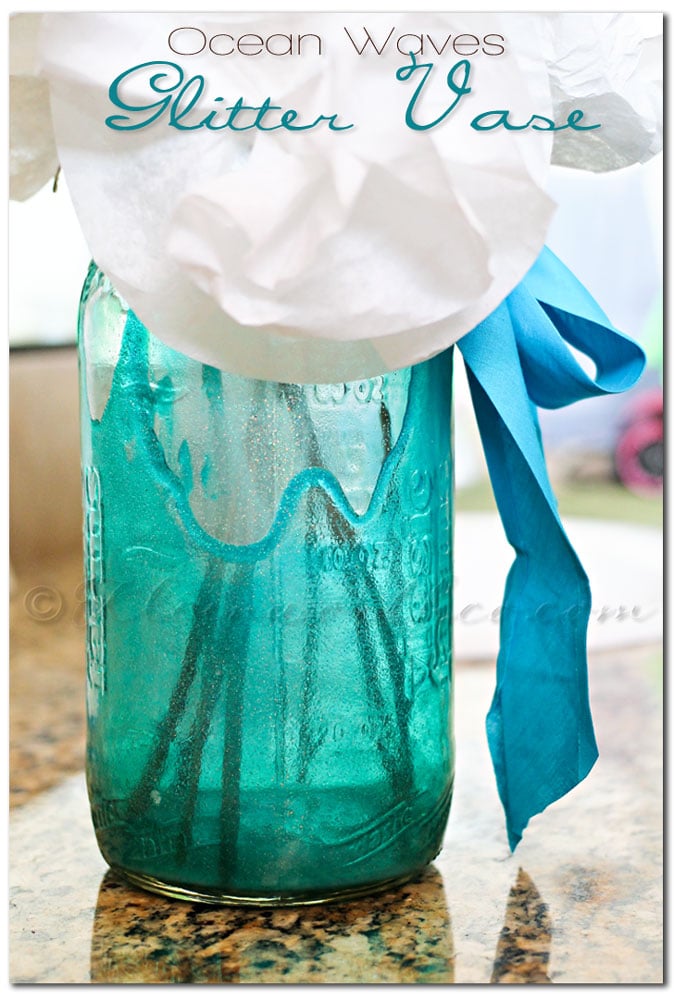 This was 3 tbsp Mod Podge Extreme Glitter & a couple drops of green & blue gloss paint.
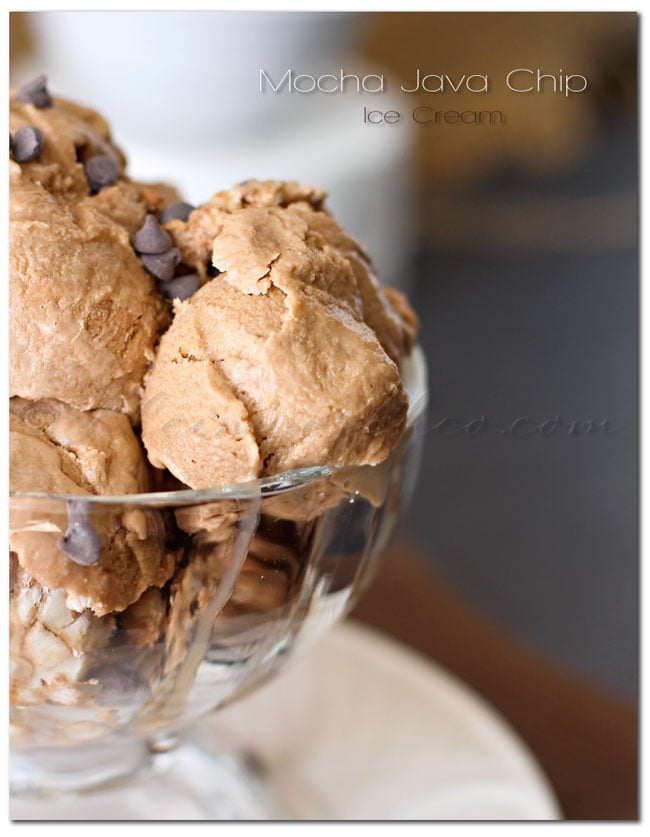
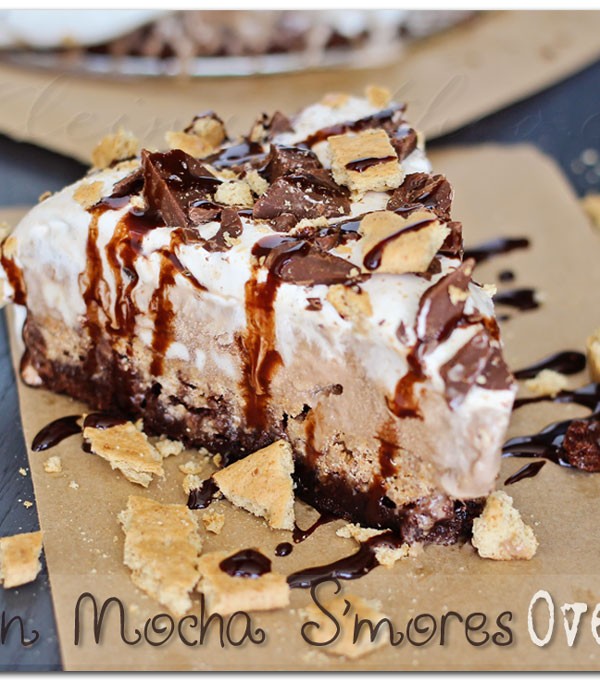
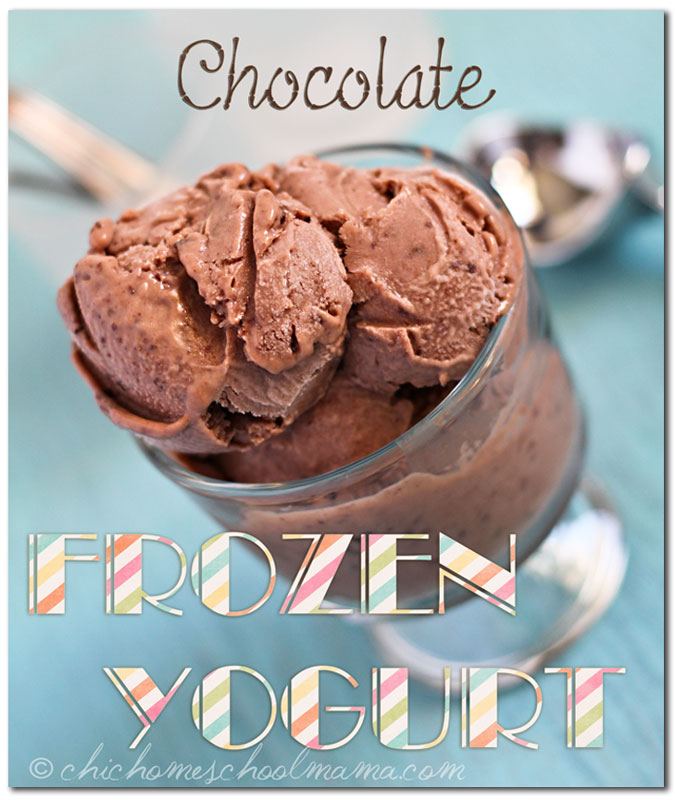
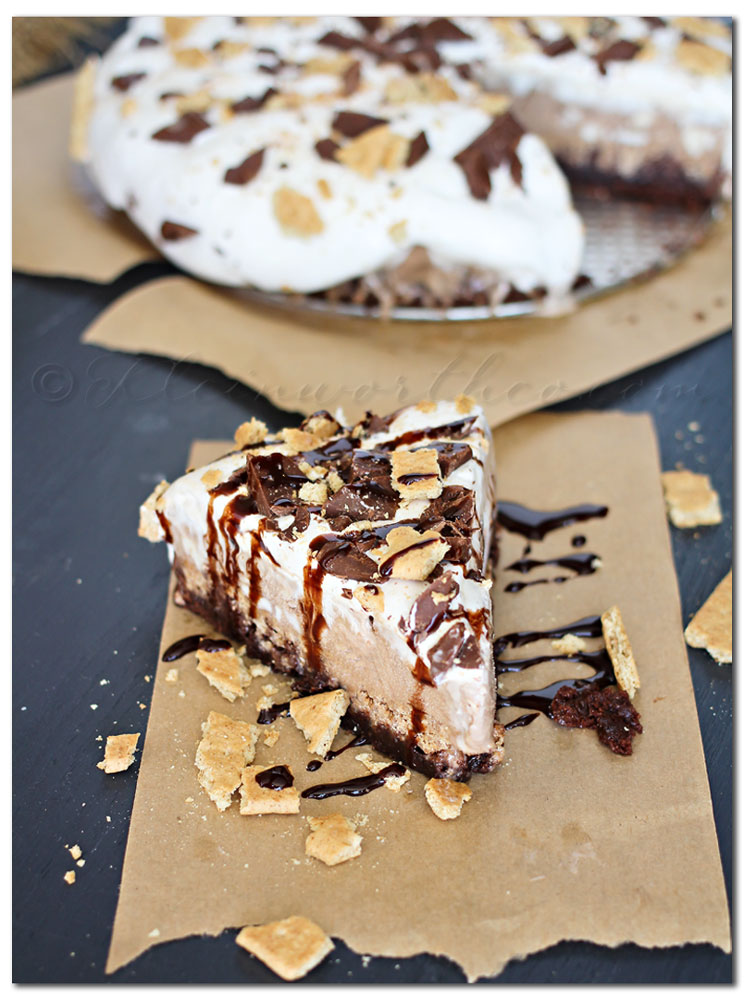 I will be sharing my recipe for this mocha ice cream soon- stay tuned.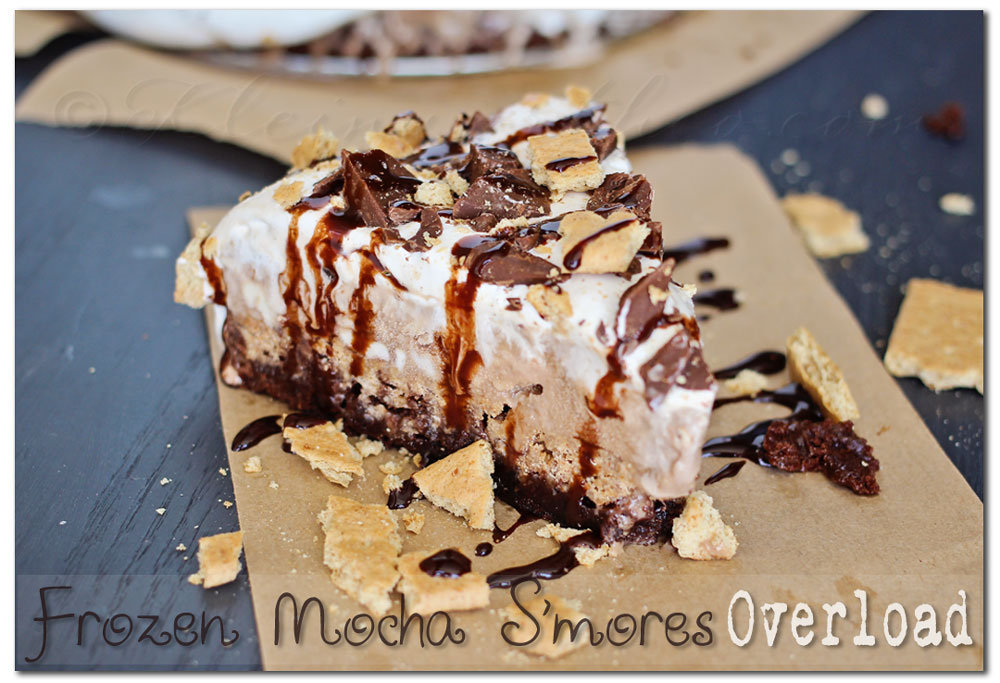



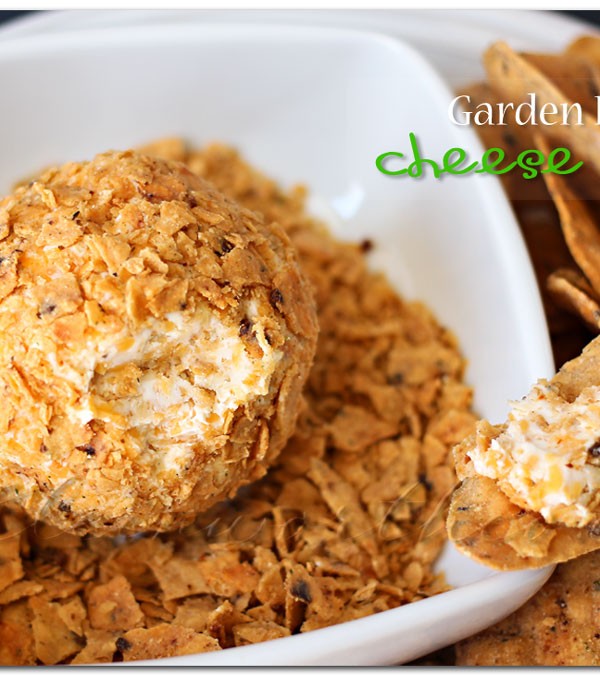
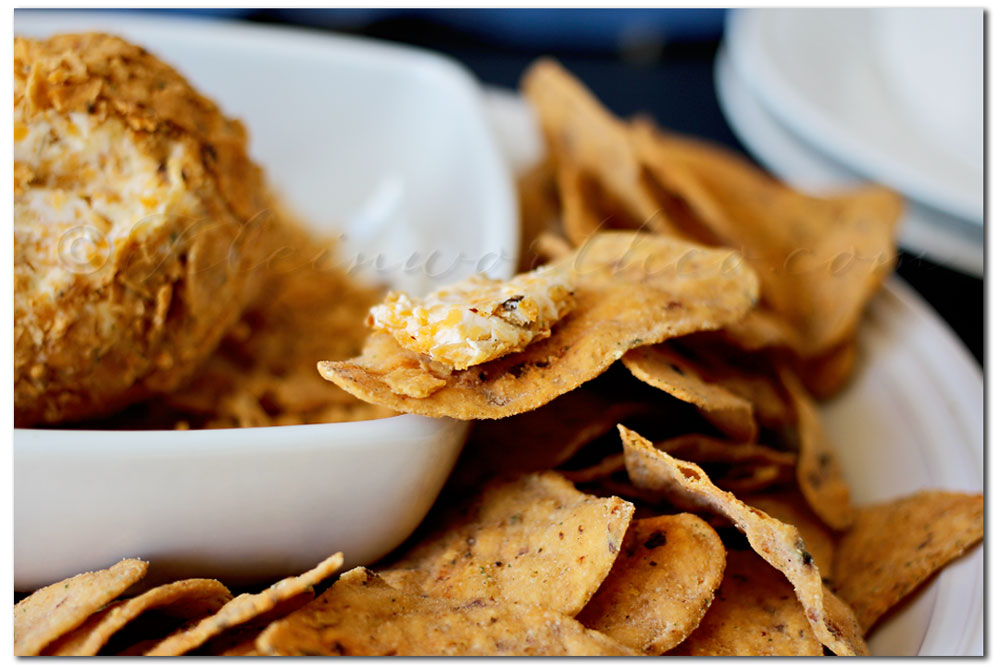

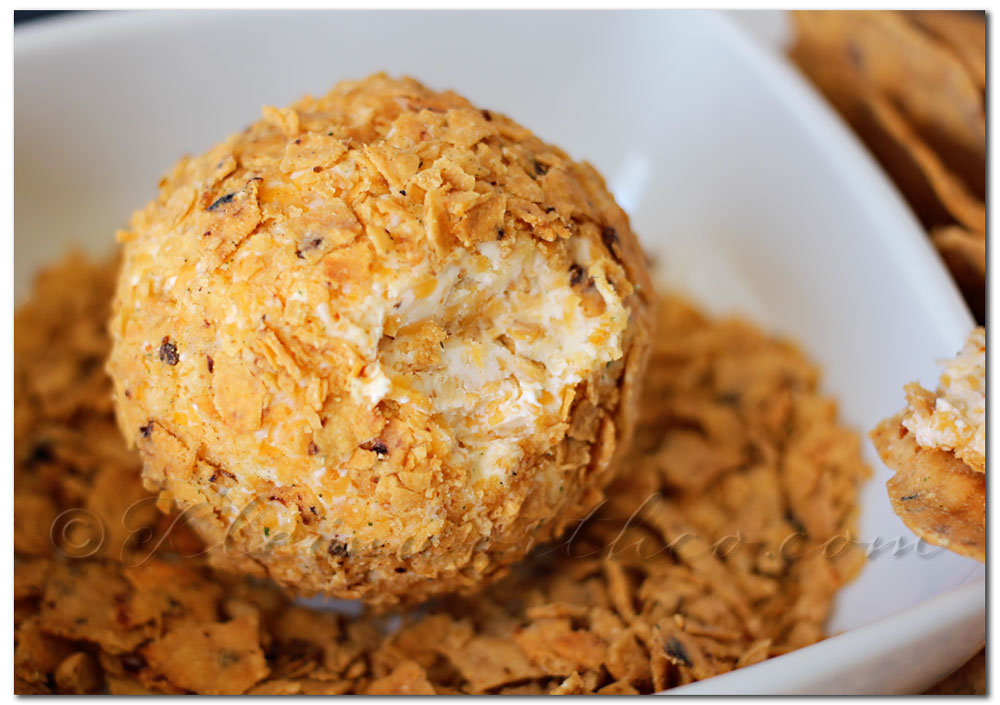
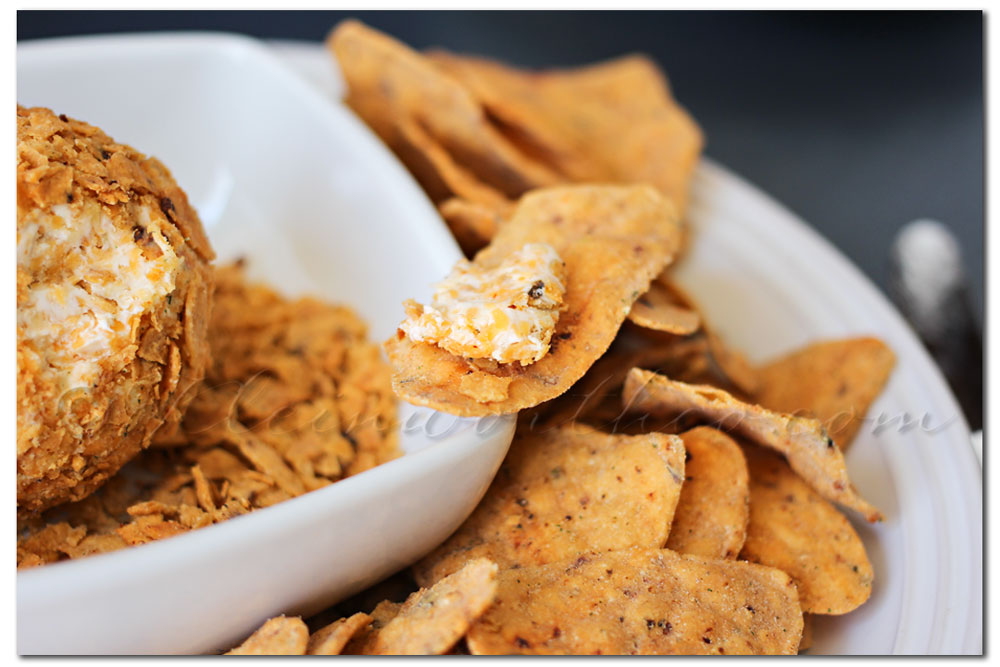
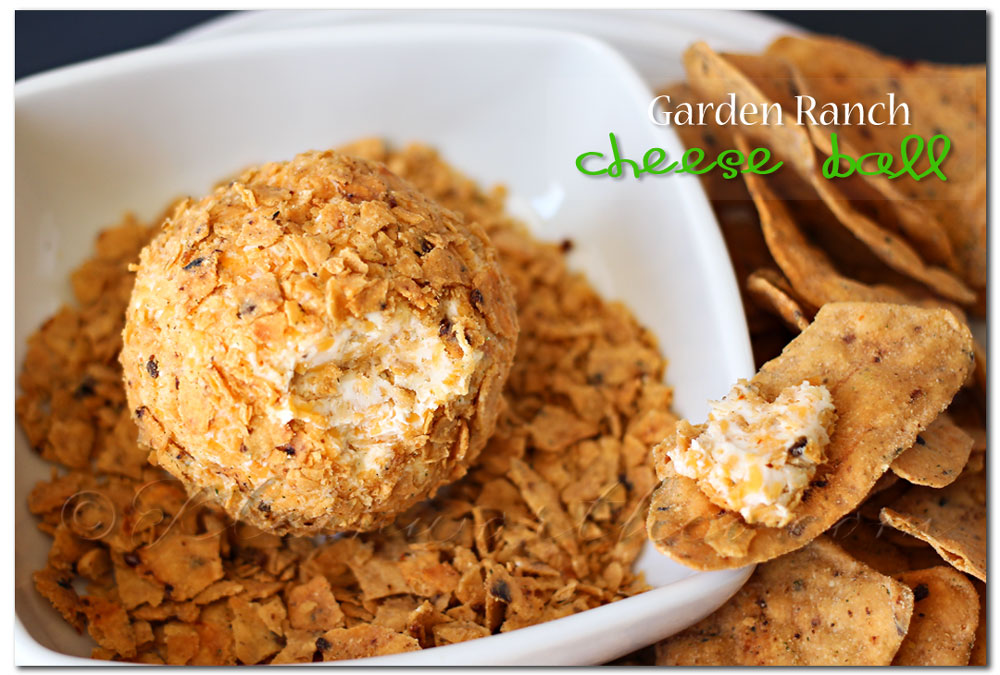



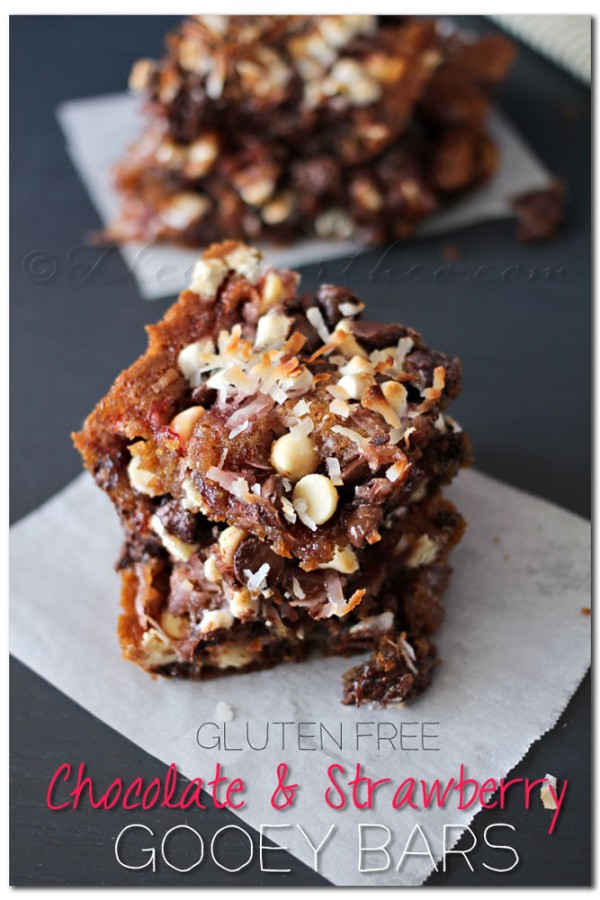
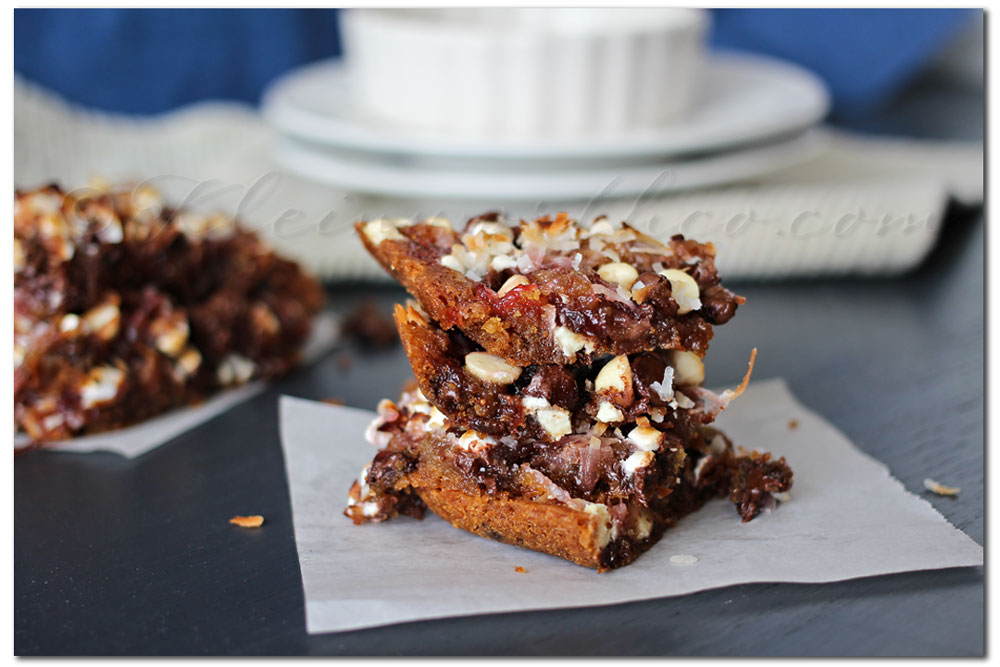

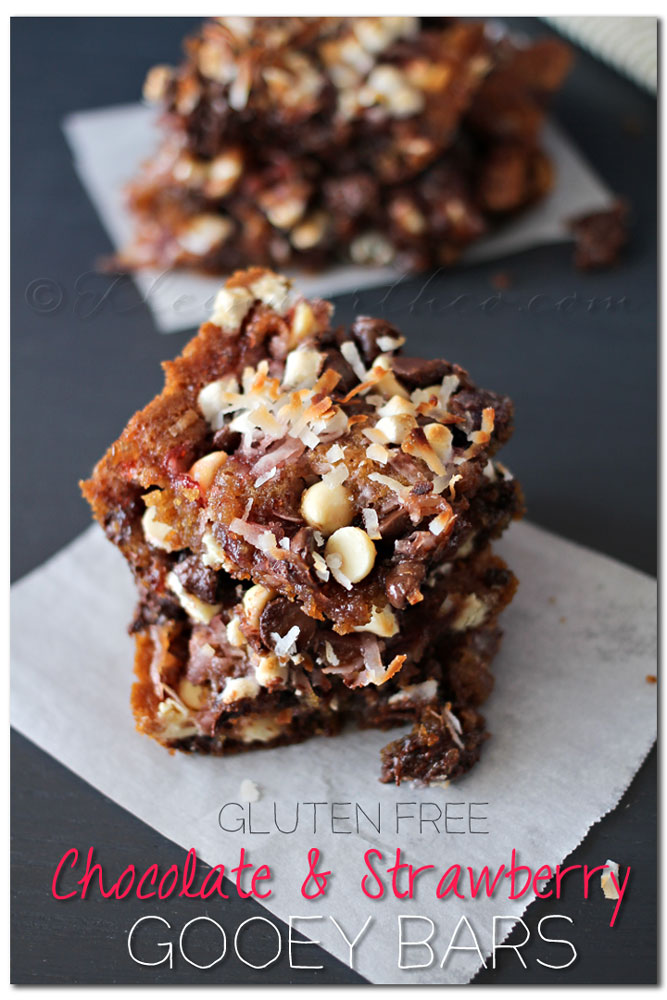


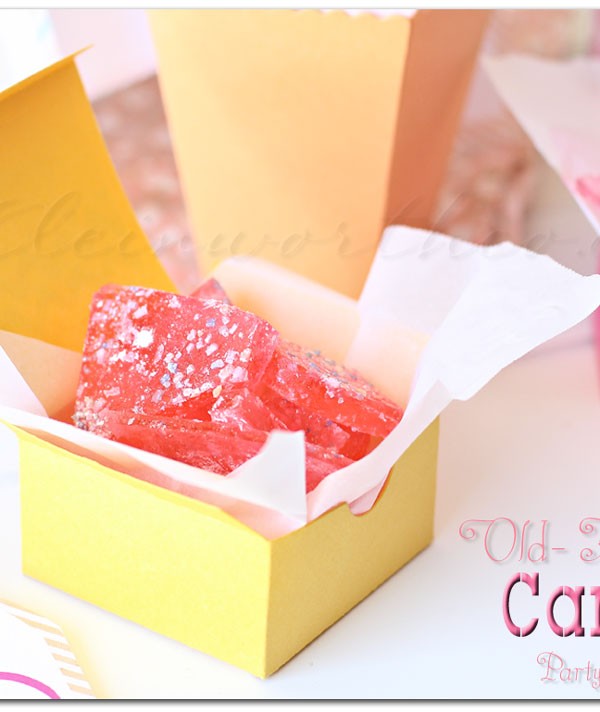
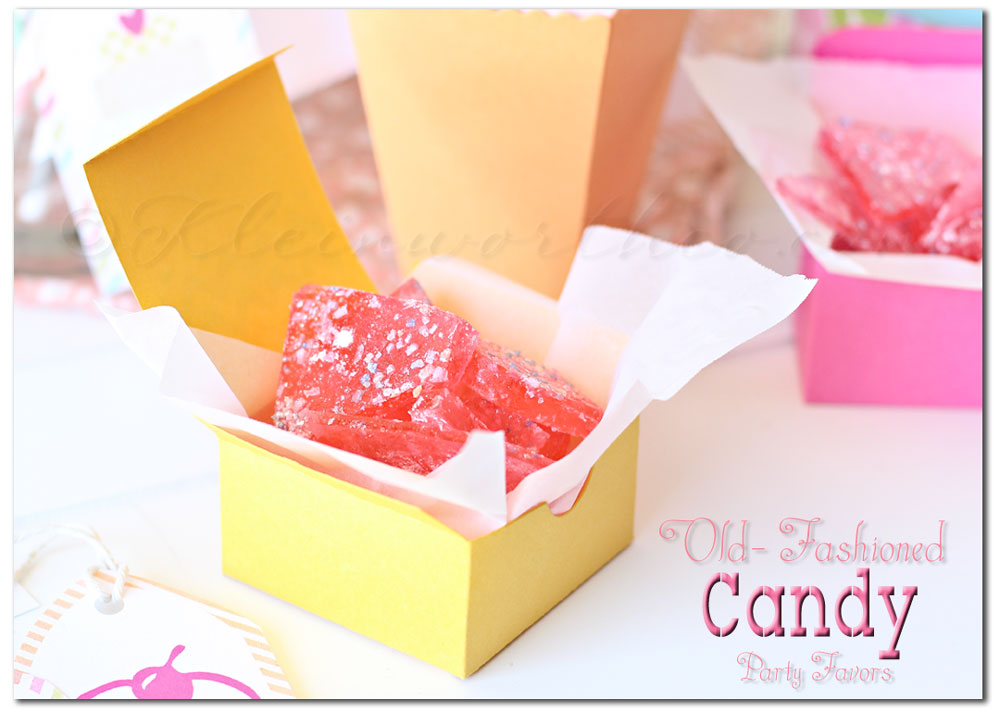
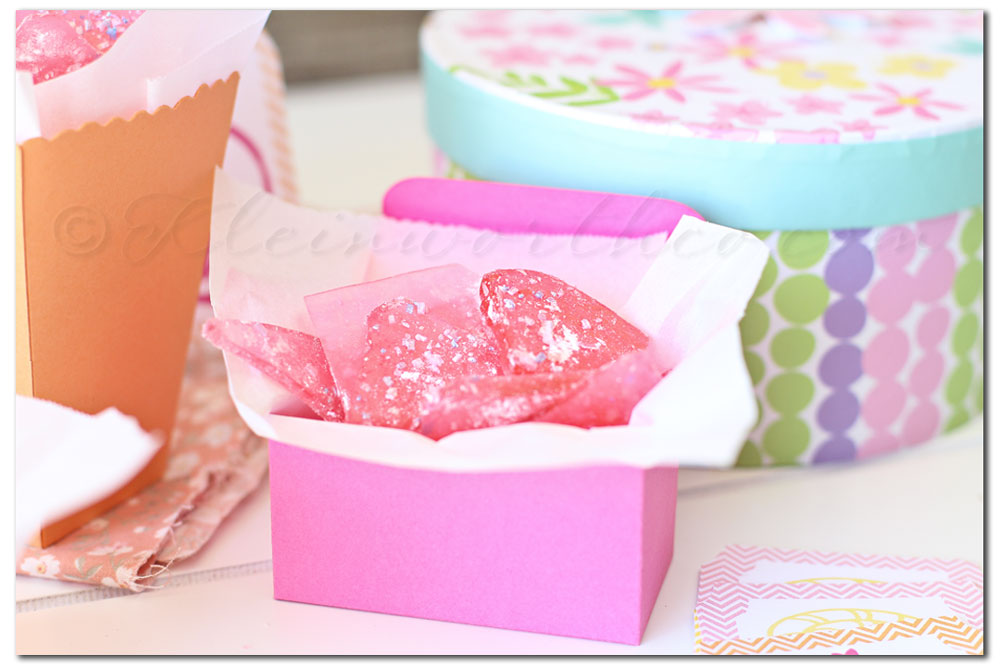 The kids are loving it & asking when I will make more.
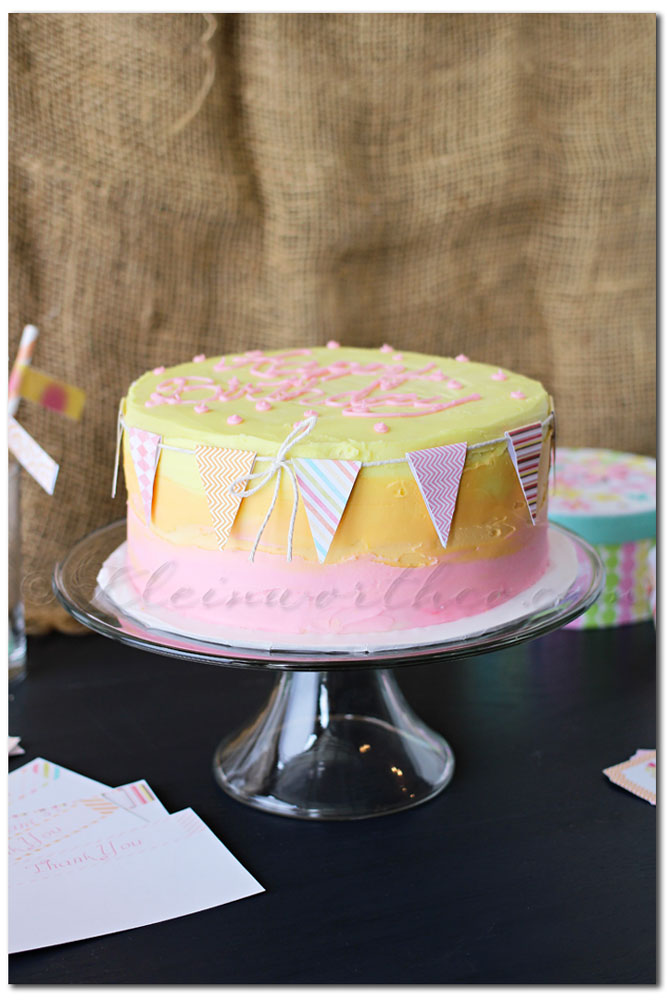
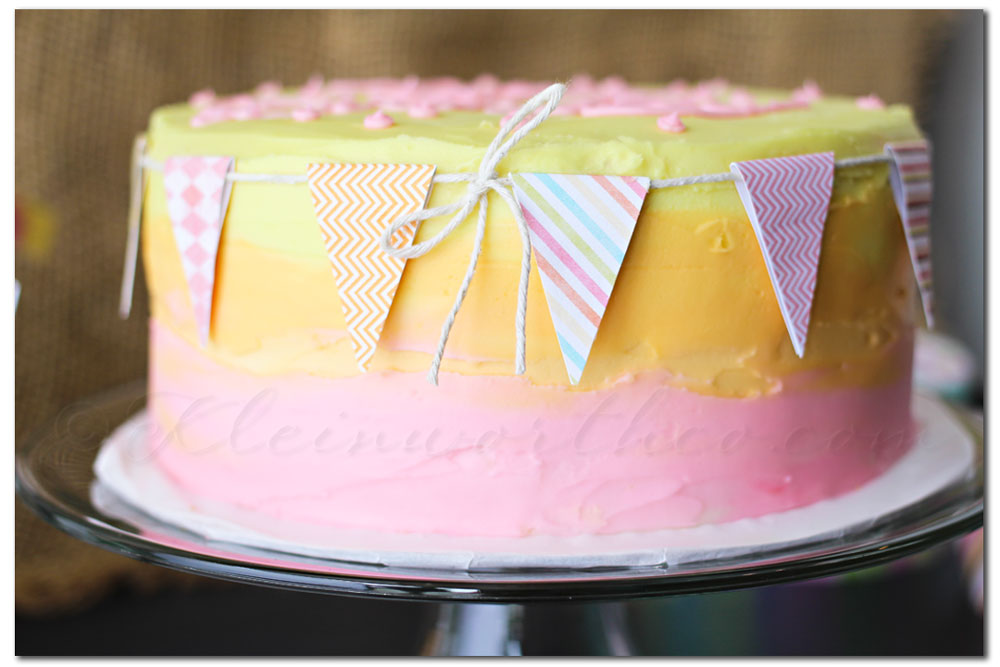
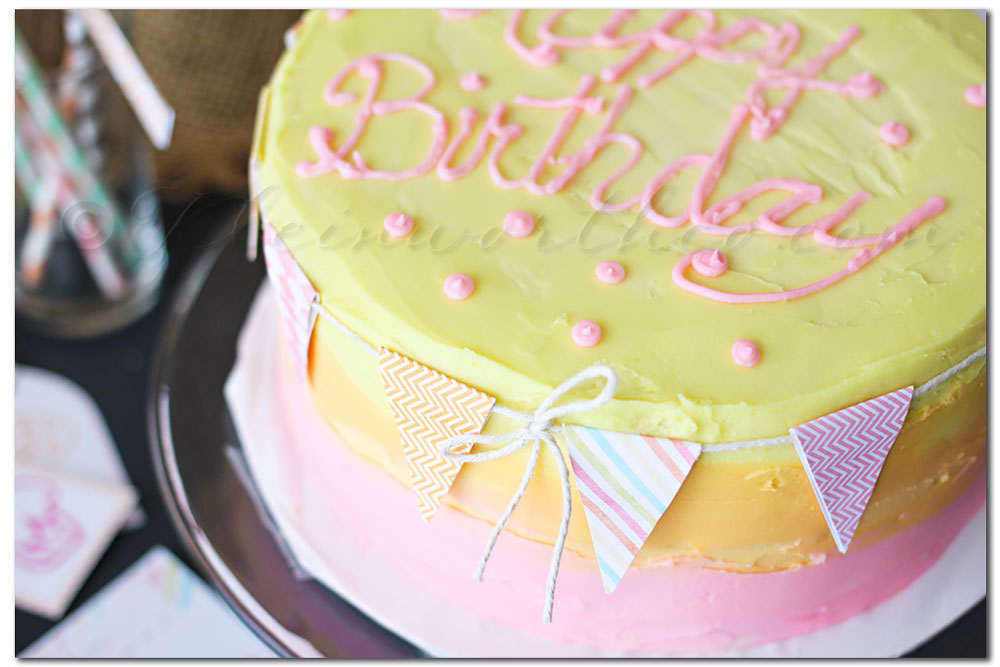
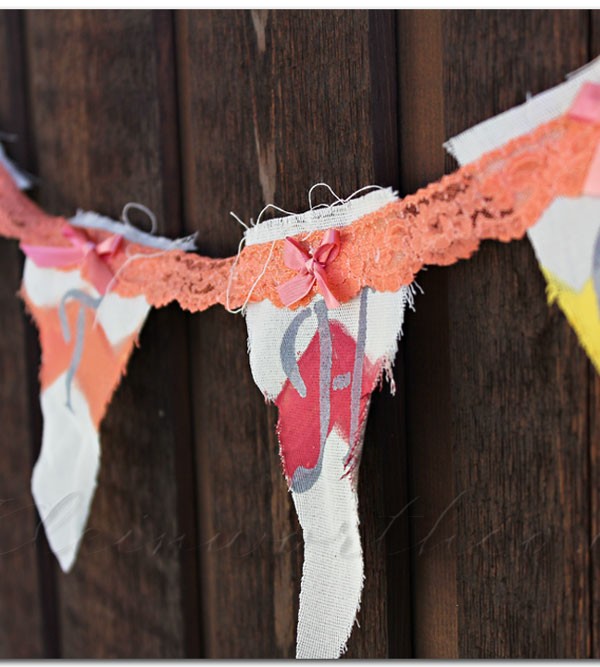
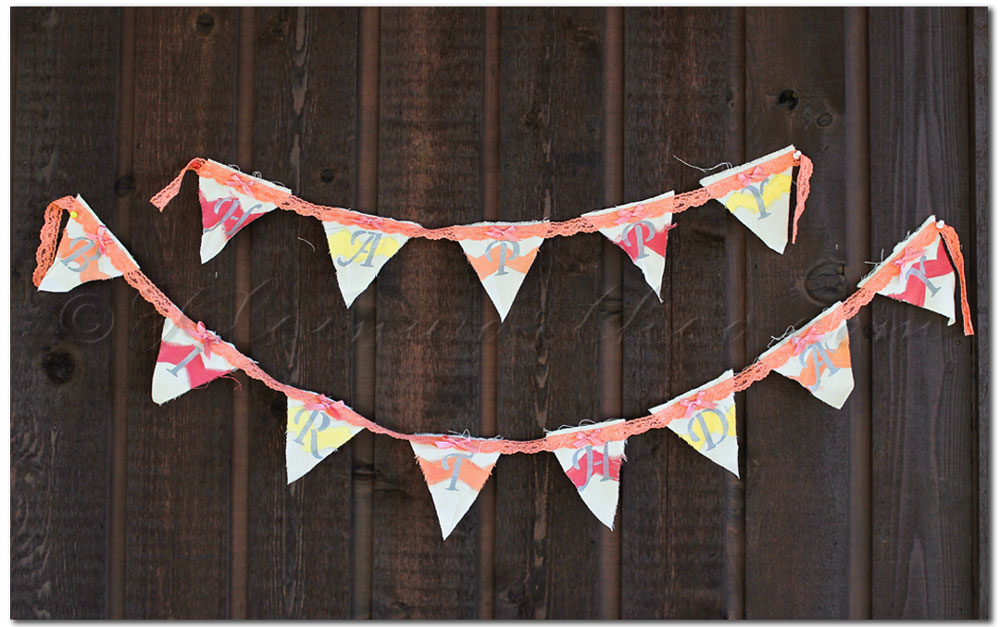
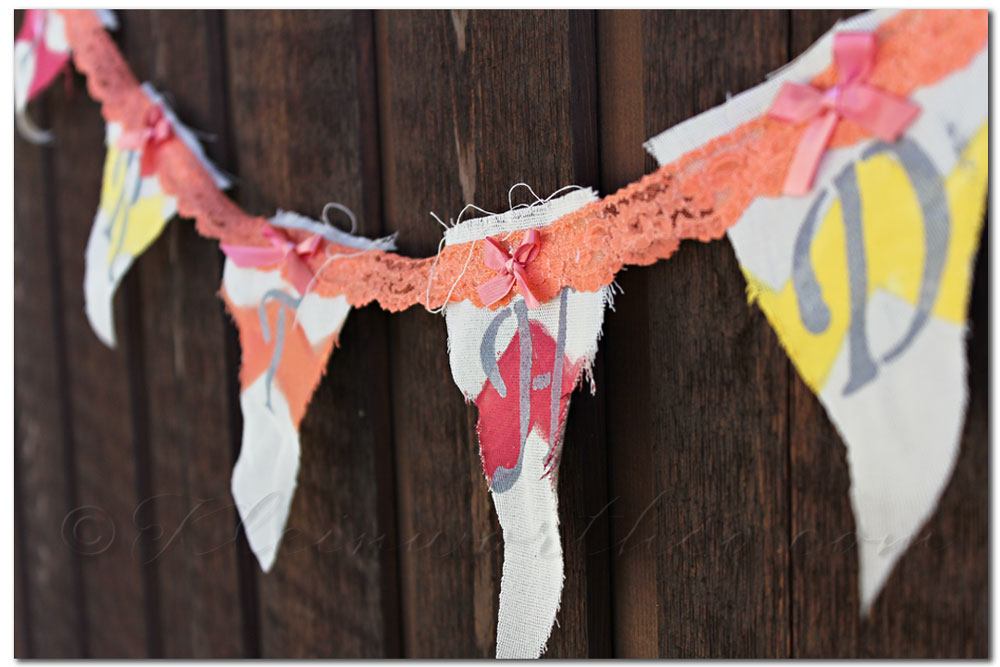
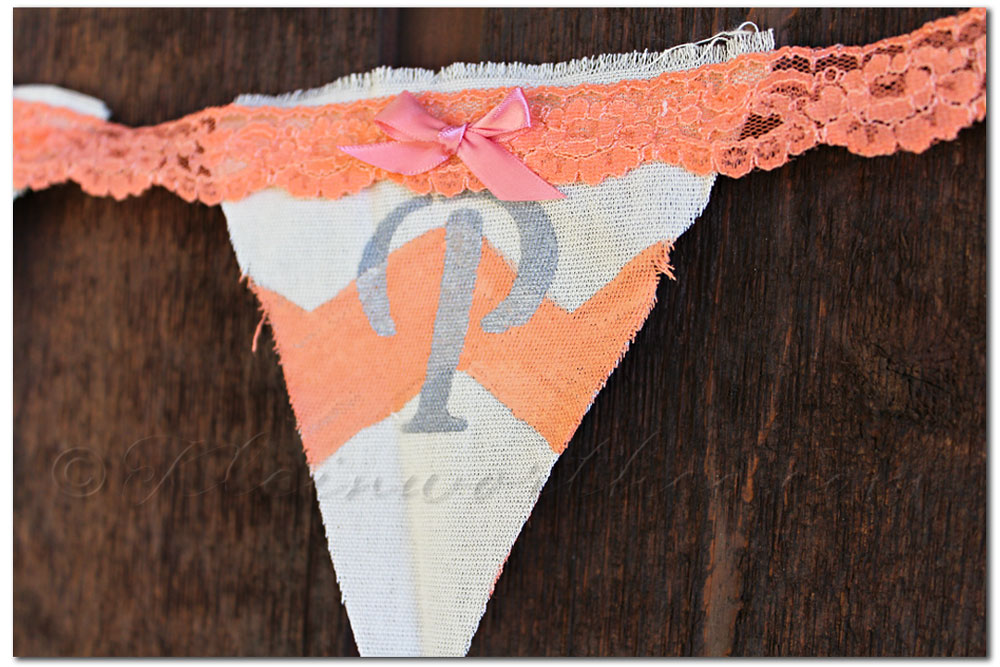
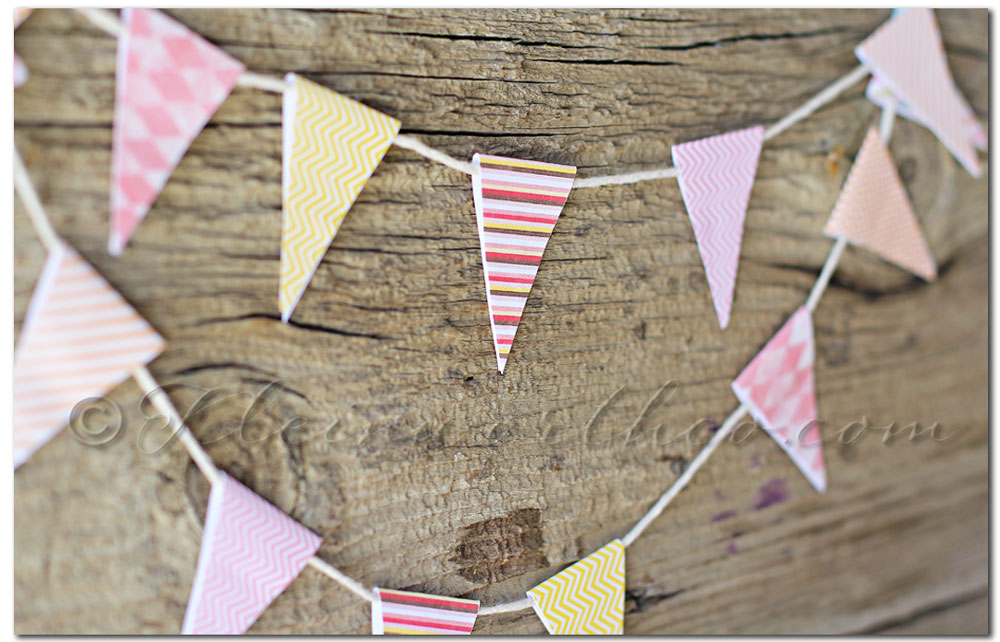 There is this banner- I think I will be using this on her cake.



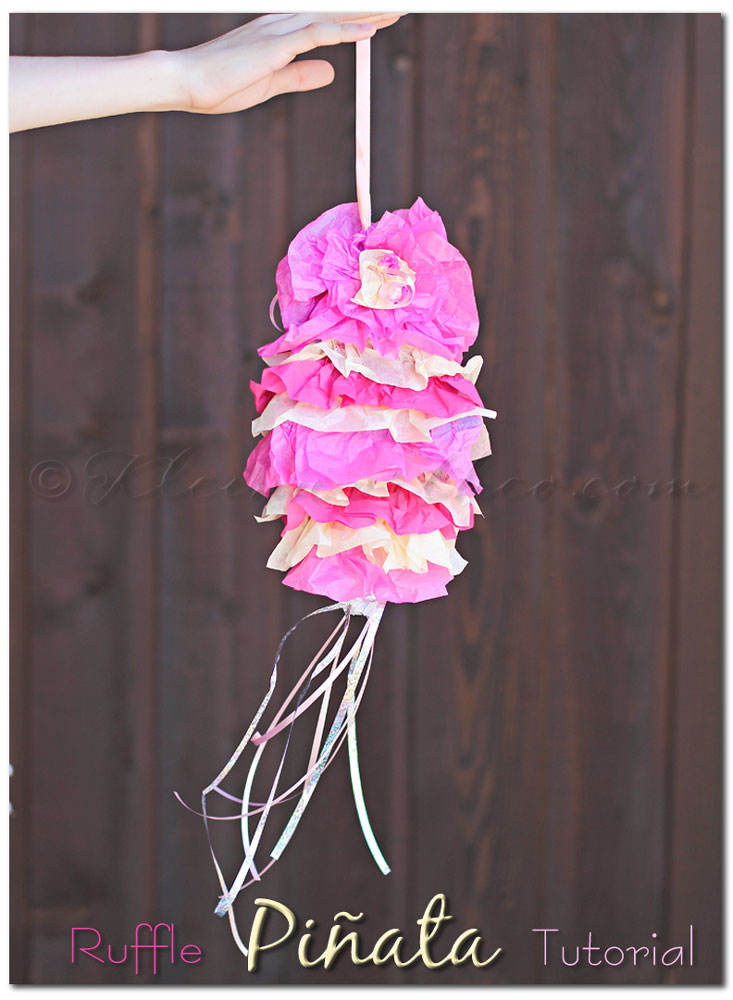

















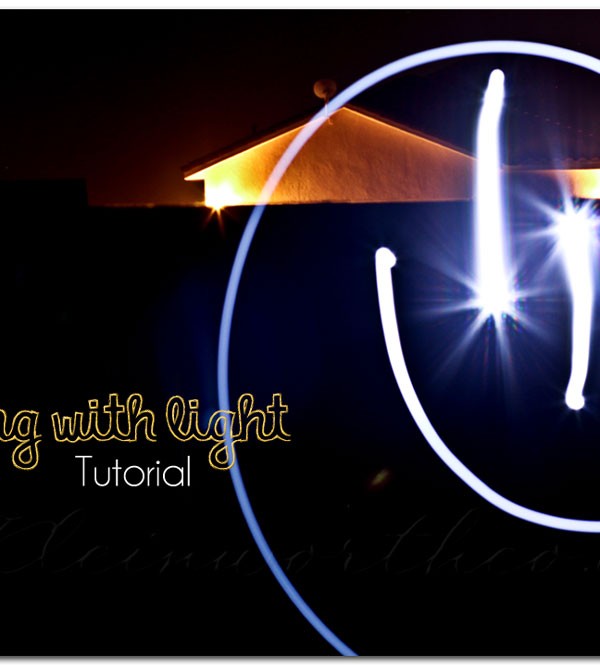

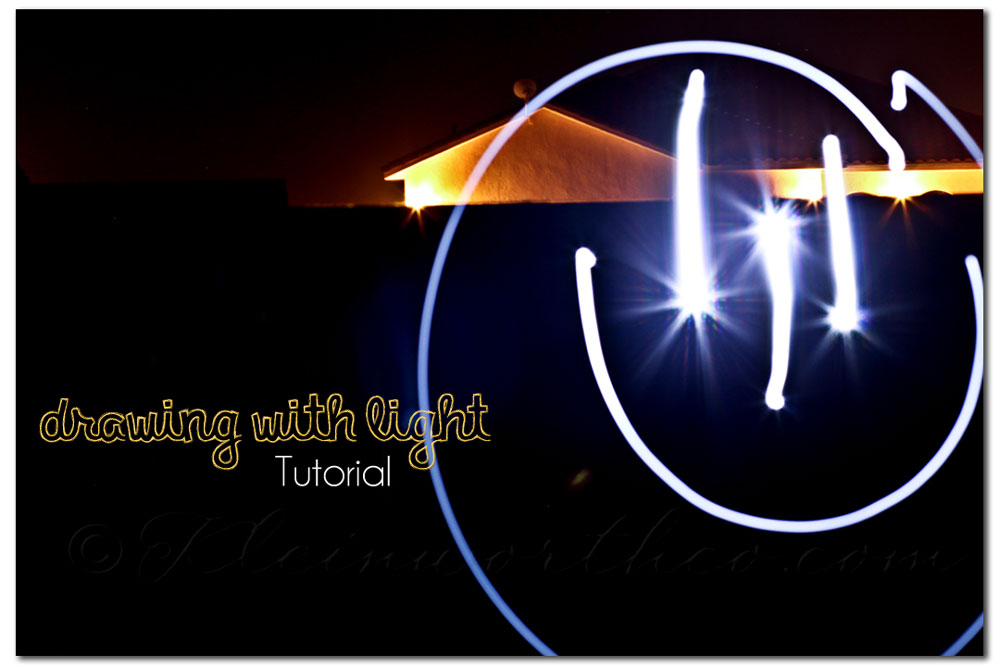 Settings for a DSLR should be set to Manual ISO 100 f/3.5-5 depending on how many people you have in your shot. SS 10-30 seconds.
 I found that using a flashlight with a click button on/off worked well. That way we could control when the light was on. You could use glow sticks if you like- but you will have to have the kids move them to behind their back’s when they are done drawing.
 I had my son stand in front of me with the lights on- I took a single test shot to make sure I was in focus- you will need to manually focus. You may need a couple test shots for this. Once you get your focus- don’t move your tripod & try to have the kids keep their feet in one place even though their arms will be moving . This is part of the fun to see who can do all these crazy things with their hands while keeping their feet in one place.
 It’s super fun to see how creative they get with the things they want to draw. We had shapes & then he tried to write messages.
 Have fun- as far as processing, not much needs to be done to images like these.
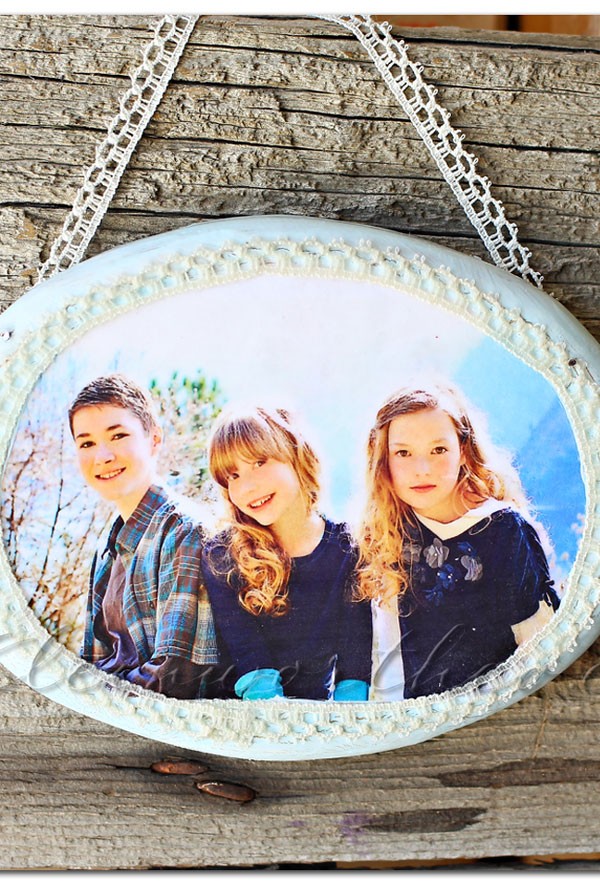
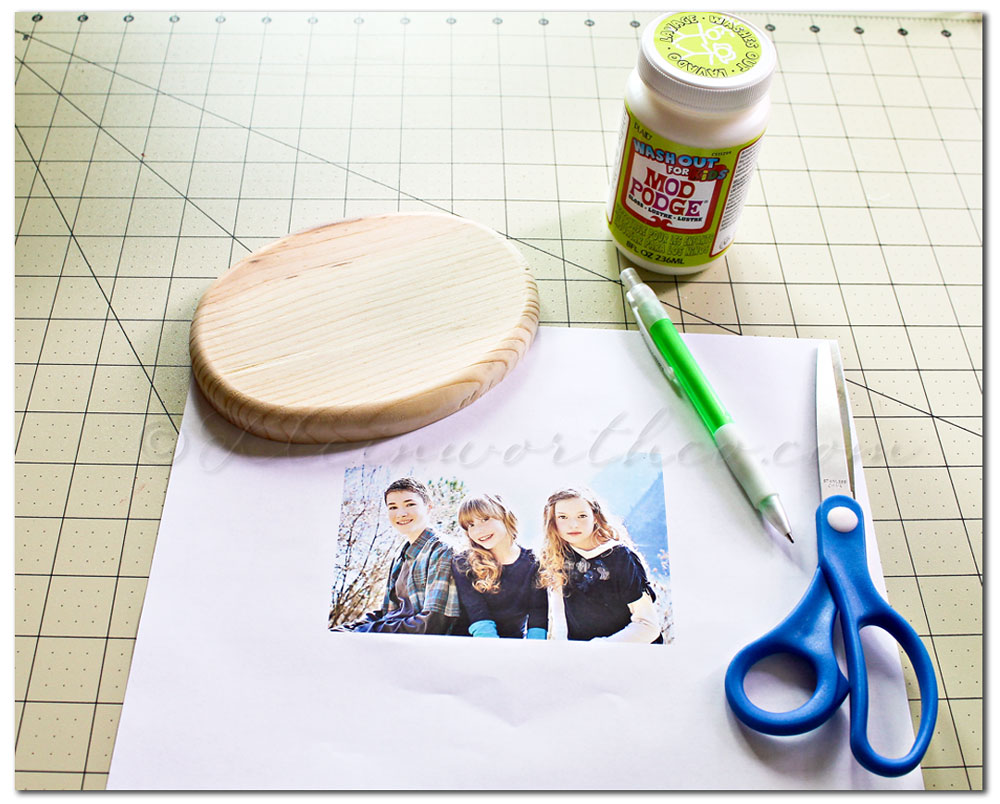
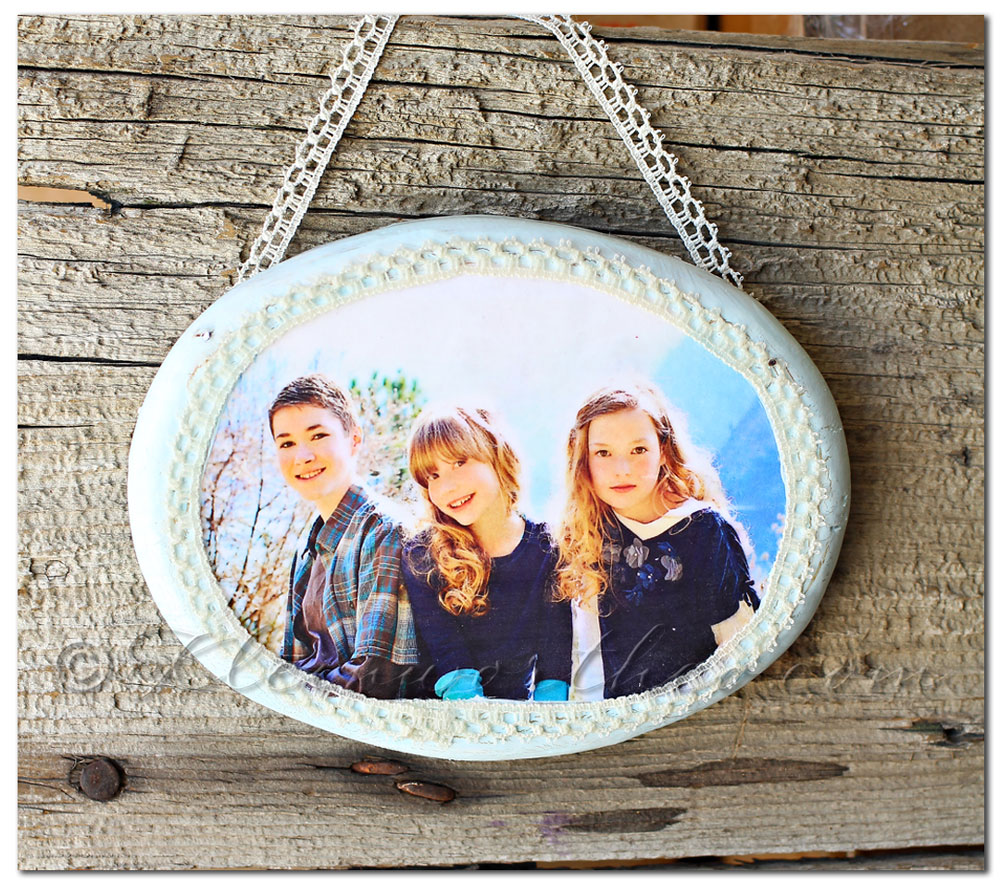 Then I just painted the edges, added some lace around the edge of the image & nailed in some more lace on the back for the hanger.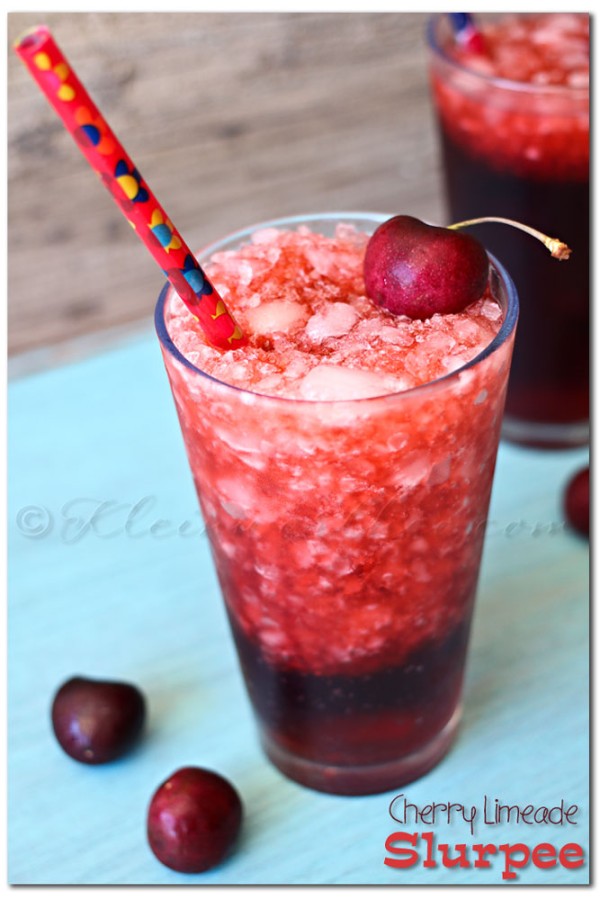
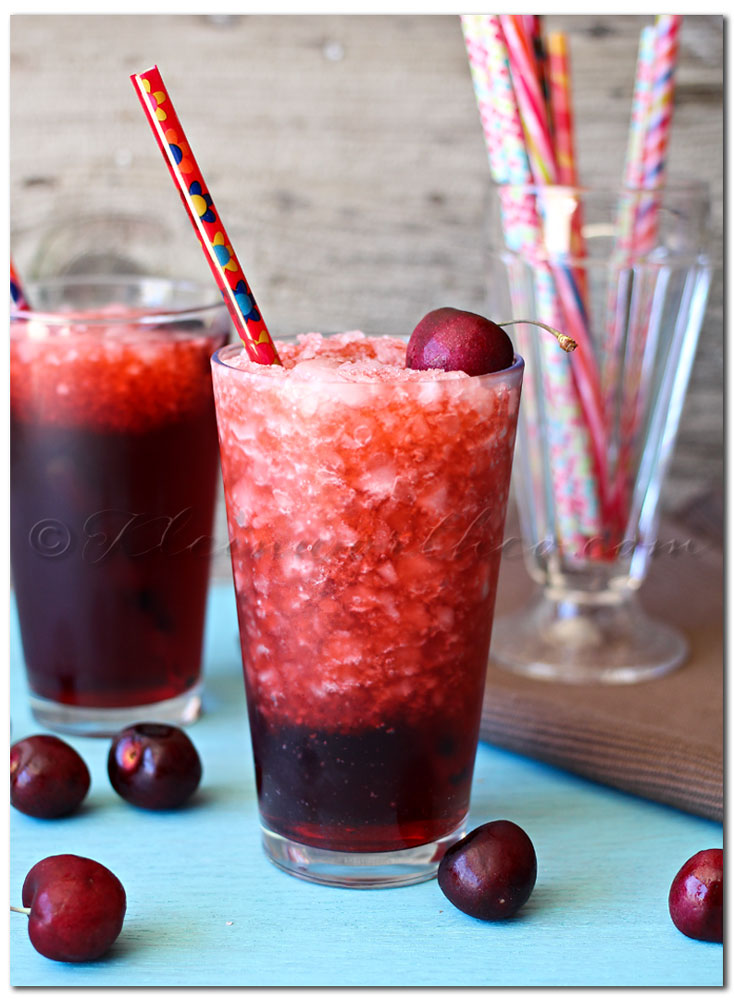
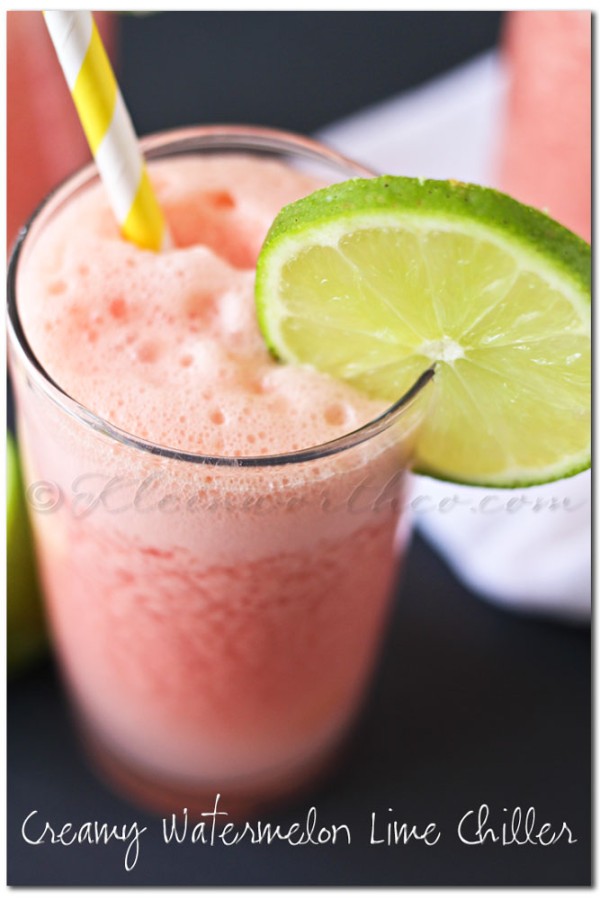
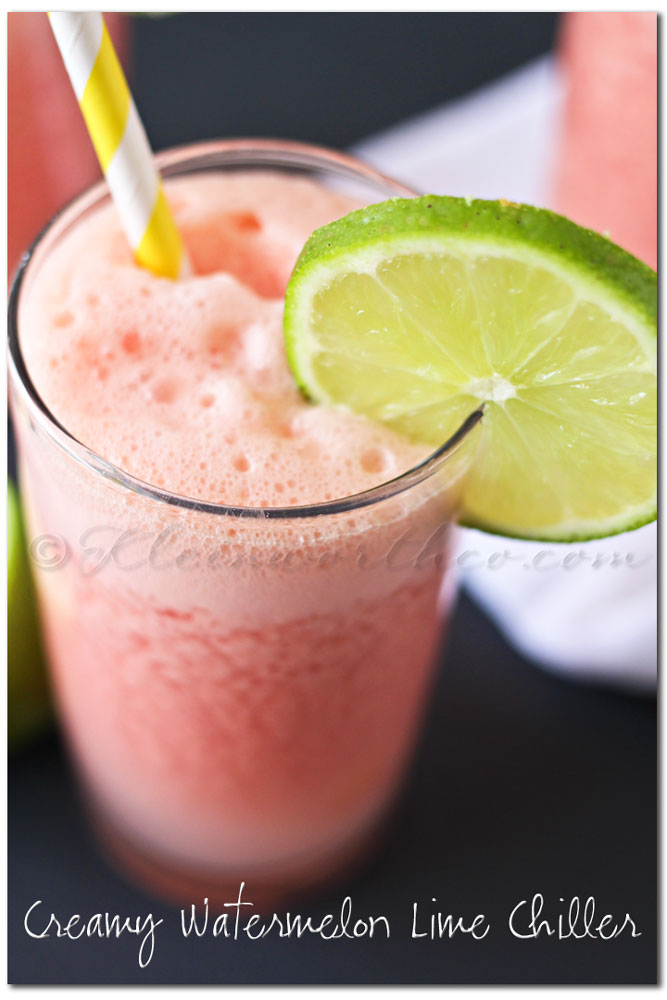
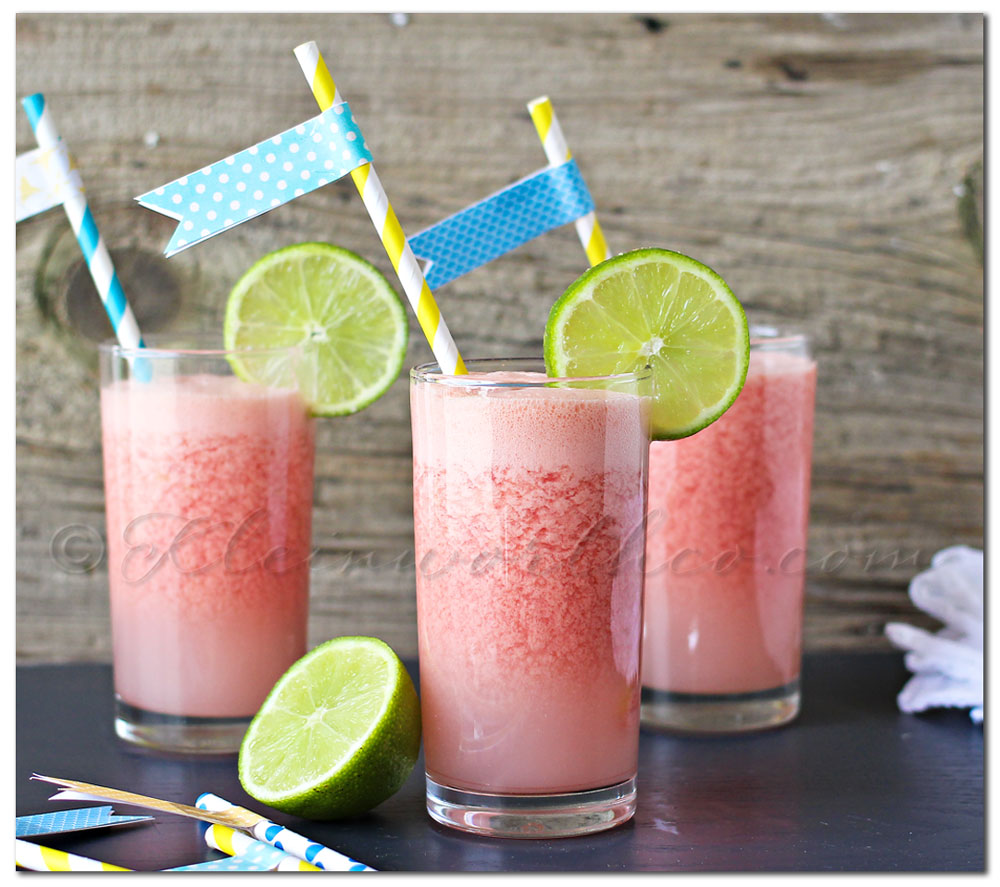
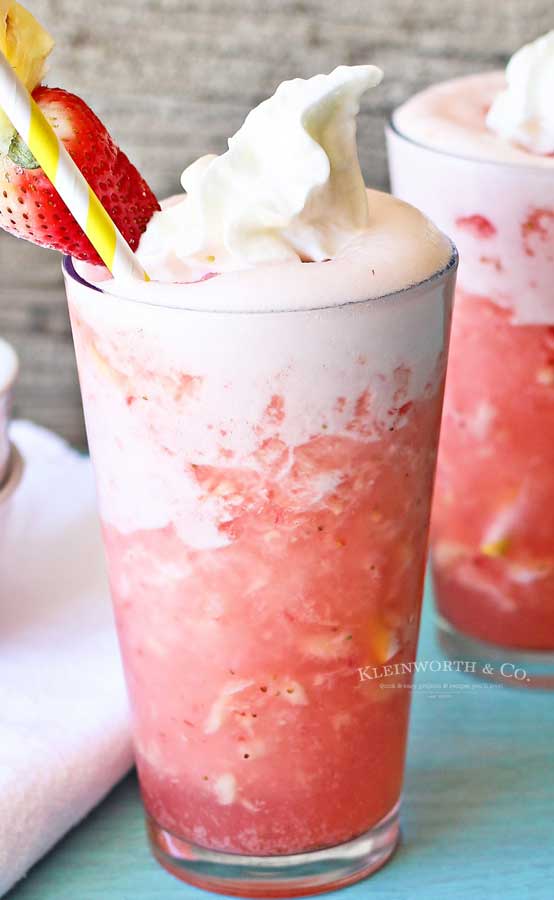
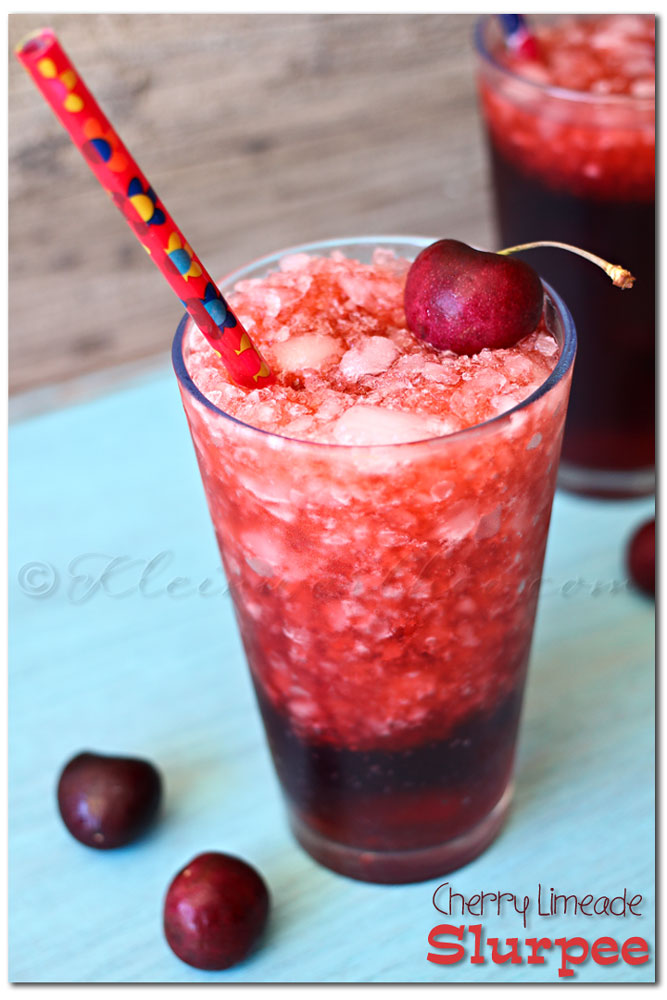 So refreshing on these hot summer days. I could drink one all day long.




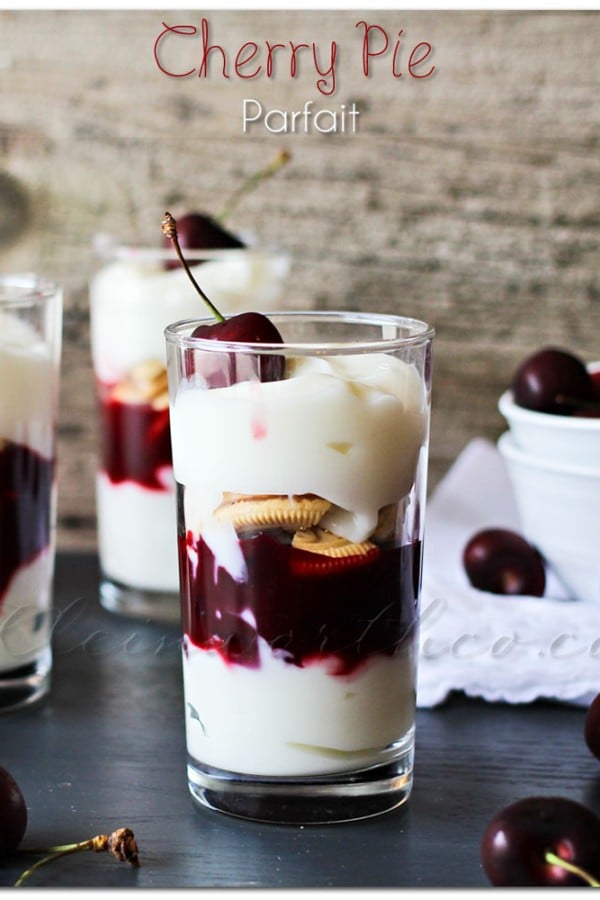
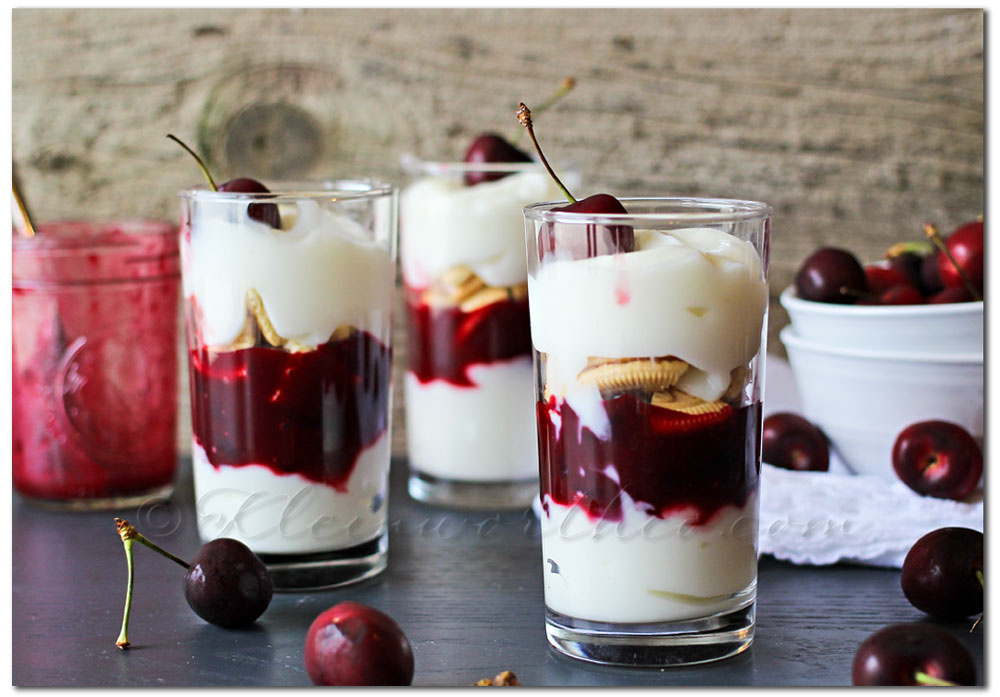

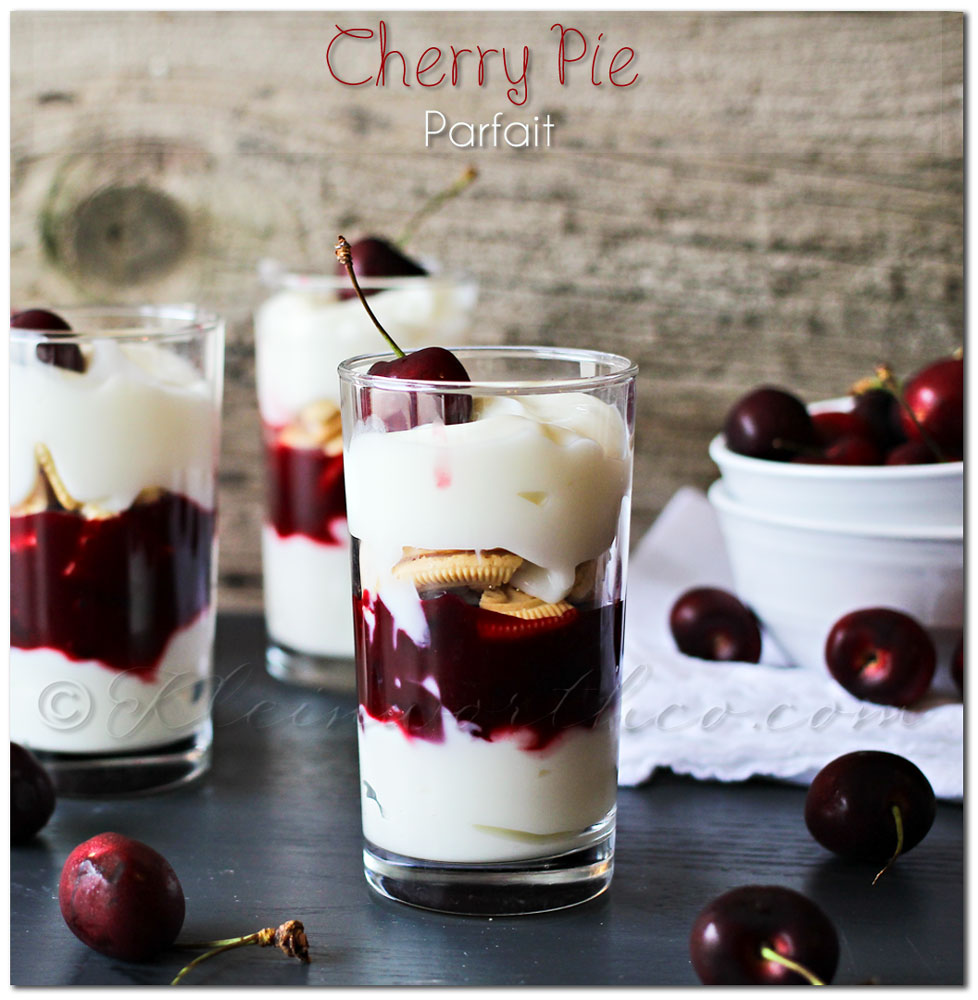 Really- the most time consuming part is making the cherry pie filling. But even that is less than 20 minutes. I love this because they look so pretty that people don’t realize just how simple they are to make. The perfect little treat for those that want to be a bit more health conscious. If you want to go all out & be bad- you could substitute the yogurt for either pudding or ice cream or whipped cream. 🙂 Yeah- I’m all about how you can jazz it up & make it super sinful. You know how it goes!