


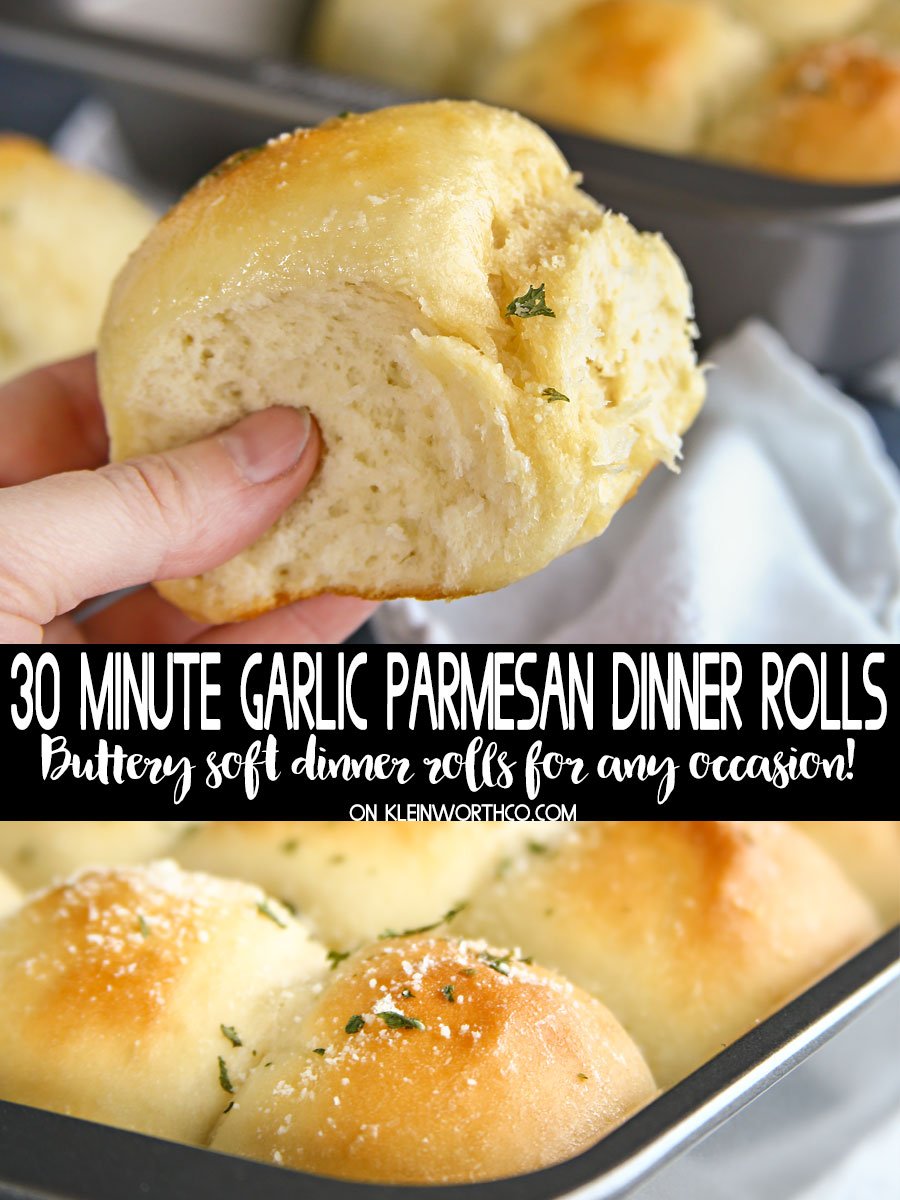
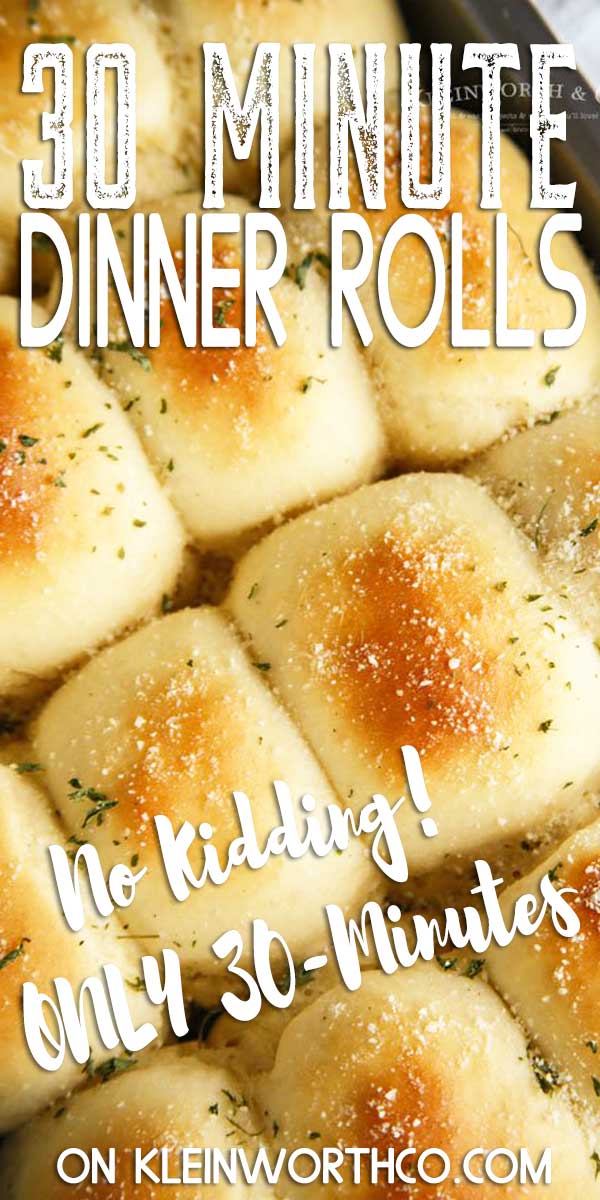
30-Minute Garlic Parmesan Dinner Rolls, the perfect bread recipe to serve with any meal. Great for holidays, so simple to make. Cheesy, garlicky goodness!
I have to admit, I have a love affair with bread. It’s a huge weakness for me. Light & fluffy dinner rolls top the list of favorites for sure. From the start, the process of making my own bread is incredibly satisfying.
I love watching the yeast proof & seeing the dough rise & especially the kneading process. It’s all so soothing to my soul. So it’s no surprise that not only do I have a lot of different bread & roll recipes here, but they are my most popular recipes as well.
Gina’s Recipe Rundown:
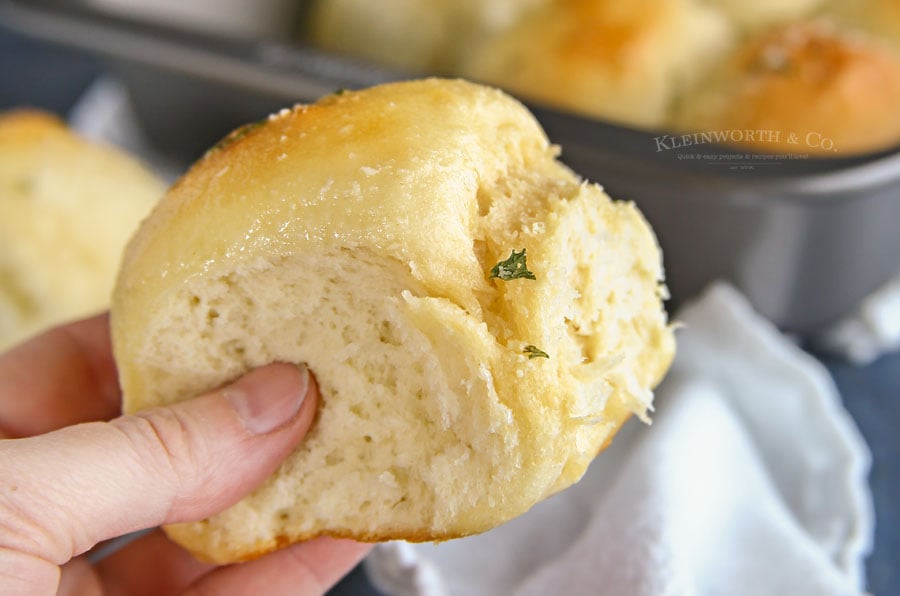
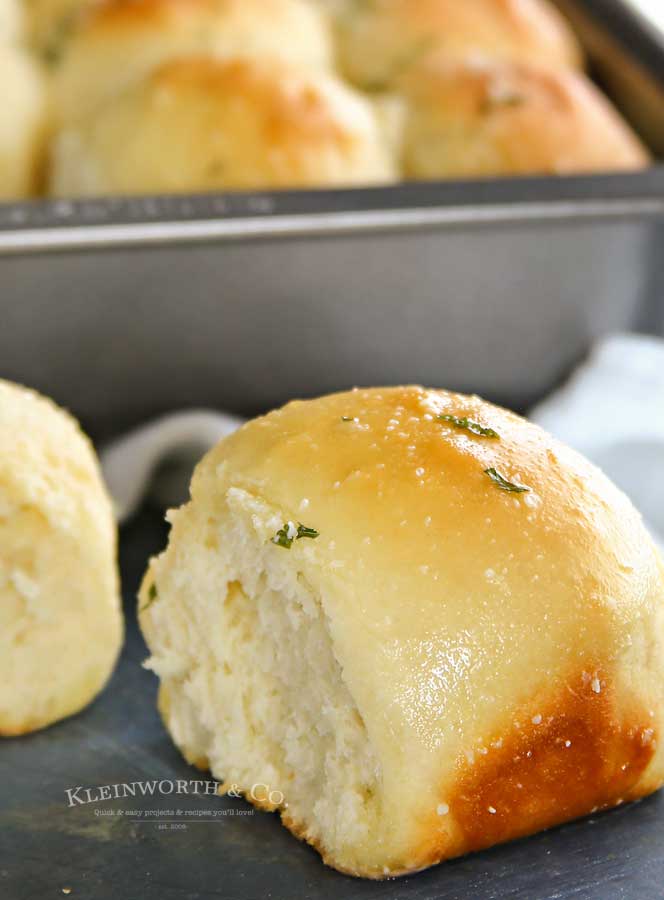
Texture: They’re kind of the perfect balance between a soft dinner roll and a savory pull-apart bread.
Taste: They’re basically garlic bread meets soft dinner roll—simple, satisfying, and super addictive.
Ease: They’re perfect when you need a last-minute side dish that still feels homemade and impressive.
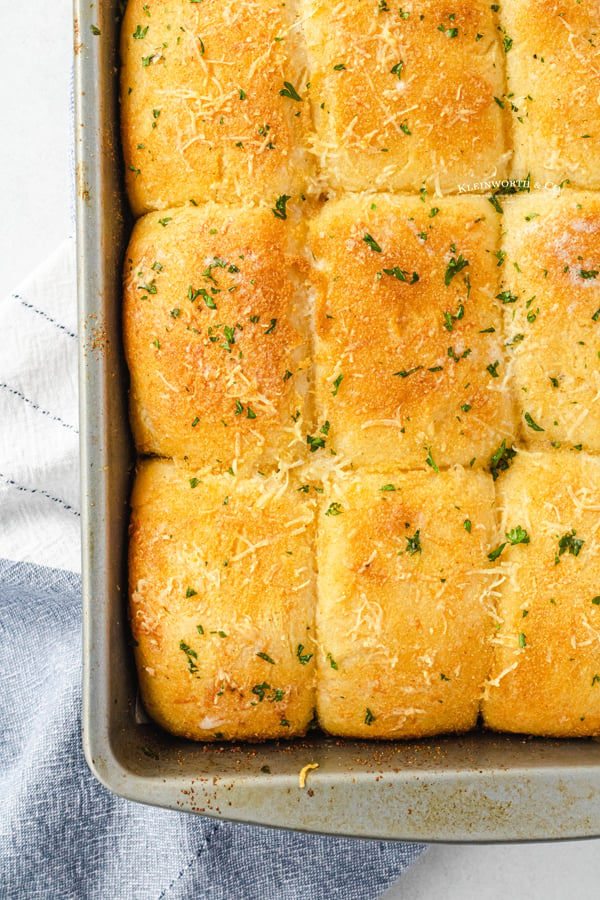
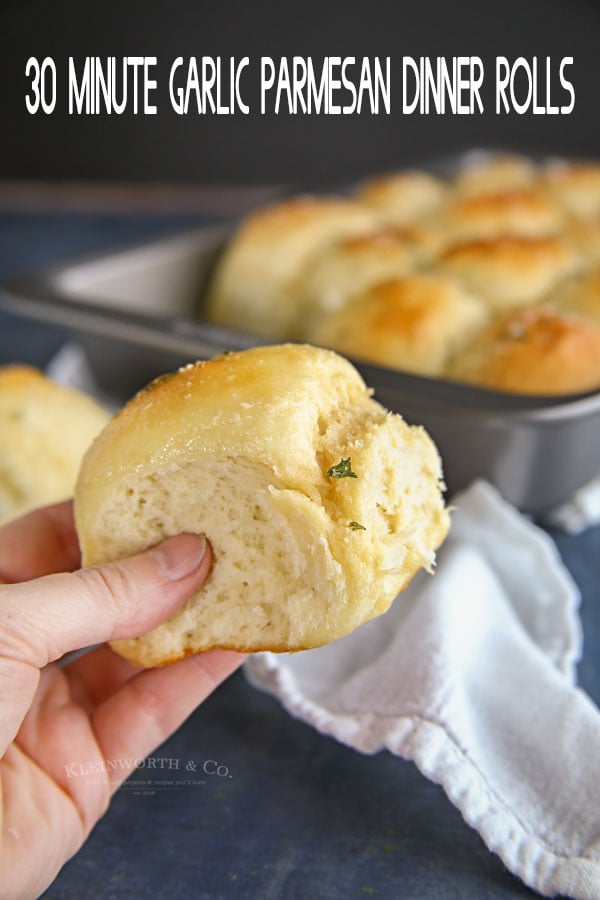
Why I love it: These rolls are everything I want in a quick homemade bread—soft, fluffy, and loaded with buttery garlic goodness. The golden tops are brushed with melty garlic butter and sprinkled with Parmesan, giving them the perfect savory finish. Best of all? They’re ready in just 30 minutes with no fuss.
There must be a whole lot of people out there that share my love for bread. Are you one of them?
While my one-hour dinner rolls are still leading as my favorite, I created this condensed version, 30-Minute Garlic Parmesan Dinner Rolls that’s pretty darn good too. With rolls ready in just 30-minutes, I just had to share the recipe with you.
- Gina’s Recipe Rundown:
- Dinner Rolls
- 30 minute rolls
- 30-Minute Dinner Rolls
- Here are some commonly asked questions
- Does this really take just 30 minutes?
- easy yeast rolls for beginners
- What is the best way to store leftover 30-minute dinner rolls?
- quick dinner rolls
- “I know this is a silly question…do I dissolve/mix the yeast with the water and then add it to the sugar, or do I dissolve the sugar in the warm water and then add the yeast to that?”
- yeast rolls recipe easy
- More Must-Try Dinner Rolls
- fast dinner rolls
- Can you make the dough ahead of time and cook it the next day?
- homemade dinner rolls
- What readers are saying…
- best dinner rolls
- Why is my bread so dense?
- how to make dinner rolls
- Can this recipe be doubled?
- How many rolls does this make?
- HOW DO YOU MAKE 30-Minute Garlic Parmesan Dinner Rolls?
- Can these be made gluten-free?
- Can this recipe be halved?
- To make this recipe you will need…
- HOW TO MAKE DINNER ROLLS
This post contains some affiliate links. Click here to read my full disclosure policy.
Now the key to easy bread, getting your water temperature right when you are proofing the yeast. When recipes call for warm water, it means somewhere between 115-125 degrees. I know it seems hot but it’s just perfect for getting the yeast to grow.
Any cooler & it can take a whole lot longer to proof. Any hotter & you risk killing them altogether – which means it won’t rise & your bread will be dense & be more like a hockey puck than a dinner roll. Not good.
So I picked up a digital thermometer so I can get the water just perfect. It wasn’t too expensive & my bread-making has been so much more enjoyable too. For all my bread recipes, I also really like to use THIS YEAST. I promise both will help immensely.
easy yeast rolls for beginners FAQs
Does this really take just 30 minutes?
Yes- I know that it is hard to believe, but yes you can make these rolls in about 30 minutes.
Unlike my One Hour Dinner Rolls which are still the “fan-favorite” here & literally take exactly 60 minutes to make, this dinner rolls recipe comes in at about 30 minutes depending on how warm your kitchen is when you are proofing the yeast & letting the dough rise.
Not too bad for a bread recipe, right?!

What is the best way to store leftover 30-minute dinner rolls?
While you can keep them in an airtight container on the counter or in the pantry, I have found that since they don’t contain any preservatives, they last the longest when refrigerated.
Just pull them out about 15 minutes before you want to enjoy them so they can warm up to room temperature. Or you can microwave for a few seconds to take the chill off.
“I know this is a silly question…do I dissolve/mix the yeast with the water and then add it to the sugar, or do I dissolve the sugar in the warm water and then add the yeast to that?”
You would combine the water, sugar, and yeast together and let it start to foam. When it is frothy, it is done. Please see the notes above about the yeast.
What is the best yeast?
You can use rapid rise, premium or whatever you have on hand. I buy my yeast in the bulk section of my store, so it’s not brand-name or anything fancy & it works just great.
More Must-Try Dinner Rolls
Can you make the dough ahead of time and cook it the next day?
That should be fine. Make sure to bring it to room temperature while you preheat the oven before baking.

What readers are saying…
“I love making bread and rolls. I have used dozens of recipes over the years, but this is the easiest and best ever! It was magical how everything happened exactly as it should have.
The dough was soft, easy to work with, rose perfectly, and when the rolls came out of the oven…heavenly! Perfect texture, tender and delicious. I will never use another recipe for rolls again.
Thank you so much for sharing this recipe.” Toni
“I’ve used this recipe several times now and it comes out great. I did make some minor adjustments. I throw the garlic powder and parmesan right into the wet ingredients before putting in the flour.
Also I’ve found having the rolls rise for 15 minutes gives them more time to really rise. Great recipe, thank you.” Priscilla
“I just made these for Thanksgiving dinner. Super easy, quick and oh so yummy. I can’t wait to have a left over turkey sandwich on one tomorrow!
This recipe is a keeper for sure!” Jerry
Why is my bread so dense?
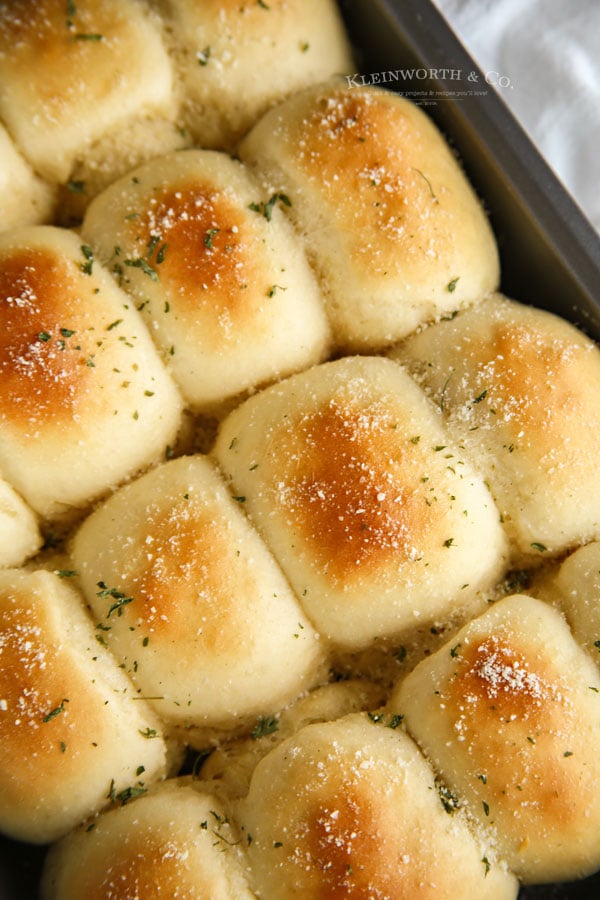
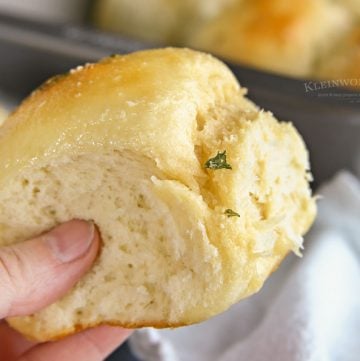
These 30-minute dinner rolls should be light and fluffy like you see in the images here. If you find that your rolls are not rising or come out more dense, please see the following suggestions below.
- Kneading. While the recipe here does not call for kneading as a separate step, bread needs the kneading to form the gluten because that is what makes bread light and fluffy. This can be as easy as letting your mixer work the dough for a couple of extra minutes.
- Check that yeast. If your yeast doesn’t proof, it could either be expired or the temperature of the water wasn’t the right temperature and the yeast died. Too cold and it will take much longer to proof, too hot or expired – and won’t grow at all.
- Too much flour. Adding too much flour will make the dough dense. I know the inclination is to add more when the dough is sticky – but mix in just enough to be able to form it into the rolls with wet or oily hands. If you live in a lower elevation, or higher humidity, you probably won’t need as much flour.
Can this recipe for quick dinner rolls be doubled?
I don’t recommend doing this because even with my pro-sized mixer, the dough fills the bowl. Doubling it would make it really difficult to mix & knead as needed.
I have however made back-to-back batches. While one round is raising, I will have another batch proofing so those rolls are ready to bake as soon as the others come out. We sure like our dinner rolls in this house.

How many dinner rolls does this make?
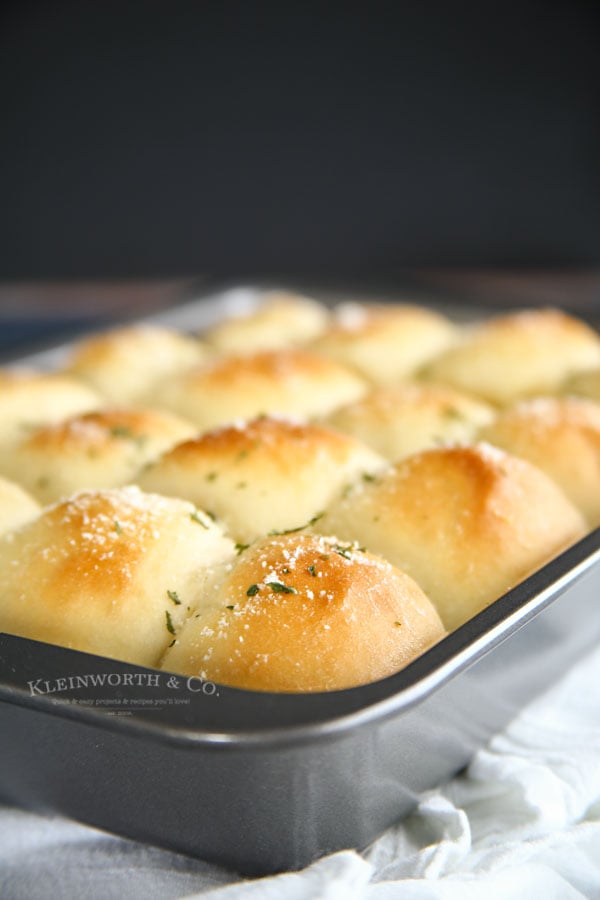
This recipe makes 16 rolls, which is perfect for a smaller gathering. It is also perfect for regular weeknight dinners. You don’t need to be celebrating a holiday to make these rolls. They are great any time of year.
HOW DO YOU MAKE 30-Minute Garlic Parmesan Dinner Rolls?
- Line baking sheet with parchment or non-stick liner- set aside.
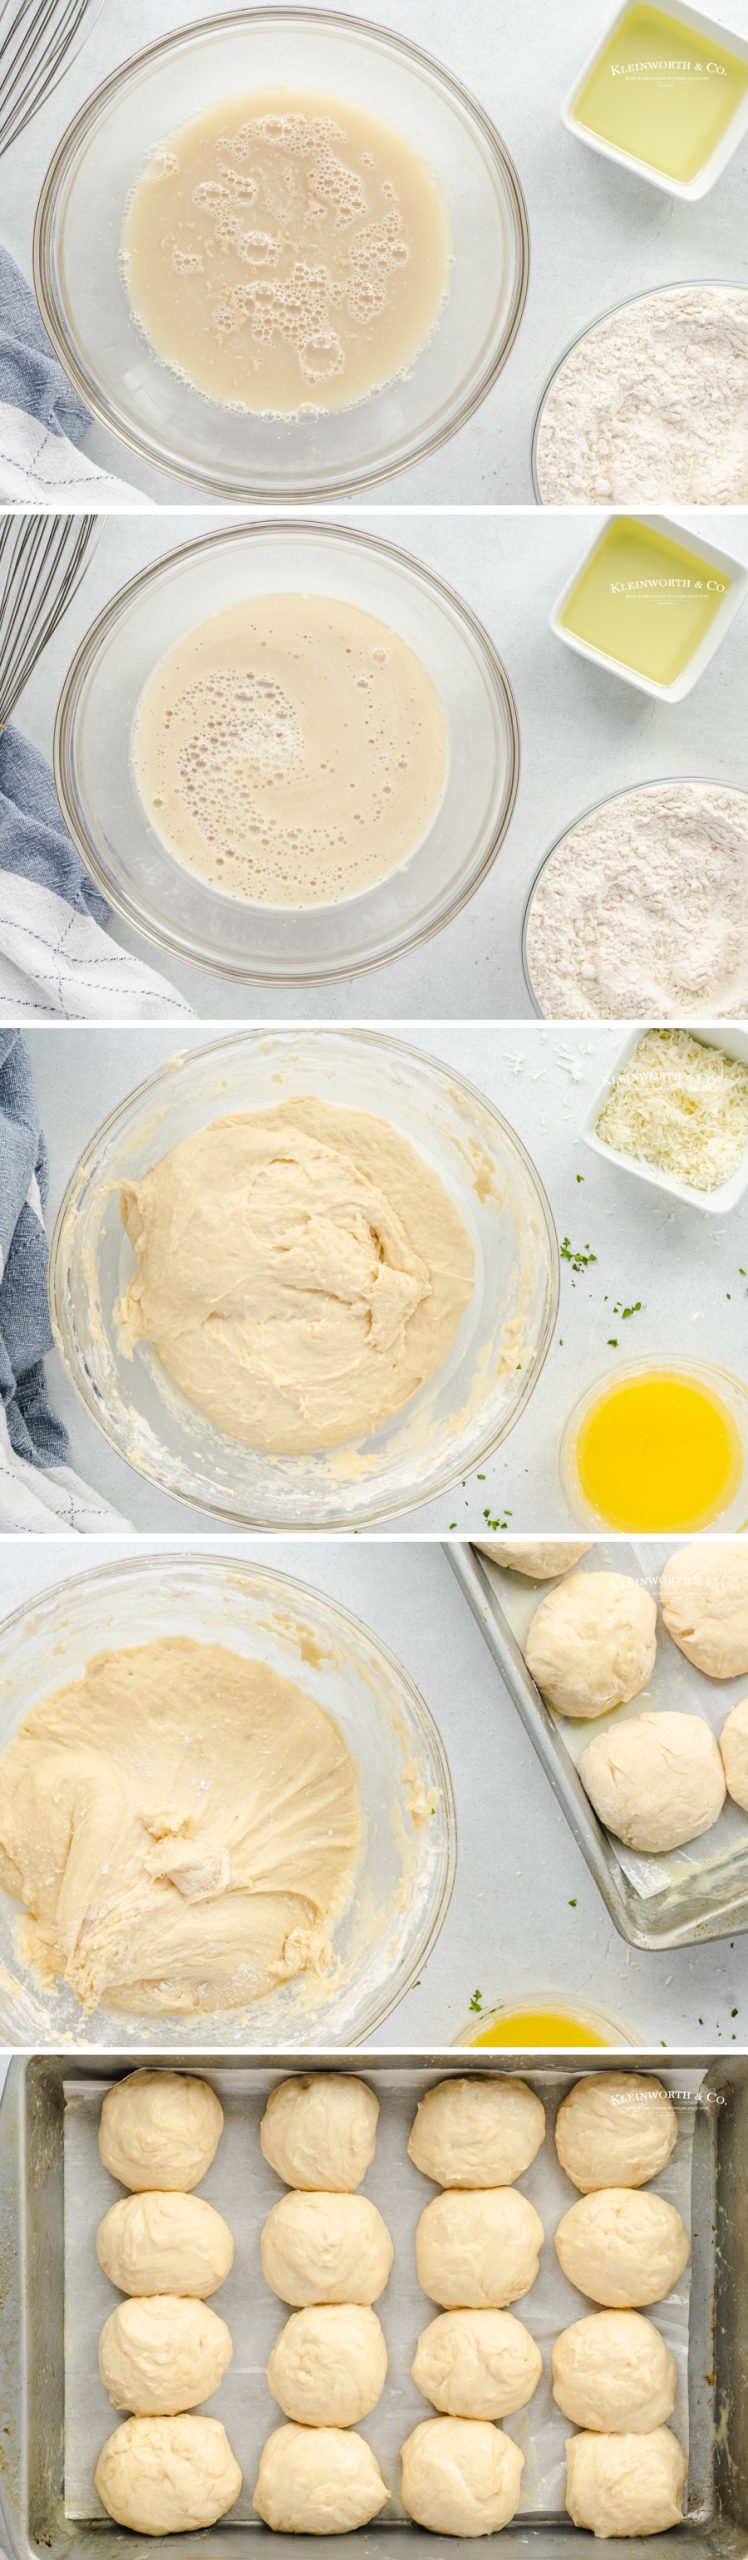
- Combine yeast with warm water & sugar in a large bowl – allow to proof approx 2-5 minutes.
- Add in oil, salt, egg & flour & mix until combined. (adding a little more flour if the dough is too sticky.)
- Separate into 16 equal-sized pieces & shape into rolls.
- Place on a prepared baking sheet & let rise approx 5-10 minutes in a warm place. (I usually turn on my fireplace & set them on the hearth to rise)
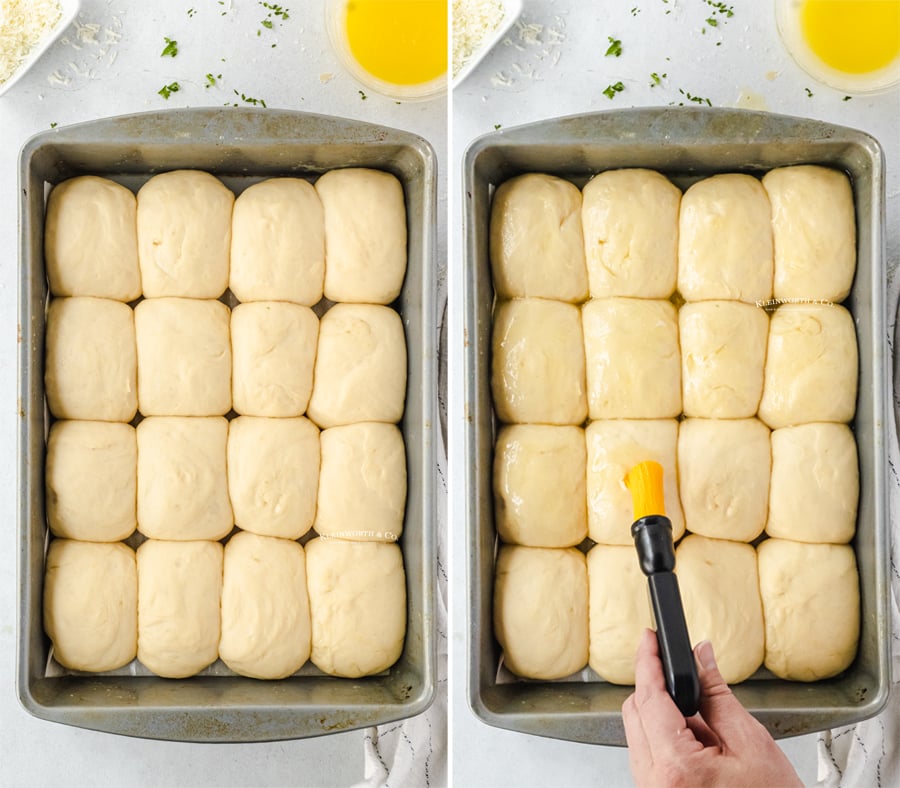
- Brush raised rolls with melted butter & sprinkle with granulated garlic, cheese & parsley.
- Preheat oven to 375ºF.
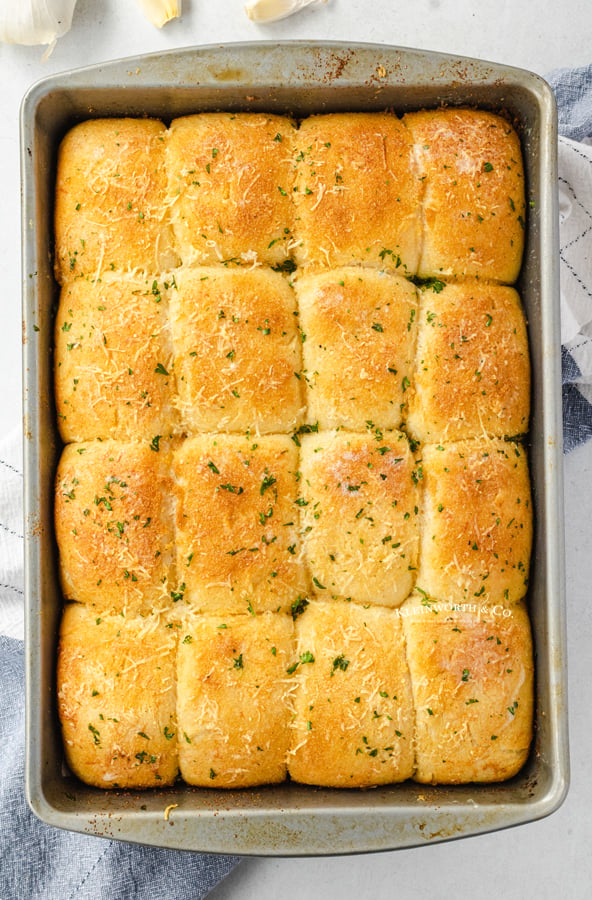
- Bake rolls for about 18-20 minutes.
- Spread additional butter on top before serving
Can these easy dinner rolls be made gluten-free?
I have not tried making this gluten-free. However, I have heard that there are certain gluten-free flours out there that do allow for a one-to-one replacement.
You could give them a try & see how it turns out. If you do this, please come back here & let me know the results. I would love to hear about it.
Can this roll recipe be halved?
I wouldn’t recommend cutting this recipe. It might be easier to make them & then pop what you don’t plan on using in the freezer for another time.
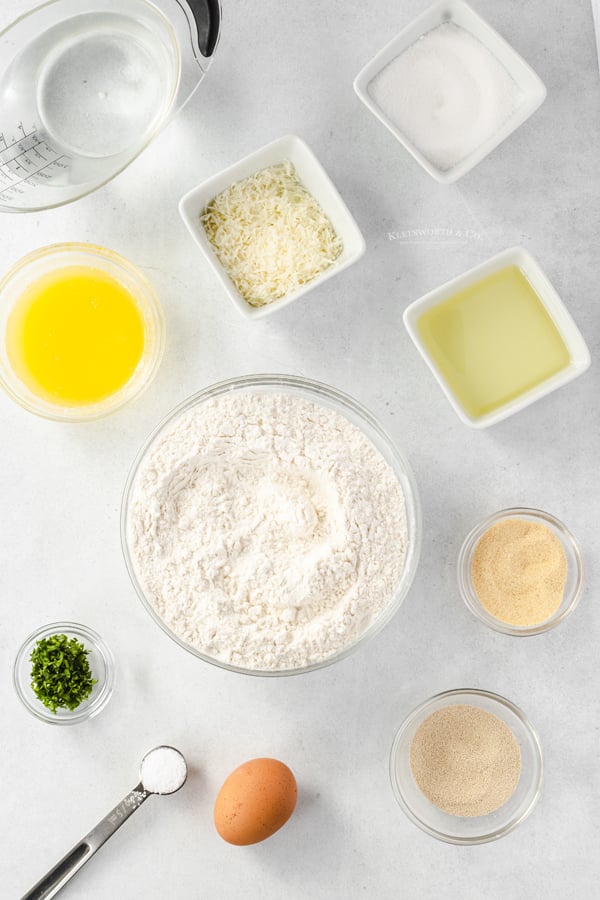
Ingredients for 30-Minute Dinner Rolls
- warm water
- granulated sugar
- yeast – instant or platinum works great
- canola oil
- salt
- egg
- all-purpose flour
- melted butter
- granulated garlic
- parmesan cheese
- parsley
I hope you enjoy these with every meal!! We not only make these often to go with our dinner, but they are great for holiday meals too.
Serve this with our Slow Cooker Turkey Breast recipe!
Products I love when making this dinner roll recipe…
This Garlic Parmesan Dinner Rolls recipe is so easy and delicious – and if you’re like me, then you probably already have a lot of these items on hand as I do!
OR If you’ve never made homemade rolls before, you might be a bit hesitant – but you’re going to love how easy this is. I have made a list below of the things I absolutely can’t live without when it comes to making these rolls.
If you love this Garlic Parmesan Dinner Rolls recipe, you’re going to love these other awesome dinner recipes too. Please click each link below to find the easy, printable recipe!


You’ll want to pair these with some of our super easy Parmesan Crisps too!
CONNECT WITH YUMMI HAUS!
Be sure to follow me on my social media, so you never miss a post!

30-Minute Garlic Parmesan Dinner Rolls
Ingredients
- 1¼ cups warm water 95-105 degrees
- ¼ cup granulated sugar
- 2 Tbsp. yeast – instant or platinum works great
- ⅓ cup canola oil
- 1 tsp. salt
- 1 large egg
- 3½ cups all-purpose flour
- 4 tbsp melted butter
- 2 tbsp granulated garlic
- ¼ cup parmesan cheese shredded or grated
- 2 tsp parsley
Instructions
- Line baking sheet with parchment or non-stick liner- set aside
- Combine yeast with warm water & sugar in a large bowl – allow to proof approx 2-5 minutes
- Add in oil, salt, egg & flour & mix until combined. (adding a little more flour if the dough is too sticky.)
- Separate the dough into 16 equal-sized pieces & shape into rolls. (see notes below about kneading the dough)
- Place on the prepared baking sheet & let rise approx 5-10 minutes in a warm place. (I usually turn on my fireplace & set them on the hearth to rise).
- Brush the raised rolls with melted butter & sprinkle with granulated garlic, cheese & parsley.
- Preheat oven to 375ºF.
- Bake rolls for about 18-20 minutes.
- Spread additional butter on top before serving.
Notes
Nutrition
Nutritional information for the recipe is provided as a courtesy and is approximate. Please double-check with your own dietary calculator for the best accuracy. We at Yummi Haus cannot guarantee the accuracy of the nutritional information given for any recipe on this site.


I tried these rolls and I have never used yeast or made bread of any kind before. They weren’t terrible…but they were not very fluffy. I know this is a silly question…do I dissolve/mix the yeast with the water and then add it to the sugar, or do I dissolve the sugar in the warm water and then add the yeast to that? Also, it doesn’t say to knead the dough, but should I be doing that? Or mixing with the stand mixer is enough? Again, I am new to this 🙂 Thank you for your help!
Hi there,
You would combine the water, sugar, and yeast together and let it start to foam. When it is frothy, it is done. This dough doesn’t require a lot of kneading, however the kneading is what creates the gluten in the dough that makes them light and fluffy – so it does help if you want them to be fluffier than what you had before. I found that the mixing process in the stand mixer was enough, while some in different elevations or climates might require a bit more to get the same result. I have a video tutorial for my 1-hour dinner rolls that might be helpful – the steps are pretty similar and it would give you a better idea of how I create the rolls. You can see it here https://www.kleinworthco.com/one-hour-dinner-rolls/
I hope you give them a try again!
I am really glad that I read the comments before beginning this recipe. If I hadn’t, I would have assumed this was a no-knead bread recipe. While I do bake a lot, I have only tried making bread/rolls/biscuits a few times, so there would be no way of me knowing that I should be working the dough/kneading it on the counter after taking it out of the mixer. Those details were left out of the recipe. HOWEVER, because I did read the reviews, I knew to do this and they came out fabulously! They look like bakery rolls! So fluffy!
I love making bread and rolls. I have used dozens of recipes over the years, but this is the easiest and best ever! It was magical how everything happened exactly as it should have. The dough was soft, easy to work with, rose perfectly, and when the rolls came out of the oven…heavenly! Perfect texture, tender and delicious. I will never use another recipe for rolls again. Thank you so much for sharing this recipe.
I’ve used this recipe several times now and it comes out great. I did make some minor adjustments. I throw the garlic powder and parmesan right into the wet ingredients before putting in the flour. Also I’ve found having the rolls rise for 15 minutes gives them more time to really rise. Great recipe, thank you.
This was my first time making rolls with yeast and the whole process. Fun to try it. They came out good but not a fluffy and thought they would be. I am guessing I didn’t let them rise enough. But not 100% sure. The other thing is that is shows them baking in a crowded pan (side by side). I used a big baking sheet and they had space between them. Should it be a baking sheet or pan? I will try again and get them down before thanksgiving. thanks!
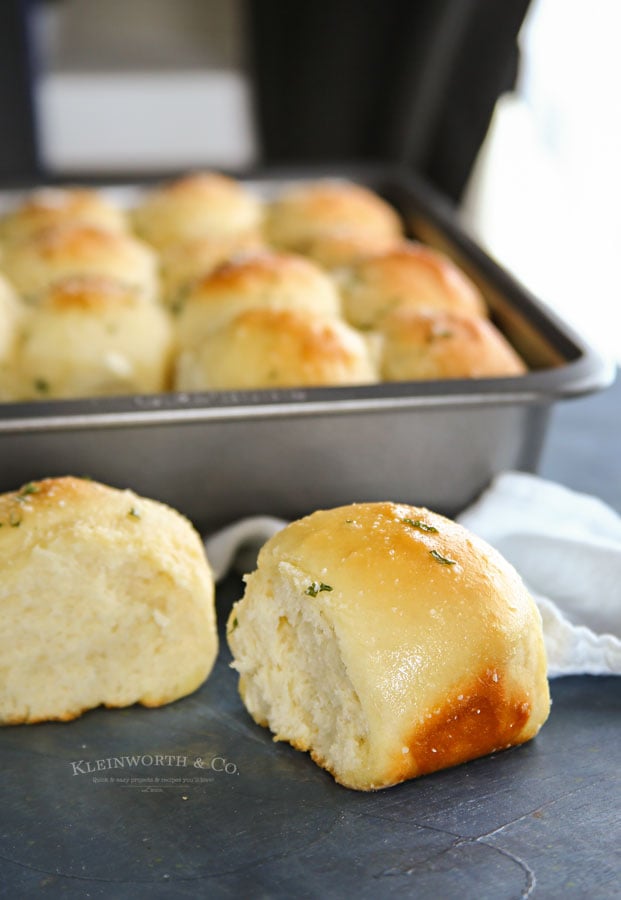
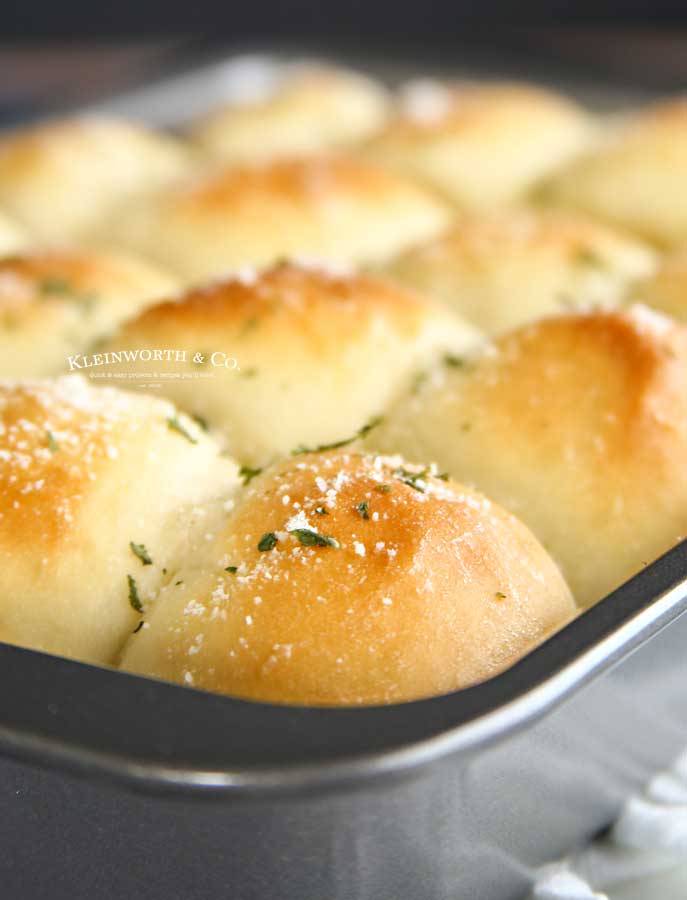
I completely understand. It can be daunting making recipes with yeast for these reasons. The first time I made this recipe, I did it on a 4-sided baking sheet lined with a silicone mat. They didn’t rise well. The next time I did it in a 9×13 cake pan – I believe this really helps because as the dough grows, the rolls sort of use each other to grow more because they are touching. So I do highly recommend making them closer together. The time it takes for them to rise will depend on the temperature of your room too. So making sure you are working in a cozy, warm environment is key.
I just made these for Thanksgiving dinner. Super easy, quick and oh so yummy. I can’t wait to have a left over turkey sandwich on one tomorrow! This recipe is a keeper for sure!
Thank you for the tip about Greek yogurt. I had started the yeast proofing and went to get an egg to realize I was out! This is a fantastic and easy recipe!
Love this recipe. Thanks for sharing.
I just finished making these rolls, they are the best recipe ever. The rolls were soft and airy just like it’s suppose to be. I have been trying. Different bread recipe and so far this is the best. I love that it’s super easy and quick to make. I will definitely be using this recipe from now on.. thank you so much for the tips and for sharing.
Can I halve this recipe? If so, what would I need to do differently?
Can you make the dough ahead of time and cook it the next day
That should be fine. Make sure to bring it to room temperature while you preheat the oven before baking.
Why the first and second rise omitted omitted in this recipe? Shouldn’t the dough rise at least once?
It does rise for 10 min in step 5- just prior to baking. Any more than that & they wouldn’t be 30 min rolls. You can let them rise if you really want to – it just isn’t necessary to make the recipe.
OMG! This recipe is so forgiving. Almost everything that can go wrong, did. All ingredients were right but I added the garlic, parmesan, and parsley to the flour mixture. I forgot to put in the oil so ended up adding it just after everything was coming together in my stand mixture. Of course it turned loose of the bowl and wouldn’t mix. I had to hand knead it to get the oil mixed in. Low and behold, the rolls were delightful! I’m a bread baker but this was just an off day. These rolls were great for dinner and they will make great sandwich buns tomorrow. Thanks for this recipe.
Are these freezer friendly??
We have never tried freezing them – they are usually gone within 24 hours. I would imagine you could pop any leftovers in the freezer for another time.
I just made these rolls. It was simple and they turned out real fluffy. Thank you.
I made these about two hours after we had our new oven delivered. These are light and soft. My husband loved them. I couldn’t believe how good they were when I had my first bite. Thanks for sharing this wonderful recipe.
That is AWESOME!!!!!!!!!!!!!!!!!!!!!! I’m so happy to hear that!
I’m excited to make these for dinner tonight!! Can I sub whole wheat flour??
I have not tried this recipe with whole wheat flour. You might end up with a darker roll, they will be denser and rise differently – most likely rise less. Whole wheat flour absorbs liquid more slowly than all-purpose flour. You may need to add a bit more liquid to your mixture. You should definitely let the dough stand while you bring the oven up to temperature – standing lets the flour hydrate, absorbing the liquid of the recipe. This will make the finished product more tender and moist. But overall I can’t say how they will end up by making this change.
I made these tonight and they came out wonderful! I did let rise a bit longer and put them close together on the baking sheet so they were touching. Only thing is I had already formed balls when I read the comments to add garlic and parmesan to the wet ingredients, and I was wanting a little more garlicky than they came out and I used homemade garlic butter for the butter along with garlic powder on top. Next time I will mix in with wet ingredients and maybe even sub garlic butter for the oil in the recipe. Only question I have is would it be possible to form this into a loaf and cook like a French bread loaf?
Glad they were pleasing to you. I would imagine you could bake the dough as a loaf. I have not tried it – so if you give it a go, please come back and let me know how it went.
These were super dense. I used a stand mixer.
How were you measuring your flour? Did you scoop it or spoon & level it? It sounds like there was too much flour.
This is definitely the best quick dinner roll recipe I have ever made. My dinner rolls came out absolutely perfect, I will def use this recipe again!