

There’s nothing quite like a bowl of creamy three-cheese mac to bring comfort to your dinner table. This easy recipe takes classic mac n’ cheese to the next level with a rich, velvety cheese sauce made from three types of cheeses that create bold flavors in every bite. Whether you’re looking for a satisfying main dish or an indulgent side dish, this homemade version beats anything you’ll find at the grocery store.
This isn’t just another cheese macaroni recipe. We’re combining sharp cheddar, Gruyère, and Parmesan cheese to create the ultimate comfort food that’s perfect for family dinners, potlucks, or whenever you’re craving something deliciously cheesy. The best part? It comes together easily on the stovetop with simple ingredients you probably already have in your kitchen.
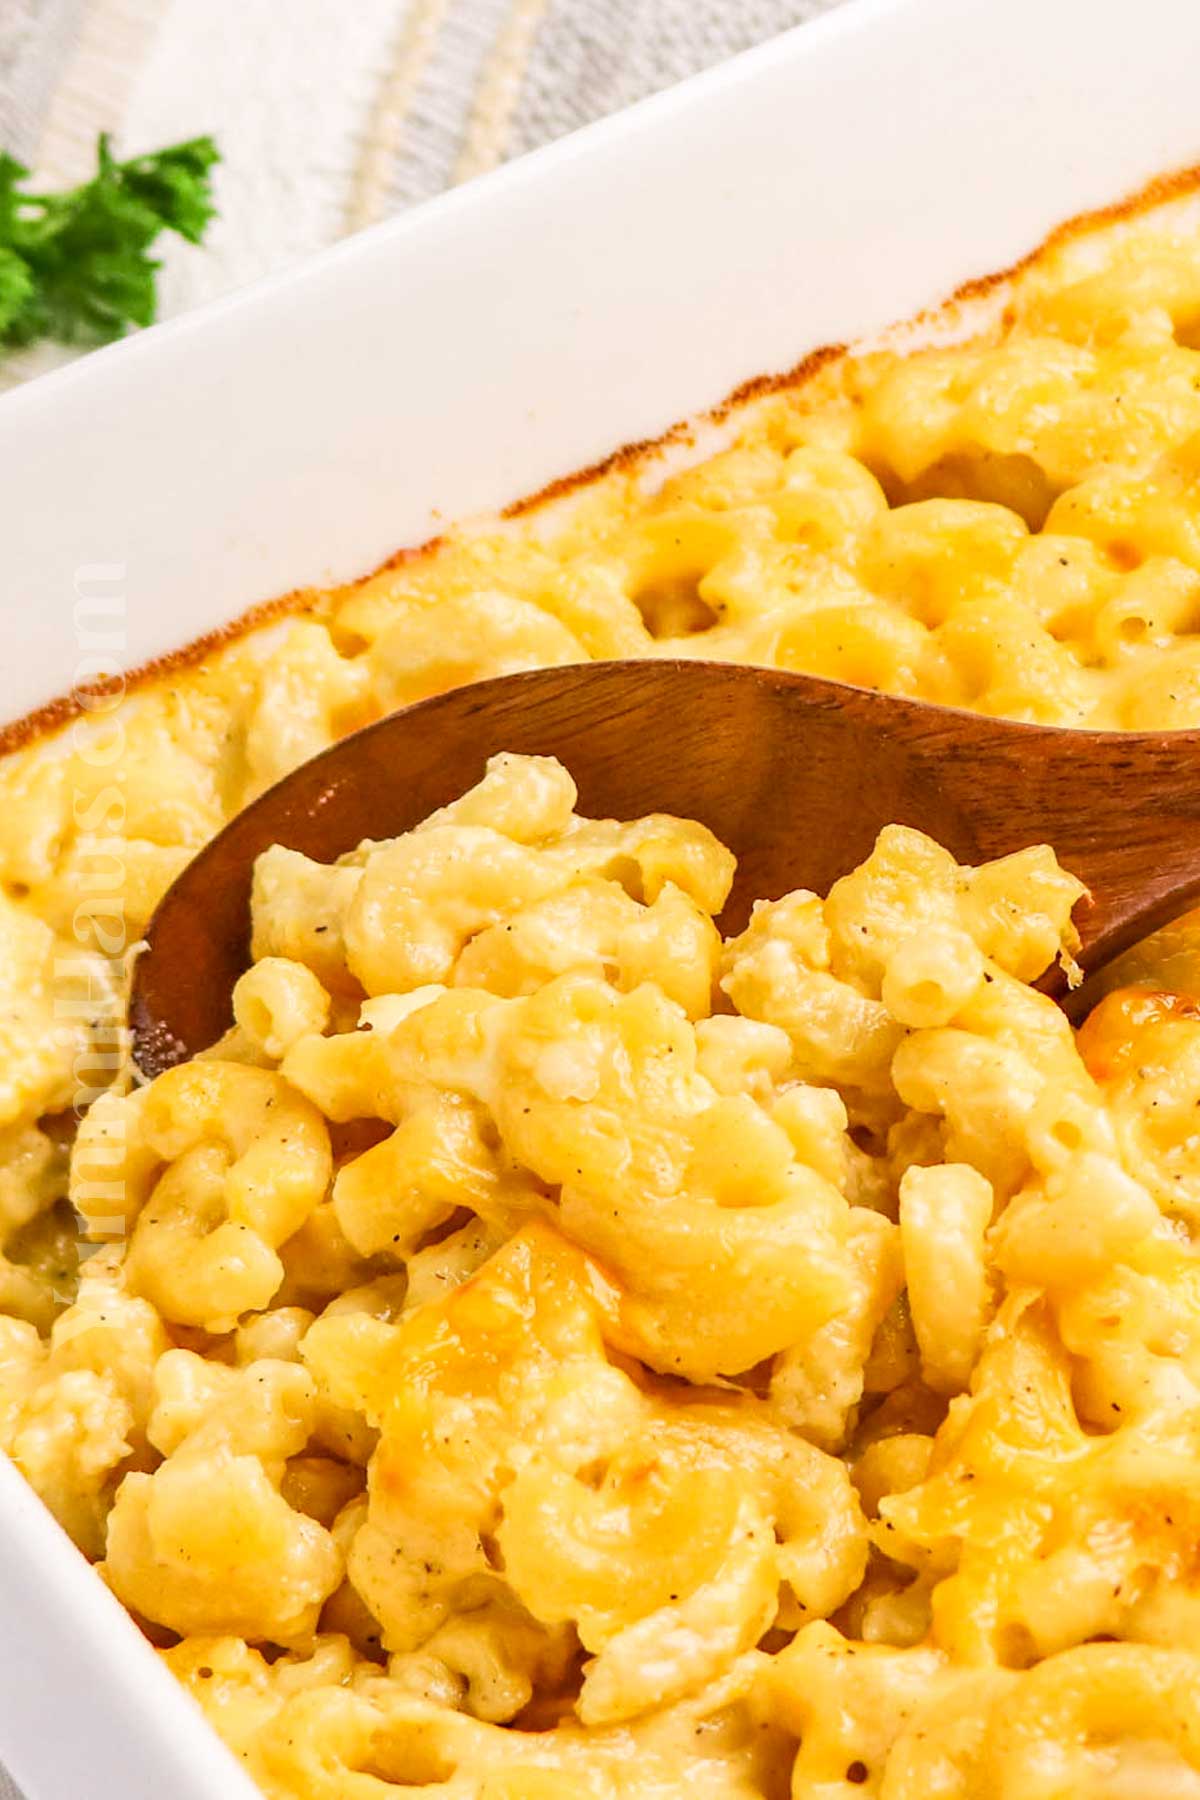
Gina’s Recipe Rundown:
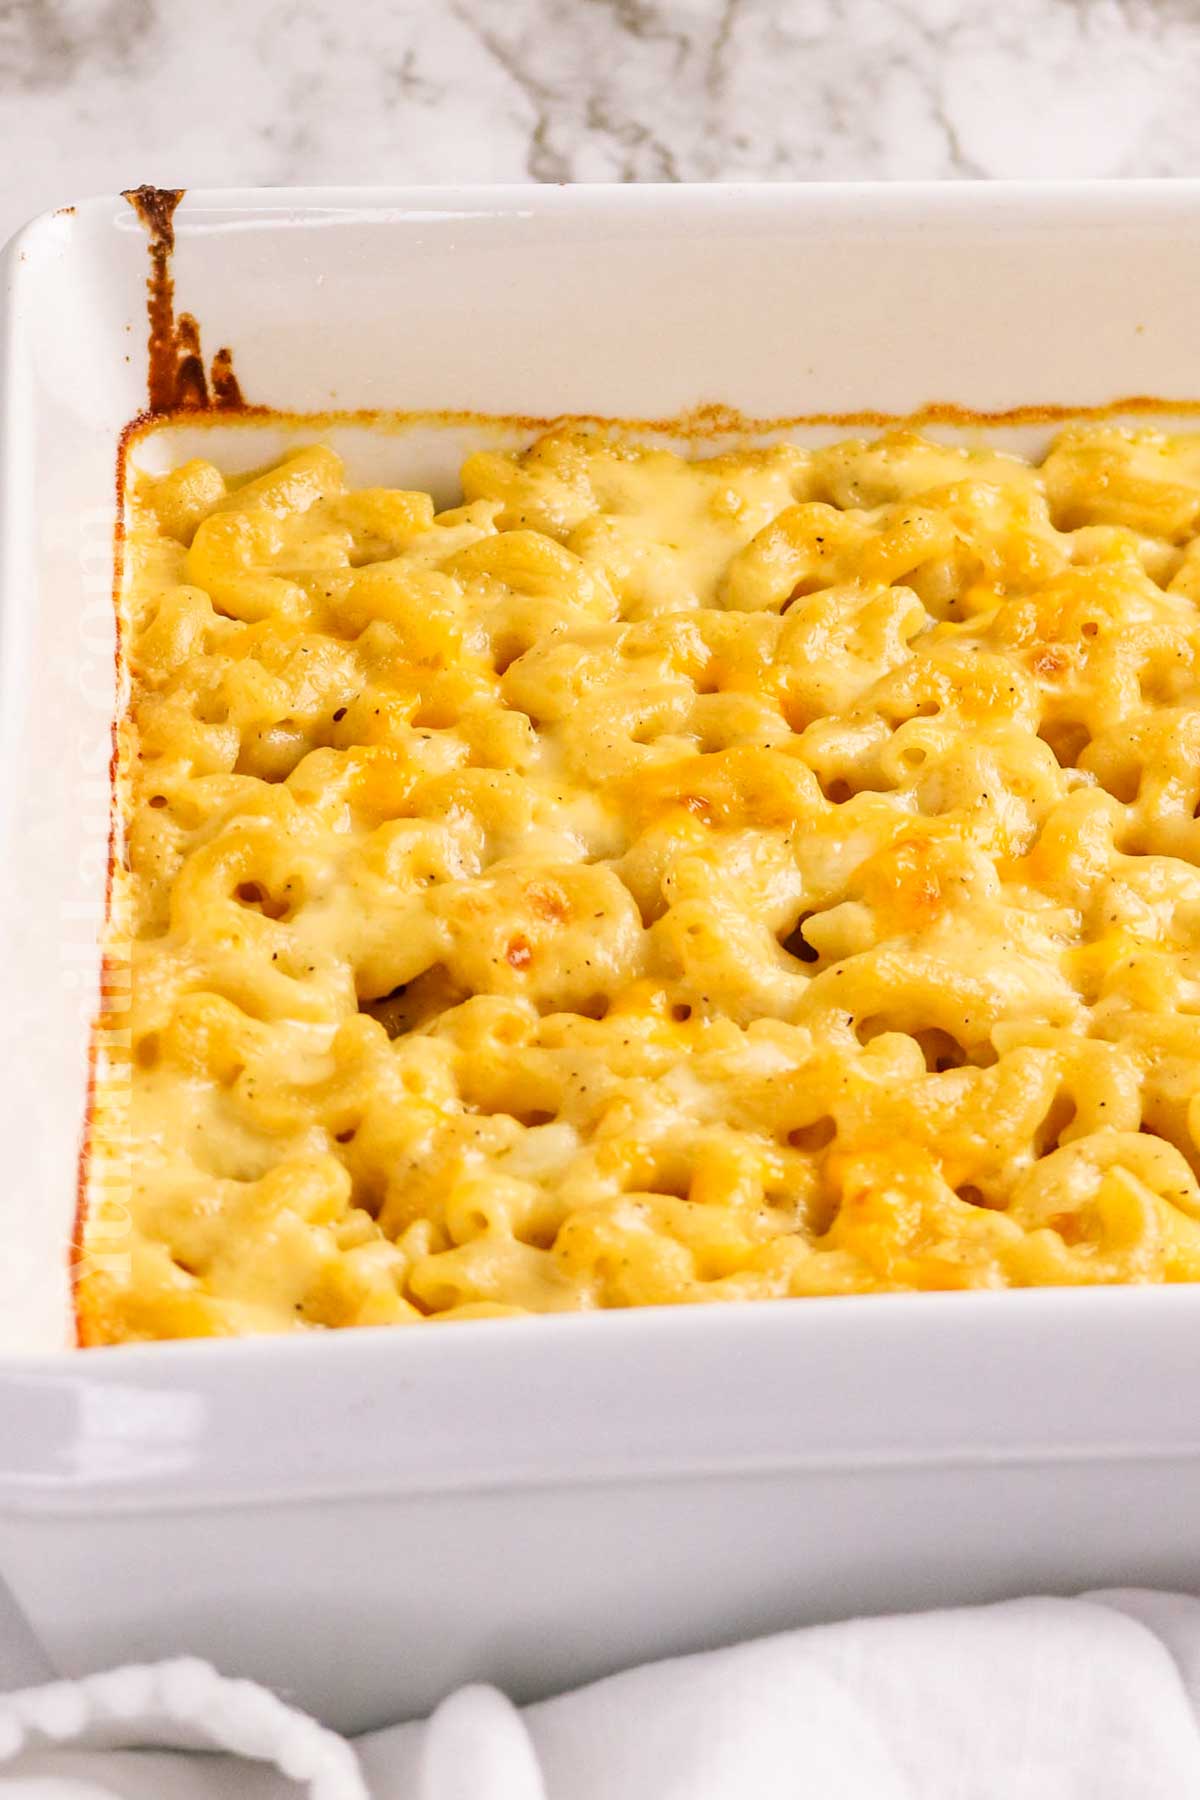
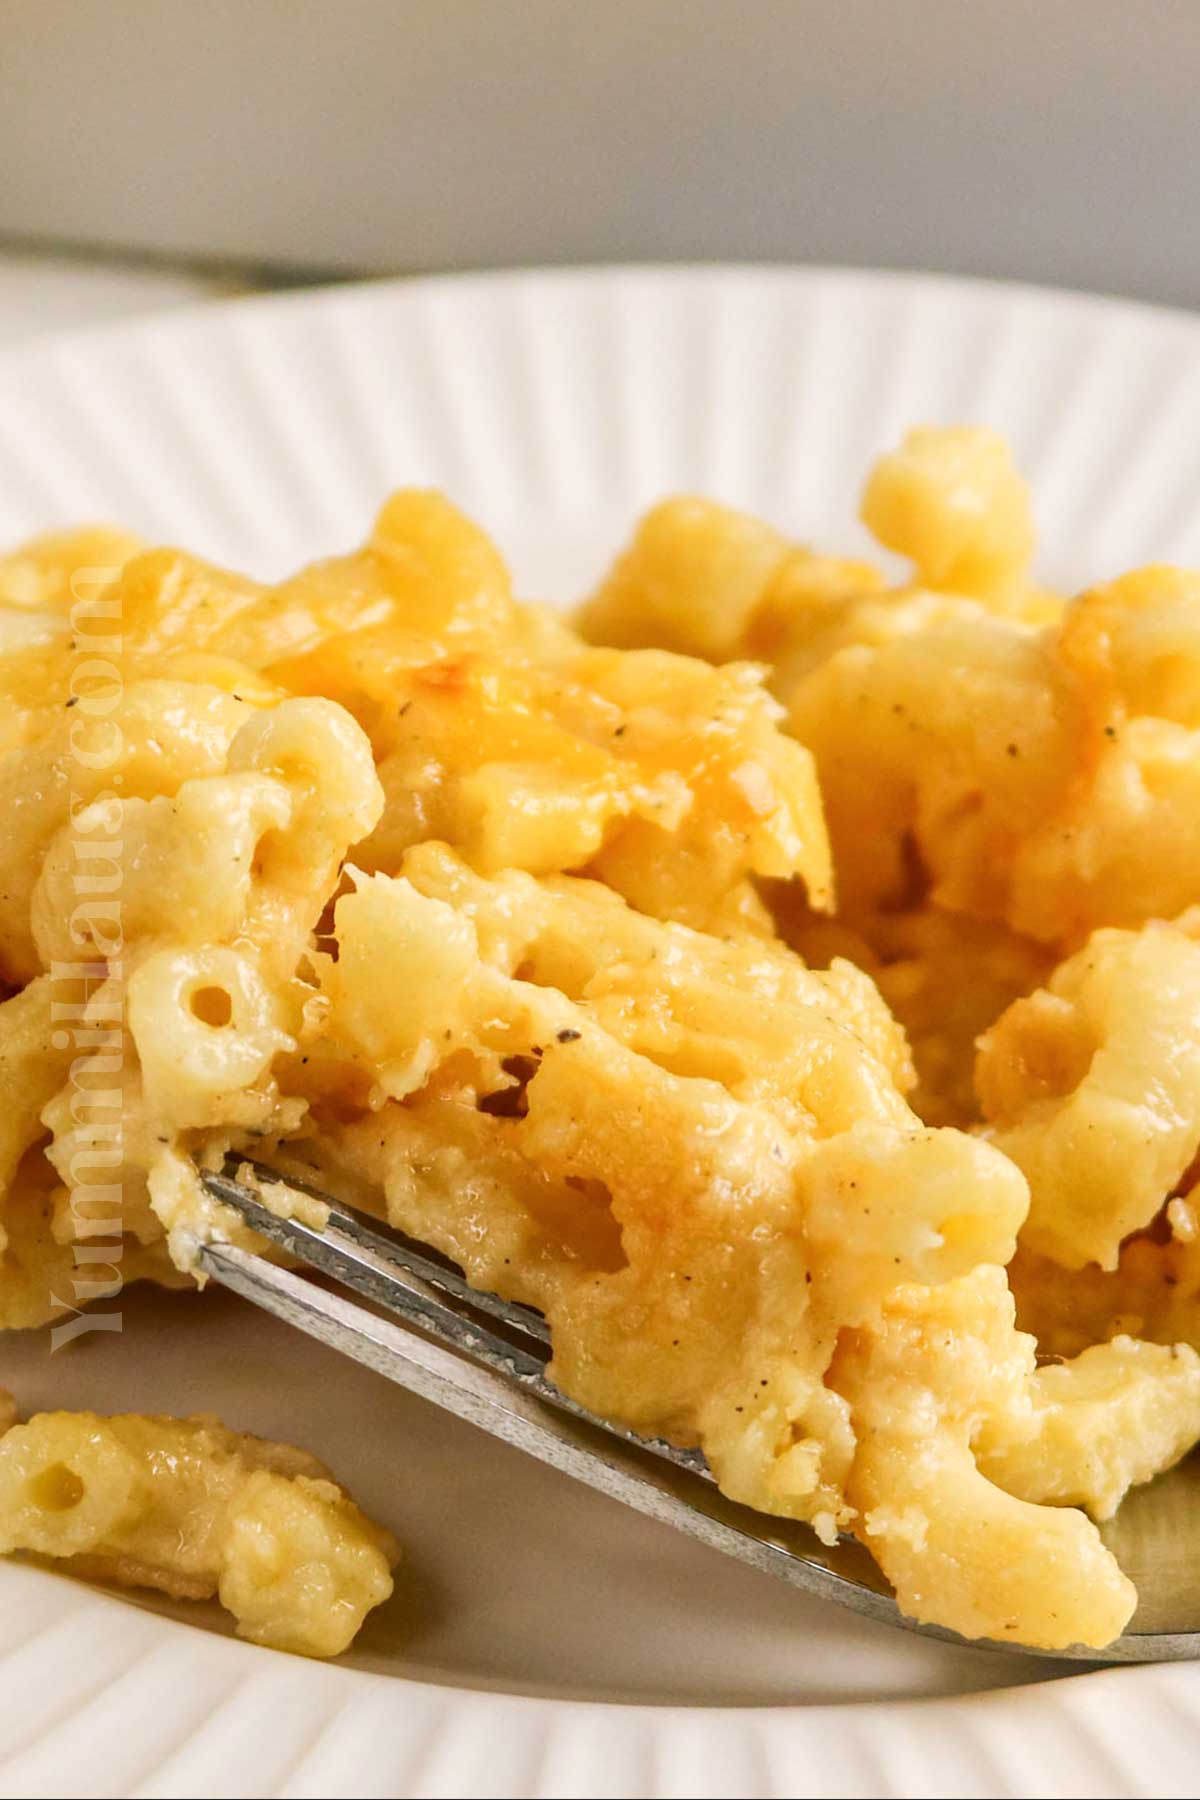
Texture: Ultra-creamy and velvety with tender macaroni coated in a smooth, gooey three-cheese sauce.
Taste: Rich, creamy, and irresistibly cheesy with a perfect balance of sharp, melty, and savory flavors in every bite.
Ease: Quick and easy to make with simple ingredients and a foolproof cheesy sauce perfect for any home cook.
Why I love it: I love this 3-Cheese Macaroni and Cheese because it’s creamy, comforting, and packed with rich cheesy flavor that everyone enjoys.
Why You’ll Love This Recipe
This three-cheese mac is pure comfort in a bowl. The cheese combinations work together beautifully, with sharp cheddar providing that classic tangy flavor, Gruyère adding creaminess, and Parmesan cheese bringing a nutty depth that makes this recipe stand out. Unlike the boxed stuff, this homemade version lets you control the quality and create a cheese sauce that’s perfectly smooth and rich.
It’s incredibly versatile, too. Serve it as a main course with a simple green salad, or bring it to your next potluck as a crowd-pleasing side dish. You can make it on the stove top for a quick weeknight meal or transfer it to a casserole dish for a baked version with a crispy breadcrumb topping. Either way, you’ll have everyone asking for seconds.
The recipe is straightforward enough for beginners but delivers restaurant-quality results. You’ll be amazed at how easy it is to create such a creamy, luxurious dish with just a few basic techniques.

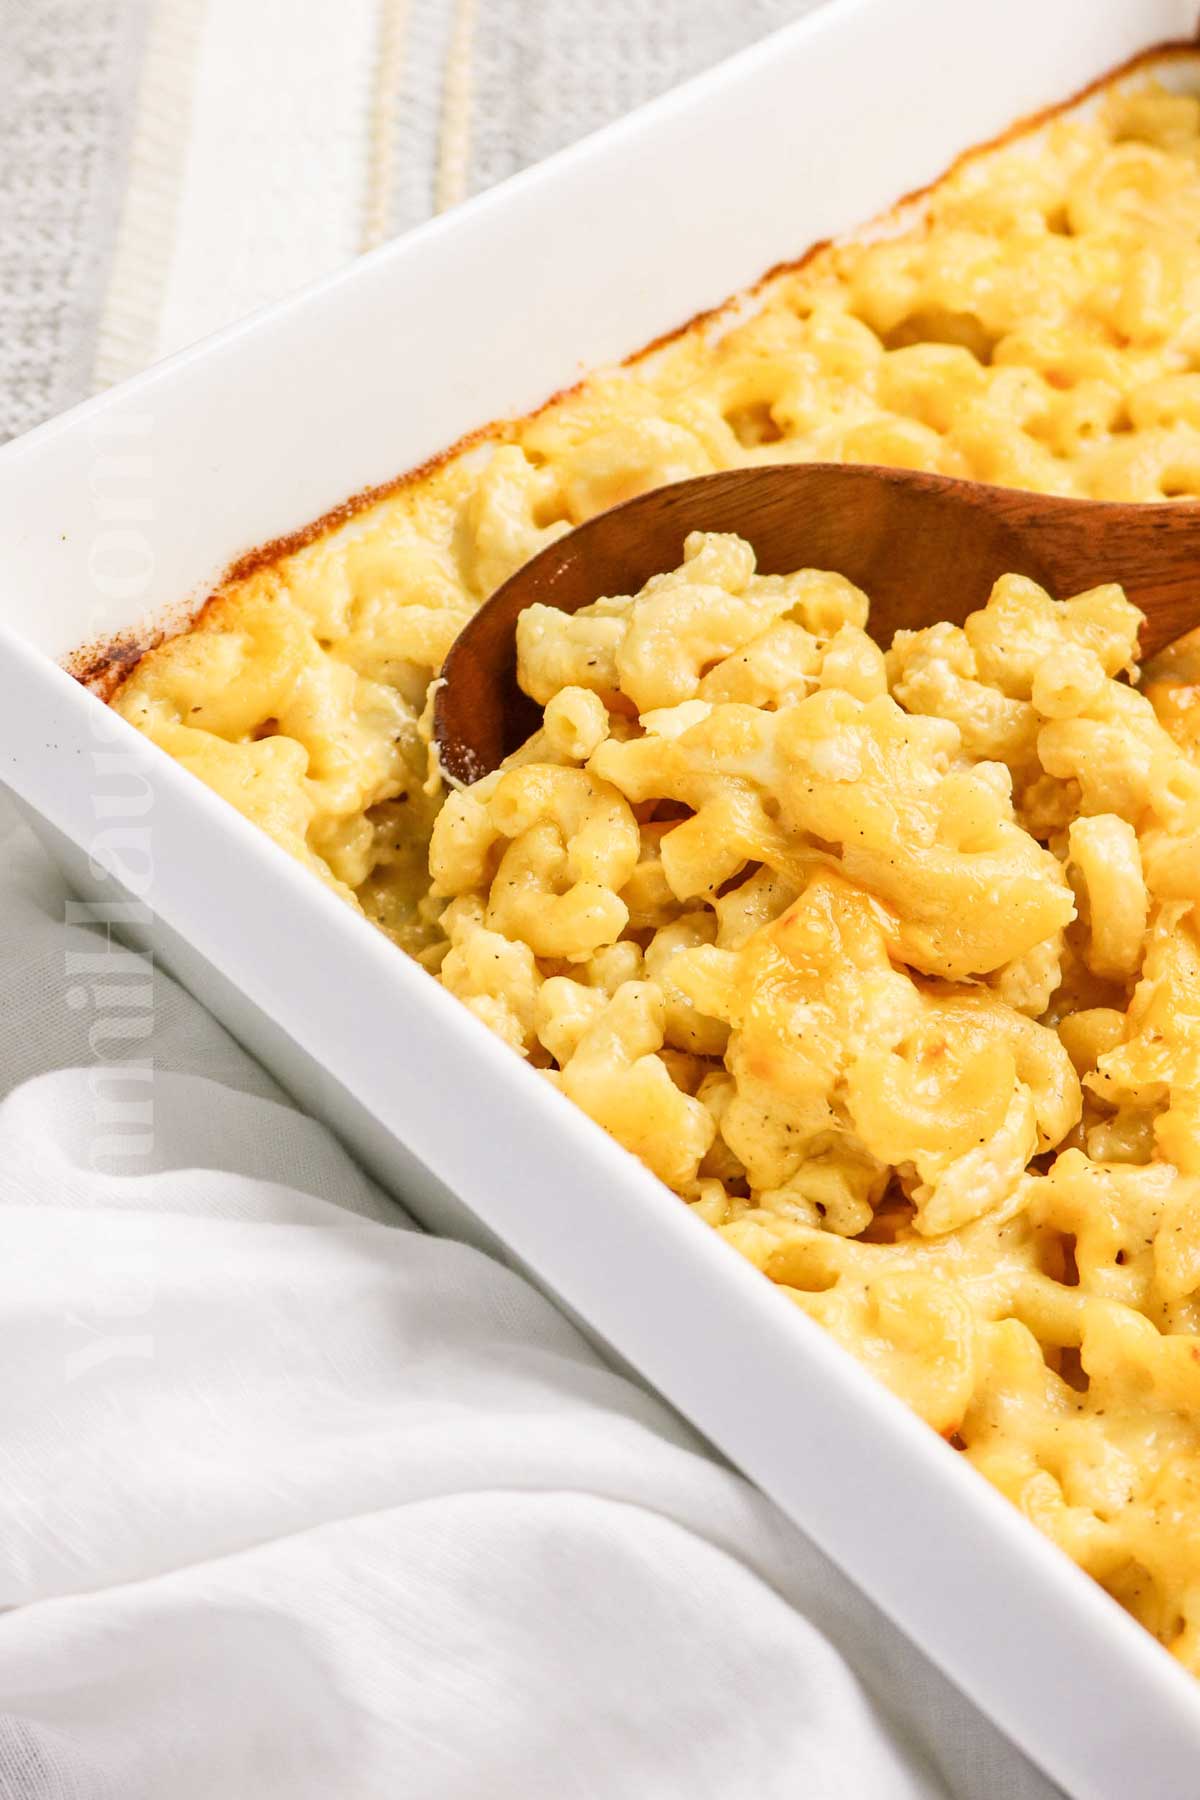
Ingredient Notes
- Elbow macaroni – Classic pasta shape that holds the creamy cheese sauce perfectly.
- Butter – Creates a rich base and adds smooth buttery flavor.
- All-purpose flour – Helps thicken the sauce for a creamy consistency.
- Milk – Makes the cheese sauce silky, smooth, and rich.
- Dijon mustard – Adds subtle tanginess and enhances the cheese flavor.
- Salt – Balances and brings out all the savory flavors.
- Black pepper – Adds mild warmth and depth to the dish.
- Sharp cheddar cheese – Provides bold, classic mac and cheese flavor.
- Gruyère cheese – Adds nutty richness and excellent meltability.
- Parmesan cheese – Gives a salty, savory finish with extra depth.
Kitchen Equipment
- Large pot
- Colander
- Medium saucepan
- Whisk
- Wooden spoon or silicone spatula
- Measuring cups and spoons
- Cheese grater
- Baking dish (optional for baked mac and cheese)
- Oven mitts
How to Make 3-Cheese Macaroni and Cheese
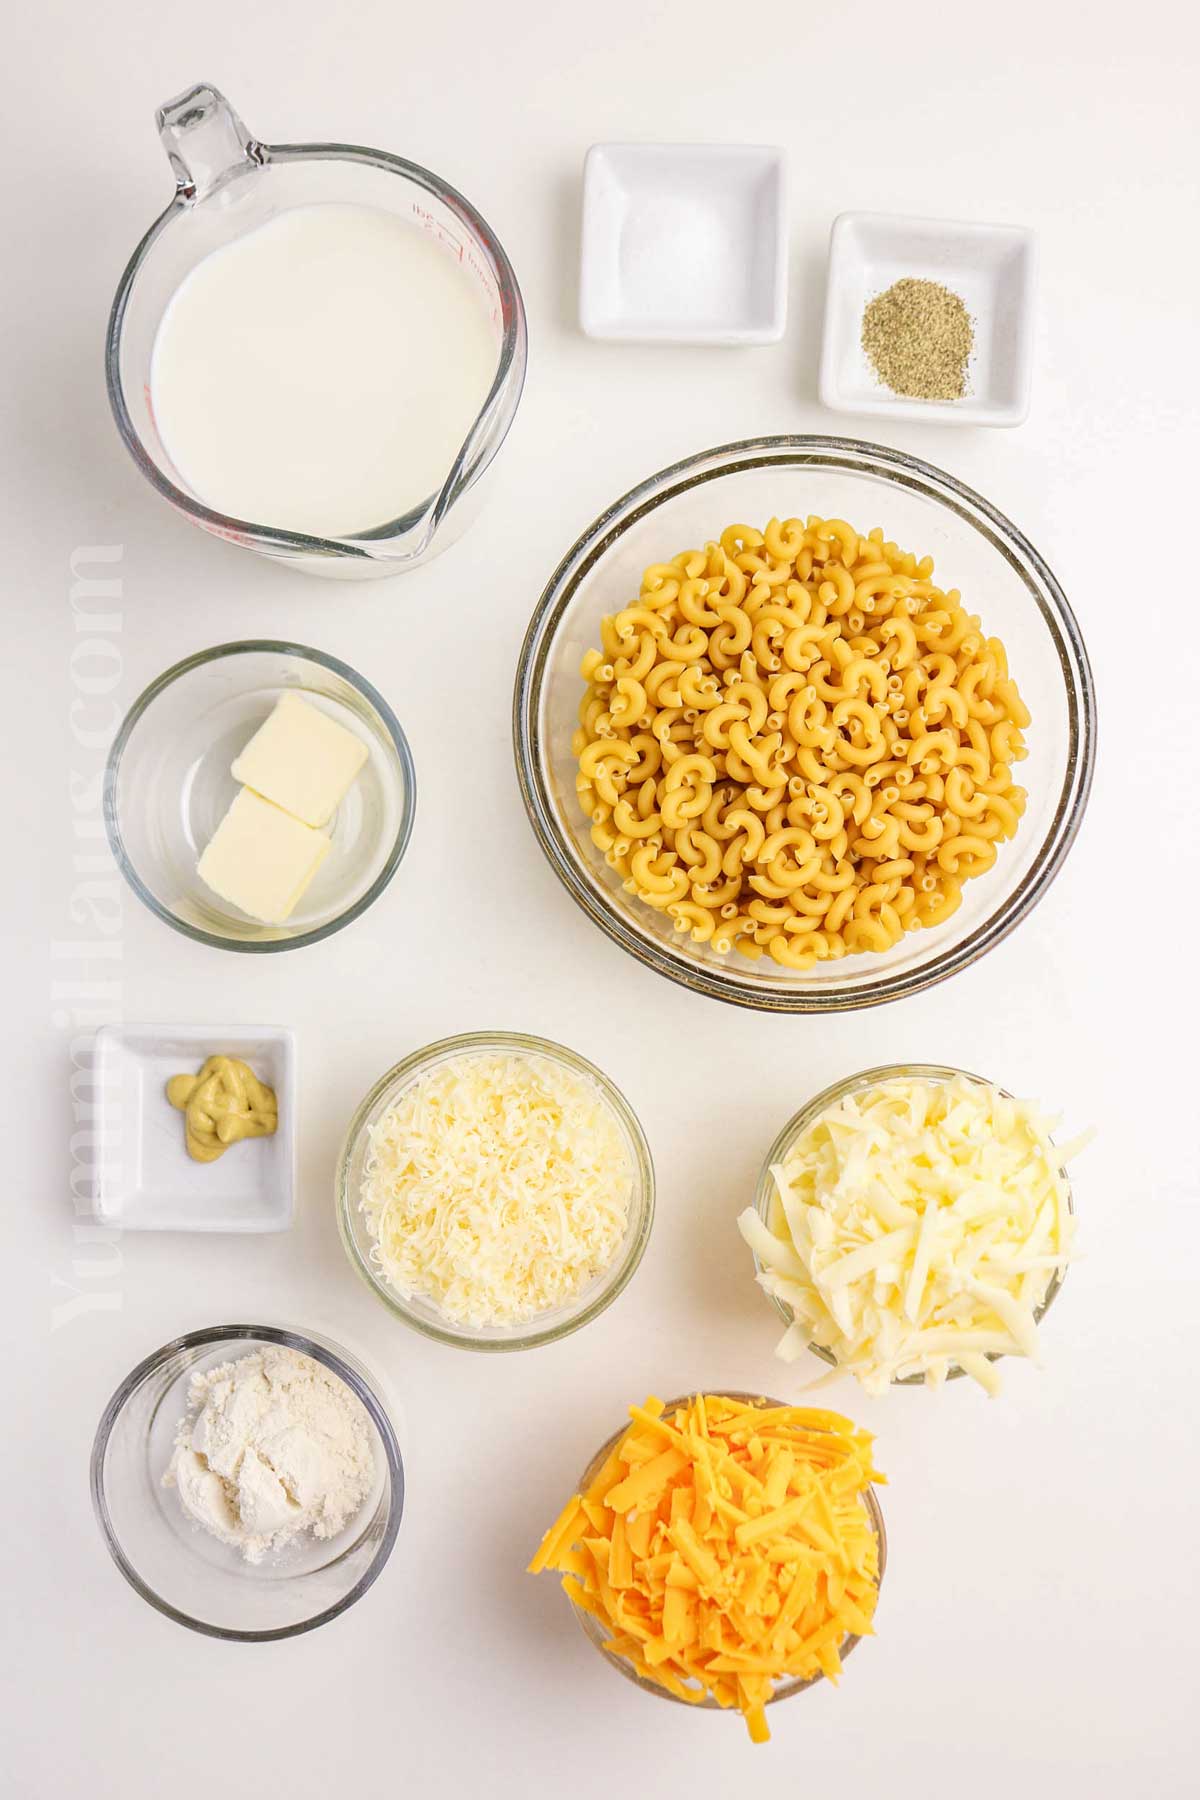
- Cook the macaroni according to the package instructions until tender, then drain it and set it aside. While the pasta cooks, melt the butter in a medium saucepan over medium heat. Whisk in the flour and let it cook for 1–2 minutes, just until it turns lightly golden and smells a little nutty.
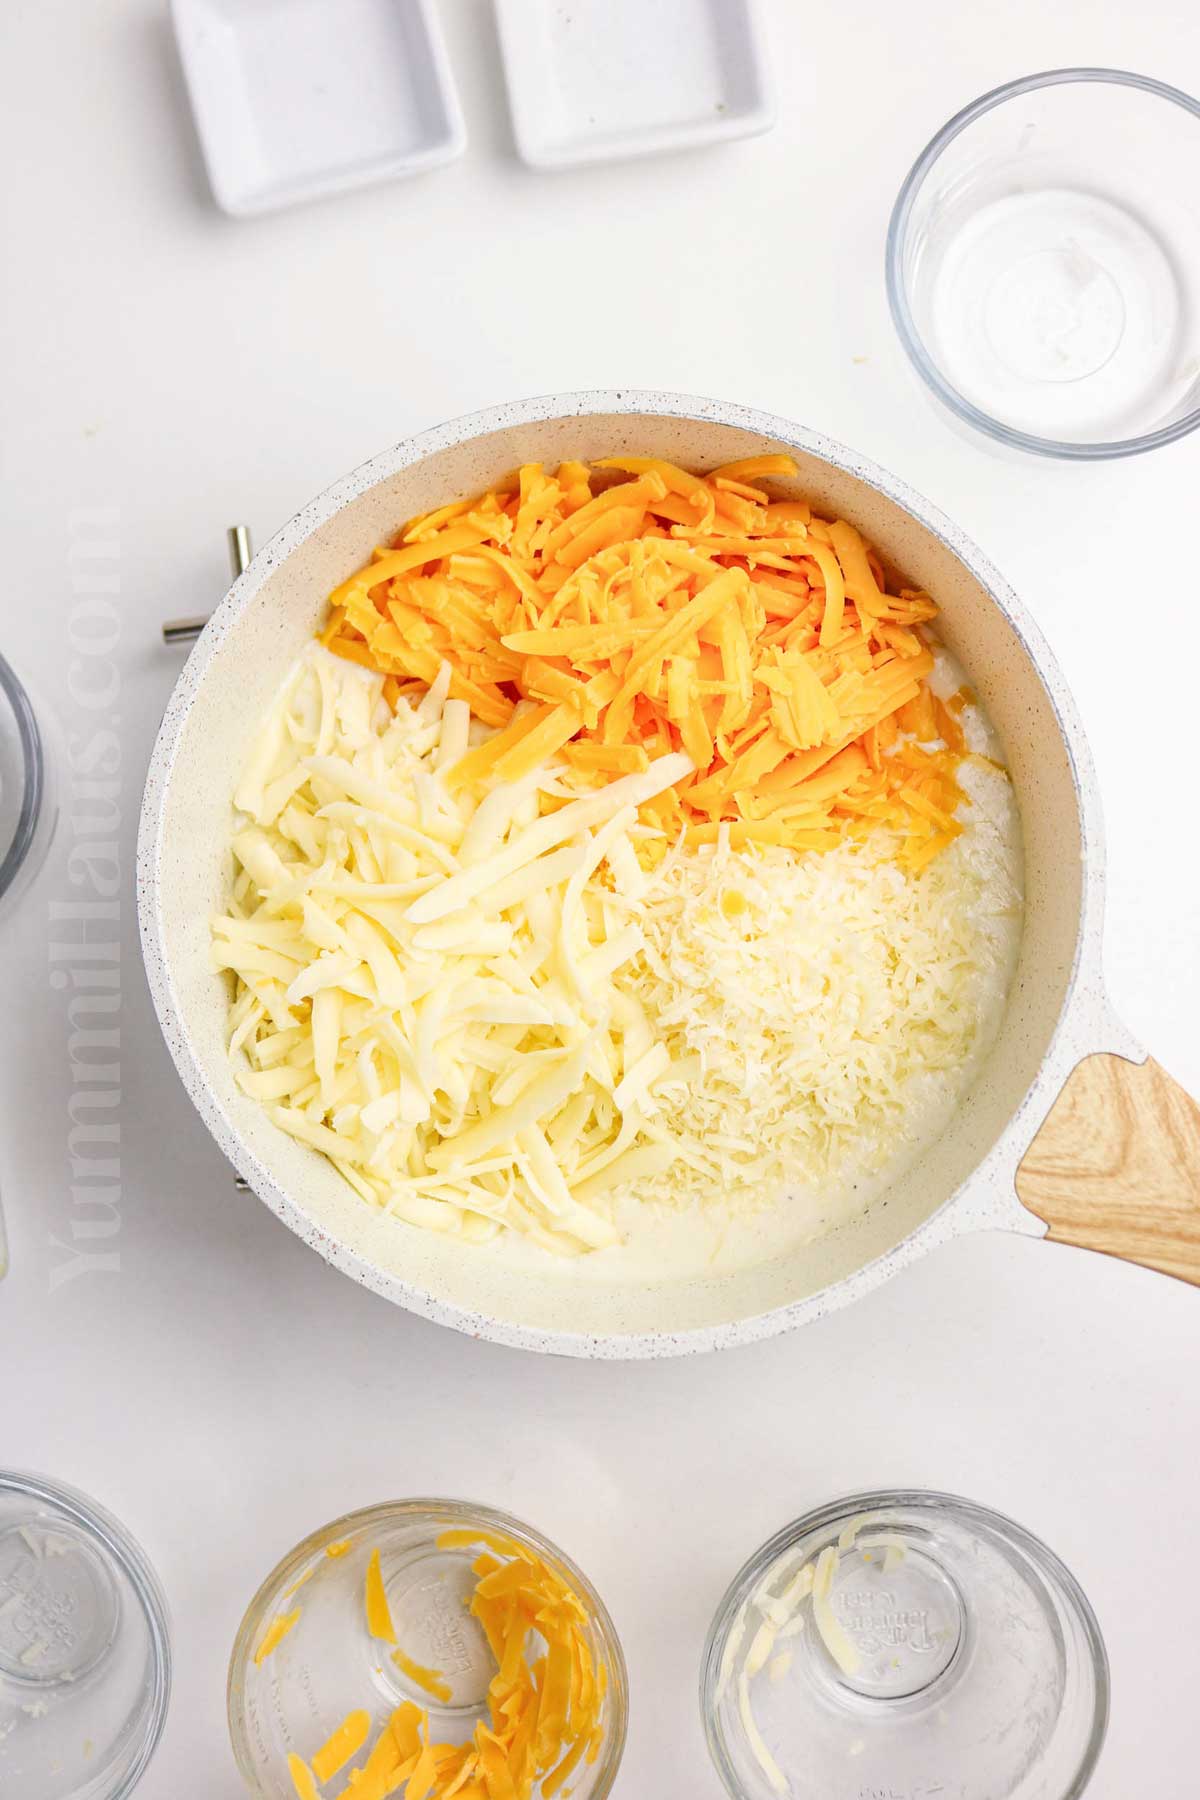
- Slowly pour in the milk, then stir in the salt, pepper, and Dijon mustard. Keep stirring as the sauce cooks and thickens, about 5–7 minutes. Once the sauce is nice and creamy, remove the pan from the heat and stir in the cheddar, Gruyère, and Parmesan cheeses until everything is melted and smooth.
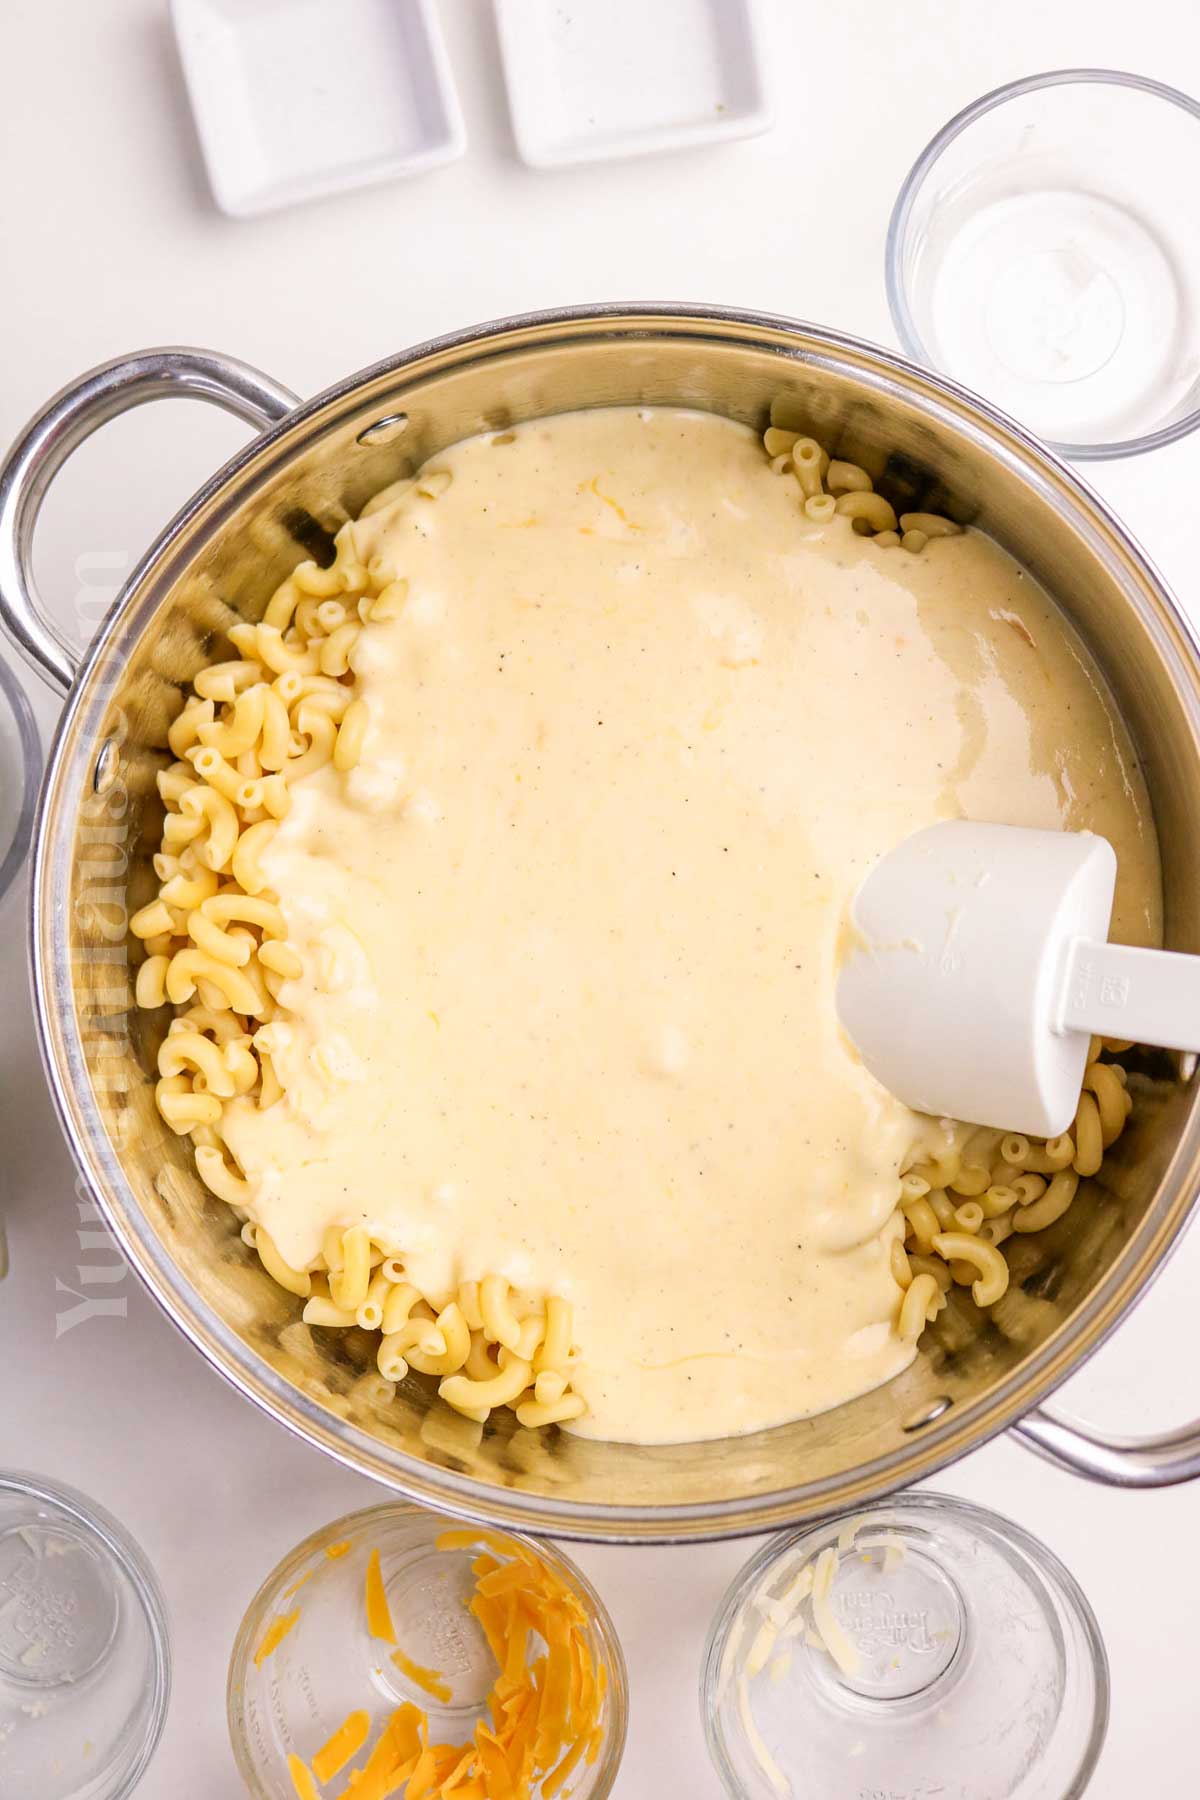
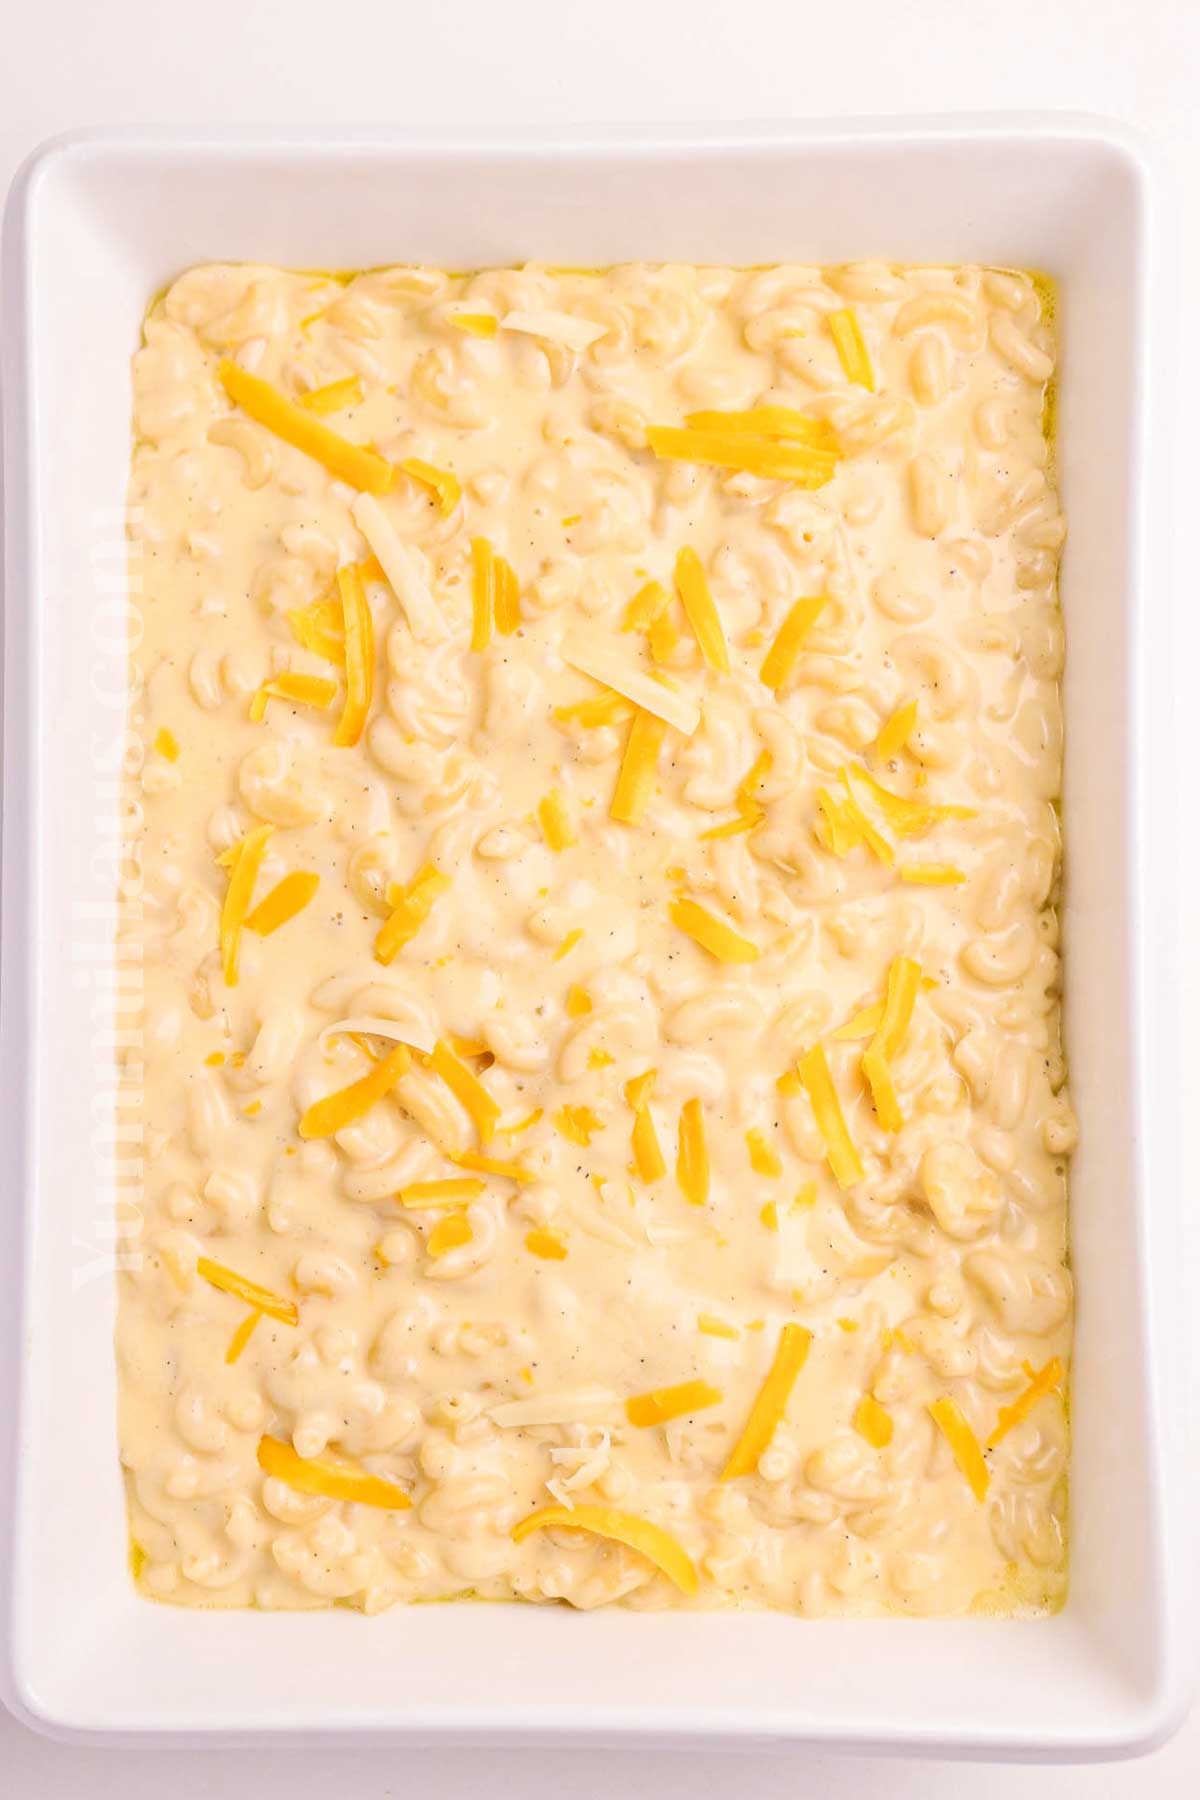
- Add the cooked pasta to the cheese sauce and gently stir until every piece is coated in cheesy goodness. You can serve it right away for an extra creamy stovetop mac and cheese, or bake it for a golden finish.
- If baking, preheat your oven to 350°F and pour the macaroni and cheese into a greased baking dish. Bake for about 30 minutes, until the top is lightly golden and bubbly. Serve hot and enjoy!
Variations & Substitutions
Pasta Options: While elbow macaroni is the classic choice, feel free to use pasta shells or small shells. Both work wonderfully for catching all that creamy sauce. Just cook according to package directions until al dente, and you’re good to go.
Cheese Swaps: The beauty of this recipe is how adaptable it is to different types of cheeses. Try white cheddar instead of Gruyère for a more sophisticated flavor, or add some smoked Gouda for extra depth. Just avoid pre-shredded cheese when possible. A block of cheese that you shred yourself melts much more smoothly and creates the best results.
Milk and Cream: Whole milk gives you the creamiest texture, but you can use skim milk if that’s what you have. For an even richer sauce, substitute some heavy cream for part of the milk, or add a splash of milk at the end if your sauce needs thinning. Hot milk also incorporates more smoothly into your sauce than cold milk.
Toppings: For a crunchy topping, mix panko breadcrumbs with melted unsalted butter and sprinkle over the top before baking. Regular bread crumbs work too. You can also save some of the remaining cheese to sprinkle on top during the last few minutes of baking.
Add-Ins: Stir in cooked bacon, sautéed mushrooms, or roasted vegetables to make this more of a complete main dish. A teaspoon of pepper and some dry mustard in the sauce adds subtle complexity without overwhelming the cheese flavors.
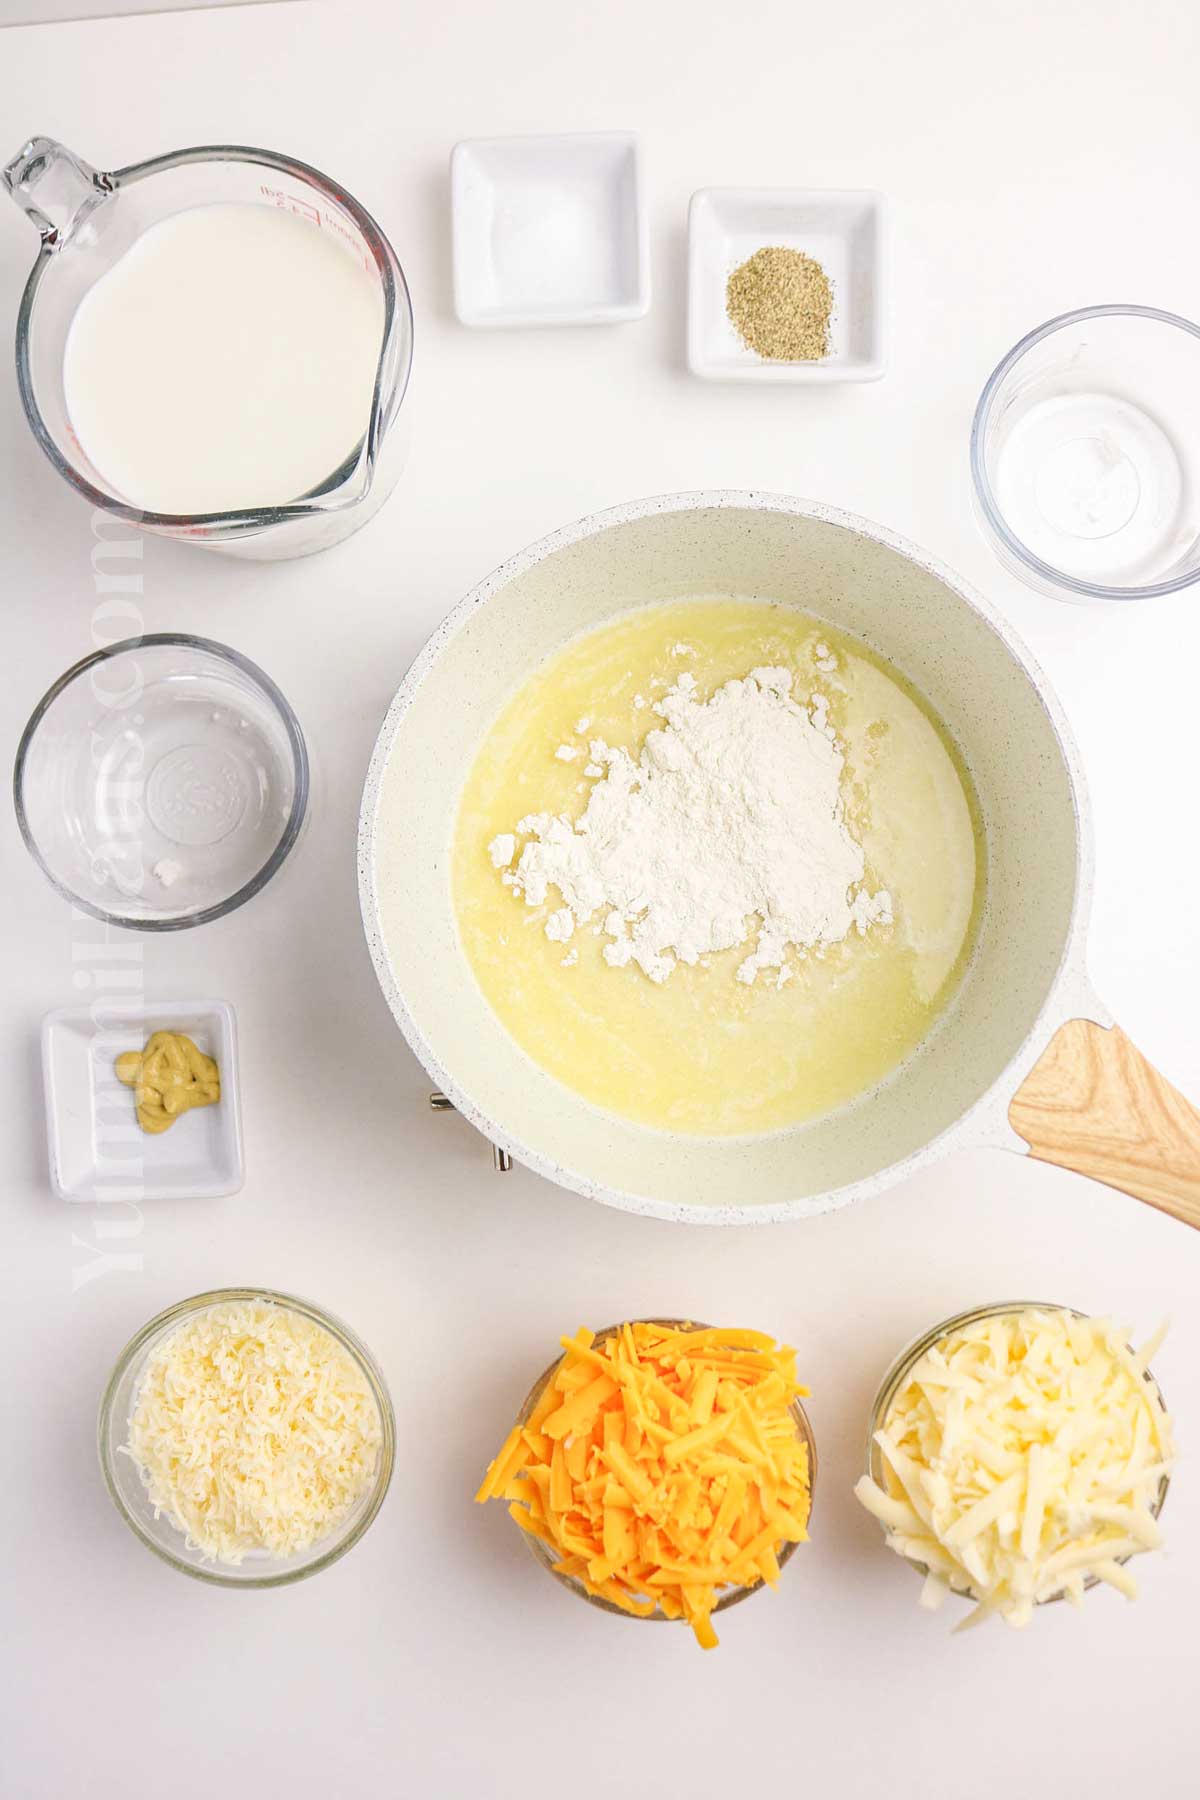
Storage
Store leftover mac and cheese in an airtight container in the refrigerator for up to 4 days. The sauce may thicken as it sits, but don’t worry. When reheating, add a splash of milk and warm over low heat or medium heat, stirring frequently until heated through. You can also reheat individual portions in the microwave for 1-2 minutes, stirring halfway through.
For longer storage, this freezes beautifully for up to 3 months. Let it cool completely before transferring to a freezer-safe container. Thaw overnight in the refrigerator before reheating. The texture holds up remarkably well, making this perfect for meal prep.
Expert Tips
Always cook your pasta to al dente according to package instructions. It should still have a slight bite since it will continue cooking slightly when you mix it with the hot cheese sauce. Overcooked pasta turns mushy and doesn’t hold the sauce as well.
Use a block of cheese and shred it yourself rather than buying pre-shredded cheese. Pre-shredded varieties contain anti-caking agents that prevent smooth melting and can make your sauce grainy instead of silky.
Make your cheese sauce over medium heat, never high heat. When adding the cheese to your sauce, reduce to low heat. Cheese can break and become grainy if it gets too hot too quickly. Patience here gives you the best results.
Use a small saucepan or medium saucepan that’s appropriate for the amount of sauce you’re making. Too large and the sauce can cook unevenly. Start by using unsalted butter to melt butter, then whisk in all purpose flour to create a roux before adding your milk gradually.
Don’t skip the roux step. This mixture of butter and all purpose flour is what thickens your cheese sauce and keeps it from being watery. Cook it for 1-2 minutes before adding your liquid to remove any raw flour taste.
For the creamiest texture, add your shredded cheese gradually and stir until each addition is completely melted before adding more. Dumping all the cheese in at once can lead to clumping.
If you’re serving this as a side dish, consider your main course when seasoning. You might want to go lighter on the salt if you’re pairing it with something already seasoned heavily.
FAQ’s
Why is my cheese sauce grainy?
This usually happens when the cheese gets too hot or when using pre-shredded cheese. Make sure you’re cooking over low heat once you add the cheese, and always use freshly shredded cheese from a block of cheese for the smoothest sauce.
Do I have to bake it, or can I serve it straight from the stove top?
You can absolutely serve it straight from the pot for a stovetop version. It’s creamy and delicious without baking. The baked version with a breadcrumb topping just adds a nice textured contrast if you prefer that au gratin style.
Can I make this with just one or two types of cheese?
Sure! While three cheese combinations create more complex flavors, you can simplify by using just sharp cheddar and parmesan cheese, or whatever cheese you have on hand. The technique remains the same.
Should I salt the boiling water for the pasta?
Yes! Salting your large pot of water generously seasons the pasta itself, which makes a noticeable difference in the final dish. It should taste like the ocean.
If you love this easy dinner recipe, you’re going to love these other easy recipes, too. Please click each link below to find the easy, printable recipe!
More Great Mac & Cheese Recipes
Instant Pot Bacon Mac and Cheese
CONNECT WITH YUMMI HAUS!
Be sure to follow me on my social media, so you never miss a post!

3-Cheese Macaroni and Cheese

Ingredients
- 12 oz elbow macaroni
- 2 tablespoons butter
- 2 tablespoons all-purpose flour
- 2 cups milk
- 1 teaspoon Dijon mustard optional
- ½ teaspoon salt
- ¼ teaspoon black pepper
- 1 cup cheddar cheese sharp – shredded
- 1 cup Gruyère cheese shredded
- ½ cup Parmesan cheese grated
Instructions
- Boil the pasta according to package directions, drain, and set aside.
- Melt butter in a medium saucepan over medium heat.
- Whisk in the flour and cook for 1–2 minutes until lightly golden.
- Stir in the milk, salt, pepper, and Dijon mustard. Continue to stir constantly, cooking until the mixture thickens, about 5–7 minutes.
- Remove from the heat and stir in the cheddar, Gruyère, and Parmesan until melted and smooth.
- Fold in the cooked pasta, stirring until fully coated.
- You can either serve at this point or bake.
- Optional: Preheat the oven to 350 degrees.
- Pour the cheesy pasta mixture into a greased baking dish and bake for 30 minutes until the top begins to slightly brown.
- Serve hot.
Nutrition
Nutritional information for the recipe is provided as a courtesy and is approximate. Please double-check with your own dietary calculator for the best accuracy. We at Yummi Haus cannot guarantee the accuracy of the nutritional information given for any recipe on this site.







Share Your Thoughts