


There’s nothing quite like the smell of a warm, bubbling strawberry dessert coming out of the oven on a summer evening. This easy strawberry crumble recipe brings together juicy strawberries with a buttery crumble topping that turns perfectly golden brown. It’s one of those dessert ideas that feels fancy but comes together with just a handful of ingredients you probably already have in your pantry.
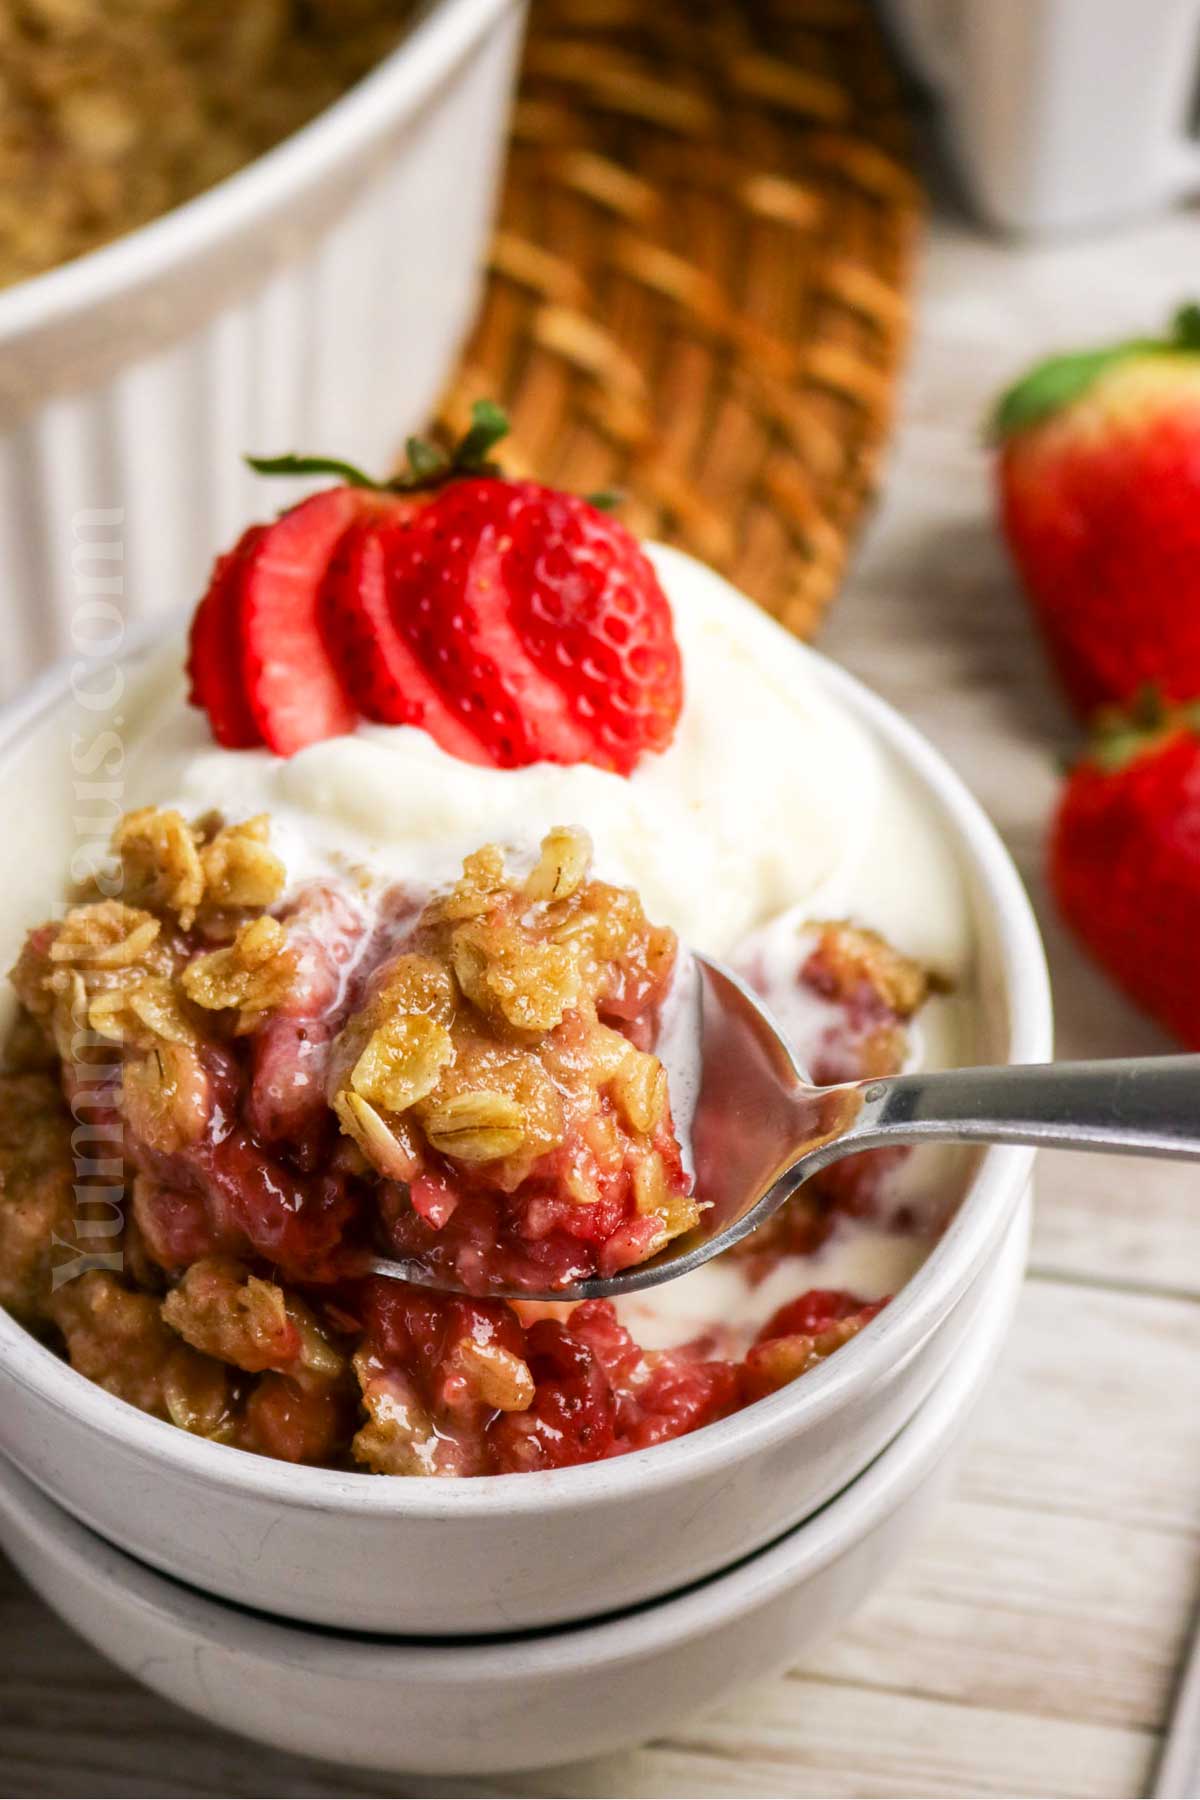
Whether you’re looking to use up those sweet strawberries from the farmer’s market or just craving a delicious dessert, this baked dessert is about to become one of your favorite recipes. Serve it warm with a big scoop of vanilla ice cream melting into all those nooks and crannies, and you’ve got yourself the perfect treat for any occasion.
Gina’s Recipe Rundown:
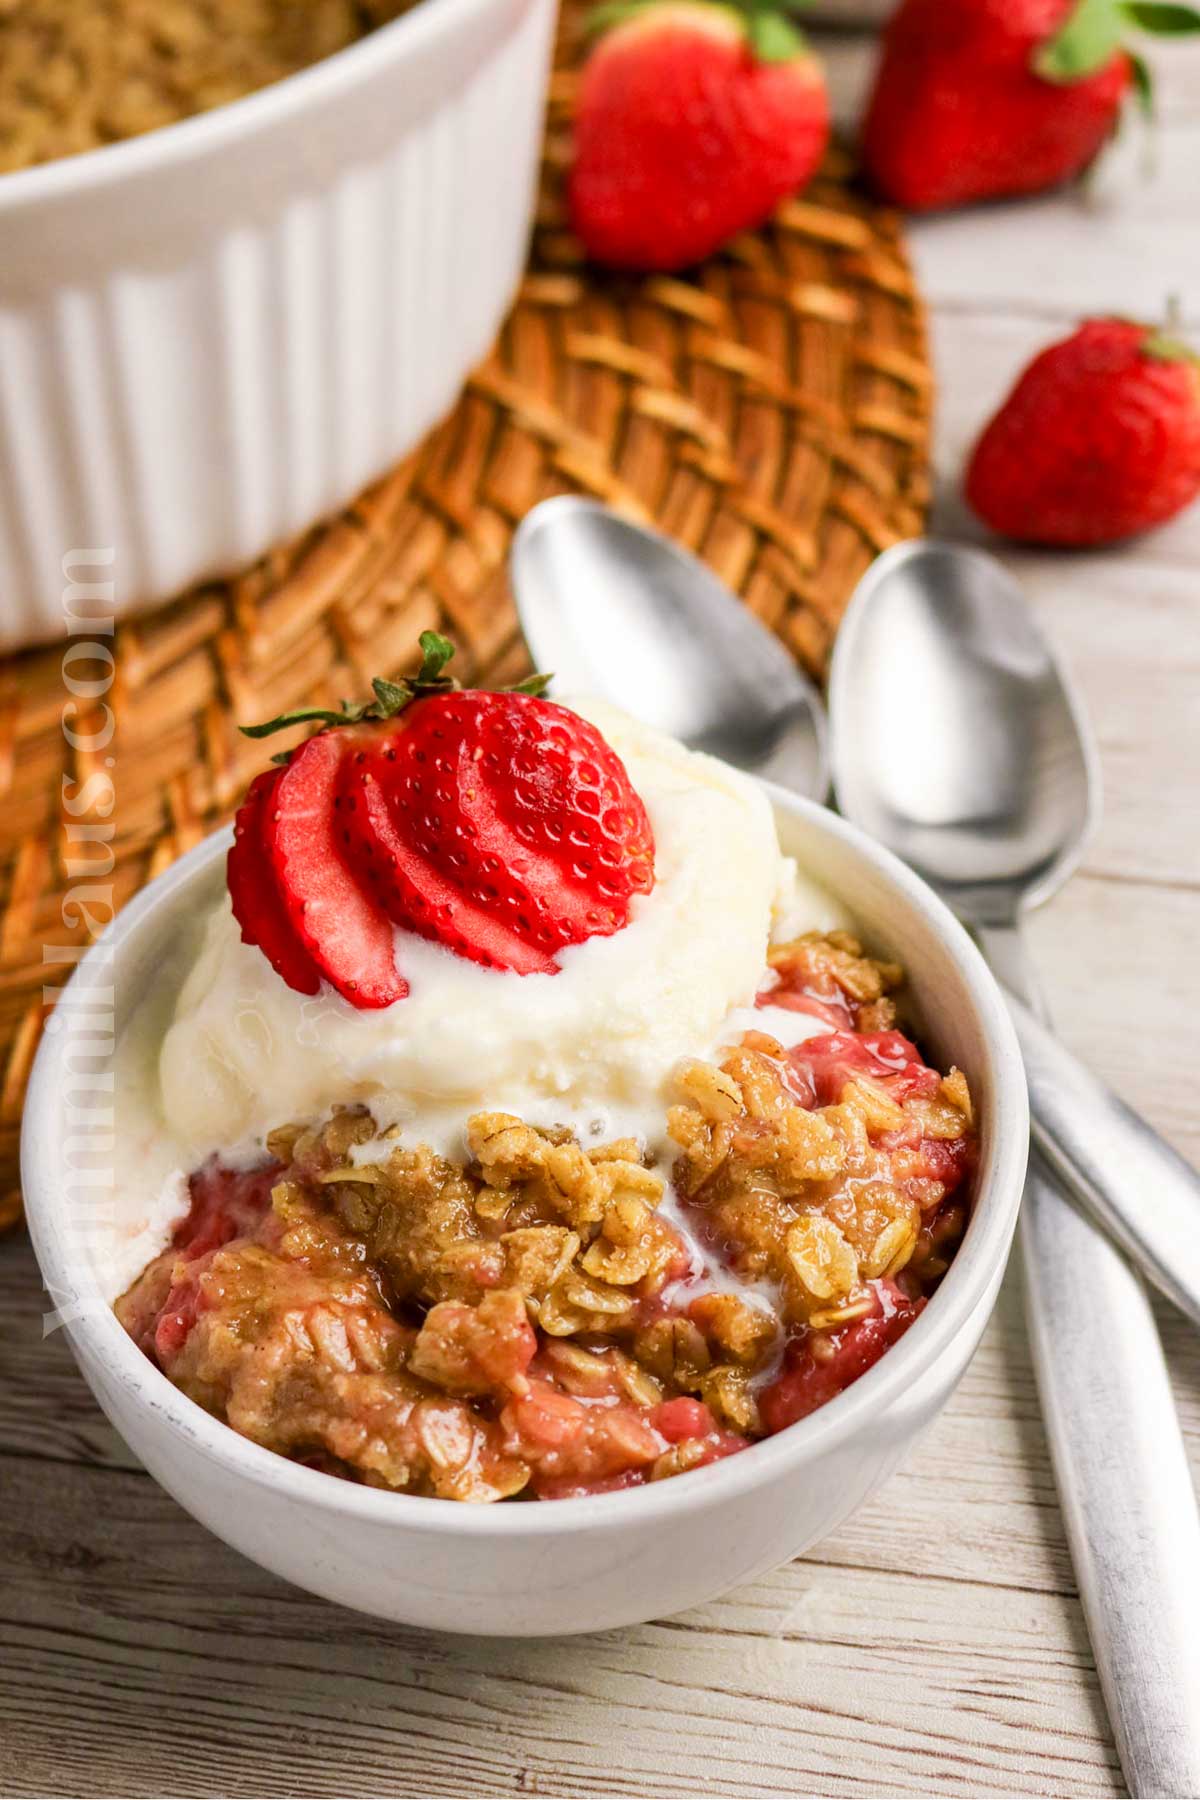
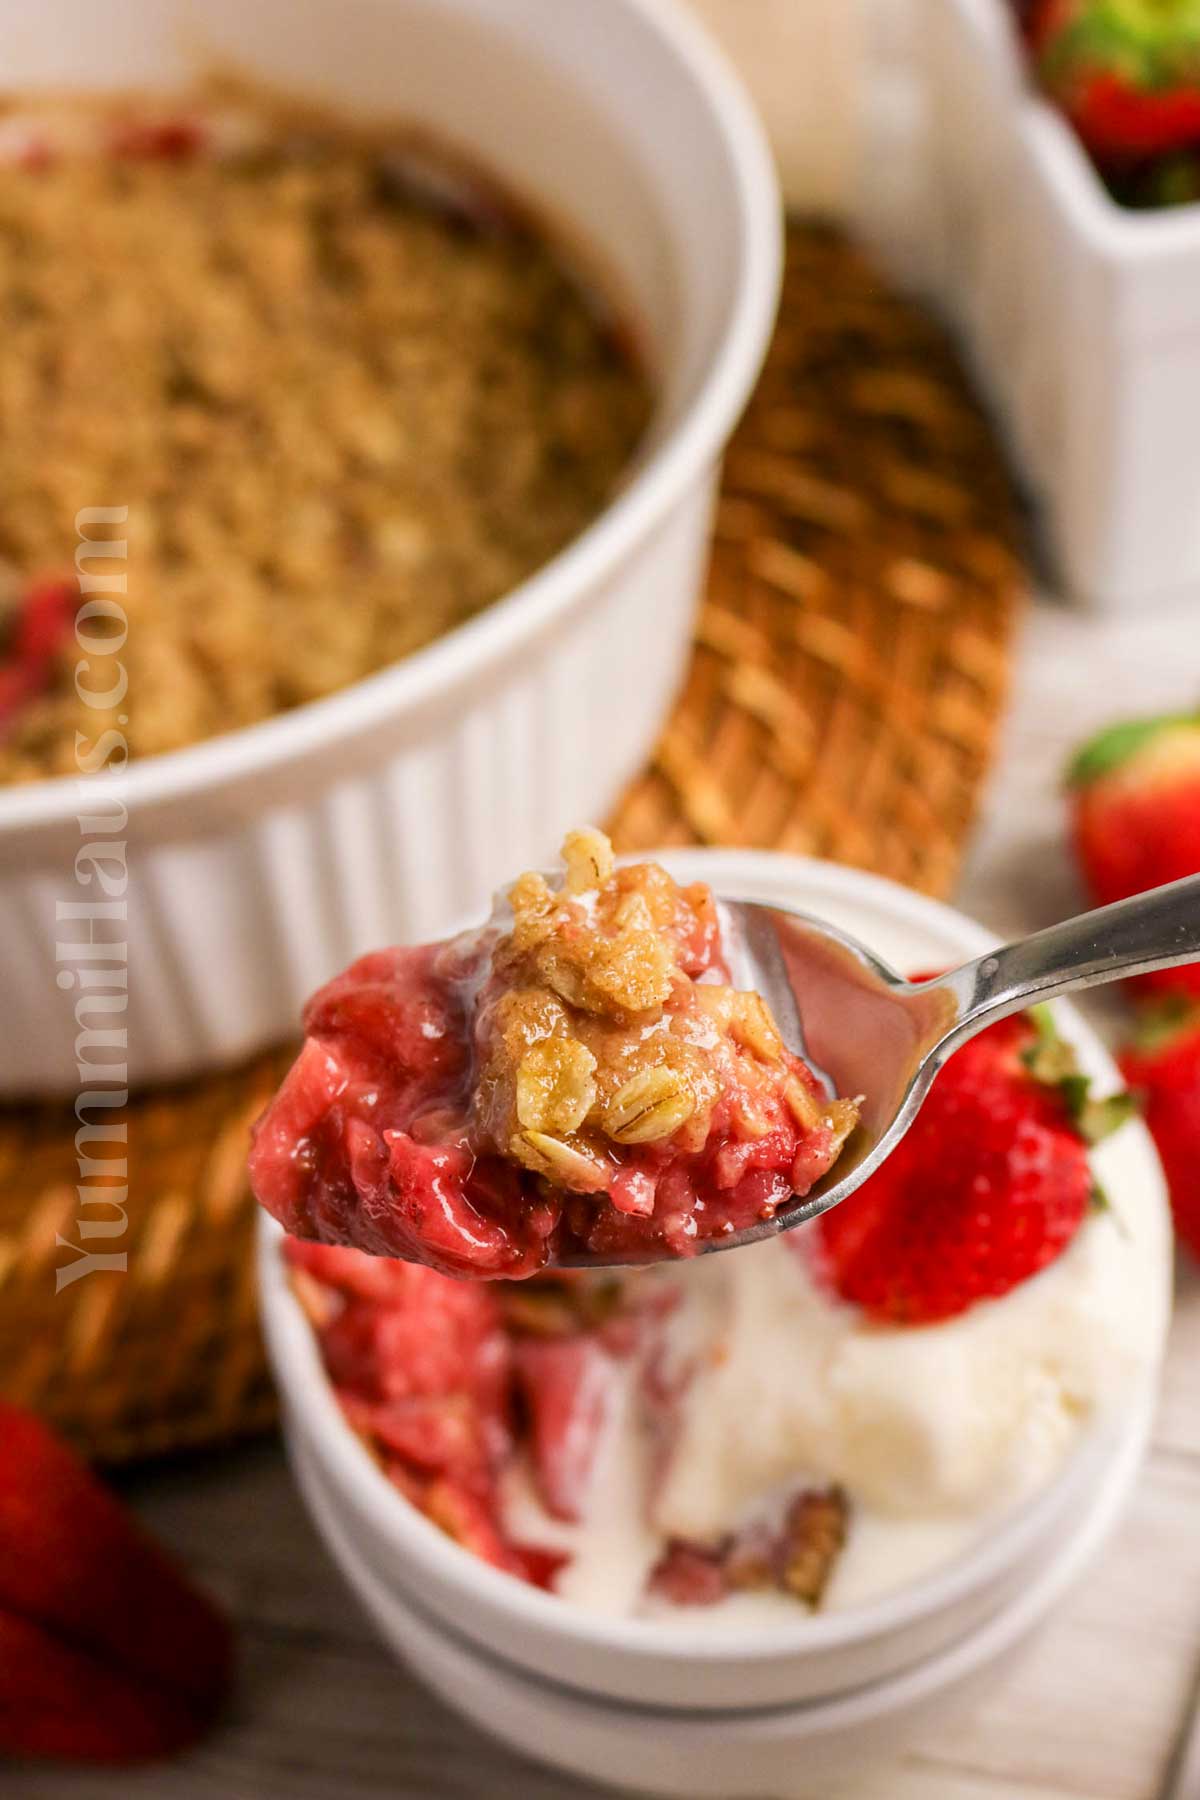
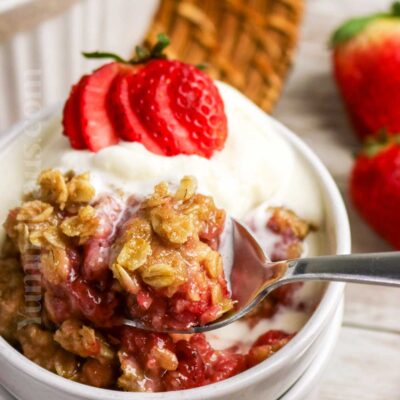
Texture: A warm, juicy strawberry filling bubbles beneath a crisp, buttery oat topping that’s perfectly golden and lightly crunchy.
Taste: Sweet, slightly tart strawberries melt into a rich, jammy filling, balanced by a buttery, cinnamon-kissed crumble that’s warm, comforting, and just a little crisp in every bite.
Ease: Simple and beginner-friendly, this recipe comes together with basic ingredients and minimal prep, making it an easy, no-fuss dessert that bakes up beautifully every time.
Why I love it: I love this dessert because it’s effortlessly comforting, bursting with sweet-tart strawberries and topped with a buttery crumble that feels like home in every warm, cozy bite.
Why You’ll Love This Recipe
This is such an easy recipe that delivers maximum flavor with minimal effort. Unlike more complicated fruit crisps or peach cobbler, you don’t need any special skills or fancy equipment to pull this off.
The best part? You can make this with fresh strawberries during strawberry season or use frozen strawberries when you’re craving it in the off months. The crumble topping gets beautifully crisp on top while staying soft underneath, creating the most amazing texture contrast with the tender fruit filling.
It’s a great way to feed a crowd without spending hours in the kitchen. Plus, cleanup is easy since everything bakes in one baking dish. Just mix your dry ingredients in a separate bowl, toss together your strawberry mixture, and let the oven do the work.

Ingredient Notes
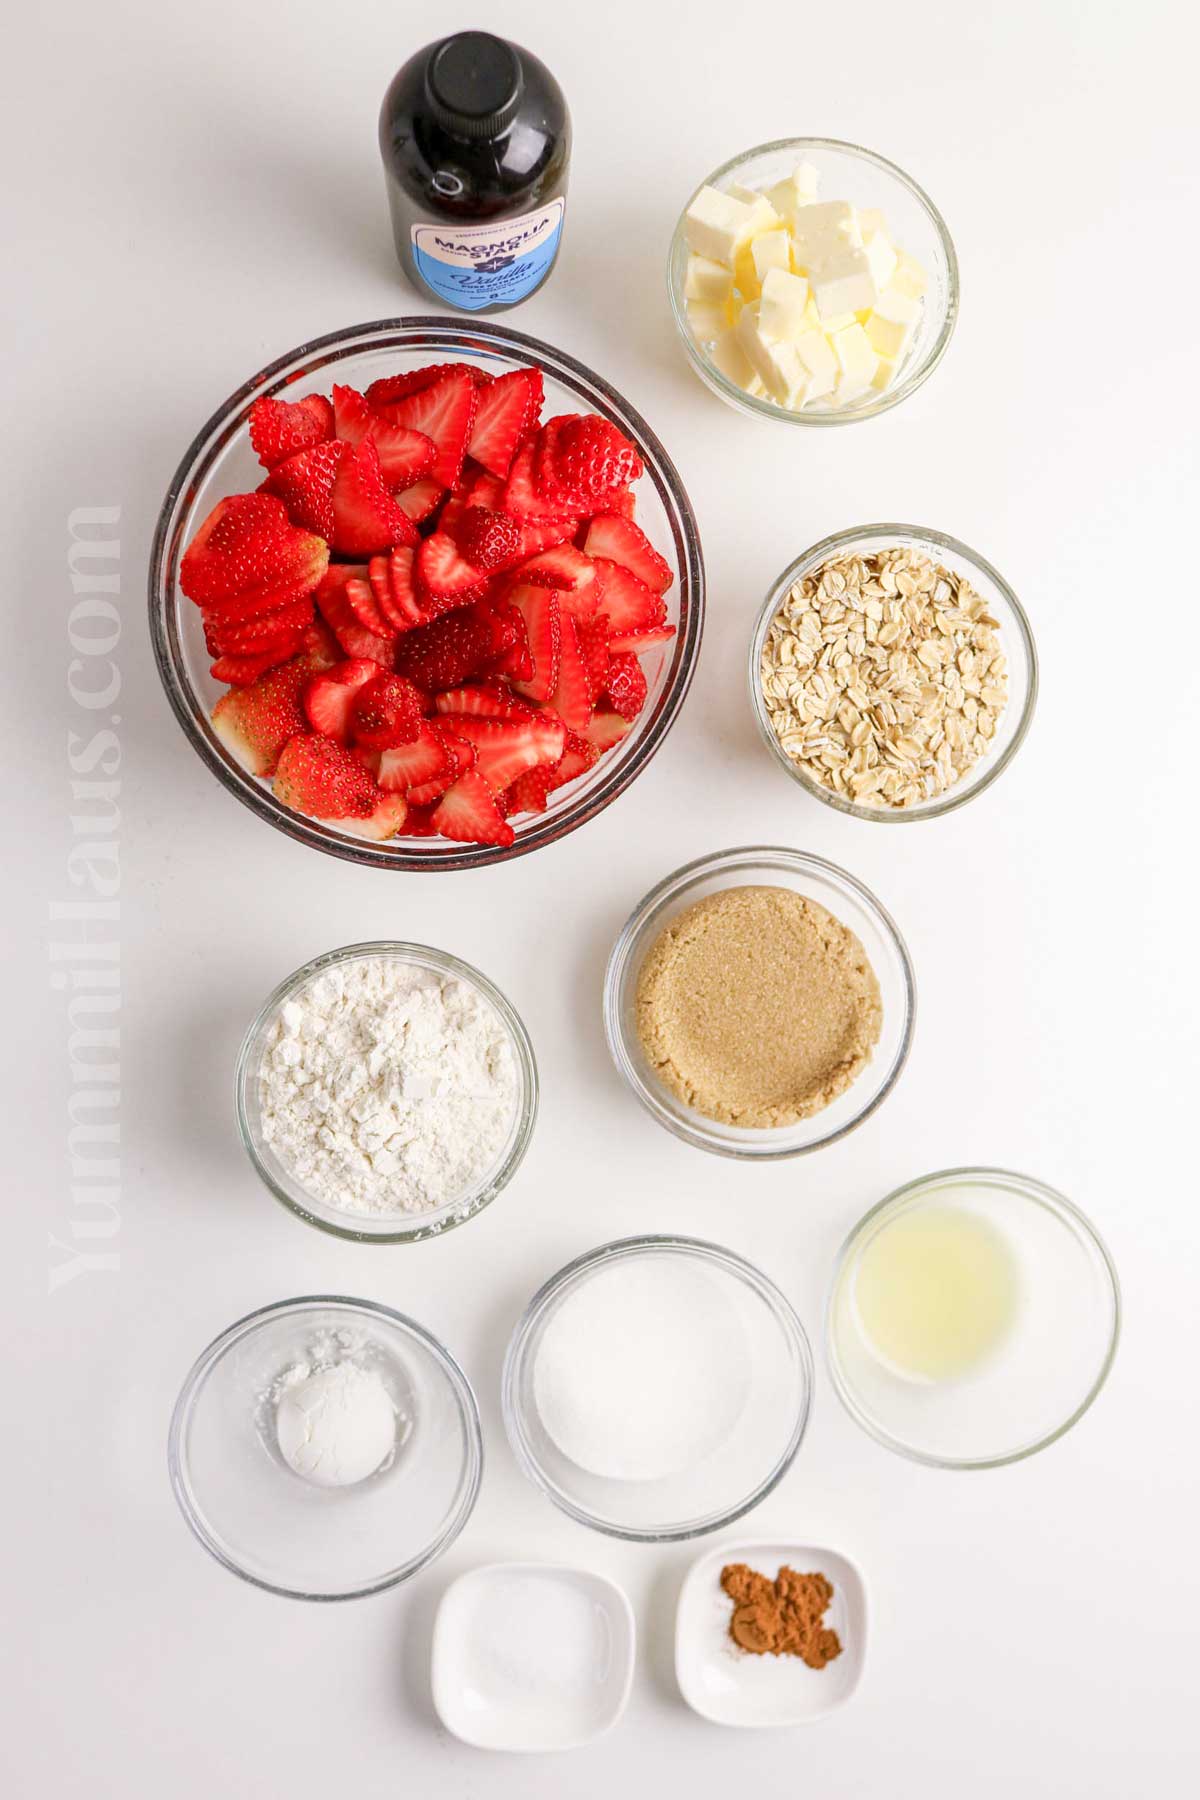
- Strawberries: Use fresh, ripe strawberries for the best flavor. Slice evenly for consistent baking.
- Granulated Sugar: Sweetens the filling and helps draw out the strawberry juices. Adjust based on berry sweetness.
- Lemon Juice: Brightens the flavor and balances sweetness with a hint of acidity.
- Cornstarch: Thickens the filling so it becomes glossy and spoonable, not runny.
- Vanilla Extract: Adds warmth and enhances the natural strawberry flavor.
Crumble Topping
- Old-Fashioned Oats: Adds hearty texture and a rustic, crunchy topping.
- All-Purpose Flour: Helps bind the crumble ingredients together.
- Brown Sugar: Brings sweetness with a rich caramel-like flavor.
- Ground Cinnamon: Adds warm spice that pairs beautifully with strawberries.
- Salt: Balances the sweetness and enhances overall flavor.
- Butter: Creates a rich, buttery crumble with crisp golden clusters when baked.
Kitchen Equipment
- Mixing bowls
- Measuring cups
- Measuring spoons
- Cutting board
- Sharp knife
- Colander or strainer
- Wooden spoon or spatula
- Pastry cutter or fork
- 8×8-inch baking dish or similar casserole dish
- Oven mitts
- Cooling rack
- Serving spoon
How to Make Strawberry Crumble
- Start by preheating your oven to 375°F. Lightly grease an 8×8-inch baking dish and set it aside.
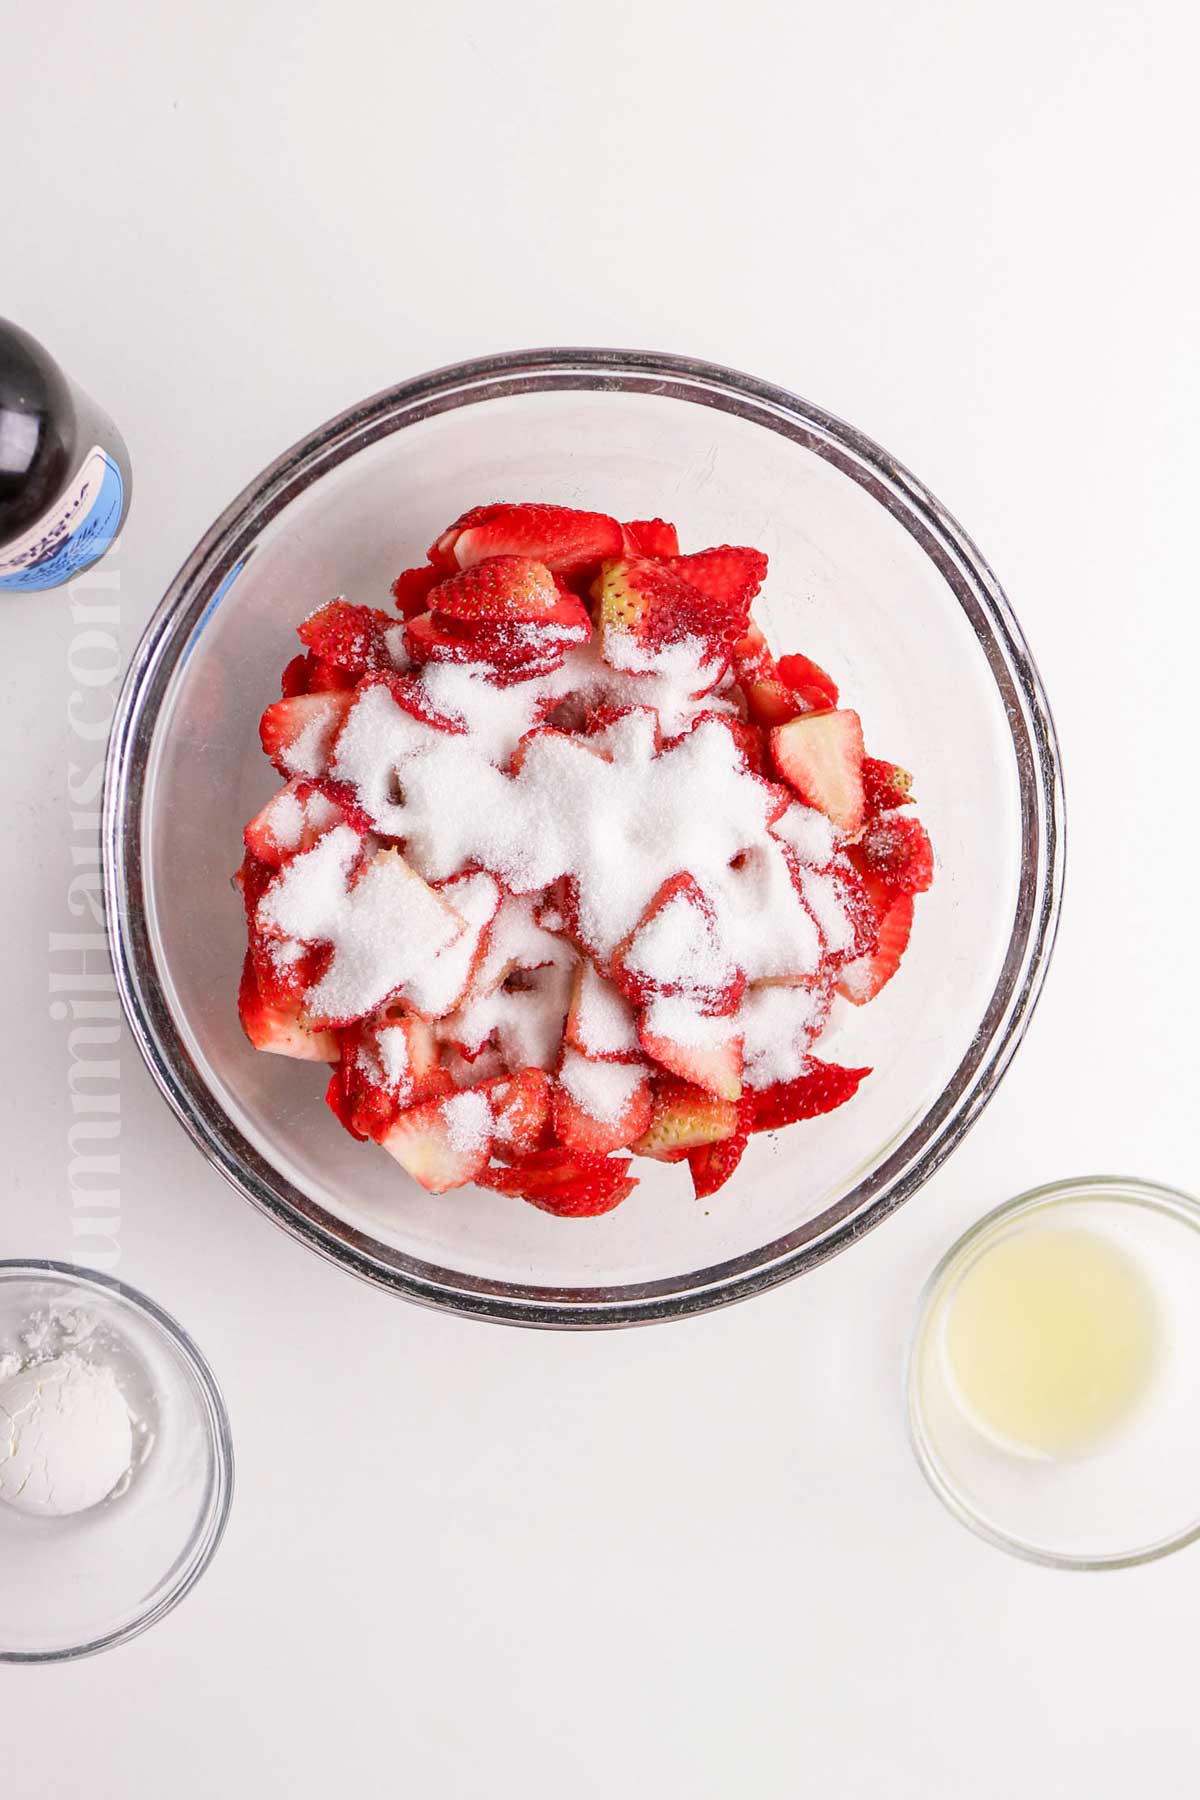
- In a mixing bowl, combine the strawberries, sugar, lemon juice, cornstarch, and vanilla. Give everything a gentle toss until the strawberries are well coated, then pour the mixture into your prepared baking dish and spread it into an even layer.
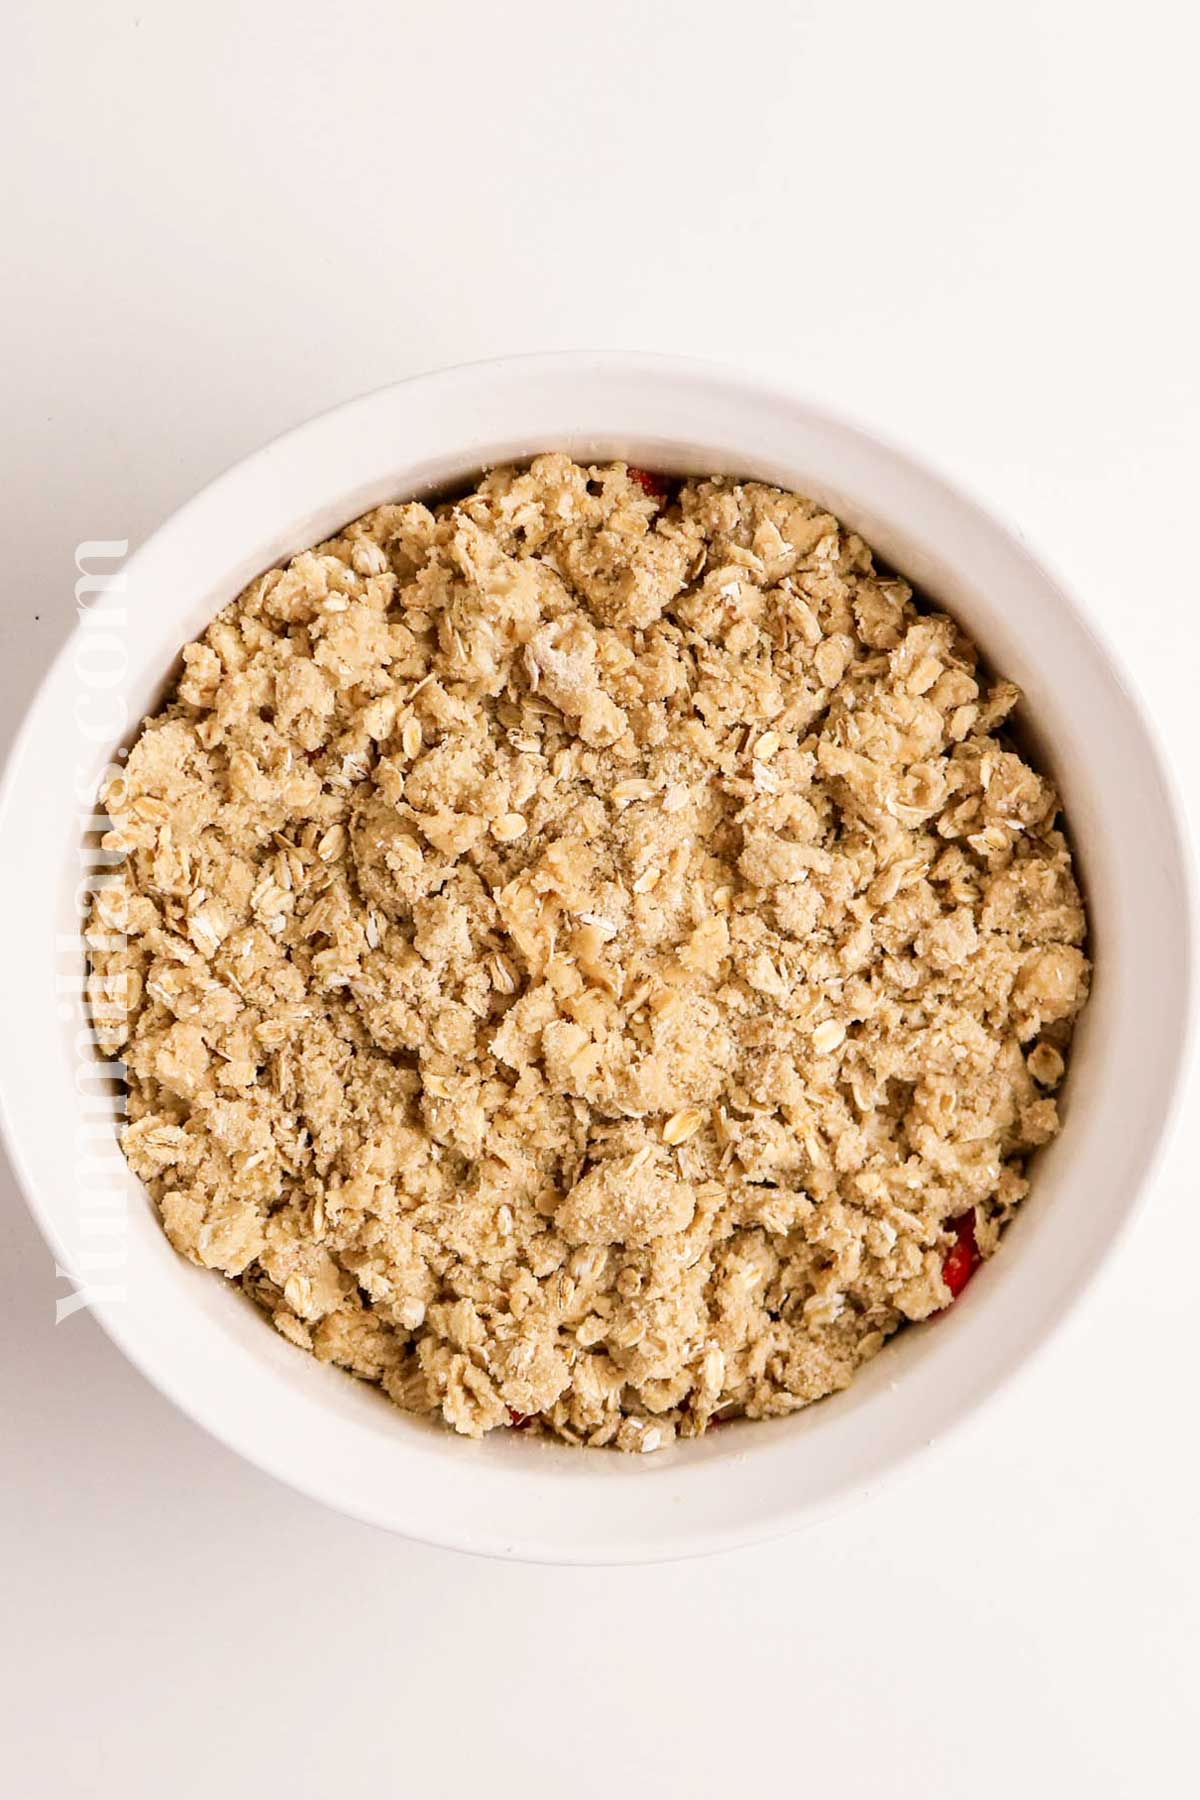
- In a separate bowl, stir together the oats, flour, brown sugar, cinnamon, and salt. Add the cold butter and work it into the dry ingredients using a pastry cutter or your fingertips until the mixture looks like coarse crumbs.
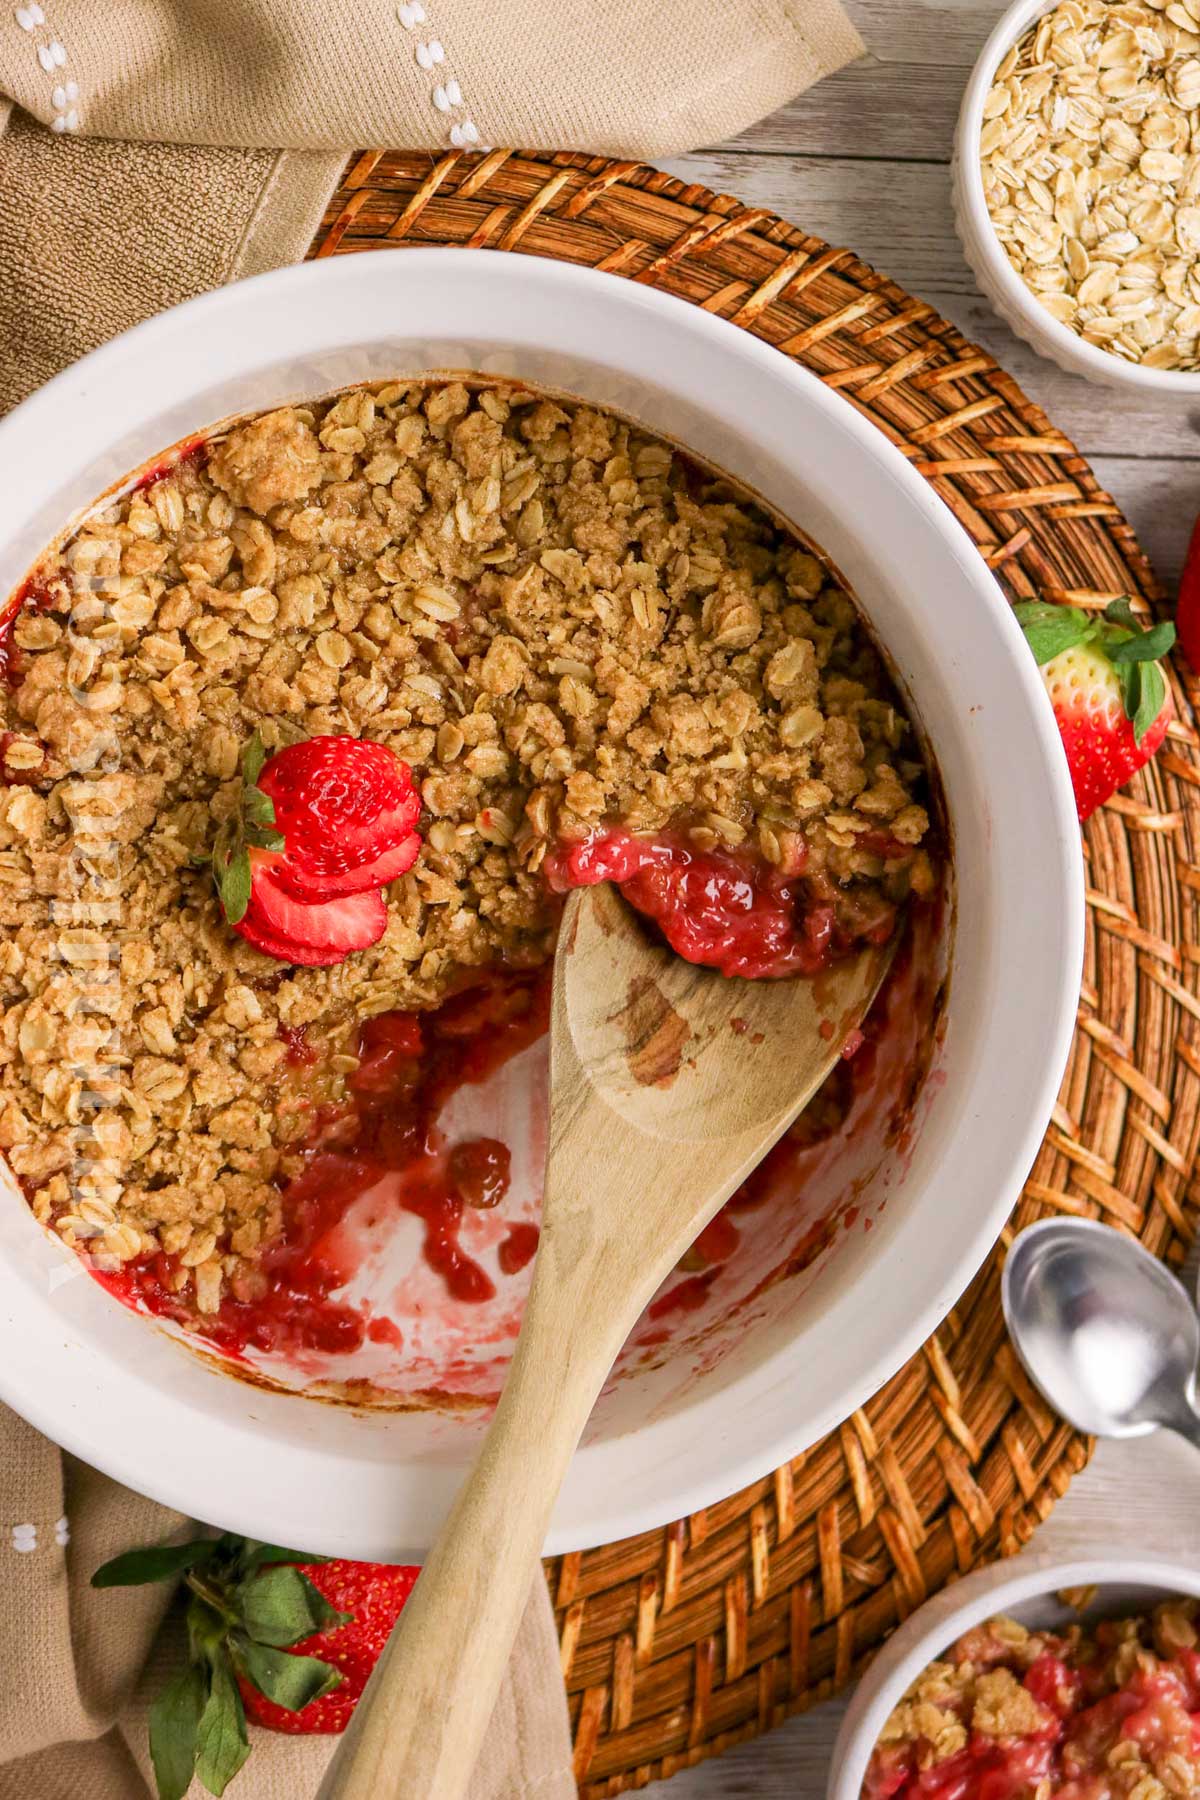
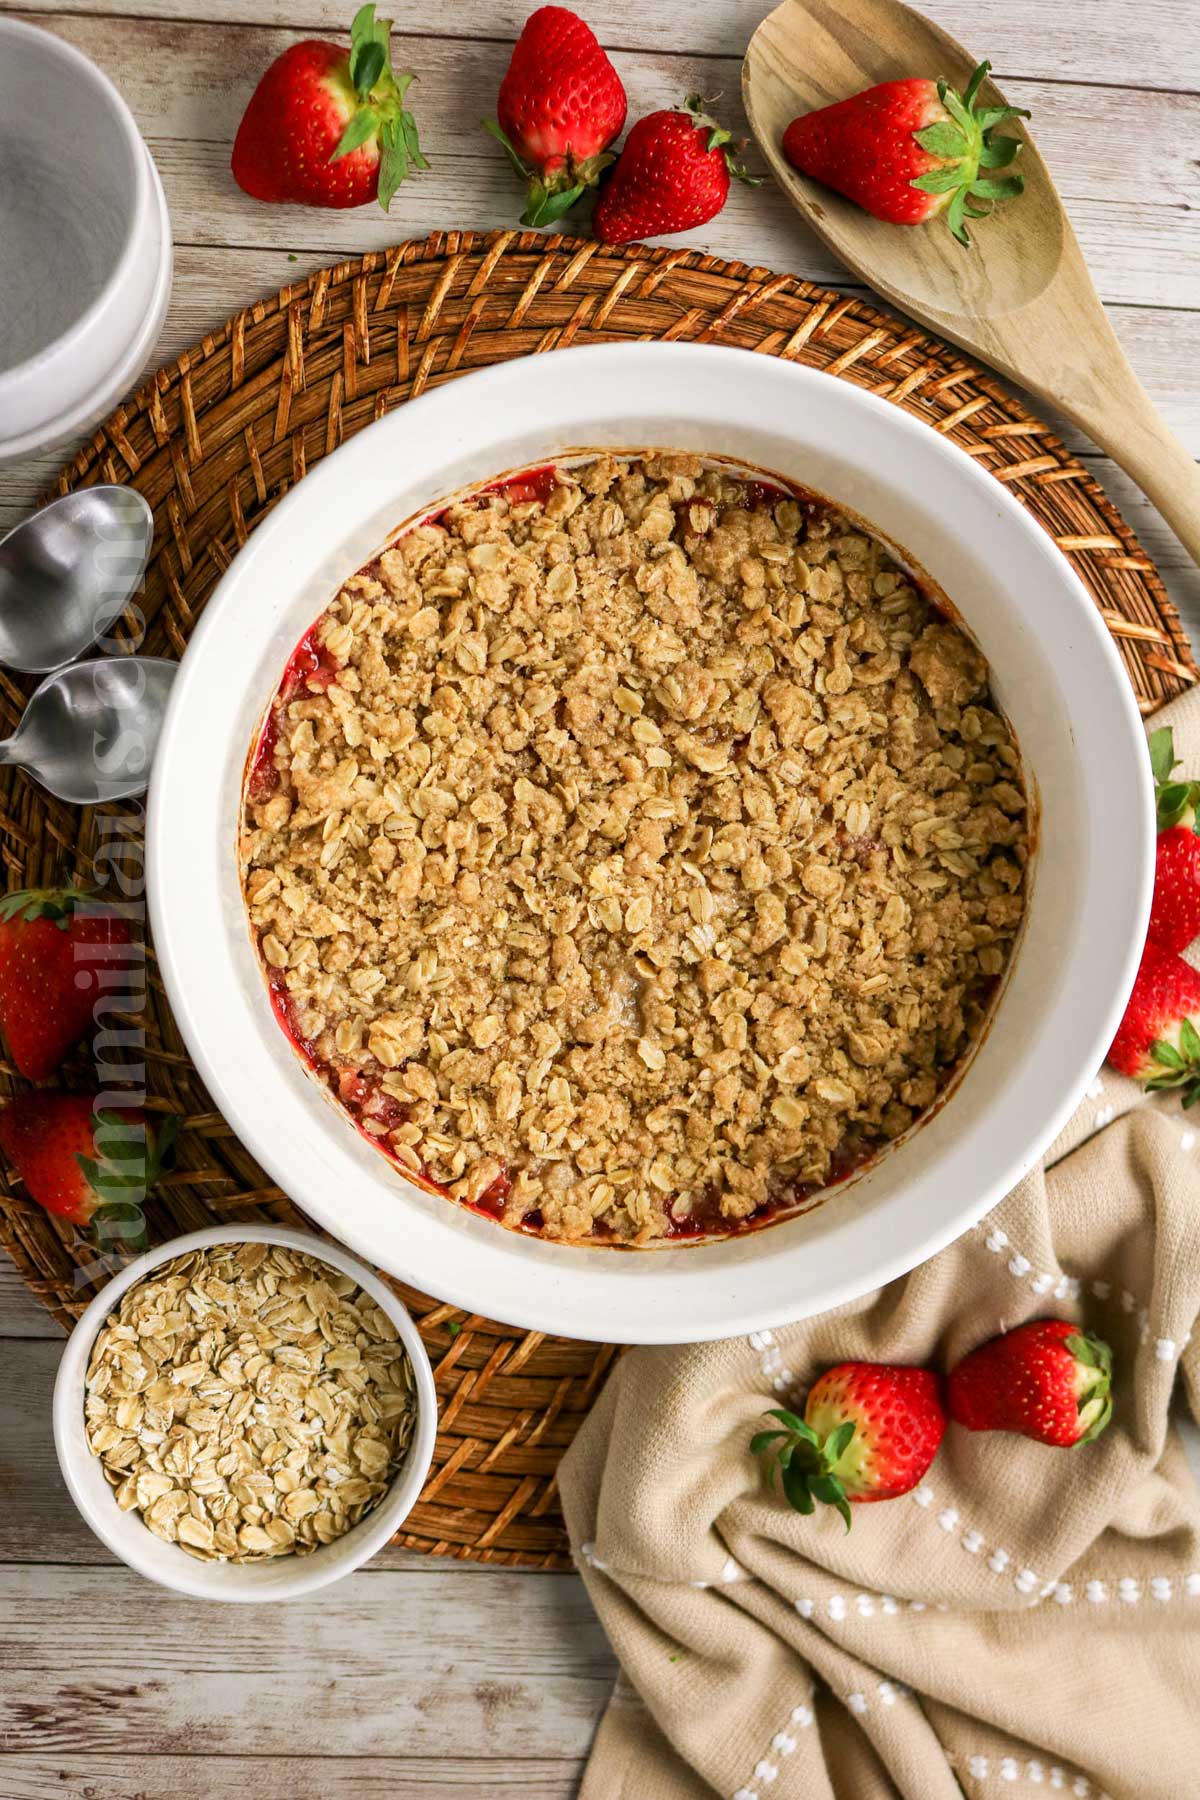
- Sprinkle the crumble topping evenly over the strawberry filling. Bake uncovered for 35 to 40 minutes, until the topping is golden brown and the filling is bubbling around the edges.
- Let the crumble cool for about 10 minutes before serving.
Variations & Substitutions
Fruit Variations: Try a strawberry rhubarb crumble by adding chopped rhubarb to the filling. Mix half strawberries with half fresh berries like blueberries or raspberries for a mixed berry version. You can also take inspiration from other fruit crumbles, like apple crumble, and add diced apples to the mix.
Sweetener Swaps: Replace the brown sugar with coconut sugar for a less refined option. Use maple syrup in the filling instead of white sugar. You can also adjust the sweetness based on how sweet your strawberries already are.
Topping Adjustments: For a gluten-free version, use certified gluten-free oats and substitute the all-purpose flour with oat flour. Replace butter with coconut oil or vegan butter for a dairy-free option. Add chopped nuts like almonds or pecans for extra crunch.
Flavor Boosters: A little bit of lemon juice and lemon zest brighten up the strawberry mixture beautifully. Try adding cinnamon, cardamom, or ginger to the topping for warm spice notes.
Thickening Options: Use cornstarch for the perfect consistency in your filling. Some people prefer tapioca starch or arrowroot powder instead.
Storage
Store leftover strawberry crumble in an airtight container in the refrigerator for up to 4 days. The topping will soften a bit as it sits, but it still tastes amazing. Honestly, I think it’s even better the next day when all the flavors have melded together.
You can reheat individual portions in the microwave for about 30 seconds or warm the whole dish in a 350°F oven for 10-15 minutes until heated through. If you want to crisp up that crumble topping again, a few minutes under the broiler works wonders.
For longer storage, this freezes beautifully. Let it cool completely, then wrap tightly and freeze for up to 3 months. Thaw overnight in the refrigerator before reheating.
Expert Tips
Don’t skip the lemon juice in the filling. That important ingredient balances the sweetness and makes the strawberry flavor pop even more.
Let your fruit mixture sit for a few minutes after mixing. This helps the juices start to release and ensures your filling won’t be too dry.
Use cold butter when making your crumble topping for the best texture. Cut it into small pieces before working it into the flour mixture.
If your strawberries are releasing a lot of liquid during baking time, don’t panic. The filling will thicken as it cools.
Make sure your topping is evenly distributed, but don’t pack it down. You want it loose and crumbly for the best texture.
Check your crumble around the 30-minute mark. Depending on your oven, baking time can vary. You’re looking for that golden brown color on top and bubbling fruit around the edges.
Let it cool for at least 15 minutes before serving. I know it’s tempting to dive right in, but this helps the filling set up to the perfect consistency.
Fresh strawberries work best during the summer months when they’re at their peak, but frozen strawberries are a solid backup. Just don’t thaw them first to avoid extra liquid.
FAQ’s
What’s the difference between a crumble and a crisp?
Great question! The terms are often used interchangeably, but technically, a crisp usually contains oats in the topping, while a crumble might not. This recipe includes oats, so you could call it either a strawberry crumble or a strawberry crisp, and you’d be right either way.
Do I need to hull the strawberries?
Yes, remove those green tops and the white core. Slice or quarter your strawberries depending on their size. Smaller pieces cook more evenly.
Why is my crumble topping not crispy?
Make sure you’re using cold butter and not overworking the mixture. Also, don’t cover the dish while baking, as trapped steam will make the topping soggy instead of crisp.
Can I make this ahead of time?
You can prep the components separately and store them in the refrigerator. Keep the strawberry mixture and crumble topping in separate containers, then assemble and bake when ready. For best results, bake it fresh. I actually made this last week for guests and assembled it an hour before they arrived, then popped it in the oven during dinner.
My filling is too runny. What did I do wrong?
You might need more thickener next time. The amount needed can vary based on how juicy your strawberries are. Make sure you’re measuring your corn starch accurately and letting the filling cool properly, which helps it set up.
If you love this strawberry dessert recipe, you’re going to love these other strawberry recipes, too. Please click each link below to find the easy, printable recipe!
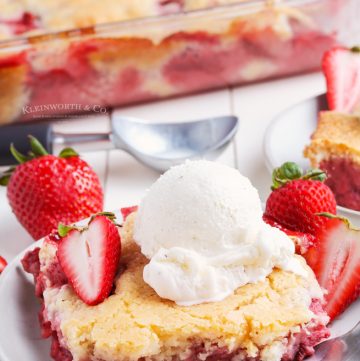
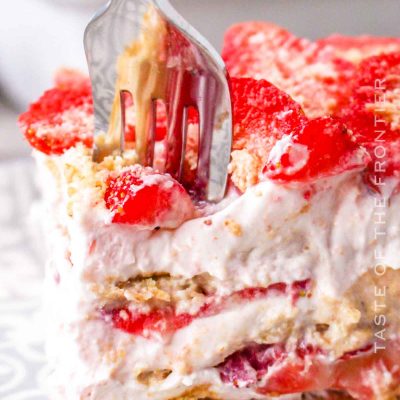
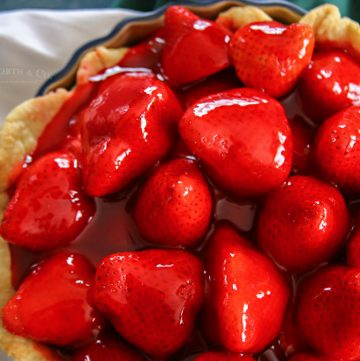
More Great Crumple/Crisp Recipes
CONNECT WITH YUMMI HAUS!
Be sure to follow me on my social media, so you never miss a post!

Strawberry Crumble
Ingredients
Strawberry Filling
- 4 cups strawberries fresh – hulled and sliced
- ⅓ cup granulated sugar
- 1 tablespoon lemon juice
- 1 tablespoon cornstarch
- 1 teaspoon vanilla extract
Crumble Topping
- ¾ cup old-fashioned oats
- ¾ cup all-purpose flour
- ½ cup brown sugar packed
- ½ teaspoon ground cinnamon
- ¼ teaspoon salt
- ½ cup butter cold unsalted- cubed
Instructions
- Preheat the oven to 375°F.
- Lightly grease an 8×8-inch baking dish. Set aside.
- Toss the strawberries with the sugar, lemon juice, cornstarch, and vanilla.
- Transfer the mixture to the prepared baking dish. Spread it out in an even layer.
- Mix the oats, flour, brown sugar, cinnamon, and salt in another bowl.
- Cut the cold butter into the mixture using a pastry cutter or your fingers, working it until the mixture forms coarse crumbs.
- Sprinkle the crumble topping evenly over the strawberry layer.
- Bake uncovered for 35–40 minutes, or until the topping is golden and the filling is bubbling.
- Let cool for 10 minutes before serving.
Notes
- Frozen strawberries can be used. They do not need to be thawed first; just add 1 extra teaspoon of cornstarch to help absorb the additional moisture.
- For extra crunch, add ¼ cup chopped nuts to the topping.
- Leftovers keep well covered in the refrigerator for up to 3 days.
Nutrition
Nutritional information for the recipe is provided as a courtesy and is approximate. Please double-check with your own dietary calculator for the best accuracy. We at Yummi Haus cannot guarantee the accuracy of the nutritional information given for any recipe on this site.


Share Your Thoughts