
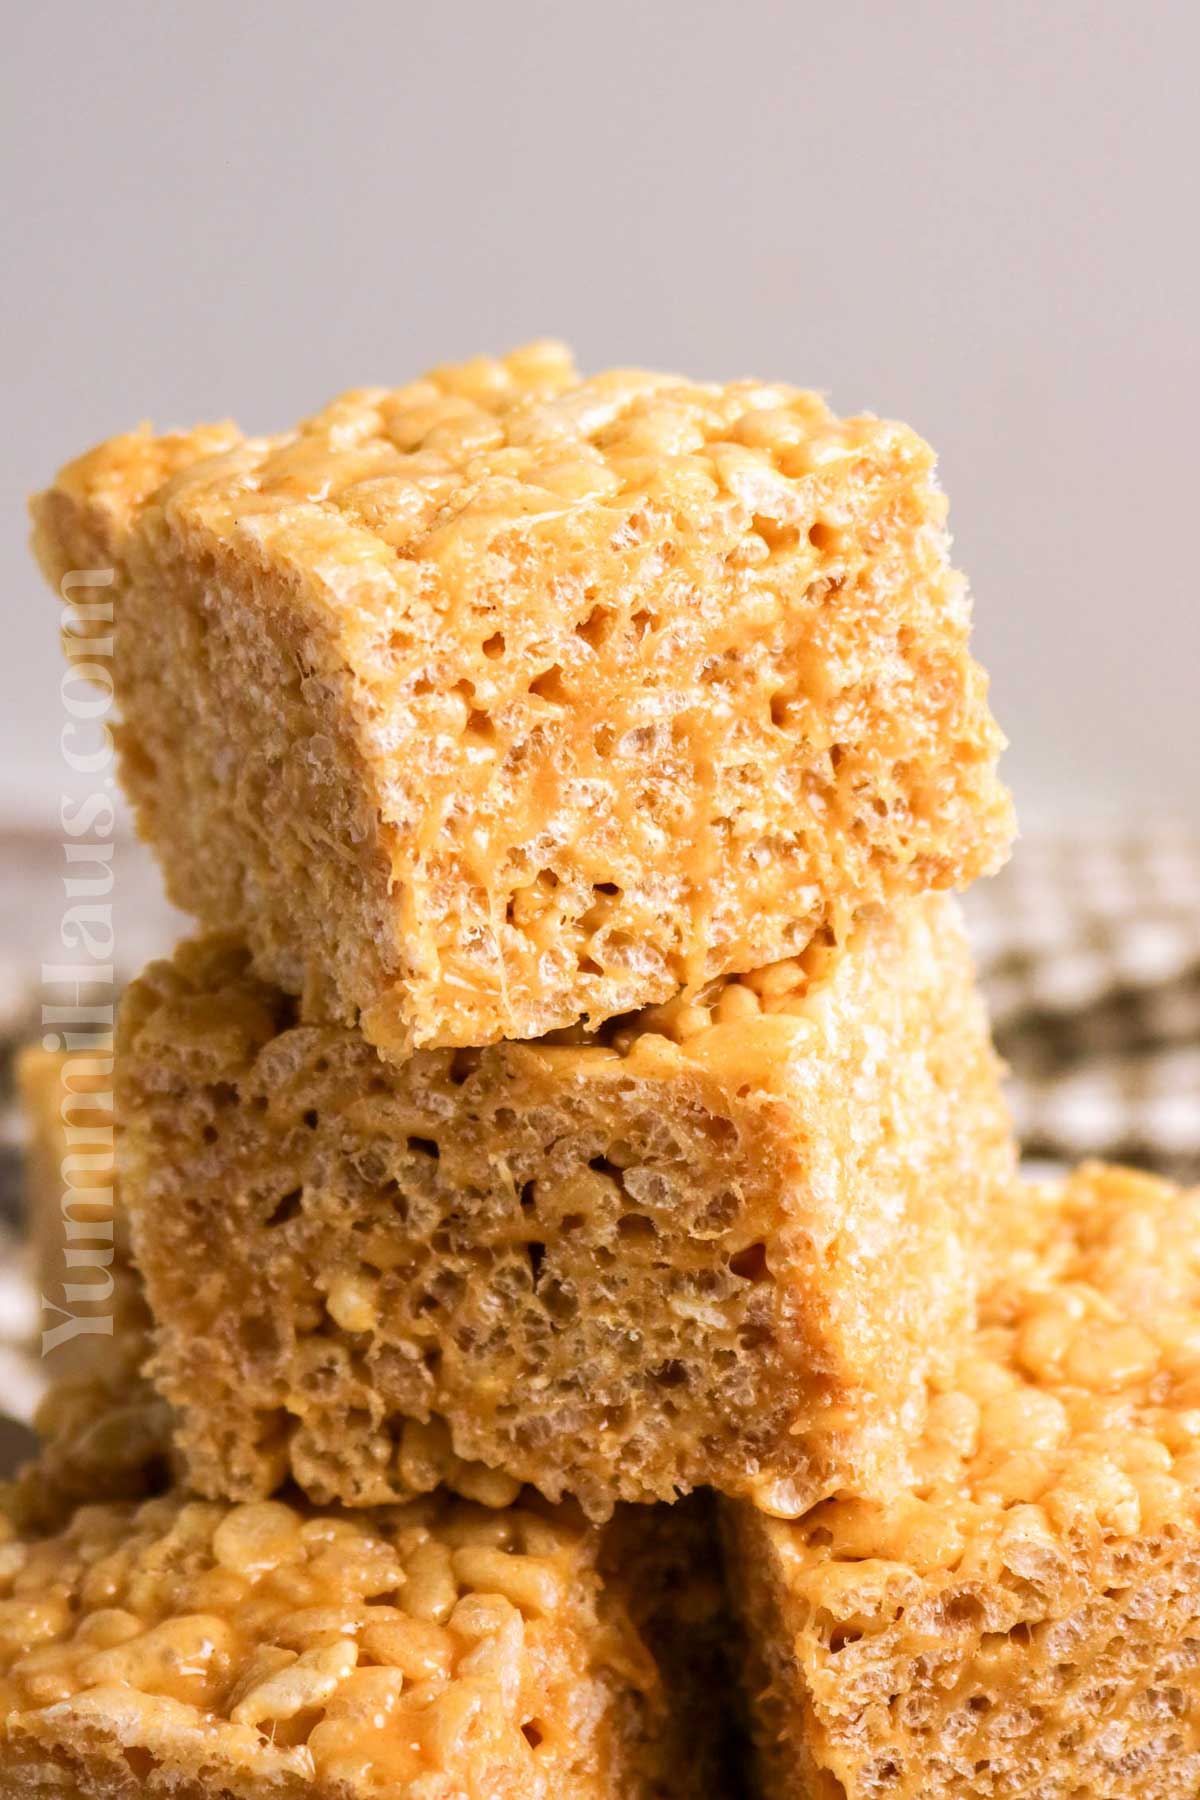
If you’re looking for a dessert that comes together in minutes and tastes absolutely incredible, these peanut butter rice krispie treats are about to become your new obsession. I’m talking about the perfect combination of creamy peanut butter, crispy cereal, and that irresistible chewy texture that makes it impossible to eat just one square.
This is one of those cereal treat recipes that you’ll find yourself making over and over again, whether you need a last-minute contribution to a bake sale or just want to satisfy a sweet craving.
Gina’s Recipe Rundown:
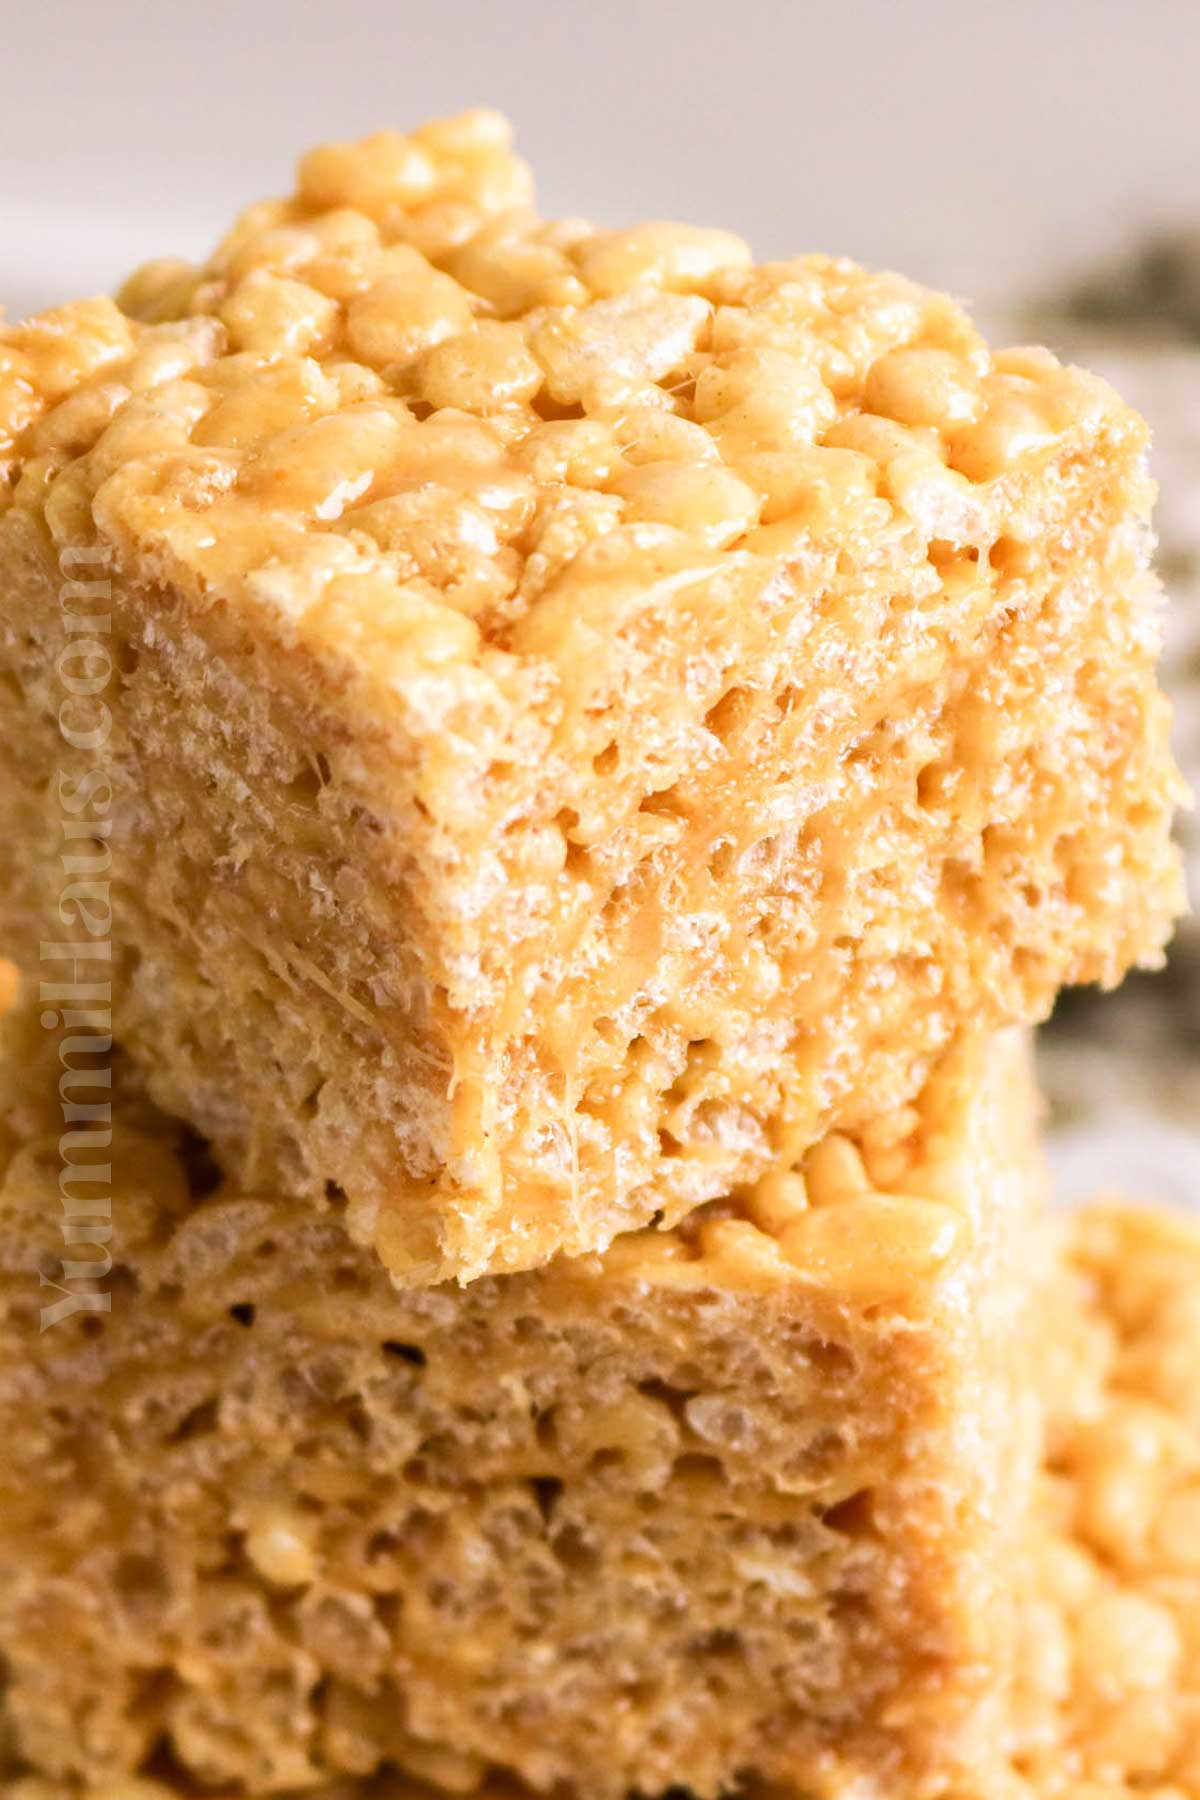
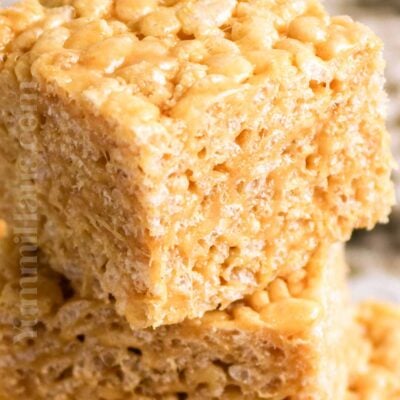
Texture: Chewy, gooey, and lightly crisp with a rich, creamy peanut butter bite.
Taste: Sweet, nutty, and buttery with a hint of toasted marshmallow flavor.
Ease: Quick, no-bake, and simple—ready in just a few minutes with minimal ingredients.
Why I love it: I love them because they’re irresistibly chewy, perfectly sweet, and packed with peanut buttery goodness in every bite.
Why You’ll Love This Recipe
First off, this is a no-bake dessert, which means you can whip it up even on the hottest summer days without turning on your oven. There’s something magical about the combination of peanut butter and rice cereal that just works every single time. Unlike traditional Rice Krispies treats that rely solely on marshmallows, this version gets an extra boost of flavor and richness from a generous cup of peanut butter.
The texture is absolutely perfect – chewy, crispy, and just the right amount of sticky. Plus, you can customize these bars with chocolate chips, peanut butter chips, or even a chocolate topping if you’re feeling fancy. They’re portable, kid-friendly, and honestly, adults go crazy for them too. I’ve brought these to potlucks and watched them disappear faster than any other dessert on the table.
Another reason to love this recipe? You probably already have most of the ingredients in your pantry right now. No special trips to the store, no fancy ingredients – just simple, straightforward baking that delivers big on flavor.


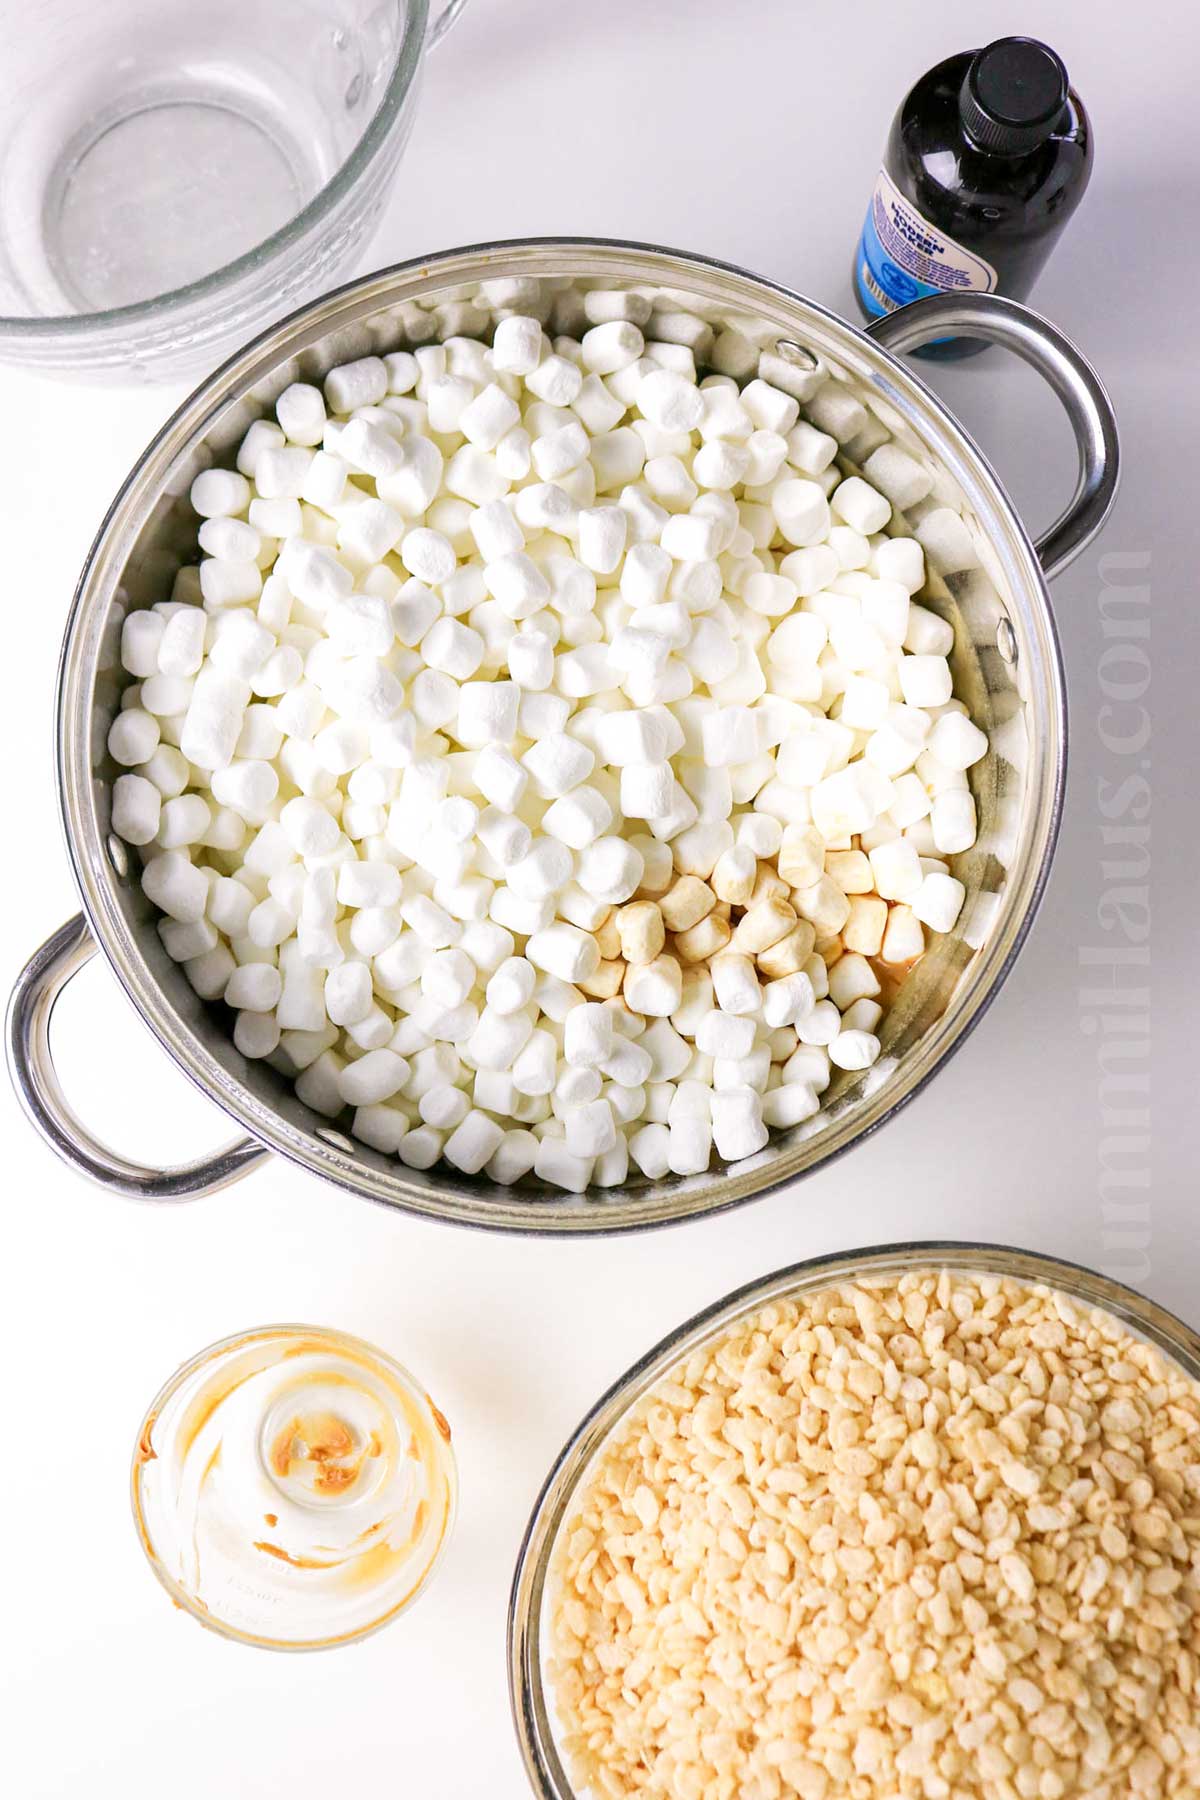
Ingredient Notes
- Unsalted butter – helps control the sweetness and gives a rich, creamy base.
- Creamy peanut butter – makes the bars perfectly nutty and smooth; chunky works too if you like extra texture.
- Vanilla extract – adds a warm, sweet depth of flavor.
- Mini marshmallows – give that gooey, chewy texture that holds the bars together.
- Rice Krispies cereal – provides the classic crispy crunch that balances the sweetness.
Kitchen Equipment
- 9×13-inch baking dish
- Parchment paper or non-stick spray
- Large pot or saucepan
- Wooden spoon or heat-safe spatula
- Measuring cups and spoons
- Silicone spatula or hands for pressing the mixture

How to Make Peanut Butter Rice Krispies Bars
- Grab a 9×13-inch baking dish and either line it with parchment paper or give it a light greasing.
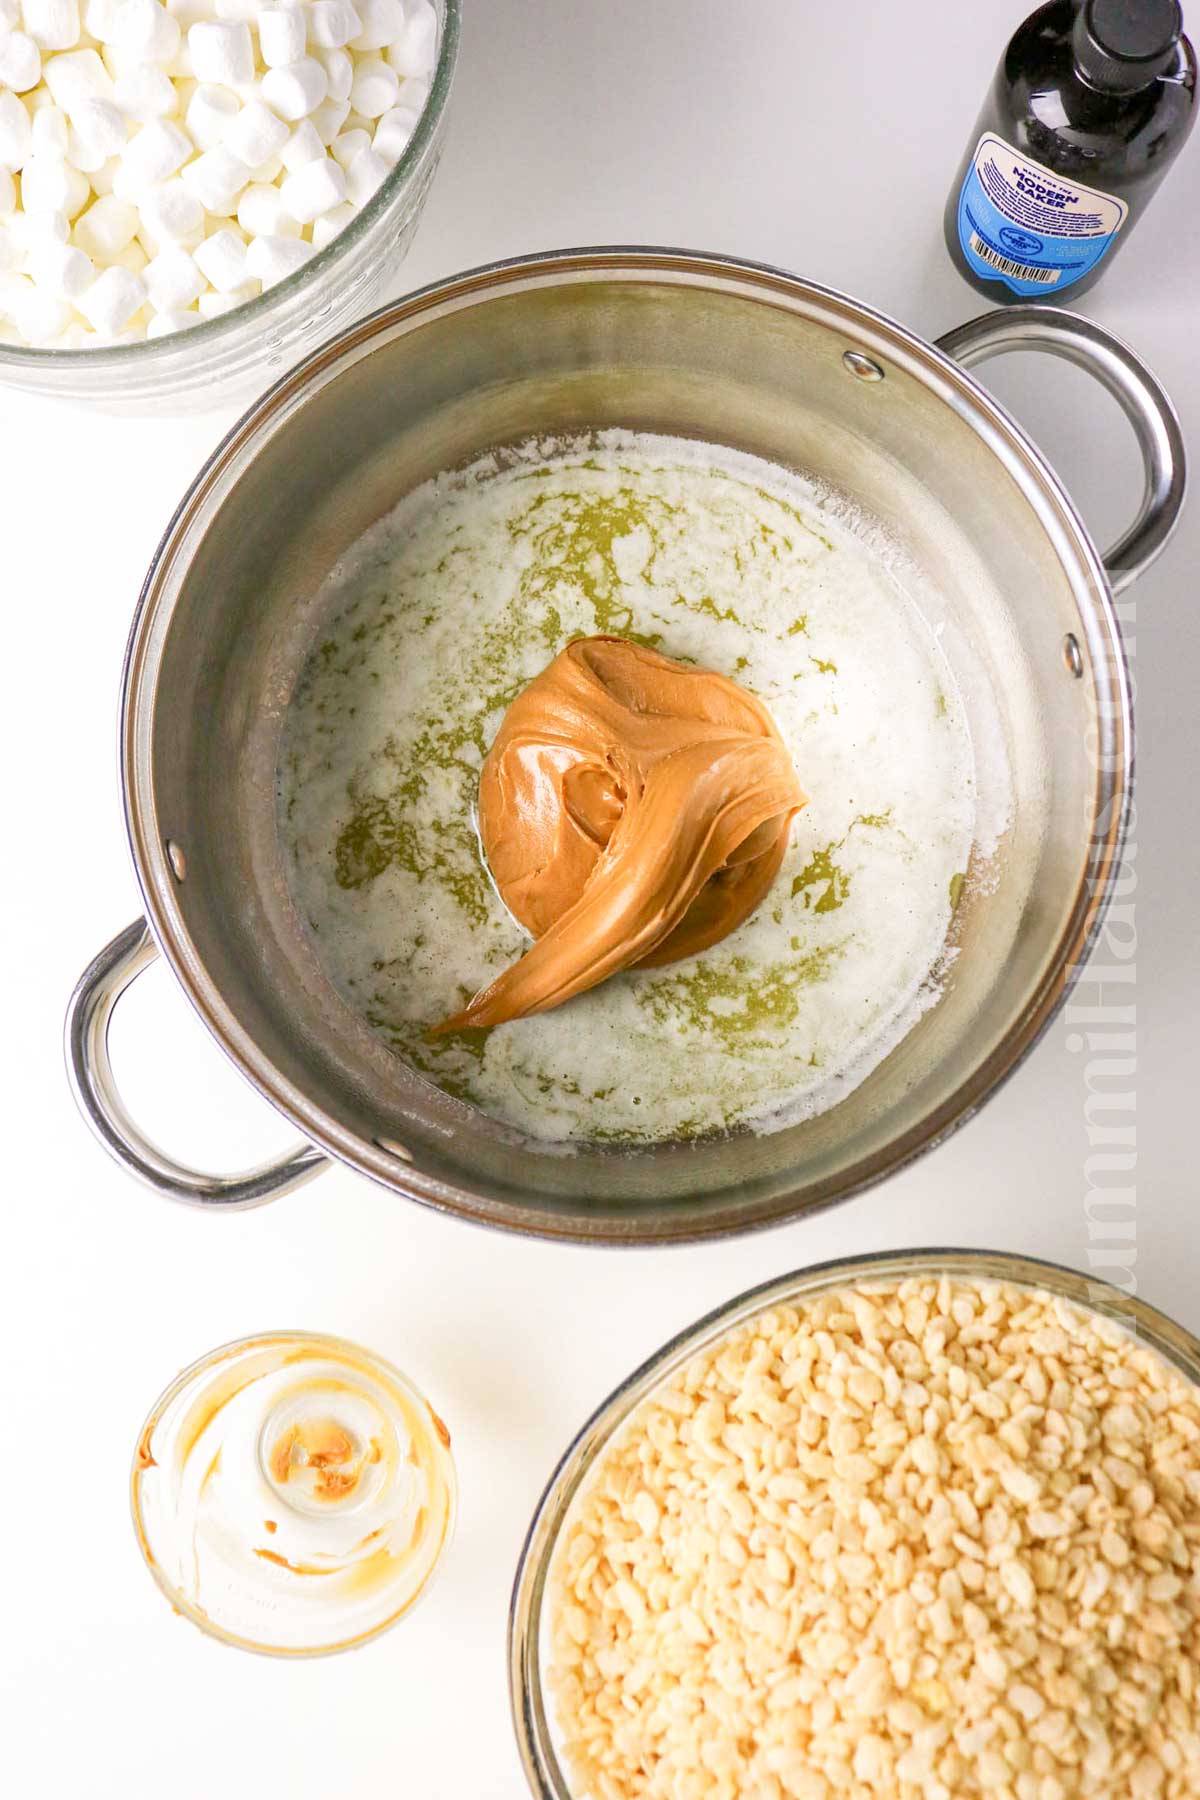
- In a large pot over low heat, melt the butter.
- Once melted, stir in the peanut butter until it’s smooth and fully combined.
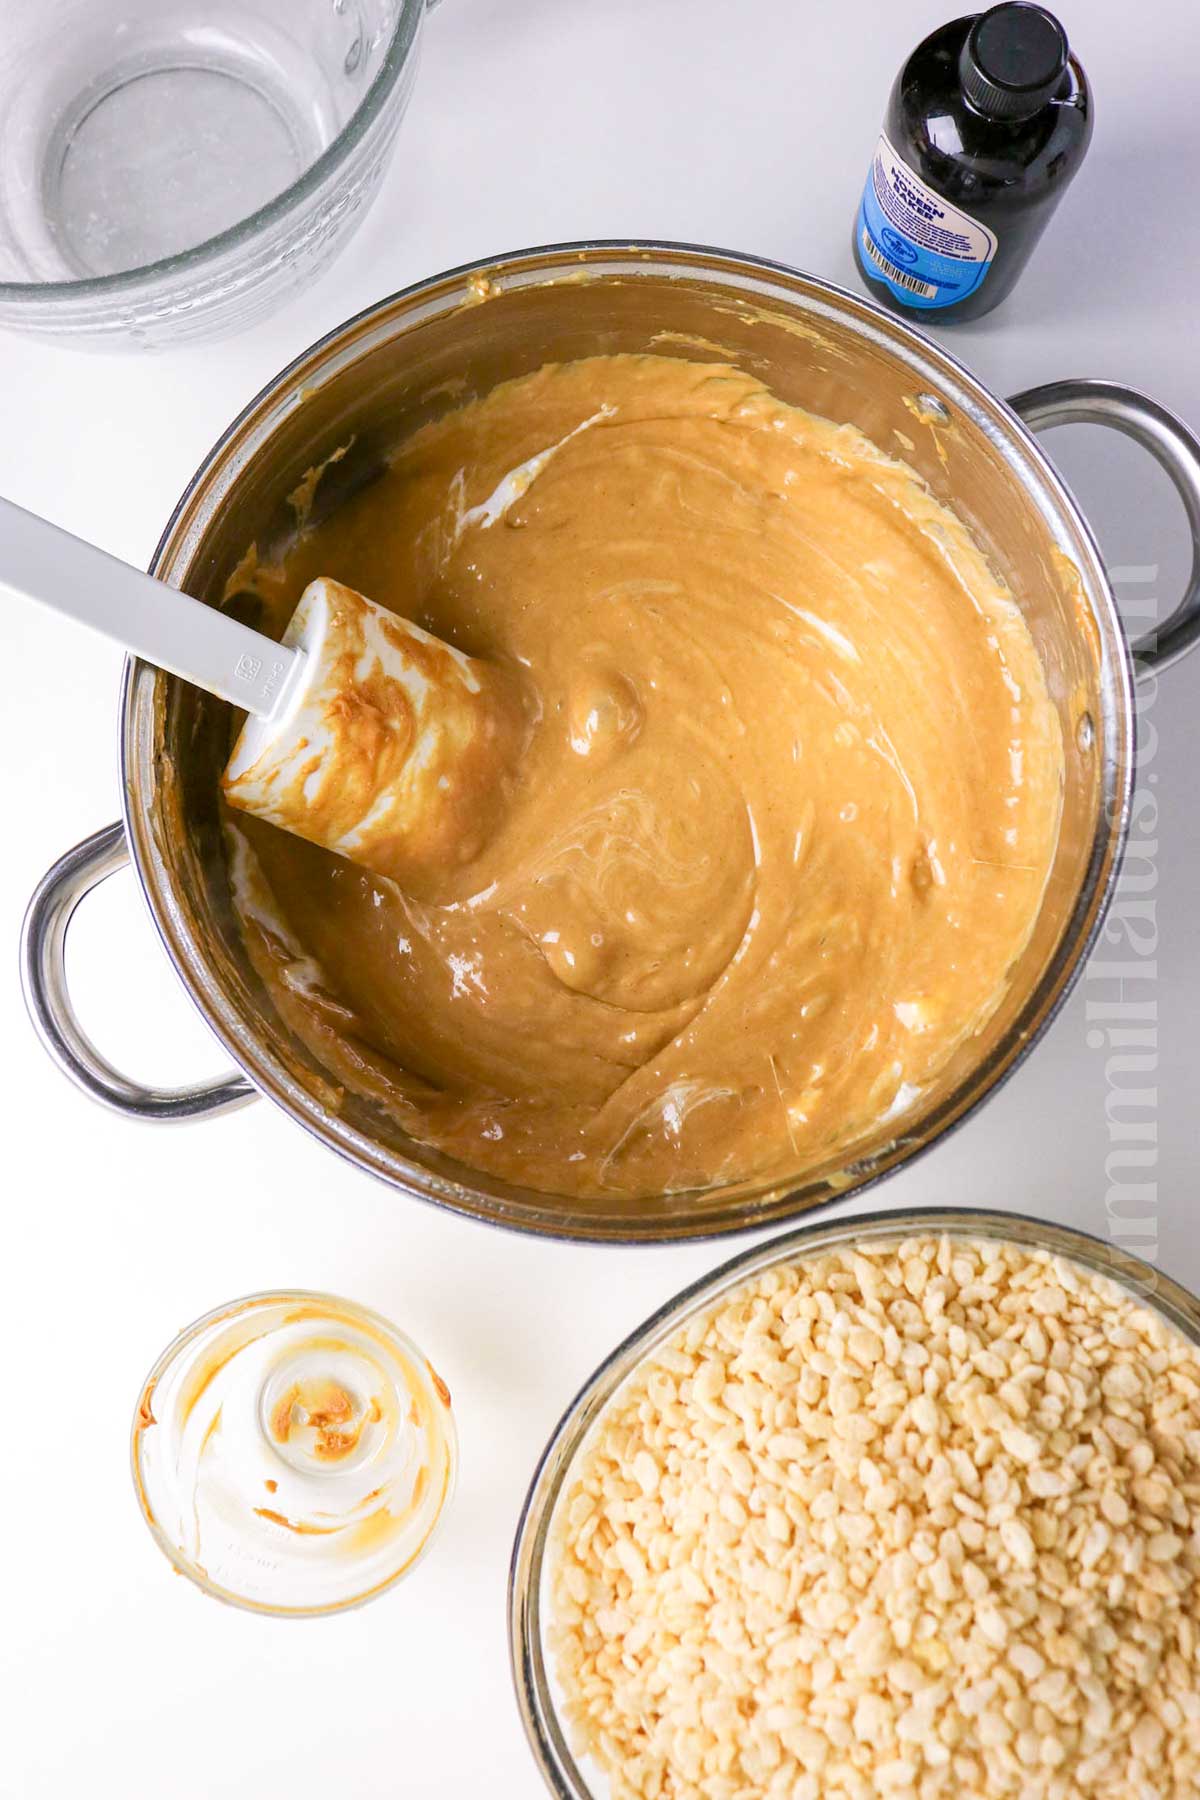
- Toss in the mini marshmallows and keep stirring until everything is melted together and silky.
- Take the pot off the heat and stir in the vanilla extract.
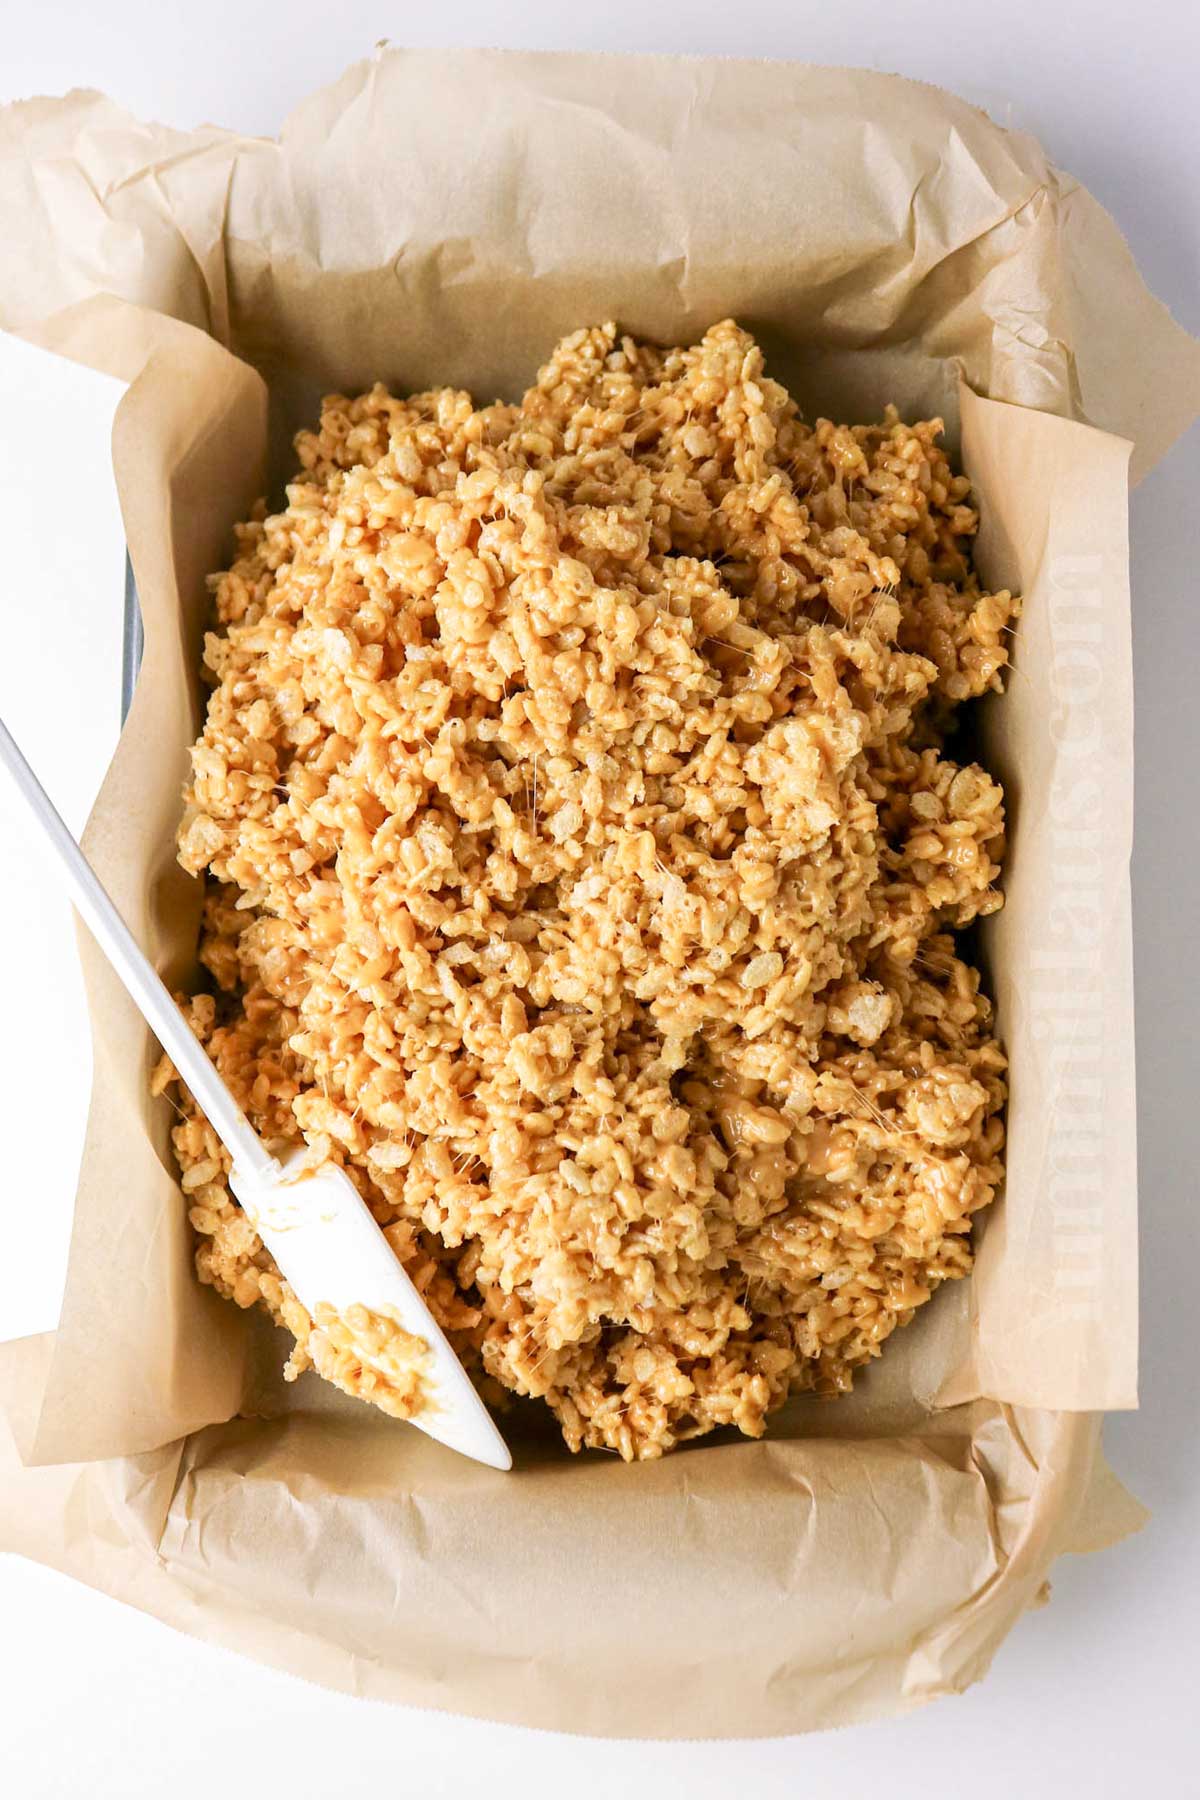
- Now fold in the Rice Krispies cereal, making sure every piece is coated.
- Using a greased spatula—or your lightly buttered hands—press the mixture evenly into the prepared pan.
- Let it sit at room temperature for about 30 minutes to set, then slice into bars and enjoy!
Variations & Substitutions
The great thing about this recipe is how adaptable it is to your preferences and dietary needs.
If you’re not a fan of peanut butter or have allergies, try using almond butter, cashew butter, or sunflower seed butter instead. They all work beautifully and create slightly different flavor profiles.
Want to make these extra decadent? Add a chocolate topping by melting chocolate chips and spreading them over the cooled bars. You can also drizzle melted chocolate over the top for a more elegant presentation.
For a fun twist, try mixing in some chopped pretzels for a sweet and salty combination, or add some crispy bacon pieces if you’re feeling adventurous. Dried fruit like cranberries or raisins can add a nice chewy texture and natural sweetness.
You can also experiment with different cereals – try using chocolate rice cereal for a double chocolate version, or mix in some granola for added crunch and nutrition.
Storage
These bars store incredibly well, which makes them perfect for meal prep or making ahead for parties. Once they’ve cooled completely at room temperature, cut them into squares and store them in an airtight container. They’ll stay fresh and delicious for up to a week at room temperature.
If you want them to last even longer, you can refrigerate them in an airtight container for up to two weeks. The cold actually makes them a bit firmer, which some people prefer. Just let them sit out for a few minutes before serving if you want that softer, chewier texture.
These bars also freeze beautifully. Layer them between sheets of parchment paper or wax paper in a freezer-safe container, and they’ll keep for up to three months. Thaw them at room temperature for about 30 minutes before serving, or eat them straight from the freezer for a firmer, almost candy-bar-like treat.
Expert Tips
Here are some tricks I’ve learned over the years to make these bars turn out perfectly every time:
- When you melt butter and combine it with the other ingredients, use low heat. Rushing this process with high heat can make the mixture too hot, which can cause the cereal to get soggy or the marshmallows to become tough.
- Don’t overmix once you add the cereal. Stir just until everything is coated. Overmixing can crush the cereal and make your bars dense instead of light and crispy.
- When pressing the mixture into your pan, use a light touch. It’s tempting to really pack it down, but pressing too firmly will make dense, hard bars. A gentle, even pressure is all you need. Spraying your hands with cooking spray makes this process so much easier.
- Let the bars cool completely before cutting. I know it’s hard to wait, but cutting them while still warm will result in a sticky mess. Letting them set up at room temperature ensures clean cuts and the perfect texture.
- If you’re using natural peanut butter, make sure to stir it well before measuring since the oils tend to separate. This ensures you’re getting an even mixture of oils and solids.
- For the cleanest cuts, use a sharp knife and wipe it clean between cuts. You can also spray the knife with a bit of nonstick spray to prevent sticking.
FAQ’s
Why are my bars too hard?
This usually happens when the mixture is cooked too long or at too high a heat. Stick with low heat and remove from heat as soon as everything is melted and combined. Pressing the mixture too firmly into the pan can also create hard bars. This can also happen if you use stale marshmallows.
Can I double this recipe?
Absolutely! Just use a larger pan or make two batches. The recipe scales up beautifully for crowds.
Do I have to use creamy peanut butter?
Creamy works best for even distribution throughout the bars, but if you love crunch, you can definitely use crunchy peanut butter for extra texture.
My bars are falling apart – what went wrong?
This usually means there wasn’t enough of the binding mixture. Make sure you’re using the right proportions and that everything is well-combined before pressing into the pan.
Can I add protein powder to make these healthier?
You can add a few scoops of protein powder, but reduce the amount of cereal slightly to compensate. The texture may be denser, but it’s a great way to sneak in some extra protein.
How do I prevent the mixture from sticking to my hands?
Lightly coat your hands with cooking spray or butter before pressing the mixture into the pan. Some people also use a piece of wax paper on top of the mixture and press through that.
If you love this no-bake treat recipe, you’re going to love these other no-bake recipes, too. Please click each link below to find the easy, printable recipe!
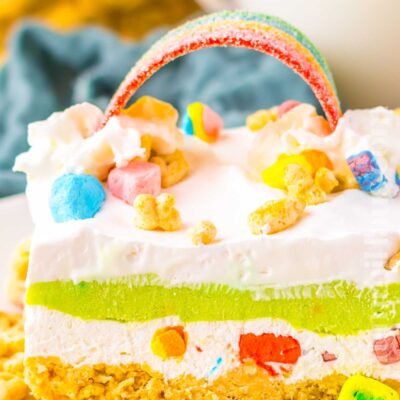
More Great Bars with Peanut Butter
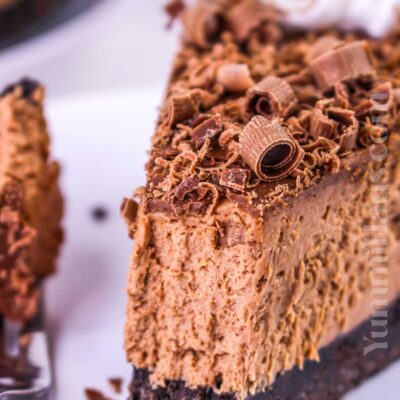
Chocolate Chip Peanut Butter Bars
CONNECT WITH YUMMI HAUS!
Be sure to follow me on my social media, so you never miss a post!


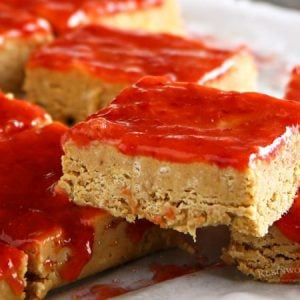
Peanut Butter Rice Krispies Bars
Ingredients
- ½ cup butter unsalted – at room temperature
- 1 cup creamy peanut butter
- 1 teaspoon vanilla extract
- 20 ounces mini marshmallows TWO – 10 oz bags
- 10 cups Rice Krispies cereal
Instructions
- Line a 9×13-inch baking dish with parchment paper or lightly grease it.
- Melt the butter in a large pot over low heat.
- Stir in the peanut butter until smooth and fully combined.
- Add the mini marshmallows and stir constantly until completely melted and smooth.
- Remove from the heat.
- Stir in the vanilla extract.
- Fold in the Rice Krispies cereal until evenly coated.
- Using a greased spatula or lightly buttered hands, press the mixture into the prepared pan, creating a smooth, even layer.
- Let it cool at room temperature for about 30 minutes, then cut into bars.
Nutrition
Nutritional information for the recipe is provided as a courtesy and is approximate. Please double-check with your own dietary calculator for the best accuracy. We at Yummi Haus cannot guarantee the accuracy of the nutritional information given for any recipe on this site.


Share Your Thoughts