
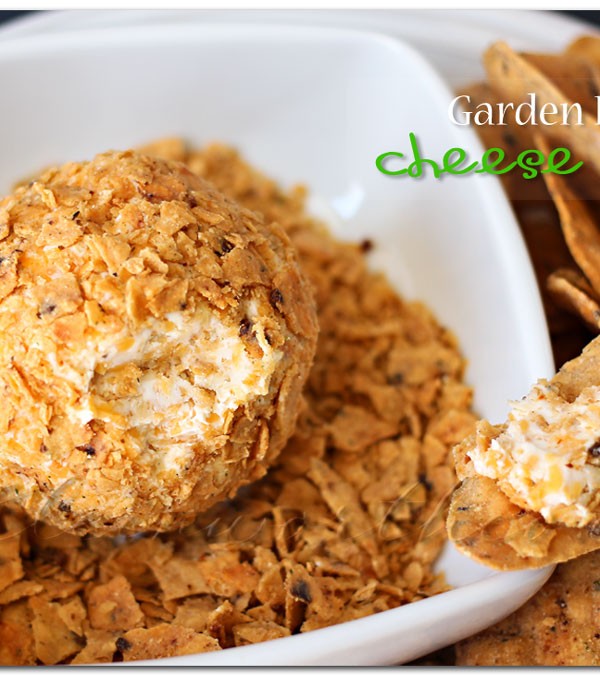
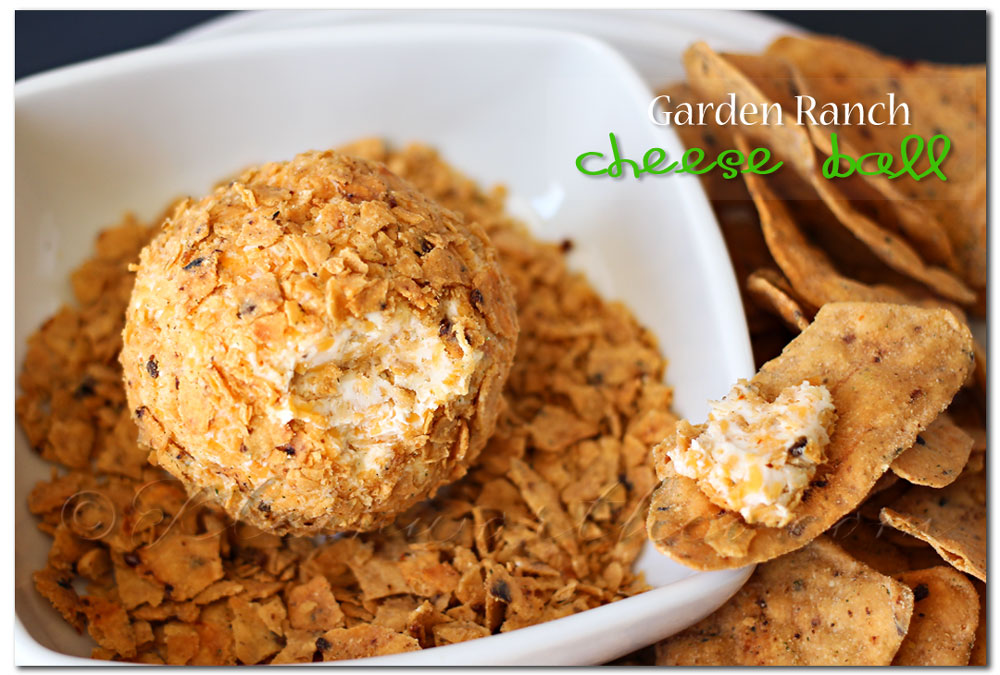
Garden Ranch Cheese Ball is an easy cream cheese ball loaded with fresh cheese, seasonings & packed with chips. Great for parties- mmm!
Garden Ranch Cheese Ball
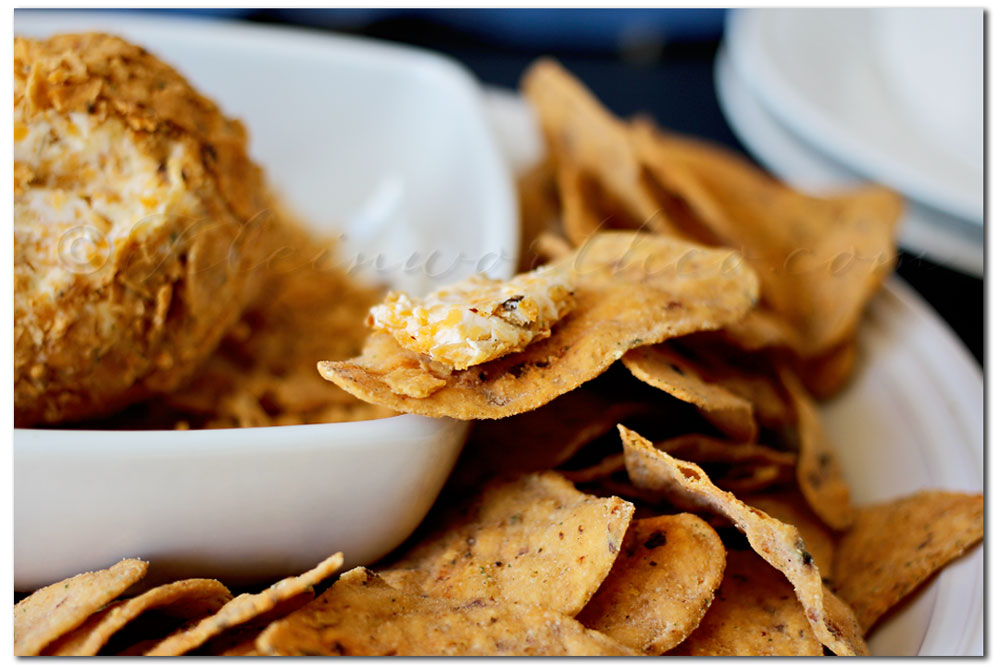
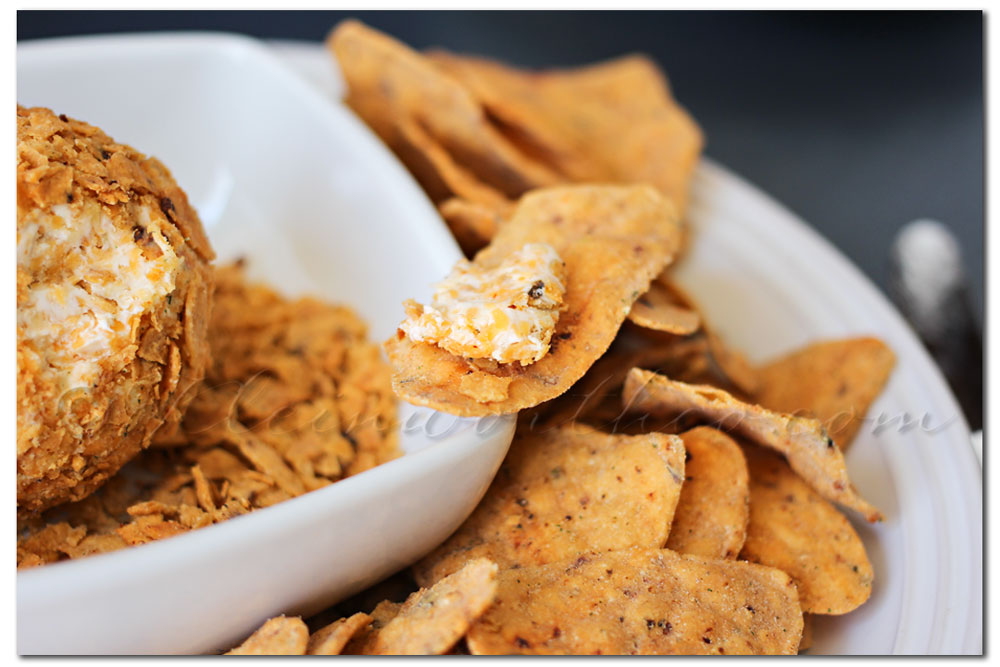
I really enjoyed taking a little bit of the cheese ball & adding it to another Garden Ranch chip. Oh so tasty.
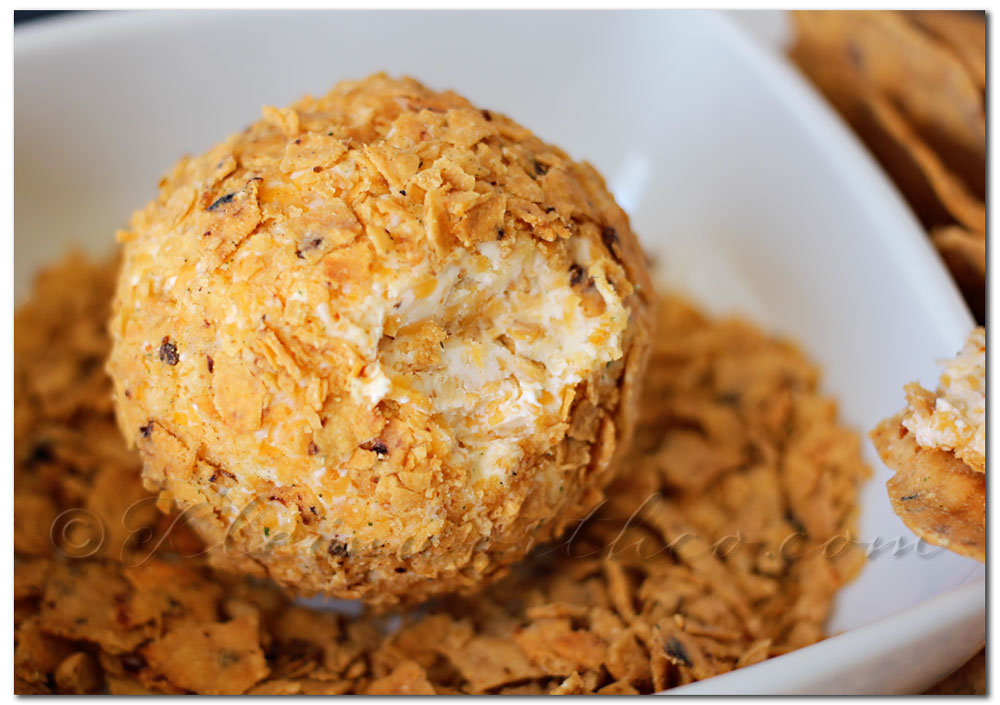
You can just see all the seasonings & flavors in there. Plus this was SO SIMPLE. I can’t figure out why this was my first one. It won’t be my last.
We will be making this for every football party this year for sure.

Garden Ranch Cheese Ball
Ingredients
- 4 oz cream cheese
- 1/4 cup shredded sharp cheddar cheese
- 1/4 cup shredded mozarella cheese
- 1/2 tbsp garlic powder
- sprinkle of salt
- 1 tsp dried minced onions
- 1 tsp tequila lime seasoning
- 1/4 cup crunched ranch tortilla or potato chips
- 1/2 cup crunched ranch tortilla or potato chips for coating
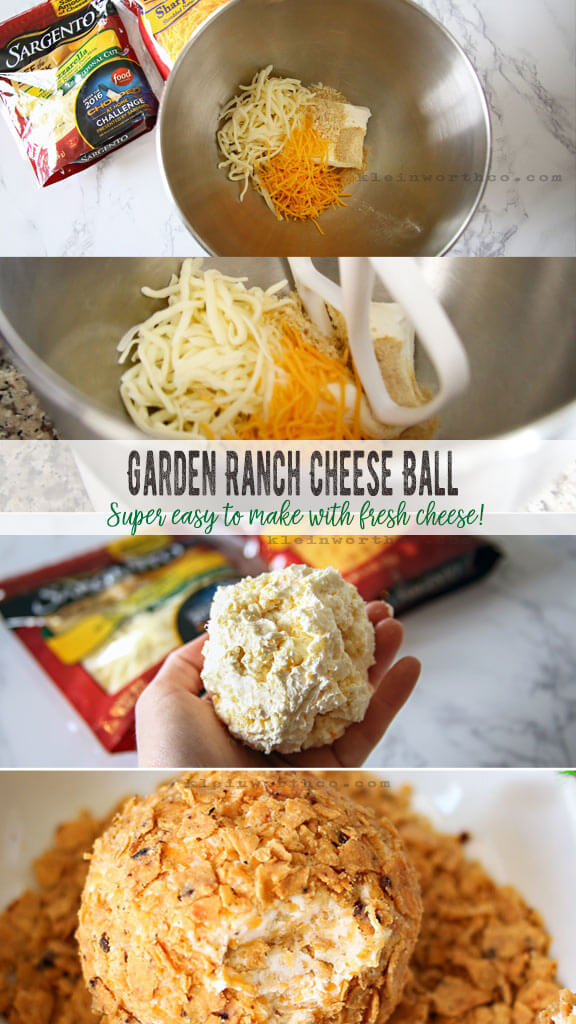
Instructions
- Add all ingredients except last 1/2 cup of crunched chips to mixer bowl & combine with whip attachment until all ingredients are well combined.
- Scrape together with spatula & then pull it all into your hands & shape in to a ball.
- Drop in bowl of remaining crunched up chips & roll around. Grab chips into your hand & press into ball to give it a good even coating.
- Chill in refrigerator at least 2 hours before serving.
You really have to give this a try. We are big on the snack “football” foods in this house. My late mother-in-law was the queen of party food. I have to carry on that fun for the hubs & this is just one recipe to help do that. I think she would love it & would be so proud of me for creating something so good yet easy to make.
If you love this – you don’t want to miss our latest book!
If you make this recipe- please leave a link or tag me on Instagram @KleinworthCo
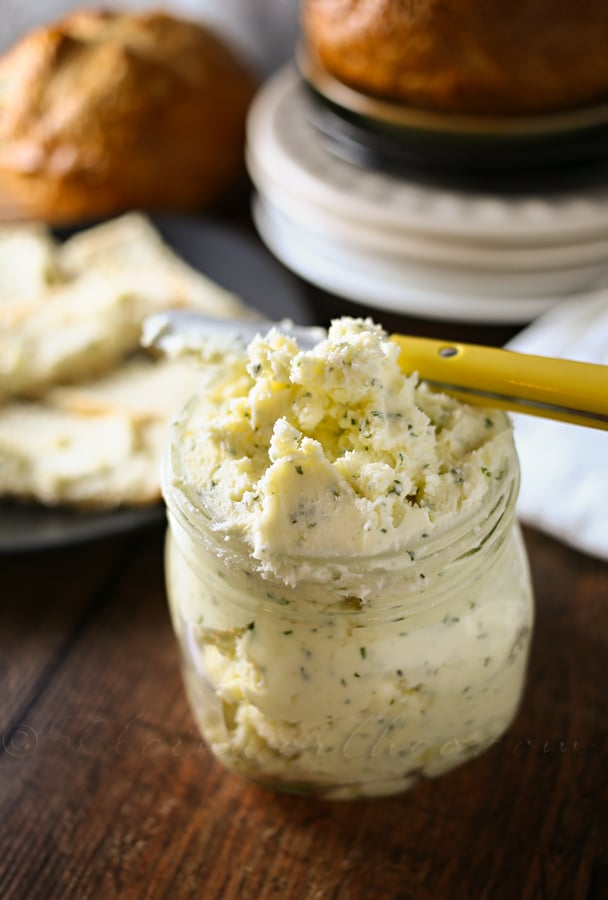
Use this to make these biscuits – Italian Garlic Butter

Don’t miss these great ideas from these bloggers….
Cooking Classy – Lasagna Roll Ups
Diethood – Chicken-Broccoli Shells and Cheese
To see where I am linking today- visit HERE

Gluten Free Chocolate Strawberry Gooey Bars
*This post is sponsored by Pillsbury & Linqia. All thoughts & opinions are my own.
I love Yummy Bar Recipes! I don’t know about you but it seems like everyone I talk to has an issue with gluten. It’s more & more prevalent & there are more & more products on the market that are gluten free. I know that while I don’t always cook gluten free- when I do, we all feel better around here. So I have been doing my best to be more conscious about what our foods have in them – which is part of why I have been so focused on making the kids breakfast for so long now.
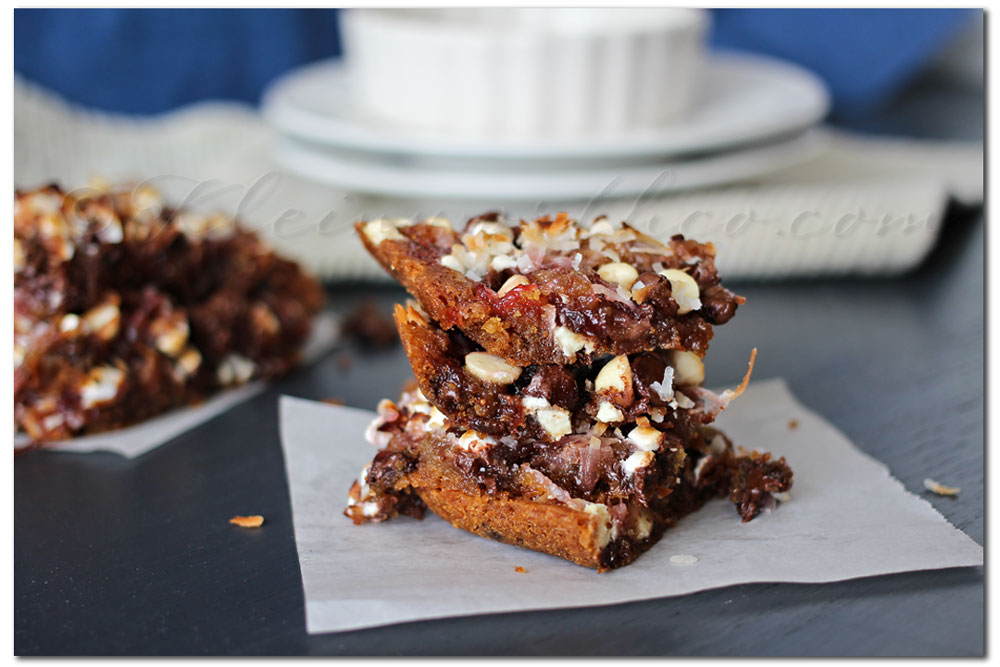
But lately I have been really wanting to make more desserts that are gluten free in hopes that the hubs will want to eat more of what I make instead of having to pass on all the goodies. So this time I made Gluten Free Chocolate Strawberry Gooey Bars. Oh they turned out so tasty & you would never know they are gluten free. Just goes to show you that gluten free doesn’t mean flavor free or no dessert.

Did you know that Pillsbury now has it’s first-ever gluten free cookie dough, pizza dough & pastry/pie dough?? I was pretty stoked to find that out & even more thrilled to try it out. I know that many moms don’t have time to make cookies & other treas from scratch & often buy the ready made doughs & crusts. Before now that meant that those with a gluten intolerance couldn’t eat them. Now they can. So many people now are looking for gluten free solutions for their families & Pillsbury has made eating gluten free easy convenient & delicious. These are all found in the refrigerated aisle of your store. These are so quick & easy to use – virtually no prep time at all.
So to celebrate these new gluten free products from Pillsbury I’m giving away a premium baking set.
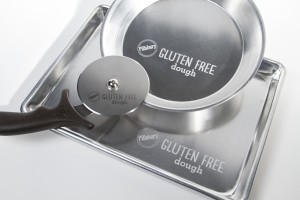
Click on this image for more Pillsbury Info
Today I wanted to share my gluten free recipe using this Pillsbury Cookie Dough

Click on Image for more info on this cookie dough.
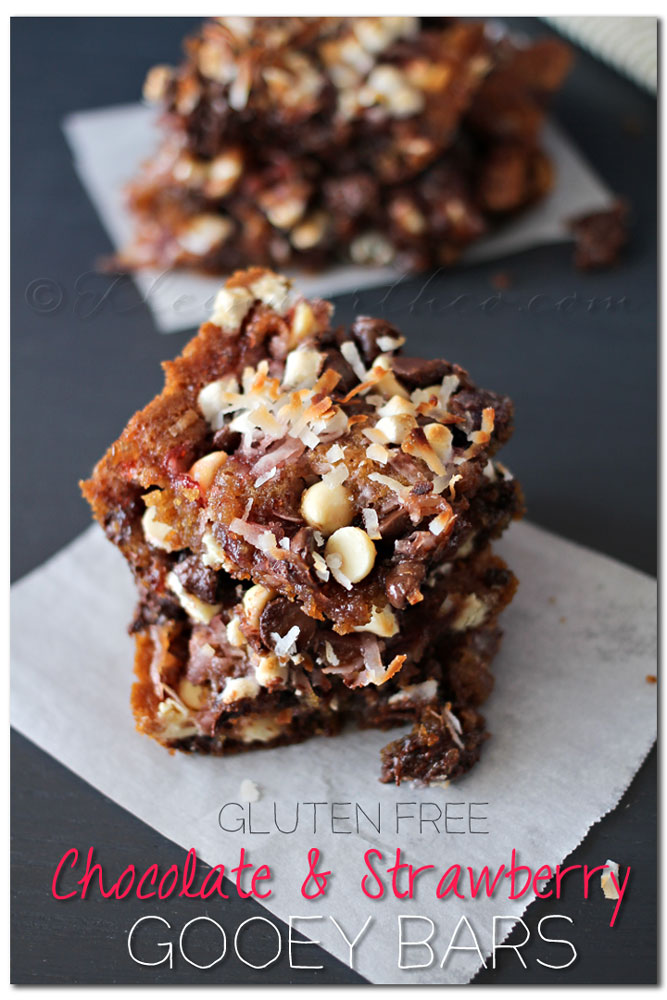
Gluten Free Chocolate Strawberry Gooey Bars
Ingredients
- 1- 14.3 oz container of Gluten Free Pillsbury Cookie Dough
- 1 cup strawberry preserves (I used the strawberry version of my raspberry marmalade
- 1/2 cup coconut
- 1/4 cup white chocolate chips
- 1/2 cup semi-sweet chocolate chips
- 1/4 cup mini marshmallows
Instructions
- Preheat oven to 350.
- Spray glass 9x13 pan with cooking spray
- Add cookie dough to pan & press around to flatten & cover bottom
- Add preserves & spread out in thin even layer
- add coconut, then chocolate chips (both), then marshmallows
- Bake 25-30 minutes until brown on bottom.
- If it's not quite toasted enough on top- broil for a couple minutes.
- Store in air tight container for 2 days in refrigerator.
The homemade preserves are gluten free, coconut, chocolate chips & marshmallows are all naturally gluten free as well. Yippee!!
Excited to start baking, but need a few recipes to get going??
Check out the Pillsbury Gluten Free Dough site for delicious & easy recipes to make with all three varieties of gluten free dough.
Over the next couple weeks I will be sharing more gluten free recipes using the new Pillsbury doughs.
TO ENTER: Visit Pillsbury for gluten free recipe inspiration.
Then come back & leave a comment below or on one of my upcoming Pillsbury posts to be entered to win.
Just answer the question: What exciting possibilities will Pillsbury Gluten Free Dough bring to your life?
We want to hear your stories & recipe ideas!!
Plus you will have 2 more chances to enter to win that AWESOME premium baking set.
Good Luck!
Be sure to check out my guest post today over at Baby Bump Bundle Blog.
Don’t forget to come back & join me on Mondays for Project 52
To see where I am linking today- visit HERE

[jetpack_subscription_form]
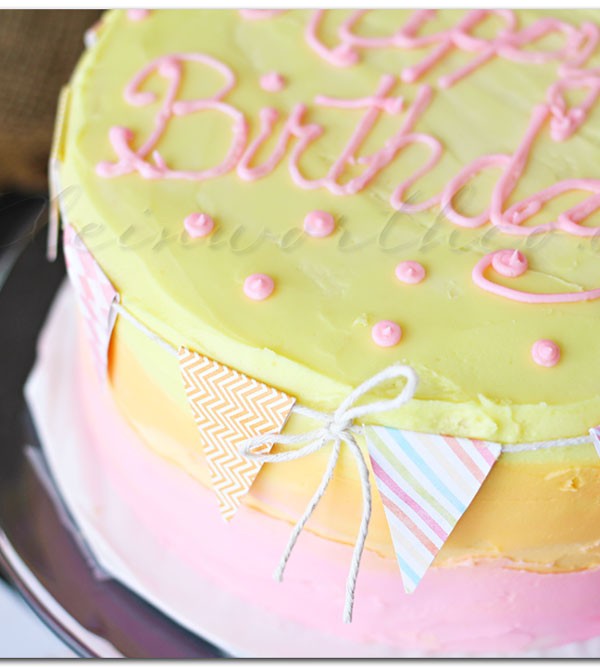
Buttercream Frosting Recipe
So I finally have pictures to show you of the munchkin’s birthday cake. I kept it low key because I really didn’t have an excuse to go over the top like we did last year. I mean I had all sorts of help when we did the pink ombre cake. Plus I had company to help eat it. This year no company for the party- so I kept this to a simple 2-layer 8″ round cake. A lot more manageable than what we have done in the past which was great because I really didn’t have the time, resources or desire to make this into a huge deal. Sometimes less is more and lately I have been going to that more & more.

Once I decided on the colors I knew what I would do for the cake. All the party decorations that I shared with you last week were all centered around the idea for the cake. I wanted it all to scream summer birthday party & I just love the tones in it all. Reminds me of rainbow sherbet. The blending of colors is so simple (a huge plus in my book) but still gives that girly feel- perfect for a girls birthday cake.

I used my FAVORITE Buttercream Frosting Recipe because it is just the perfect amount of sweet- without being over the top. I love it because it forms the perfect crust layer on the top while being ever so perfectly creamy on the inside. I love that it’s made with butter- no shortening. I used to make a meringue frosting that used margarine & shortening- both left a greasy film not only on my utensils & decorating supplies that was hard to get off- but also in my mouth. While the flavor was great- the fact that their was margarine & shortening in it always bothered me. So I LOVE this recipe for it’s lack of those two ingredients.


Buttercream Frosting Recipe
Ingredients
- 2 sticks salted butter - softened the salted helps cut the sweetness
- 8 cups 1- 2lb bag confectioners sugar (no sifting)
- 2 tsp vanilla extract if making pure white frosting- use the clear imitation vanilla to keep your frosting from turning off white
- 1/3 - 1/2 cup milk depending on how thick you want the frosting & how warm your room is
Instructions
- Cream softened butter in stand mixer with whip attachment until smooth.
- Blend in vanilla.
- Add 1/2 the confectioners sugar & most of the milk - stir slowly until moist- then whip until well combined.
- Add remaining confectioners sugar & milk.
- Beat on med-high about 3-4 minutes scraping sides of the bowl occasionally.
- Texture will become very smooth.
- Use immediately or store in airtight container for up to 2 weeks in refrigerator or 3 months in freezer.
I used one batch to fill, crumb coat, frost & decorate this 2-layer, 8″ round cake. I still have a little left in the fridge which would have been plenty for piping around the bottom or any other decorating if I had chosen to do so. This recipe is easily cut in half or doubled depending on your project.
This is so yummy. Seriously- it’s this frosting with my mom’s cake that makes me just swoon. I could have eaten this entire 8″ cake BY MYSELF. I don’t like to share cake. Don’t judge- I may have done it before- with a larger cake. (on my wedding day) Cake is my #1 weakness – especially this one.
Don’t miss my guest post tomorrow over at Baby Bump Bundle– I’m sharing my Cream Watermelon Lime Chiller.
Don’t forget to come back & join me on Mondays for Project 52
To see where I am linking today- visit HERE
[jetpack_subscription_form]
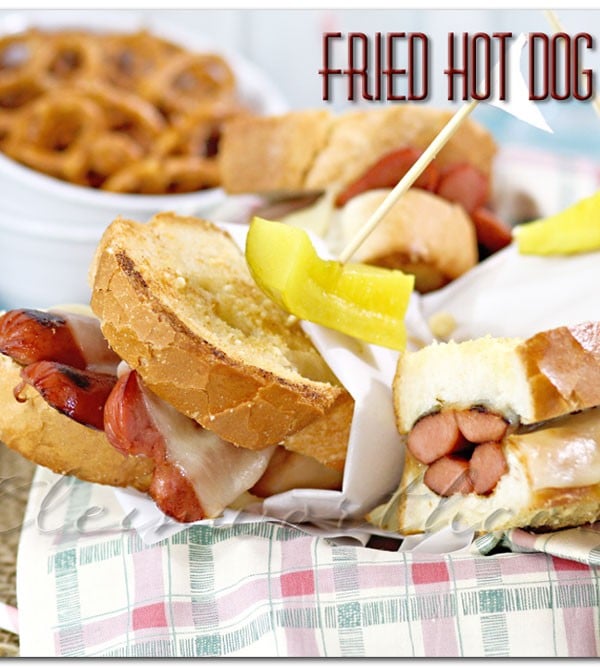
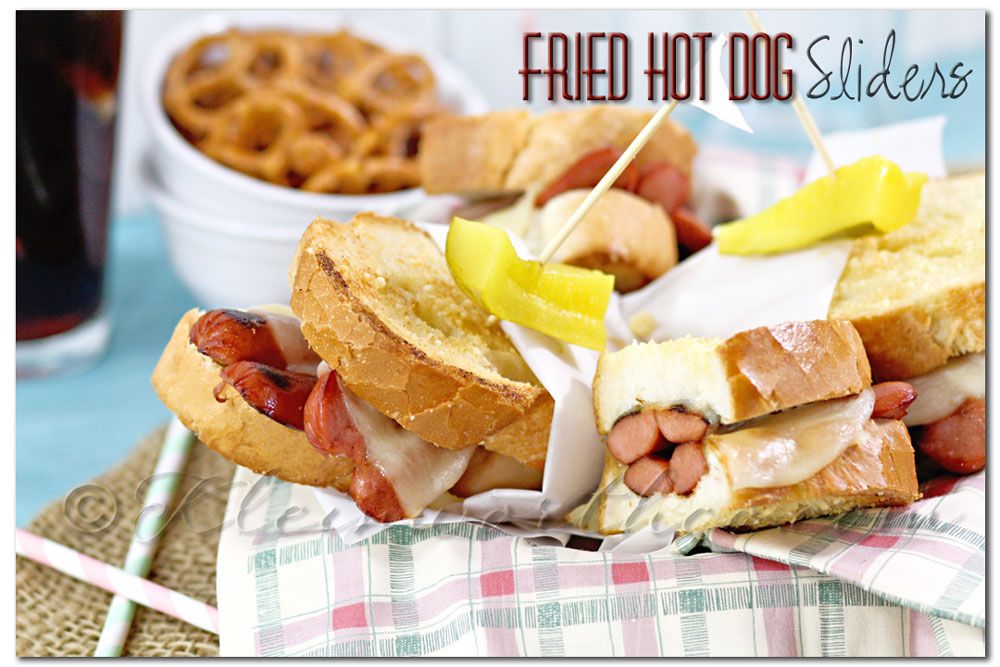
Fried Hot Dog Sliders
Today is National Hot Dog Day so we are celebrating by making Hot Dogs the theme for July’s Recipe Round-Up.
Fried Hot Dog Sliders is my celebratory recipe
Looking for Easy Family Dinner Ideas? The hubs is a bit of a hot dog nut. He will vote to have hot dogs just about any time. So it’s fair to say that we have tried them in all different ways & have narrowed it down to just a handful of the best brands. Yes we take hot dogs fairly seriously in this house despite their fun nature. So I really couldn’t resist taking advantage of National Hot Dog Day & celebrating. So today not only am I sharing my new favorite way to eat them- but a bunch of my friends are sharing either their recipes with hot dogs or recipes that go great with them. 🙂

Fried Hot Dog Sliders
Ingredients
- Hot Dogs 2 per slider
- Provolone Cheese
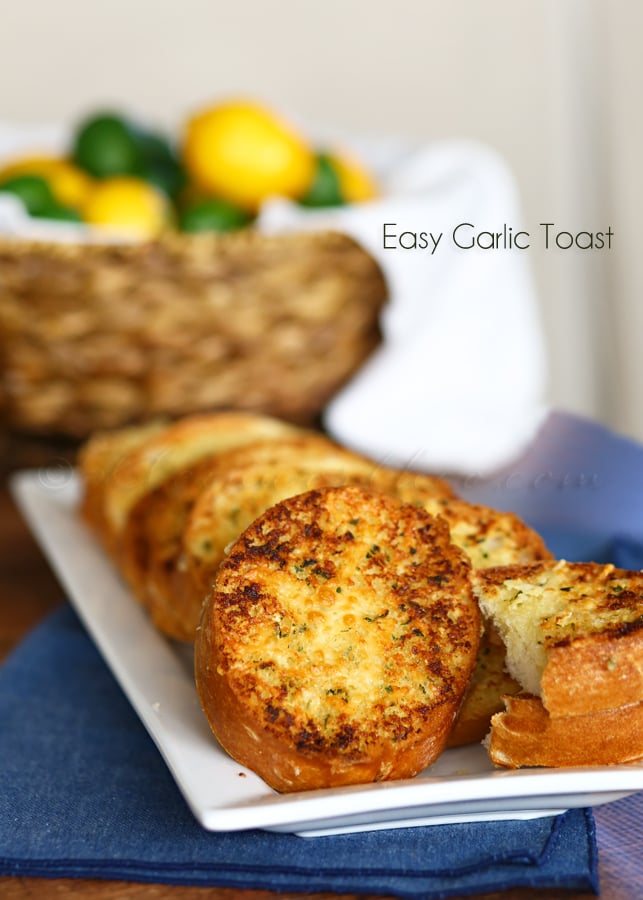
- French Loaf
- 1 Stick Butter
- Garlic Powder
- Parmesan Cheese
Instructions
Prepare your bread
- Cut french loaf into slices & lay on ungreased baking sheet
- Melt butter & brush over each slice of french bread to coat.
- Sprinkle with garlic powder & Parmesan cheese.
- Broil until golden brown.
Cook your hot dogs
- Start by slicing each hot dog length wise until it's not completely separated but you can open it to lay it flat.
- Fry in skillet until you get those nice crunchy, blackened strips on them & they are good & hot.
Assemble your slider
- Lay fried hot dog on one slice of your un-toasted side of your bread.
- Add provolone cheese slice.
- Return back to broiler to melt & bubble cheese slightly.
- Remove from broiler & add top piece of bread. Cut as desired.
- Serve immediately.
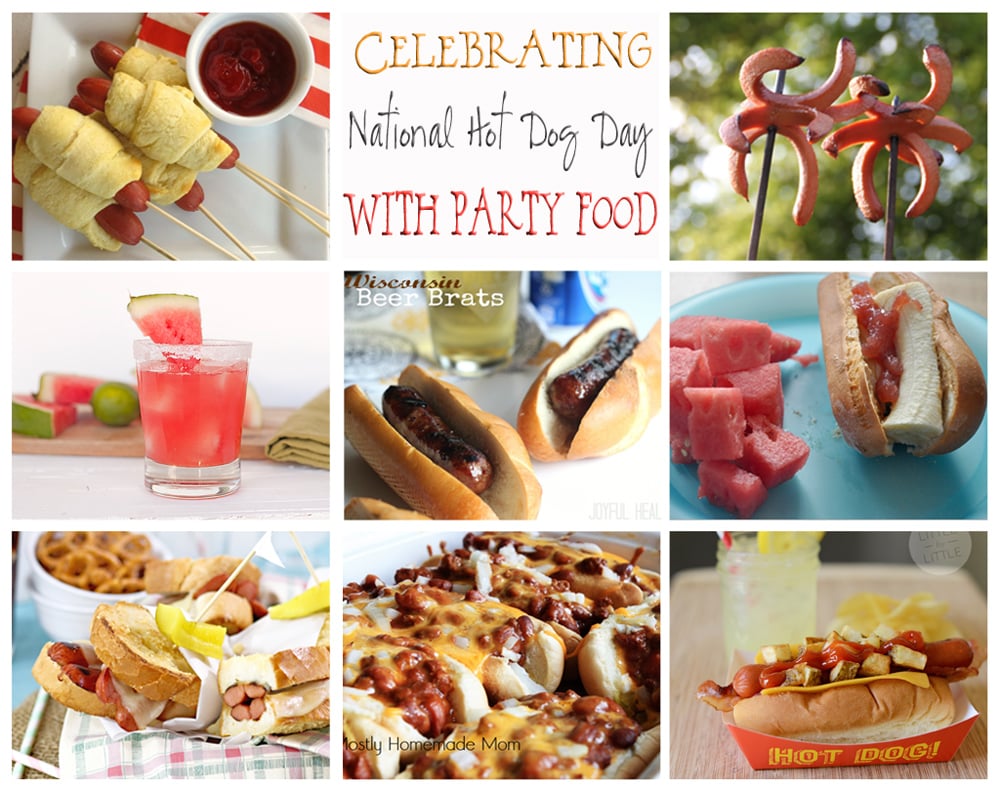

Hot Dog on a Stick from The Taylor House
Watermelon Daiquiri from One Martini at a Time
Fried Hot Dog Sliders from Kleinworth & Co.
Campfire Cooking from Nap-Time Creations
Peanut Butter Banana Hot Dog from Random-osity
Wisconsin Beer Brats from Joyful Healthy Eats
National Hot Dog Day from Little by Little
Loaded Oven Chili Dogs from Semi-Homemade Mom
To see where I am linking today- visit HERE
[jetpack_subscription_form]

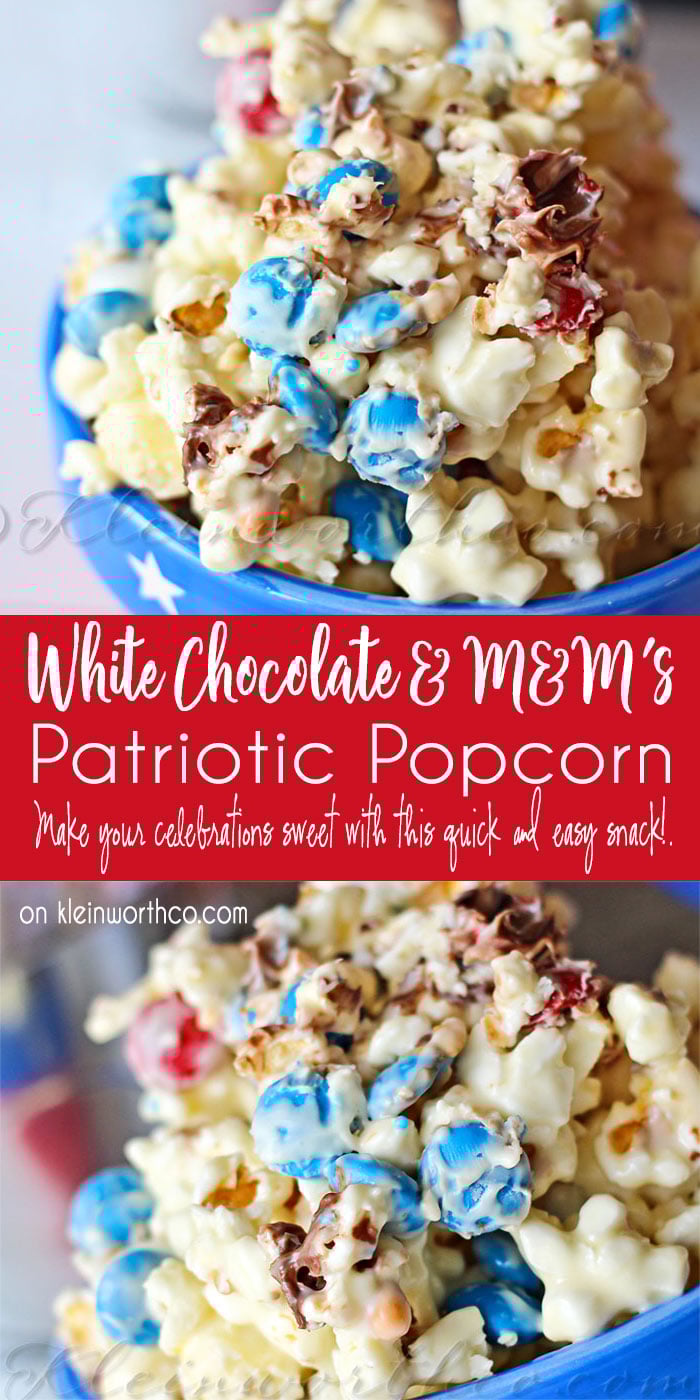
White Chocolate M&M Popcorn
White Chocolate M&M Popcorn is an easy dessert recipe for popcorn coated with melted white chocolate & loaded with patriotic M&M’s. Perfect holiday treat!
Your Best Weekly ~ Game Day Snacks
Welcome everyone to the very first Your Best Weekly!
I am so looking forward to seeing all the things you have created & I will feature some of my favorites here each week.
Looking for Easy Family Dinner Ideas? With the Pro Bowl behind us & my FAVORITE team- 49ers going to the Super Bowl this year- my mind is on football 24/7. I am a HUGE football fan & it’s not uncommon for the neighbors to hear me hollering at the TV on game day- I’m very passionate about my football. I have to tell you though- I am not just a bandwagon fan here. I have loved the ‘9ers since I was a little girl. They are the team I have always followed. THEN when we moved to Nevada 13 years ago we became Nevada Wolf Pack fans. (just because we now live in ID has not changed that) We watched Colin Kaepernick since the day he walked on the Mackey Stadium field. He gave me the best birthday I have ever had in 2010 by beating the mighty Boise Broncos (who happen to be our second fav college team) in a game that is still talked about to this day. When he was drafted by our favorite team- we were ECSTATIC Watching him excel & succeed here & taking our team to the Super Bowl this year- yea, we are on Cloud 9. It’s been amazing.
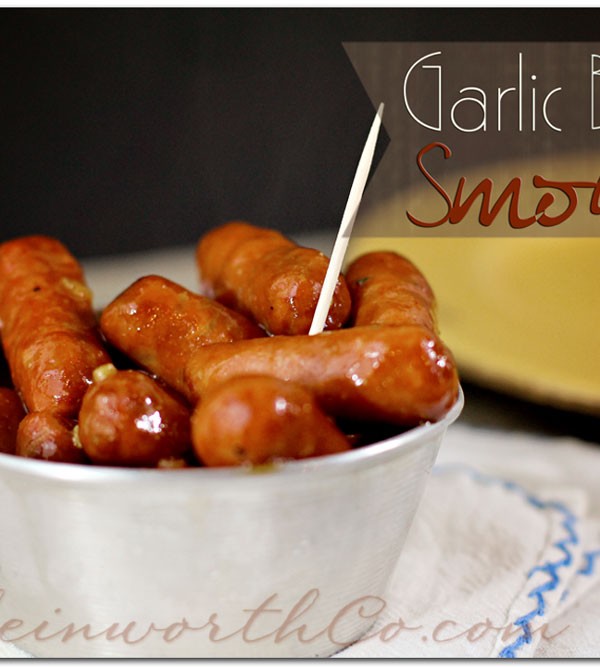
So in honor of the big game this weekend I want to share with you these- that we will definitely be making on Sunday.
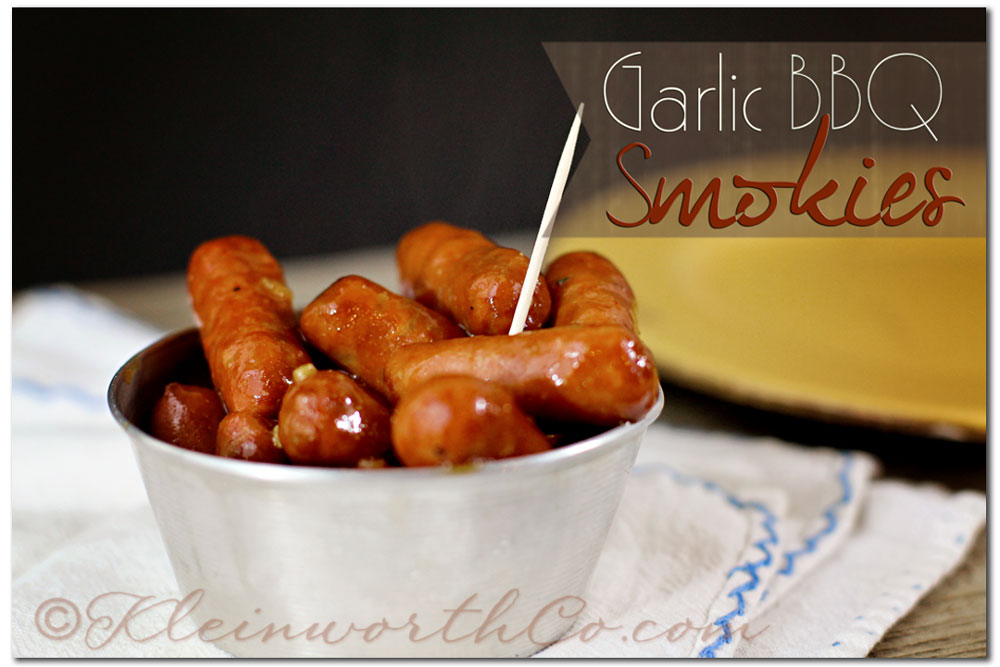
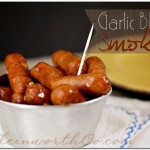
Garlic BBQ Smokies ~ Game Day Snacks
Ingredients
- 2 packages Smokies
- 1 large bottle BBQ Sauce we use Sweet Baby Rays
- 1/4 cup mustard
- 1 can beer
- 1 tbsp minced onions
- 1 tbsp minced garlic
- 2 tbsp teriyaki sauce or Yoshi sauce
- 1/2 tsp hot sauce
- 1 stick butter
- Salt Pepper, Season Salt
Instructions
- Add all ingredients into slow-cooker
- Sprinkle with salt, pepper & season salt to your liking.
- Simmer on low for 2 hours- stirring occasionally.
- Turn off & let sit for 15 minutes before serving to thicken sauce.
- Great reheated & will keep for several days refrigerated in air-tight container.
Notes


