


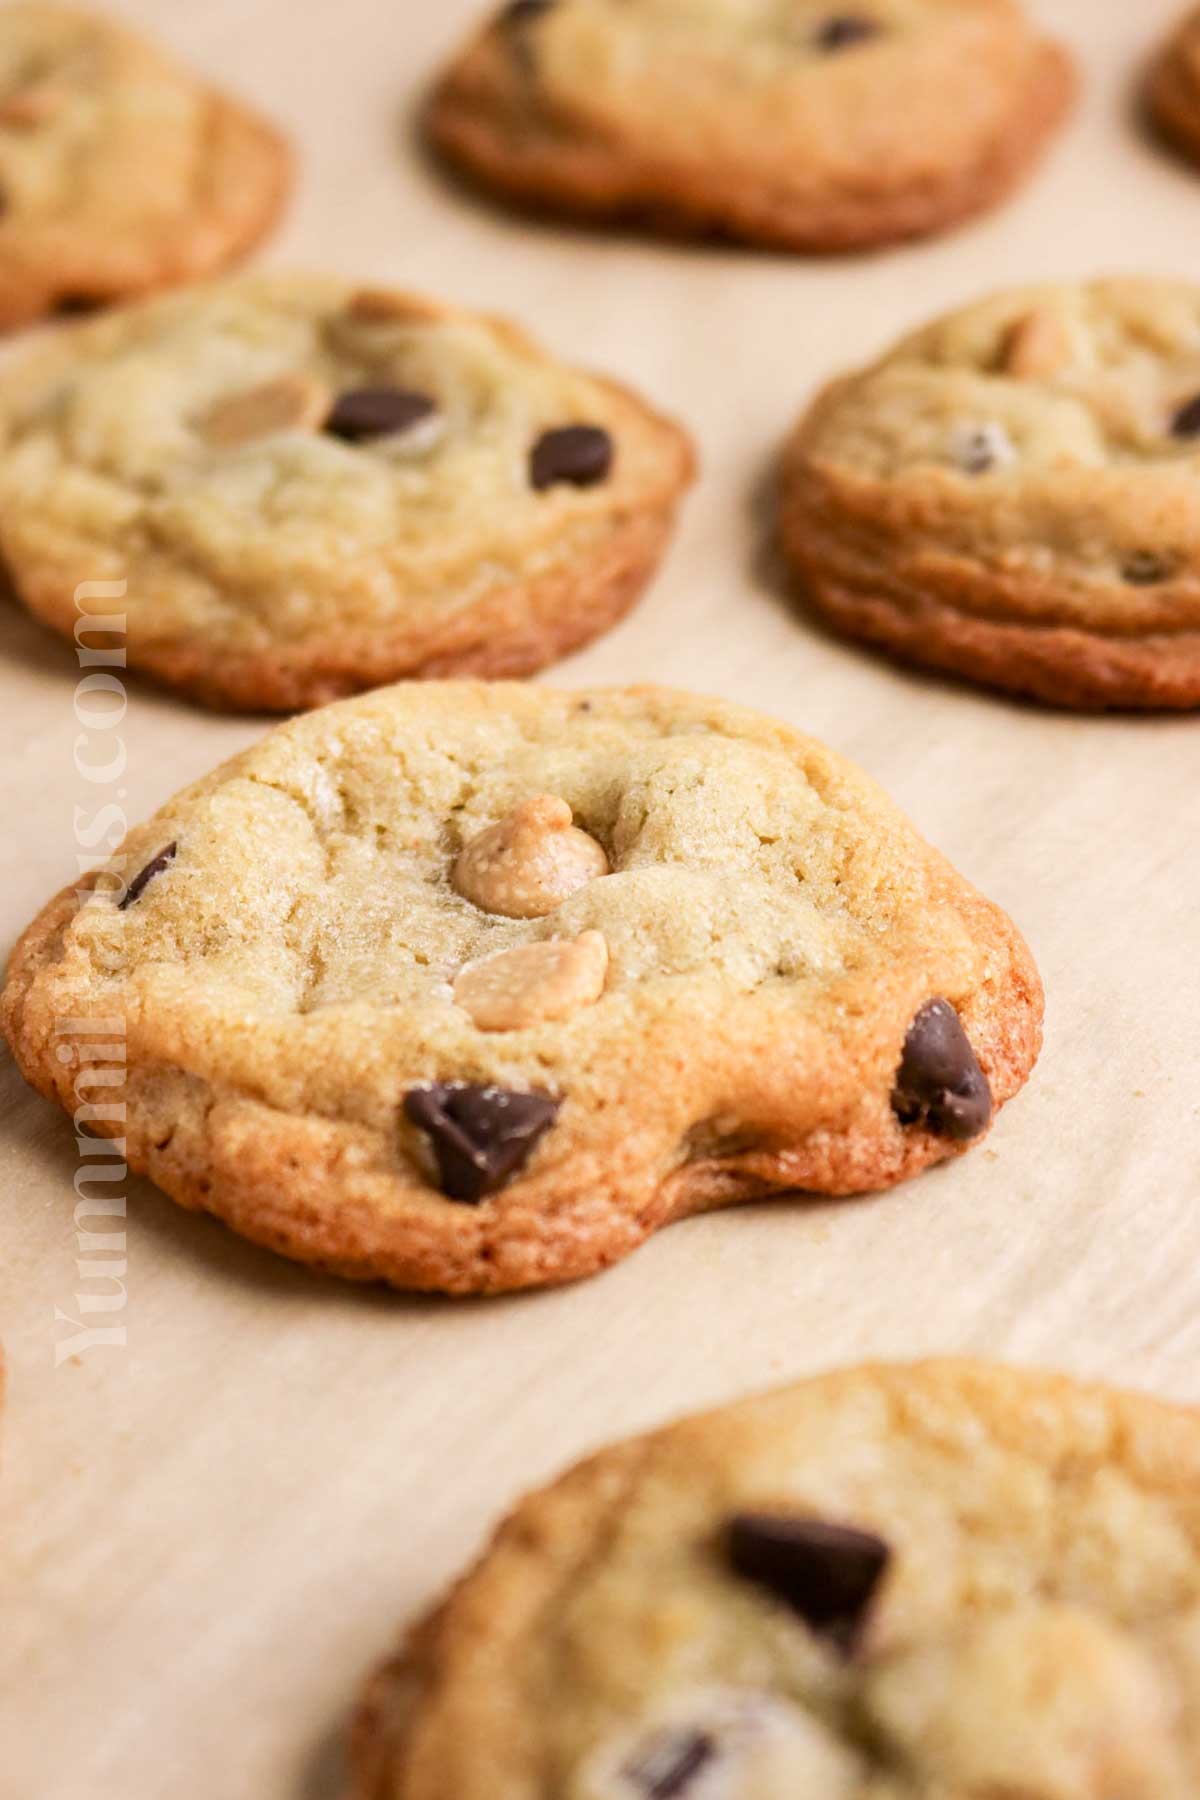
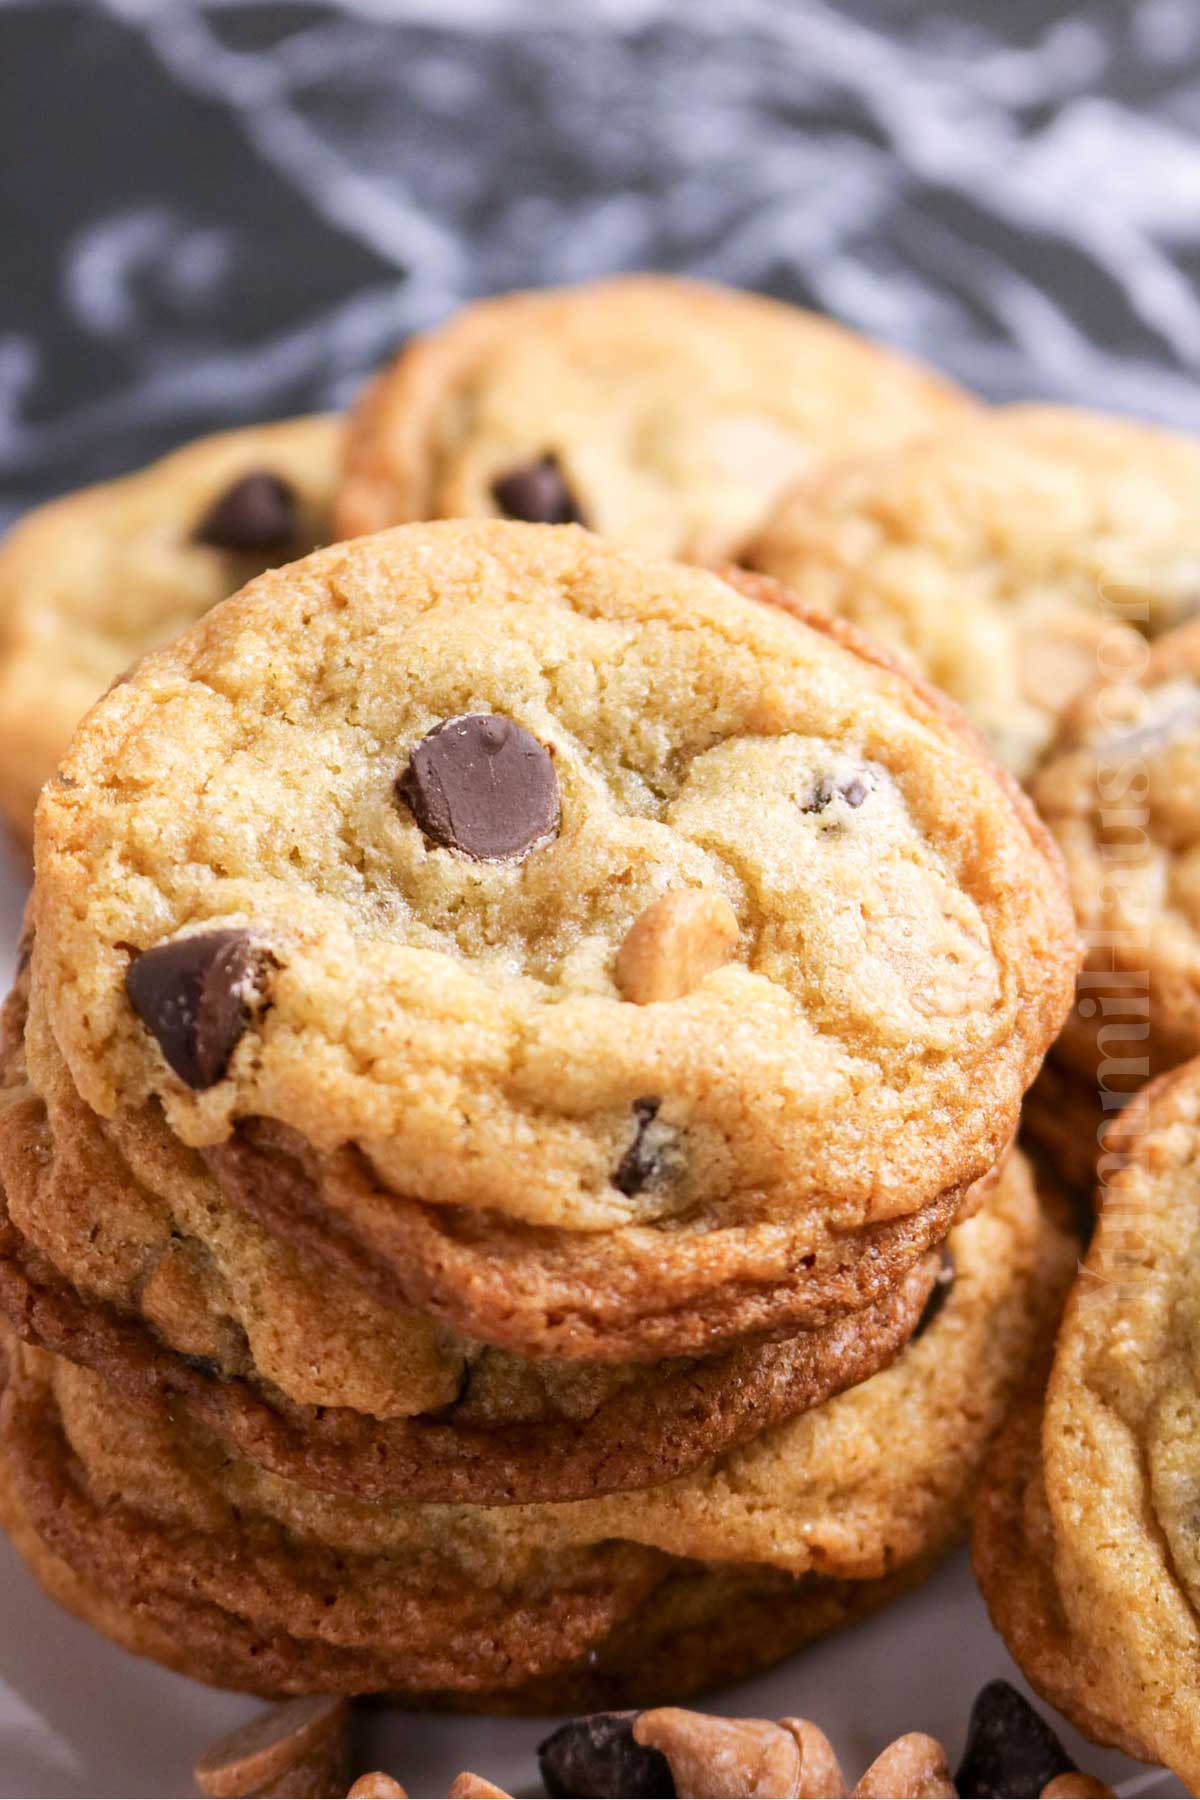
If you’ve ever had a craving strike moment where you can’t decide between chocolate chip cookies and peanut butter chip cookies, I have the perfect solution for you. These peanut butter chip and chocolate chip cookies combine the best of both worlds into one incredible treat that will have everyone reaching for seconds. Trust me, once you make these bad boys, they’ll become your go-to recipe whenever you need to satisfy your sweet tooth.
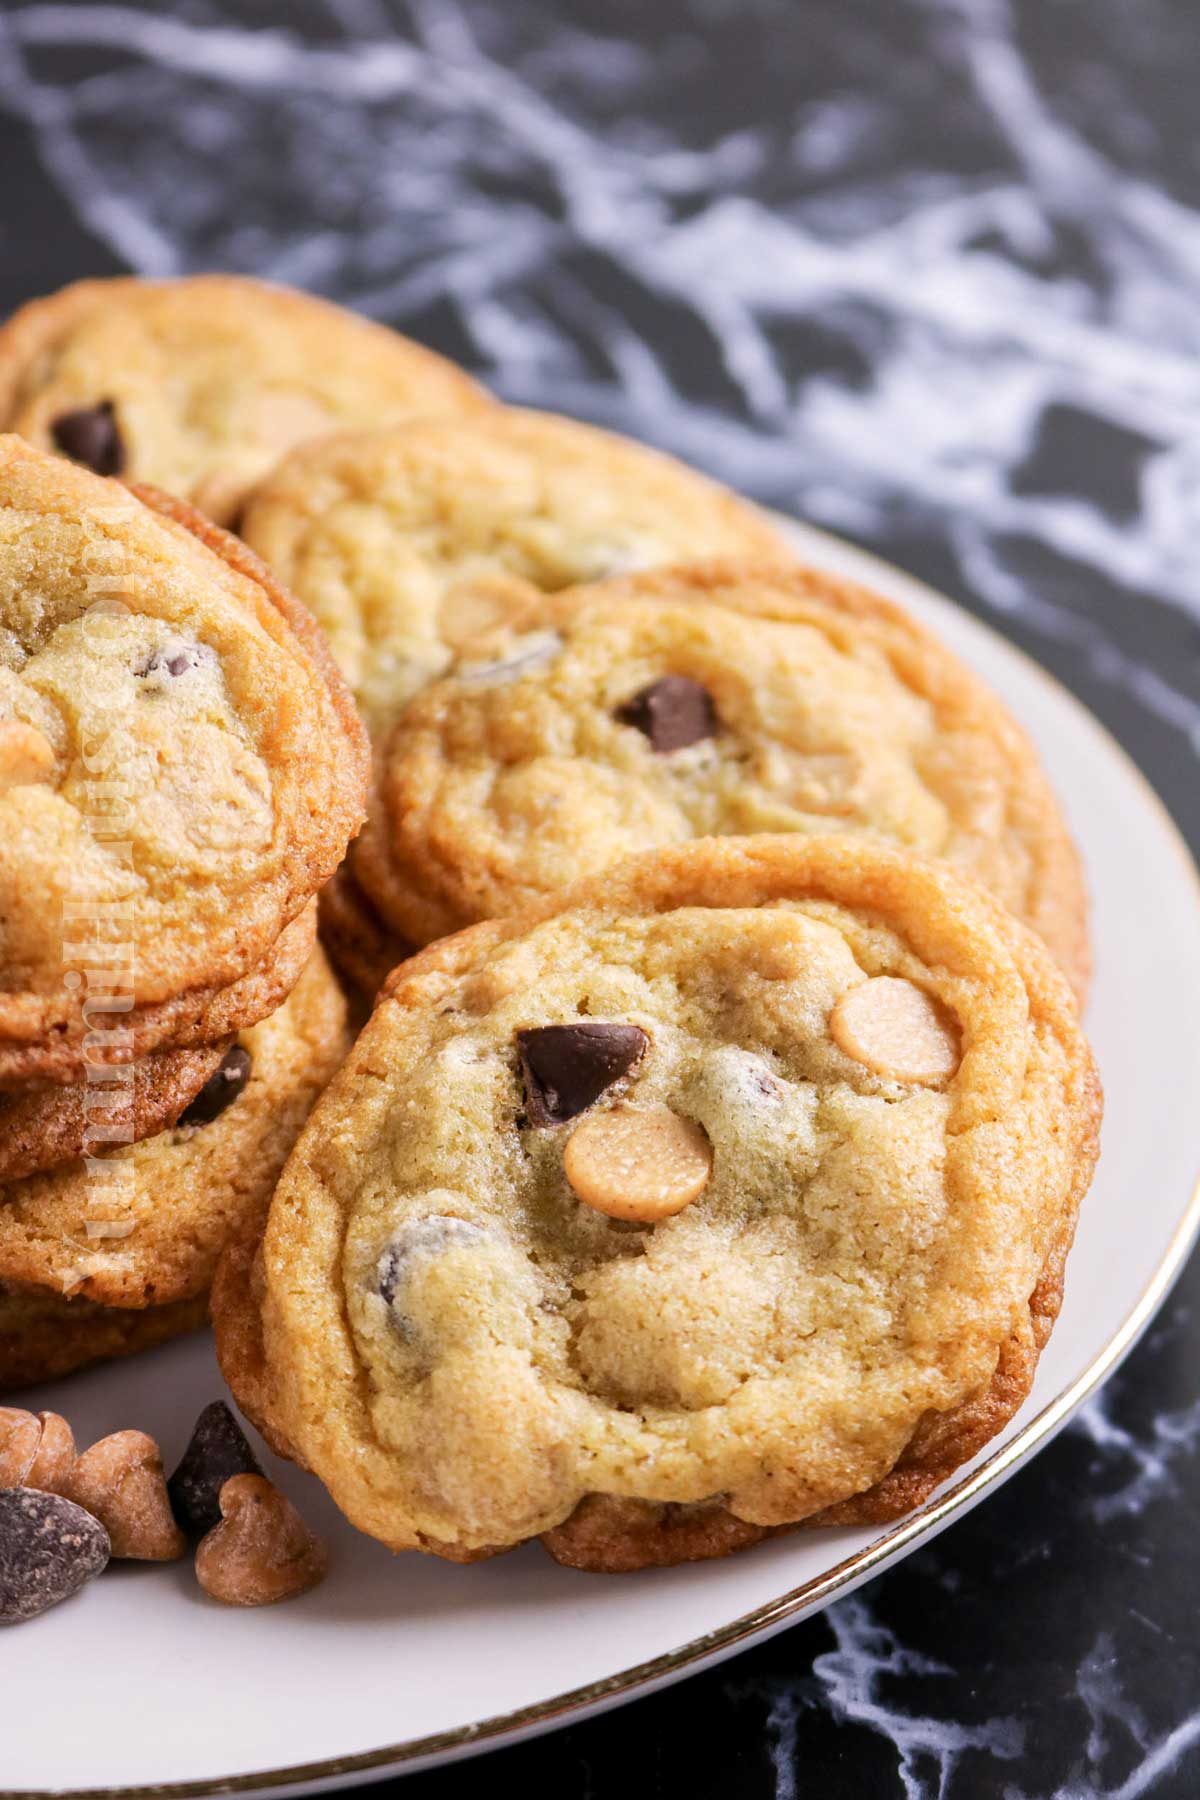
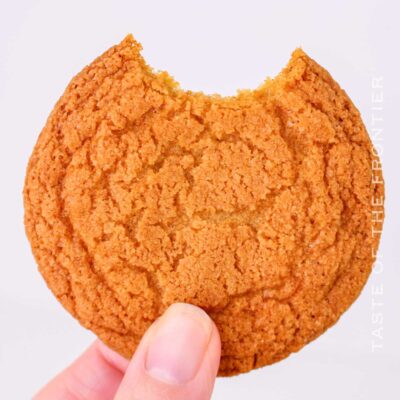
The combination of buttery cookie dough and a mix of peanut butter chips with chocolate chips creates the most amazing flavor experience. These aren’t just any cookies – they’re chewy cookies with slightly crispy edges and a soft, melt-in-your-mouth center that pairs perfectly with a glass of cold milk.

Gina’s Recipe Rundown:
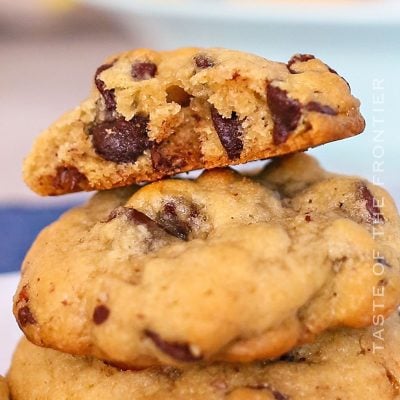
Texture: These cookies are soft and chewy in the center with slightly crisp, golden edges.
Taste: Sweet and buttery with rich chocolate and nutty peanut butter flavors in every bite.
Ease: Super easy to make with simple steps and common ingredients, and no-chilling makes it perfect for bakers of any skill level.
Why I love it: I love these cookies because they’re the perfect balance of sweet, salty, and rich, with a soft, chewy texture that’s irresistible fresh from the oven.
Why You’ll Love This Recipe
Let me tell you why these are seriously the best cookies I’ve made all year. First off, they’re incredibly easy to put together. You don’t need any fancy techniques or hard-to-find ingredients. Just grab your hand mixer or stand mixer, mix everything up, and you’re on your way to cookie heaven.
The texture is absolutely perfect. These chewy chocolate chip cookies have that coveted golden brown exterior while staying wonderfully soft inside. The only thing better than a warm cookie fresh from the oven is knowing how simple they were to make.
What really takes these to the next level is the combination of both peanut butter chips and chocolate chips. Some people use dark chocolate chips, while others prefer milk chocolate – honestly, both work beautifully. The peanut butter flavor comes through in every bite without being overwhelming, and the chocolate adds that rich, indulgent touch we all crave.
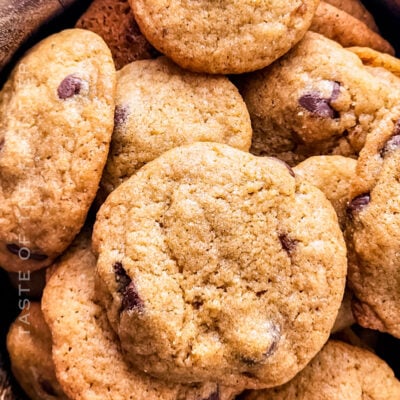
Plus, this original recipe makes a decent batch, so you’ll have plenty to share (or keep all to yourself – no judgment here). They’re perfect for bringing to parties, packing in lunchboxes, or just having on hand when the craving strikes.

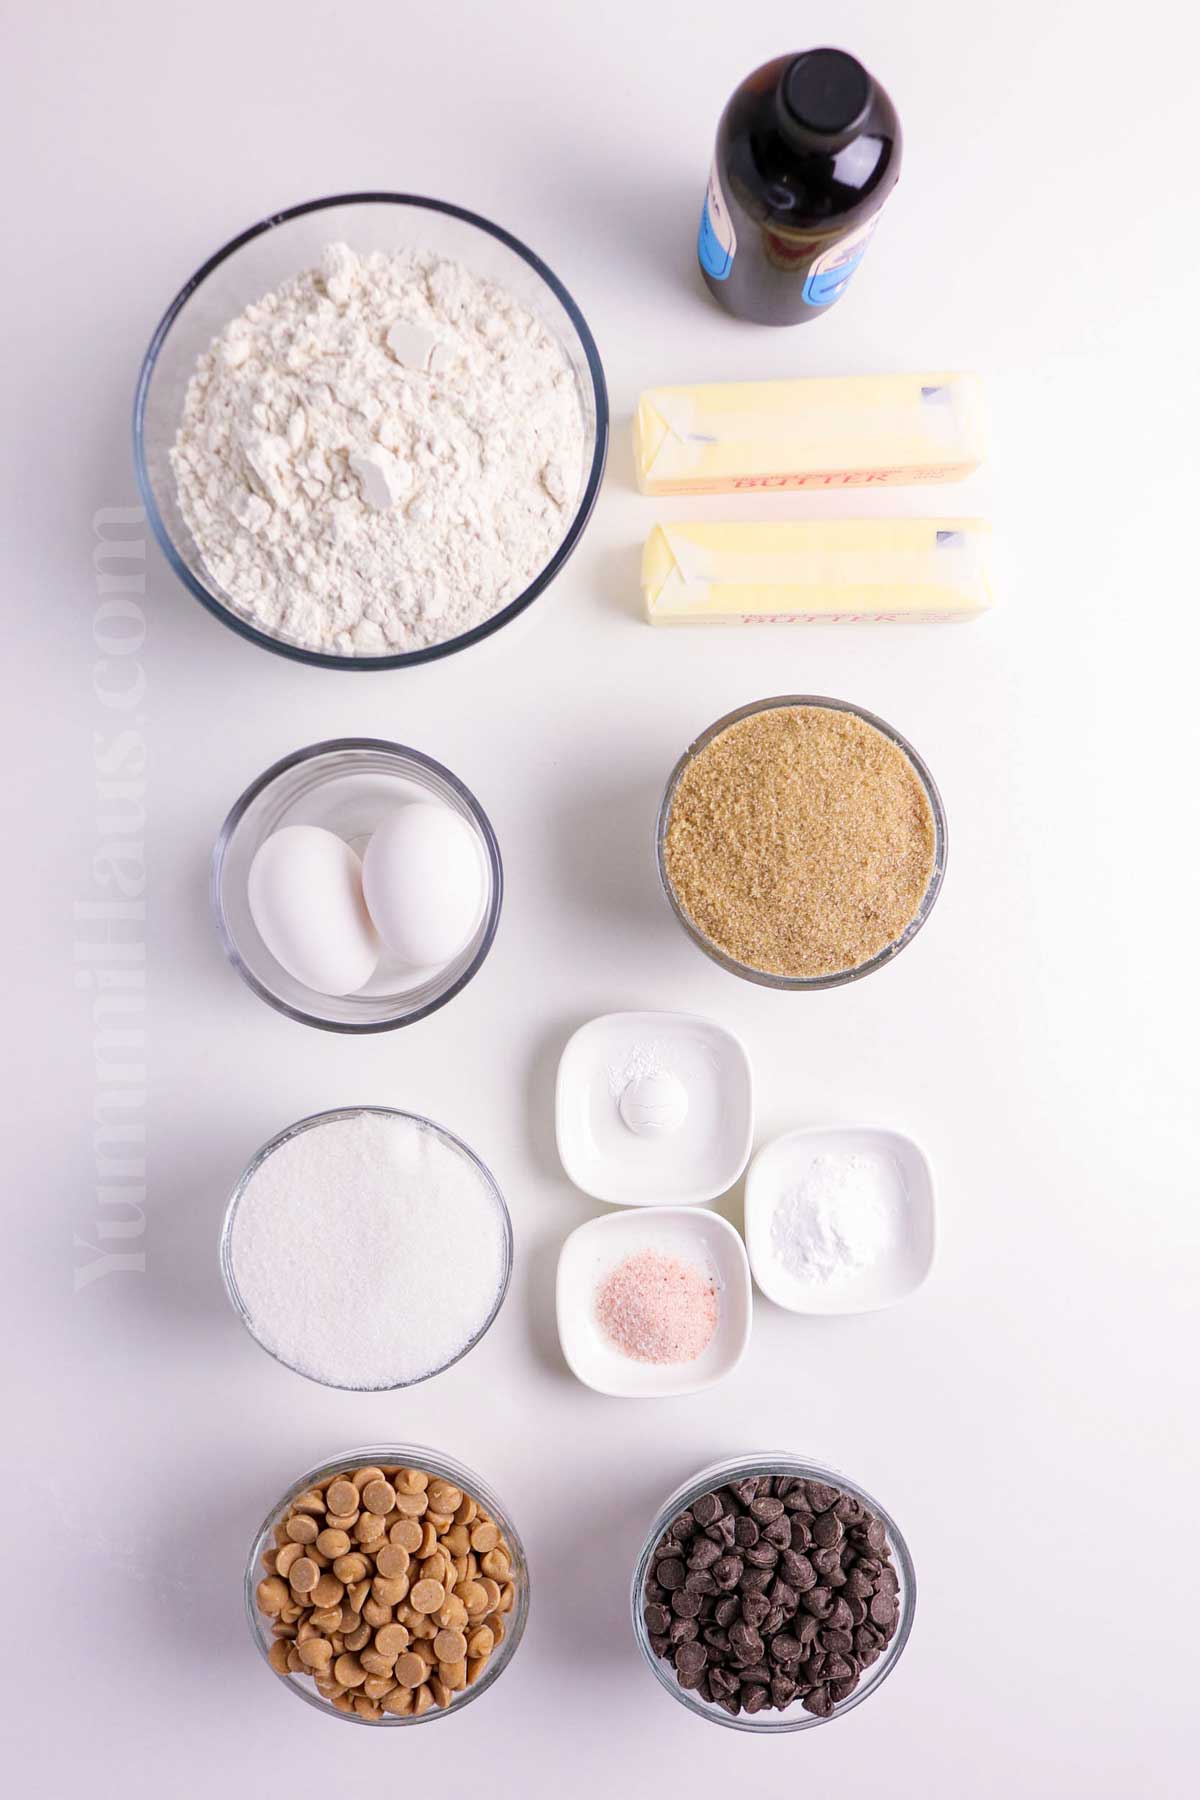
Ingredient Notes
- Butter: Use unsalted butter at room temperature for better control of salt and a smooth, creamy texture when creaming with sugar.
- Granulated sugar: Adds sweetness and helps create lightly crisp edges.
- Brown sugar: Provides moisture and a rich, caramel-like flavor thanks to its molasses content.
- Vanilla extract: Enhances the overall flavor and complements both the chocolate and peanut butter chips.
- Eggs: Use large eggs at room temperature for proper structure and even mixing.
- All-purpose flour: Spoon and level the flour to avoid dense, dry cookies.
- Sea salt: Balances the sweetness and intensifies the chocolate and peanut butter flavors.
- Baking soda: Helps the cookies spread and promotes browning.
- Baking powder: Adds lift for a softer, slightly thicker cookie.
- Chocolate chips: Use semi-sweet for balanced sweetness or adjust to your preference.Peanut butter chips: Add sweet, nutty flavor and pair perfectly with the chocolate chips.
Kitchen Equipment
- Mixing bowls (1 large, 1 medium)
- Measuring cups (dry and liquid)
- Measuring spoons
- Hand mixer or stand mixer
- Rubber spatula
- Cookie scoop or tablespoon
- Baking sheets
- Parchment paper or silicone baking mats
- Wire cooling rack
Optional – but helpful
- Whisk (for dry ingredients)
- Sifter (for flour, if needed)
- Kitchen scale (for precise measurements)
- Offset spatula
- Airtight container (for storage)
How to Make Chocolate and Peanut Butter Chip Cookies
- Go ahead and preheat your oven to 375°F (190°C). Line your baking sheets with parchment paper and set them aside so they’re ready to go.
- In a large bowl, stir together the flour, salt, baking soda, and baking powder, then set that aside for later.
- In a separate bowl, cream the butter with the granulated sugar and brown sugar until everything is well blended and smooth—the mixture should look creamy and slightly fluffy.
- Add in the eggs and vanilla, mixing until the batter turns lighter in color and a bit airy.
- Gradually add the dry ingredients to the wet ingredients, mixing just until a dough comes together. Try not to overmix—once it’s combined, you’re good.
- Fold in the chocolate chips and peanut butter chips, making sure they’re evenly distributed throughout the dough.
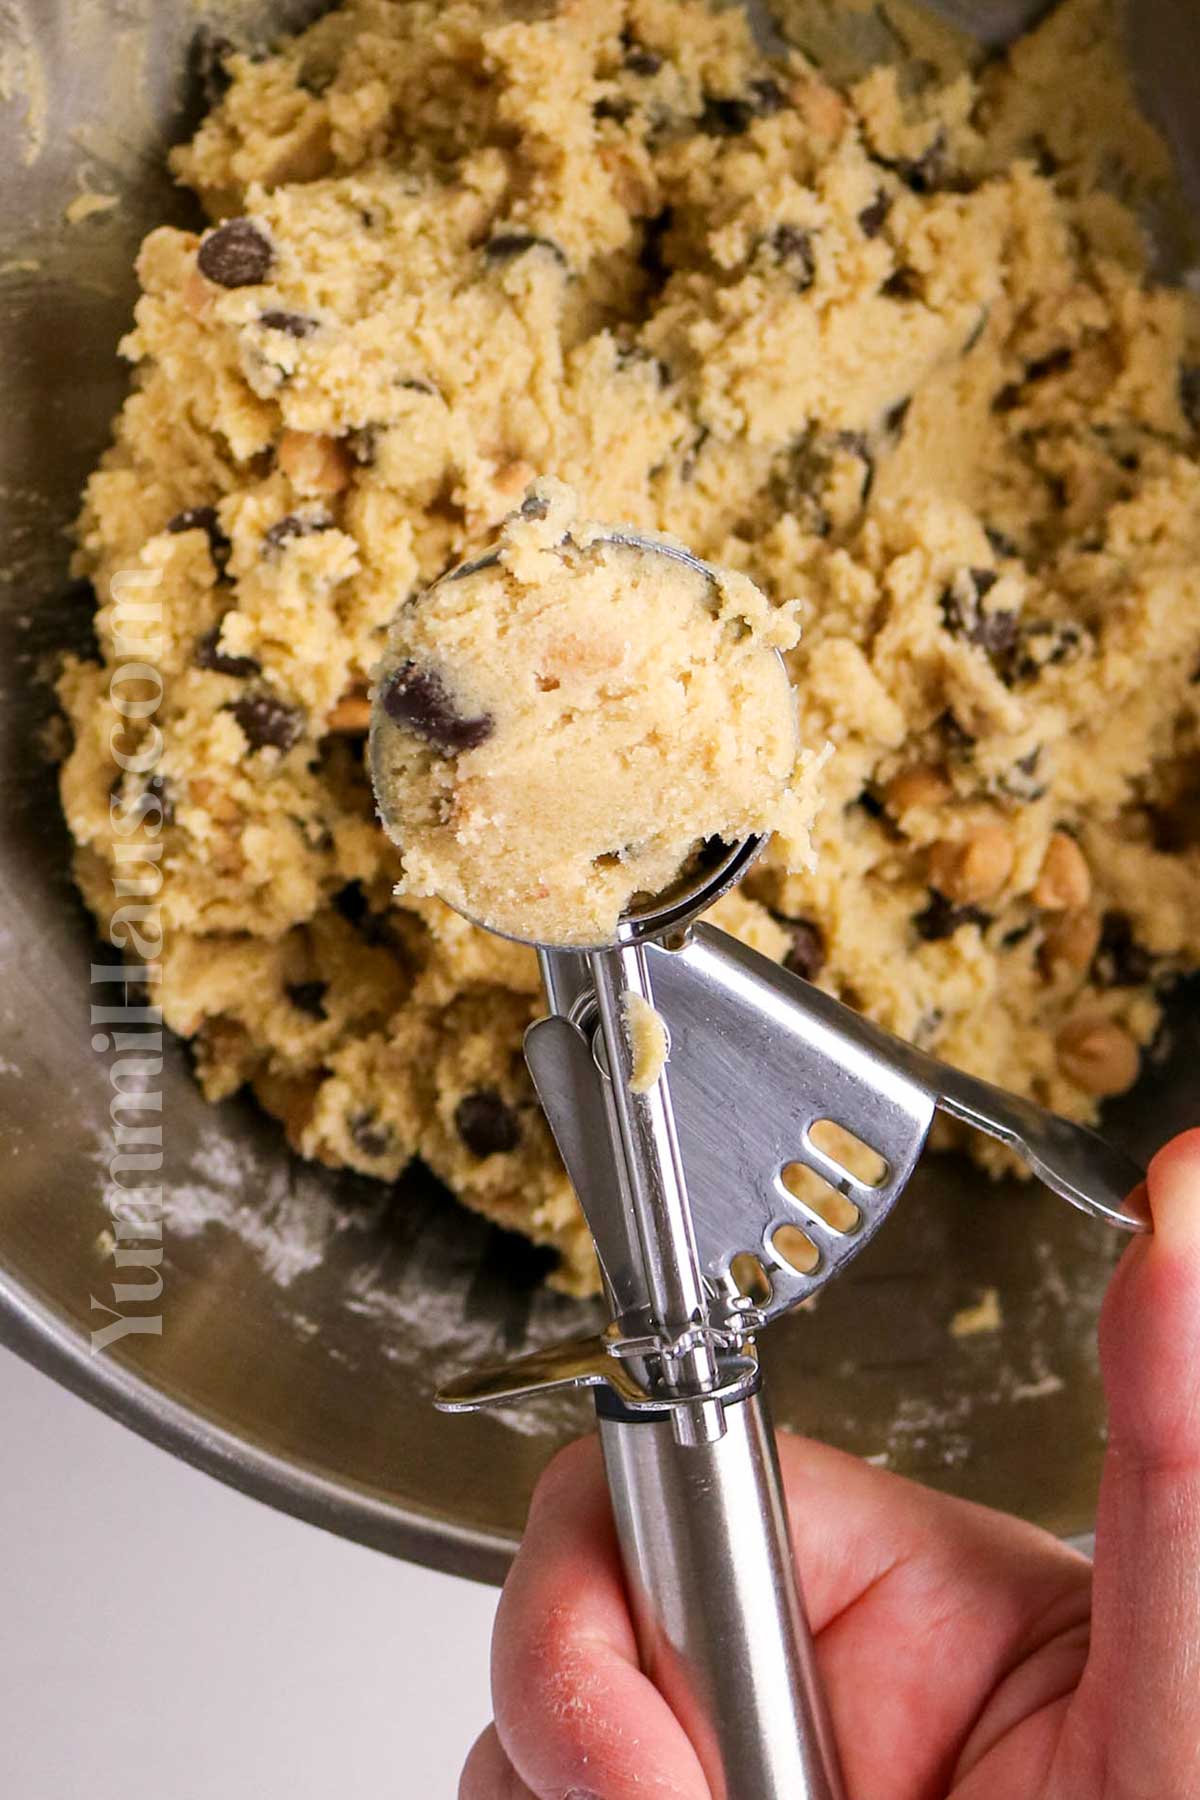
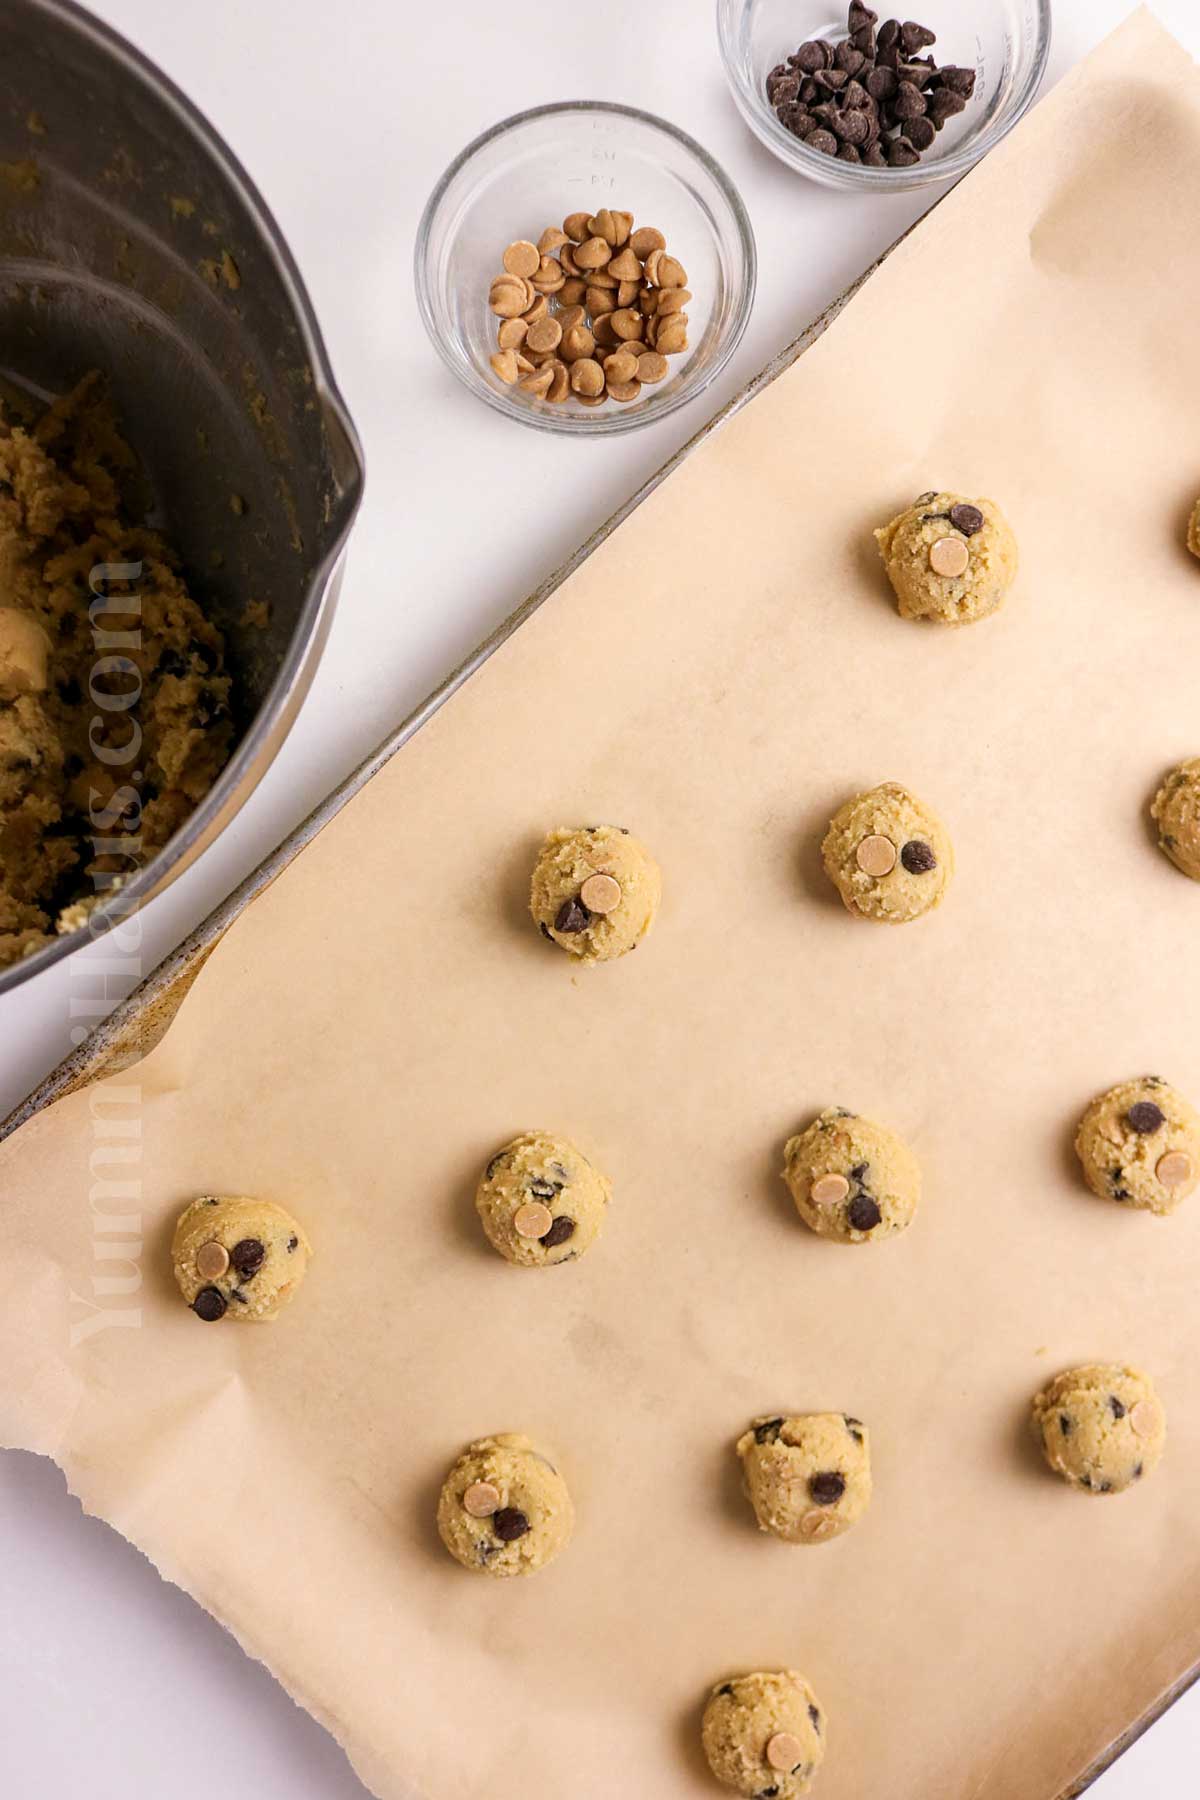
- Scoop out 2–3 tablespoon portions of dough and gently roll them between your hands to smooth them out. Place them on the prepared baking sheets, leaving about 2 inches of space between each one.
- Bake for 8–10 minutes. You’re looking for lightly golden edges while the centers still look soft—that’s the sweet spot.
- Let the cookies cool on the baking sheet for a few minutes before transferring them to a wire rack to cool completely (if you can wait that long!).
Variations & Substitutions
The beauty of this recipe is how adaptable it is. Let me share some variations I’ve tried that turned out amazing.
Chocolate Options
While I typically use a mix of regular chocolate chips and peanut butter chips, you can switch things up. Dark chocolate chips give a more sophisticated, less sweet flavor. Milk chocolate keeps things classic and sweet. Some people even love adding white chocolate chips for extra sweetness.
Sugar Adjustments
You can play with the ratio of brown sugar to white sugar. More brown sugar makes them chewier and adds more molasses flavor, while more white sugar makes them slightly crispier.
Add-ins
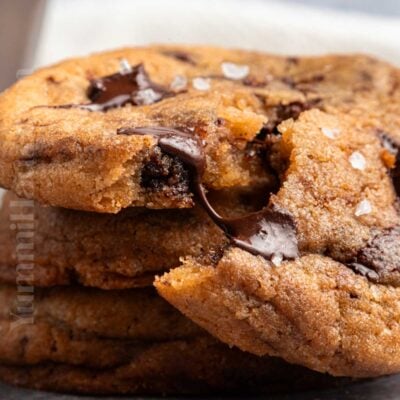
Throw in some chopped peanuts for extra crunch. Add a sprinkle of flaky sea salt on top before baking for that sweet-salty combo. You could even add some s’mores cookies vibes by including crushed graham crackers and mini marshmallows.
Size Matters
Make giant bakery-style cookies by using more dough per ball, or make mini cookies for parties. Just adjust your baking time accordingly.
Storage
These cookies store beautifully, which is great because you’ll want to keep them around. Store them in an airtight container at room temperature for up to 5 days. They stay soft and chewy, though honestly, they rarely last that long in my house.
If you’re dealing with a humid day, you might want to add a piece of bread to the airtight container – it helps keep the cookies from getting too soft or sticky.
Want to keep them longer? These freeze wonderfully. Place cooled cookies in a freezer-safe container or bag with parchment paper between layers, and they’ll keep for up to 3 months. Just thaw at room temperature when you’re ready to enjoy.
You can also freeze the cookie dough balls. Scoop them onto a baking sheet, freeze until solid, then transfer to a freezer bag. When you want fresh cookies, bake them straight from frozen, adding just a minute or two to the baking time. This is perfect for when a craving strikes unexpectedly.
Some people say these are even better the next day, after the flavors have had time to meld together. I like them both fresh and the next day, so I can’t really pick a favorite.
Expert Tips
After making these countless times, I’ve picked up some tips that make a real difference.
Room Temperature Ingredients
This is so important. Make sure your unsalted butter and eggs are at room temperature before you start. Cold ingredients don’t blend as smoothly, which can affect the texture of your perfect cookies.
Don’t Overbake
The single biggest mistake people make is overbaking. Take these out when they still look slightly underdone in the center. They’ll continue cooking on the cookie sheet and will be perfectly chewy once cooled.
Chill if Needed
If your dough seems too soft or sticky (maybe it’s a warm day), chill it for 30 minutes before scooping. This helps the cookies hold their shape better during baking.
Use Parchment Paper
Don’t skip the parchment paper. It prevents sticking and promotes even browning. You can reuse the same sheet for multiple batches, too.
Uniform Size
Using a cookie scoop ensures all your cookies are the same size, which means they’ll all finish baking at the same time. No more some-done-some-not situations.
Don’t Crowd the Pan
Give your cookie dough balls plenty of space on the baking sheet. They spread as they bake, and crowding leads to cookies that merge together.
Rotate Your Pans
If you’re baking two sheets at once, rotate them halfway through baking time for even results.
Cool Properly
Let cookies cool on the baking sheet for 5 minutes before moving them. Moving them too soon can cause them to break apart.
FAQ’s
Why are my cookies flat?
This usually happens when the butter is too soft or melted, or if you’re measuring flour incorrectly. Make sure your butter is softened but not melted, and spoon flour into your measuring cup rather than scooping directly from the bag. This can also happen if your leavening agents are too old – make sure your baking soda and baking powder are fresh.
My cookies spread too much. What happened?
This could be from butter that’s too warm, not enough flour, or a too-hot oven. Make sure your butter is just softened, measure your flour correctly, and consider using an oven thermometer to verify your oven temperature.
Can I make these without a mixer?
Absolutely. You can mix these by hand with a wooden spoon or spatula. It takes a bit more elbow grease, but it totally works.
Can I substitute the peanut butter chips?
Sure! Use all chocolate chips if you prefer, or try butterscotch chips, white chocolate chips, or even cinnamon chips.
How do I know when they’re done?
Look for golden brown edges while the centers still appear slightly soft and underdone. They should look just barely set in the middle.
Can I double this recipe?
Yes! This recipe doubles beautifully. Just make sure your large mixing bowl is big enough to handle all the ingredients.
Do I need to use both brown sugar and white sugar?
For best results, yes. The combination creates the perfect texture and flavor. Brown sugar makes them chewy, while white sugar helps them spread and crisp up slightly.
Why did my cookies turn out cakey?
Too much flour or not enough fat usually causes this. Make sure you’re measuring correctly and following the recipe proportions.
What’s the best way to warm up leftover cookies?
Pop them in the microwave for 10-15 seconds, or warm them in a 300°F oven for 5 minutes. Nothing beats a warm cookie!
Can I make these gluten-free?
You can substitute with a 1:1 gluten-free flour blend, though the texture might be slightly different.
If you love this cookie recipe, you’re going to love these other cookie recipes, too. Please click each link below to find the easy, printable recipe!

More Great Peanut Butter and Chocolate Recipes
Chocolate Chip Peanut Butter Bars
Chocolate Cake with Peanut Butter Frosting
CONNECT WITH YUMMI HAUS!
Be sure to follow me on my social media, so you never miss a post!


Chocolate Chip and Peanut Butter Chip Cookies
Ingredients
- 1 cup butter salted – softened
- 1 cup granulated sugar
- 1 cup brown sugar – packed (light or dark)
- 2 teaspoons vanilla extract
- 2 large eggs
- 3 cups all-purpose flour
- 1 teaspoon sea salt
- 1 teaspoon baking soda
- ½ teaspoon baking powder
- 1 cup chocolate chips
- 1 cup peanut butter chips
Instructions
- Preheat the oven to 375°F (190°C).
- Line the baking sheets with parchment paper and set aside.
- Combine the flour, salt, baking soda, and baking powder in a large bowl; stir and set aside.
- Mix the butter with the granulated sugar and brown sugar in another bowl until evenly blended and the sugars have emulsified with the butter.
- Mix in the eggs and vanilla until the batter looks lighter and slightly fluffy.
- Slowly stir in the dry ingredients just until a dough forms. Don’t overmix.
- Fold in the chocolate chips and peanut butter chips until well distributed.
- Scoop the dough into 2–3 tablespoon-sized portions, and roll gently between your hands to smooth out. Place on the baking sheet with 2” spacing.
- Bake for 8–10 minutes, removing the cookies once the edges show the first signs of light browning while the centers remain soft.
- Allow cookies to cool on the baking sheets for several minutes before transferring them to a wire rack to cool to room temperature.
Nutrition
Nutritional information for the recipe is provided as a courtesy and is approximate. Please double-check with your own dietary calculator for the best accuracy. We at Yummi Haus cannot guarantee the accuracy of the nutritional information given for any recipe on this site.


Share Your Thoughts