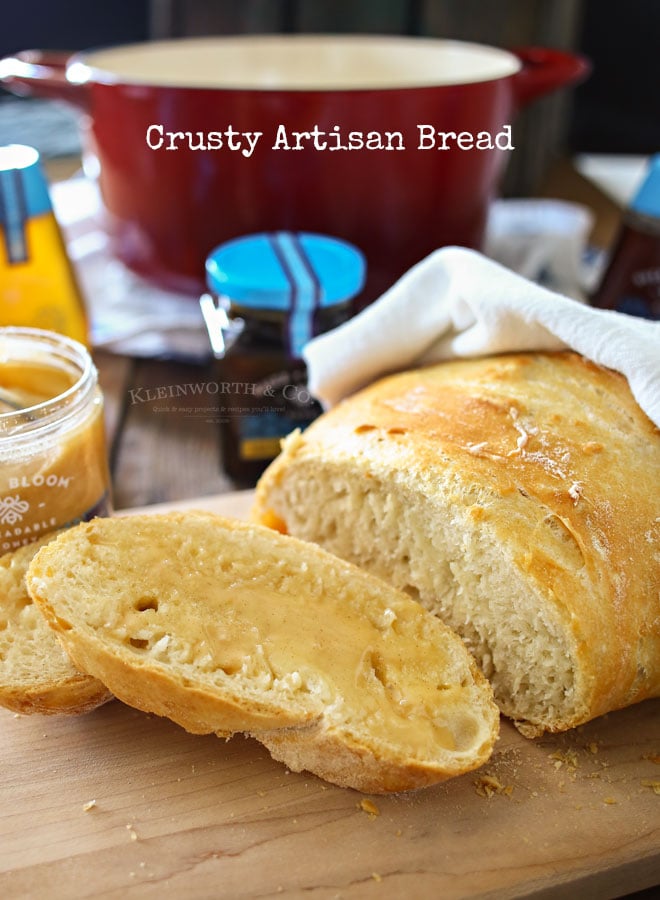
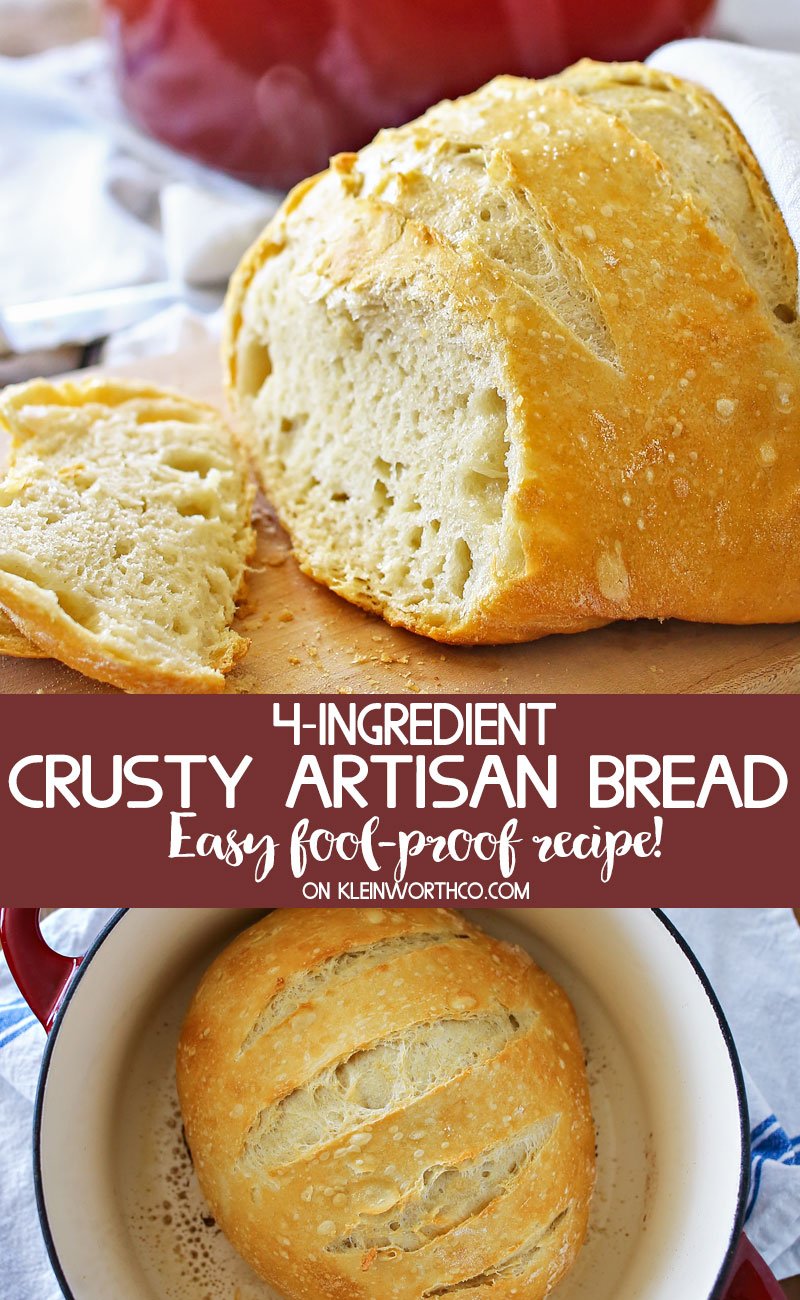
Incredibly Easy Crusty Artisan Bread is a simple, 4-ingredient homemade dutch oven bread recipe that is absolutely foolproof. Perfect alongside every meal. Pair with a delicious cinnamon spreadable honey & it’s pure heaven.
I love bread. It’s one of my weaknesses. I especially love artisan bread & extra points if it’s hot & fresh right out of the oven.
But I obviously can’t hang out in the bakery at the store all day long waiting for the bread to bake. So I try to make a couple of loaves at home at least a couple of times a week.
Recipes like this one are so easy that there’s really no excuse for me to have to go without anymore. I just mix the dough before I go to bed & let it sit. After we are done with the chaos of breakfast the next morning I pop it in the oven to bake. The house smells amazing.
Scroll to the bottom for the Printable Recipe
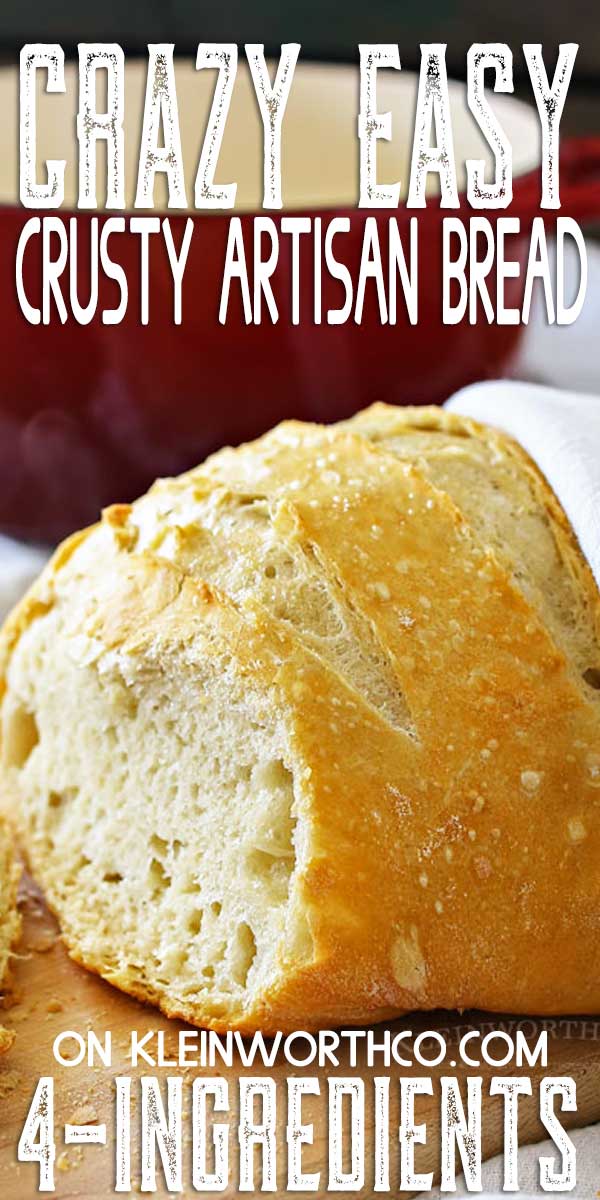
Easy Homemade Bread Recipe
This post contains some affiliate links. Click here to read my full disclosure policy.
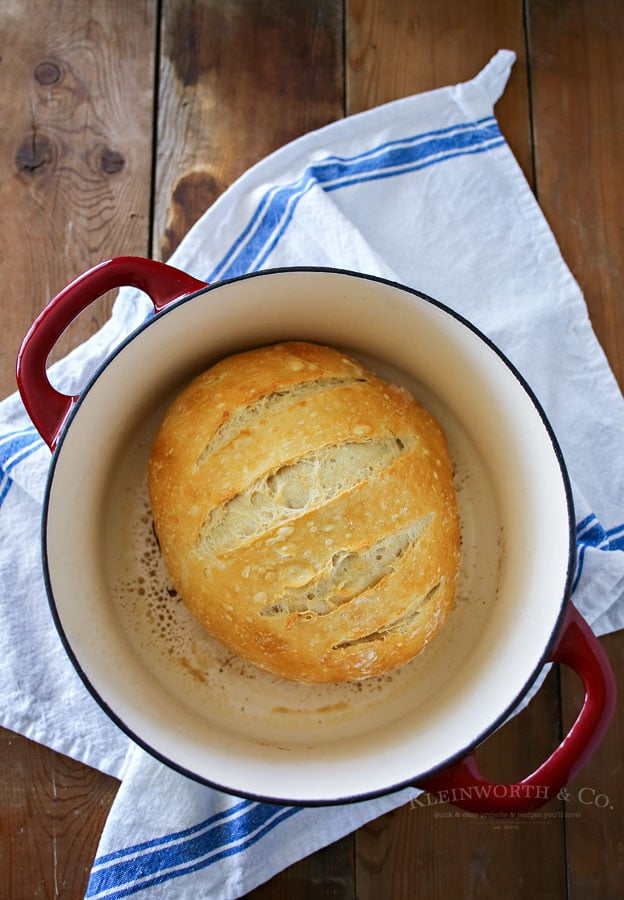
Sometimes I will get the dough ready before we have dinner. That gives me enough hours of letting it rise that I can bake it first thing when I get up at 4 the next morning. My main motivation for doing this is because I want to have it for breakfast.
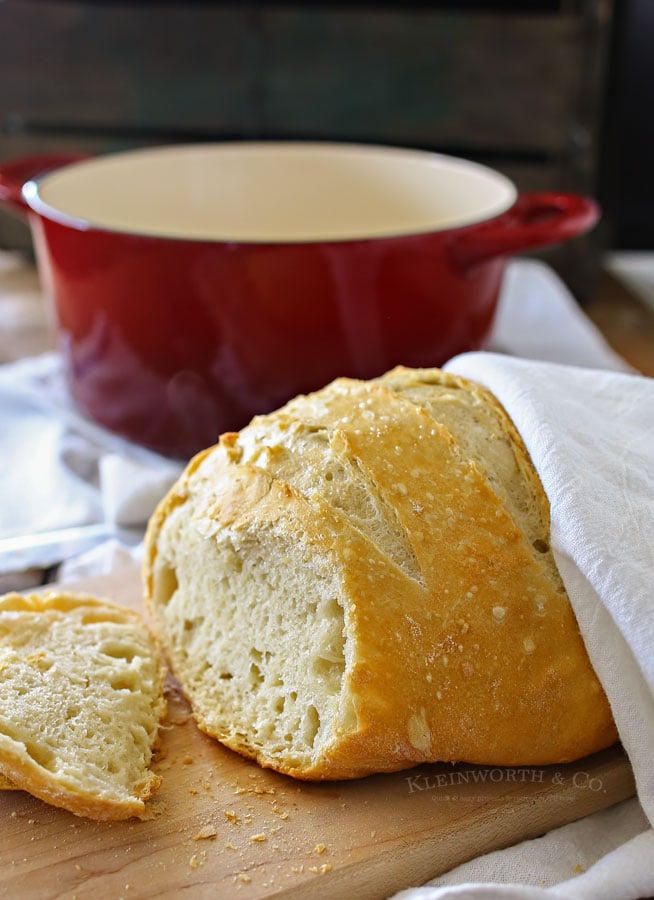
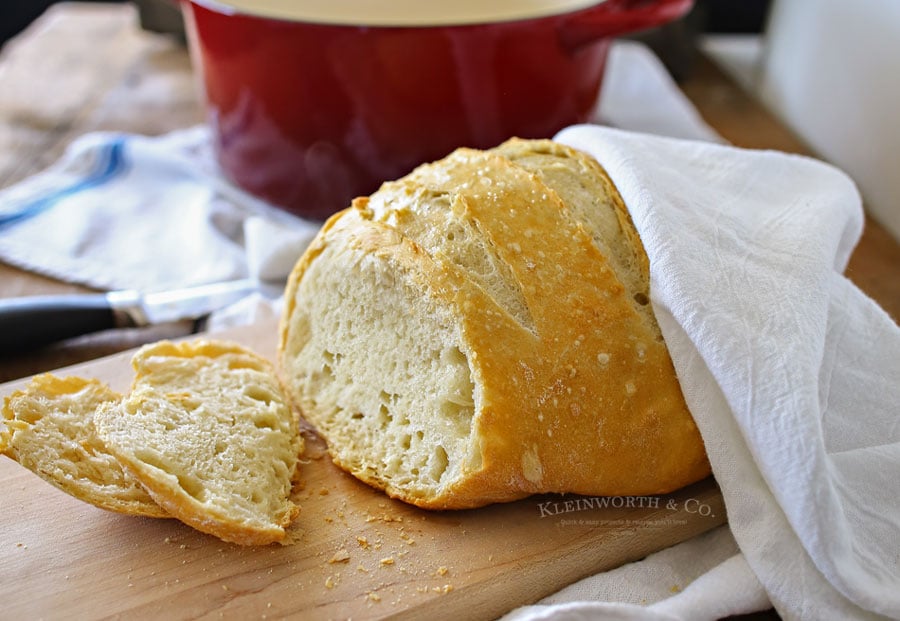
My favorite thing to have for breakfast is a slice of hot, fresh bread with some honey on it. It’s heavenly!
Here are some commonly asked questions
Please see the following frequently asked questions we get for this bread. This will help assure that it turns out perfect each & every time you make it.
What is the best way to store leftover bread?
I must say, we almost never have leftovers of this bread. However, if you happen to have a few extra slices laying around, place them in a zip-top bag or airtight container. This recipe should keep at room temperature for up to 3 days.
How many can this serve?
Depends on how you slice the loaf. So for my family of 5 – it’s good for about 1 dinner + seconds. They are crazy for the bread. But if each guest had 2, you could feed 10 people.
Can I use Gluten-Free flour?
I have not tried that yet. If you decide to give it a go, I would suggest using one that has a 1:1 ratio for the best possible results. Please let me know how it turns out. I’d love to share that with others.
Easy Artisan Bread
To make this recipe you will need…
- all-purpose flour
- salt
- dry active yeast
- lukewarm water
Can this recipe be doubled?
Probably not because the dough wouldn’t fit in a dutch oven. You could do 2 batches and bake the dutch ovens side-by-side if you need 2 loaves.
Can I make this without a dutch oven?
Unfortunately you NEED the heavy, lidded, oven-safe pot to get the bread to cook the way it does & give it the texture that it has. You can find them for about $30-40 & you will definitely get your use out it as they are so versatile.
Can I cook an enameled cast iron at that temperature?
Per the manufacturer’s description of the product “This enameled cast-iron Dutch oven can be used on any cooking surface, including induction. It’s resistant to heat, corrosion, rust, and water. The cast-iron Dutch oven is chip resistant & the lid knob is oven safe to 500 degrees Fahrenheit.”
Being that enameled cast iron is actually created by a particulate of glass, called frit, that is applied to the cast iron vessel and then baked at temperatures between 1200 and 1400° F. The glass frit melts and fuses to the cast iron, forming a bond. Since it is baked on at 3 times hotter than what this is baking it at, I’m not worried. But if you are worried about your enamel cracking, you can use a regular iron dutch oven.
HOW TO MAKE Easy Crusty Artisan Bread?
- In a medium-size bowl, combine 3 cups of the flour along with the other ingredients & mix with a wooden spoon until fully combined.
- Place plastic wrap over the top of the dough. (touching the dough- not just covering the top of the bowl)
- Set aside in a warm, dark place to rest at least 8 hours. (up to about 24 hours)
- Remove dough from bowl & place on a well-floured surface & work into a ball. (if it’s too wet or sticky you can work more flour in- but it should not be too firm)
- Allow to rest approx 30 minutes.
- Place cast iron dutch oven with lid in oven & preheat oven to 450 degrees.
- Carefully remove once preheated & spray the bottom with cooking spray.
- Place dough in the pot, slash the top several times.
- Cover & bake 30 minutes.
- Remove lid & bake an additional 10-15 minutes or until golden & brown.
- (you know it’s done if it sounds hollow when tapped with your fingernail)
- Cool slightly before serving.
Products I love when making this bread…
This bread recipe is SUPER EASY and delicious – and if you’re like me, then you maybe already have some of these items on hand OR maybe you have never made homemade bread before, & you might be a bit nervous – but you’re going to love this turns out. I have made a list below of the things I absolutely can’t live without when it comes to making this bread recipe.
- mixing bowl
- all-purpose flour
- table salt
- yeast
- plastic wrap
- cooking spray
- oil mister
- Dutch oven
- parchment paper
Looking for more great recipes like this one?
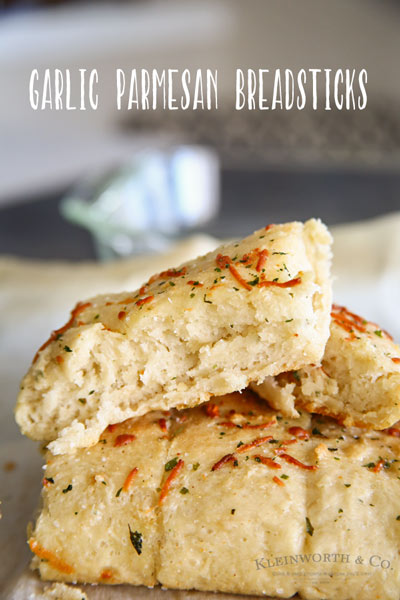
Easy Garlic Parmesan Breadsticks
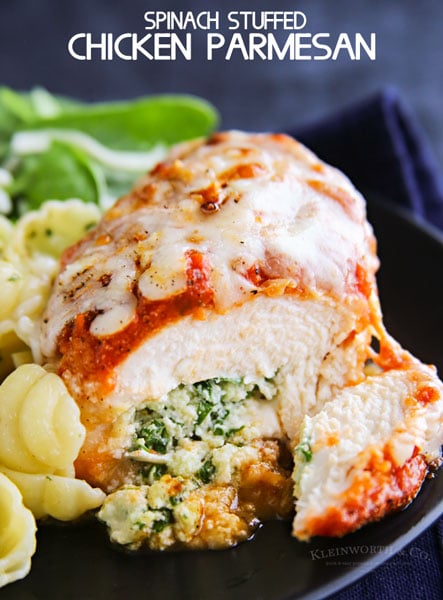
Spinach Stuffed Chicken Parmesan
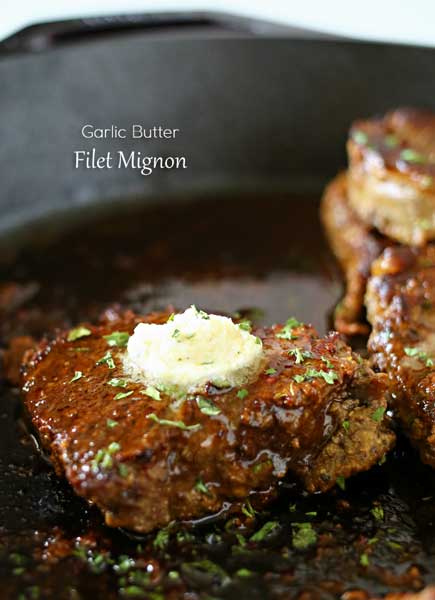
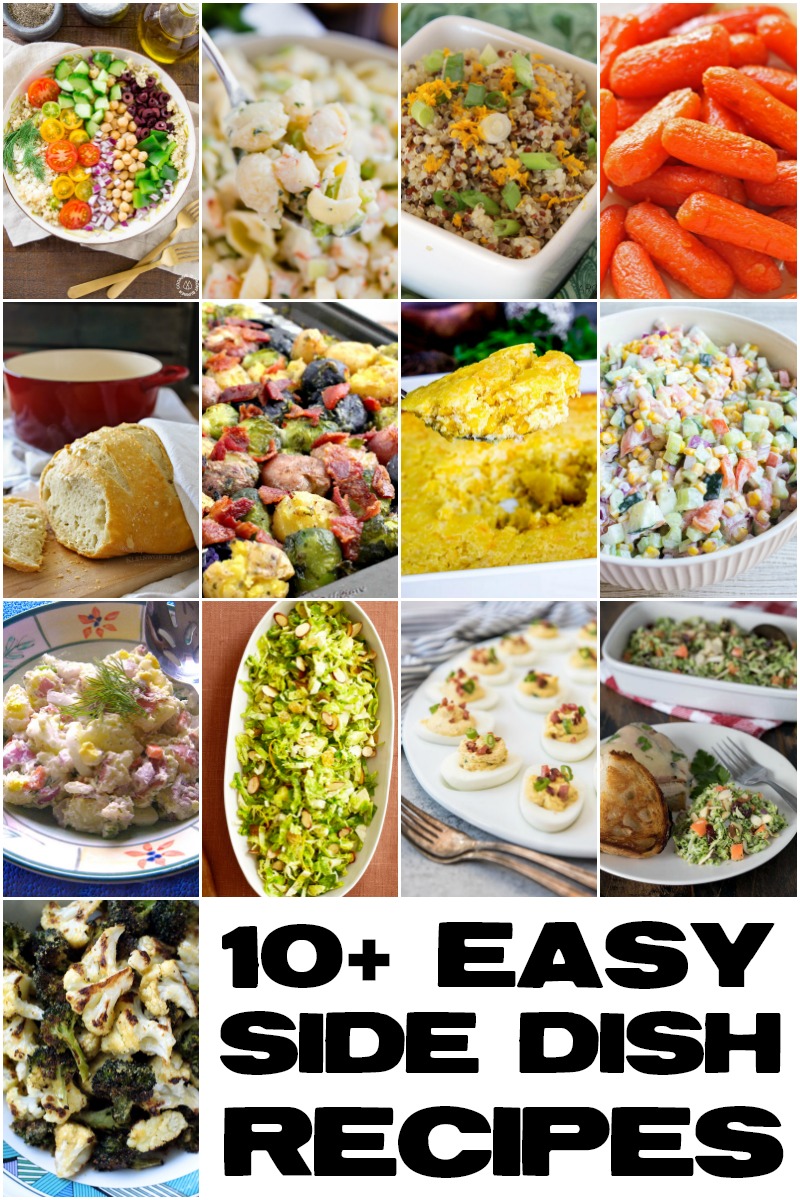
Shredded Brussels Sprouts with Orange and Almonds
Bacon Green Onion Deviled Eggs
Farmer’s Market Potato Salad
Hummus Roasted Broccoli & Cauliflower
Bacon & Ranch Smashed Potatoes & Brussels Sprouts
Very Best Shrimp Macaroni Salad
If you love this bread recipe as much as I do, please write a five star review, and be sure to help me share on facebook and pinterest!
CONNECT WITH KLEINWORTH & CO!
Be sure to follow me on my social media, so you never miss a post!
FB, Pinterest, IG, Email Subscription
Incredibly Easy Crusty Artisan Bread
Ingredients
- 3 to 4 cups all-purpose flour
- 1 tsp salt
- ½ tsp dry active yeast
- 1½ cups lukewarm water 115 degrees is perfect
Instructions
- In a medium size bowl, combine 3 cups of the flour along with the other ingredients & mix with a wooden spoon until fully combined.
- Place plastic wrap over the top of the dough. (touching the dough- not just covering the top of the bowl)
- Set aside in a warm, dark place to rest at least 8 hours. (up to about 24 hours)
- Remove dough from the bowl & place it on a well-floured surface & work into a ball. (if it's too wet or sticky you can work more flour in- but it should not be too firm)
- Allow to rest approx 30 minutes.
- Place cast iron dutch oven with an oven-safe lid in the oven & preheat the oven to 450 degrees.
- Carefully remove the pot once the oven has preheated & spray the bottom of the pot with cooking spray or an oil mister. You can also place the dough on a piece of parchment paper and place that into the pot instead.
- Place dough in pot, slash the top several times.
- Cover & bake 30 minutes.
- Remove lid & bake an additional 10-15 minutes or until golden & brown. (you know it's done if it sounds hollow when tapped with your fingernail)
- Cool slightly before serving.
Nutritional information for the recipe is provided as a courtesy and is approximate. Please double-check with your own dietary calculator for the best accuracy. We at Yummi Haus cannot guarantee the accuracy of the nutritional information given for any recipe on this site.




Hi. Can you use bread flour?
You can use bread flour – keep in mind that bread flour produces more gluten and thus a chewier bread. Using the bread flour in place of all-purpose might make the bread a bit tougher like pizza crust instead of what you would expect with a slice of bread. Please let me know if you try it and how it turns out.
This bread is so tasty – don’t think I’ll ever buy bread again. I’ve made it several times but one problem I keep having is that the bottom of the bread is extremely hard to cut through – any suggestions to remedy that problem? I do put it on parchment paper, could that be the problem?
Your instructions say the plastic wrap should be touching the dough – not just covering the bowl. However, your video shows the plastic wrap just covering the bowl – not touching the dough. Which is correct?
Either way will work, but when it is touching the dough it keeps it from drying out a bit better than just over the bowl. So I prefer to have it touching.
Can you freeze this bread?
Yes, you can freeze the bread. I found the best way is to wrap it tightly with plastic wrap and then place it either in a zip-top bag if you have one large enough – or then wrap it in foil – just to make sure it doesn’t dry out. Please use it within 3 months since there aren’t any preservatives added to the recipe.
Very easy to make and tasty. I only gave it 4 stars because the bottom is very hard. As Barbara mentioned above, any remedies?
Hi Janice,
You might try baking it on parchment instead of placing it directly in the pot. I have not personally tried this, as I have not had the bottom turn out quite as hard as you describe. But I have heard of others using the parchment and liking it.
Please let me know if you try it and what you think of the difference.
What size Dutch oven do you recommend?
Hi Ophelia,
I believe mine is a 5 or 6 quart and the dough fits perfectly inside as you can see in the picture and video. I would say anything that size or larger would be fine. I have one linked within the post if you want to see the exact one I have.
Enjoy!
Any tips on adjusting this for sea-level conditions? I’ve made this in the Midwest and west coast with strikingly different results!
Hi Hannah,
While elevation does play a part in the results, so can the humidity levels. Unfortunately, it is hard for me to say with any certainty what exactly needs to be done since the elevations and humidity levels vary greatly both in the midwest and the west coast. I’m in the Pacific/Inland Northwest. There are many things that can be done when making bread in different environments that will yield a better result. But it is more a case of trial and error vs hard and fast rules. I understand this can be frustrating, but I did find an article that gives some good tips that you might find helpful. https://www.wikihow.com/Adjust-Bread-Recipes-for-High-Altitude
Please let me know what changes you made & the result. I’d love to know.
Made two loaves of this for the first time. Easy to prepare, until it came time to turn it into a ball. The 3 cups of flour called for in the recipe were not enough, and I had a goopy mess instead of said ball. I attempted to add in the 4th cup of flour while forming the ball, it helped somewhat, but definitely did not get a beautiful dough ball. It baked up fine, tastes great, albeit a little dense on the bottom third of the loaf.
Good morning I love your bread I bet I have made it 5 times but I have a question to ask you why is the water so hot dose it kill the yeast at 115 I am in the United state when I do this my yeast dose not foam and it is new yeast the bread comes out amazing thank you
Have made this bread a number of times. It’s so easy and tasty!
I bake mine in an old crock pot liner with lid. It works like a charm!
Hi Can you use fast acting yeast. And reduce resting time?
You can try it. I have never tried baking it with less than 8 hours of rest time. Please let me know how it turns out.
It came out delicious !!! I sprinkled some garlic powder on top before I baked it. I let it rest for only 3 in a half hours. It didn’t rise as much as should have. But still was Great!!!
That was a complete mess I followed the recipe. Dumped it out on the board it ran all over the board counter and floor I tried adding more flour and it just stuck everywhere. I am so mad that you put a recipe on here that is not doable. I waited all day to make this bread. I guess I have to find a better recipe because this is awful.
I’m sorry to hear that. It sounds like the yeast might have been bad or the ingredients were not measured correctly. Did the dough rise? This recipe has been made by literally millions of people and I have never heard of this happening.
Splash with what???? It’s my first time
Are you referring to step 8? (Place dough in the pot, slash the top several times.) Slash the top – as in – add cuts along the top before baking.
I have never made bread but at 66 I’m loving how easy this is
Thank you for this recipe! I can’t believe how easy it is to make homemade bread that is so delicious! SUCCESS
Easy & Delicious
Good web site! I truly love how it is easy on my eyes and the data are well written. I am wondering how I could be notified when a new post has been made. I have subscribed to your RSS which must do the trick! Have a great day!