


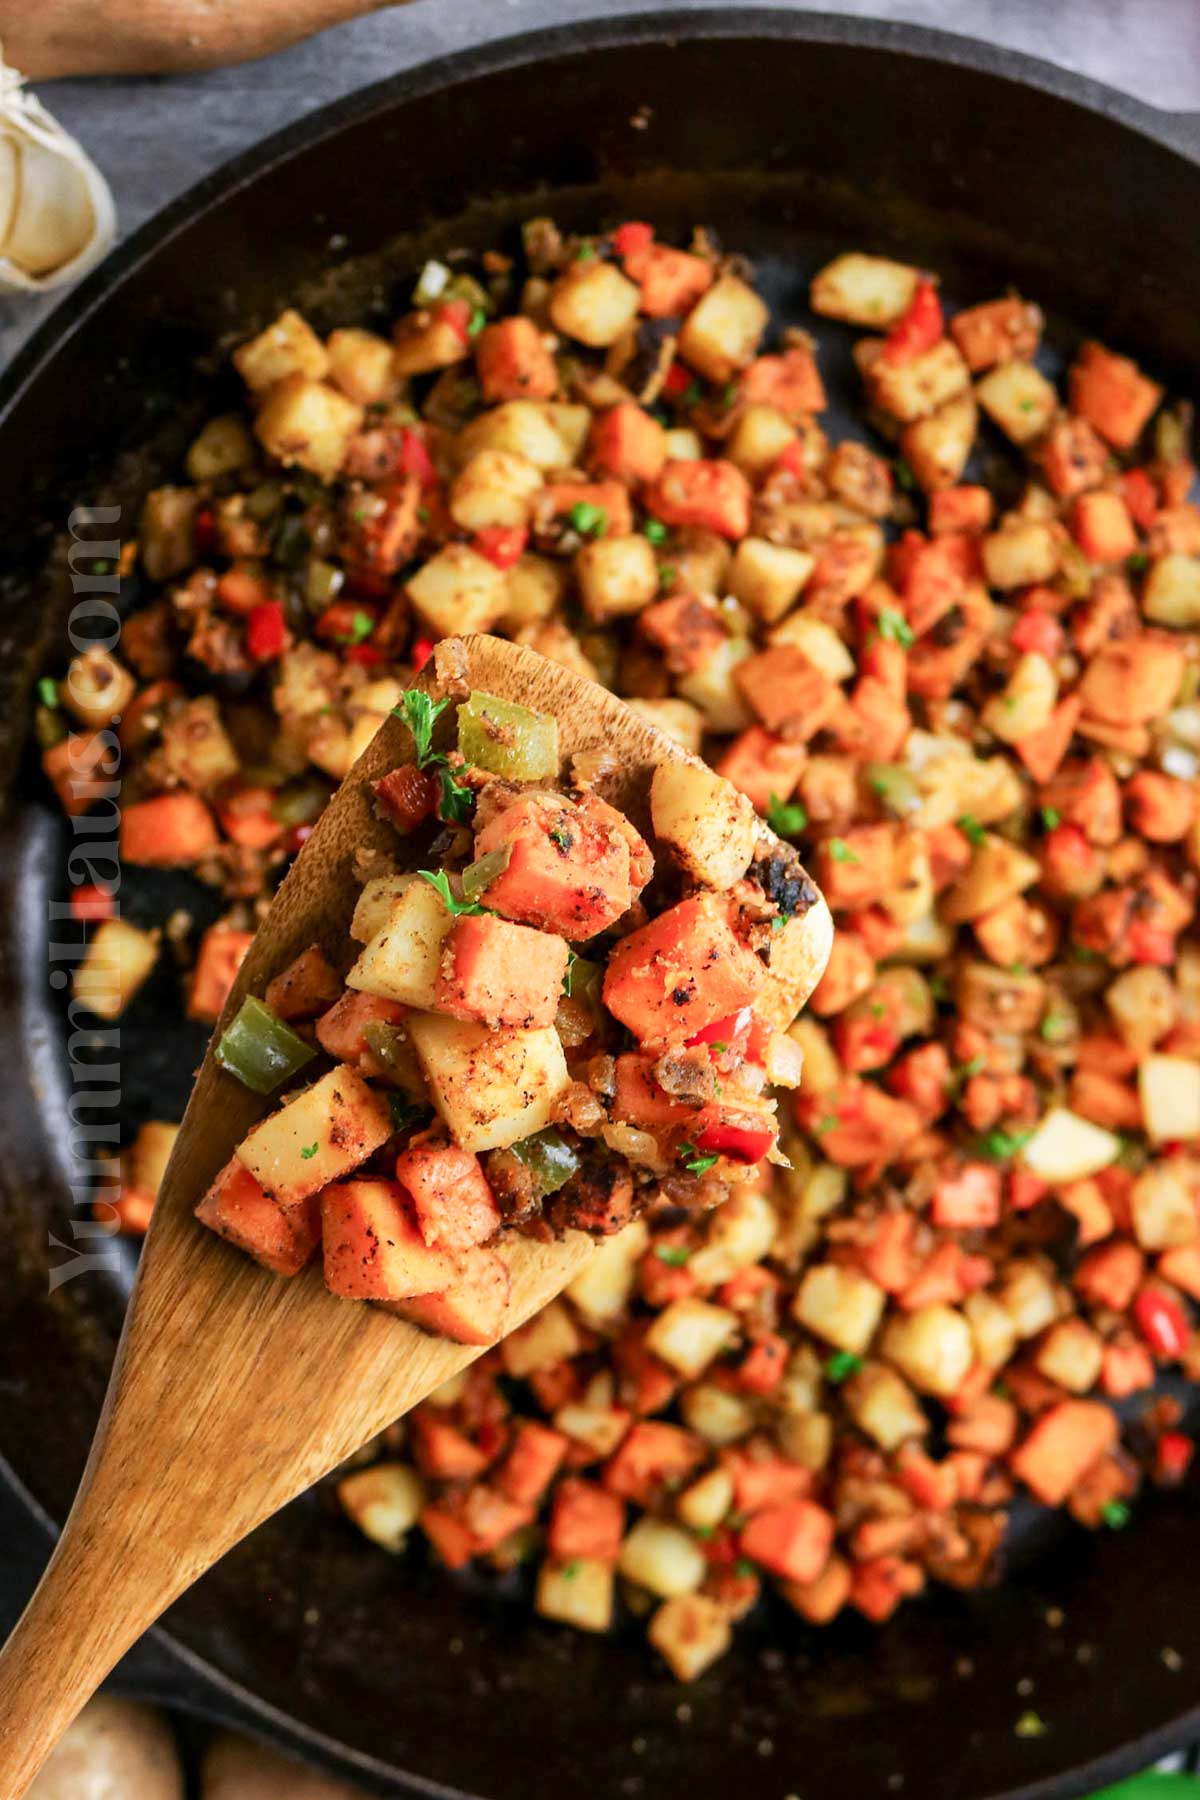
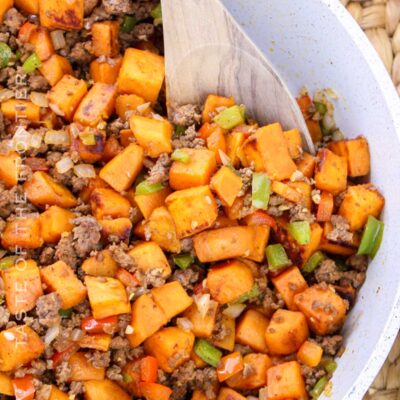
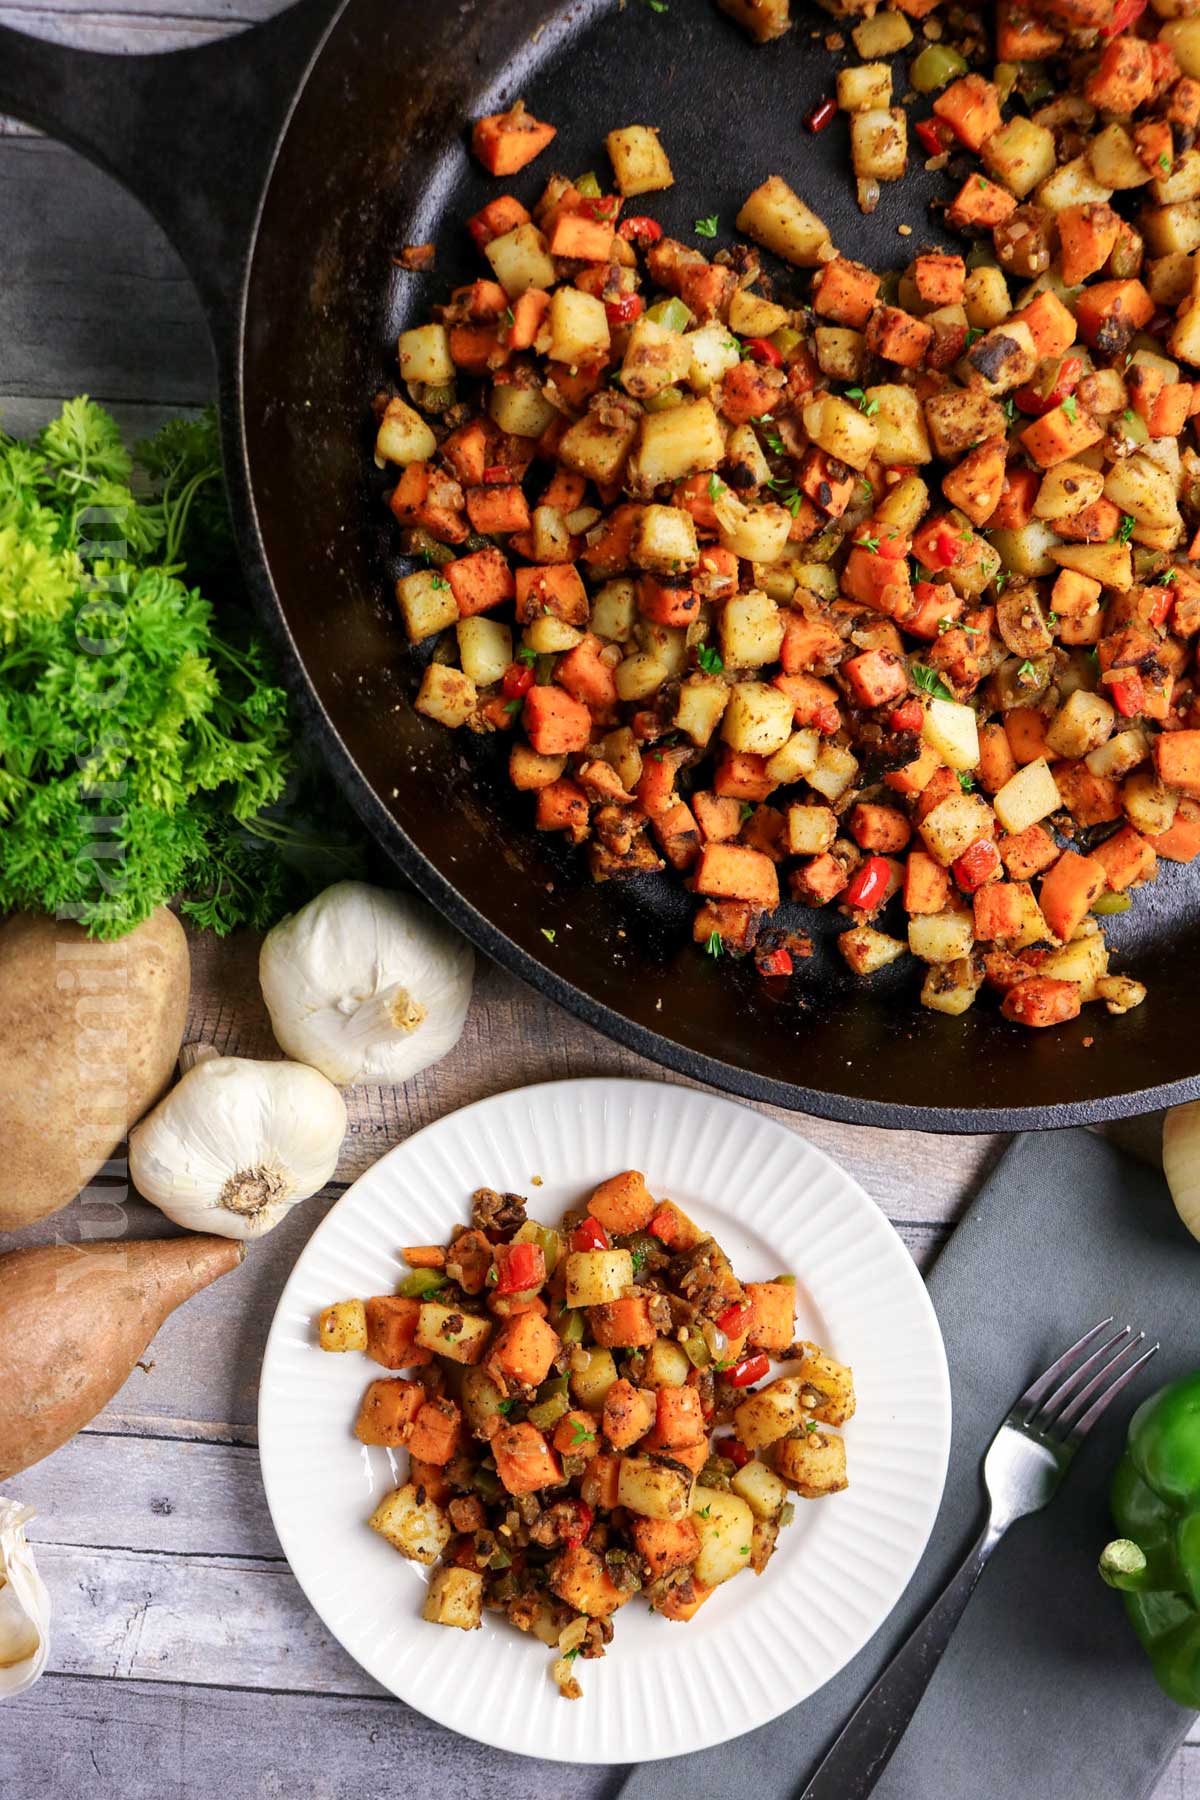
There’s something incredibly satisfying about a perfectly cooked hash, and this sweet potato hash recipe combines the best of both worlds. The natural sweetness of sweet potatoes paired with the hearty texture of russet potatoes creates a balanced and flavorful dish that works at any time of day. Whether you’re looking for healthy breakfast recipes or a satisfying side dish for dinner, this hash delivers every single time.
I love making this sweet potato breakfast hash on lazy weekend mornings, but honestly, it’s become one of my go-to meal prep staples too. The combination of crispy edges, tender centers, and savory seasoning makes it the perfect base for a fried egg or a delicious standalone meal of the day. Plus, you probably already have most of the ingredients in your kitchen right now.
Gina’s Recipe Rundown:
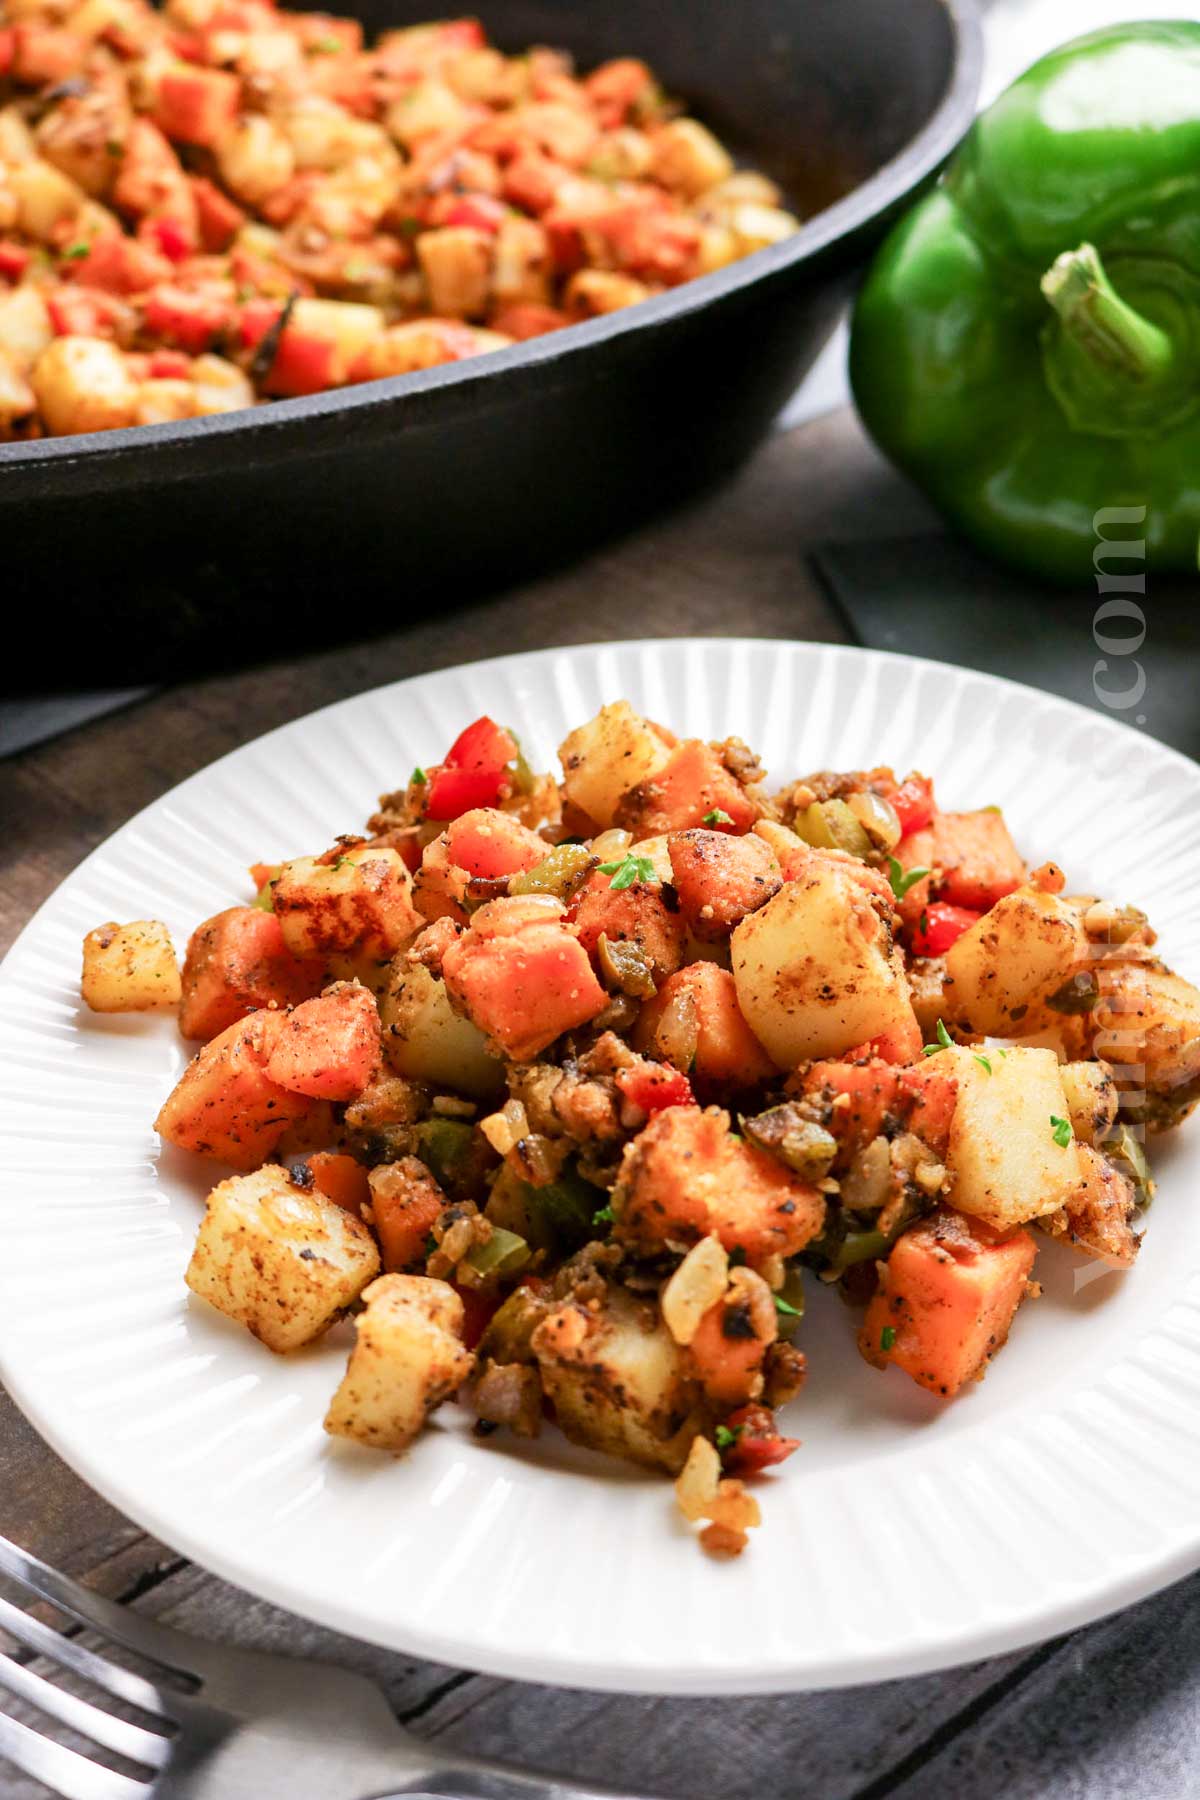
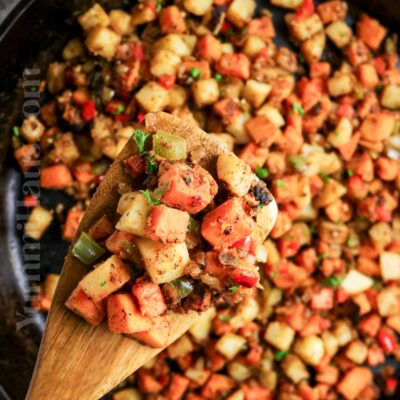
Texture: Crispy on the outside with tender, fluffy potatoes and soft, caramelized veggies in every bite.
Taste: A delicious balance of savory, slightly sweet, and smoky flavors with a hint of warmth from the spices.
Ease: Simple and beginner-friendly, with just a bit of chopping and straightforward stovetop cooking.
Why I love it: It’s a cozy, versatile dish that’s easy to customize, comes together with simple ingredients, and delivers big flavor with minimal effort.
Why You’ll Love This Recipe
This hash is seriously versatile and comes together in about 5-10 minutes of prep time. You can make it in a cast-iron skillet for maximum crispiness or spread everything on a sheet pan for a hands-off approach.
The best part? It’s endlessly customizable. Add red bell peppers for sweetness, toss in some black beans for extra protein, or top it with green onions for a fresh finish. The natural sweetness of the sweet potatoes balances beautifully with white potatoes, creating a more complex flavor than traditional hash browns.
This recipe works for any meal of the day. Serve it as a savory breakfast with a fried egg on top, pack it for meal prep, or turn it into a hearty side dish for dinner. The crispy edges you get from cooking it properly make every bite absolutely addictive.

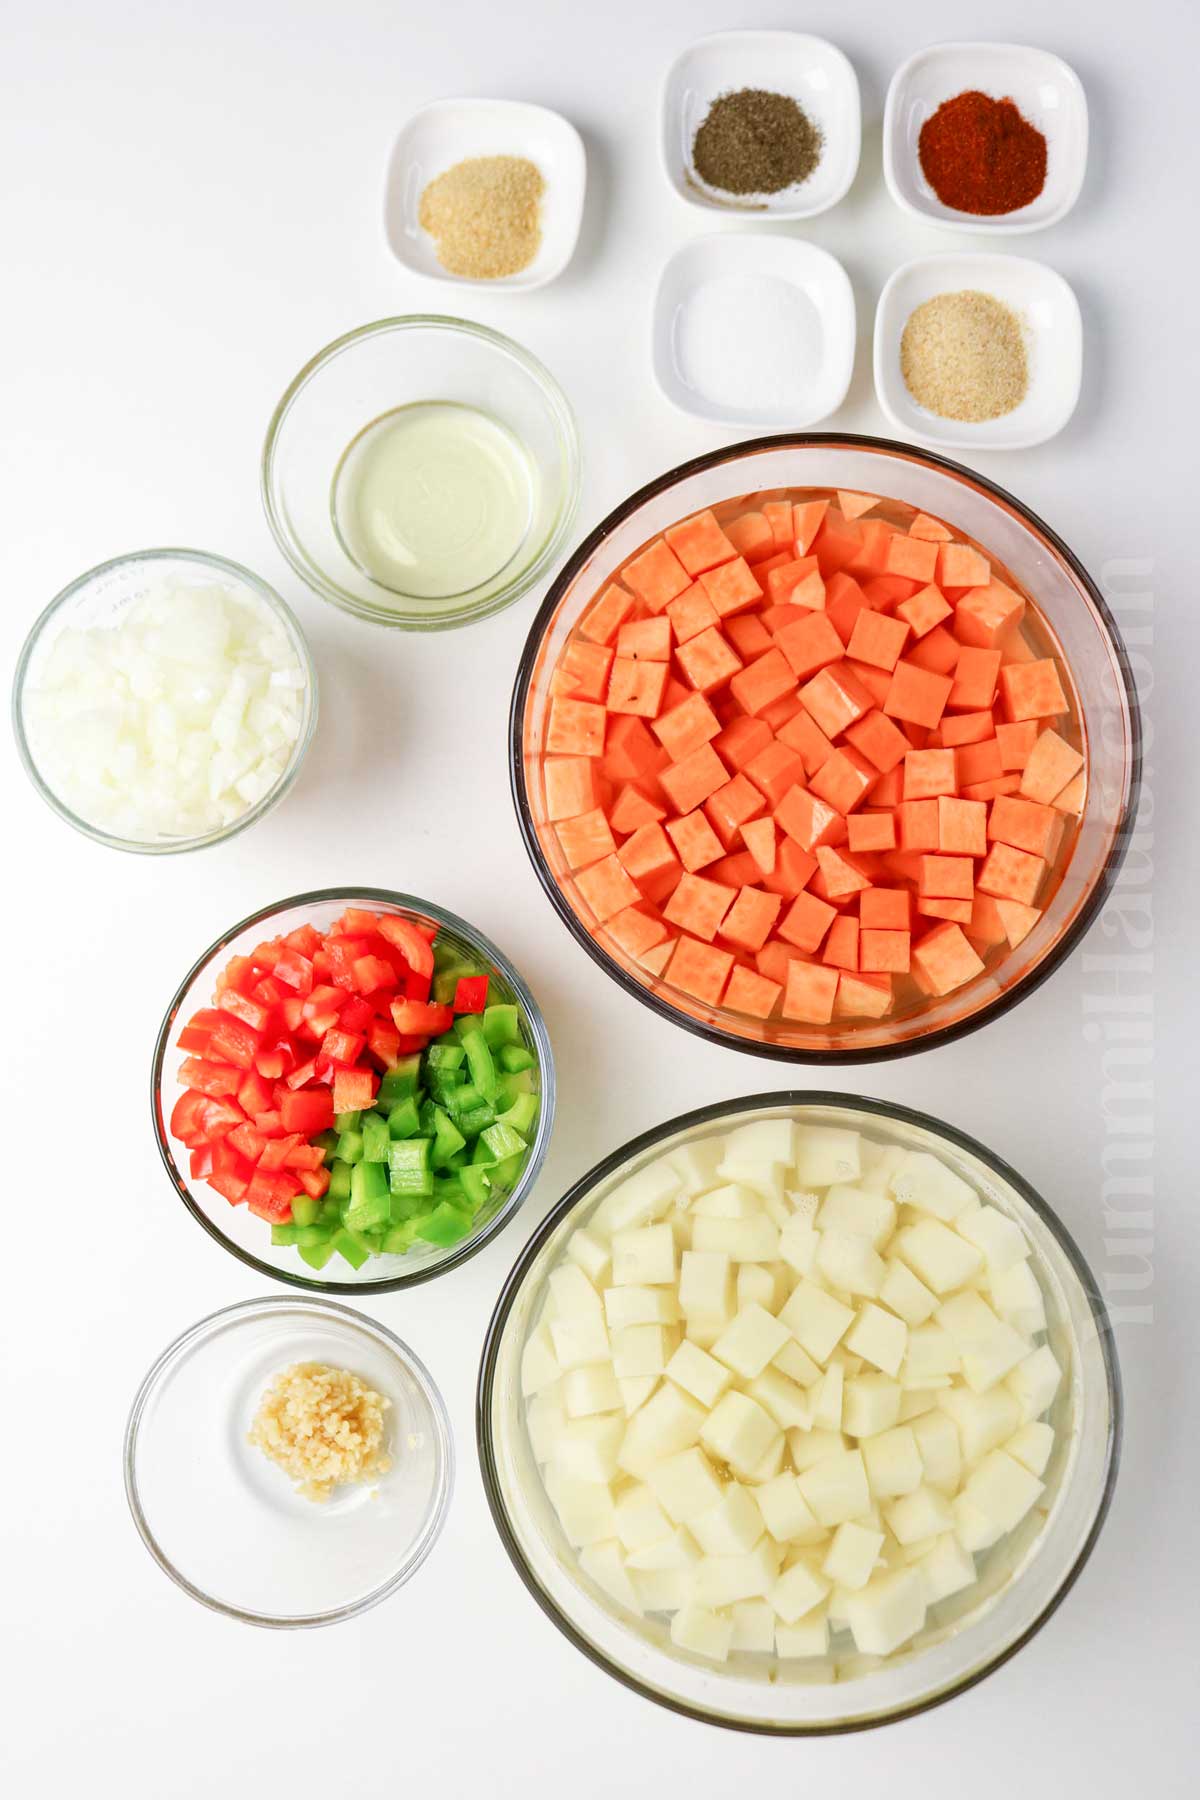
Ingredient Notes
- Sweet potatoes – Add natural sweetness and a soft, creamy texture; peel for a smoother bite or leave skin on for extra fiber.
- Russet potatoes – Provide a crispy exterior and fluffy interior; ideal for getting that classic hash texture.
- Olive oil – Helps everything crisp up and adds a light, savory richness; use enough to coat the pan evenly.
- Onion – Brings sweetness and depth; yellow or white onions work best when sautéed until slightly caramelized.
- Red bell pepper – Adds color, a mild sweetness, and a bit of crunch.
- Garlic – Infuses the hash with bold, aromatic flavor; fresh is best for maximum impact.
- Onion powder – Enhances the savory onion flavor throughout the dish.
- Garlic powder – Adds an extra layer of garlicky depth that complements the fresh garlic.
- Paprika – Contributes warmth and a subtle smoky or sweet note depending on the variety used.
- Salt and black pepper – Essential for balancing and bringing out all the flavors; season to taste throughout cooking.
Kitchen Equipment
- Large skillet or frying pan – Essential for cooking the hash evenly and achieving crispy edges (cast iron works especially well).
- Cutting board – Provides a stable surface for prepping all ingredients.
- Sharp knife – Makes it easier to dice potatoes and vegetables evenly for consistent cooking.
- Spatula or wooden spoon – Useful for stirring and flipping the hash without breaking it apart too much.
- Measuring spoons – Helps portion out spices accurately.
- Mixing bowl (optional) – Handy for tossing potatoes with oil and seasonings before cooking.
How to Make Sweet Potato and Potato Hash
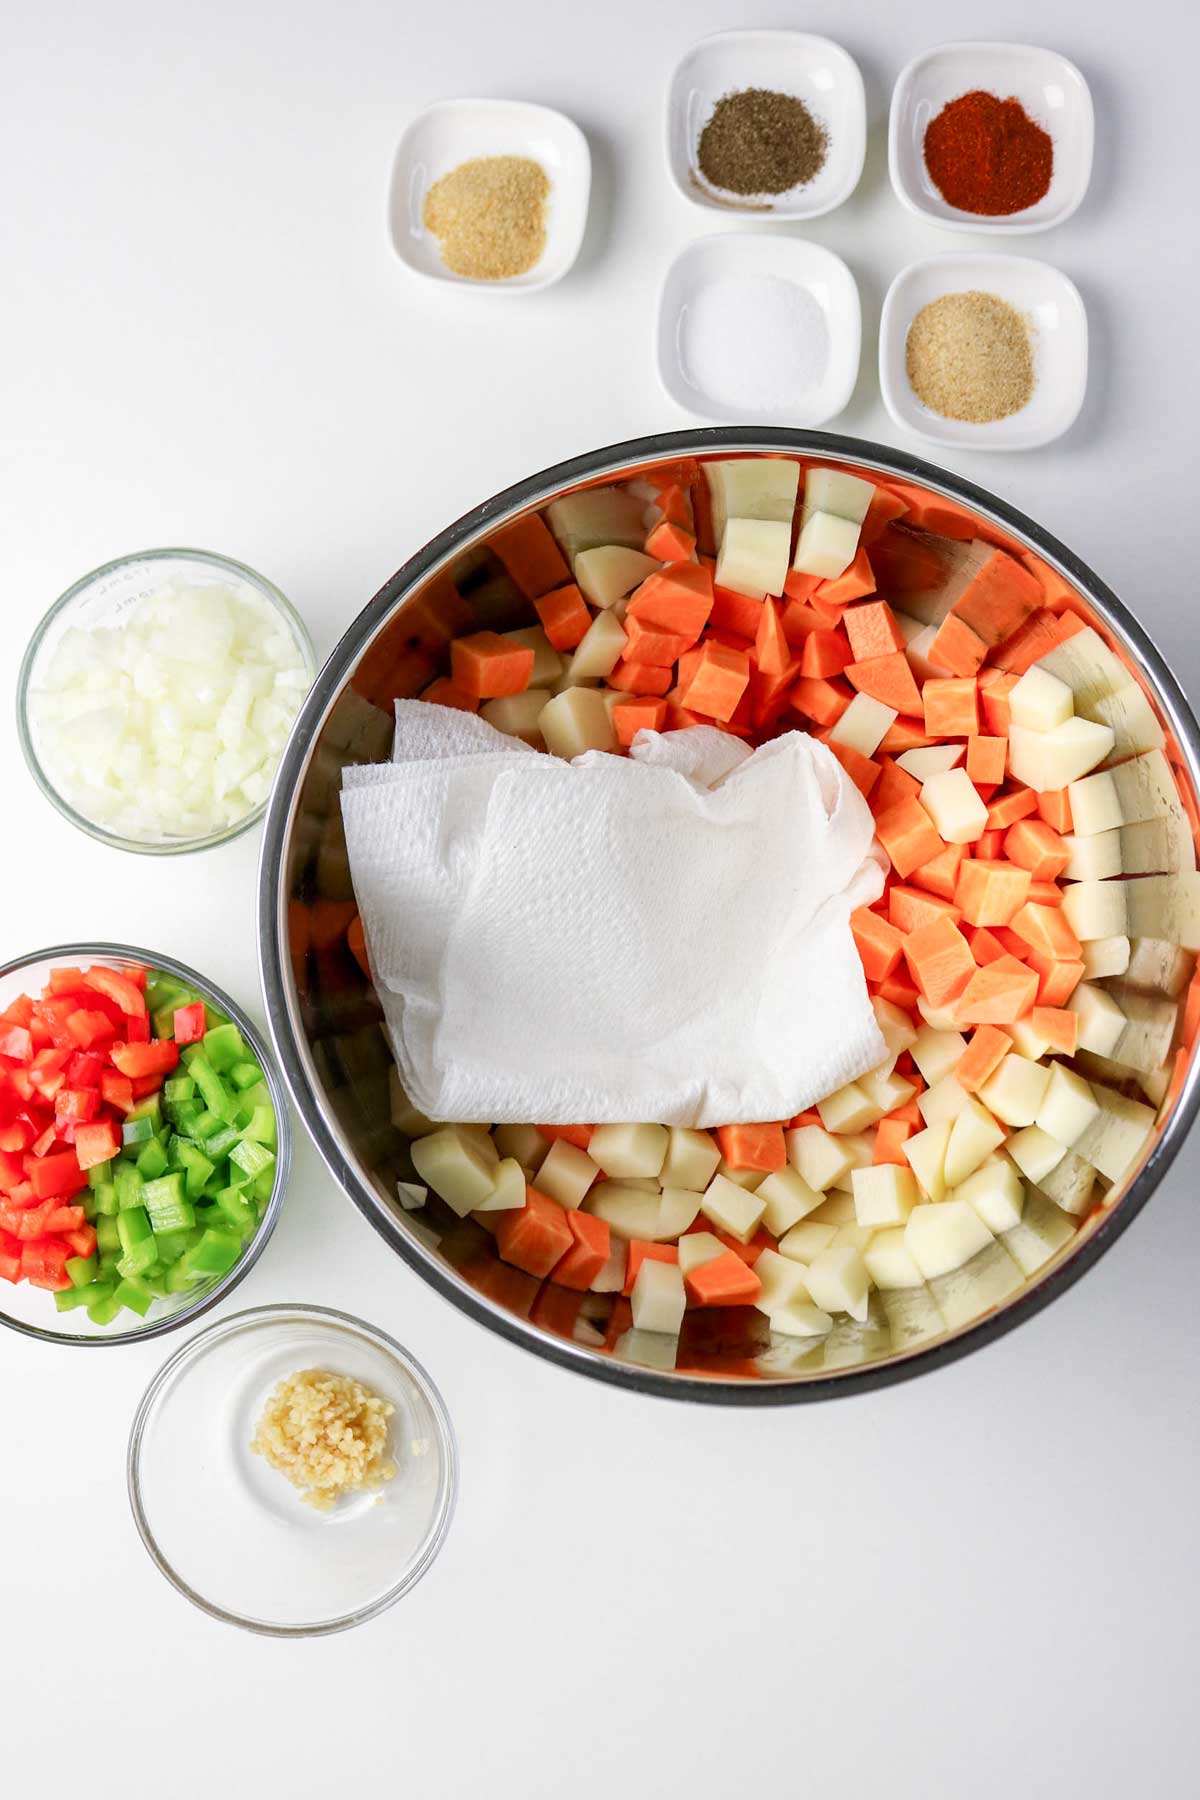
- Start by adding your diced potatoes and sweet potatoes to a bowl of cold water and let them soak for about 5 minutes. Then drain and pat them dry—this little step helps remove extra starch so they crisp up better in the pan.
- Next, heat the olive oil in a large skillet over medium heat. Once it’s warm, add the potatoes in an even layer and sprinkle with a bit of salt and pepper. Let them cook for about 10–12 minutes, stirring occasionally, until they start to brown and soften.
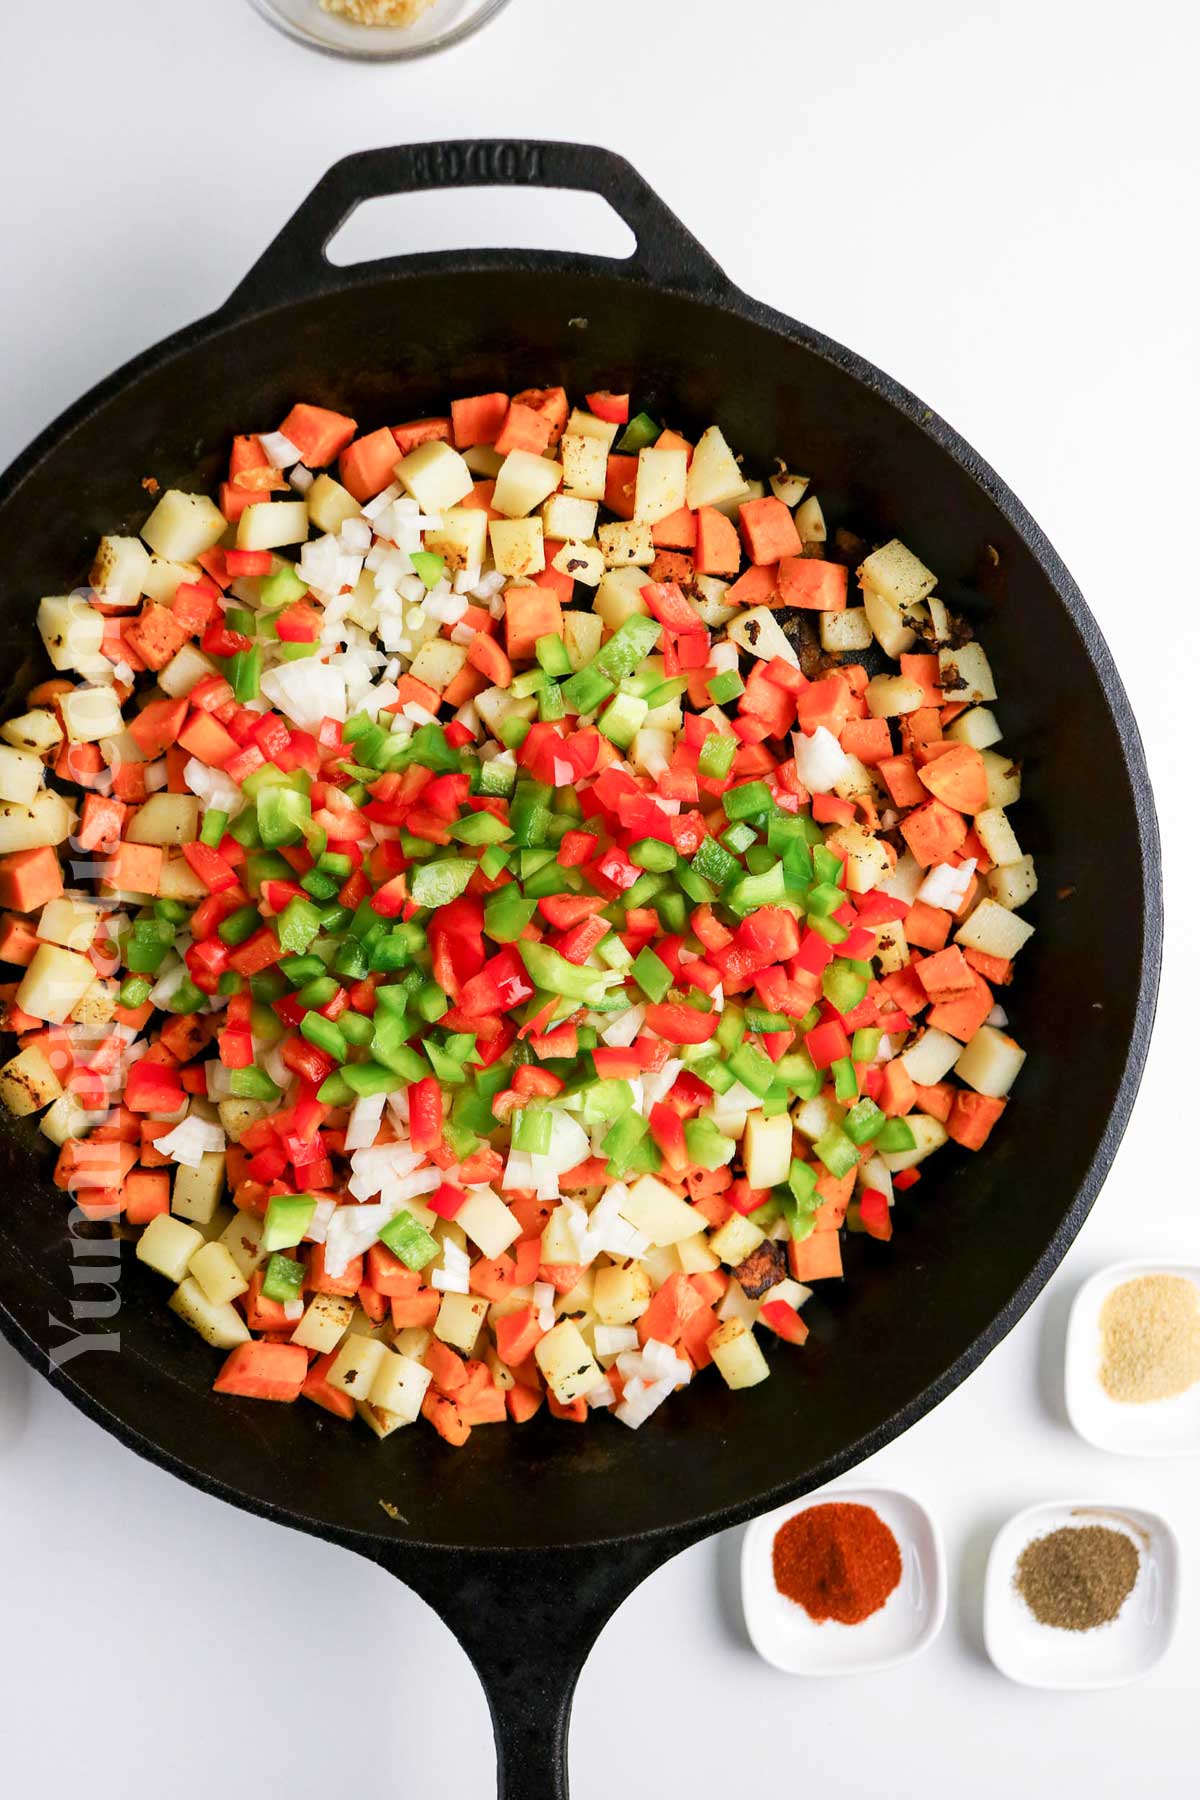
- Now toss in the onion and bell pepper. Keep cooking for another 8–10 minutes, giving everything a stir now and then, until the veggies are tender with a slight crisp.
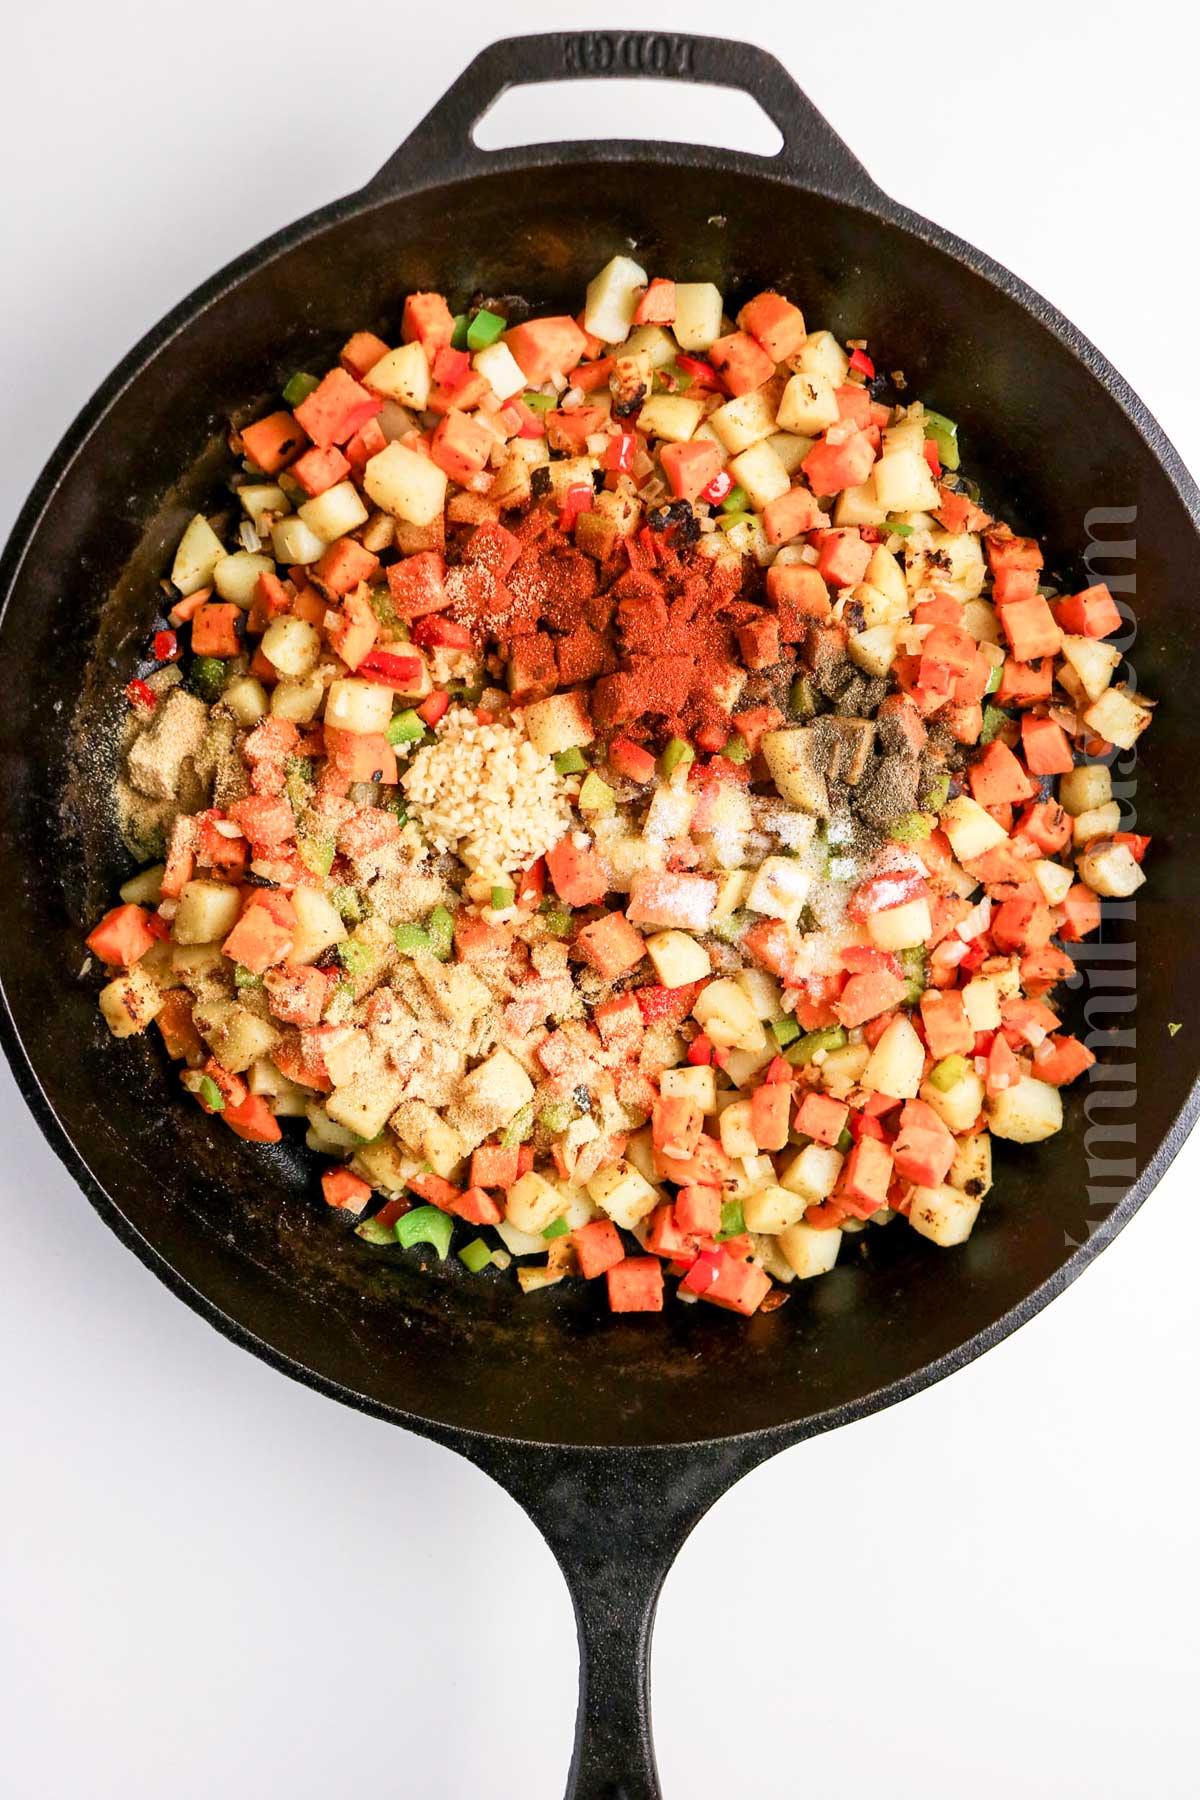
- Add the garlic along with the rest of your seasonings, and cook for another 1–2 minutes until fragrant.
- Give it a taste, adjust the seasoning if needed, and serve it up hot.
Variations & Substitutions
Protein Additions: Turn this into a complete meal by adding cooked veggie sausage, crumbled bacon, or leftover beef hash. You can also create small wells in the hash and crack eggs directly into them for a one-pan breakfast.
Vegetable Mix-Ins: Red onion adds a nice bite, but you can substitute with yellow or white onion. Brussels sprouts (shredded or quartered) add a nutty flavor. Red bell peppers bring sweetness and color. Black beans make it heartier and add plant-based protein.
Potato Swaps: All sweet potatoes work if you prefer extra sweetness. All white potatoes or russet potatoes create a more traditional hash. Yukon gold potatoes are another excellent option for a buttery flavor.
Oil Options: While I typically use olive oil, you can substitute it with avocado oil for higher heat cooking, or use a couple of tablespoons of oil of your choice, like coconut or vegetable oil.
Seasoning Variations: Beyond salt and pepper, try adding garlic powder, smoked paprika, or your favorite seasoning blend. A pinch of cumin adds warmth, while fresh herbs like thyme or rosemary elevate the flavors.
Serving Ideas: Top with green onions and a fried egg for a tasty breakfast. Serve alongside avocado toast for a trendy brunch spread. Use it as a base for breakfast burritos or bowl meals.
Storage
Refrigerator Storage: Store cooled hash in an airtight container in the refrigerator for up to 4 days. Make sure the hash has cooled completely before storing to prevent excess moisture buildup.
Freezing: This hash freezes beautifully for meal prep. Spread the cooled hash on a baking sheet and freeze until solid, then transfer to freezer bags or containers. It will keep for up to 3 months.
Reheating: For best results, reheat in a skillet over medium heat with a small drizzle of olive oil to restore the crispy texture. You can also reheat in the oven at 400°F on a baking sheet until warmed through and crispy. Avoid microwaving if possible, as it makes the potatoes soggy.
Meal Prep Tips: You can dice the sweet potatoes and russet potatoes ahead of time and store them in water in the refrigerator for up to 24 hours. Just drain and pat dry before cooking.
Expert Tips
Cut Uniformly: Dice your potatoes into similar-sized pieces (about 1/2-inch cubes) so they cook evenly. Uneven pieces mean some will burn while others stay undercooked.
Don’t Overcrowd the Pan: Give your potatoes space to breathe. Overcrowding creates steam instead of crispy edges. Use a large skillet or cook in batches if needed.
Patience is Key: Let the potatoes cook undisturbed over medium heat for several minutes before stirring. This allows those beautiful, crispy edges to form naturally.
Parboil for Speed: If you’re short on time, parboil your diced potatoes for 5-10 minutes before adding them to the skillet. They’ll crisp up faster and cook more evenly.
Press Down: Use the back of a spatula to gently press the hash into the pan. This increases contact with the hot surface and creates more crispy bits.
Medium to Medium-High Heat: Start at medium heat to prevent burning, then increase to medium-high heat once the potatoes start to soften if you want extra crispiness.
Season in Layers: Don’t wait until the end to season. Add your seasoning blend throughout the cooking process for more developed flavors.
Try Cast-Iron Skillets: If you’ve never cooked hash in cast-iron skillets before, next time give it a shot. The even heat distribution and natural non-stick properties, when properly seasoned, make them perfect for hash recipes.
FAQ’s
Do I need to peel the potatoes?
Not at all! Leaving the skins on adds texture, nutrients, and saves time. Just scrub them well before dicing. The skins also help hold the potatoes together during cooking.
Can I make this on a sheet pan?
Absolutely! Spread the seasoned potatoes on a sheet pan lined with parchment paper and roast at 425°F, stirring every 10-15 minutes until crispy and golden.
How do I get the crispiest results?
Make sure your potatoes are completely dry before cooking, don’t overcrowd the pan, and resist the urge to stir too frequently. A hot cast-iron skillet and a few tablespoons of oil also help achieve maximum crispiness.
Can I add eggs directly to the hash?
Yes! Once your hash is nearly done, create small wells in the potatoes using your spatula, crack eggs into the wells, and cover the pan. Cook for 5-10 minutes until the eggs reach your desired doneness.
If you love this skillet recipe, you’re going to love these other skillet recipes, too. Please click each link below to find the easy, printable recipe!

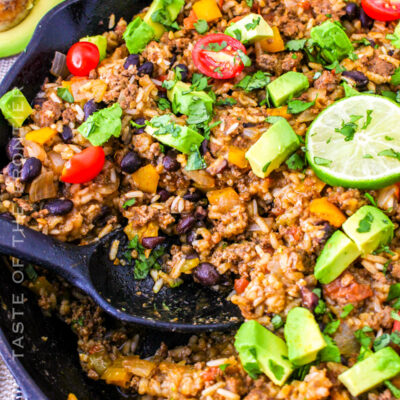


More Great Potato and Sweet Potato Recipes
Roasted Green Beans and Potatoes
CONNECT WITH YUMMI HAUS!
Be sure to follow me on my social media, so you never miss a post!


Sweet Potato and Potato Hash
Ingredients
- 2 sweet potatoes medium – peeled and diced small
- 2 russet potatoes medium – peeled and diced small (or Yukon gold)
- 2 tablespoons olive oil
- 1 small onion diced
- 1 red bell pepper diced (or green)
- 2 cloves garlic minced
- 1 teaspoon onion powder optional
- 1 teaspoon garlic powder optional
- ½ teaspoon paprika
Salt and black pepper, to taste
Instructions
- Prep the potatoes and sweet potatoes by placing them in a bowl of cold water for 5 minutes, then drain and pat dry. This helps remove excess starch and improves browning.
- Heat the olive oil in a large skillet over medium heat.
- Add the potatoes and sweet potatoes to the skillet in an even layer.
- Sprinkle with some salt and pepper to season. Cook for 10–12 minutes, stirring occasionally, until they begin to brown and soften.
- Fold in the onion and bell pepper, cooking for another 8–10 minutes, stirring occasionally, until the vegetables are tender and lightly crisp.
- Add the garlic and seasonings, cooking for 1-2 minutes more.
- Taste and adjust seasoning as needed. Serve hot.
Nutrition
Nutritional information for the recipe is provided as a courtesy and is approximate. Please double-check with your own dietary calculator for the best accuracy. We at Yummi Haus cannot guarantee the accuracy of the nutritional information given for any recipe on this site.


Share Your Thoughts