

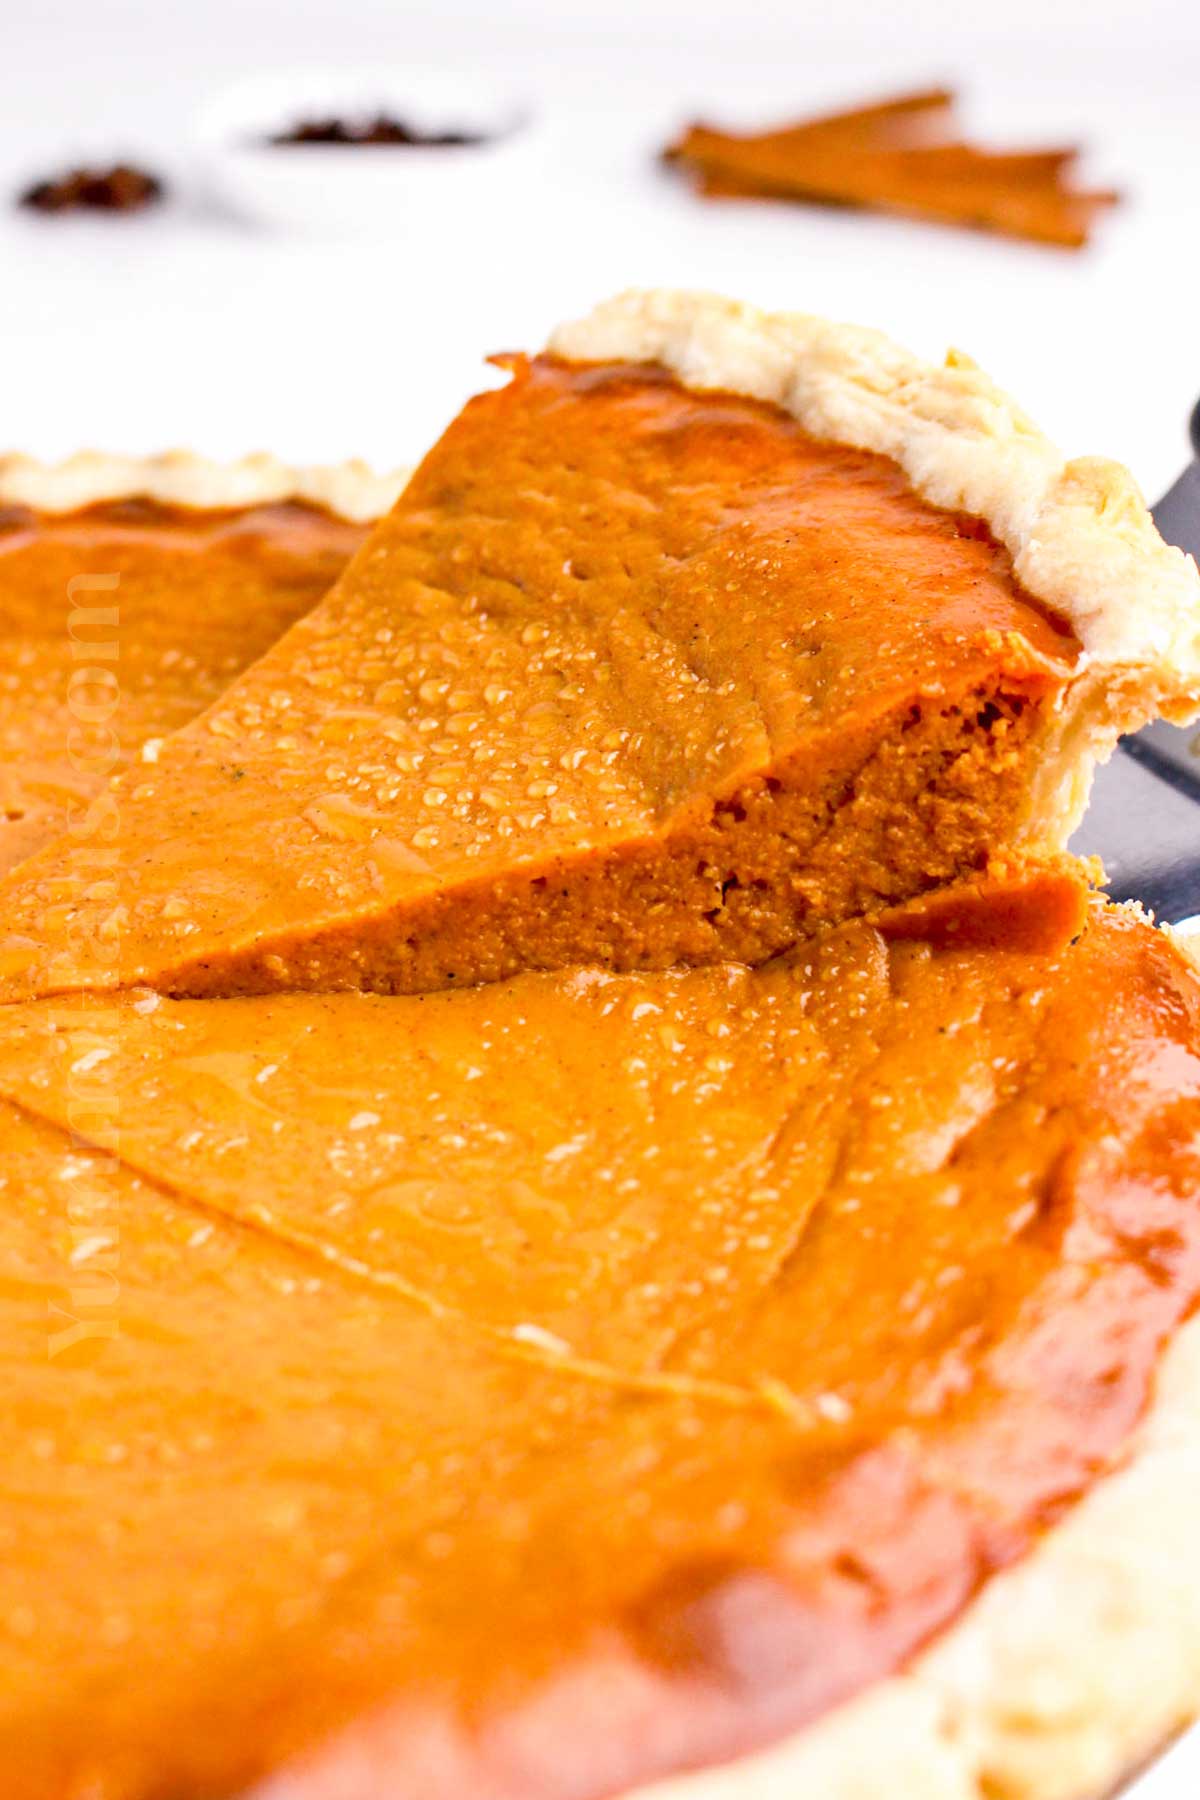
Hey there, pumpkin pie lovers. If you’re anything like me, the idea of a classic pumpkin pie is enough to get you dreaming about cozy fall days and all the good stuff that goes with them.
But this recipe? It shakes things up by using sweetened condensed milk—yep, that magical can that’s creamy, sweet, and instantly makes the filling smooth and dreamy.
Whether you’re a seasoned pie pro or just looking to jazz up your holiday menu, this pumpkin pie will become your go-to, and trust me, it’s easier than you think.
Gina’s Recipe Rundown:
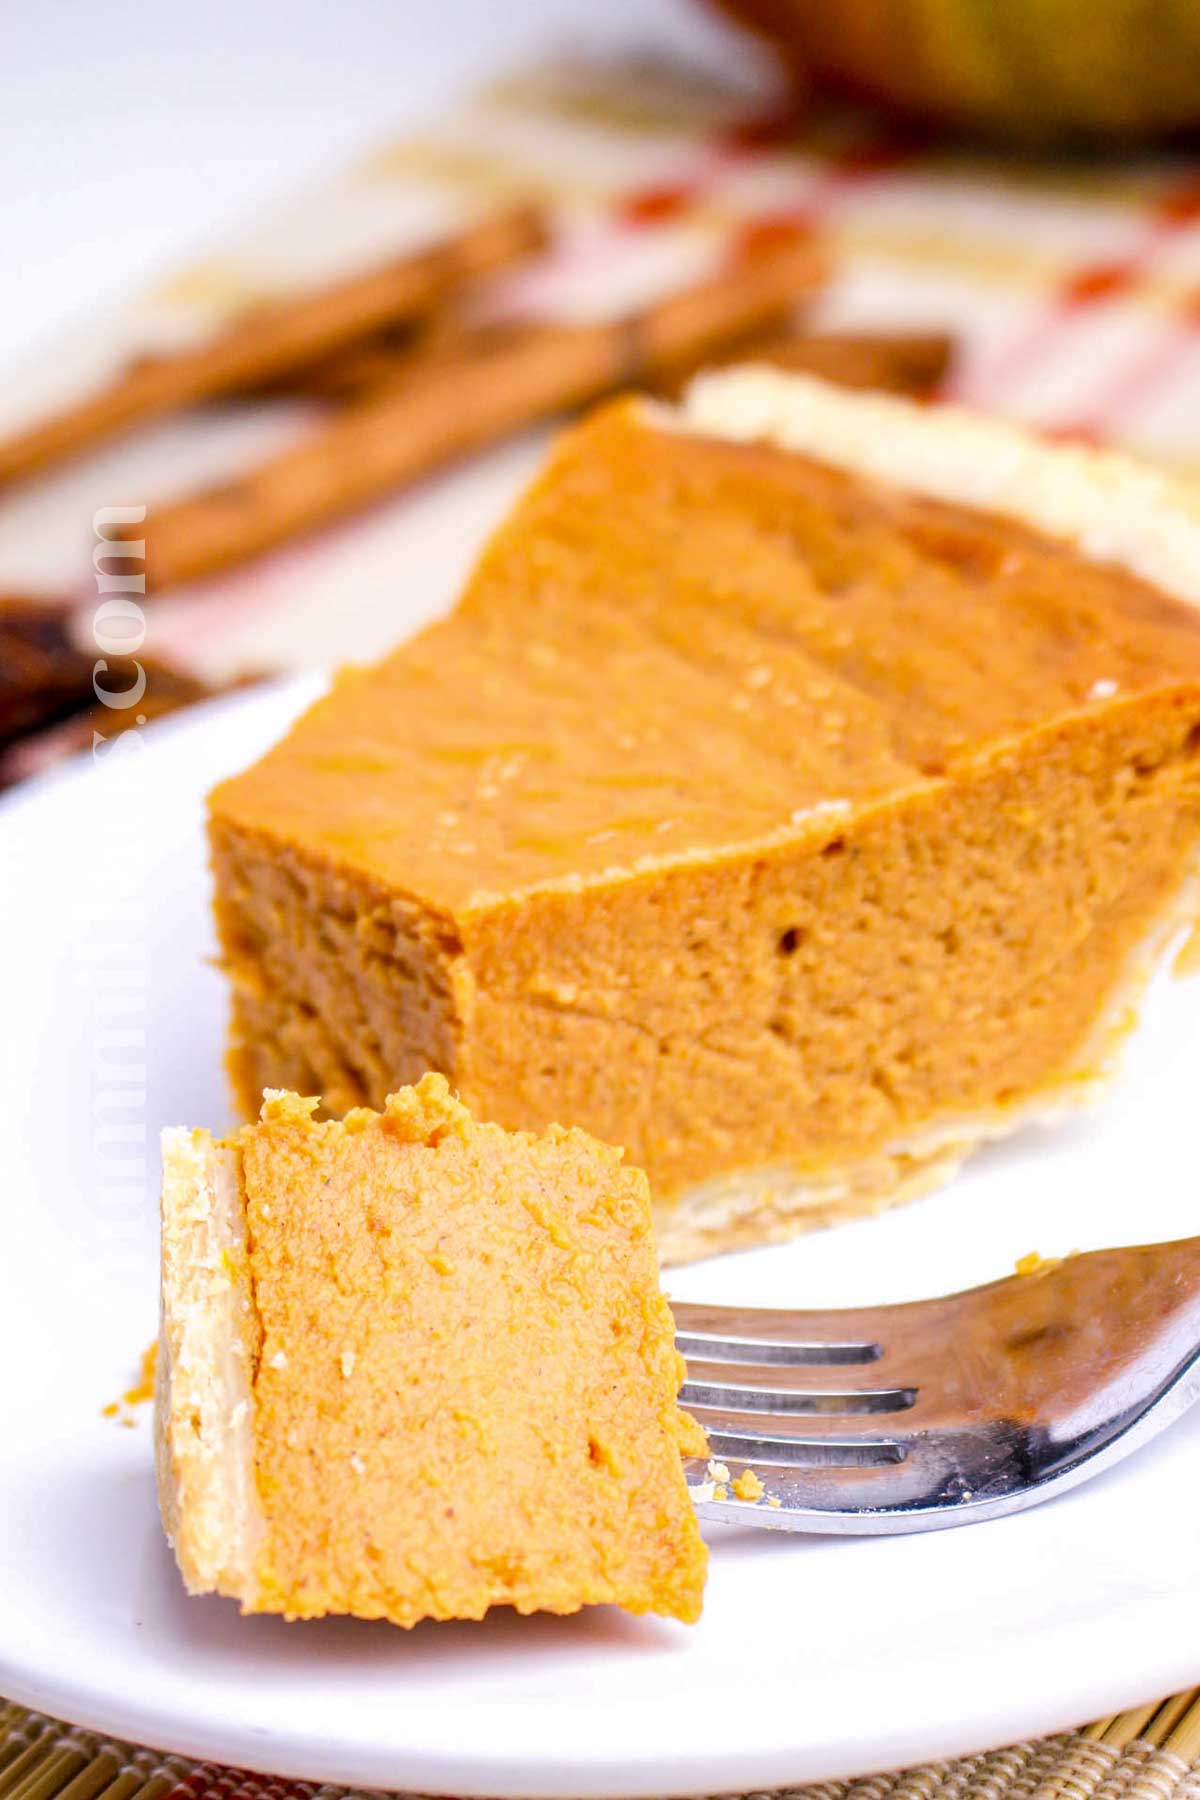
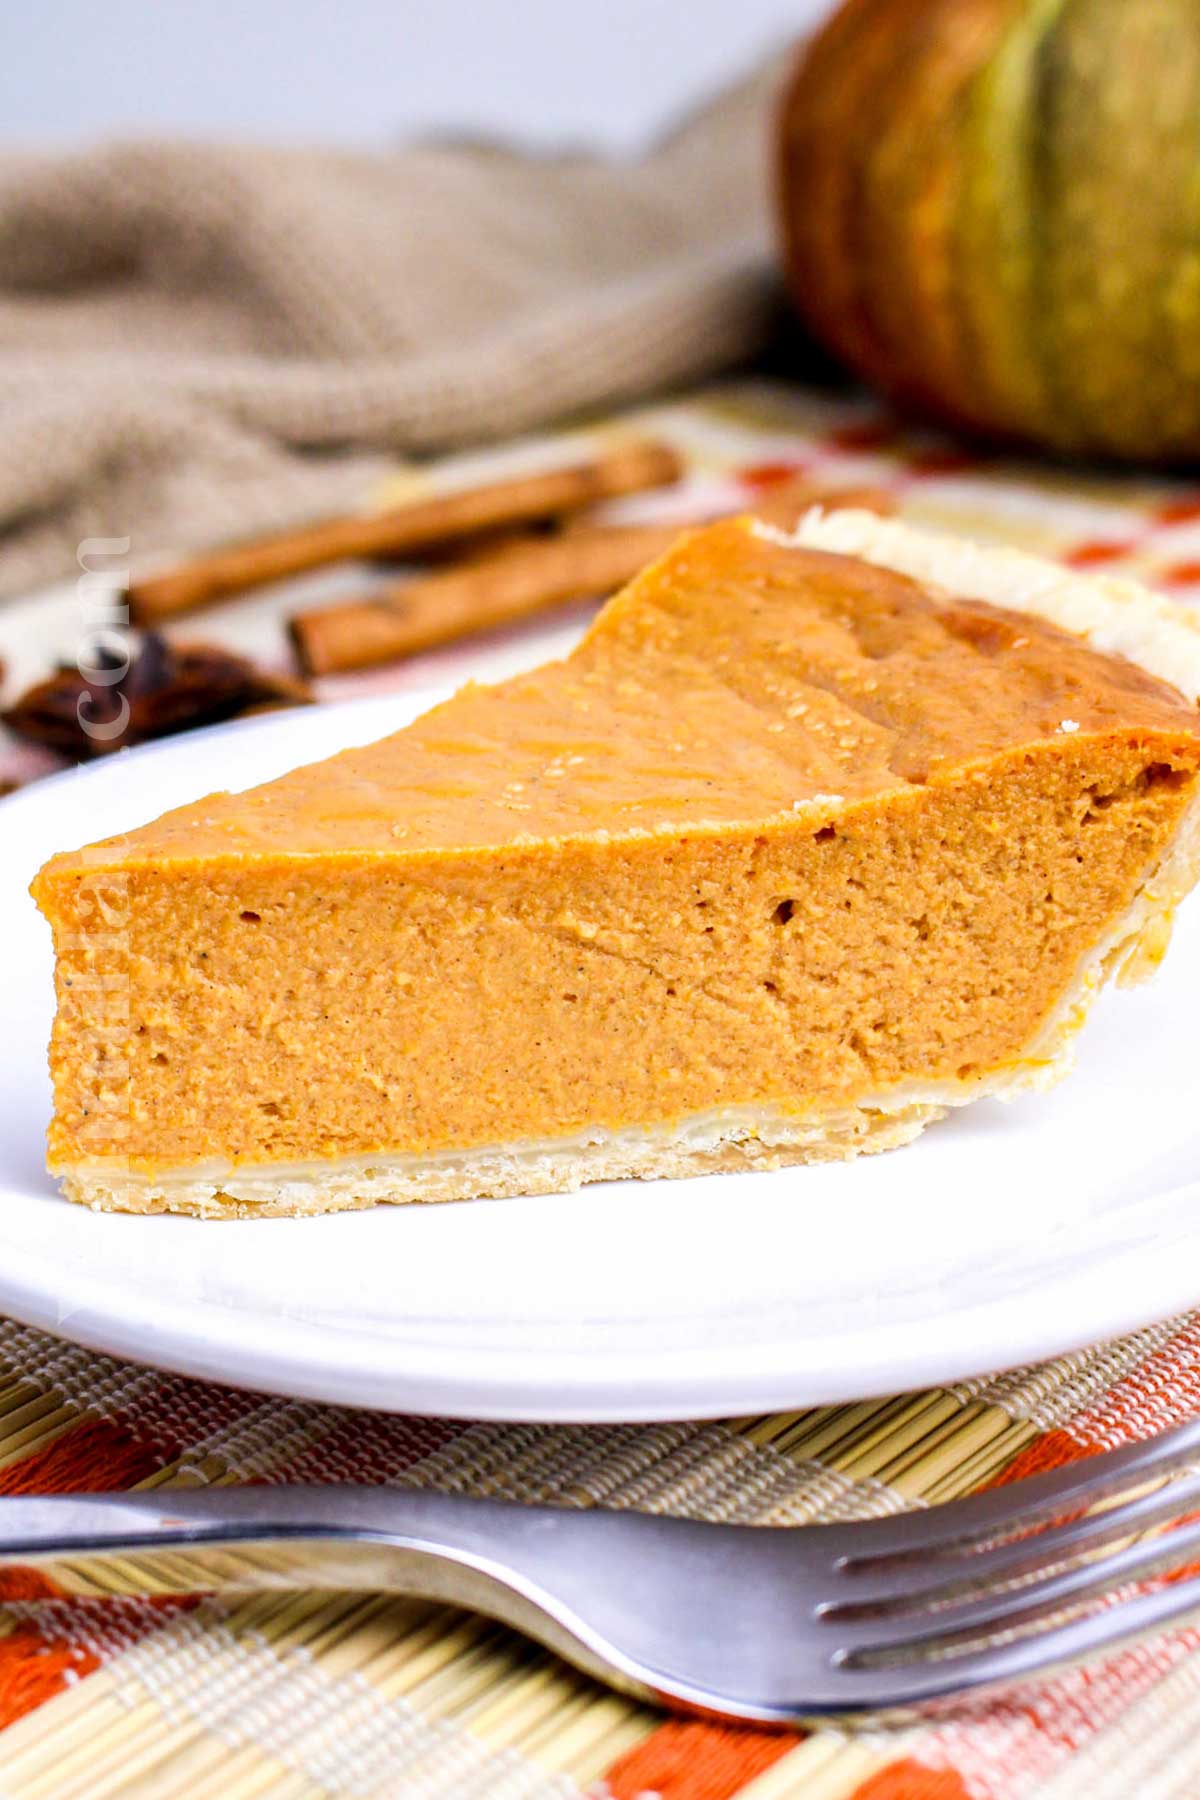
Texture: Smooth & Creamy – the condensed milk gives the filling a silky, custard-like consistency.
Taste: Warm & Spiced – cinnamon, ginger, and nutmeg bring cozy fall flavors in every bite.
Ease: Minimal Steps – just whisk, pour, and bake—no complicated techniques required.
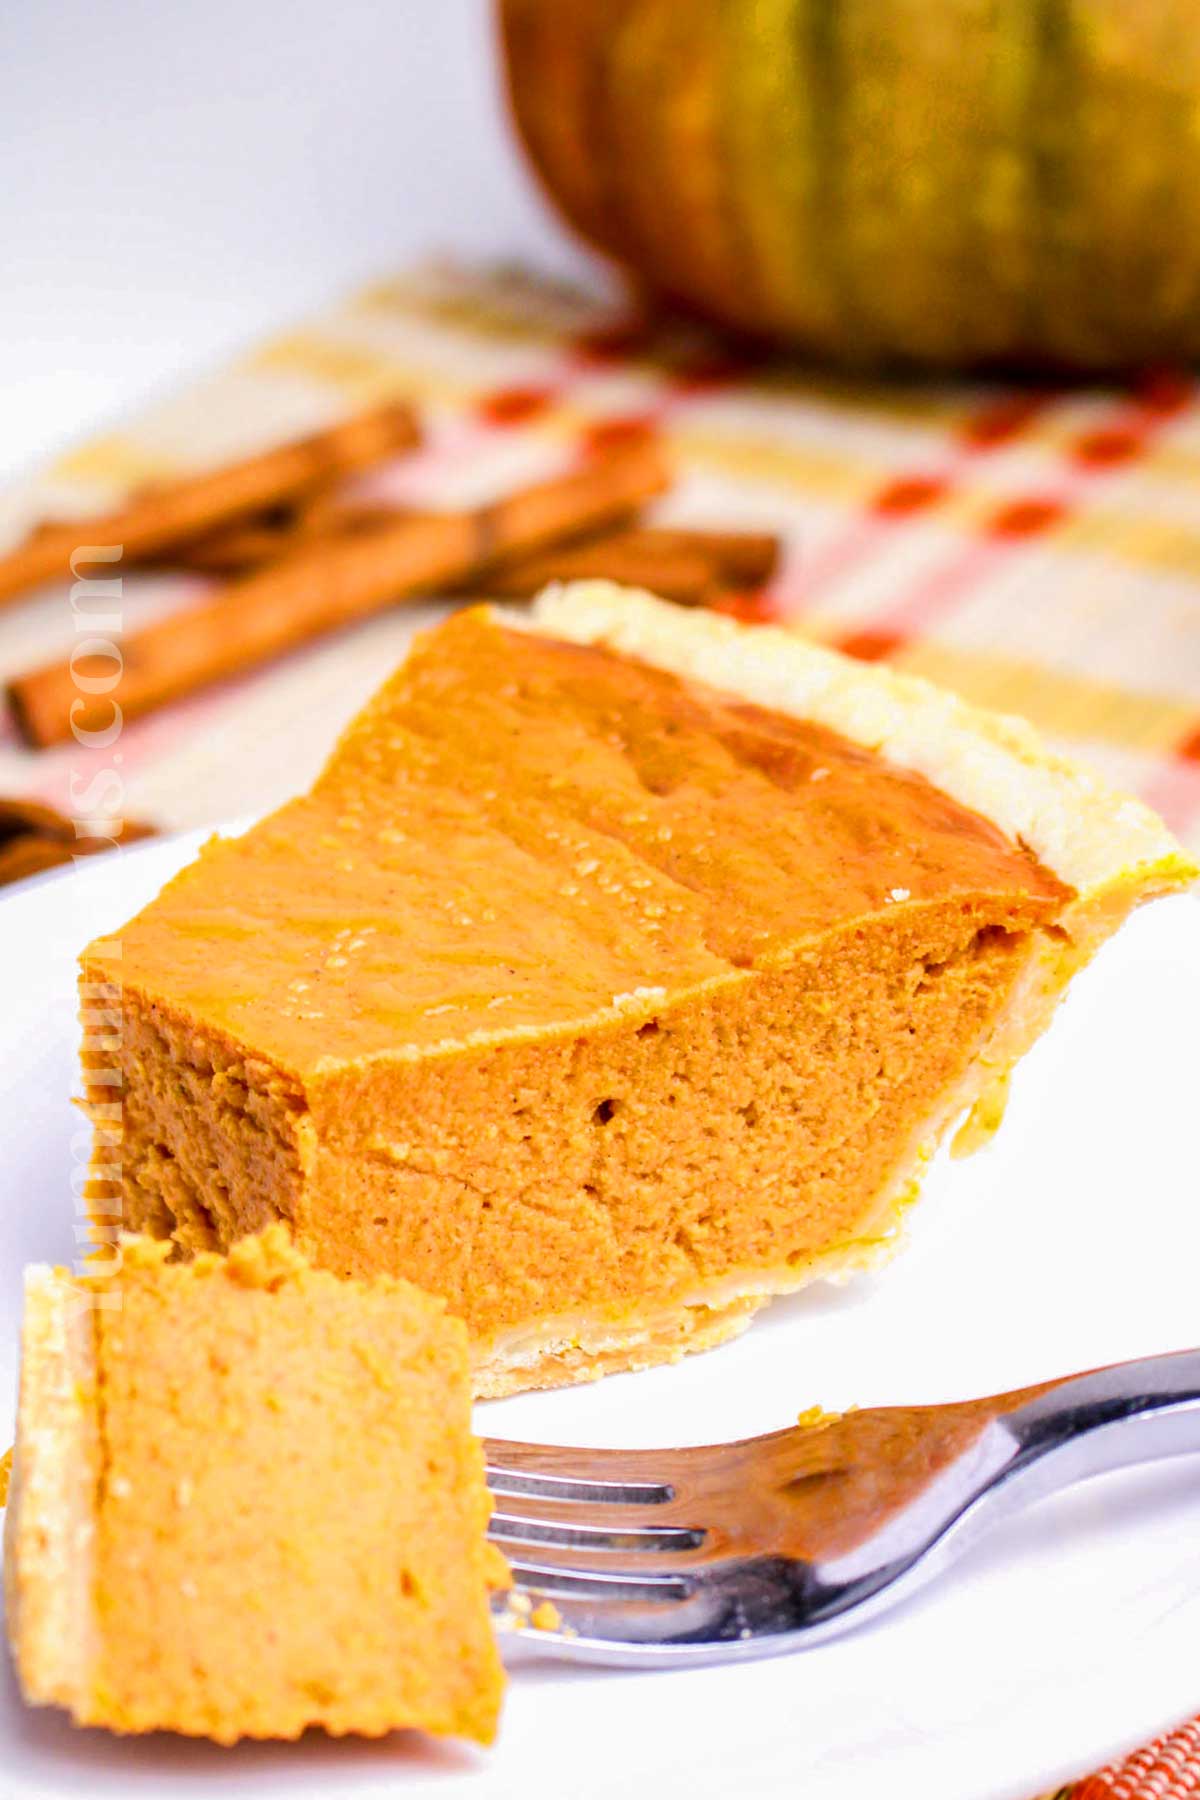
Why I love it: I love this Pumpkin Pie with Sweetened Condensed Milk because it’s creamy, perfectly spiced, and always turns out just right.
Why You’ll Love This Recipe
Simple, no-fuss sweetness. Using sweetened condensed milk means you don’t have to mess around with measuring sugar separately. It blends effortlessly with pumpkin and spices for a perfectly sweet pie that’s smooth and super creamy.
Classic flavors with a twist. We keep all the good stuff—cinnamon, nutmeg, and ginger—but that condensed milk adds a creamy texture that’s a bit richer and silkier than your usual recipe. It’s like pumpkin pie got a little upgrade without losing its traditional charm.
Perfect for any skill level. Whether you’re making pie for the first time or a seasoned dessert whiz, this recipe is straightforward and forgiving. No complicated steps or unusual ingredients, just great taste with less worry.
Ingredient Notes
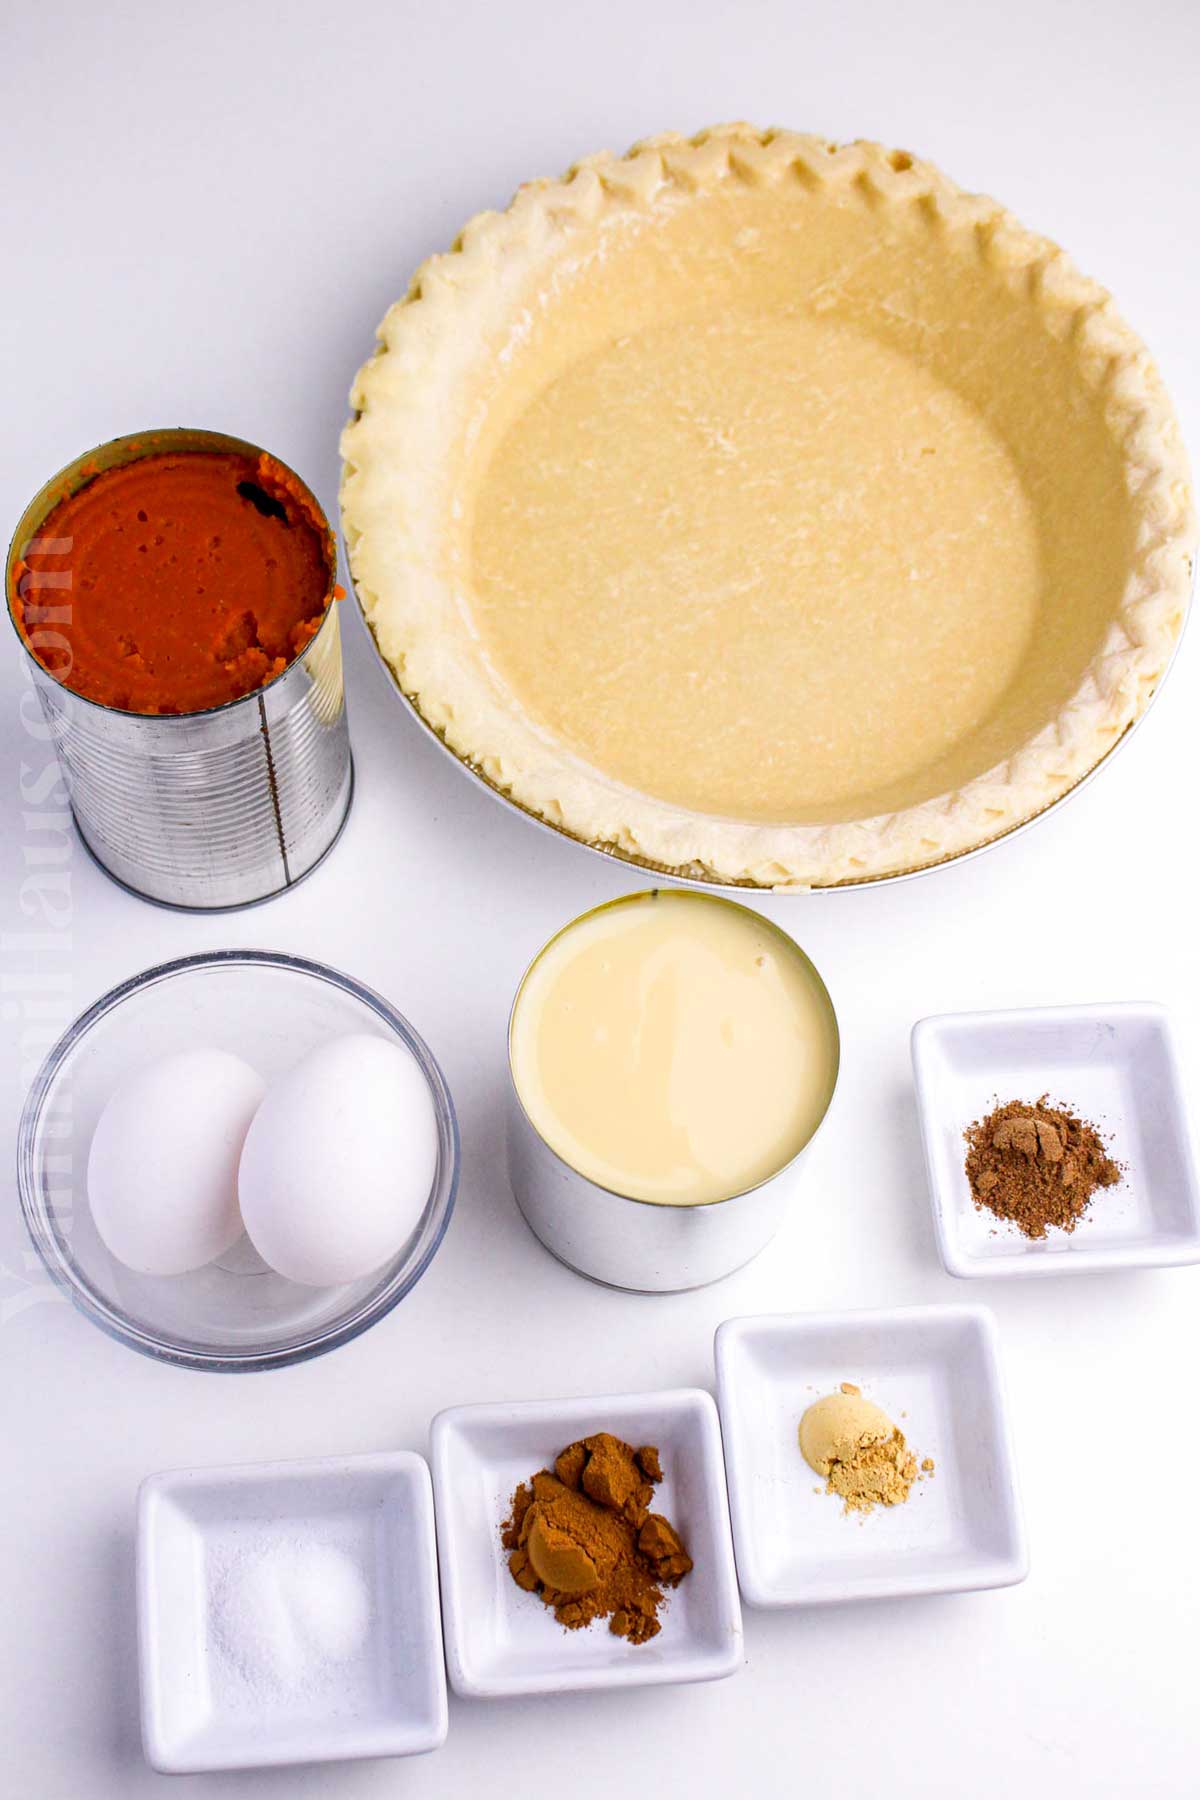
- Pie Crust: You can use a store-bought frozen pie crust (thawed before baking) or a homemade crust. Either works beautifully.
- Pumpkin Puree: Use pure pumpkin puree, not pumpkin pie filling, for the best texture and flavor.
- Sweetened Condensed Milk: This adds sweetness and a silky, creamy texture to the pie filling.
- Large Eggs: Helps set the custard and give the filling structure.
- Ground Cinnamon, Ginger, and Nutmeg: Classic fall spices that give the pie its warm, cozy flavor.
- Salt: Enhances all the flavors and balances the sweetness.
Kitchen Equipment
- Mixing Bowl
- Whisk or Electric Mixer
- 9-inch Pie Dish or pie pan
- Measuring Cups and Spoons
- Oven
- Pie Shield or pie guard – optional for the edges of the crust
- Pie weights – for blind baking the crust
How to Make
- Preheat your oven to 425°F (220°C).
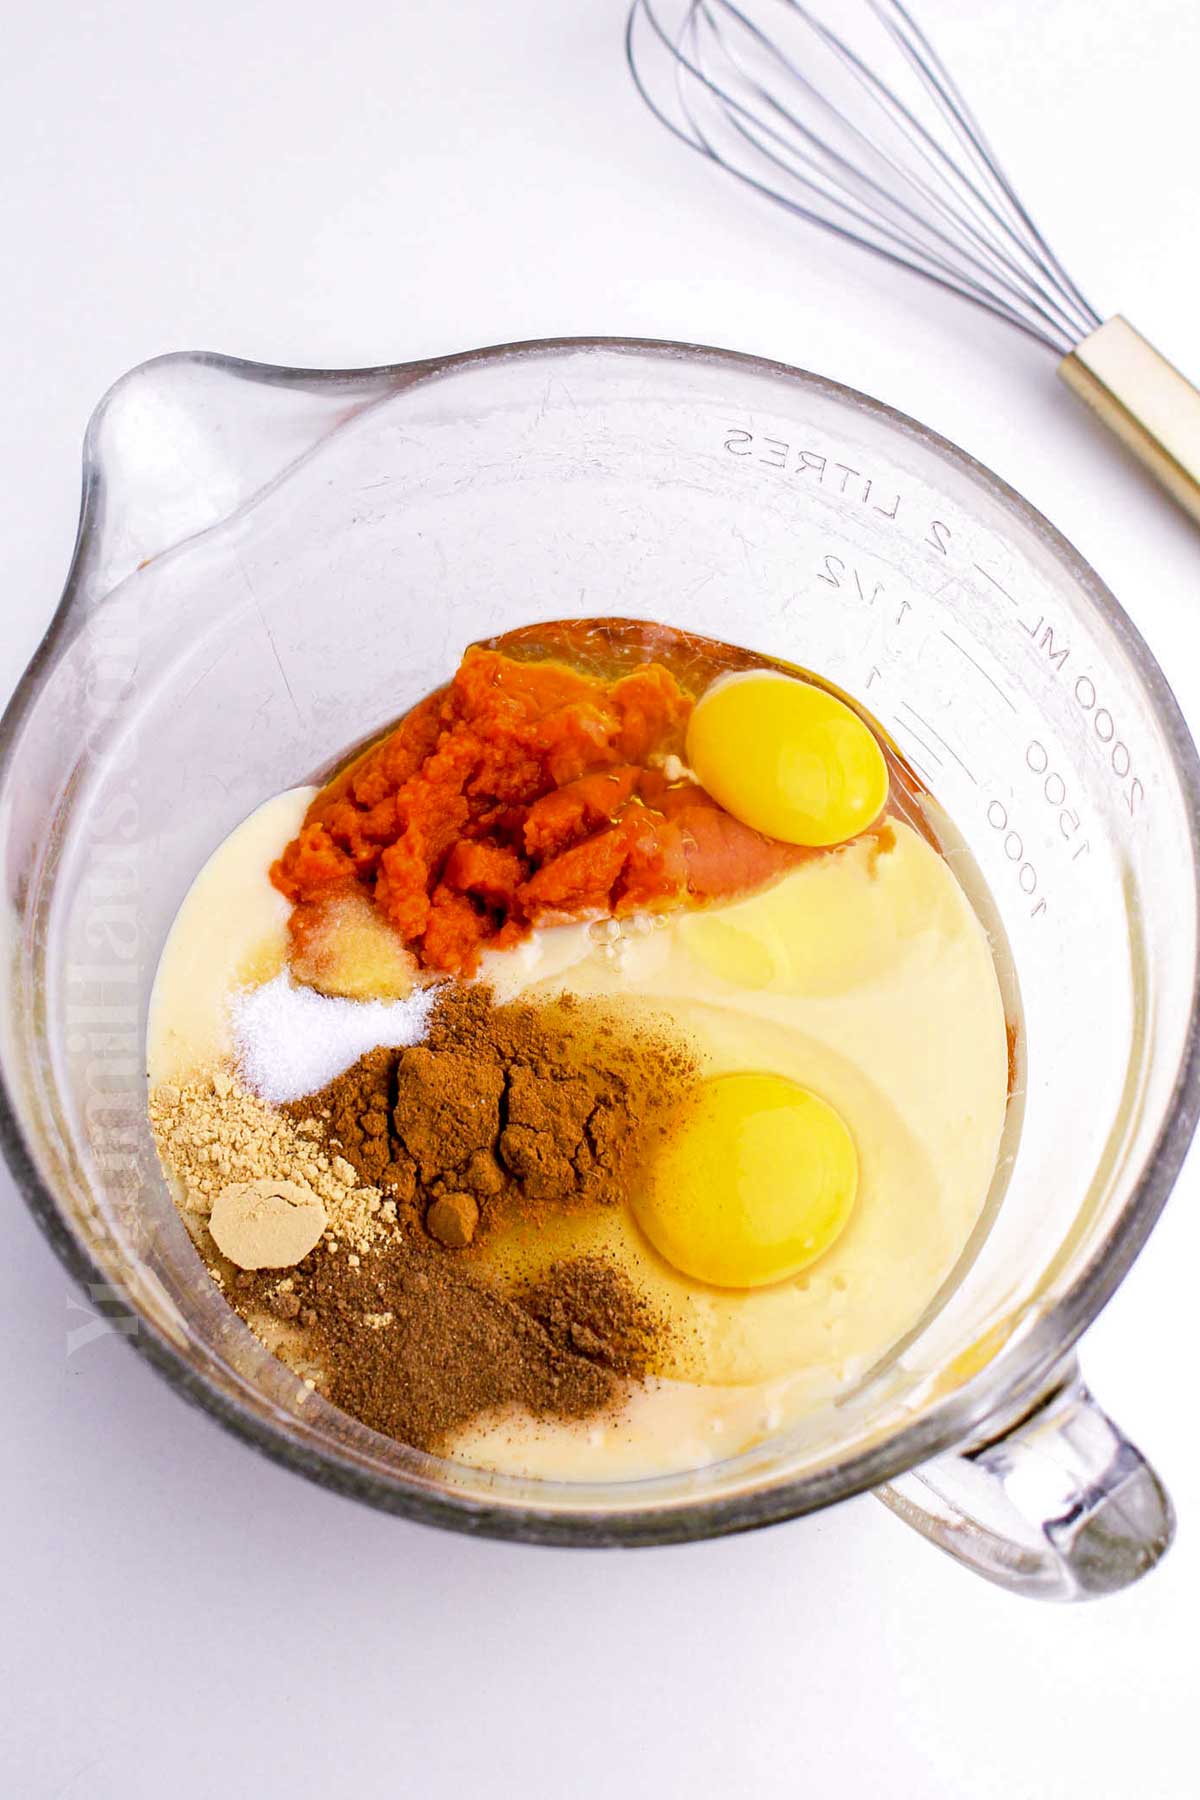
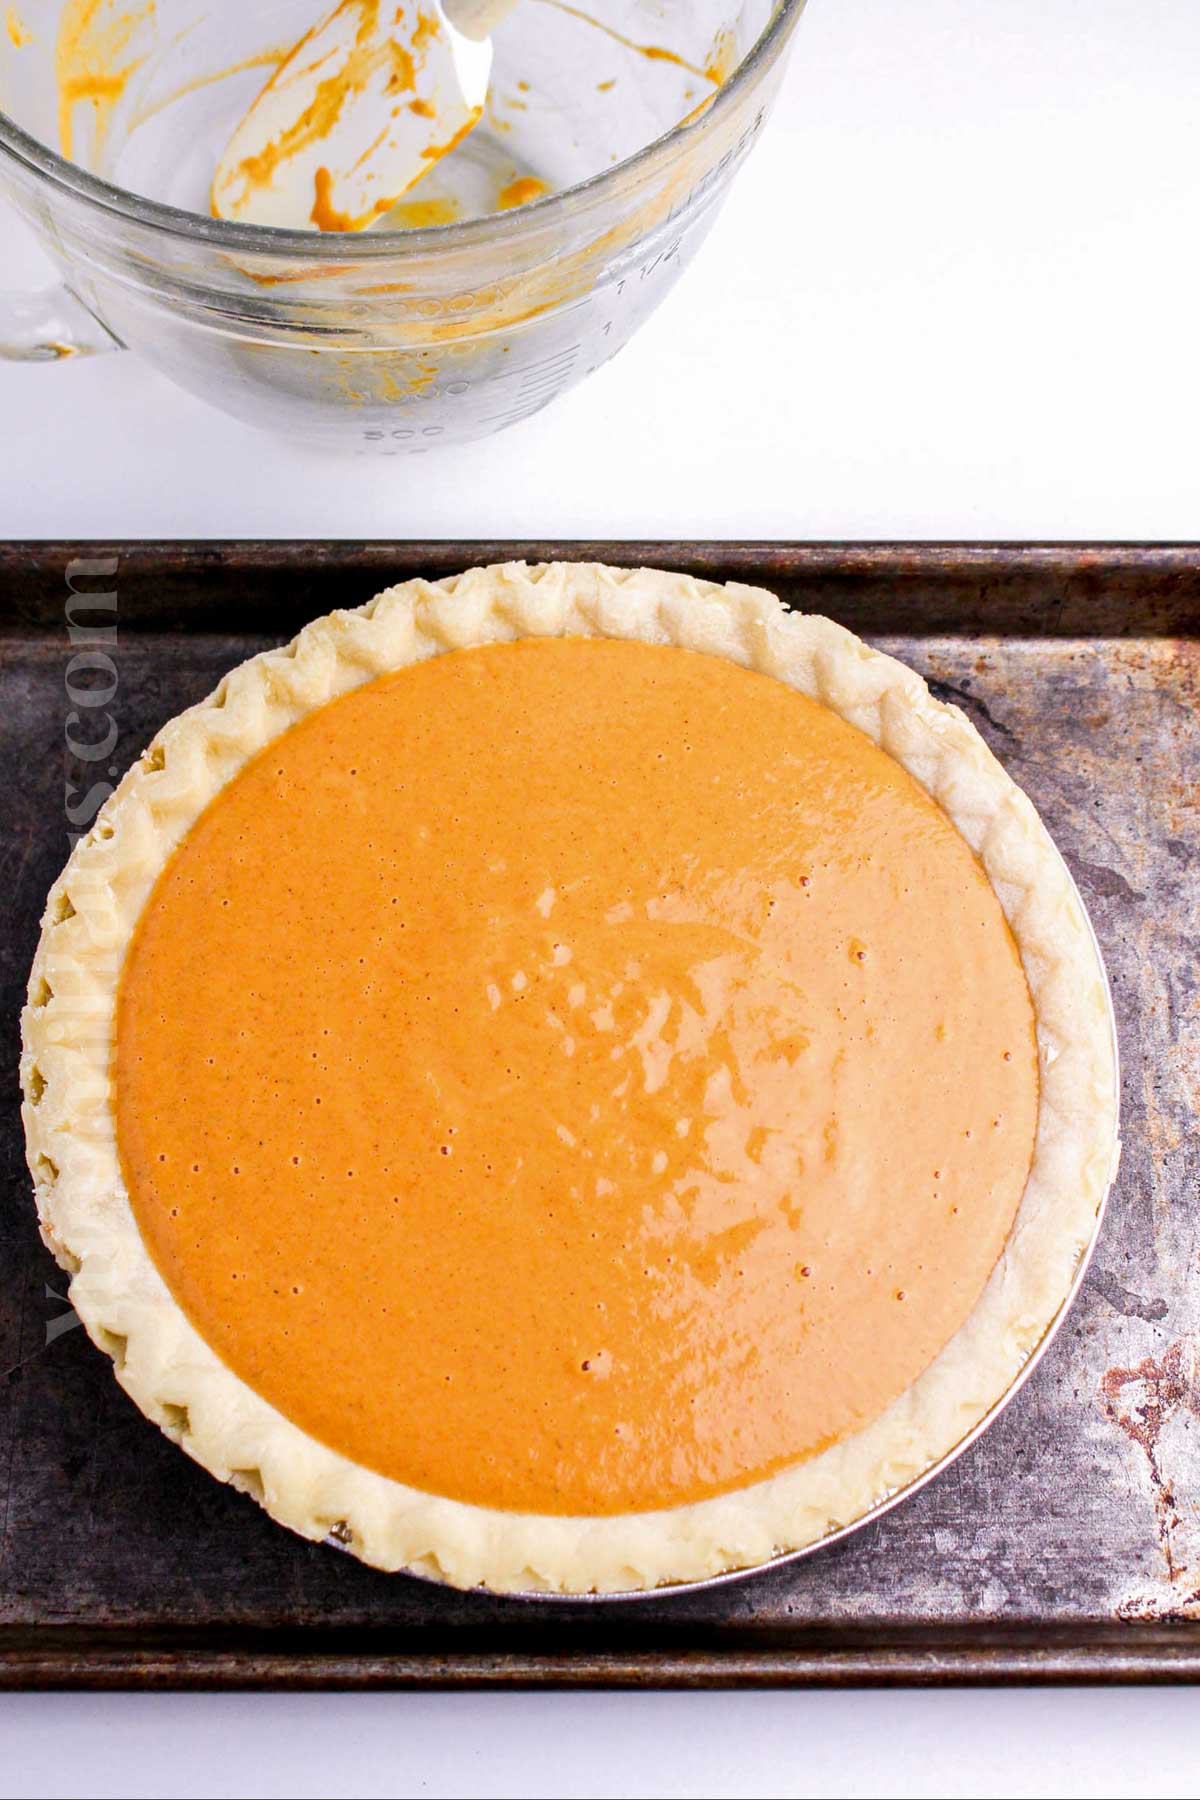
- In a large bowl, whisk together the pumpkin puree, sweetened condensed milk, eggs, cinnamon, ginger, nutmeg, and salt until smooth and fully combined.
- Pour the filling into the prepared pie crust and place it on the center rack of the oven.
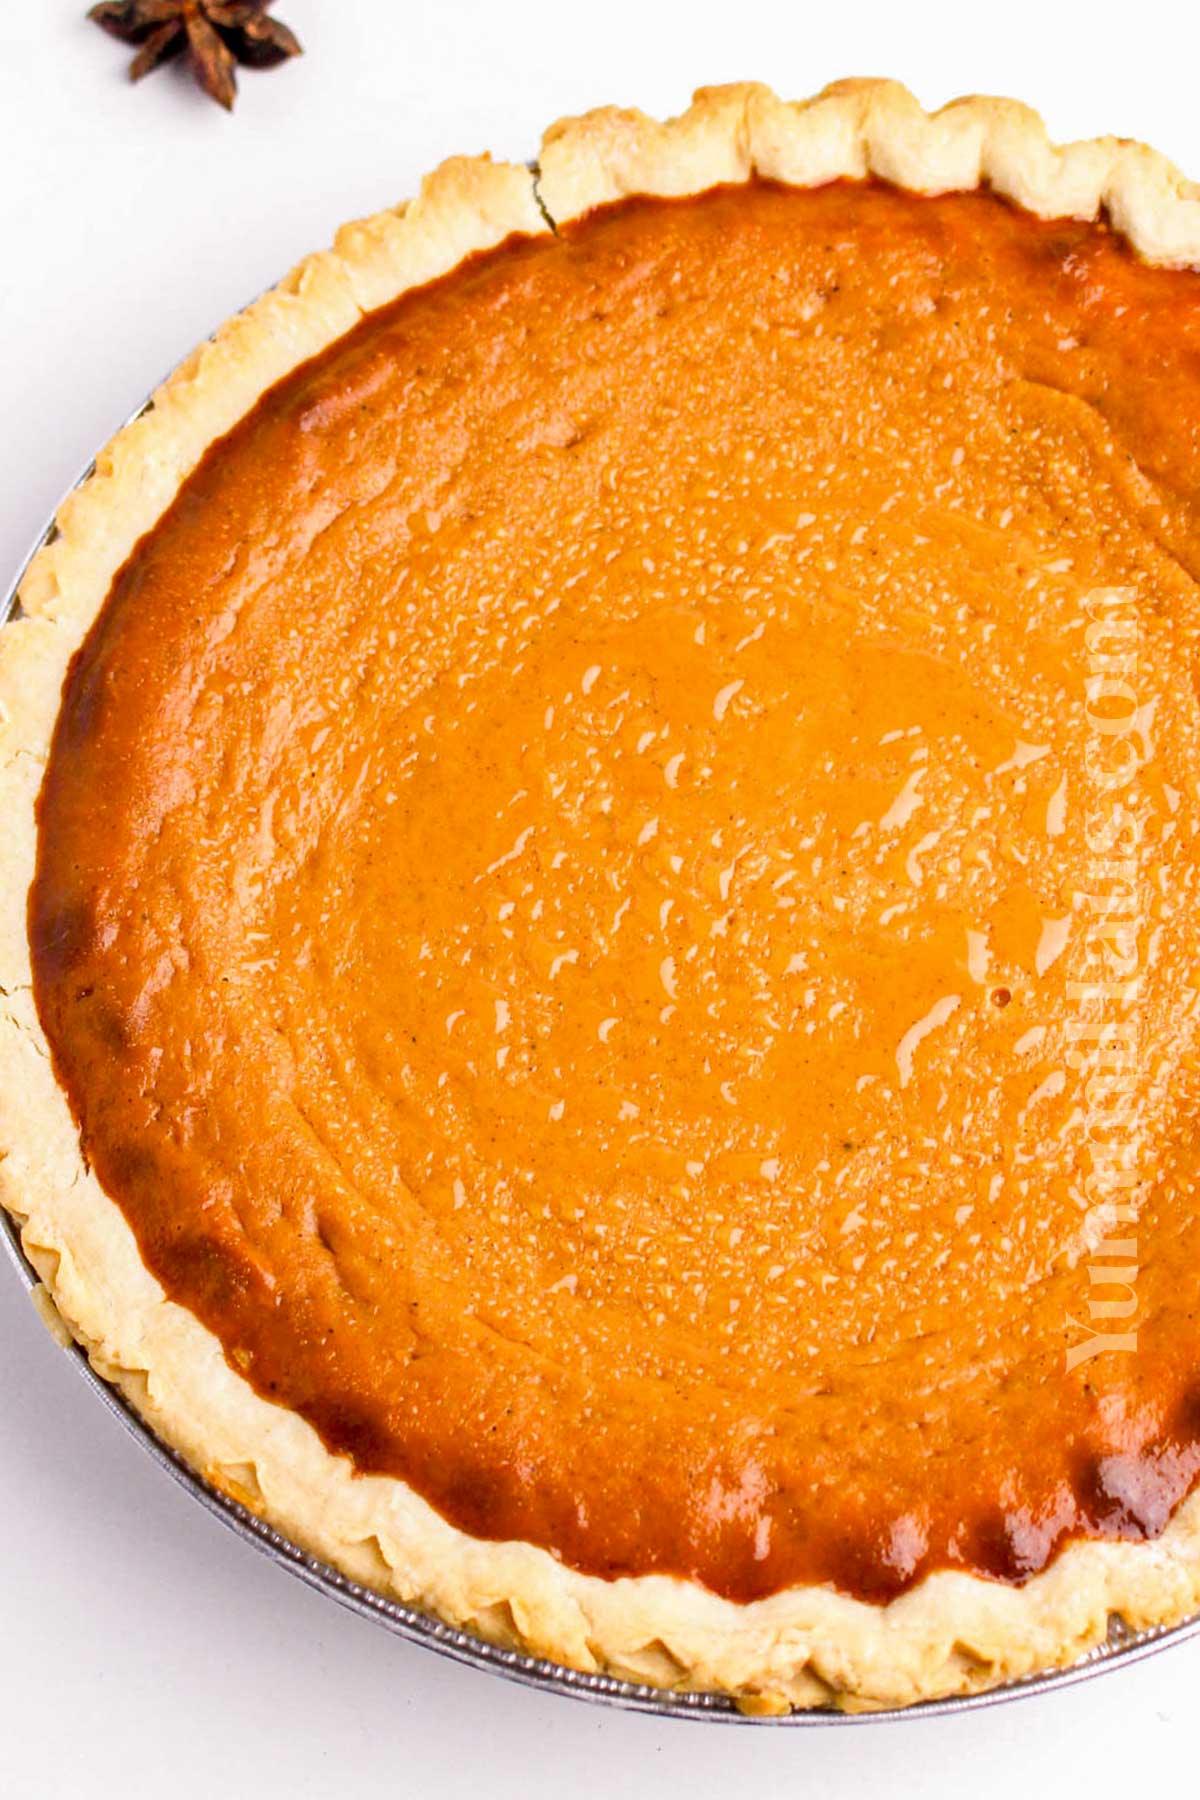
- Bake for 15 minutes, then lower the oven temperature to 350°F (175°C). Continue baking for 35–40 minutes, or until a knife inserted near the center comes out clean.
- Let the pie cool on a wire rack for at least 2 hours before slicing and serving.
Flavor Boosters
Brown Butter Crust
Using brown butter in your pie crust adds a toasty, nutty depth that pairs beautifully with the pumpkin filling. It’s such a subtle twist but it makes a big flavor difference.
Orange Zest
Mix a little orange zest into the filling for a fresh citrus note that brightens the warm spices in the pie.
Toasted Pumpkin Seeds
Top your pie with a sprinkle of toasted pumpkin seeds for a little crunch and extra pumpkin flavor.
Ginger Candy Garnish
Chop up crystallized ginger and sprinkle it on top of your pie before baking for a sweet, spicy surprise bite.
Maple Drizzle
Just before serving, drizzle a bit of real maple syrup over your pumpkin pie slices for an extra layer of cozy sweetness.
Variations & Substitutions
No-Bake Version: Try a no-bake pumpkin pie by mixing the filling with gelatin and chilling instead of baking. It’s a fun twist for warm days when you don’t want to heat up the kitchen.
Spiced Up: Add a splash of bourbon or brandy to the filling for a deeper, more adult flavor with a little warmth.
Vegan Swap: Use a vegan pie crust and swap eggs for flaxseed eggs or a silken tofu blend. Use coconut condensed milk as a sweetened condensed milk substitute.
Nutty Crust: Add finely chopped pecans or walnuts to your crust mix for a crunchy, nutty kick.
Mini Pies: Make individual mini pumpkin pies using a muffin tin for a cute, shareable dessert option.
Change it up: Try making this homemade pumpkin pie this holiday season with a graham cracker crust, add a little vanilla extract to the batter, and brush an egg wash on the edges of the pie for a glossy finished crust.
Decorate: Try adding cute cutouts of the excess dough as decoration for this easy pumpkin pie recipe.
NOTE: I have a recipe here for the absolute best homemade pie crust. However, you can absolutely save time and pick up a pre-made pie crust or refrigerated pie crust at the grocery store. I also have a recipe for making your own pumpkin pie spice if you realize you don’t have any on hand.
Don’t forget to do a toothpick test in the center of the pie to ensure you have a creamy pumpkin pie and not an over-baked one. You want a slight jiggle in the center.
Storage
Storing: Store leftover pie in an airtight container in the fridge for 3-4 days. It tastes great cold or warmed up, so heat in a low oven or microwave for a bit of that fresh-out-of-the-oven feeling.
Freezing: Pumpkin pie freezes well—just cover it tightly with plastic wrap and aluminum foil and freeze for up to 2 months. Thaw overnight in the fridge, then warm gently in the oven before serving.
Expert Tips
- Use room temperature ingredients – For a silky smooth pumpkin filling, make sure your sweetened condensed milk, eggs, and pumpkin puree are at room temp before mixing. It helps everything blend together without lumps.
- Don’t overbake – Keep an eye on your pie and take it out when the center is just set but still jiggles a little. It will continue firming up as it cools, so no dry, crumbly pie here.
- Let the pie cool fully – Patience is key. Letting your pumpkin pie cool completely before slicing helps the flavors meld and the filling firm up, making for cleaner slices and a better eating experience.
- Cover edges if browning too fast – If your crust gets too dark before the filling is done, cover the edges with foil or a crust shield to protect it while the filling finishes baking.
- Experiment with spice levels – Feel free to tweak the pumpkin pie spice to your liking—add a little more cinnamon for warmth or a dash more ginger for zing. It’s your pie, after all.
What To Serve With Pumpkin Pie
Whipped Cream – Classic, light, and airy whipped cream is pretty much a must-have topping for pumpkin pie.
Vanilla Ice Cream – A scoop of vanilla ice cream adds a creamy, cool contrast to the warmly spiced pie filling.
Spiced Cider – Serve alongside a hot cup of spiced apple cider to echo those fall flavors and round out the dessert experience.
Roasted Pecans – Crunchy roasted pecans bring a bit of texture and nutty flavor that pairs nicely with the creamy pie.
Coffee or Chai – A warm mug of coffee or chai tea complements the spices in the pumpkin pie perfectly, especially after a big meal.
Troubleshooting
- Filling Too Runny: Make sure you measure the sweetened condensed milk accurately and don’t swap with evaporated milk unless you add sugar. Overbaking or underbaking can also affect firmness, so check with a gentle jiggle test.
- Soggy Bottom Crust: To avoid a soggy bottom, pre-bake your pie crust for about 10 minutes before adding the filling. Using a metal or glass pie dish helps heat conduct evenly for a crisp crust.
- Cracks in Filling: Cracking usually means the pie was overbaked or cooled too quickly. Take the pie out when it still wiggles slightly in the center and cool it gradually at room temp.
- Overly Sweet Pie: If your pie turns out too sweet, reduce the amount of sweetened condensed milk slightly or add a pinch more pumpkin pie spice to balance.
- Uneven Baking: Make sure your oven rack is centered and your oven is properly preheated to avoid hot spots. Rotating the pie halfway through baking can help too.
FAQ’s
Can I use fresh pumpkin instead of canned?
Definitely. Roasting sugar pumpkins and pureeing them works just as well. Just make sure to drain excess moisture to avoid a watery filling.
Is this pumpkin pie recipe gluten-free?
It’s not gluten-free with a regular pie crust, but if you swap in a gluten-free crust, everything else in the filling is naturally gluten-free.
Can I make this pie a day ahead?
Yes, it actually tastes better the next day once the flavors have had time to meld. Just keep it covered in the fridge.
What’s the best way to reheat leftover pumpkin pie?
Pop slices in a warm oven at 325°F for about 10-15 minutes or microwave for 20-30 seconds. Avoid overheating to keep the filling smooth.
Can I double the recipe to make two pies?
You sure can. Just double the ingredients and bake in two separate pie dishes. Adjust baking time slightly if needed.
DON’T MISS THESE HOLIDAY E-BOOKS!
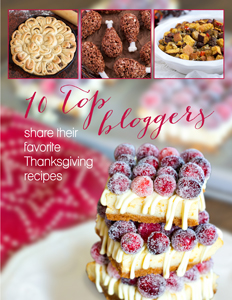


If you love this pie recipe, you’re going to love these other pie recipes, too. Please click each link below to find the easy, printable recipe!
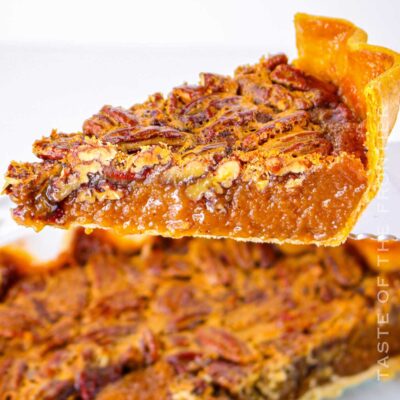
More Great Pumpkin Recipes
32 Pumpkin Desserts Perfect For Fall
CONNECT WITH YUMMI HAUS!
Be sure to follow me on my social media, so you never miss a post!
Pumpkin Pie with Sweetened Condensed Milk
Ingredients
- 1 unbaked pie crust 9-inch – – frozen and thawed or homemade
- 15 ounces pumpkin puree
- 14 ounces sweetened condensed milk
- 2 large eggs
- 1 teaspoon ground cinnamon
- ½ teaspoon ground ginger
- ½ teaspoon ground nutmeg
- ½ teaspoon salt
Instructions
- Preheat the oven to 425°F (220°C).
- Whisk together the pumpkin puree, sweetened condensed milk, eggs, cinnamon, ginger, nutmeg, and salt in a large bowl until the mixture is smooth and well combined.
- Pour the filling mixture into the prepared pie crust and set it on the center oven rack.
- Bake for 15 minutes, then reduce the oven temperature to 350°F (175°C). Continue baking for 35–40 minutes, or until a knife inserted near the center comes out clean.
- Allow the pie to cool on a wire rack for at least 2 hours before slicing and serving.
Nutrition
Nutritional information for the recipe is provided as a courtesy and is approximate. Please double-check with your own dietary calculator for the best accuracy. We at Yummi Haus cannot guarantee the accuracy of the nutritional information given for any recipe on this site.


I am not a big fan of pumpkin anything EXCEPT pumpkin pie and this looks so luscious and silky. Thank you for sharing with the WWBH. Have a great weekend!