


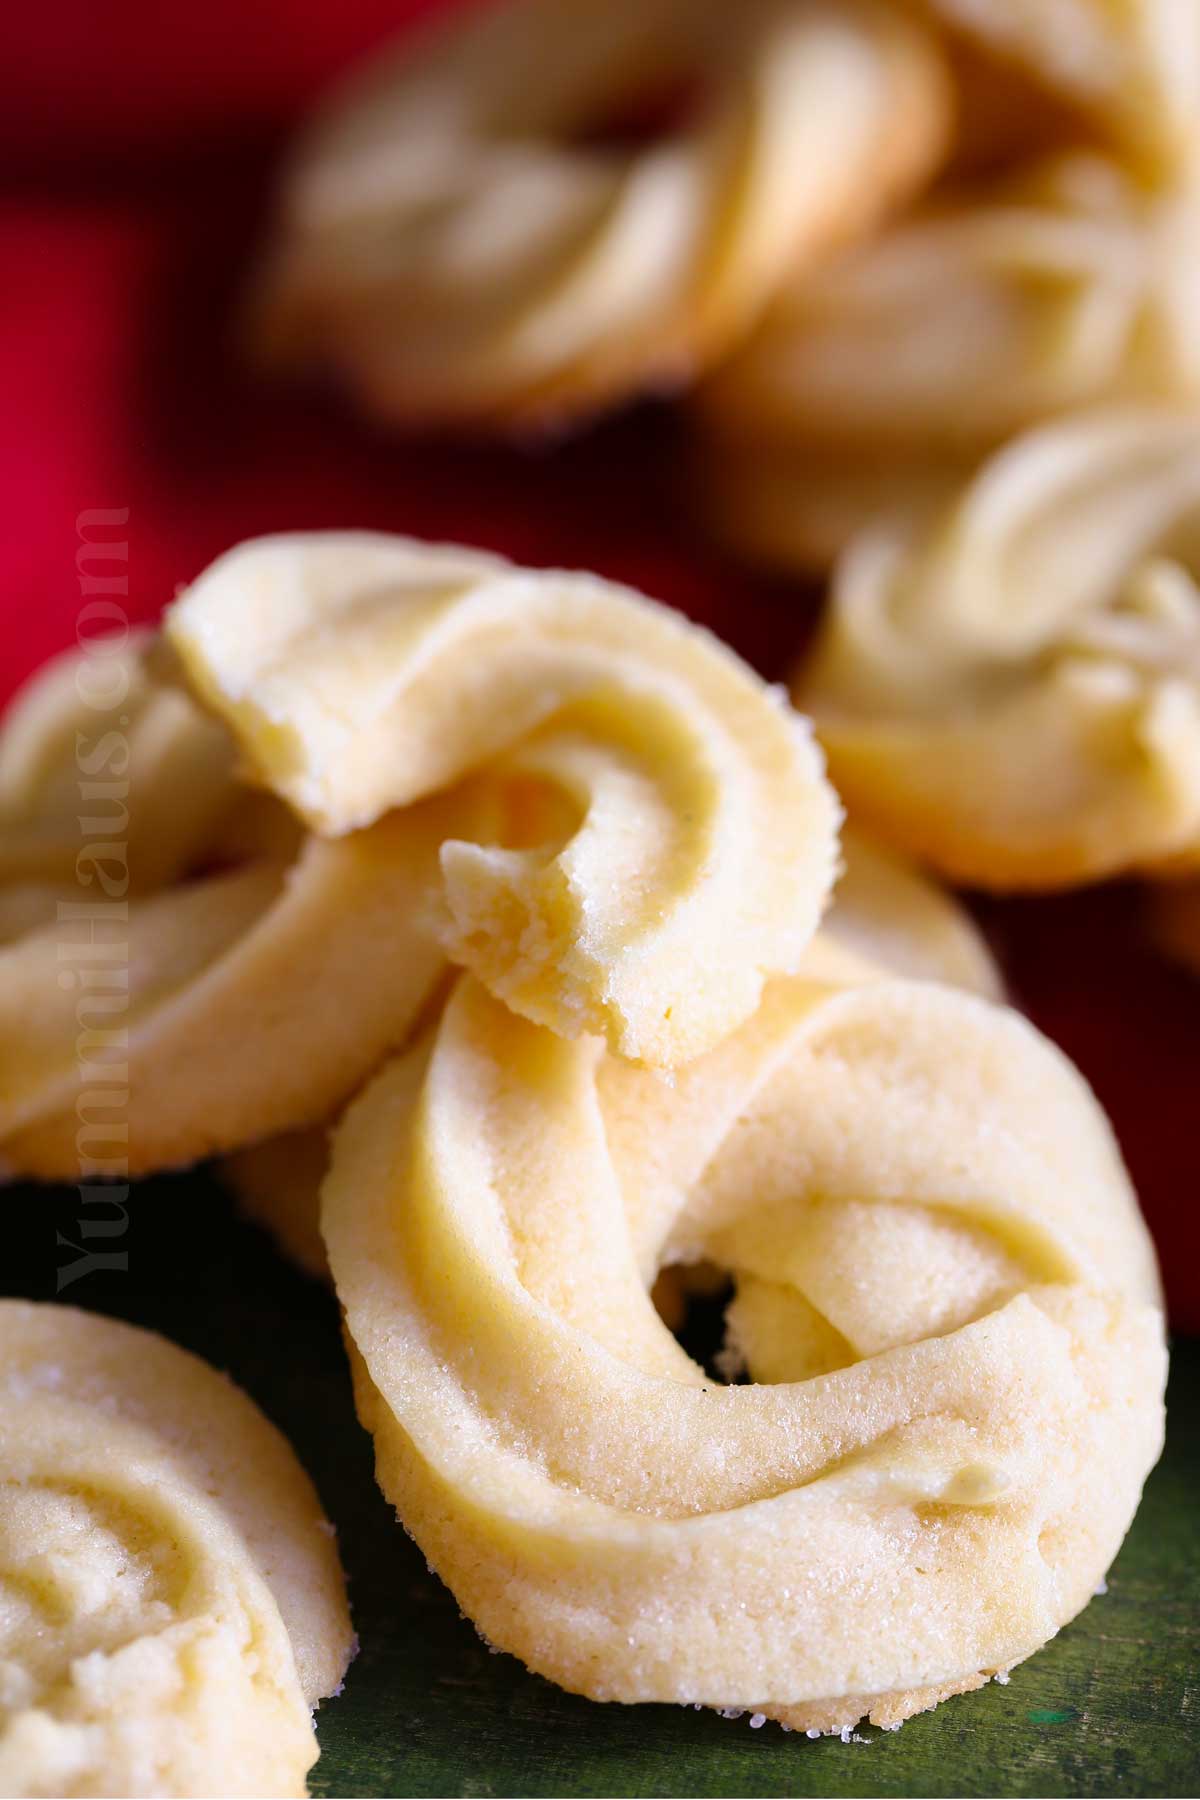
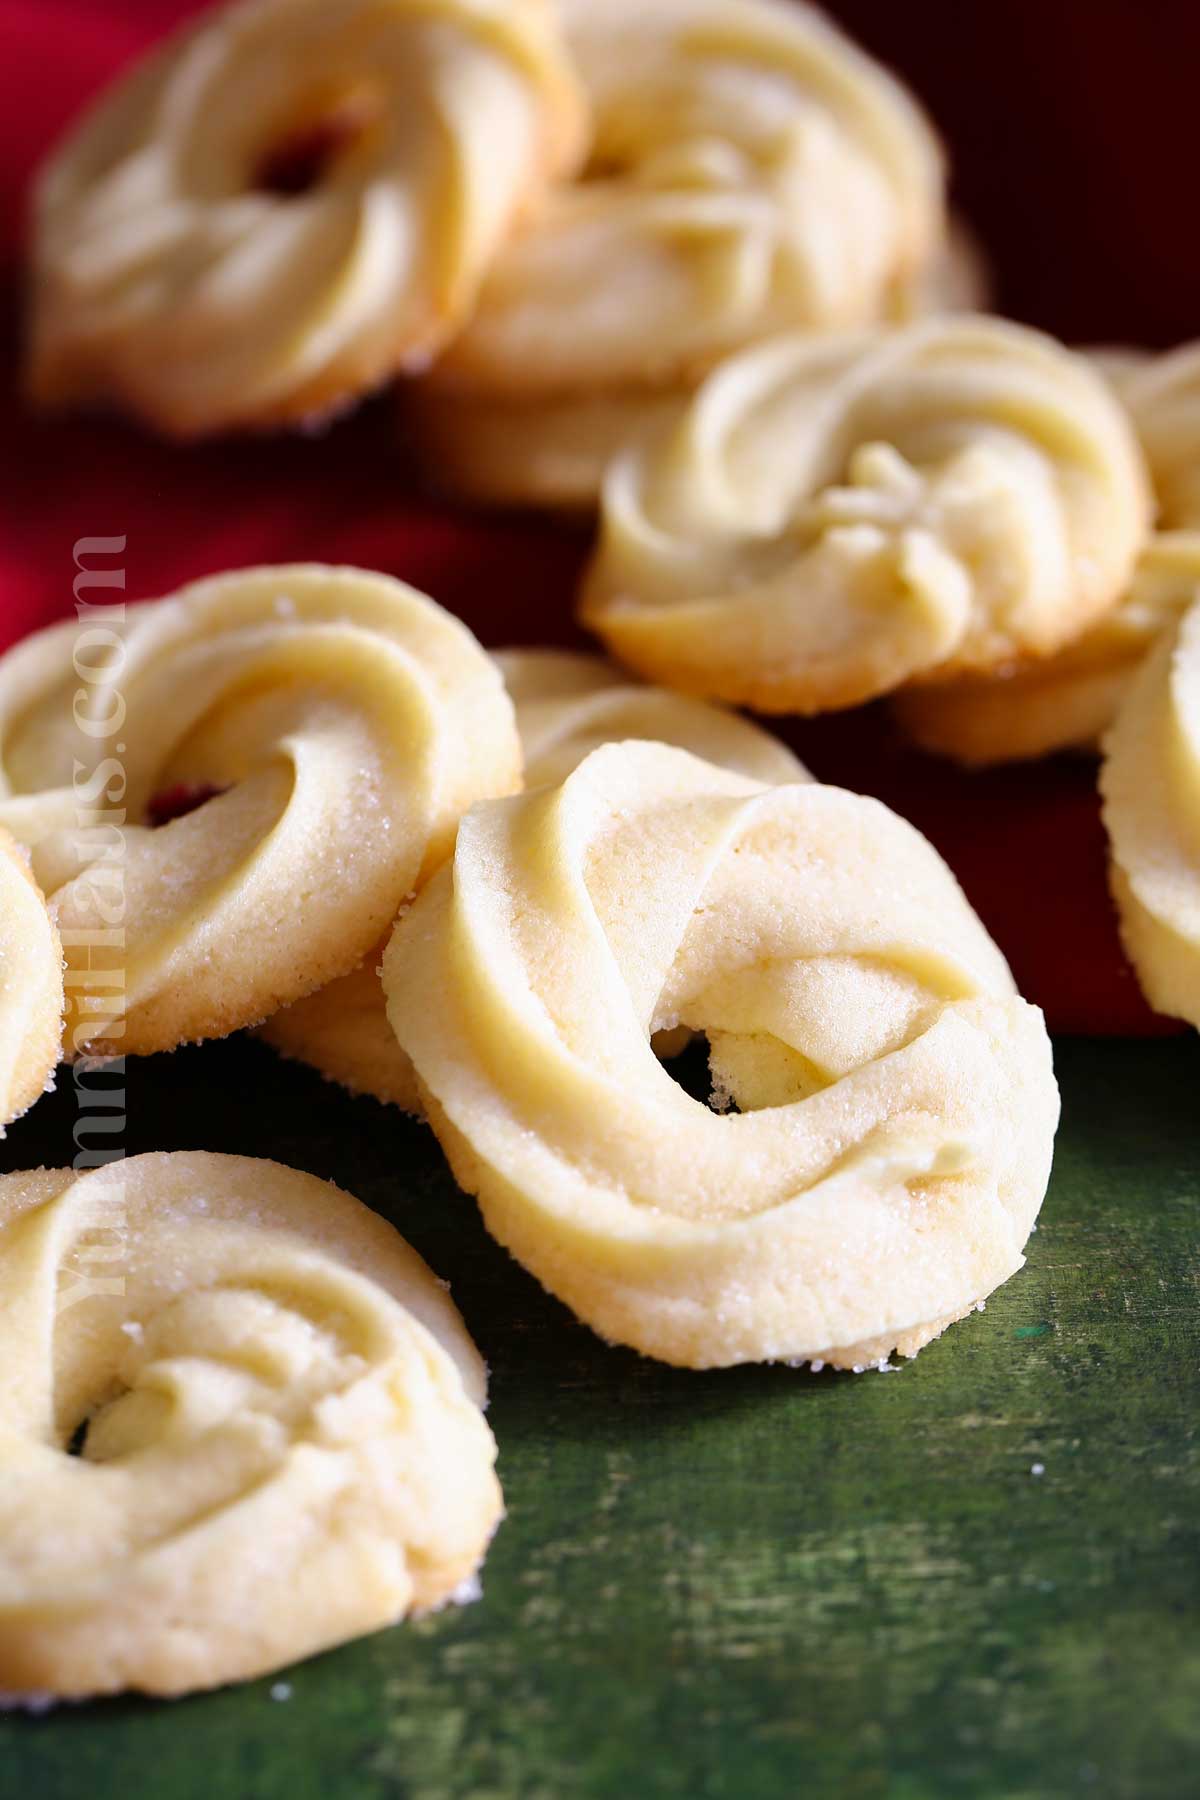
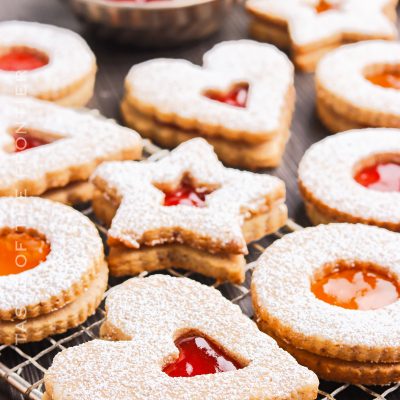
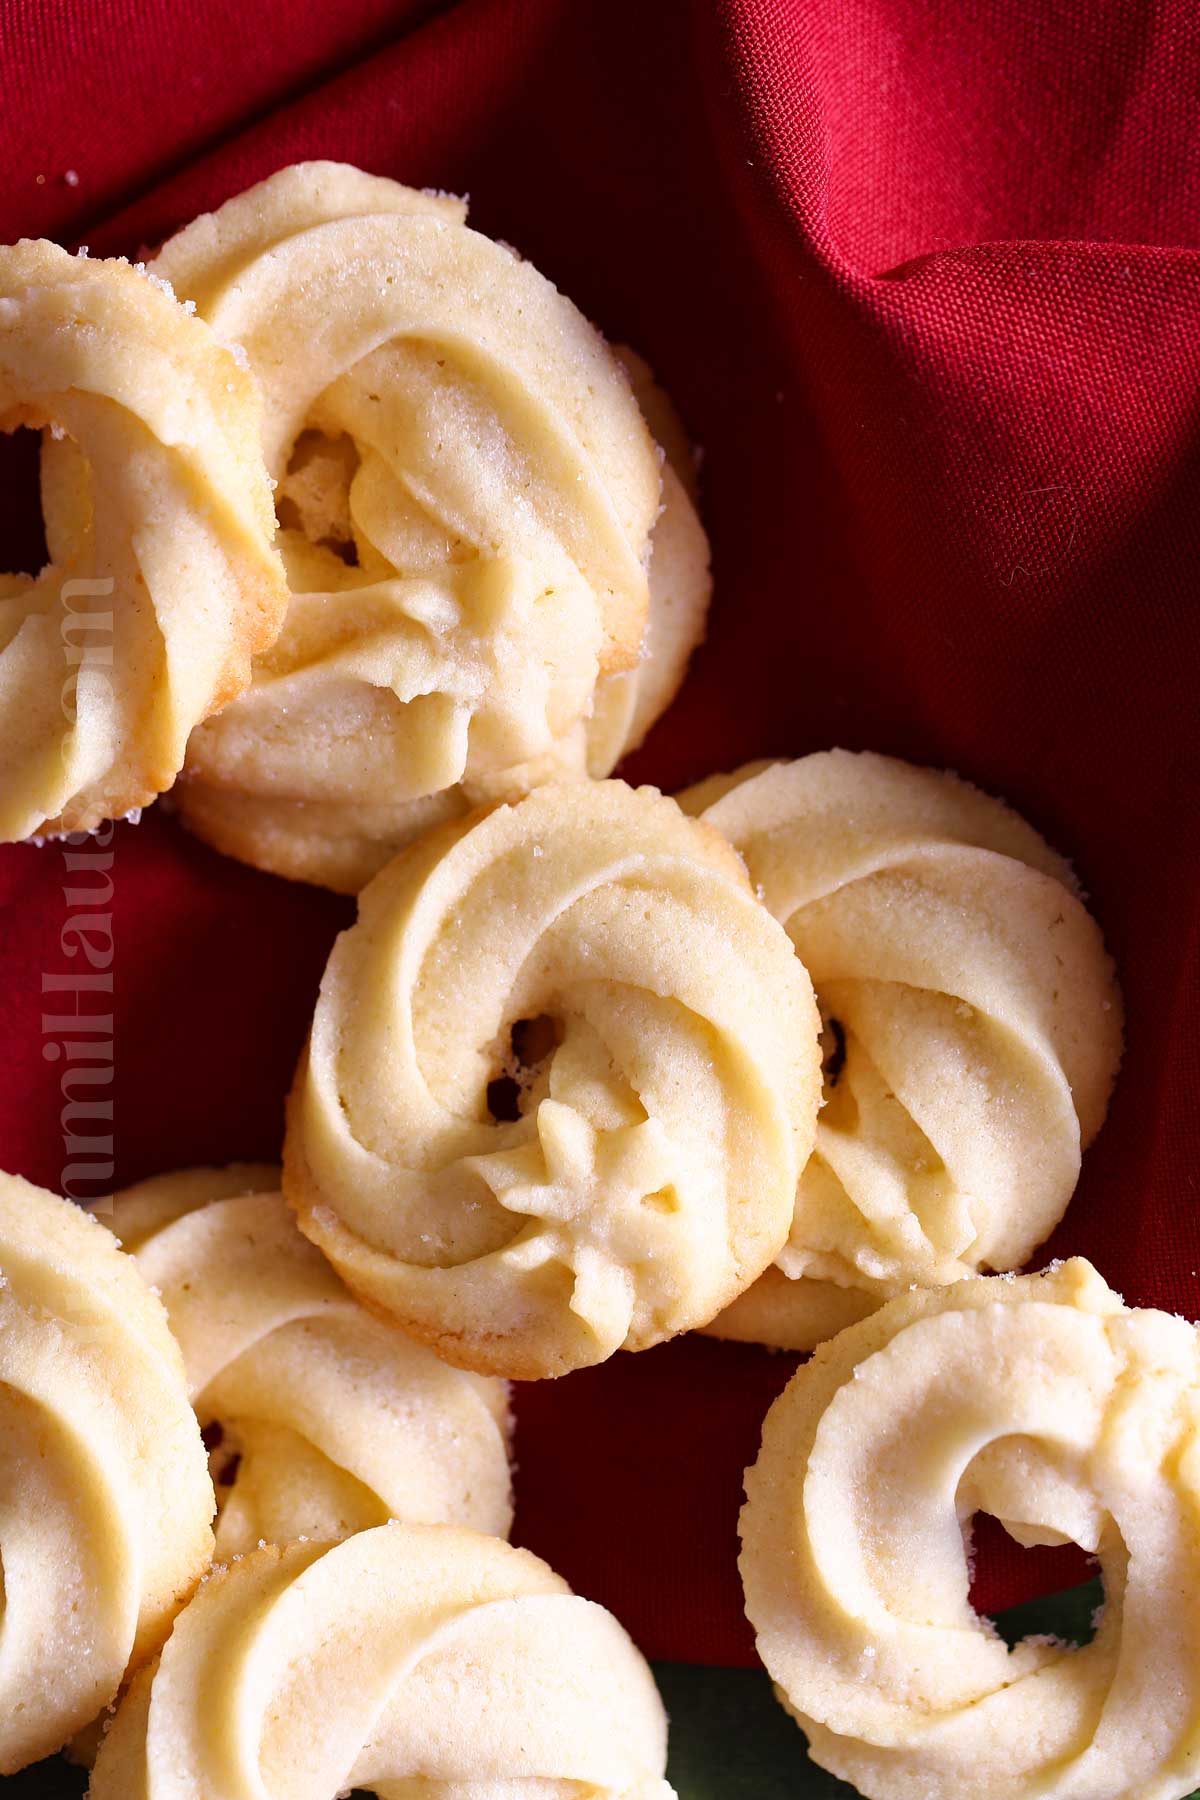
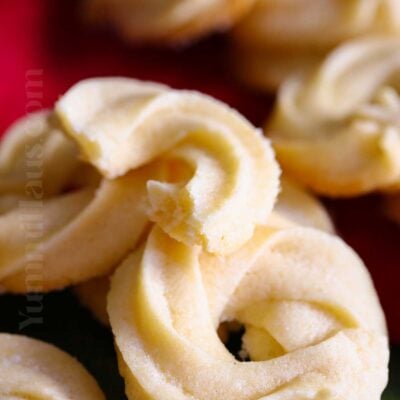
There’s something magical about Danish butter cookies, isn’t there? Those delicate, crispy little rounds that just melt in your mouth with their rich, buttery flavor. They’re the kind of cookies that transport you straight to a cozy European bakery, even if you’re just sitting at your kitchen table in your pajamas.
I’ve been making these cookies for years, and honestly, they never get old. They’re elegant enough for gift-giving (especially during the holidays), but simple enough that you can whip up a batch on a lazy Sunday afternoon. Plus, they use ingredients you probably already have in your pantry. No exotic extracts or hard-to-find items here. Just good old-fashioned butter, flour, and sugar doing their thing.
The best part? These cookies are incredibly versatile. You can pipe them into fancy shapes, press them with a fork for that classic crisscross pattern, or even sandwich them with jam. But we’re getting ahead of ourselves. Let’s talk about what makes these cookies so special and how you can make them at home.
Gina’s Recipe Rundown:
Texture: Delightfully crisp on the outside with a tender, melt-in-your-mouth center. The piped shapes hold their form beautifully, giving each bite a satisfying snap followed by a delicate, buttery softness.
Taste: Rich and buttery with a delicate, melt-in-your-mouth texture. They have a subtle sweetness that’s perfectly balanced by a hint of salt, and the sprinkle of sugar on top adds just a touch of crunch.
Ease: They’re simple to make yet feel special, making them ideal for gifting, holiday celebrations, or just a cozy treat with your favorite cup of tea or coffee.
Why I love it: They’re the perfect combination of buttery richness, delicate crunch, and timeless charm. Every bite feels comforting, nostalgic, and a little indulgent. What’s not to love?
Why You’ll Love This Recipe
Let me tell you why this recipe has become my go-to for Danish butter cookies. First, the texture is absolutely perfect. Crispy on the edges with just the slightest tenderness in the center. Second, the flavor is pure butter heaven without being overly sweet. And third, they keep beautifully in an airtight container for up to two weeks (though they rarely last that long in my house).
These cookies also happen to be fantastic for decorating. Whether you want to dip them in chocolate, dust them with powdered sugar, or sandwich them with your favorite preserve, they’re the perfect blank canvas. I’ve even seen people press a whole almond into the center before baking for that extra touch of elegance.
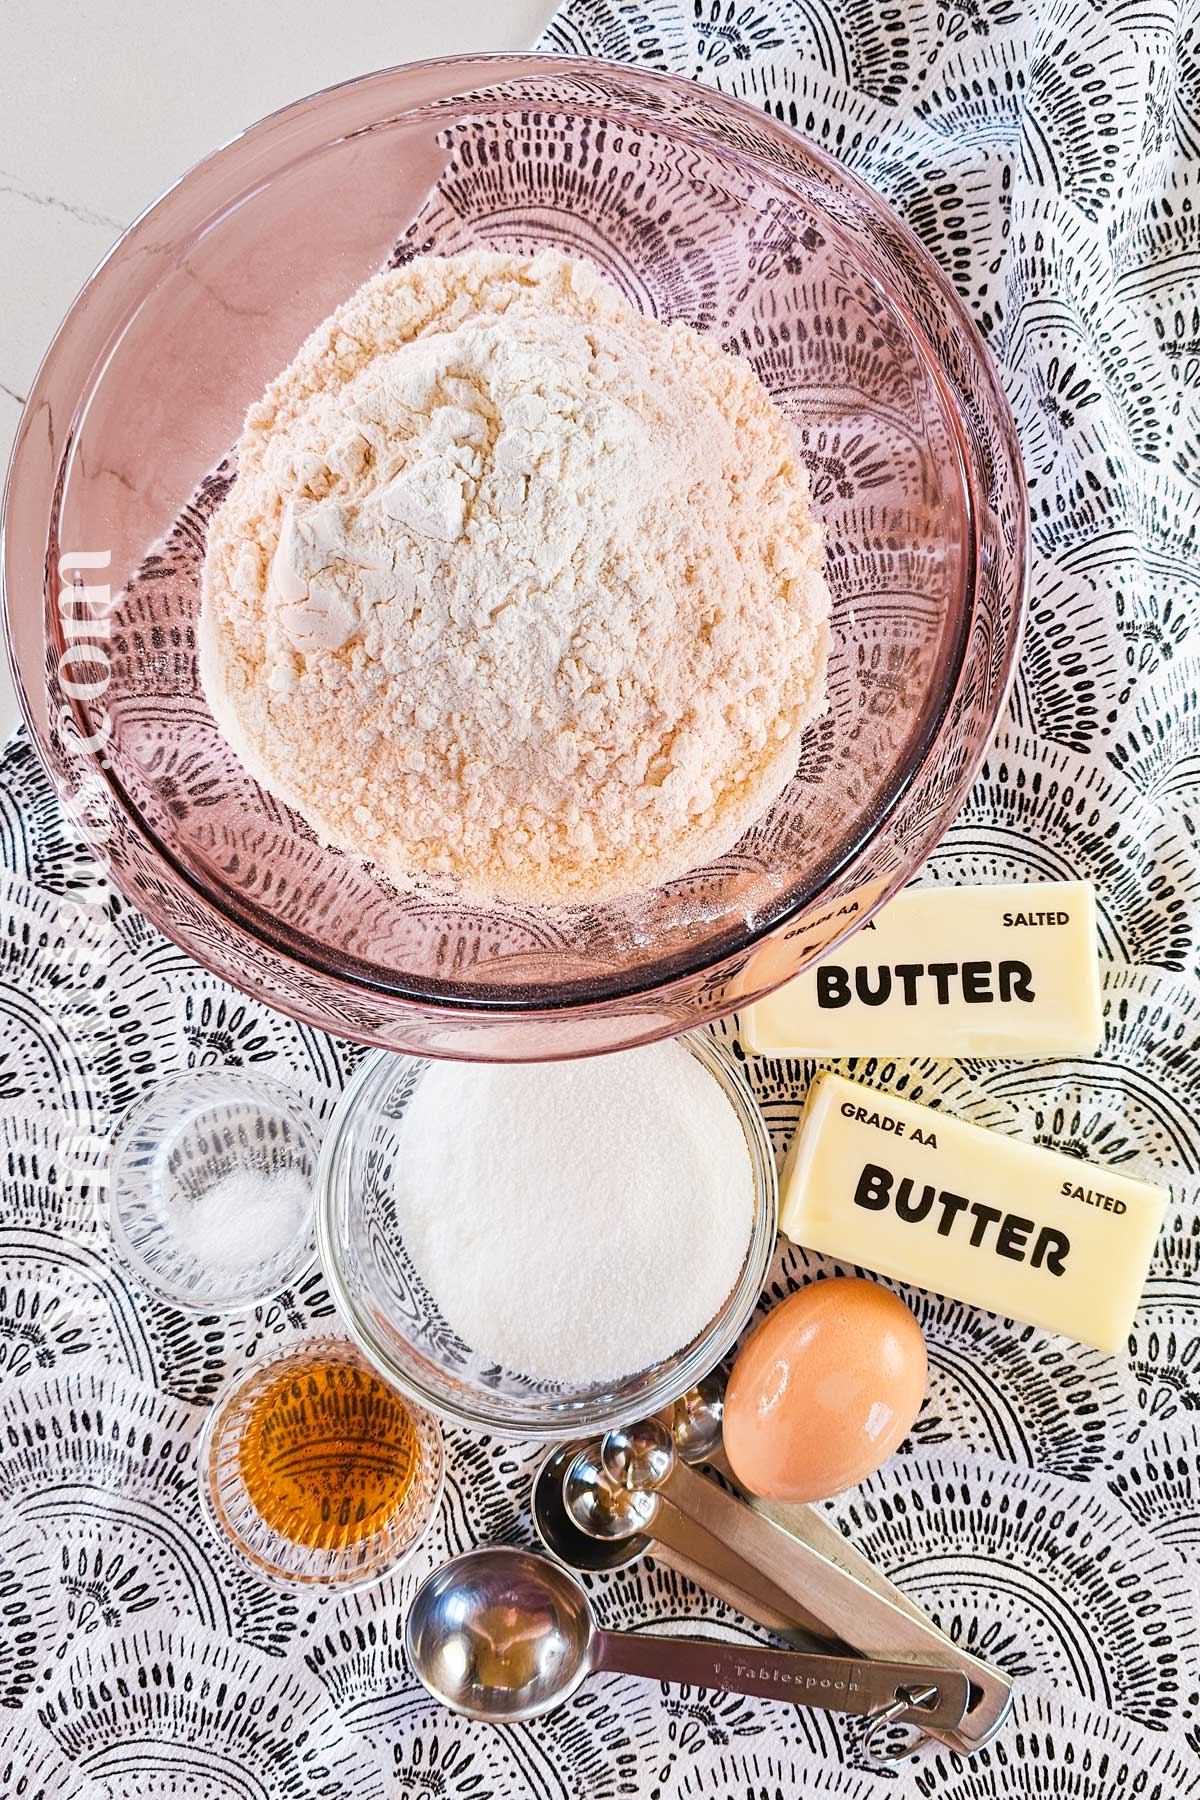
Ingredient Notes
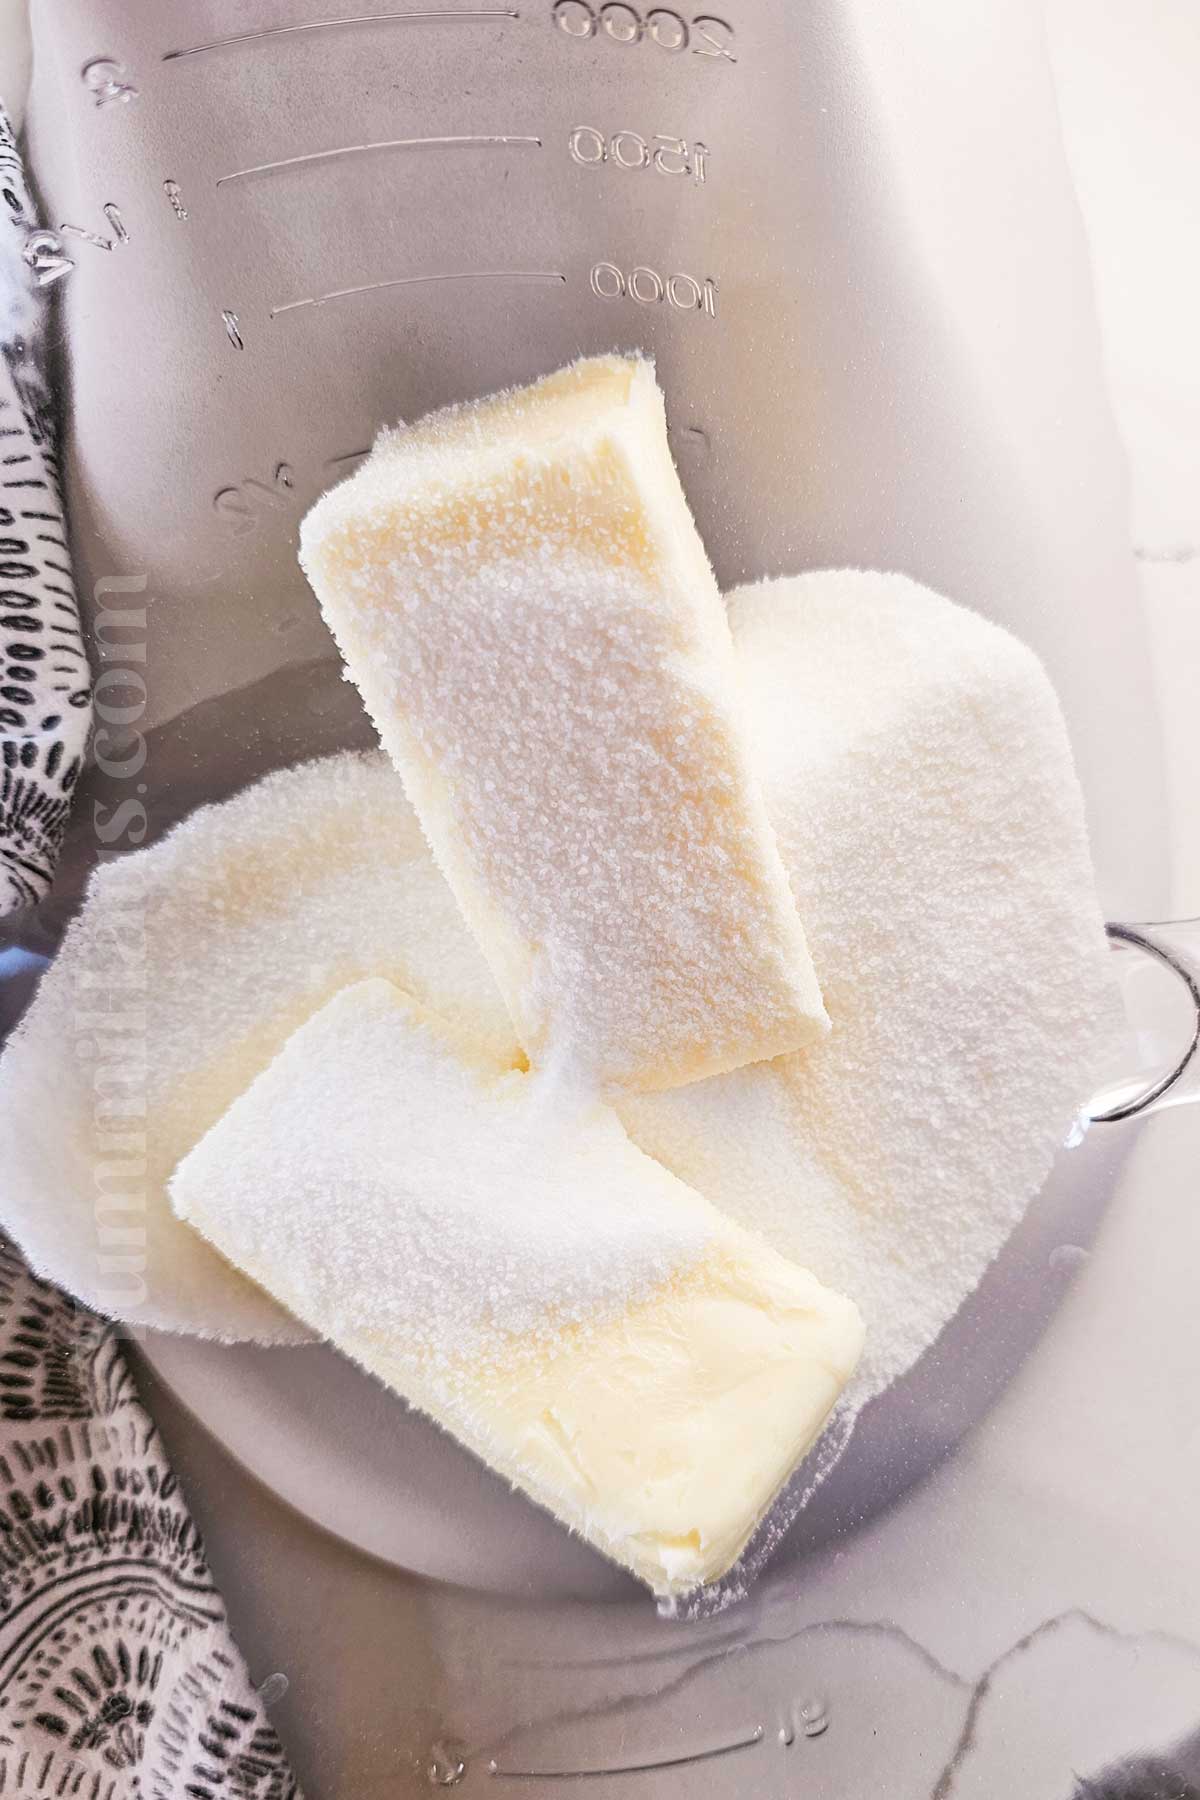
- Butter: Use unsalted butter for a rich, creamy flavor.
- Granulated sugar: Adds sweetness and helps create a light texture.
- Table salt: Enhances flavor and balances the sweetness.
- Egg: Provides structure and helps bind the dough.
- Vanilla extract: Adds a warm, aromatic flavor.
- All-purpose flour (spooned and leveled): Ensures accurate measurement for the perfect cookie texture.
- Granulated sugar (for sprinkling): Gives a sweet, slightly crunchy finish on top.
Kitchen Equipment
- Mixing bowls – large bowl
- Electric mixer (stand mixer) or hand mixer
- Measuring cups and spoons
- Spatula
- Pastry bag (piping bag) with a large open star tip (9mm)
- Baking sheets
- Parchment paper
- Cooling racks
- Airtight container for storage or plastic wrap
How to Make
- Start by preheating your oven to 350°F and lining two large baking sheets with parchment paper. Set them aside for now.
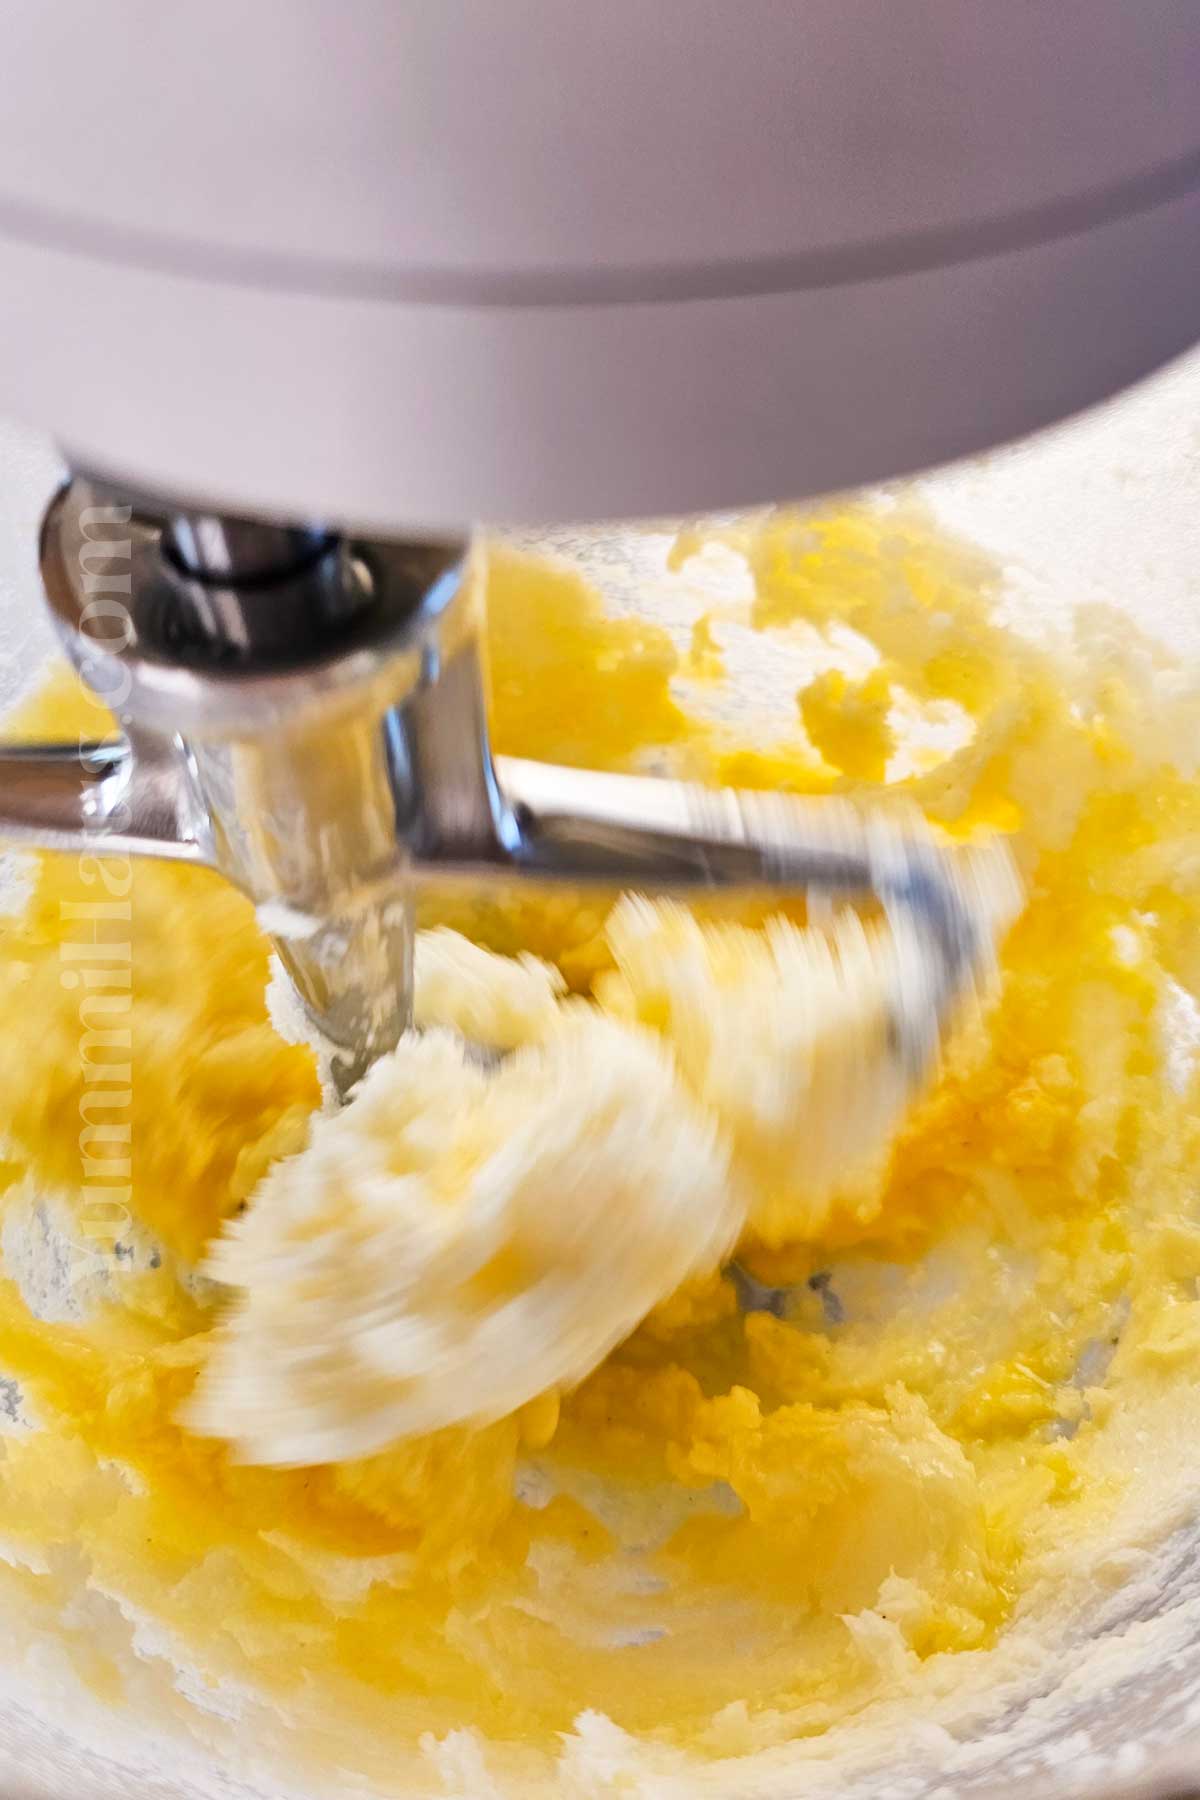
- In a mixing bowl, beat together the butter, ½ cup of sugar, and salt until the mixture is nice and fluffy.
- Next, add the egg and vanilla, mixing just until everything comes together.
- Gradually stir in the flour until the dough forms.
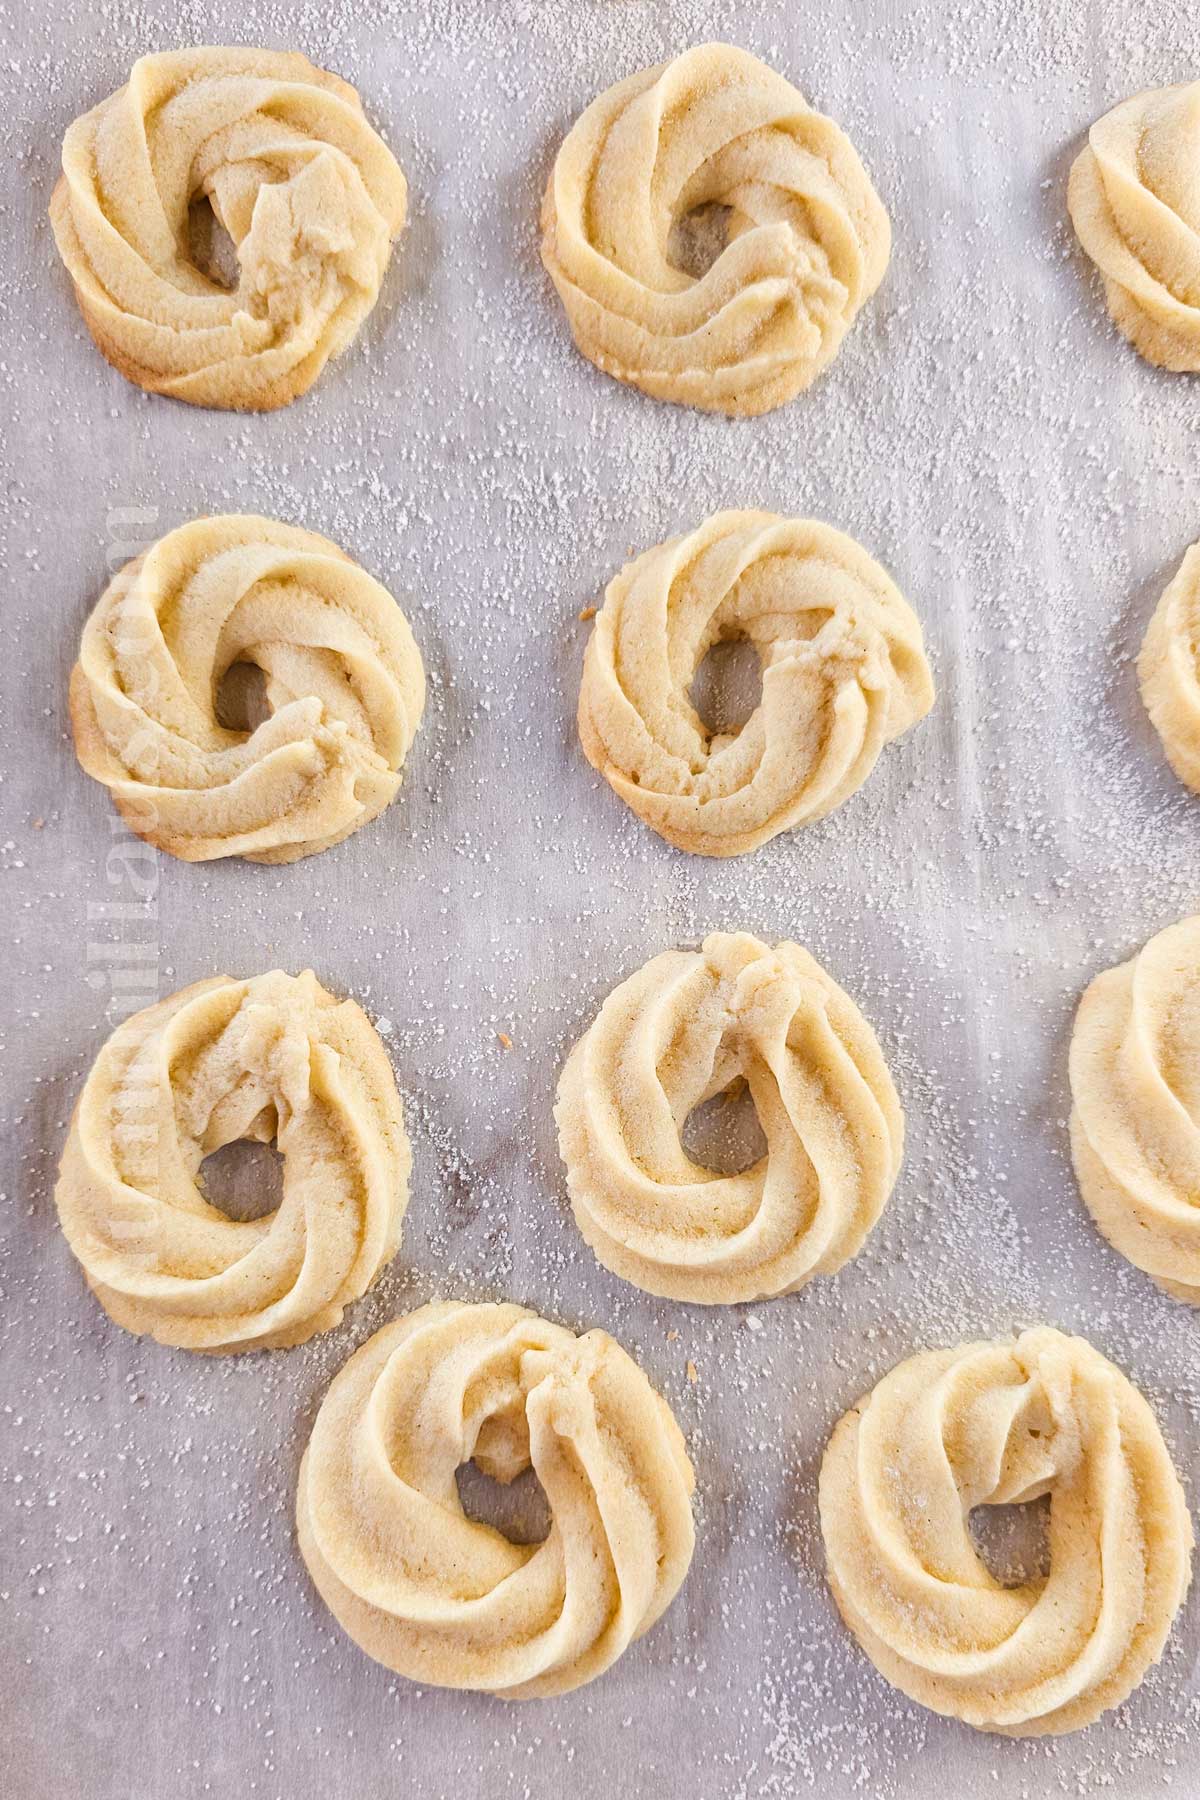
- Scoop the dough into a pastry bag fitted with a large open star tip (about 9mm) and pipe 2-inch circles onto your prepared baking sheets.
- Give each cookie a little sprinkle of sugar on top for that extra sweet crunch.
- Bake for about 15 minutes, or until the edges turn a lovely golden brown.
- Let the cookies cool completely on the baking sheets before transferring them to an airtight container. They’ll keep beautifully for sharing… or sneaky snacking!
Variations & Substitutions
Once you’ve mastered the basic recipe, feel free to experiment with these delicious variations:
Chocolate-Dipped: Melt some dark or white chocolate and dip half of each cooled cookie. Let them set on parchment paper until the chocolate hardens.
Lemon Danish Butter Cookies: Add 1 tablespoon of lemon zest to the dough and replace the vanilla with lemon extract for a bright, citrusy twist.
Jam-Filled Sandwich Cookies: Spread a thin layer of raspberry, strawberry, or apricot jam between two cookies. Dust with powdered sugar for a fancy presentation.
Chocolate Chip Version: Fold in ½ cup of mini chocolate chips after mixing in the flour for a fun twist on the classic.
Cardamom Spiced: Add ½ teaspoon of ground cardamom to the dough for that authentic Scandinavian flavor.
Storage
One of the best things about these cookies is how well they keep. Store them in an airtight container at room temperature for up to 2 weeks. Just make sure they’re completely cool before you pack them away, or they’ll get soggy.
You can also freeze the baked cookies for up to 3 months. Layer them between sheets of parchment paper in a freezer-safe container. Thaw them at room temperature for about 30 minutes before serving.
Want to prep ahead? The unbaked dough freezes beautifully, too. Shape the cookies, freeze them on a baking sheet until solid, then transfer them to a freezer bag. You can bake them straight from frozen, just add an extra minute or two to the baking time.
Serving Suggestions
- Serve them alongside afternoon tea or coffee for an elegant treat.
- Package them in pretty tins or bags for homemade holiday gifts.
- Add them to your Christmas cookie platter for variety,
- Pair them with vanilla ice cream for a simple but sophisticated dessert.
- Enjoy them with a glass of cold milk as an after-school snack
I love setting out a plate of these cookies when friends come over. They always look impressive, but only you need to know how easy they were to make!
Expert Tips
Since butter is the star of this show, please don’t skimp here. Use real butter, not margarine, not butter spreads, just good quality unsalted butter. European-style butter with higher fat content will give you an even richer flavor, but regular supermarket butter works beautifully, too.
After making these cookies countless times, I’ve picked up a few tricks that really make a difference:
Room Temperature Butter is Key: Your butter should be soft enough that you can press your finger into it, but it shouldn’t be melting. If it’s too cold, the dough will be lumpy. Too warm, and your cookies will spread too much.
Don’t Skip the Chilling: I know I already mentioned this, but it really is crucial for maintaining those beautiful shapes, especially if you’re piping the dough.
Watch the Baking Time: These cookies can go from perfectly golden to overbaked in just a minute or two. Set a timer and check them at the 10-minute mark.
Measure Flour Correctly: Too much flour will make your cookies dry and crumbly. Always spoon flour into your measuring cup and level it off with a knife rather than scooping directly from the bag.
Use Parchment Paper: It prevents sticking and ensures even browning. Plus, cleanup is a breeze!
Troubleshooting
Cookies Spreading Too Much: Your butter was probably too soft, or you didn’t chill the dough long enough. Make sure your butter is just softened, not melted, and always chill shaped cookies before baking.
Cookies Too Crumbly: You might have added too much flour or overbaked them slightly. Make sure you’re measuring flour correctly and pull them from the oven when the edges are just barely golden.
Dough Too Soft to Pipe: Pop the dough in the refrigerator for 15-20 minutes to firm it up, then try again. You can also add 1-2 tablespoons more flour if needed.
Cookies Not Holding Their Shape: This usually means the dough was too warm when it went into the oven. Always chill shaped cookies before baking when the dough is soft.

FAQ’s
Can I make these cookies ahead of time?
Absolutely! You can make the dough a day in advance and keep it in the fridge, or bake the cookies and store them in an airtight container for up to a week.
Can I freeze the dough or baked cookies?
Yes! The dough freezes beautifully. Just pipe the cookies onto a baking sheet, freeze until firm, then transfer to a freezer bag. You can also freeze baked cookies for up to 3 months.
Can I use a different flour?
All-purpose flour works best for the classic texture, but you can experiment with half whole wheat for a slightly heartier cookie.
Can I skip the piping and just shape them by hand?
Definitely! You can roll the dough into balls and flatten slightly with a fork. Though they won’t have the classic star shape, they’ll still taste amazing.
Can I make these cookies without a mixer?
Yes, you can mix by hand using a sturdy whisk or wooden spoon. It’ll take a little more elbow grease, but it works just fine!
DON’T MISS THESE HOLIDAY E-BOOKS!
If you love this cookie recipe, you’re going to love these other cookie recipes, too. Please click each link below to find the easy, printable recipe!
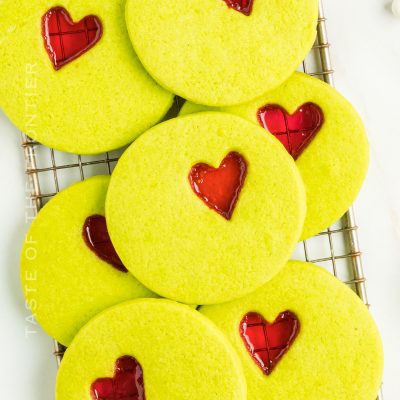
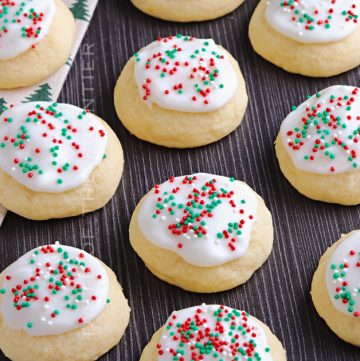

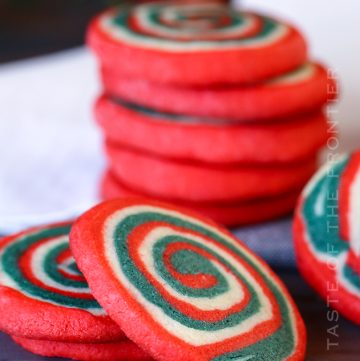
More Great Butter-Based Cookie Recipes

CONNECT WITH YUMMI HAUS!
Be sure to follow me on my social media, so you never miss a post!

Danish Butter Cookies
Ingredients
- 1 cup butter – softened
- ½ cup granulated sugar
- ¼ tsp table salt
- 1 egg – large, room-temperature
- 1 tbsp vanilla extract
- 2 cups all-purpose flour – spooned and leveled
- ¼ cup granulated sugar – for sprinkling
Instructions
- Preheat the oven to 350 degrees.
- Line 2 large baking sheets with parchment. Set aside.
- Beat the butter, ½ cup granulated sugar, and salt together in a mixing bowl until light and fluffy.
- Mix in the egg and vanilla until just combined.
- Slowly stir in the flour, mixing just until the dough has formed.
- Transfer the dough to a pastry bag fitted with a large, open star tip. (9mm
- Pipe 2” circles into the prepared baking sheets.
- Sprinkle the dough with the additional granulated sugar.
- Bake for 15 minutes or until the edges are golden brown.
- Cool completely on the baking sheets before transferring them to an airtight container.
Notes
Nutrition
Nutritional information for the recipe is provided as a courtesy and is approximate. Please double-check with your own dietary calculator for the best accuracy. We at Yummi Haus cannot guarantee the accuracy of the nutritional information given for any recipe on this site.


Share Your Thoughts